") Completely decadent and totally ridiculous in calories and richness, and I love it. It’s so very delicious. My daughter Jennifer has made this dessert numerous times over the last few years. It is actually a subtle taste of bananas, but I wouldn’t make this if I didn’t like bananas. I happen to just adore bananas and I absolutely love love this pudding. I cannot have it in the house because I will continually find an excuse to go into the fridge and eat it till it’s pretty much all gone. Jenn made it for dessert on Thanksgiving, it was one of 3 majorly desserts and it is really over the top. As full as I was and swearing I wasn’t going to eat another thing for at least a week, when I saw this pudding I knew I was going to eat it. She left the uneaten portion of it in my house and I couldn’t believe it I had to wake up to that bowl in the fridge. I find it impossible to resist, and I know others who suffer from this same fate. If you’re in the market for a purely decadent rich over the top dessert then this is it for you. Probably up there in my top ten desserts ever. This is from the More from Magnolia Cookbook so how could it be bad? If you’re in the market for a new dessert for Thanksgiving especially one that doesn’t require cooking this could be the one. Truly Amazing!
Completely decadent and totally ridiculous in calories and richness, and I love it. It’s so very delicious. My daughter Jennifer has made this dessert numerous times over the last few years. It is actually a subtle taste of bananas, but I wouldn’t make this if I didn’t like bananas. I happen to just adore bananas and I absolutely love love this pudding. I cannot have it in the house because I will continually find an excuse to go into the fridge and eat it till it’s pretty much all gone. Jenn made it for dessert on Thanksgiving, it was one of 3 majorly desserts and it is really over the top. As full as I was and swearing I wasn’t going to eat another thing for at least a week, when I saw this pudding I knew I was going to eat it. She left the uneaten portion of it in my house and I couldn’t believe it I had to wake up to that bowl in the fridge. I find it impossible to resist, and I know others who suffer from this same fate. If you’re in the market for a purely decadent rich over the top dessert then this is it for you. Probably up there in my top ten desserts ever. This is from the More from Magnolia Cookbook so how could it be bad? If you’re in the market for a new dessert for Thanksgiving especially one that doesn’t require cooking this could be the one. Truly Amazing!
*this recipe really needs time , so you must start the day before to let initial pudding set, and then you’ll need at least 4 more hours minimum before serving. So you must factor time into your preparing of this awesome pudding.
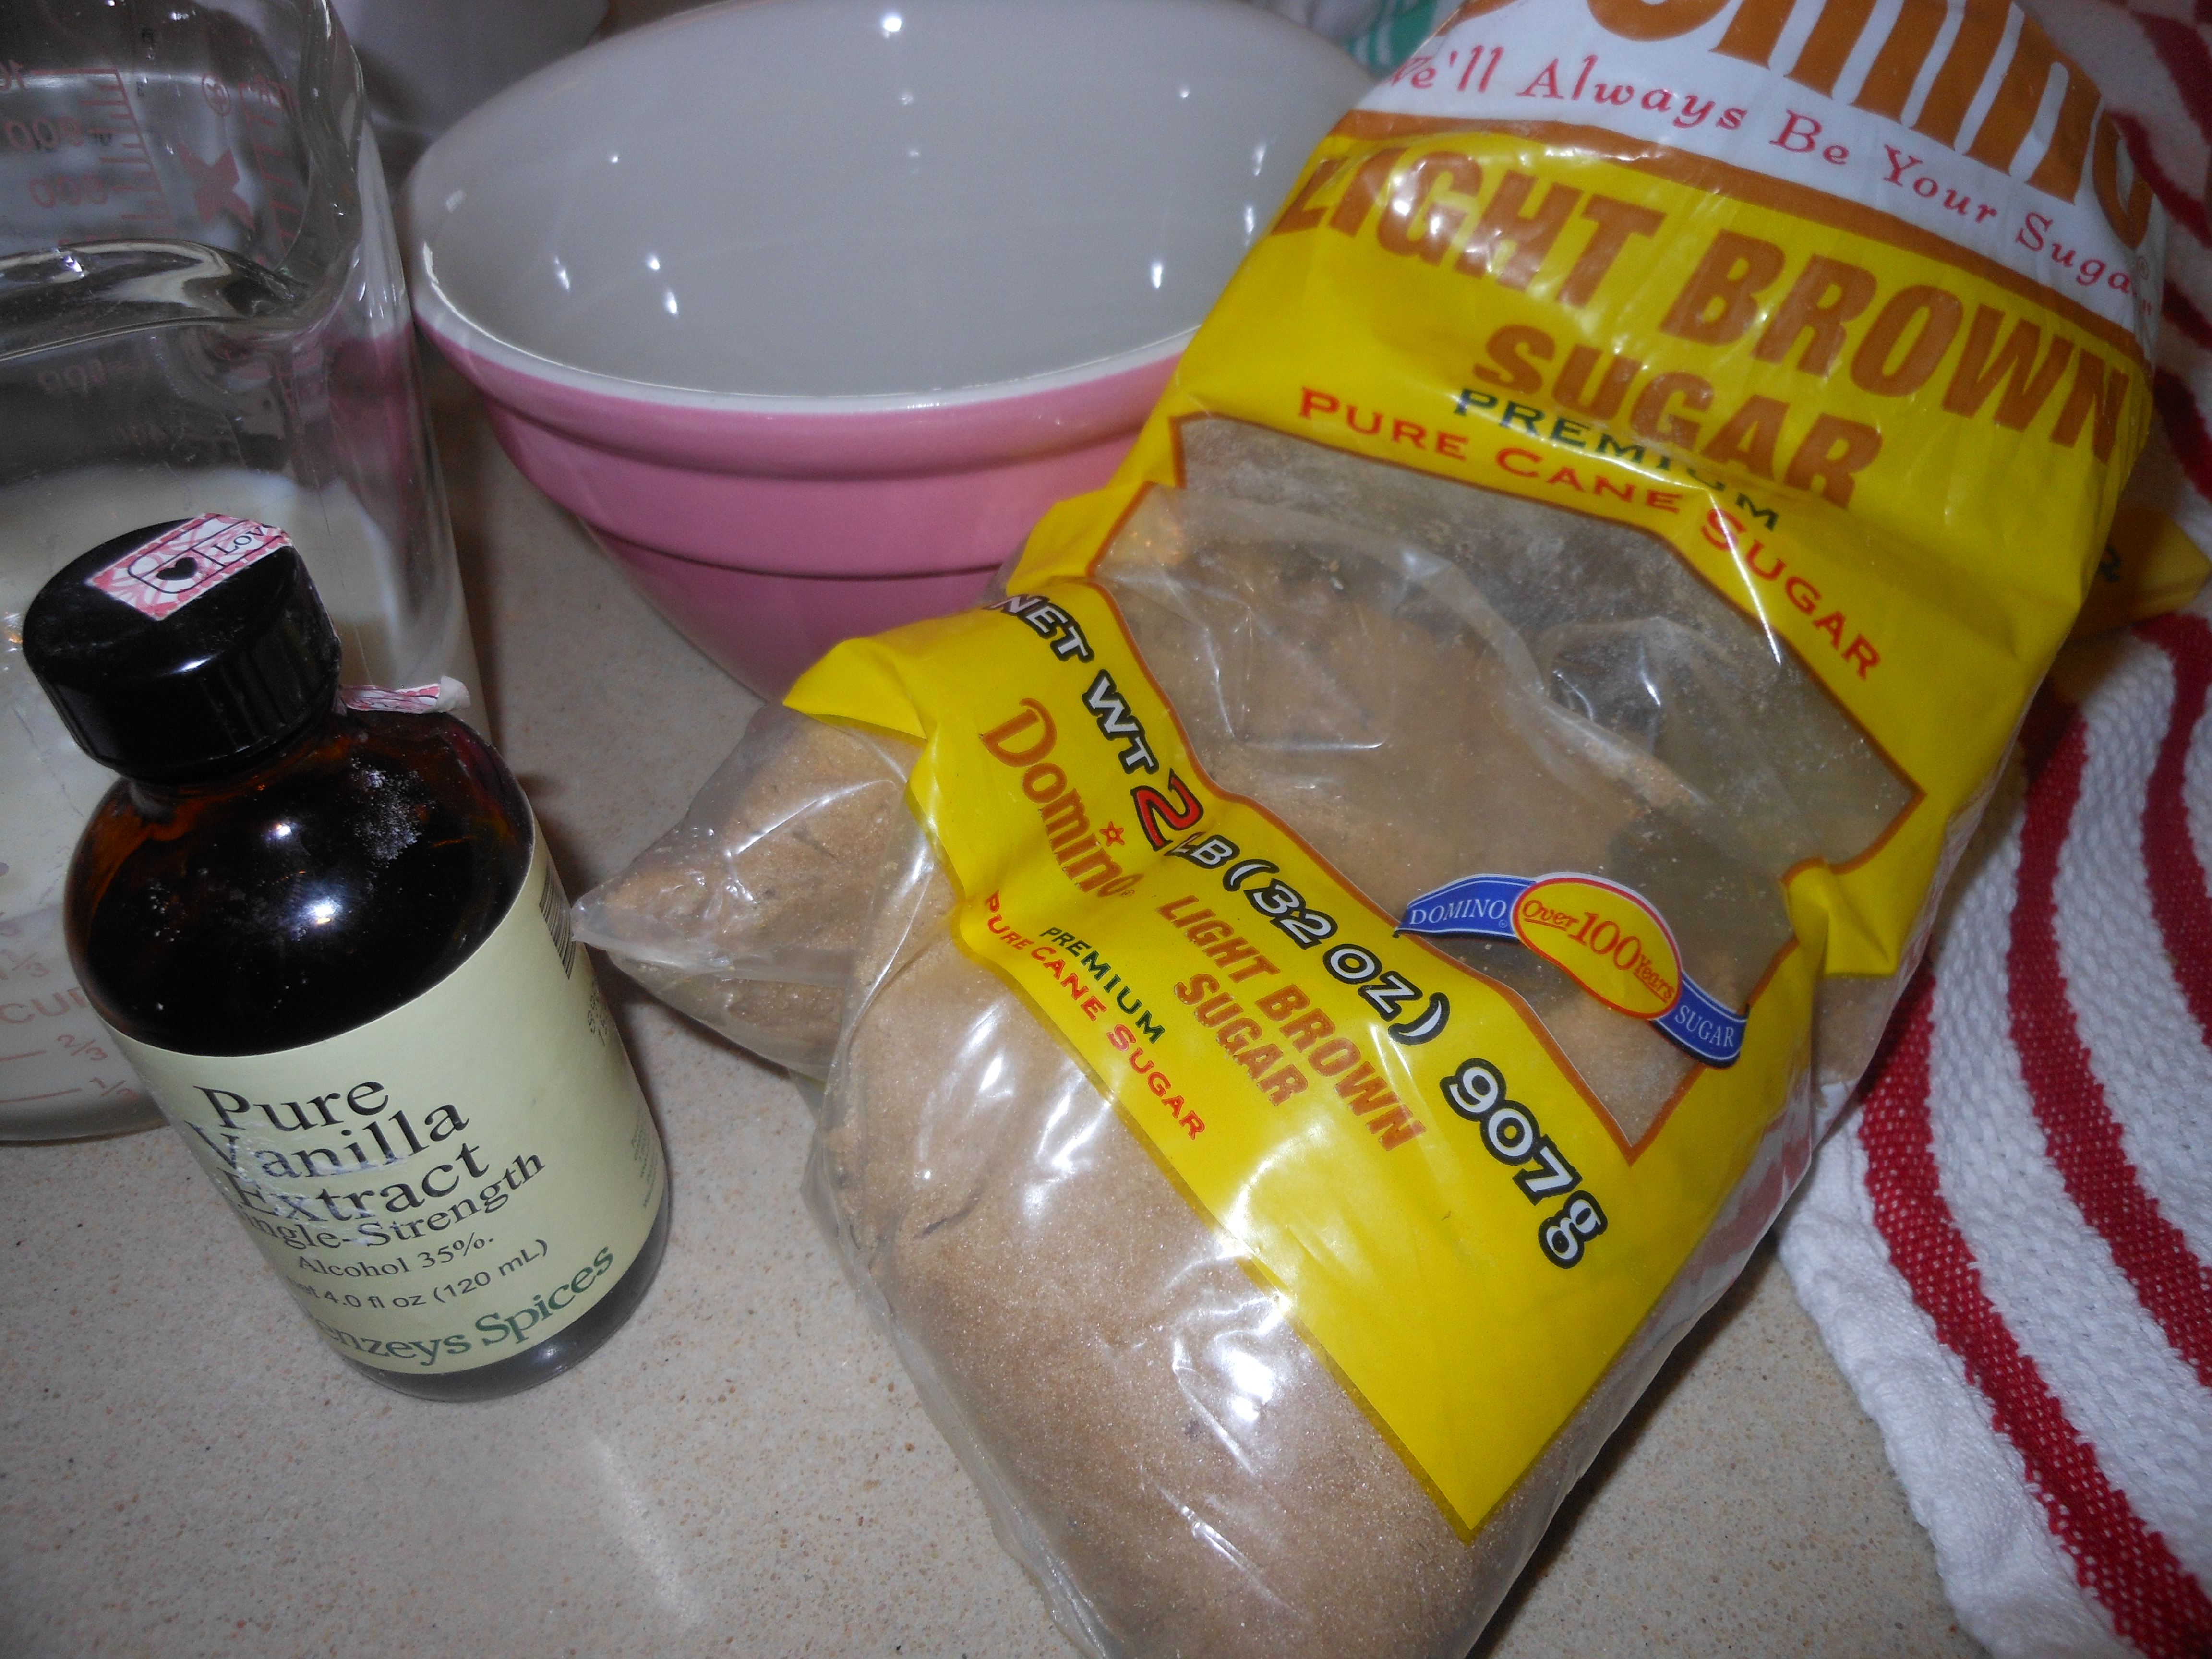
Ingredients:
1 14 ounce can sweetened condensed milk
1 1 /2 cups ice-cold water
1 3.4 ounce package instant vanilla pudding mix ( preferably Jell-O brand)is there another brand?
3 cups heavy cream
1 12 ounce box Nabisco Nilla Wafers ( no substitutions) is there another brand?
4 cups sliced ripe banana
Directions:
In a small bowl, on the medium speed of an electric mixer, beat together the sweetened condensed milk and cold water until well combined, about 1 minute. Add the pudding mix and beat well, about 2 minutes more.* Cover and refrigerate for 3 – 4 hours or overnight, before continuing. It is very important to allow the proper amount of time for the pudding mixture to set.
In a large bowl, on the medium speed of an electric mixer , whip the heavy cream until stiff peaks form. Gently fold the pudding mixture into the whipped cream until well blended and no streaks of pudding remains.
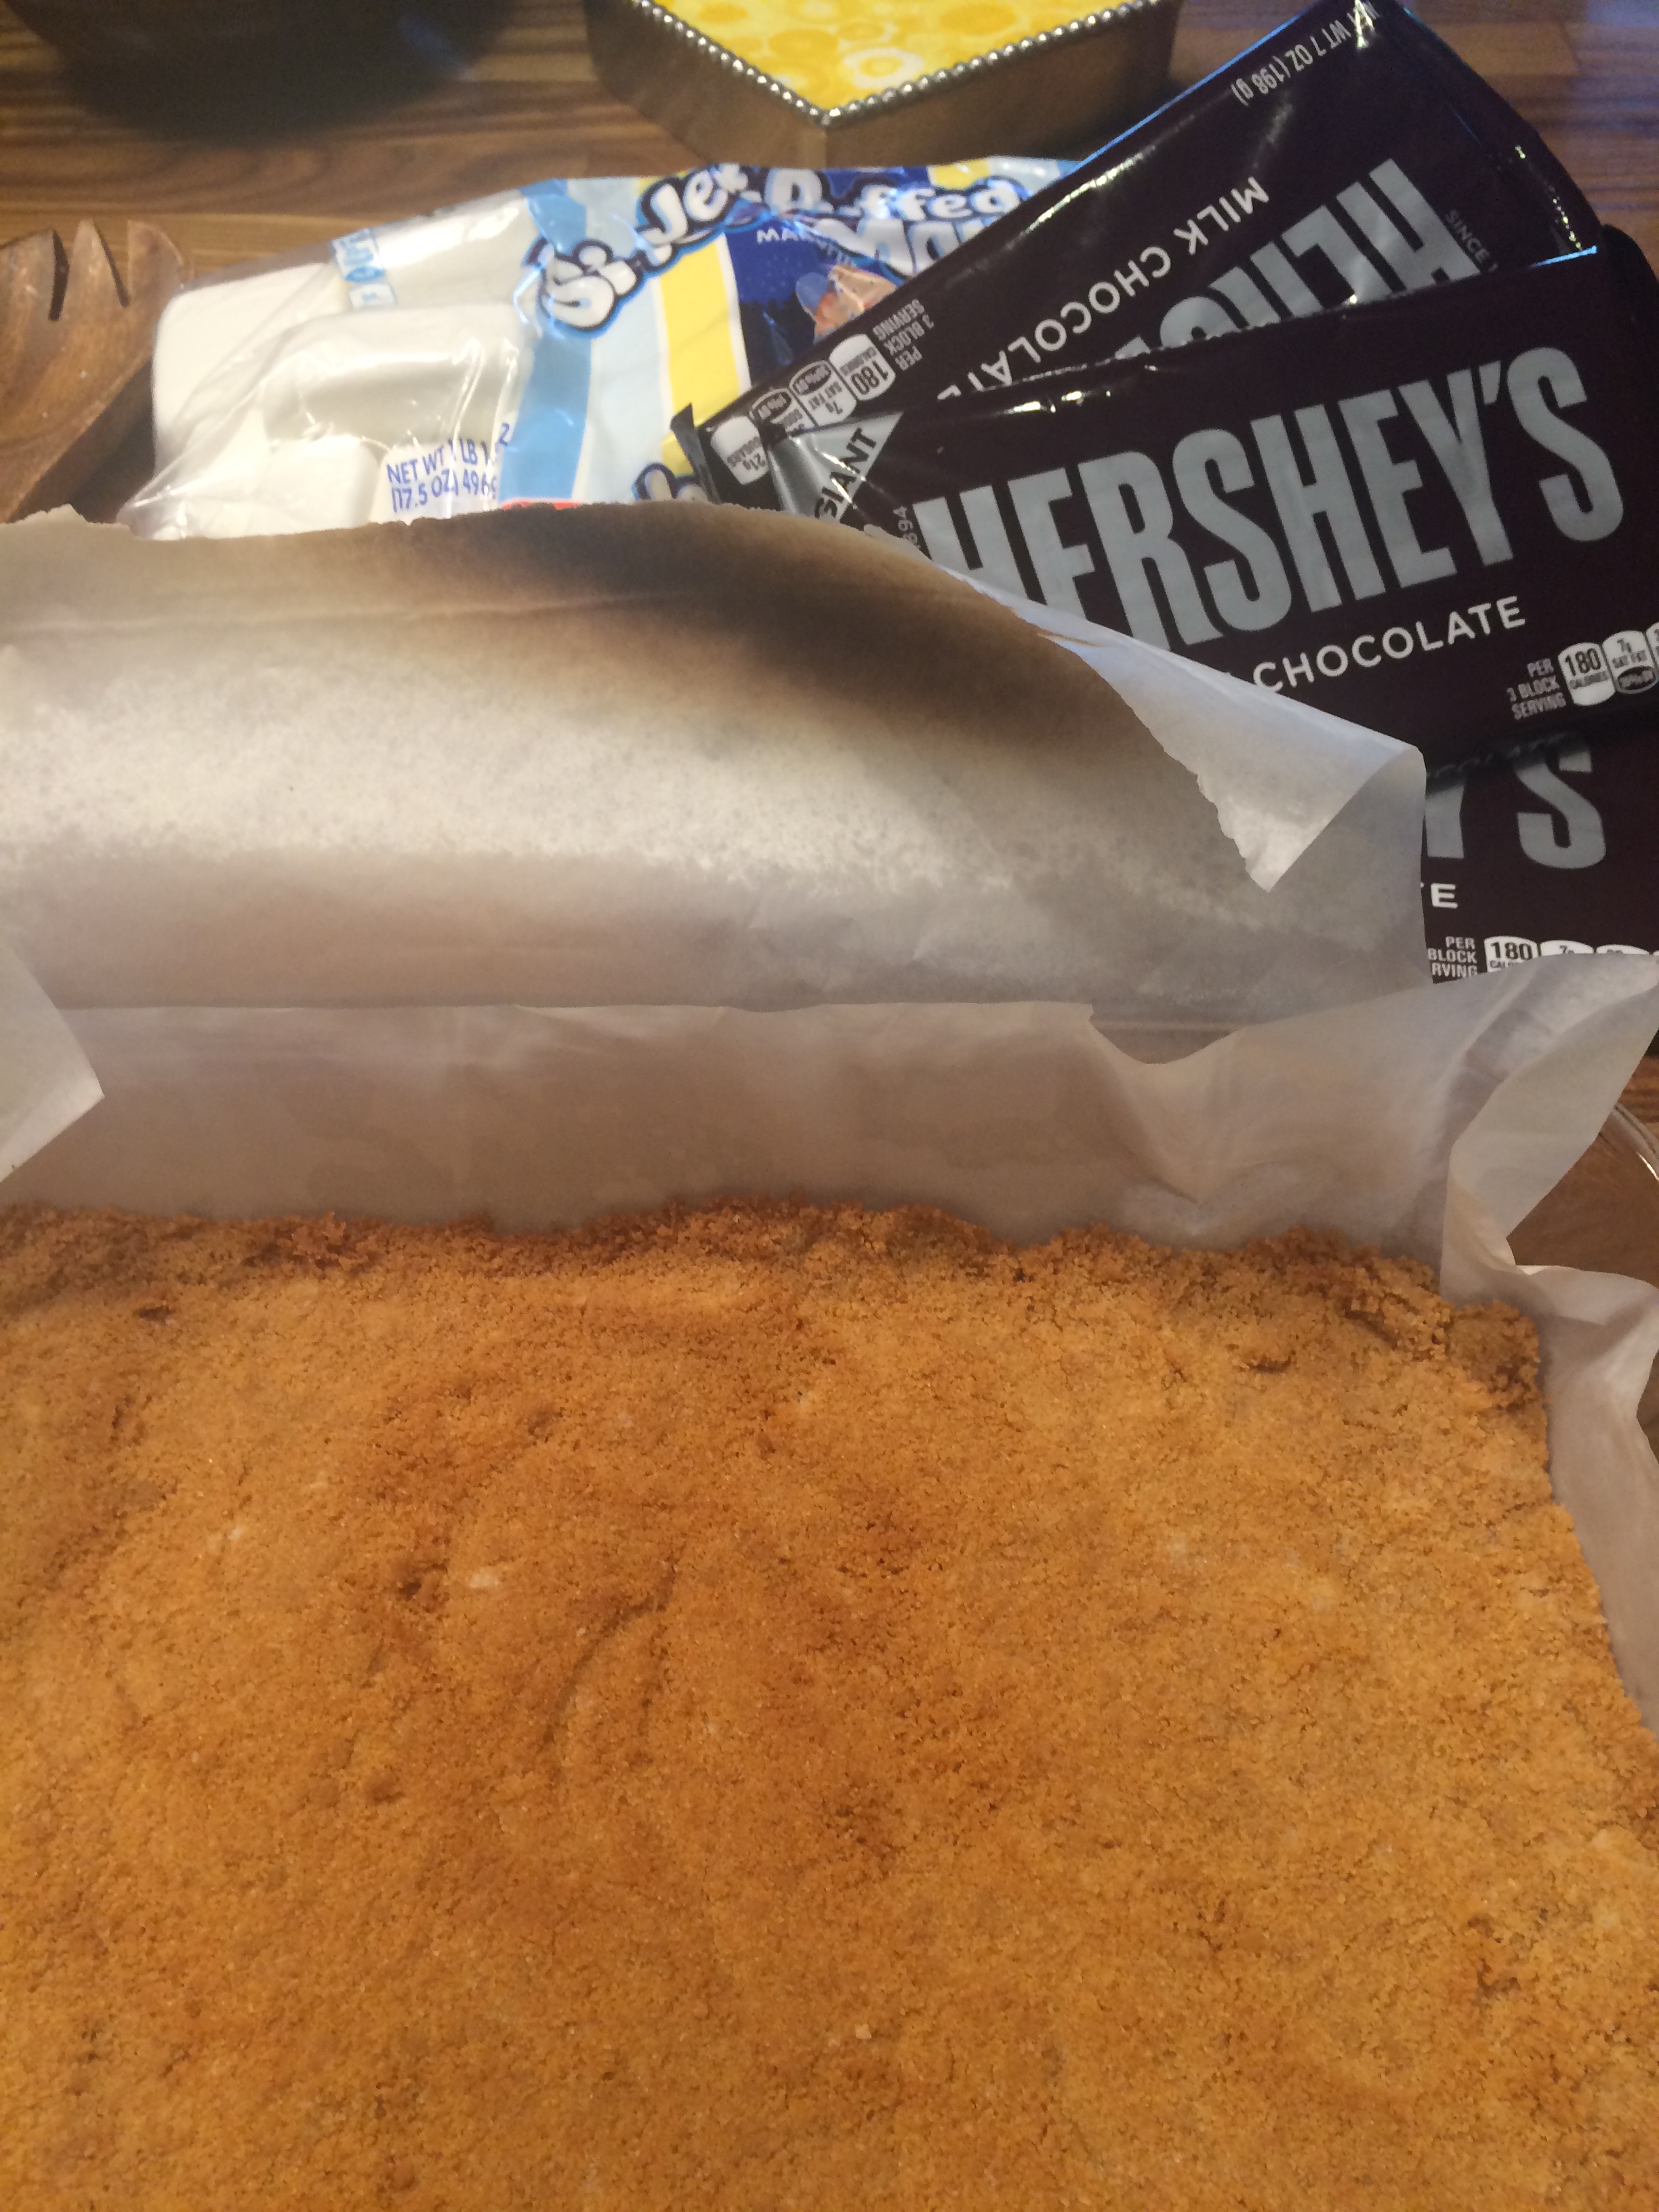
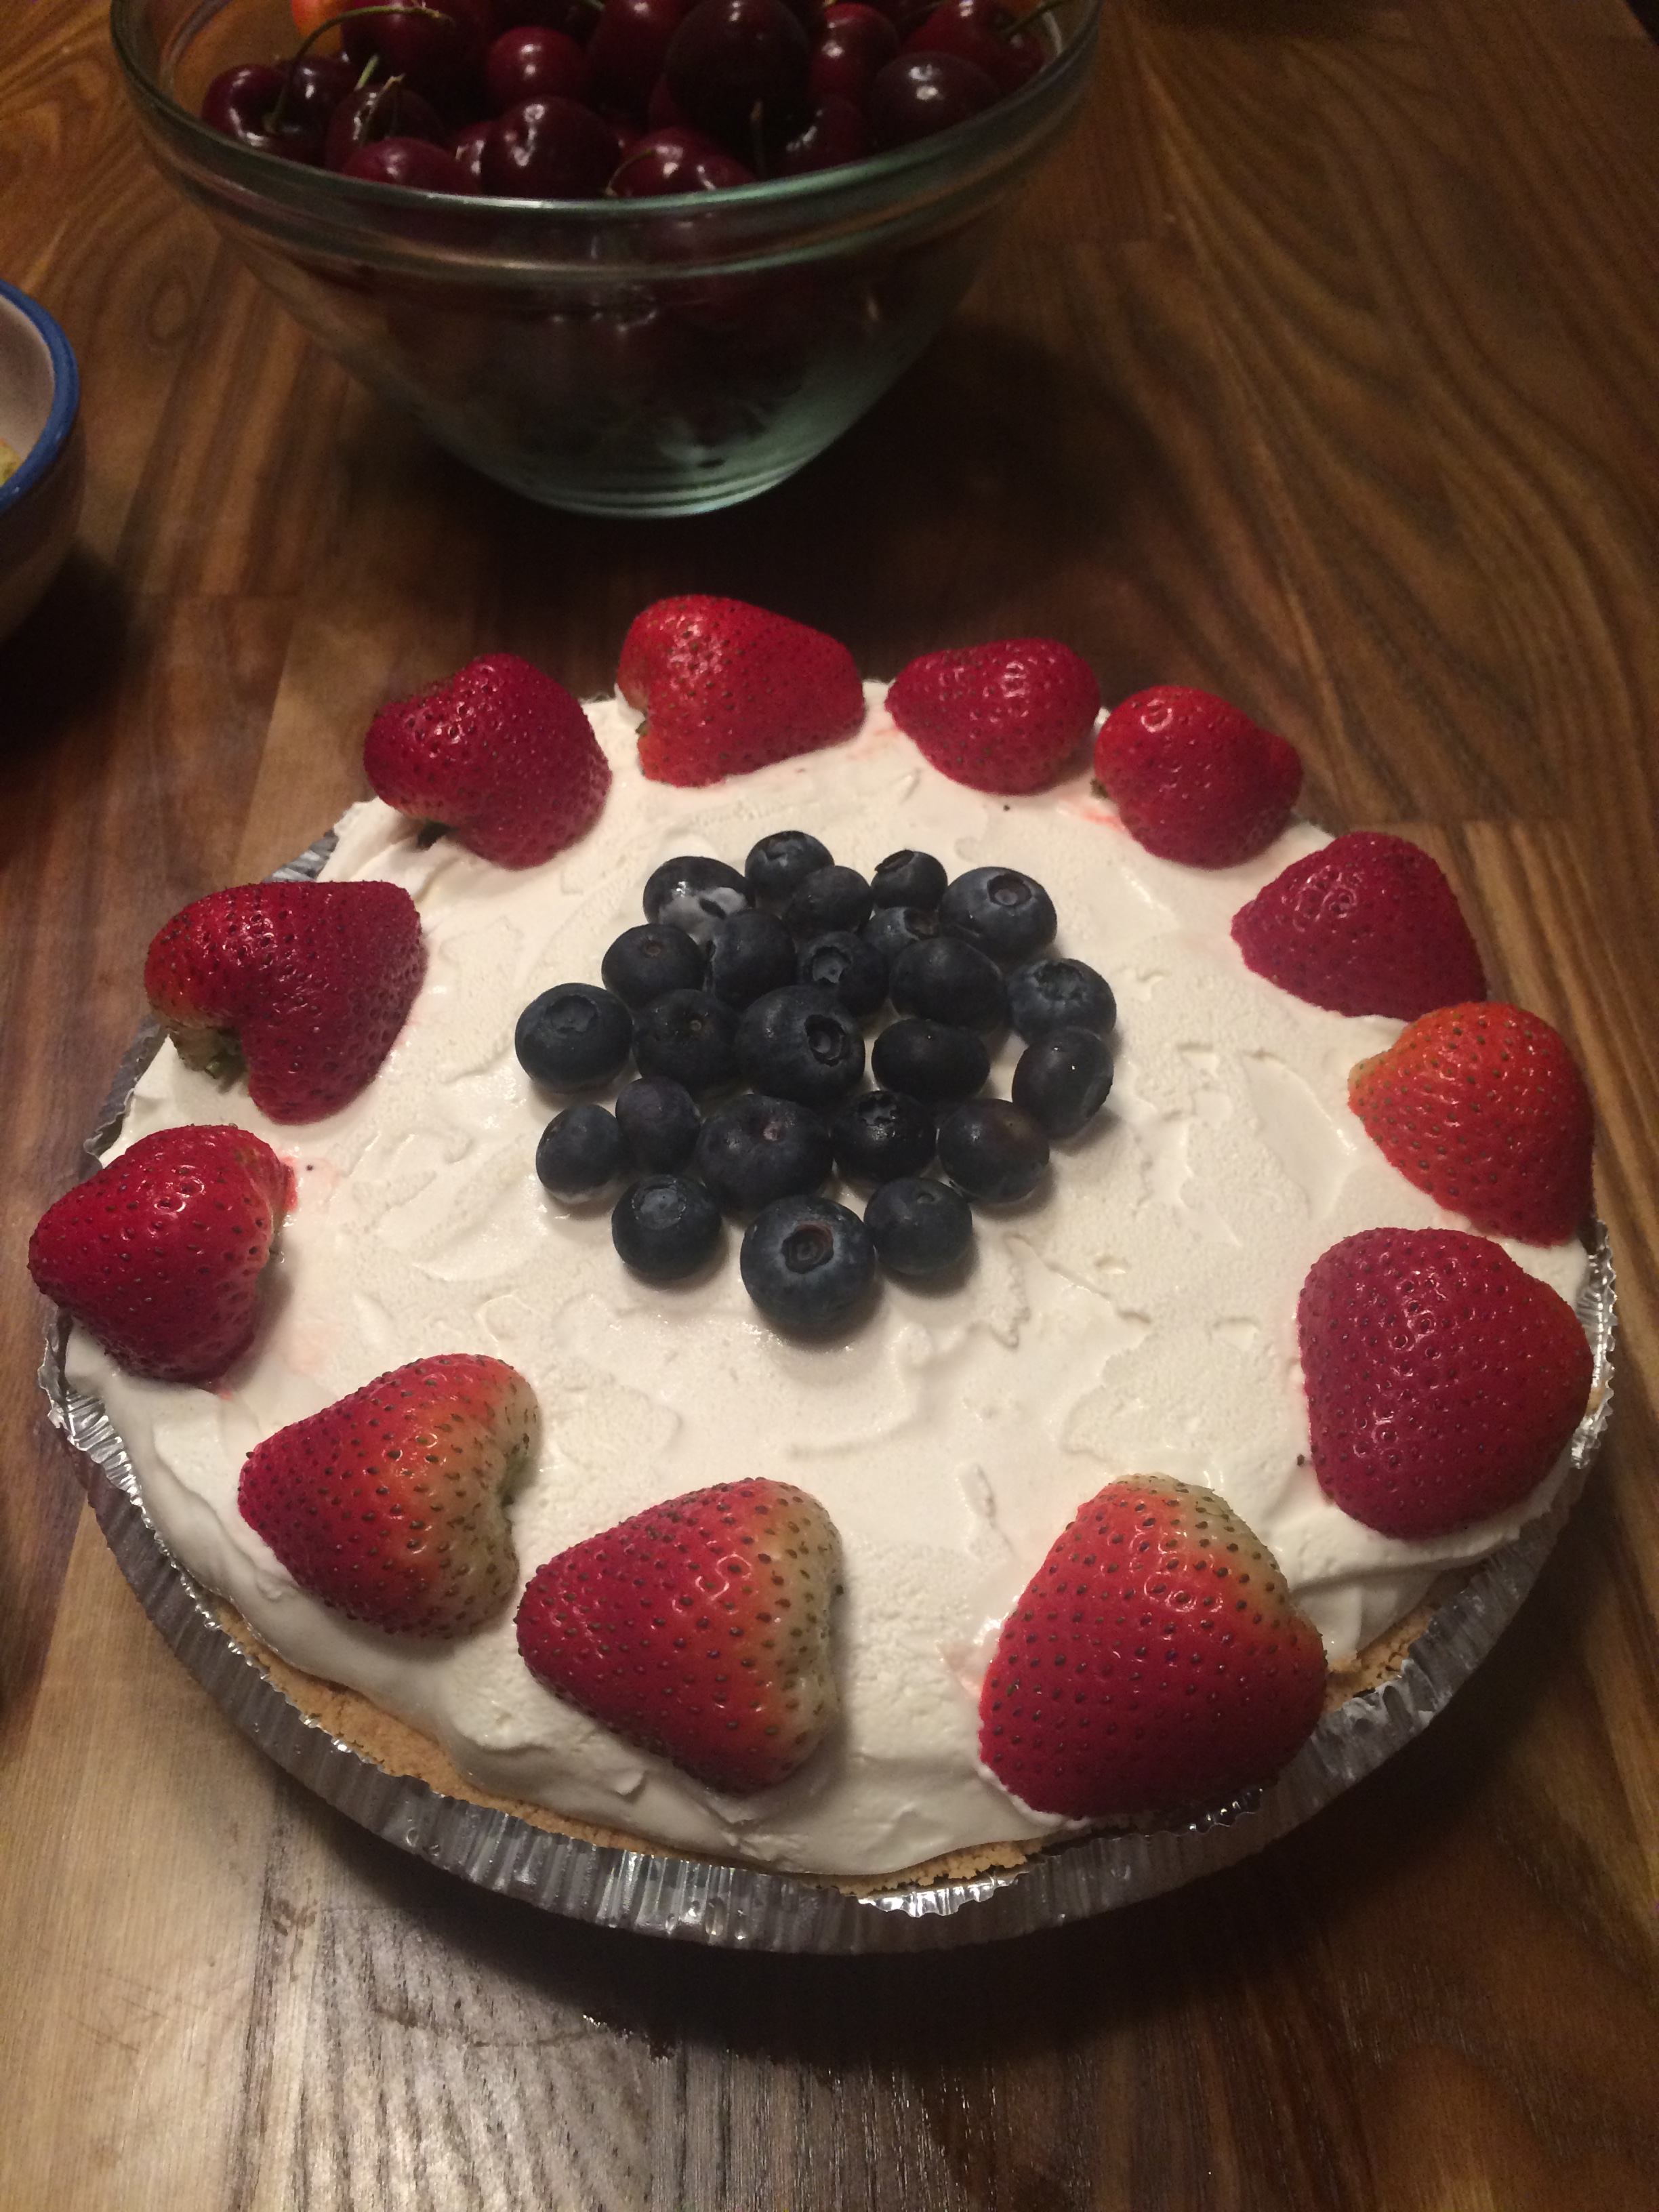
To assemble the dessert, select a large, wide bowl ( preferably glass) with a 4 – 5 quart capacity. Arrange one-third of the wafers to cover the bottom of the bowl, over-lapping if necessary, then one-third of the bananas and one-third of the pudding. Repeat the layering twice more, garnishing with additional wafers or wafer crumbs on the top layer of the pudding . ( Just crush up a few remainder cookies in food processor) Cover tightly with plastic wrap and allow to chill in the refrigerator for *4 hours–or up to 8 hours, but no longer! Serve and behold the love! My camera broke on Thanksgiving and I took these pictures with my Iphone, sorry I don’t have more.
Serves anywhere from 12- 15
It’s a large dessert and a substantial one. It stands alone beautifully!