

 It’s the start of summer (even if it doesn’t feel like it here in NY ) and it brings me to this delicious dessert filled with the most delicious in season blackberries. I have posted numerous blueberry cobblers but this one has to be my personal favorite made with Blackberries. It’s a real deal Old Fashioned Cobbler. You can really make this with any fruit but I love Blackberries while they’re sweet, plump and delicious! Blueberries and Red Raspberries will also work well. Or you can mix up the fruits! I just love blackberries when they’re in season and can’t get enough of them so this time of year I go with just blackberries.
Enjoy!
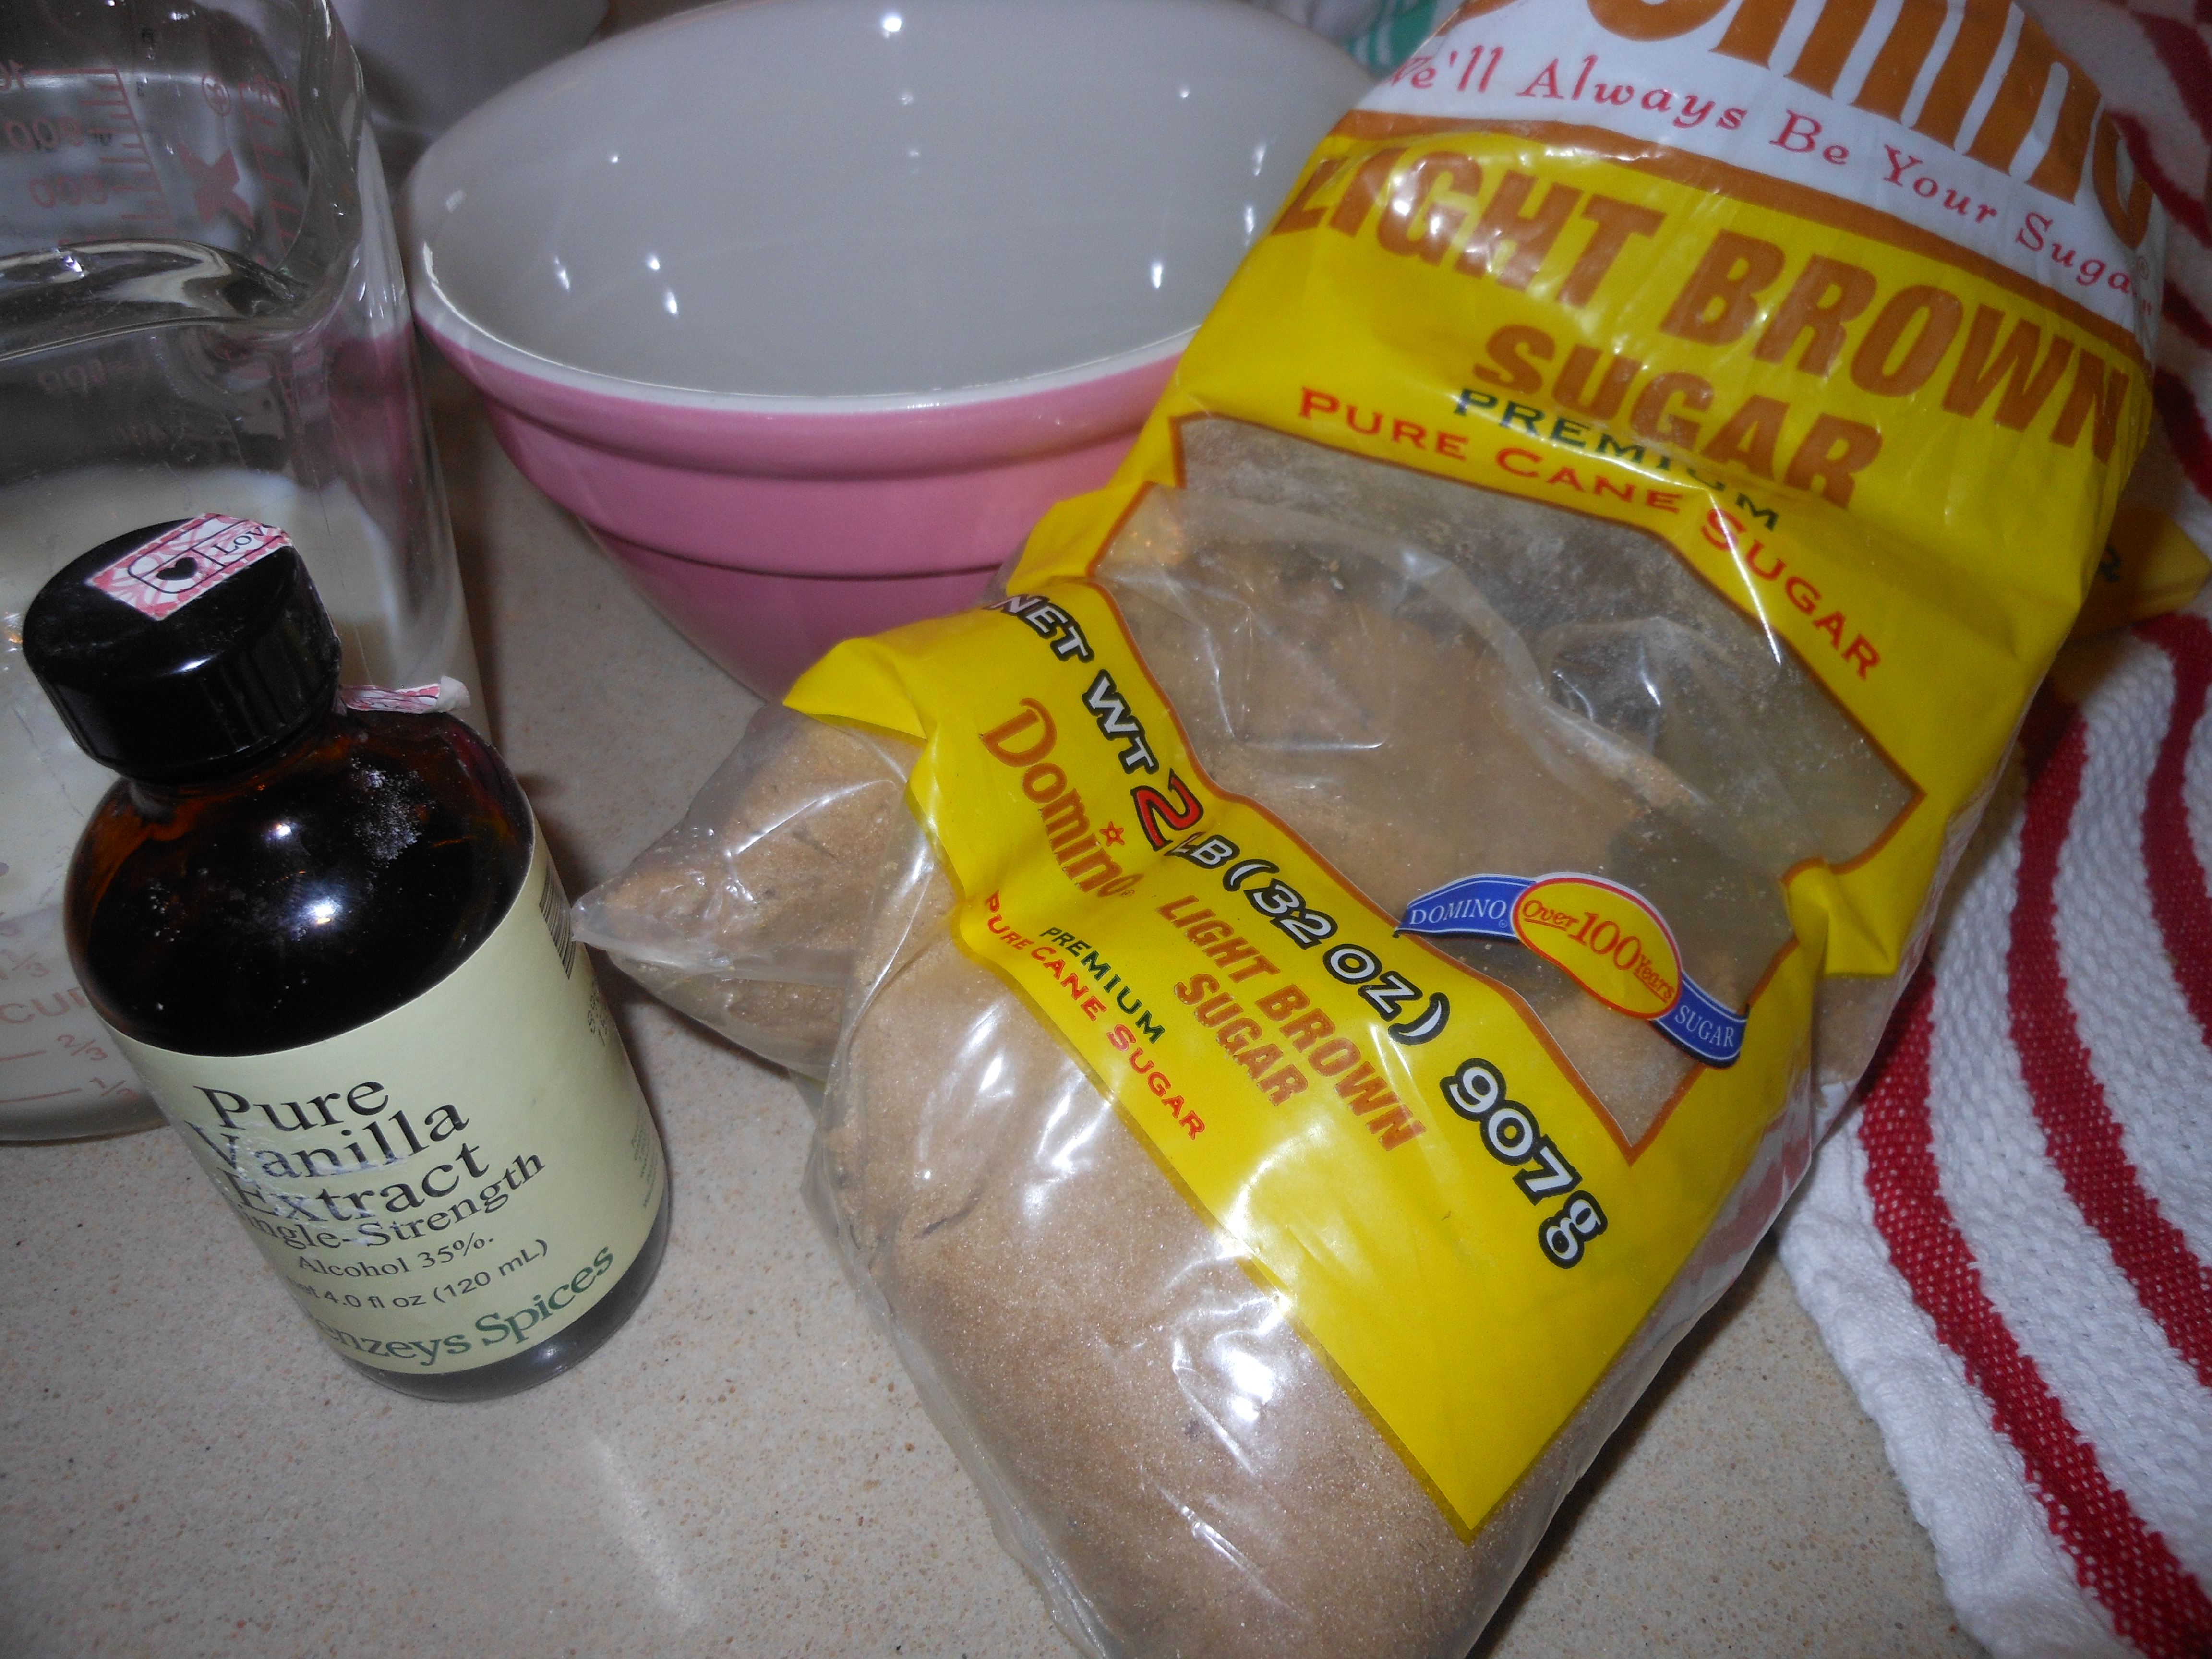
Ingredients:
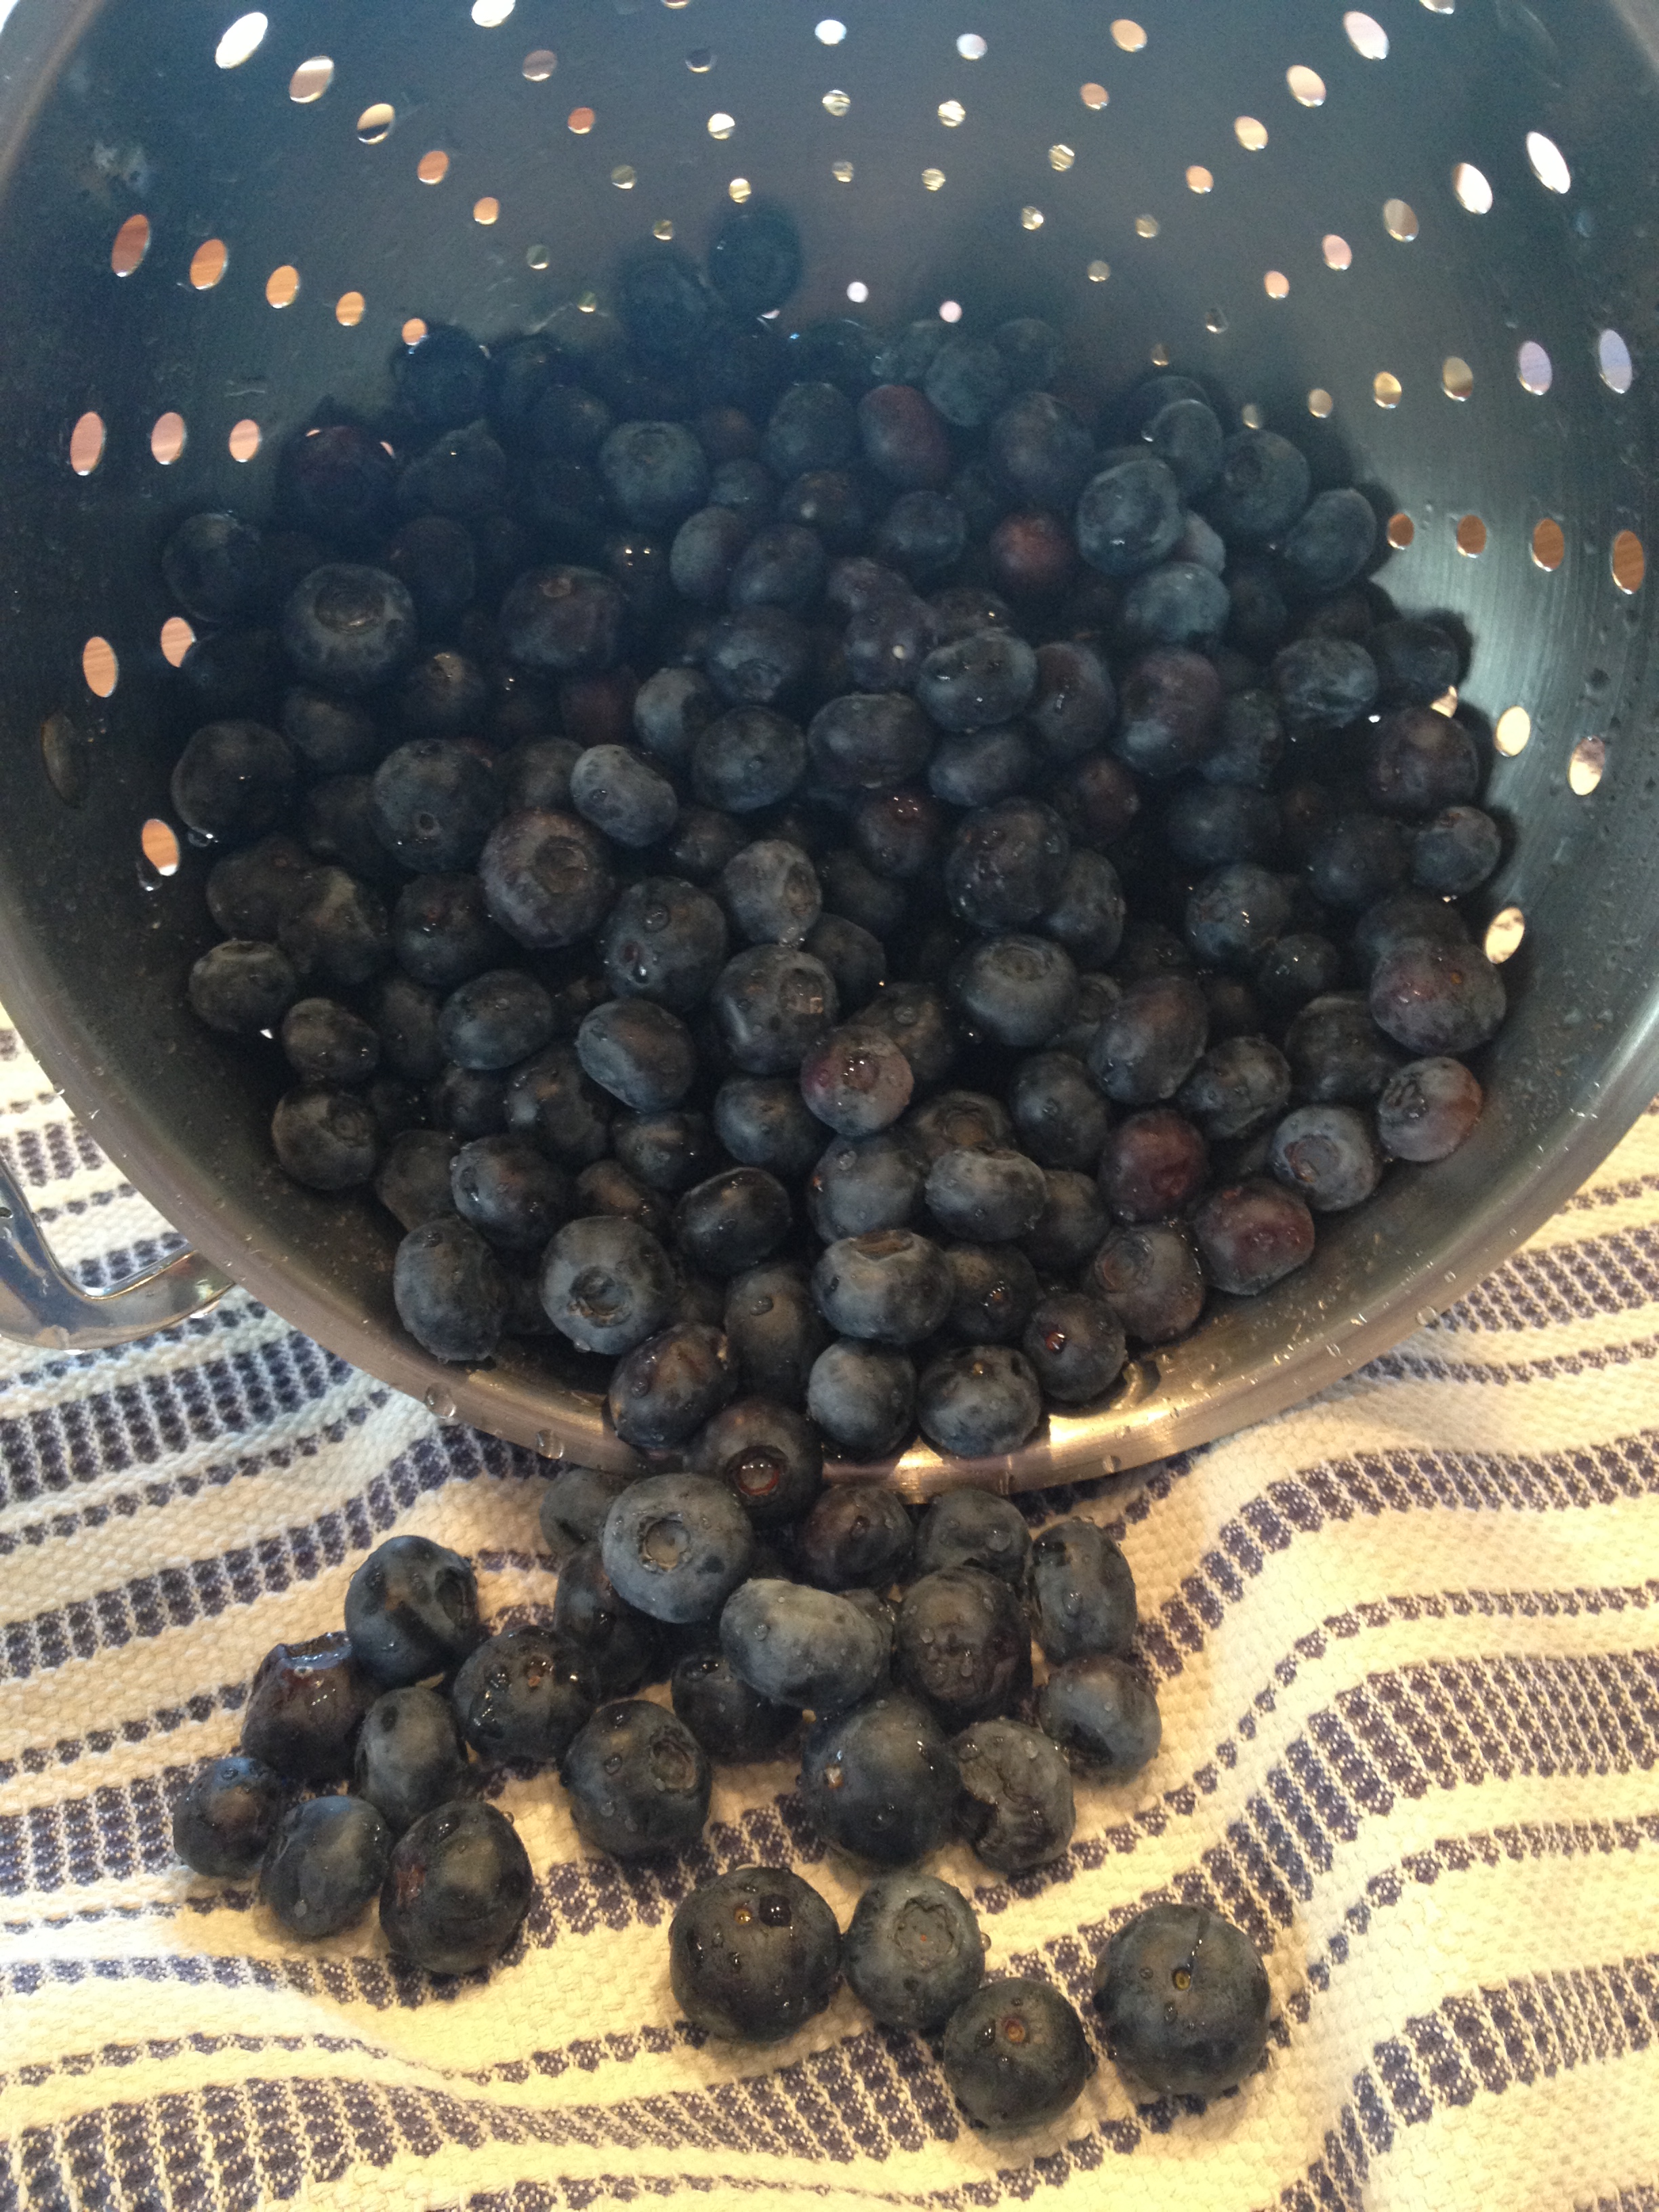
1 pound or about 3 1/2 – 4 cups blackberries , cleaned , rinsed and dried
1 tablespoon arrowroot or cornstarch
2 tablespoons fresh lemon juice
1 cup all-purpose flour
3/4 cup sugar, I use regular granulated sugar for cobbler inside and on top I use turbinado sugar. 1/2 cup granulated sugar for inside cobbler and 1/4 cup turbinado sugar for topping
1 teaspoon baking powder
1/4 teaspoon salt
1/2 cup whole milk or you can use low-fat buttermilk
3 tablespoons unsalted butter, melted
3/4 cup boiling water
Directions:
Preheat the oven to 350 degrees.
In a bowl I place the clean blackberries that I’ve washed and dried. I sprinkle them with the arrowroot and lemon juice and mix gently Set aside.
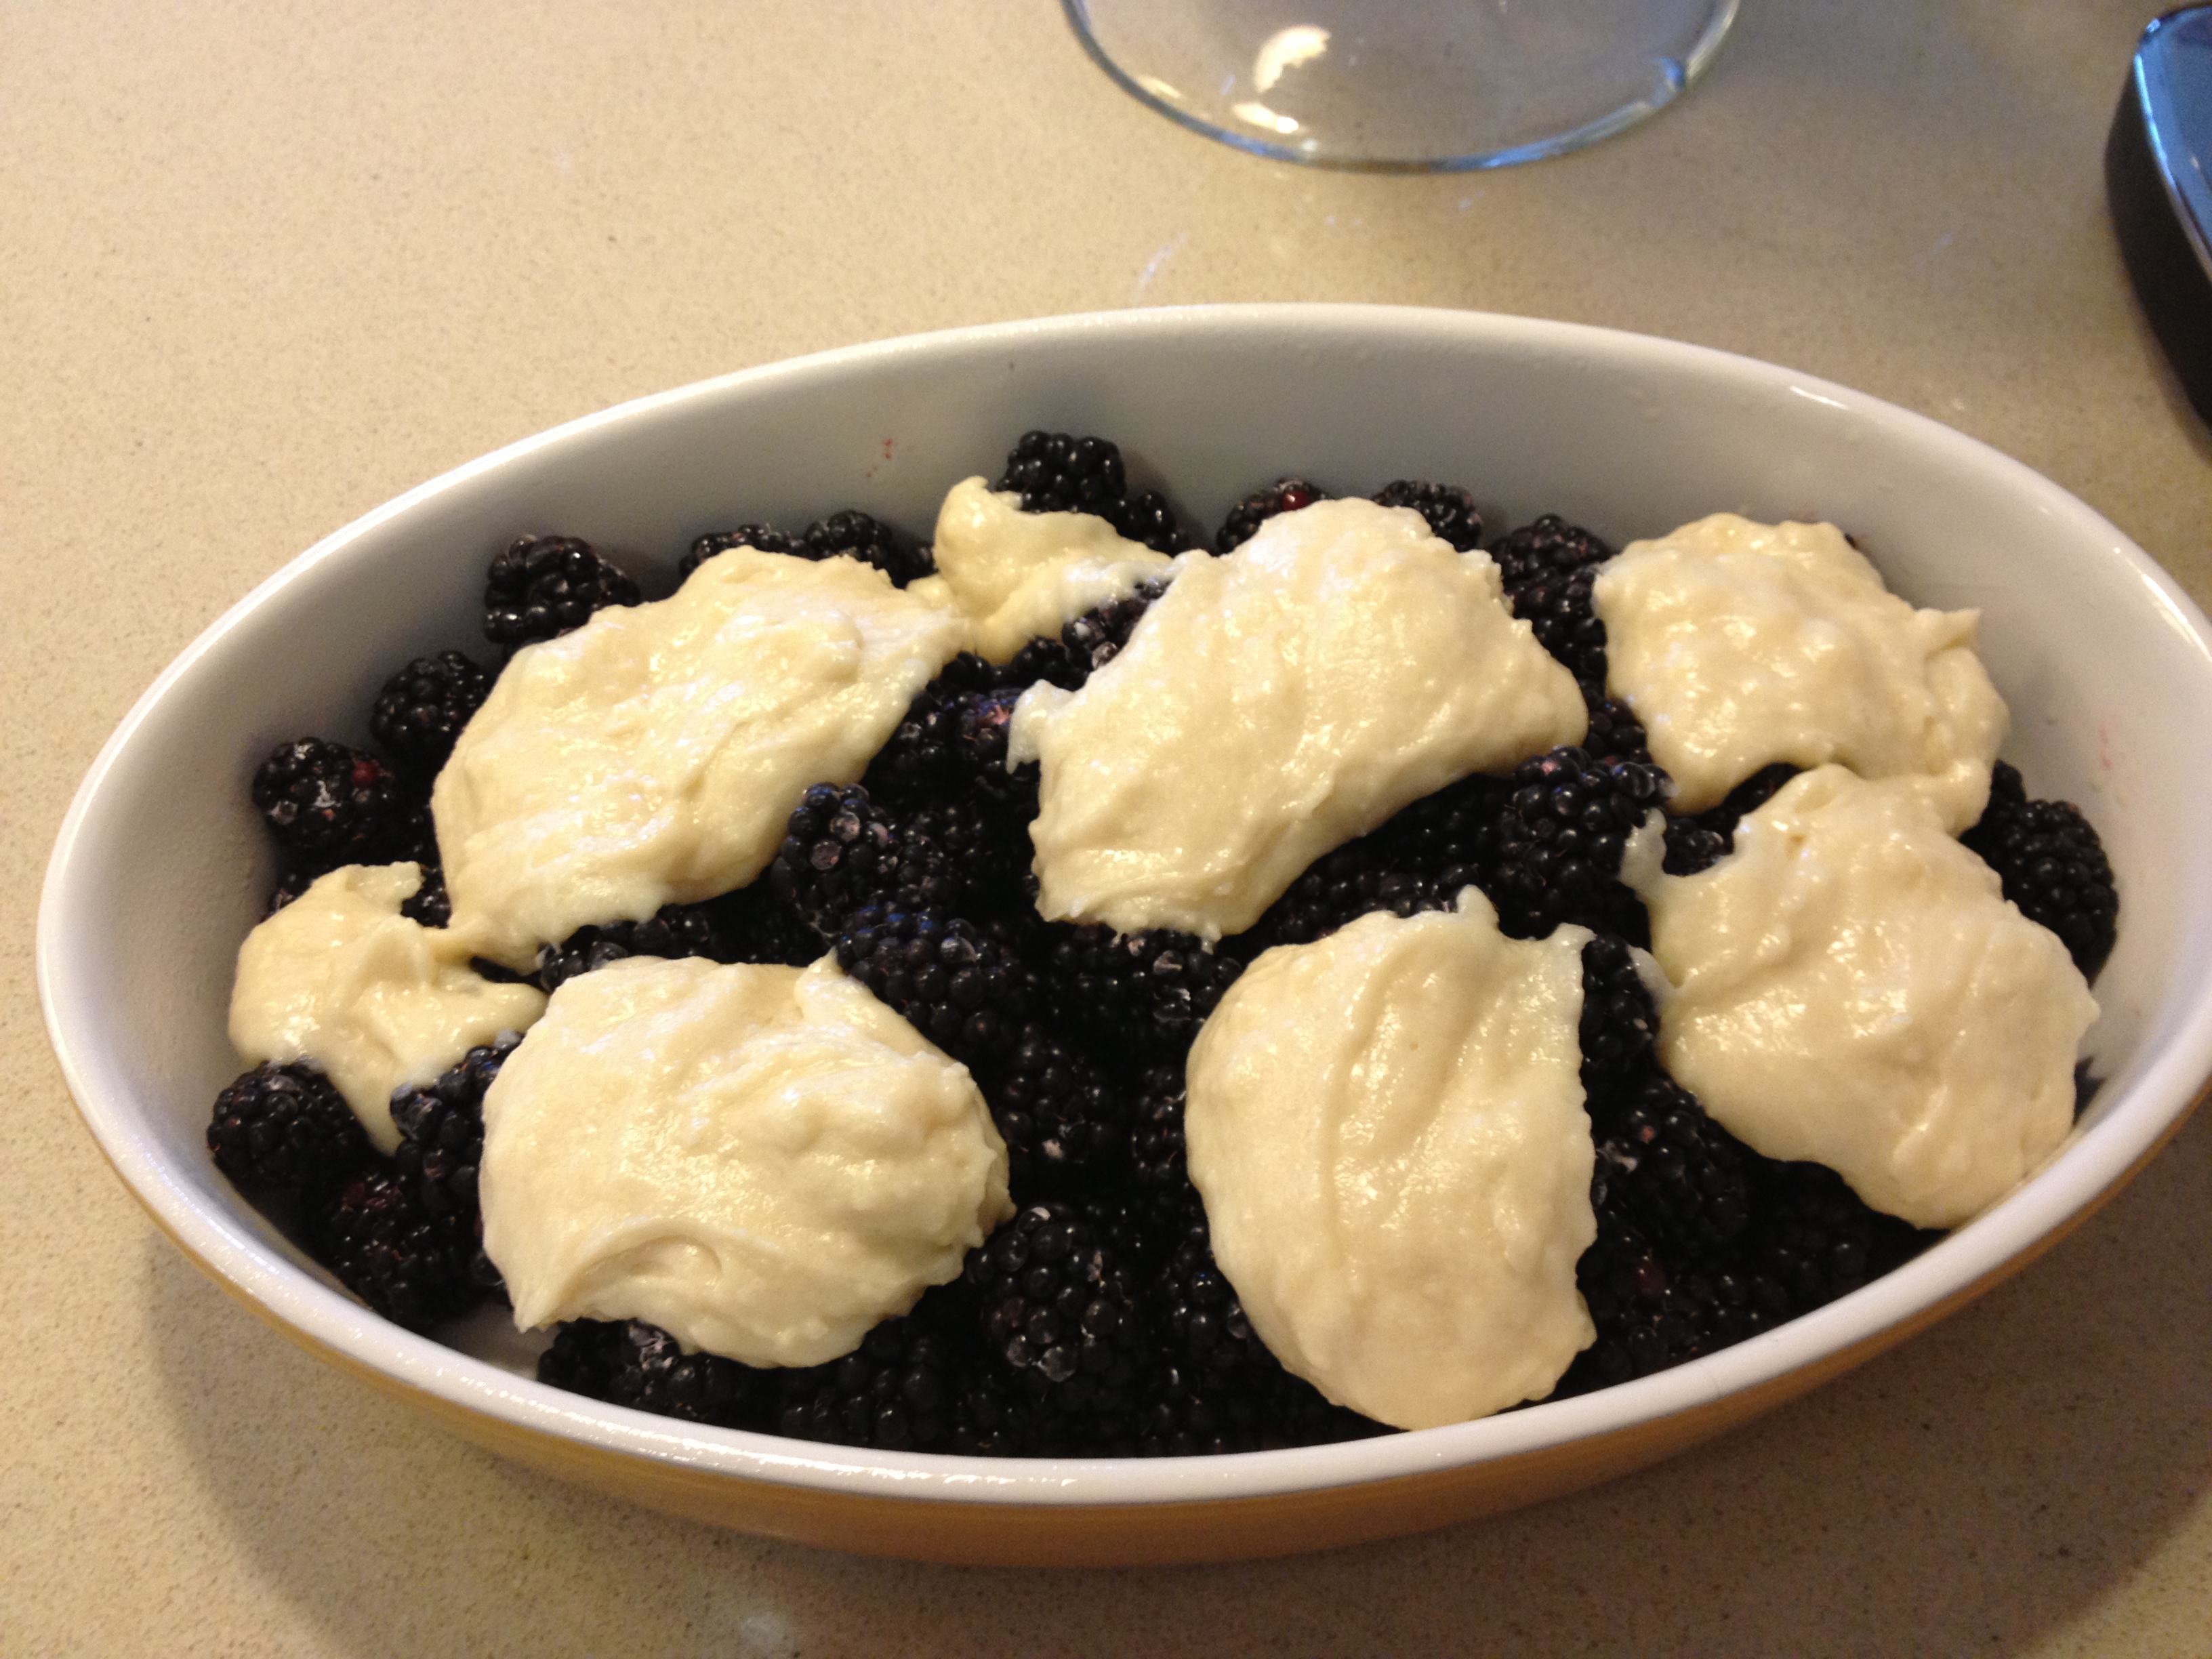
In a medium size bowl, I sift the flour, 1/2 cup sugar, baking powder and salt. Add the milk and butter. Stir until just combined, don’t over stir, it shouldn’t be smooth. Then by the mound-ful drop dough onto blackberries. I spread around a little bit but don’t completely cover the top of berries. ( see photo) the dough will spread a little once it’s baked.
Pour boiling water over the dough and fruit before you bake it. Sprinkle top with 1/4 turbinado sugar or regular sugar. Raw sugar or turbinado sugar makes it a little crunchier topping. I prefer it to regular sugar for a topping.
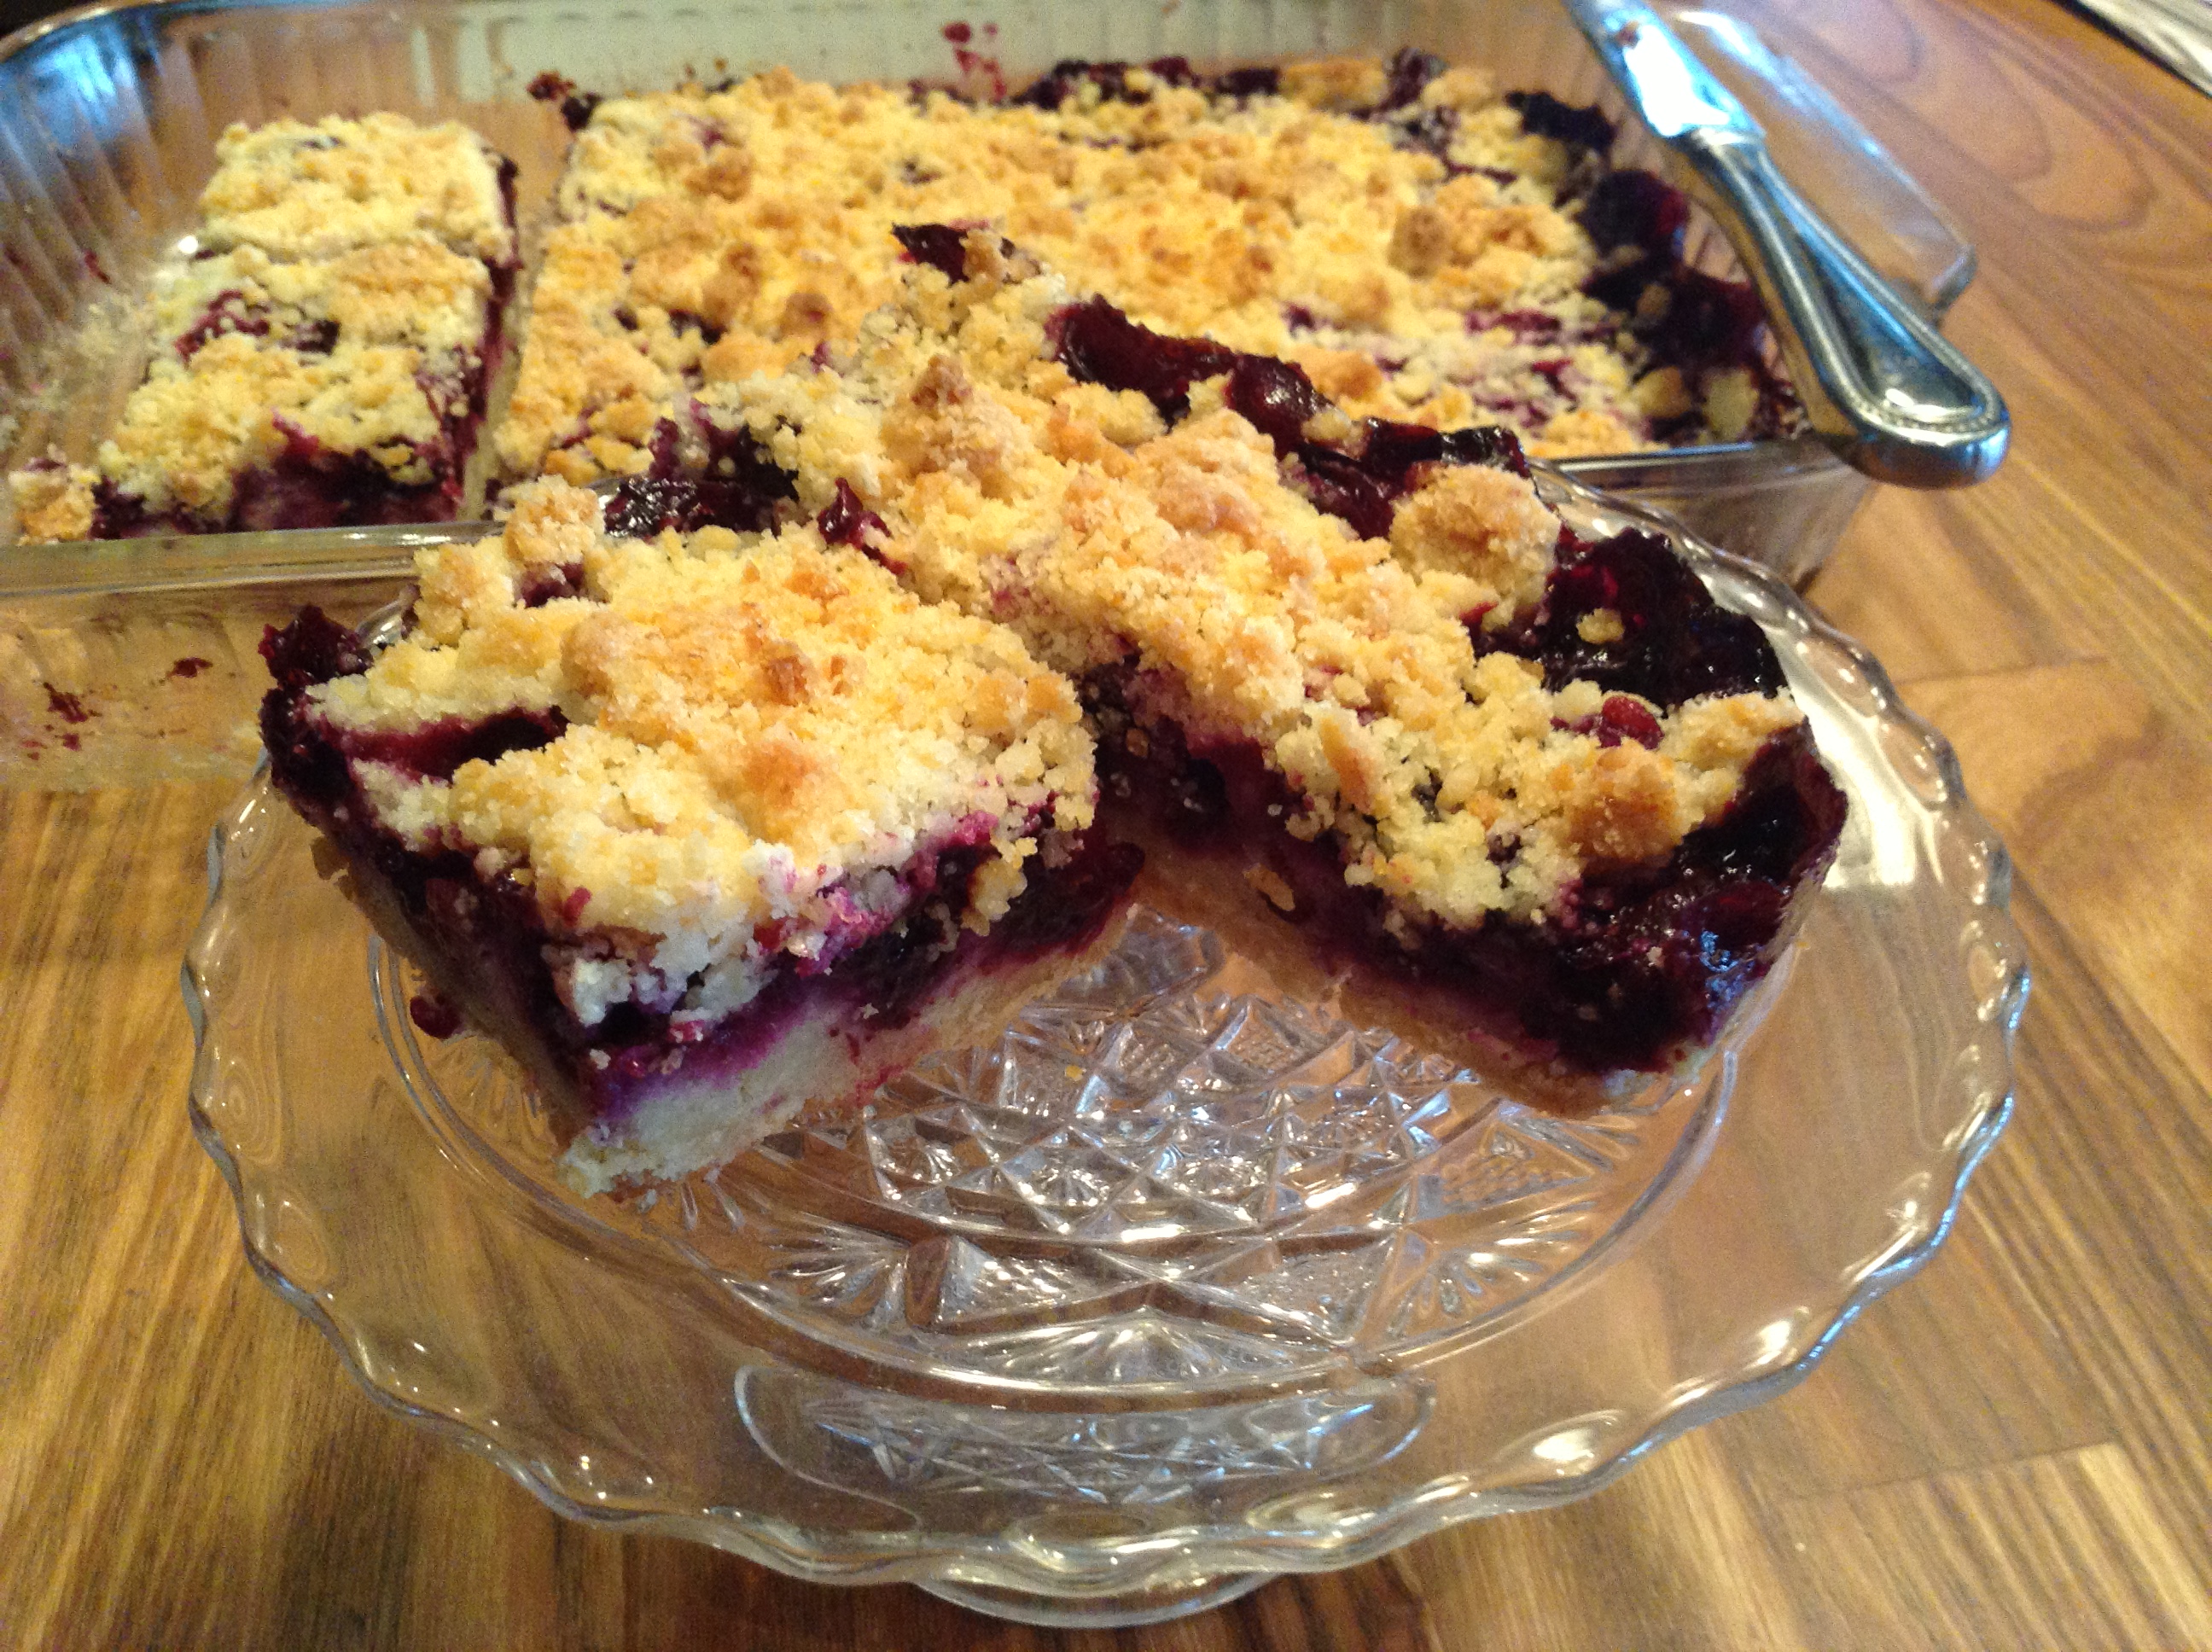
*if you are preparing in advance which is what I did today. Prepare up till the boiling water and sugar part. Refrigerate for up to 2 days , bring to room temperature then pour boiling water and top with sugar and bake. I baked for app. 45 minutes till dough gets browned and crackly looking and blackberries are bubbling. ( see photos)
Remove from oven and let sit but serve while it’s still warm with ice-cream for extra added deliciousness!
Happy Summer from my kitchen to yours.


")


 I posted


