

Pumpkin Roux
 My daughter, Kerri, has been a vegetarian (not vegan) since she was young. It is always a challenge, especially on holidays, to make delicious and savory food for her to choose from that she will like. While she loves all the sides, I wanted to give her something that would always be on our table and be a tradition for her. She’s not a huge mushroom eater which is why I use cremini. They are somehow less “mushroomy” for her, and she hates anything like “fake meat.” This lasagna is sort of my own concoction. There are a lot of recipes out there, but I find this one works for me. I also need to explain a basic Bechamel (white) sauce or Roux which is at the heart of this recipe. It consists of butter, flour, salt, pepper, and milk. Sometimes it takes nutmeg; and in this recipe I add pumpkin, but the 5 basic ingredients are always present in various amounts, depending on the recipe. This lasagna is always on our Thanksgiving table. And even the meat eaters enjoy it! All that being said, this is not an “easy peasy” recipe. It has a lot of moving parts, but it’s so worth the effort, as all lasagnas are. Everyone who’s ever made a lasagna and starts with their own sauce, knows how much work goes into it, but it’s so worth it–especially for your family and friends.
* I usually make this early in the week and then cook and refrigerate it. It tastes better like that anyway. Then, I heat it up before serving, which usually takes another 45 minutes on top of what the recipe calls for. I always remove from refrigerator and bring it to room temperature before heating it up. It can also certainly be frozen, as any lasagna can be. I’m a big fan of freezing the leftovers.
Happy Thanksgiving from my kitchen to yours
as a side dish will probably serve 8-12 conservatively
Ingredients:
2 boxes of no-boil lasagna noodles (You need about 18 sheets of noodles and I don’t like them all broken so I like to start out with as many as possible. It’s okay if they are broken though. No harm.)
1 1/2 lbs. cremini mushrooms, chopped roughly
1 cup grated parmesan cheese
2 tablespoons olive oil
2 tablespoons unsalted butter (If you don’t want to use this, you don’t have to. It’s for sauteing the mushrooms, which you can also do using olive oil.)
Bechamel Sauce (Roux):
8 tablespoons (1 stick ) unsalted butter
1/2 cup all-purpose flour
Salt and pepper, to taste
1 teaspoon nutmeg (you can use whole or grated)
4 cups whole milk
1 1/2 – 2 cans pumpkin (not pumpkin pie filling)–I like the organic one and I usually end up putting both cans in because what am I going to do with half a can anyway?
*1 tablespoon minced fresh sage ( optional)
1 tablespoon kosher salt
1 teaspoon freshly ground black pepper
Directions:
Preheat oven to 375 degrees.
For the white sauce (Bechamel/Roux,) bring the milk to a simmer in a saucepan (not a full on boil.) Then, set aside the hot milk. Melt the stick of butter in a large saucepan. Add the flour and cook for about one minute, stirring constantly with a wooden spoon. Pour the hot milk into the butter-flour mixture all at once. Add 1 tablespoon kosher salt, 1 teaspoon freshly ground black pepper, and 1 teaspoon ground nutmeg, and sage if you’re adding it, and continue cooking over medium-low heat, stirring all the while. I start with a wooden spoon and as it thickens (about 5 minutes,) I switch to a whisk, until it is thick. Then I add the pumpkin and continue stirring but at this point, turn off the flame and remove from heat. Set aside off the heat.
Roughly chop up mushrooms. Heat 2 tablespoons olive oil and 2 tablespoons of butter in a large saute pan. When the butter melts, add half the mushrooms, sprinkle with a little kosher salt, and cook over medium heat for about 5 to 8 minutes, until the mushrooms are tender and release their juices. If they become too dry, add a little more oil. (Toss occasionally to make sure the mushrooms cook evenly and remember that cremini cook pretty quickly.) Repeat with the remaining mushrooms, then set all the mushrooms aside in a bowl.
Lasagna Assembly:
To assemble the lasagna, spray a nice, deep 8 x 12 baking dish, then spread some of the bechamel/pumpkin sauce in the bottom of baking dish. Arrange a layer of noodles on top of this. (No-boil noodles are not soft so it might feel strange to lay them down but just put them down, usually 3 to a layer. No need to overlap because they grow as you cook.) Then add 1/3 of the mushrooms, and 1/4 cup grated parmesan cheese. Then, begin to alternate. Start with another layer of noodles with Bechamel /Pumpkin Sauce on top; then noodles with mushroom and parmesan cheese; noodles with pumpkin/bechamel sauce; noodles with mushroom and parmesan cheese. Top with a final layer of noodles and sauce, and sprinkle with the remaining Parmesan Cheese. Bake the lasagna for 45 minutes, or until the top is browned and the sauce is bubbly and hot. Allow to sit at room temperature for at least 15 minutes .
This recipe includes about 6 layers of noodles total, which is about 18 lasagna noodles.


 I had purchased the most beautiful yellow tomatoes and figured I would make gazpacho. Gazpacho is by far one of my most favorite summer time soups. This one is fairly smooth. Before serving I added avocado and served with tortilla chips for a wonderful most satisfying meal. This is also super easy and you’ll look like a pro if you just follow these easy directions. You’ll need a decent blender and a few easy to obtain ingredients and you have a wonderful additional to any meal or a nice light lunch. This time I used beautiful yellow tomatoes, you can use any color you’d like and you can use any kind of tomato from the small grape or cherry tomatoes to the larger ones. The yellow tomatoes with the flecks of jalapeno made a strikingly beautiful soup.
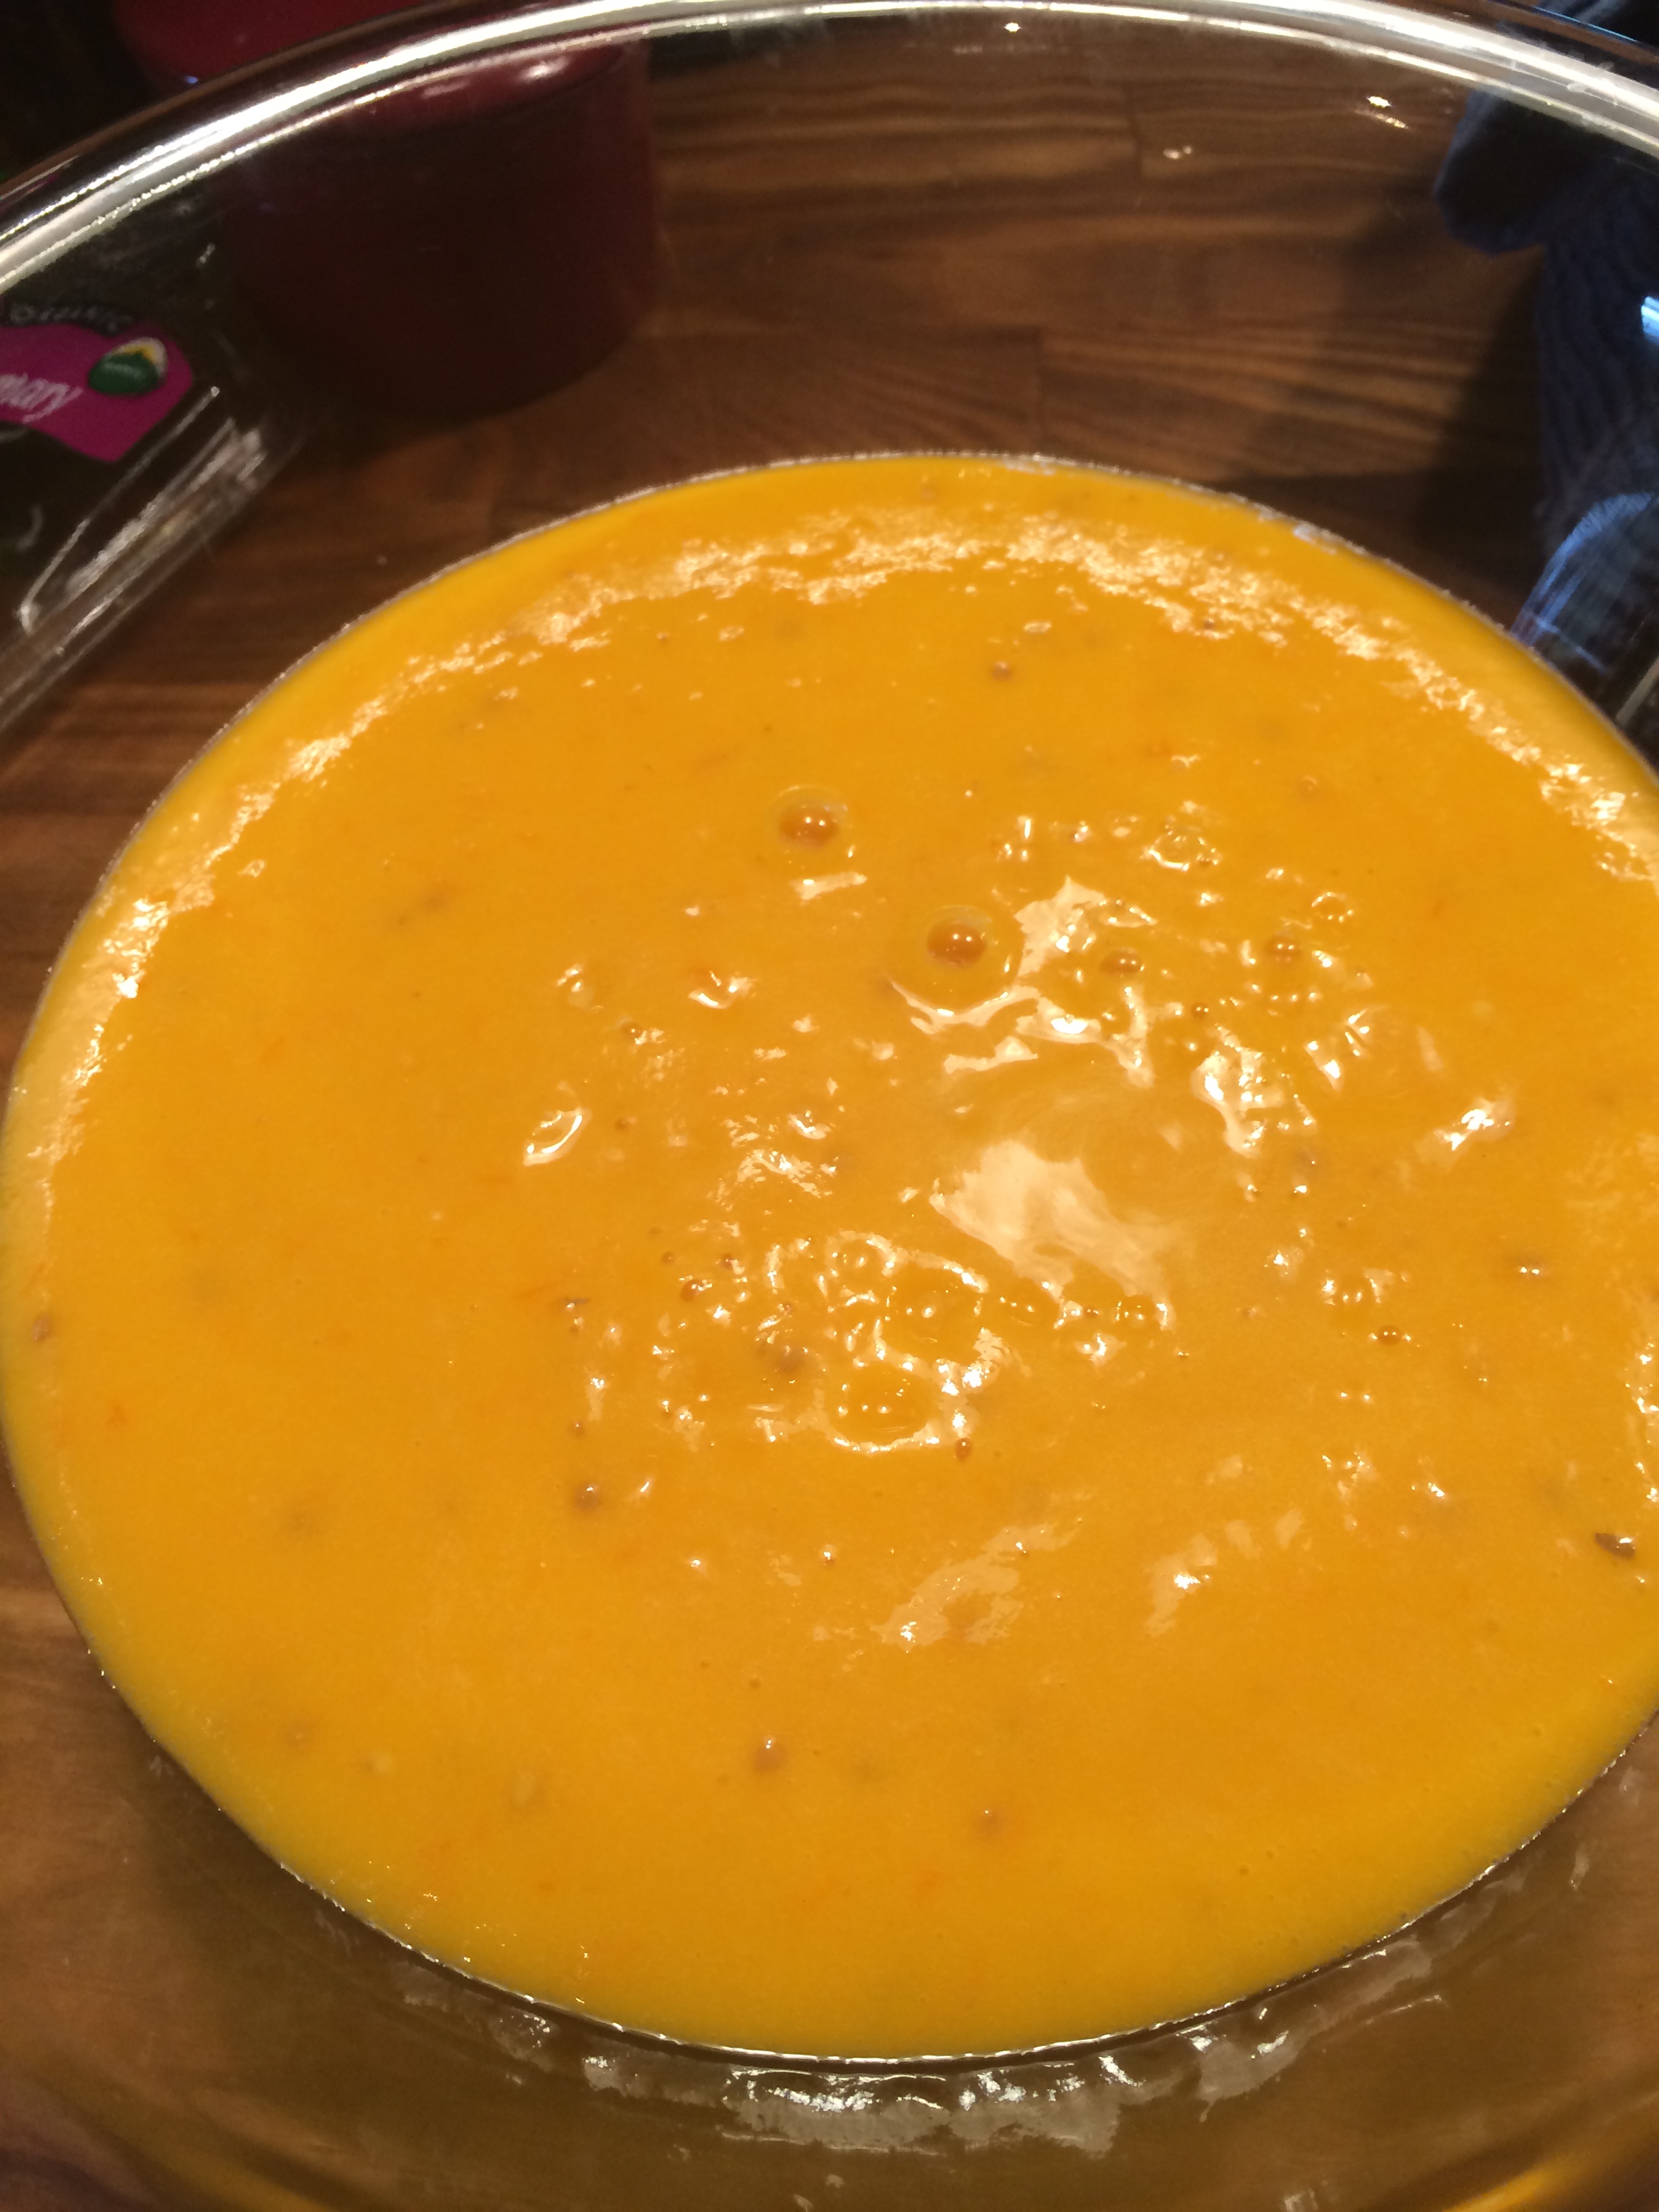
 I have another recipe titled “Farm to Table Gazpacho” it’s more of a traditional gazpacho! I am going to re-post it as well.


