Category Archives: vegetarian

Karyn’s Cranberry Crisp- Thanksgiving

Fully Cooked Cranberry Crisp

This recipe has been around pretty much my whole married life. If there is a turkey on the table, there is cranberry crisp next to it.  It originated from my bestie Karyn. We make it for Passover with matzoh farfel since we love it so much.  It’s so sweet and delicious that it could really be a dessert. We love it with our meal; love the sweet and savory thing. You can’t eat too much of it, it is so rich. It is also very dangerous to have in the fridge the next day, so try to give any leftovers to everyone who wants to take home leftovers. This tastes good either hot out of the oven or at room temperature and pretty darn good straight out of the fridge the next day! Some people may even want to make it as dessert and serve with vanilla ice cream, but the Kolen family likes it on the table with dinner.  We always serve it as a side dish and it is awesome however you serve it. Thanks again, Karyn. Truly one of the best recipes ever!

I suggest reading through the entire recipe before making it as you should always do with every recipe anyway!

Happy Thanksgiving from my kitchen to yours.

Ingredients:

4 medium apples ( I use all different kinds)

1 can (1 lb.) whole cranberry sauce

1 tsp. cinnamon

1 cup uncooked quick rolled oats

1/2 cup flour

1 cup dark brown sugar, firmly packed

1/2 cup unsalted butter–melted

*for a larger crowd you can easily double this recipe — as is should serve 8 -12– make in a larger baking dish or split into two baking dishes

Directions:

Preheat oven to 350 degrees and spray 9×13 baking dish with Pam.

Peel apples, slice them, then arrange in baking dish. Sprinkle with cinnamon. Spoon cranberry sauce over the apples.

Separately, stir rolled oats, flour, and brown sugar together. Melt Butter and let it just cool for a few minutes then mix in with oats and brown sugar till nice and crumbly.  Sprinkle this over cranberry layer. Bake at 350 degrees until apples are cooked and top is lightly browned. The entire mixture will be bubbling and your house will smell divine. You will bake about 40 minutes to an hour. You can make ahead of time, and then on the day you need it, just heat it up until it bubbles.  I usually make this a few days ahead, because it’s that much less that I’ll have to do the day of. This can definitely be made ahead of time  so you can  make it way ahead and freeze it.  If you freeze it, take it out of freezer a day before you need it, and then heat it up the day of. (Make sure it’s completely defrosted and at room temperature before heating up)

When you re-heat , pre-heat oven to 350 degrees and cover with foil for first 1/2 hour and then remove foil for last 1/2 hour till it starts to bubble.

Enjoy!

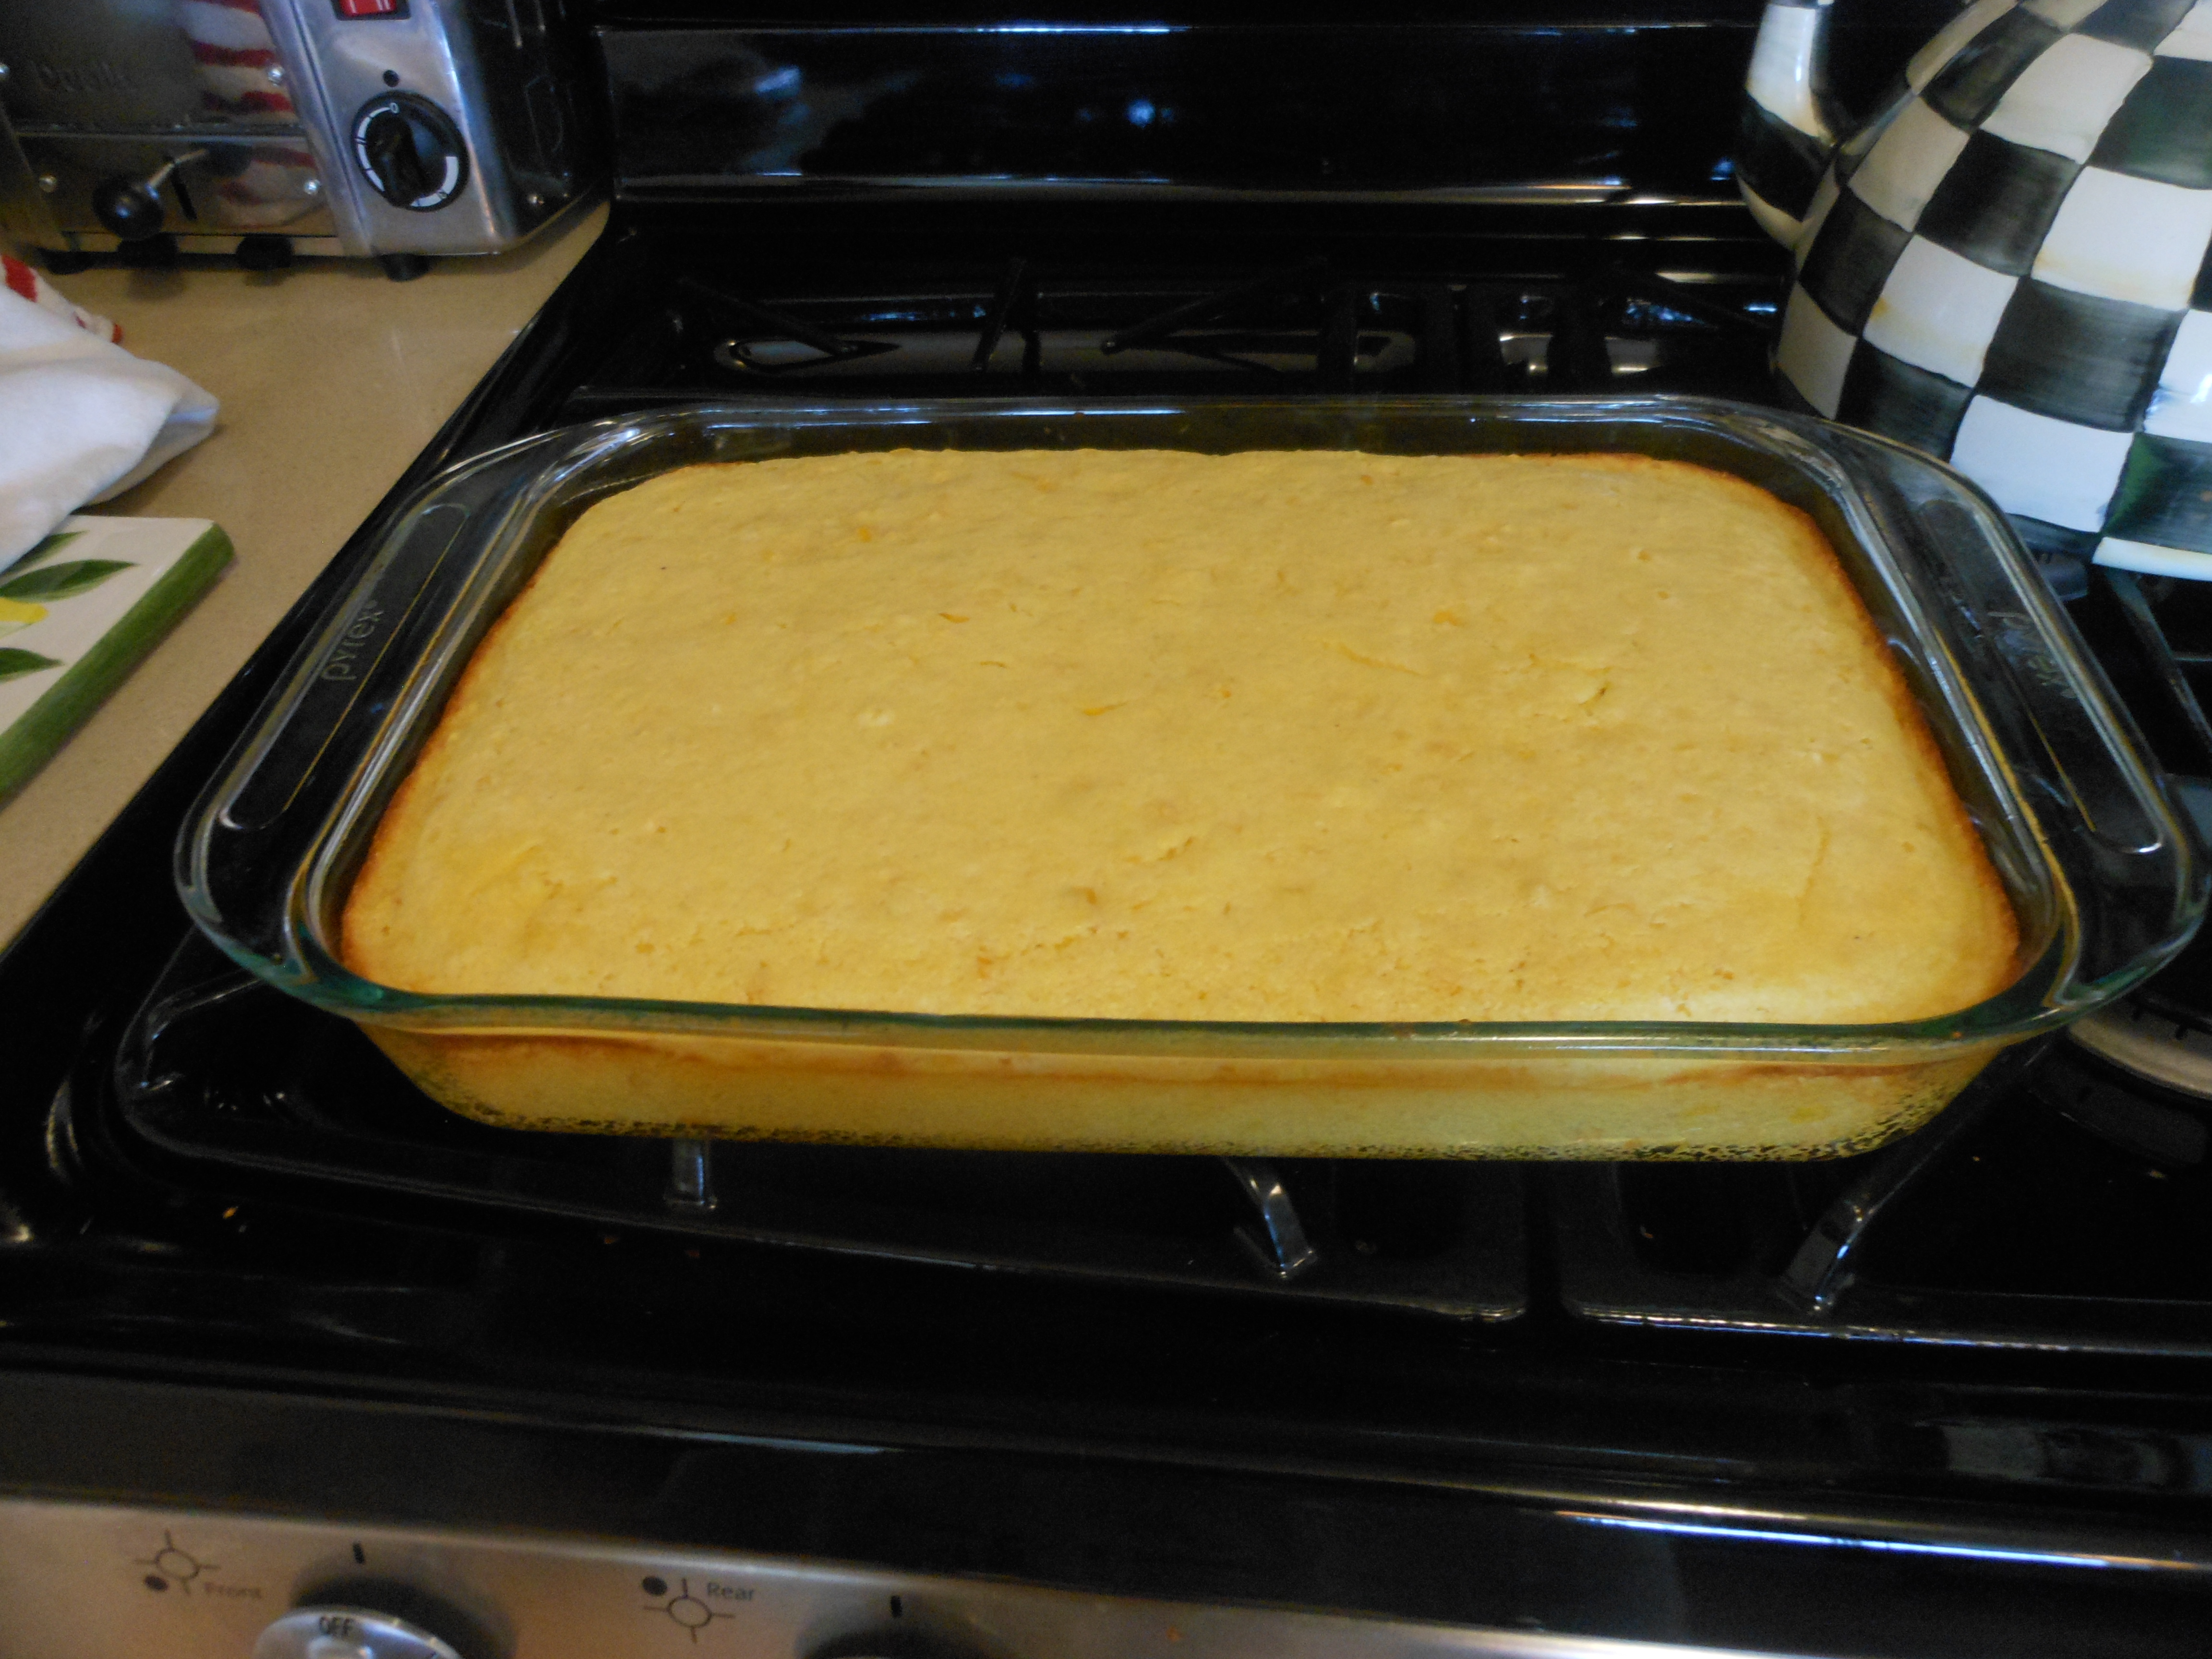
Thanksgiving Corn Bread Pudding

This has to be one of my all time favorite side dishes for Thanksgiving. It really would be great any time of year but for some reason it only gets made for Thanksgiving. It’s super easy and super delicious. My friend Audrey gave this recipe to me many years ago, and it has become a staple on our thanksgiving table ever since. It just wouldn’t be Thanksgiving without it. It is a favorite in our family. Can be doubled easily, just make sure your baking dish is large enough.

Enjoy!

This one is very special and a real winner! and super easy!

Ingredients:

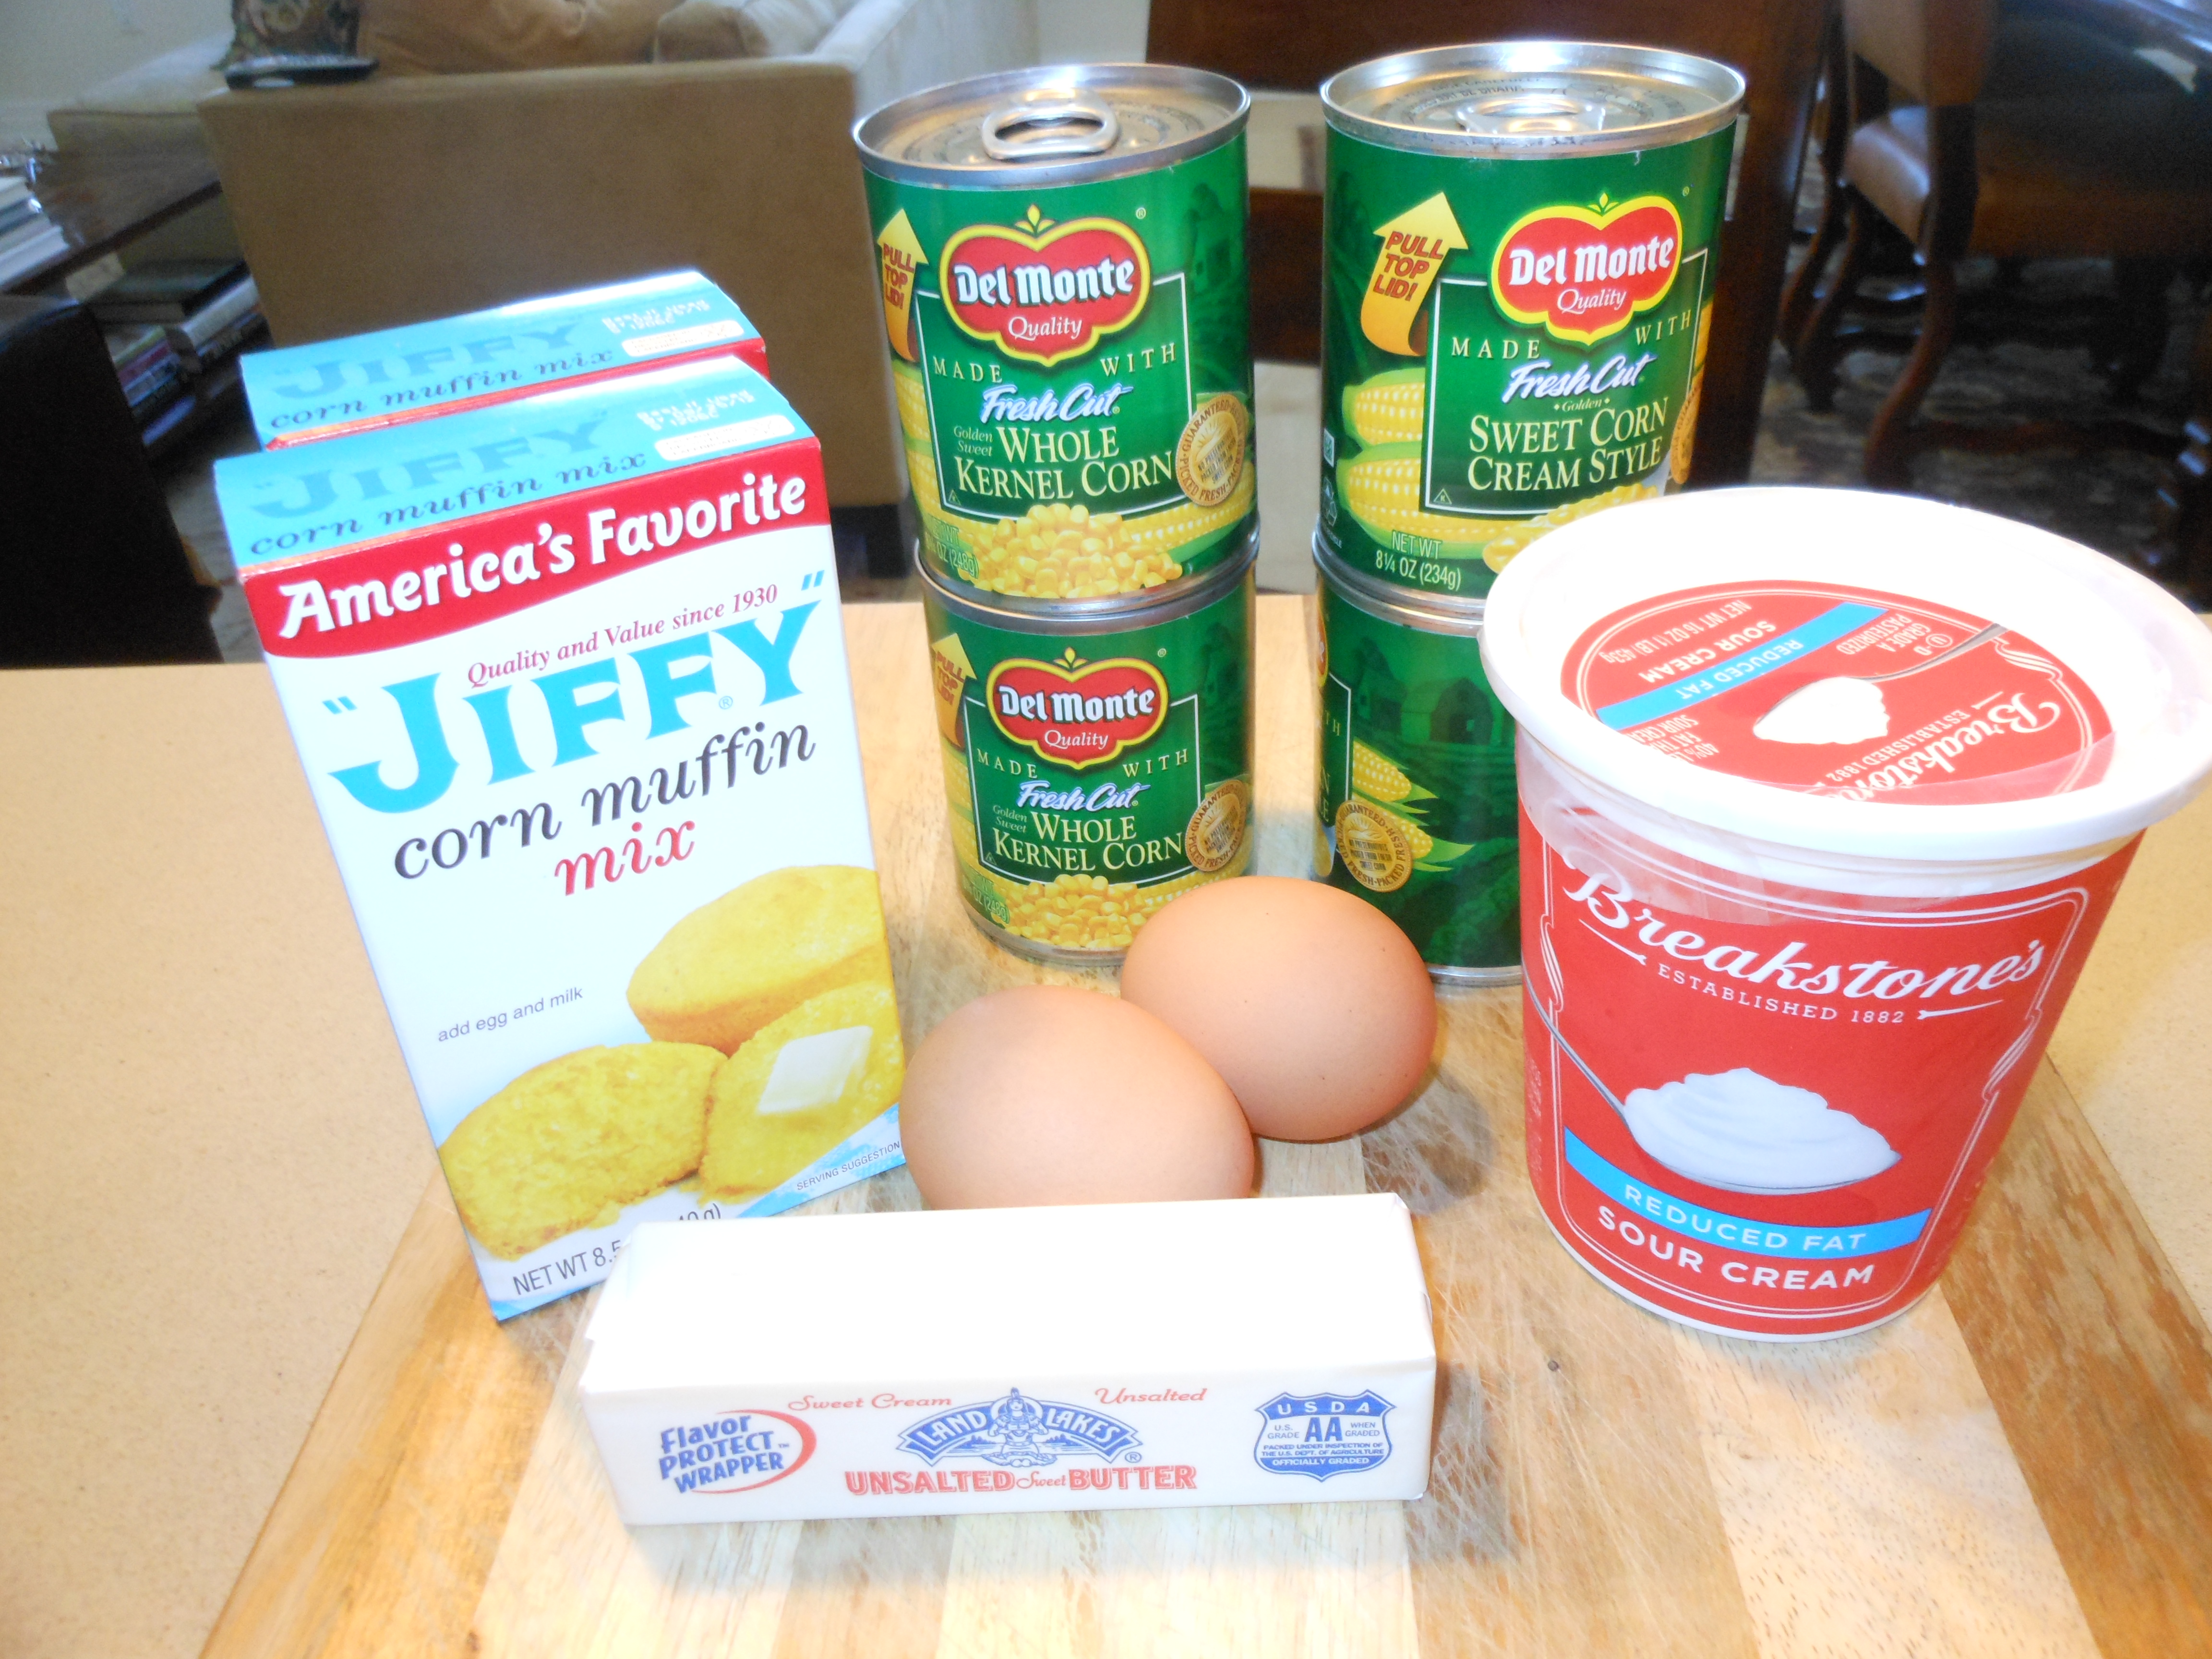
1/2 cup butter (unsalted) 1 stick

1 8 oz. sour cream (lite is OK  but not fat-free)

1 8 oz.  can sweet corn (drained)

1 8 oz. can creamed corn (not drained)

1 8 oz. pkg. corn muffin mix

2 eggs, lightly beaten

Directions:

Preheat oven to 350 degrees.

Melt butter, mix in beaten eggs, then add the rest of the ingredients.

Pour into glass baking dish (Pyrex is good and I spray it first with a good cooking spray like Pam or Bakers Aid ) 9 x 12 works fine, it’s not a very deep pudding.

Bake at 350 degrees for 35 minutes.

Creamy Butternut Squash Soup (no cream)

This is by far one of my most favorite recipes ever! Super Easy and Super Delicious ! If you’ve been following me since the early days you’ve probably made this recipe by now. It’s perfection in a bowl . I’ve simplified the recipe along the way so that now it is just the way Joel and I like it. it’s pretty easy as long as you buy the squash pre – cut (available in every supermarket, and corner produce store). I just made my first batch of the season, and the squash is sweet and delicious. It tastes so creamy you’ll swear there’s cream in it, but really, there is none.  I love a little freshly grated nutmeg in it too, but you can certainly just sprinkle in a very little bit of already grated nutmeg. I hope your family and friends enjoy this as much as my family does! It’s always on my table for Thanksgiving. A delightful way to start a dinner, or a delicious main dish served alongside  a beautiful salad and bread. This can easily be made vegetarian by substituting vegetable broth for chicken broth which is how I make it on Thanksgiving for Kerri (our daughter) who is a vegetarian.

*This can be made without cream so easily–but if you want a touch of richness you can add a little heavy cream into soup and mix in before serving or a Tbsp. of unsalted butter and swirl it in. Totally not necessary but just saying.

And clearly this recipe can be cut in 1/2 for a smaller group– I usually use 2 packages of squash for 6 servings.

*feel free to put croutons on top or sprinkle some pepitas on top . It’s delicious just the way it is!! and wonderful for lunch the next day and will freeze beautifully and may just need a little broth or water upon heating up.

Follow me on Instagram @cookingwithcandi

Ingredients:

4 pkgs. (approx. 4 lbs.) butternut squash (it’s doesn’t have to be exact)

3 tablespoons olive oil

1 large spanish onion, chopped

8 – 10 cups chicken or vegetable broth

*1 -2 tablespoons unsalted butter (for this serving size, I use 2 but it’s totally optional)

Kosher salt and freshly ground black pepper

*use whole nutmeg – you just grate a little in for flavor. I always tend to use whole, but grated will do. It’s just a touch of it–if I had to guess, I’d say 1/4 teaspoon to 1/2 teaspoon depending on your taste

*if you really want to top it off with a touch of cream you can . Just add a little heavy cream to the soup and blend it right in at the end. Honestly it’s not necessary but it def adds a a layer of richness!

Directions:

In a heavy Le Creuset (or any other ample size large pot), I heat 3 tablespoons of olive oil. When oil is heated, put in onion and about 1/2 tablespoon of kosher salt. Sweat out the onions until they are translucent (approx. 5 – 8 minutes). If you’re using the butter, add it now too. I then add all of the butternut squash and mix the onions, oil and butter as best I can all over the squash. Next, add enough broth to cover the squash (I used approx. 10 cups of chicken broth to cover). I keep the remaining half a box of broth in case I need it later. Return to a low boil, then bring to a simmer. I let it cook a very long time–at least an hour until soft–and then I turn off the heat and let it sit for a while. I like to make it early and let it sit for as long as possible, because the squash gets very soft. Then right before I am about to serve, I use an immersion blender and blend it into a beautiful smooth soup. If you need more broth, add it as you blend. This is also your salt, pepper and nutmeg moment. Season to taste and blend just until smooth. I leave it in the pot until I need it and then gently warm it up. This soup will keep in the fridge for a few days. It can be frozen as well. Upon defrosting you may need to add more broth. Sometimes I serve this soup with beautiful croutons if I can find them in specialty stores, but it is delicious and beautiful on its own, and very good for you! My family loves it , and I hope yours does too.

*should serve 10 – 12 as appetizer

Kasha Varnishkes–Jewish Comfort Food

This is truly traditional Jewish comfort food made with buckwheat grains and bowtie noodles. I love it and grew up eating it and  try to make it a few times a year. It is super easy and super tasty. If you’ve never made it why not start now. It’s a wonderful side dish to any meal and it can be vegetarian for all of those who need some extra vegetarian dishes on their tables just substitute vegetable broth for chicken broth.

Kasha comes in a box. There are different types of Kasha and almost all will work. I use medium or coarse granulation.  Wolff’s brand is really wonderful so look for it and for this recipe I follow the directions on the Wolff’s box of Kasha. 

If you’re looking for an easy side dish to put together now is the time to look at this great recipe. This is also our go to the night before Yom Kippur. It’s tradition and delicious and comforting all at the same time. 

Also perfect for Rosh Hashana. 

*Wolff’s Brand Kasha is always available on Amazon

Ingredients:

1 package bowtie ( farfalle ) noodles (app. 3/4 lb.)

1 white/yellow onion thinly sliced or you can use chopped onions , entirely up to you.

app. 2 tablespoons vegetable oil  you may need a  little more and may want a bit more to drizzle at the end plus more — probably 1/4 cup in total

Kosher Salt and Freshly Ground Black Pepper–to taste

*1 small box button mushrooms sliced 8 ounce box — mushrooms are totally optional but sometimes I feel like they add a little something

1 cup kasha, medium or coarse granulation– I use Wolffs Kasha and follow instructions on the box which I have written below

1 egg for kasha as per instructions on the box

2 cups chicken or vegetable broth as per box instructions

Directions:

Cook the pasta according to directions on box for al dente.

Saute’ the onions in vegetable oil , salt and pepper until they just start to soften, about 5 minutes. I use a medium size frying pan large enough to add in the pasta, and make sure you have a tight fitting lid.

Add the mushrooms and sauté until they start to soften as well, a few more minutes , set aside. Place mushrooms and onions in a bowl and you’ll use same frying pan to cook kasha.

Coat the kasha in a slightly beaten egg. You’ll just place kasha in a bowl and put beaten egg on grains. This will help the grains not to stick to themselves while you are cooking them. Make sure the grains are completely coated with egg.  Put the kasha in the same frying pan, set over a fairly high heat. Flatten, stir, and break up the egg-coated kasha with a fork or wooden spoon for a few minutes till toasted and the egg has dried on the kasha and kernels are brown and mostly separate. Kasha instructions for cooking are usually on the box as well. Then I pour in the broth that I am using, a little margarine/butter is OK as well ( app. 2 Tbsp) bring to a boil, cover tightly, lower flame to simmer and cook for 10 minutes till kasha is fluffy–these are the directions on the box that I follow .

Add back in the mushrooms and onions and combine with chicken broth. Cook box of Bow Tie Pasta according to directions on box al dente.

Bring to a boil and cook over low heat covered tightly. Check on it after 10 minutes or so to make sure the kernels are tender and the liquid has absorbed. If not, cover and continue steaming for another few minutes till all liquid is absorbed.

Adjust seasoning with more salt and pepper if you’d like, mix in cooked pasta, and if you’d like drizzle a little more oil on it. I like to do it all in a large enough frying pan to hold pasta . You can always mix in pasta in a large bowl separately. I like it in frying pan on stove top till I serve it. You can always make ahead and heat up in oven at 350 degrees in a pyrex dish,  you’ll most likely need to add a little oil if you do so.

*Wolff’s Kasha has directions for cooking kasha on the box. It’s pretty much the same , I just add in the mushrooms and onions for more flavor.

*should serve 8 people

Eggplant and Tomato with or without Pasta

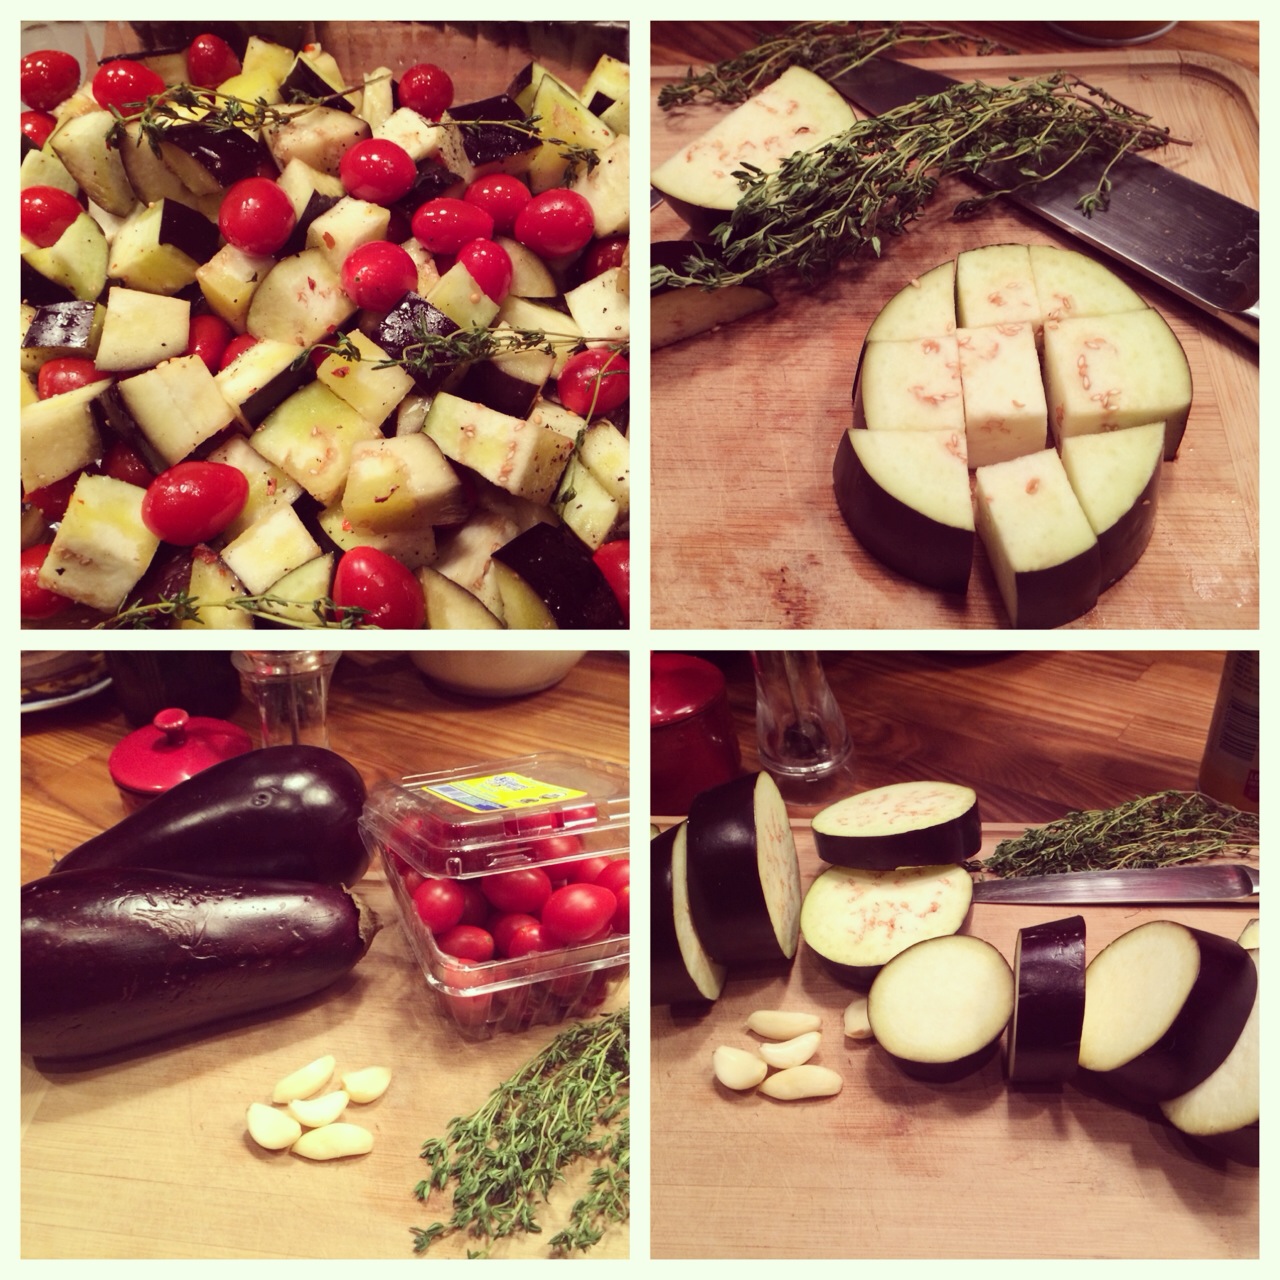
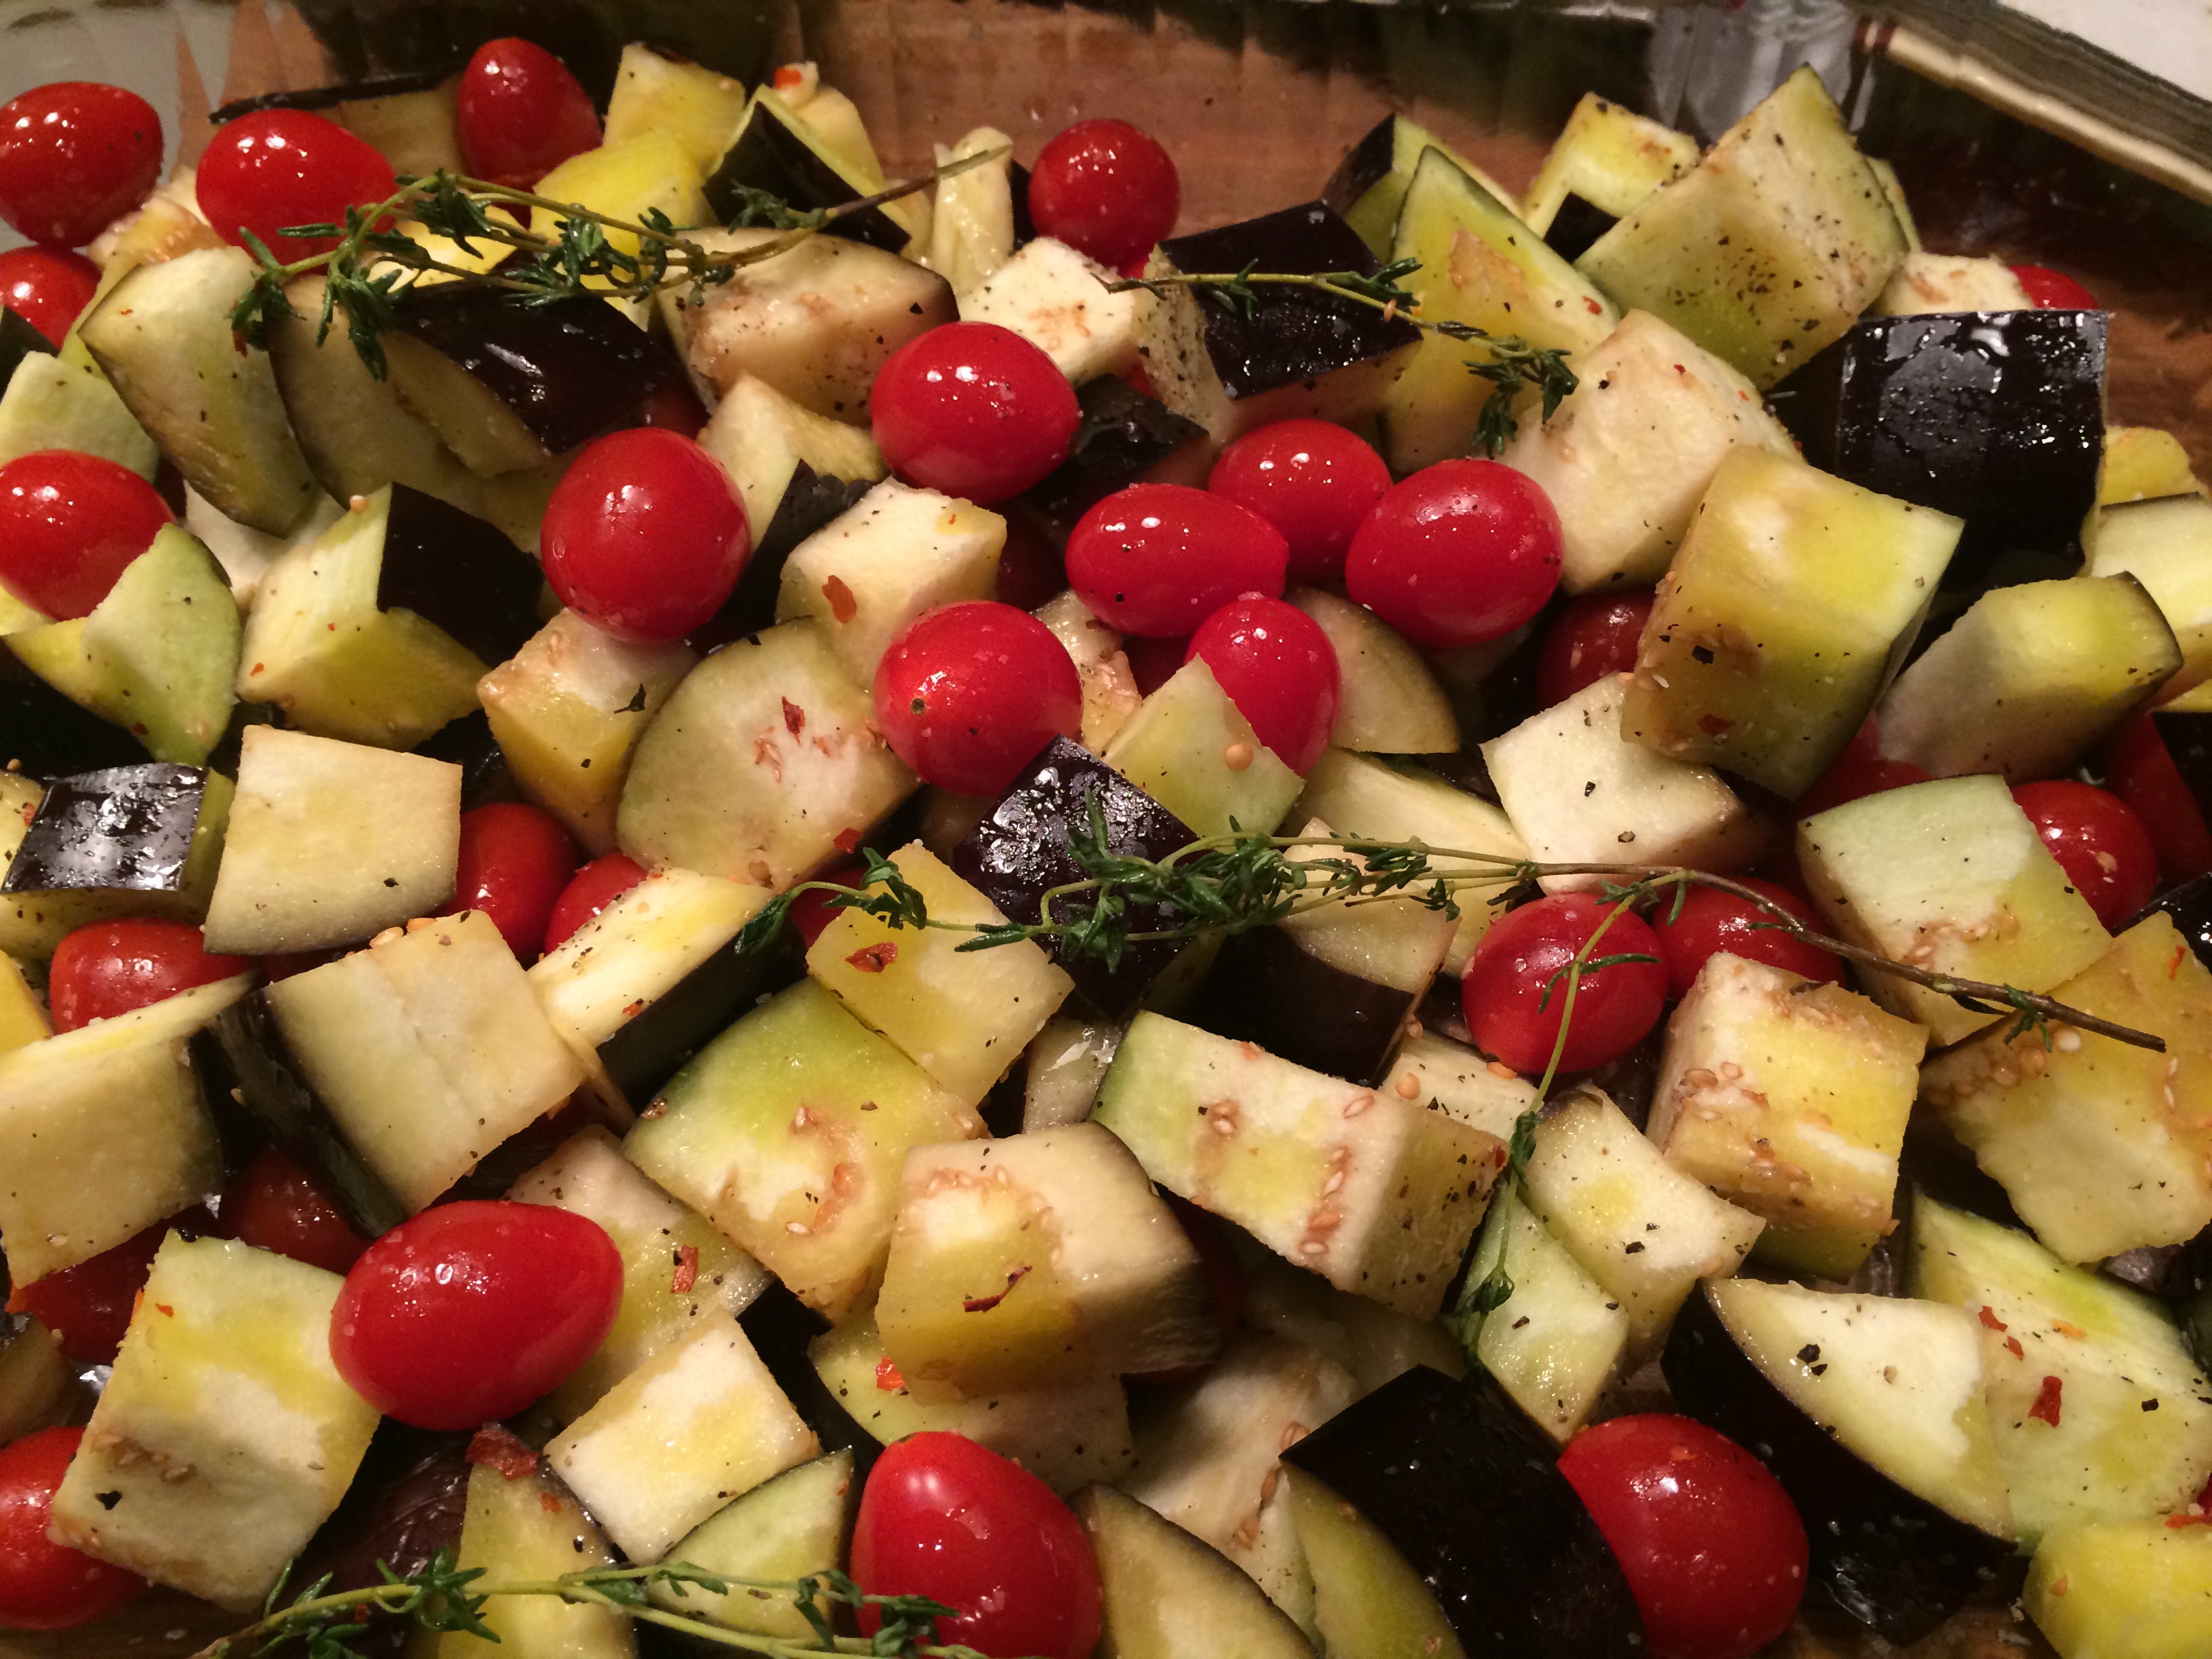
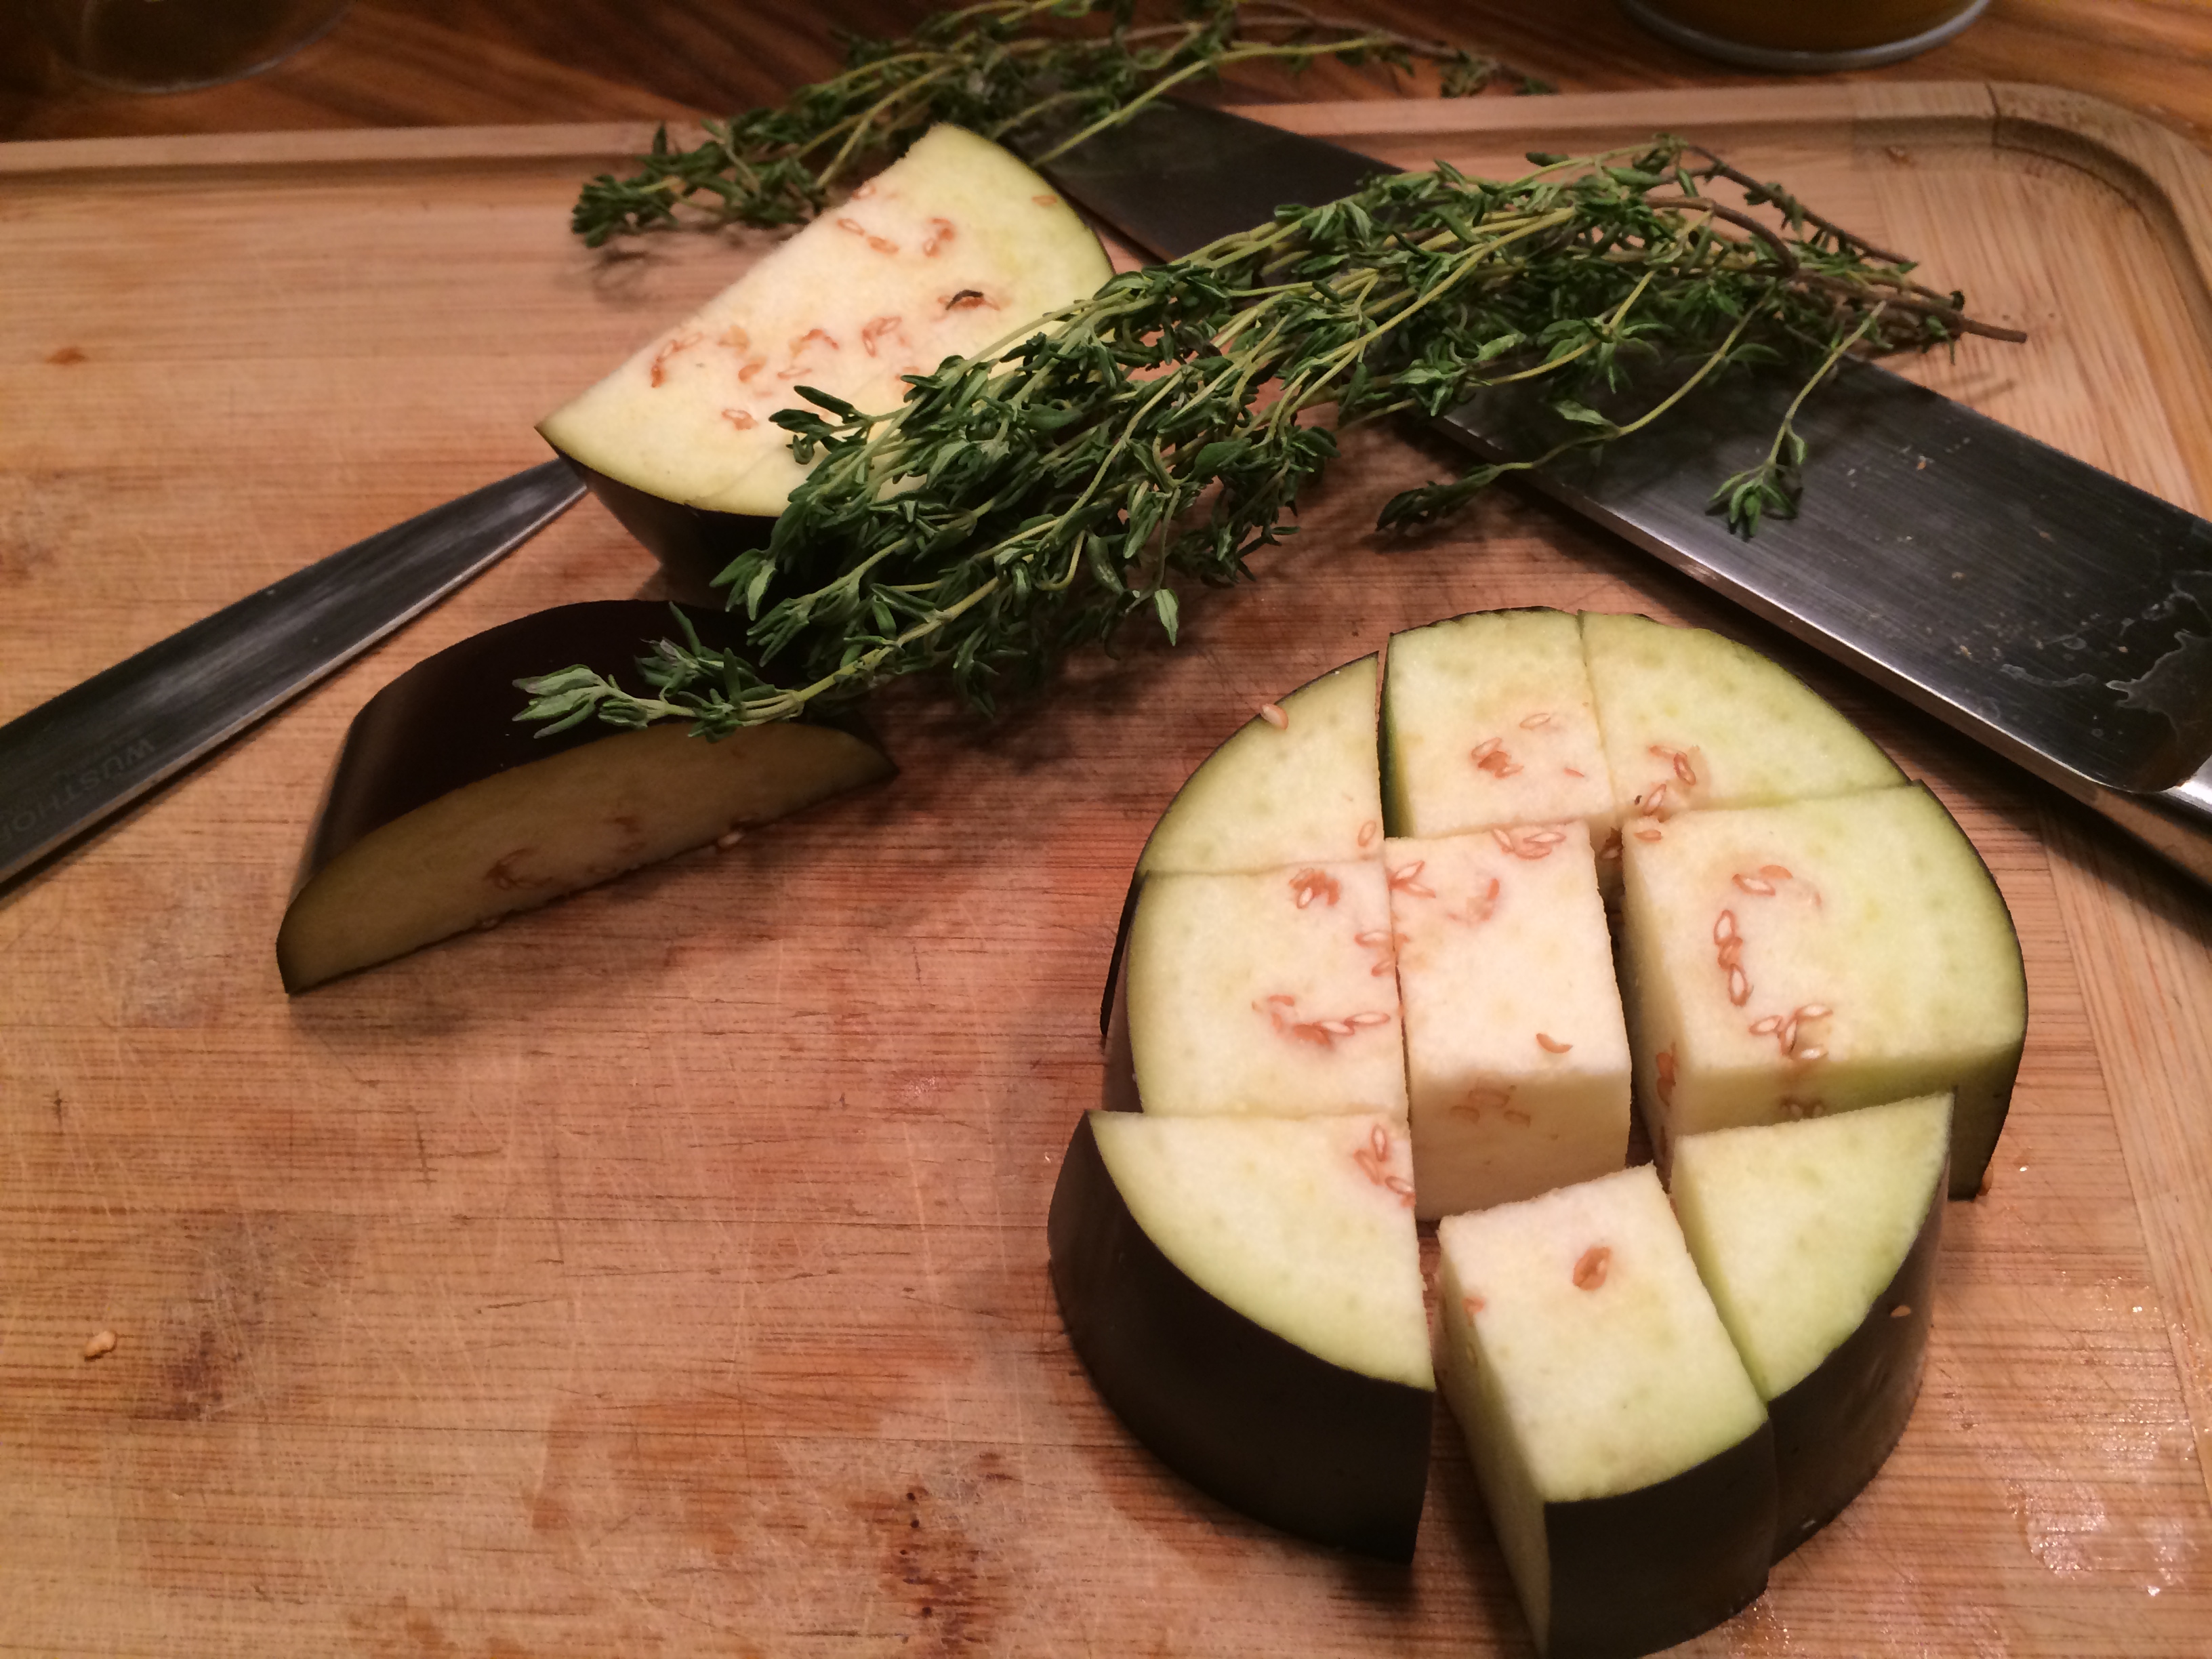
photo 5 (11) photo 5 (12) photo 4 (12) photo 3 (16) photo 5 (13)Another wonderful inspiration from Jessica Seinfeld’s cookbook “The Can’t Cookbook”,  even though I can cook there are so many great and easy recipes in this book. This was certainly one of them. I served over pasta (see photos) and it is so easy! Everyone gets nervous about cooking eggplant and I really am not sure why that is, well this will cure you of that fear if you have it. You can just make this as a side dish without the pasta but any reason to eat pasta in this house is a good one.

Eggplants should be smooth-skinned, evenly firm and without soft spots. I bought organic ,  when  I’m eating the peel or the skin I  try to buy organic, same goes for tomatoes.

Ingredients:

1 large eggplant or 2 small ones

4 cloves garlic

1 pint cherry or grape type tomatoes

6 sprigs fresh thyme

1/3 cup olive oil

3/4 teaspoon kosher salt

*1/4 teaspoon crushed red pepper ( optional )

1/4 teaspoon freshly ground black pepper

Directions:

Preheat the oven to 400 degrees. Wash the eggplant and the tomatoes. Cut off and discard the stem. Cut the eggplant into 1 inch thick round pieces. Stack 2 rounds, then slice  rounds 2 x and 2x across to make 1″ cubes. ( see photos). Smash the 4 garlic cloves with the back of large knife. Prepare baking dish by spraying lightly with Pam spray.

Place the eggplant , garlic, tomatoes, and thyme in baking dish.  Sprinkle salt , pepper and crushed red pepper if you’re using it. With clean hands toss together until the eggplant is coated with olive oil and don’t worry if it’s over-crowded. It will break down and there will be plenty of room.

Roast until the eggplant is really soft and tender. I roasted for an hour and gave it a stir and was good to go.

I served over pasta but you certainly don’t have to have pasta,  you can eat this just as is. If you’re serving over pasta you may want to drizzle a little more olive oil into the eggplant and tomato mixture–just for a little more saucier consistency.

Thanks again Jessica .

Potatoes , Peppers and Onions

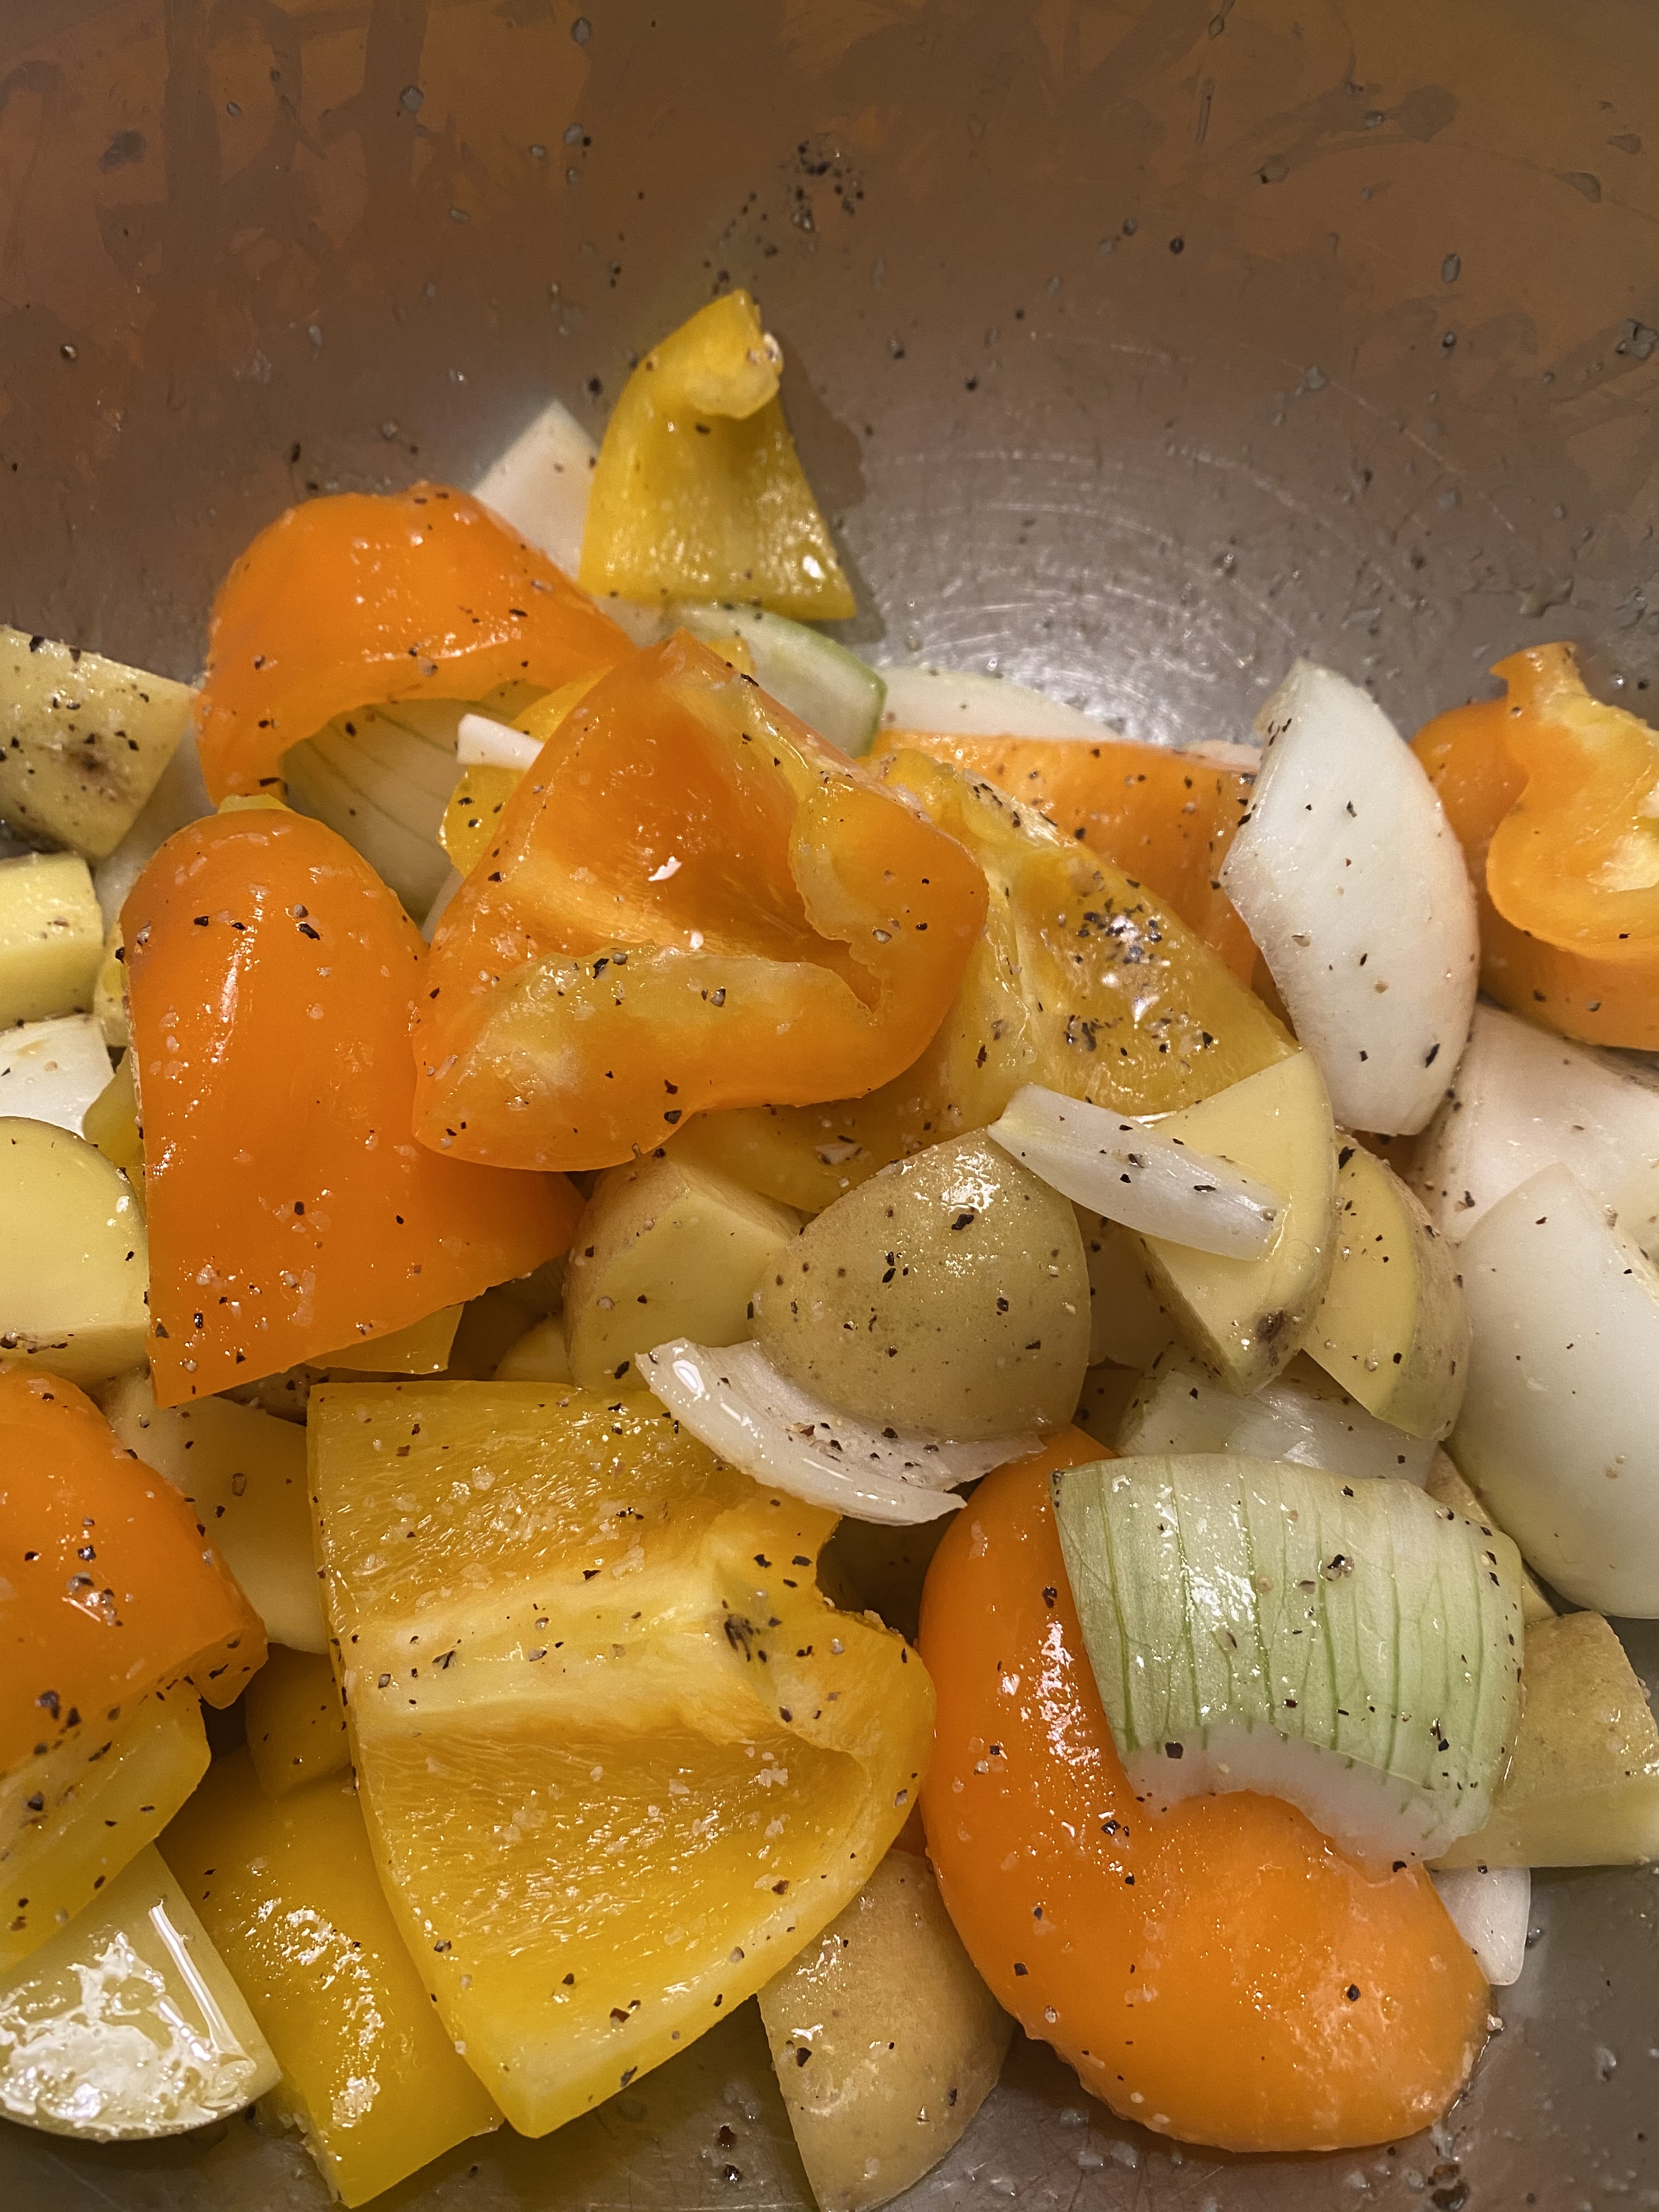
What a perfect side dish — goes with any meats and or fish. I served it alongside humble turkey burgers and hamburgers and it was really delicious! I used whatever color peppers I had in the house and I used Yukon gold potatoes because that’s what I had on  hand. Perfect with some sausage as well. Did I mention super easy???? and all on one pan in the oven.

Ingredients:

app. 2 lbs Potatoes — I happen to have on hand Yukon Gold Potatoes but Russet Potatoes work well as well– any potatoes will work out — cut potatoes into app. 1″ chunks –chunks should be as uniform as possible

1 medium yellow onion– cut into 1″ chunks

2 peppers — any color you like — I had orange and yellow on hand– cut into 1 ” chunks

1/4 cup olive oil

Kosher Salt — app. 2 teaspoons

Freshly Ground Black Pepper– app. 1 teaspoon

Garlic Powder — 1 teaspoon — if you prefer fresh garlic — use 2 garlic cloves minced

Directions:

*important to cut chunks of vegetables fairly uniformly so they cook the same

Preheat oven to 450 degrees

In a large bowl toss potatoes, onion and peppers with oil, salt , pepper and garlic

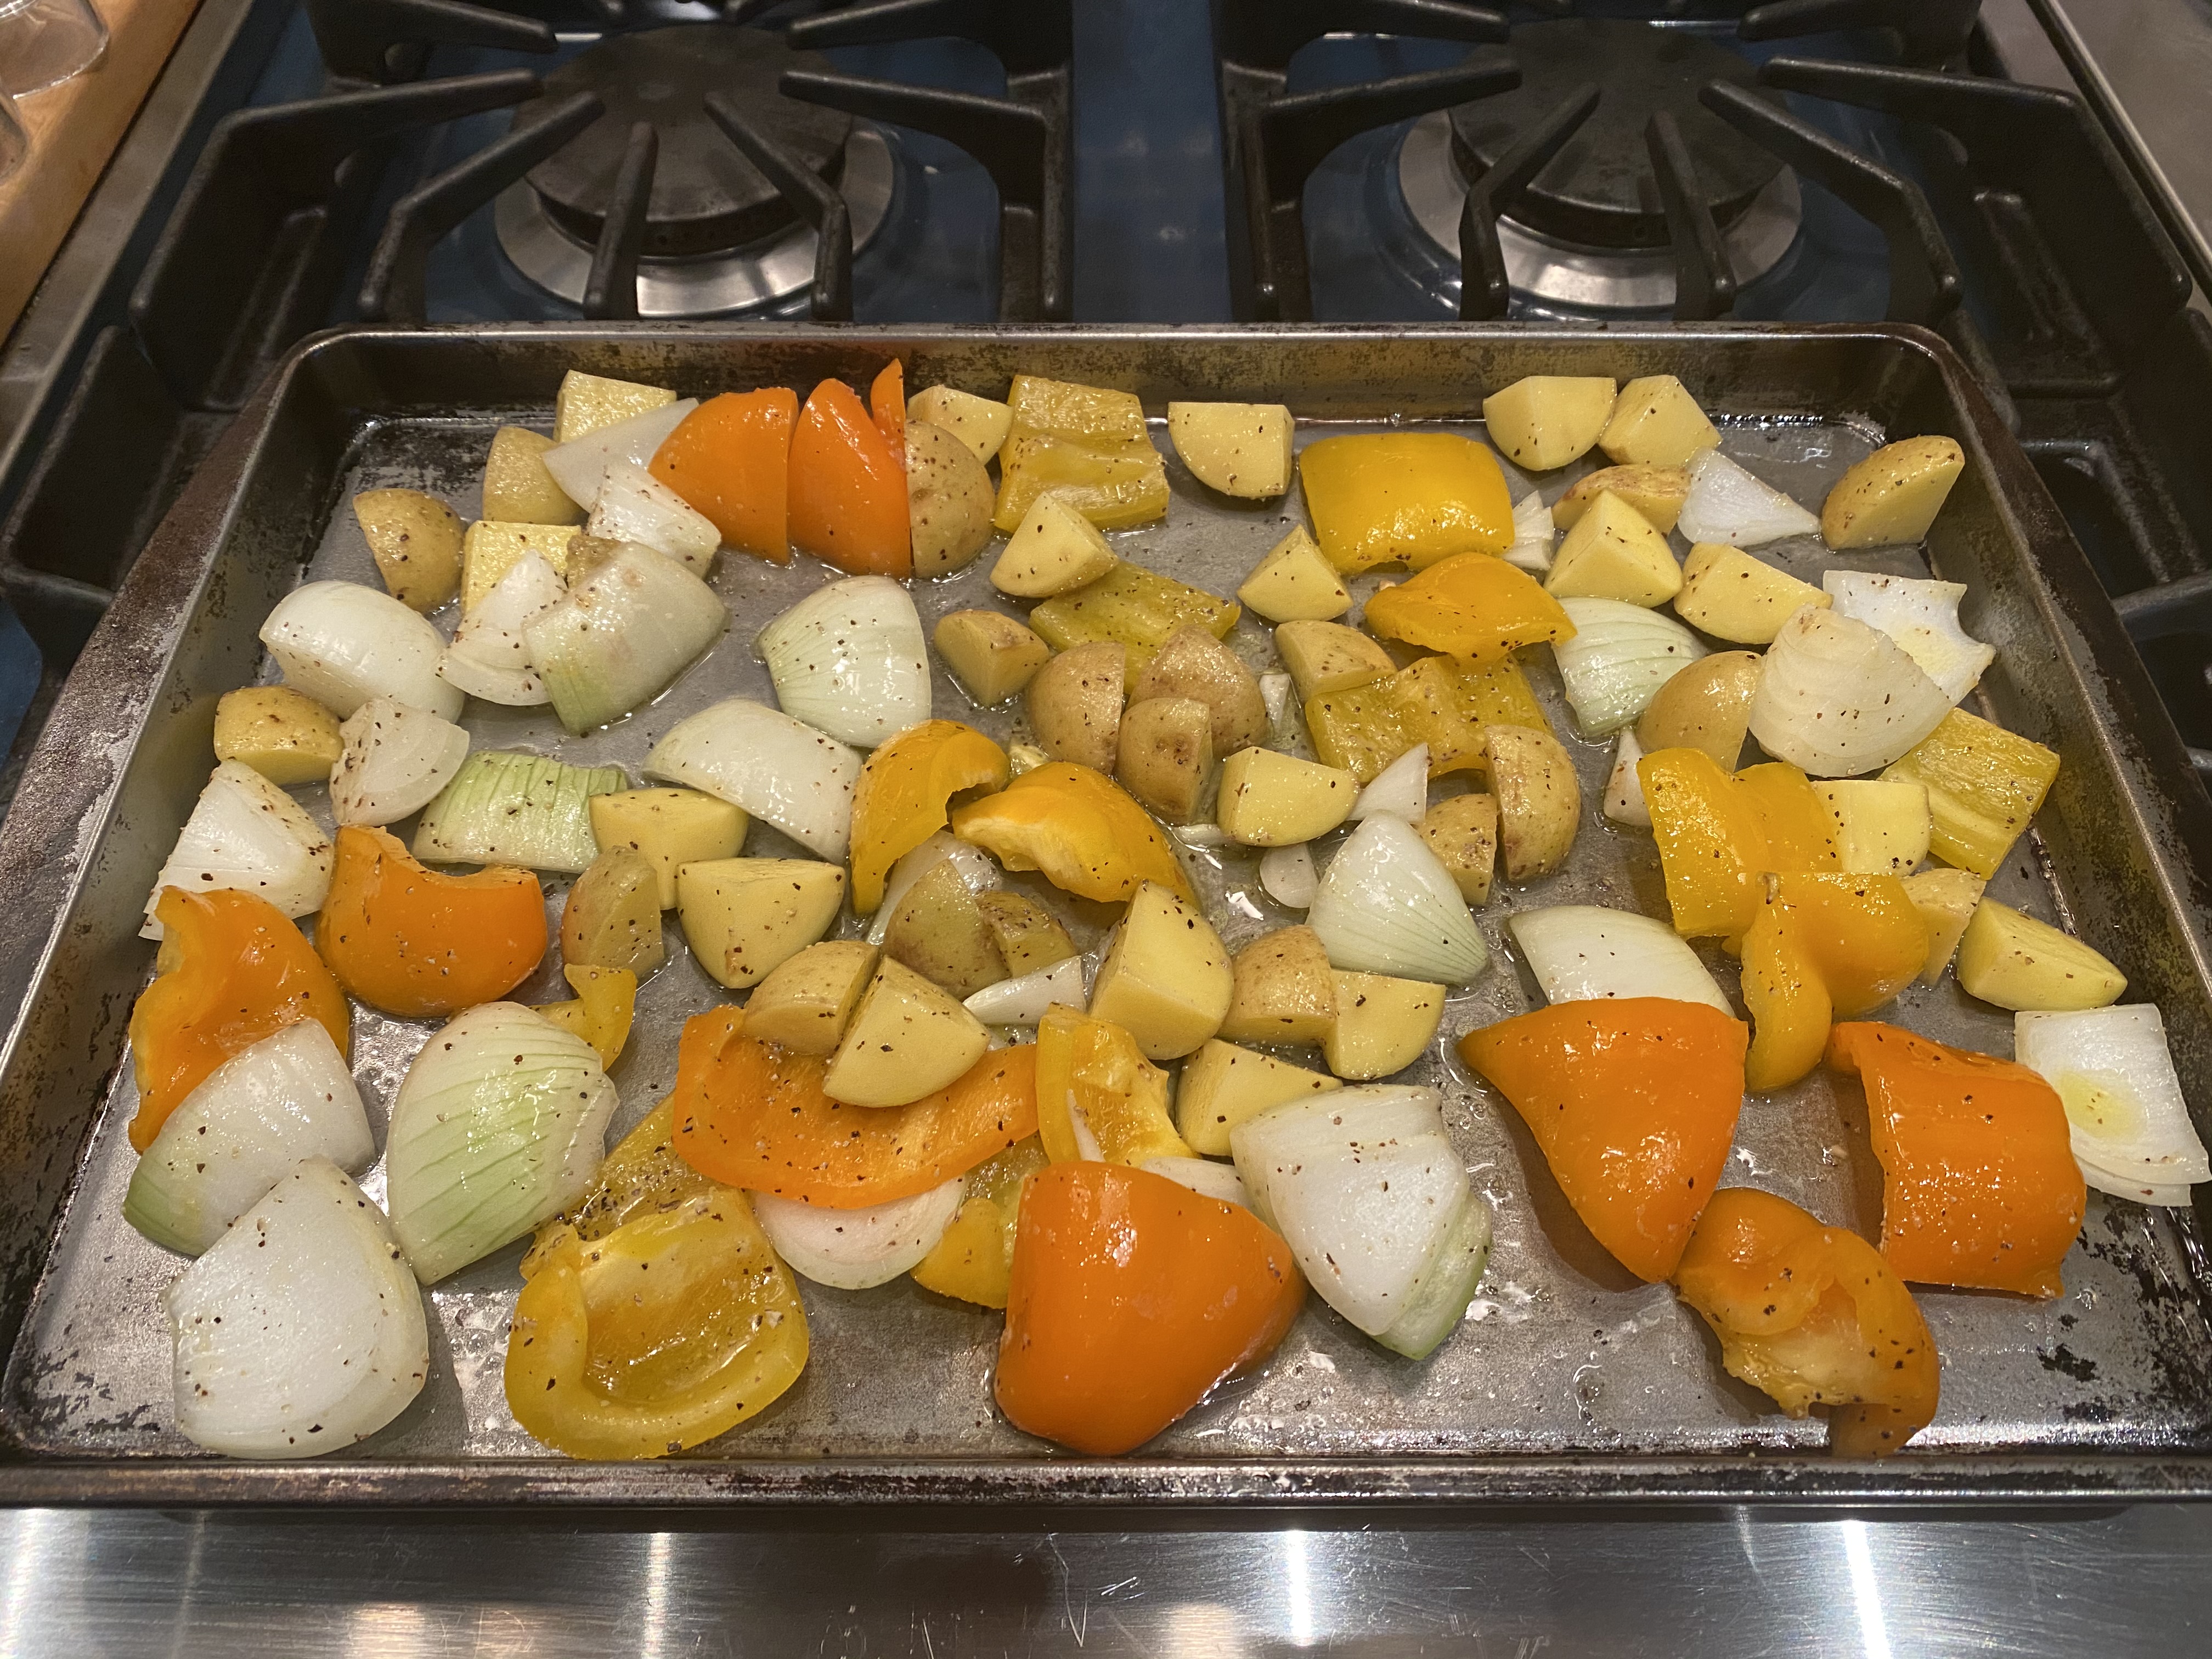
 Spread mixture on a rimmed baking sheet — I spray my baking sheet with cooking spray for an easy cleanup –spread out so peppers onions and potatoes have room to cook — don’t overcrowd as they will just steam and not slow roast

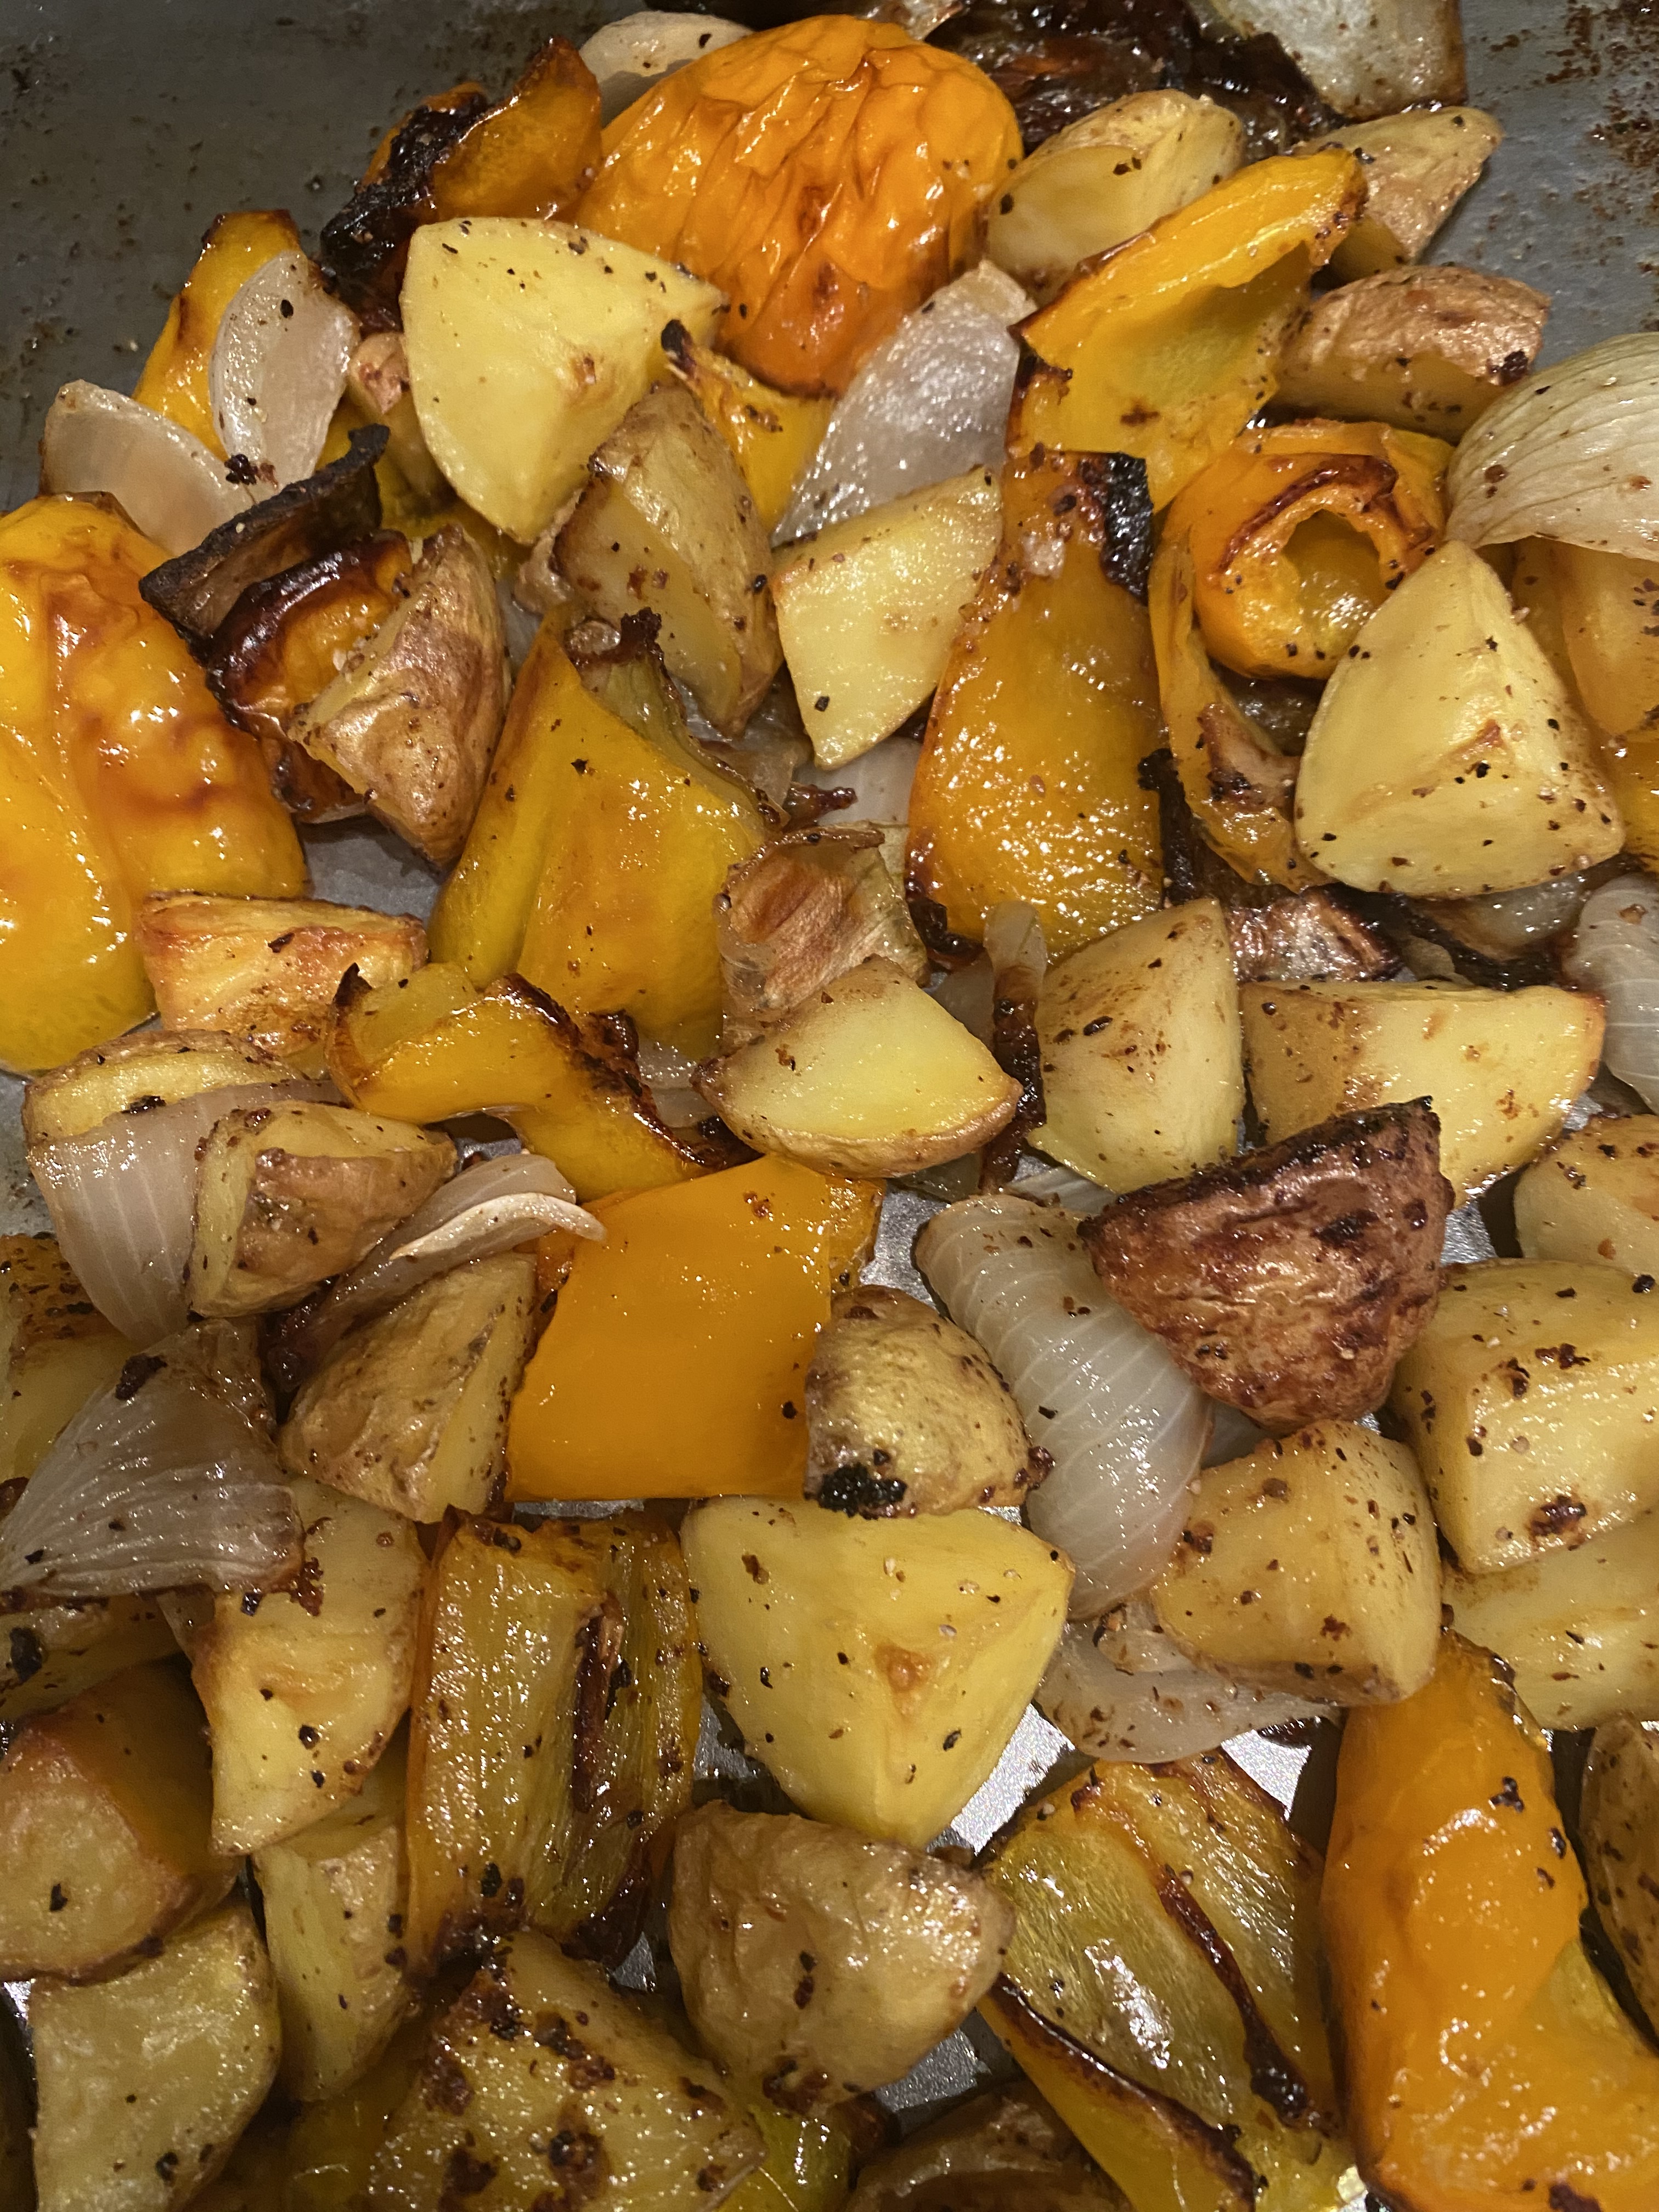
Roast for about 40 minutes or until potatoes are tender and golden brown, I stirred halfway through cooking.

That’s it — super easy and super delicious.

Summer Peach Salad with Tomatoes and Mozzarella

It’s the end of the Summer and the Palisade Peaches are still here in Colorado along with the most beautiful heirloom tomatoes. It’s a no-brainer salad going on here made with the freshest of ingredients. Fresh Mozzarella is readily available almost everywhere now and grab some fresh basil while you’re at it. This salad worked out well with a few easy ingredients and it packed some super delicious flavor. Hurry to your farmers market or produce store to grab some of these beauties before they’re gone .

*can substitute burrata 

*this recipe should serve  4 but can easily be doubled for more

Ingredients:

1 pint of cherry tomatoes ( I grabbed some heirloom cherry tomatoes)or any tomatoes you’d like the local tomatoes are beautiful this time of year

1 large peach or 2 small (Palisade Peaches here in Colorado have been amazing)

4 ounces fresh mozzarella cut up in cubes or however you’d like to cut it up

1 shallot

some fresh basil–throw in about 8 pieces and add more or less depending on your own particular taste

1 1/2 Tablespoon Extra-Virgin Olive Oil

1/4 teaspoon kosher salt or any flaky salt you like –this is approximate and use as little or as much salt as you like, tomatoes can endure a lot of salt

app. 1/4 teaspoon freshly ground black pepper

Directions:

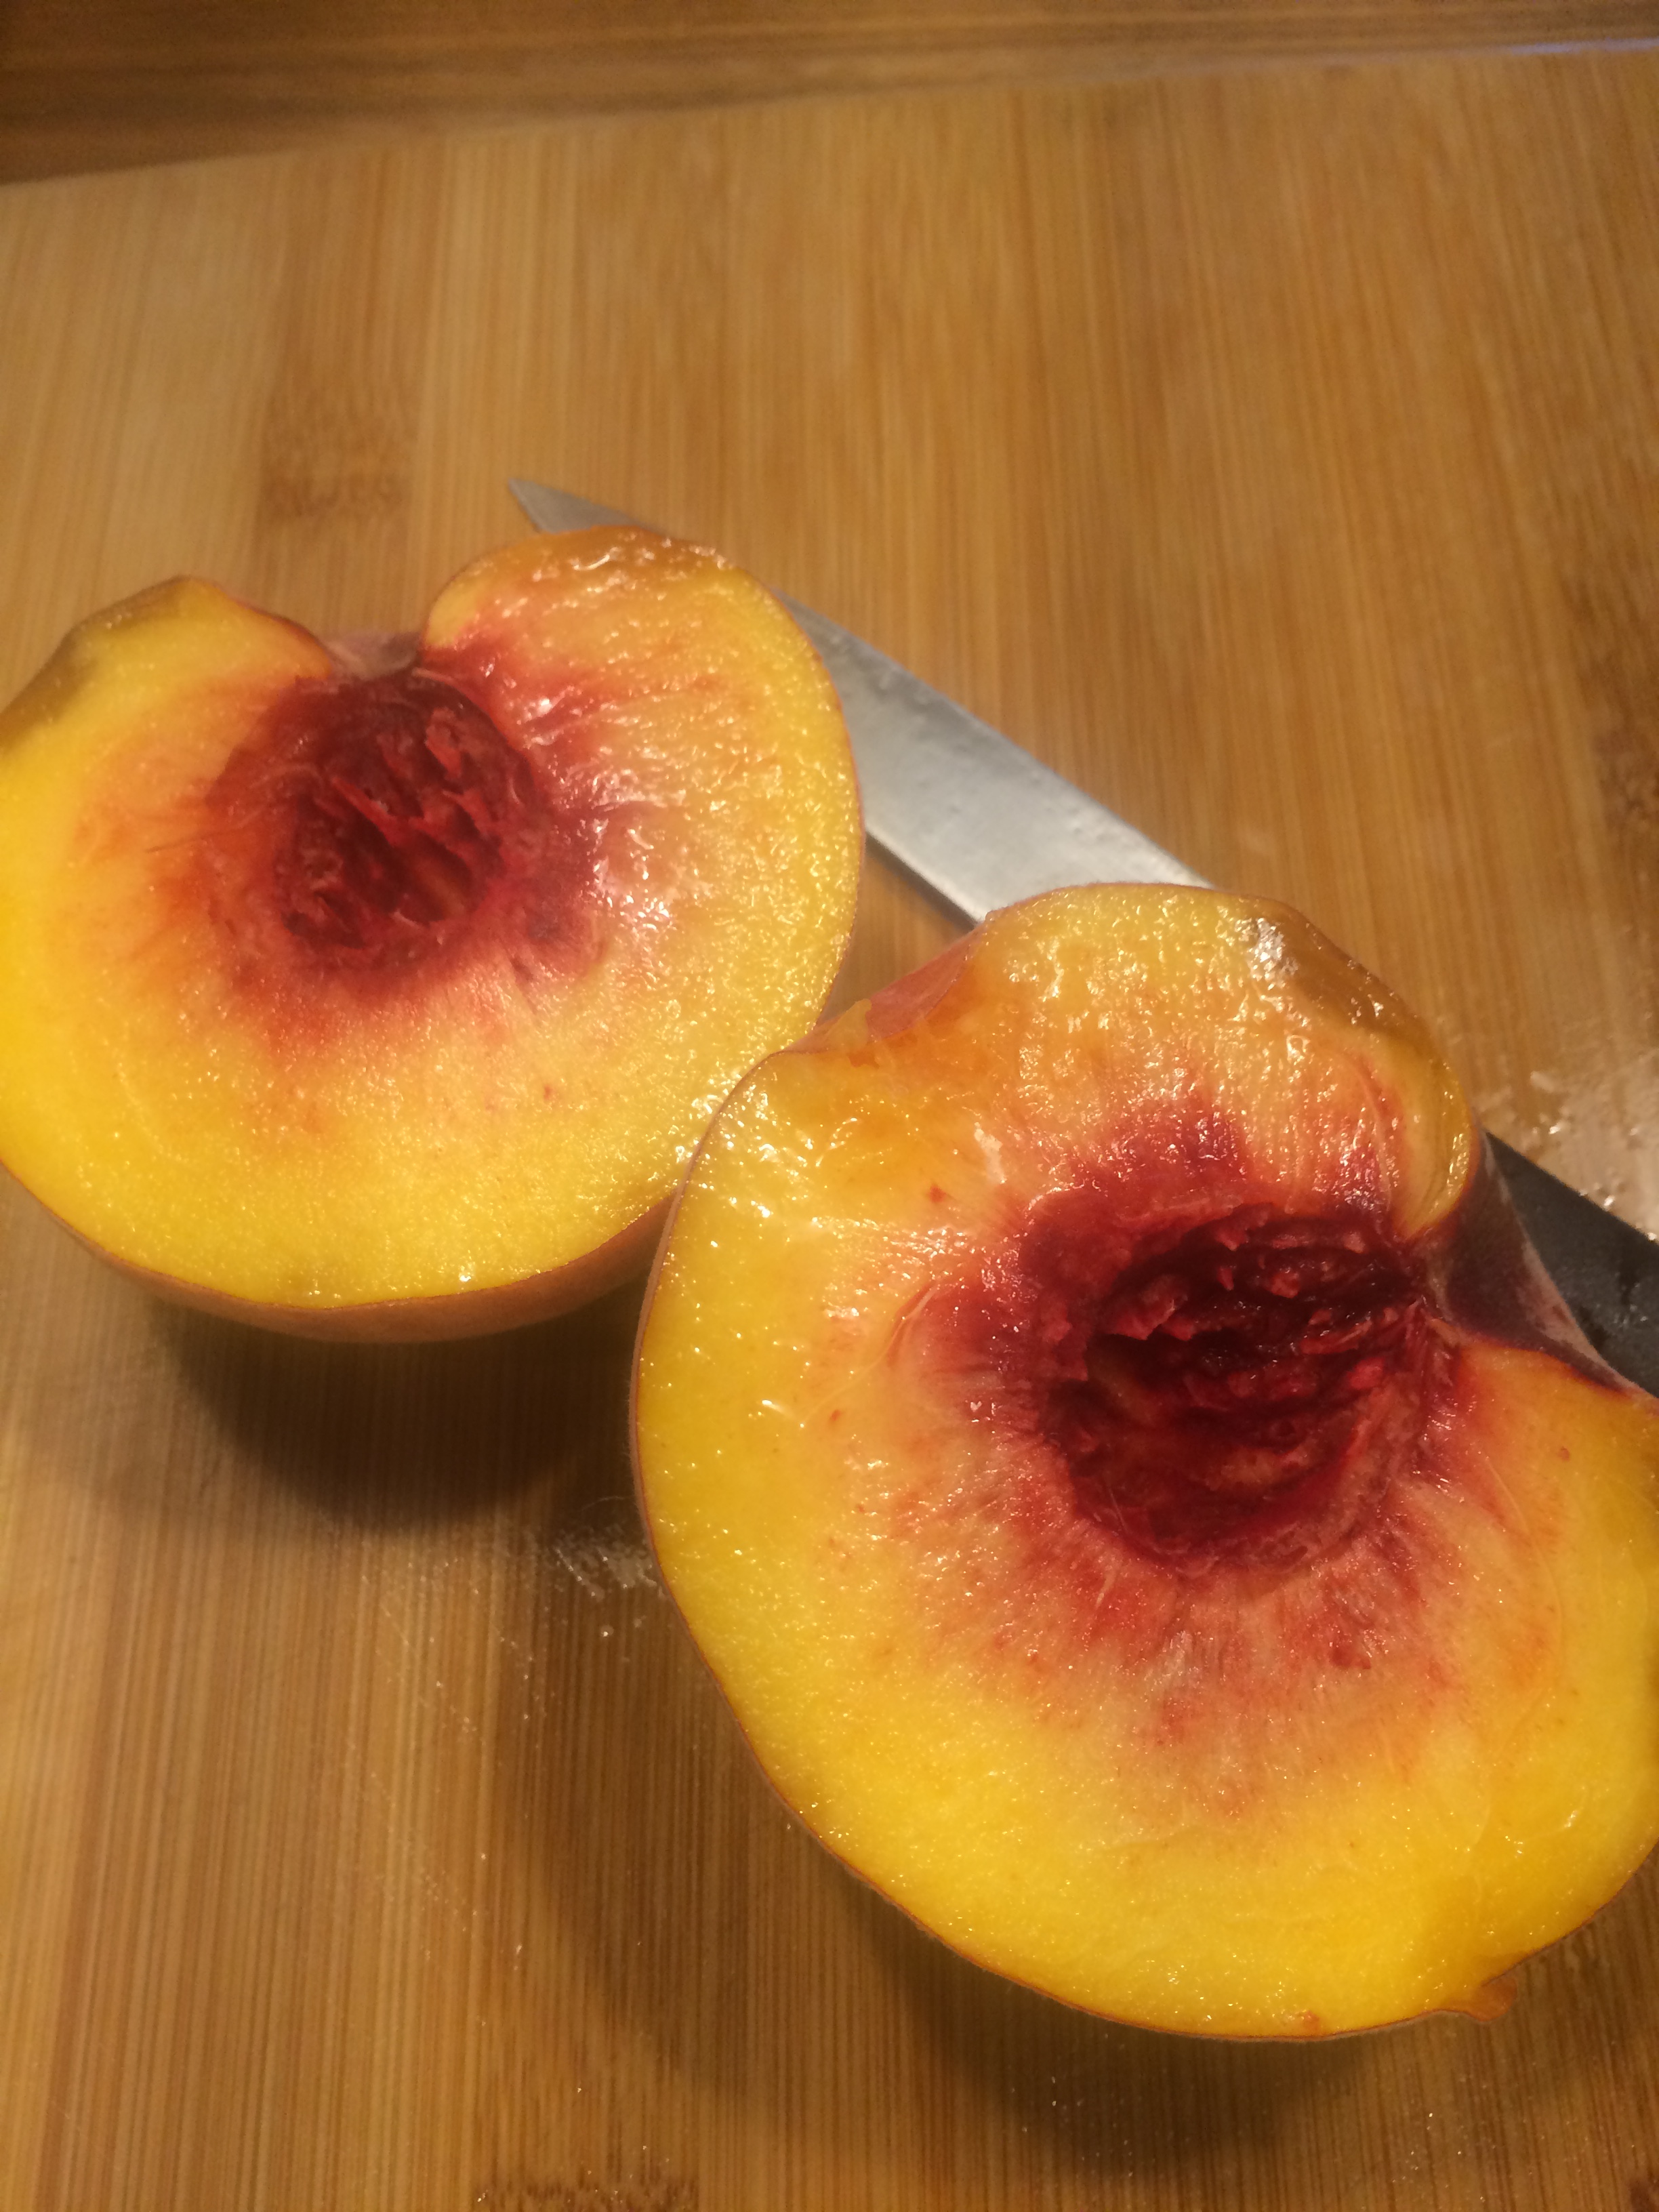
Rinse off tomatoes and cut in 1/2. Clean and cut the peach in half, remove the pit and cut into bite size pieces. Add tomatoes and peaches to a platter or a bowl. Cut up the mozzarella and add to bowl.

Peel and slice the shallots into thin slivers or rings whichever you prefer. Scatter over tomatoes, add the basil, drizzle the olive oil, salt and pepper and stir gently.

IMG_8679 IMG_0586 (2)IMG_8681 IMG_8685 Presentation is beautiful on a platter as well. Whatever way you do it the taste is phenomenal.

Summer Salad–Farm Fresh Farro

photo 5 (4)photo 4 (65)photo 2 (69)photo 3 (4)

I am always on the search for some new vegetarian recipes to try out.  The inspiration for this salad came from some beautiful radishes from the farmers market and some fresh sugar snap peas. During the summer months with all the beautiful fresh vegetables available it’s super easy to throw together these salads. The fresh parmesan pieces give it the extra kick and salt it needs, use as much or as little as you like. I prefer pearled farro for this recipe. Feel free to experiment and use whatever ingredients suit your taste.

*original recipe from Jessica Seinfeld website Do it Delicious

Ingredients:

1 cup pearled farro

1 cup sugar snap peas

4 large radishes

*2 scallions -optional

*fresh mint app. 1/4 cup loosely packed –also optional

1/4 cup parmesan pieces- leave in chunks or shave whichever you prefer

3 tablespoons fresh lemon juice

2 tablespoons olive oil

1/2 teaspoon kosher salt

1/4 teaspoon freshly ground black pepper

Directions:

Follow directions on the box of farro or fill a saucepan to about an inch from the top. Bring to a boil, and add the farro and cook until tender but still chewy, about 10 minutes. Drain in a strainer and run under cold water to cool down. Drain out excess water and let sit while you prep the rest of the salad.

Wash the snap peas and radishes. Remove the stems from the snap peas, cut them crosswise into 1/2″ pieces and add to a medium bowl. Trim the stems off the radishes and remove the root ends. Slice the radishes in half , then slice crosswise into thin half moons. Add the radishes to the bowl. Trim the ends of the scallions, wash and then slice the white and light green parts of the scallions into small rounds. Add to the bowl. Tear the mint leaves and add to the bowl. Take the parmesan and crumble into the bowl, you can use your hands or a knife to crumble parmesan. Add the cooled farro to the bowl.

Add the lemon juice, olive oil, salt and pepper to the bowl. Taste for seasonings. Mix and allow to sit for a bit before serving. I made ahead and stored in fridge. I removed before serving for a while to bring to room temperature.


Tomato Time Pasta– perfect Summer Pasta made with fresh tomatoes–Meatless

photo 2 (3)photo 4 (2)photo 5 (3)Nothing but beautiful tomatoes out there begging to be eaten in a million different ways. Perfect for a “Meatless Monday” dish or any night of the week . There are tons of local tomatoes out there now. At any local farmers market you can pick up pints of these beautiful babies. This is a lovely light pasta.

I had bought 2 pints of those beautiful little cherry tomatoes and right now there are those gorgeous yellow sunburst tomatoes also available.  I wasn’t sure what I would do with them. They varied in size so I knew if I made a sauce some were getting cut and some would stay whole. Nothing ever sounds better than a plate of pasta to me,  nothing.   These beautiful tomatoes are only out for such a limited time you have to get them while the getting is good.  Some of the tomatoes were super small and I left them whole while I halved the larger ones. There are so many variations of this sauce and feel free to improvise. We love it this way. So simple and so delicious.

Follow me on Instagram @cookingwithcandi

Ingredients:

1 lb. spaghetti , any kind of long spaghetti is good for this — sometimes I use bucatini type and sometimes I use thin type long spaghetti– use whatever you’d like

1/4 cup extra-virgin olive oil plus more as needed

4 cloves garlic, peeled and minced.

1/2 teaspoon crushed red pepper* we like it spicy so if you don’t want it that spicy cut to 1/4, I actually used 1 whole teaspoon and it packed a lot of kick.

2 pints of cherry tomatoes or little plum tomatoes or you can use about 3 cups of chopped fresh tomatoes of any type. I cut the larger tomatoes in 1/2 and I left the little ones whole– last night I used 2 packages of sugar bomb tomatoes they were 12 oz. each and it was perfect

app. 20 leaves of fresh basil, I just cut them up into small slivers–this is totally optional if your kids don’t like green stuff– but it looks pretty

Kosher Salt and Freshly Ground Black Pepper to taste –I used app. 1 teaspoon on tomatoes and added towards the end as needed

freshly grated parmesan at your discretion

Directions:

Cook pasta according to directions on box for al dente. Reserve a cup of pasta water in the event you may need a little more liquid in your sauce. Add 2 tablespoons of salt to cooking water for pasta. The Italians like to say that their pasta water should be like sea water good and salty. After finished cooking pasta — reserve 1 cup of pasta water and set aside before you drain pasta.

Heat a large sauté pan over medium heat add 4 tablespoons of olive oil and garlic, cook until garlic is golden about 2 minutes. Be careful you don’t want to burn this garlic. Add the crushed red pepper now and the tomatoes, and cook over medium low heat. I also added some kosher salt (about 1/2 teaspoon to start, you can always add more) and a little freshly ground black pepper. Stir for a while to make sure garlic doesn’t burn and tomatoes start to burst and deflate about 5  minutes and if you think you need a little more olive oil add it now . I let the tomatoes simmer in the pan for about 15 minutes to 1/2 hour for the best consistency. I smashed down stubborn little tomatoes at the end with the back of a wooden spoon or a masher if you have one.  A very low simmer at the end.  Taste for Salt and Pepper. The longer the tomatoes sit in the oil and cook down on a low simmer the better the sauce will be so if you have a little time let it sit. I think my tomatoes sat for at least 2 hours like this. Once tomatoes were cooked down  I just turned off heat covered it and let it sit. Before eating while making the pasta I heated up on a low simmer.

Once the spaghetti is cooked and you’ve drained it ( remember to reserve a cup of pasta water).  Add the pasta water a little at a time to the pan with tomatoes and over medium-low  heat toss the pasta with the tomatoes well. Add the basil . I let everyone add their own cheese at the table.

Remove the pan from the heat and plate it up.

Yum! and even more delicious the next day.

img_7760
img_7754

Chickpea, Feta and Tomato Salad (with cukes) Raw and Vegetarian

Chickpea, Feta, and Tomato ( with cukes) Salad

I served this salad with my Easiest Chicken Ever, it is fresh tasting , and crunchy. very easy and can be made throughout the year. it is very good using heirloom tomatoes, which I couldn’t find this time out.  It’s also perfect with small, grape tomatoes, which can be found everywhere, at any time. Enjoy! pretty low in calories as well. 🙂 Just saying…. this is a delightful fresh tasting side dish and perfect for any bbq or dinner you may be having.

INGREDIENTS:

1 can (15 oz) chickpeas, rinsed and drained (try and buy the organic ones)

1 pint cherry, grape or heirloom (if in season) tomatoes. (If you are using the little ones, cut them in 1/2. If you are using the larger ones, slice and cut into small chunks

2 oz (approx. 1/3 cup or to your liking) feta, crumbled or cubed

2 tablespoons fresh lemon juice (approx. 1 average lemon)

kosher salt

freshly ground black pepper

dried oregano gives it a real mediterranean flavor use as little or as much as you’d like — sprinkle a little and taste for flavor

DIRECTIONS:

Combine everything in a bowl and season with salt and pepper and oregano to taste, flavors will come together nicely , I let it sit out for app. 1/2 hour before serving, give it a mix from the bottom before serving. Taste for seasoning.

*Should serve approx. 4

*Very low in calories (yeah!)