


 I love sugar as much if not more than the next guy but this was an opportunity to make a berry crisp without any white sugar or flour. I stumbled upon this recipe on one of the million blogs, sites and posts I see spouting Paleo and Gluten Free recipes. I am not a paleo eater nor am I gluten free but it can’t hurt to have a recipe that is light on the sugar and fairly healthy to boot. If you would like it a little bit sweeter you can add a tablespoon of coconut sugar or a packet of stevia, I didn’t and I liked it just the way it was. It intrigued me since I love a crisp but hate the amounts of sugar that go into it, even though I do love eating it.
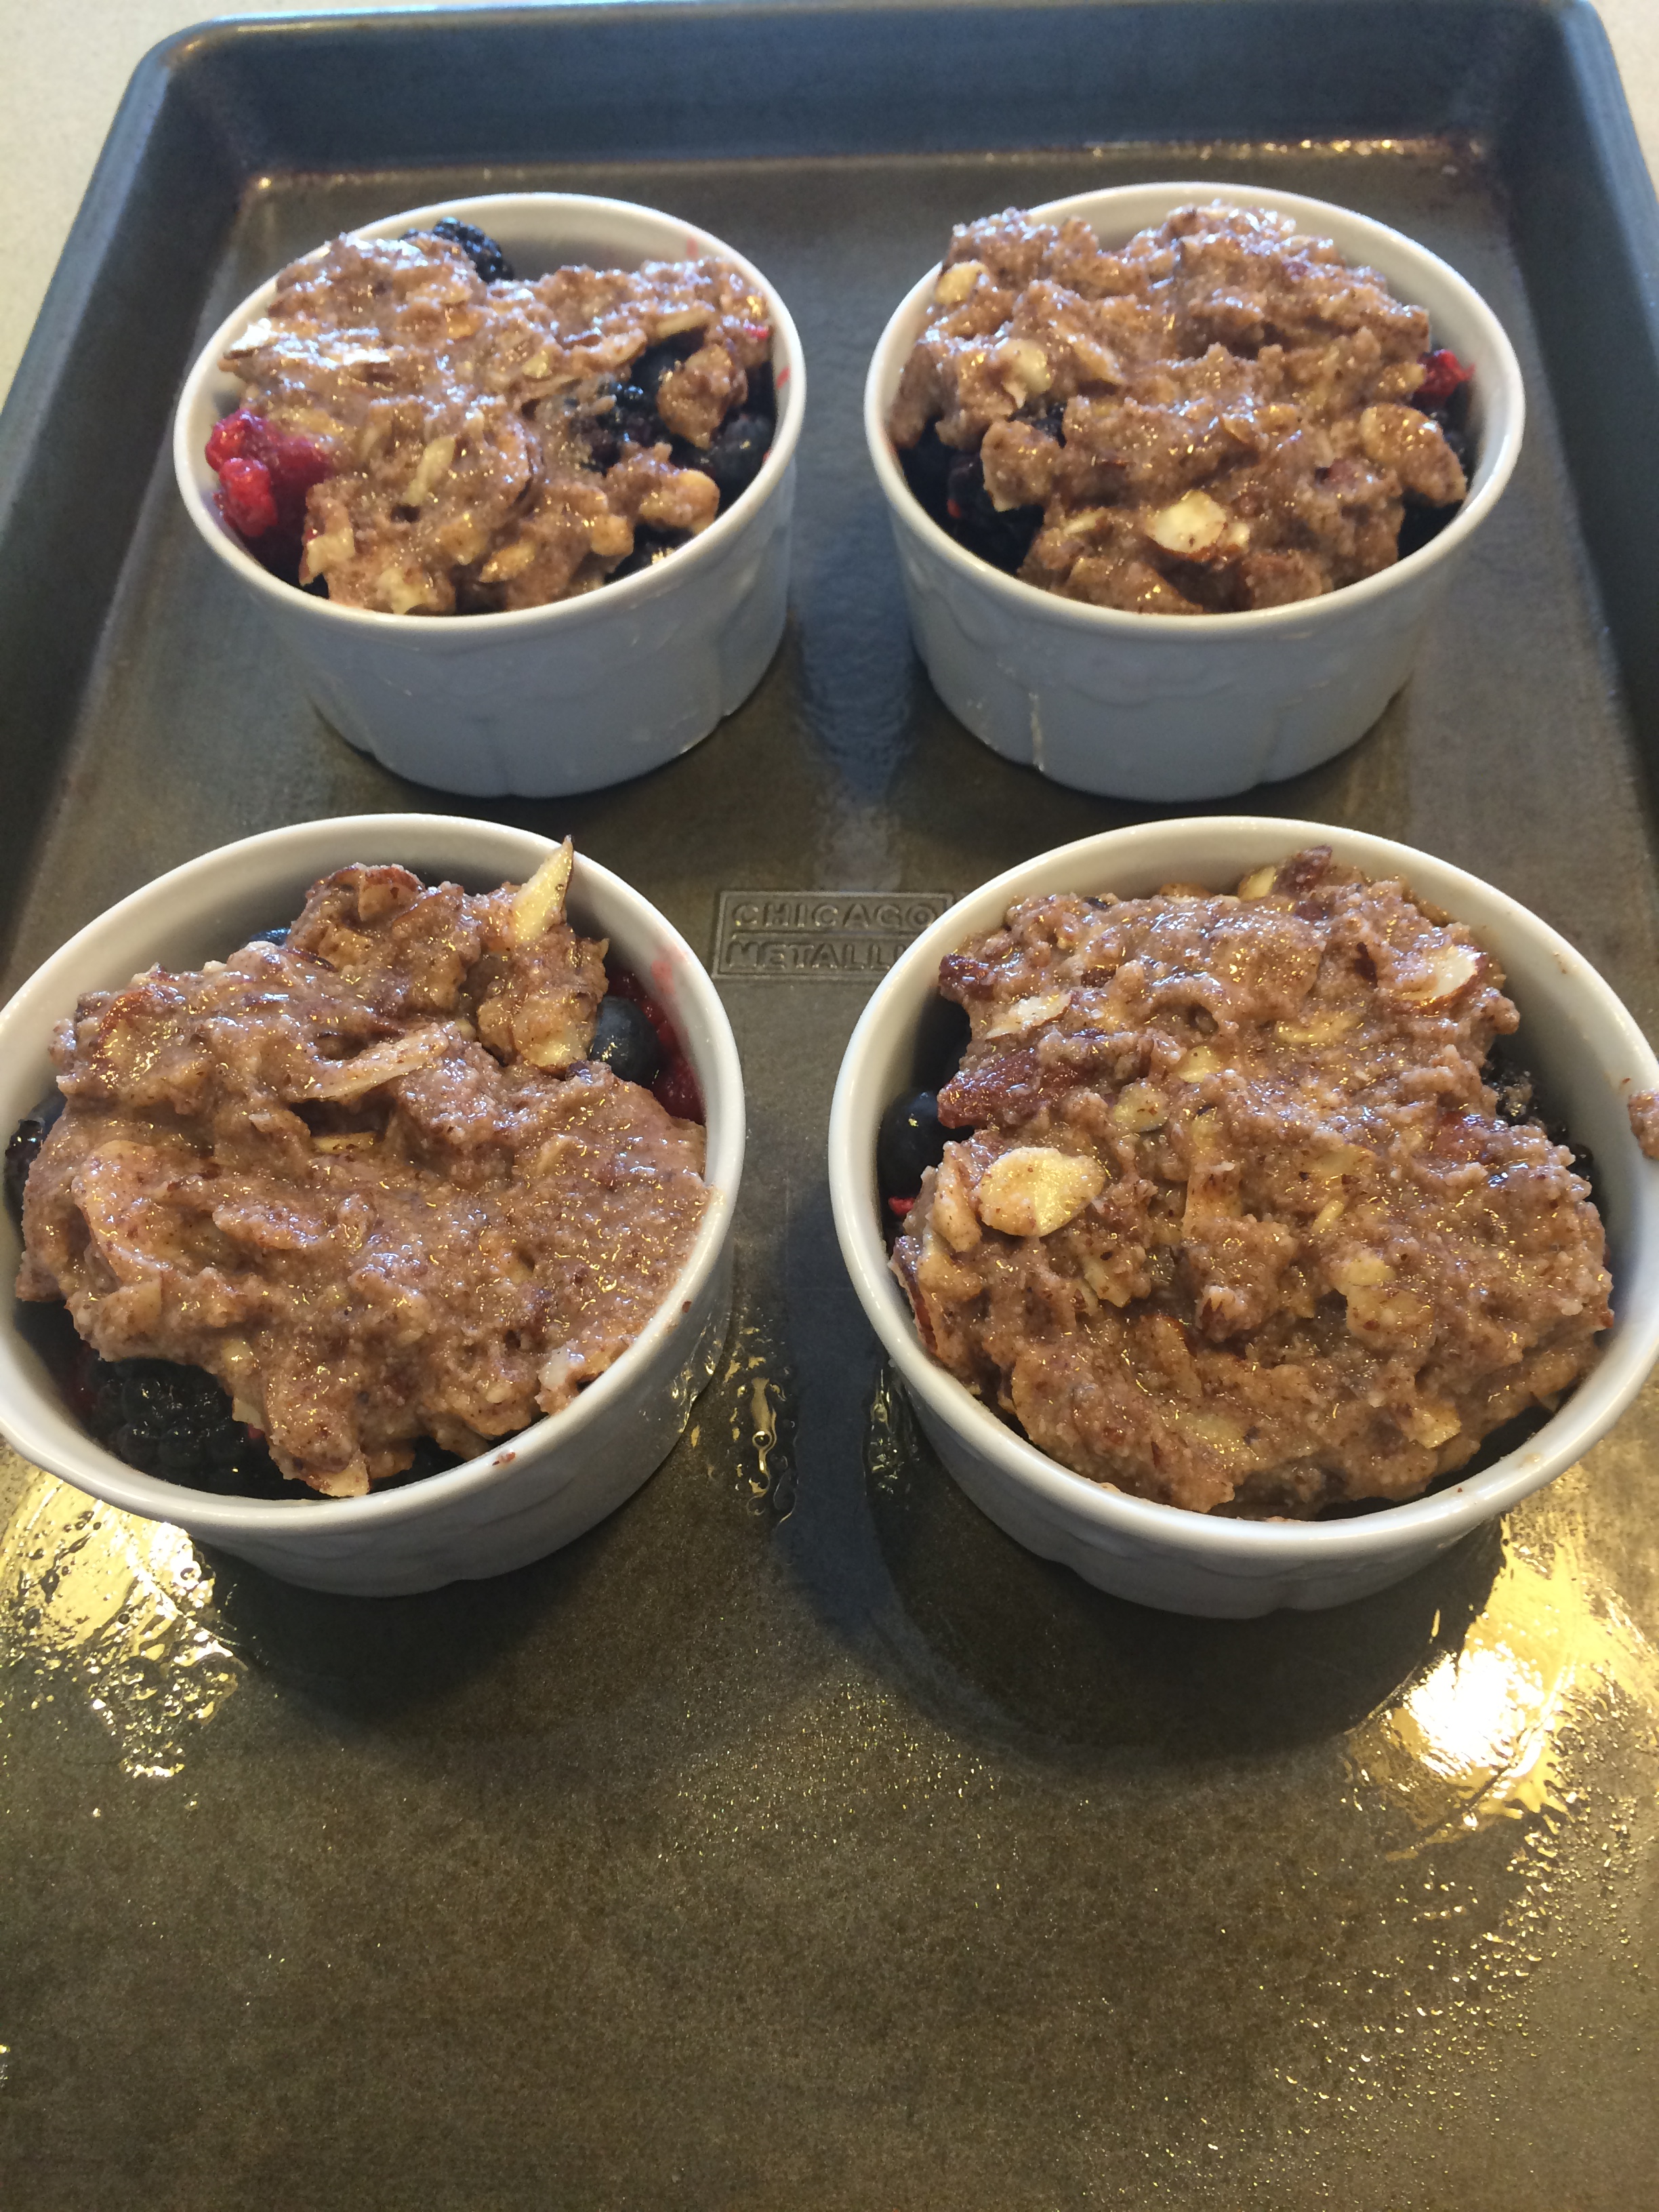
I had some fresh blueberries, some fresh blackberries and a few random raspberries that were going to go uneaten . What better time to try this? You can make this with just blueberries, or any berry or fruit you like. Berries are in abundance now and super delicious. This recipe took me all of 1/2 hour to put together. Use cooking spray on ramekins and baking sheet or use parchment paper for easier clean-up. I used 4 ramekins but you can stretch this to 6 for sure.
I just sampled and can say that while they are not cloyingly sweet they have a bit of sweetness and crunch and you can really taste the tartness of the berries. I wouldn’t mind topping with some ice cream or yogurt but I guess that would be defeating the purpose. There are some wonderful dairy-free ice creams out there and I suppose they would work just fine.
Just an addition– I ate it for breakfast this morning!!! with a little greek yogurt!
Ingredients:
app. 2 pints of berries — as I said you can mix them or use any one you like best. I used black, blue and raspberries. This can be made with apples, peaches, strawberries , nectarines and any combination of the above. I like making them in individual ramekins as a way of having portions already prepared which I think is very nice for dessert but equally nice made in a larger baking dish and you may need to double up on ingredients.
Ingredients:
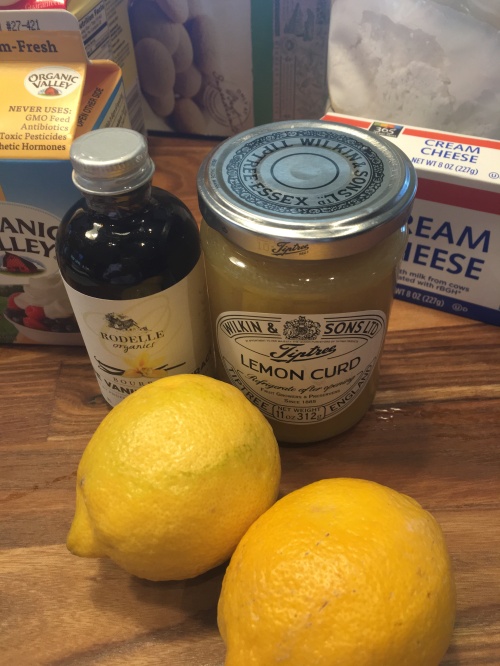
Juice of 1 lemon
1 cup almond flour–available in most supermarkets today ( Whole Foods)
*1/2 cup slivered almonds–obviously can be made without nuts but I love the crunch
1/4 cup coconut oil, melted
2 tbsp. maple syrup ( use pure maple not the artificial one)
1 tsp. cinnamon
pinch of nutmeg
Directions:
Preheat the oven to 375 degrees
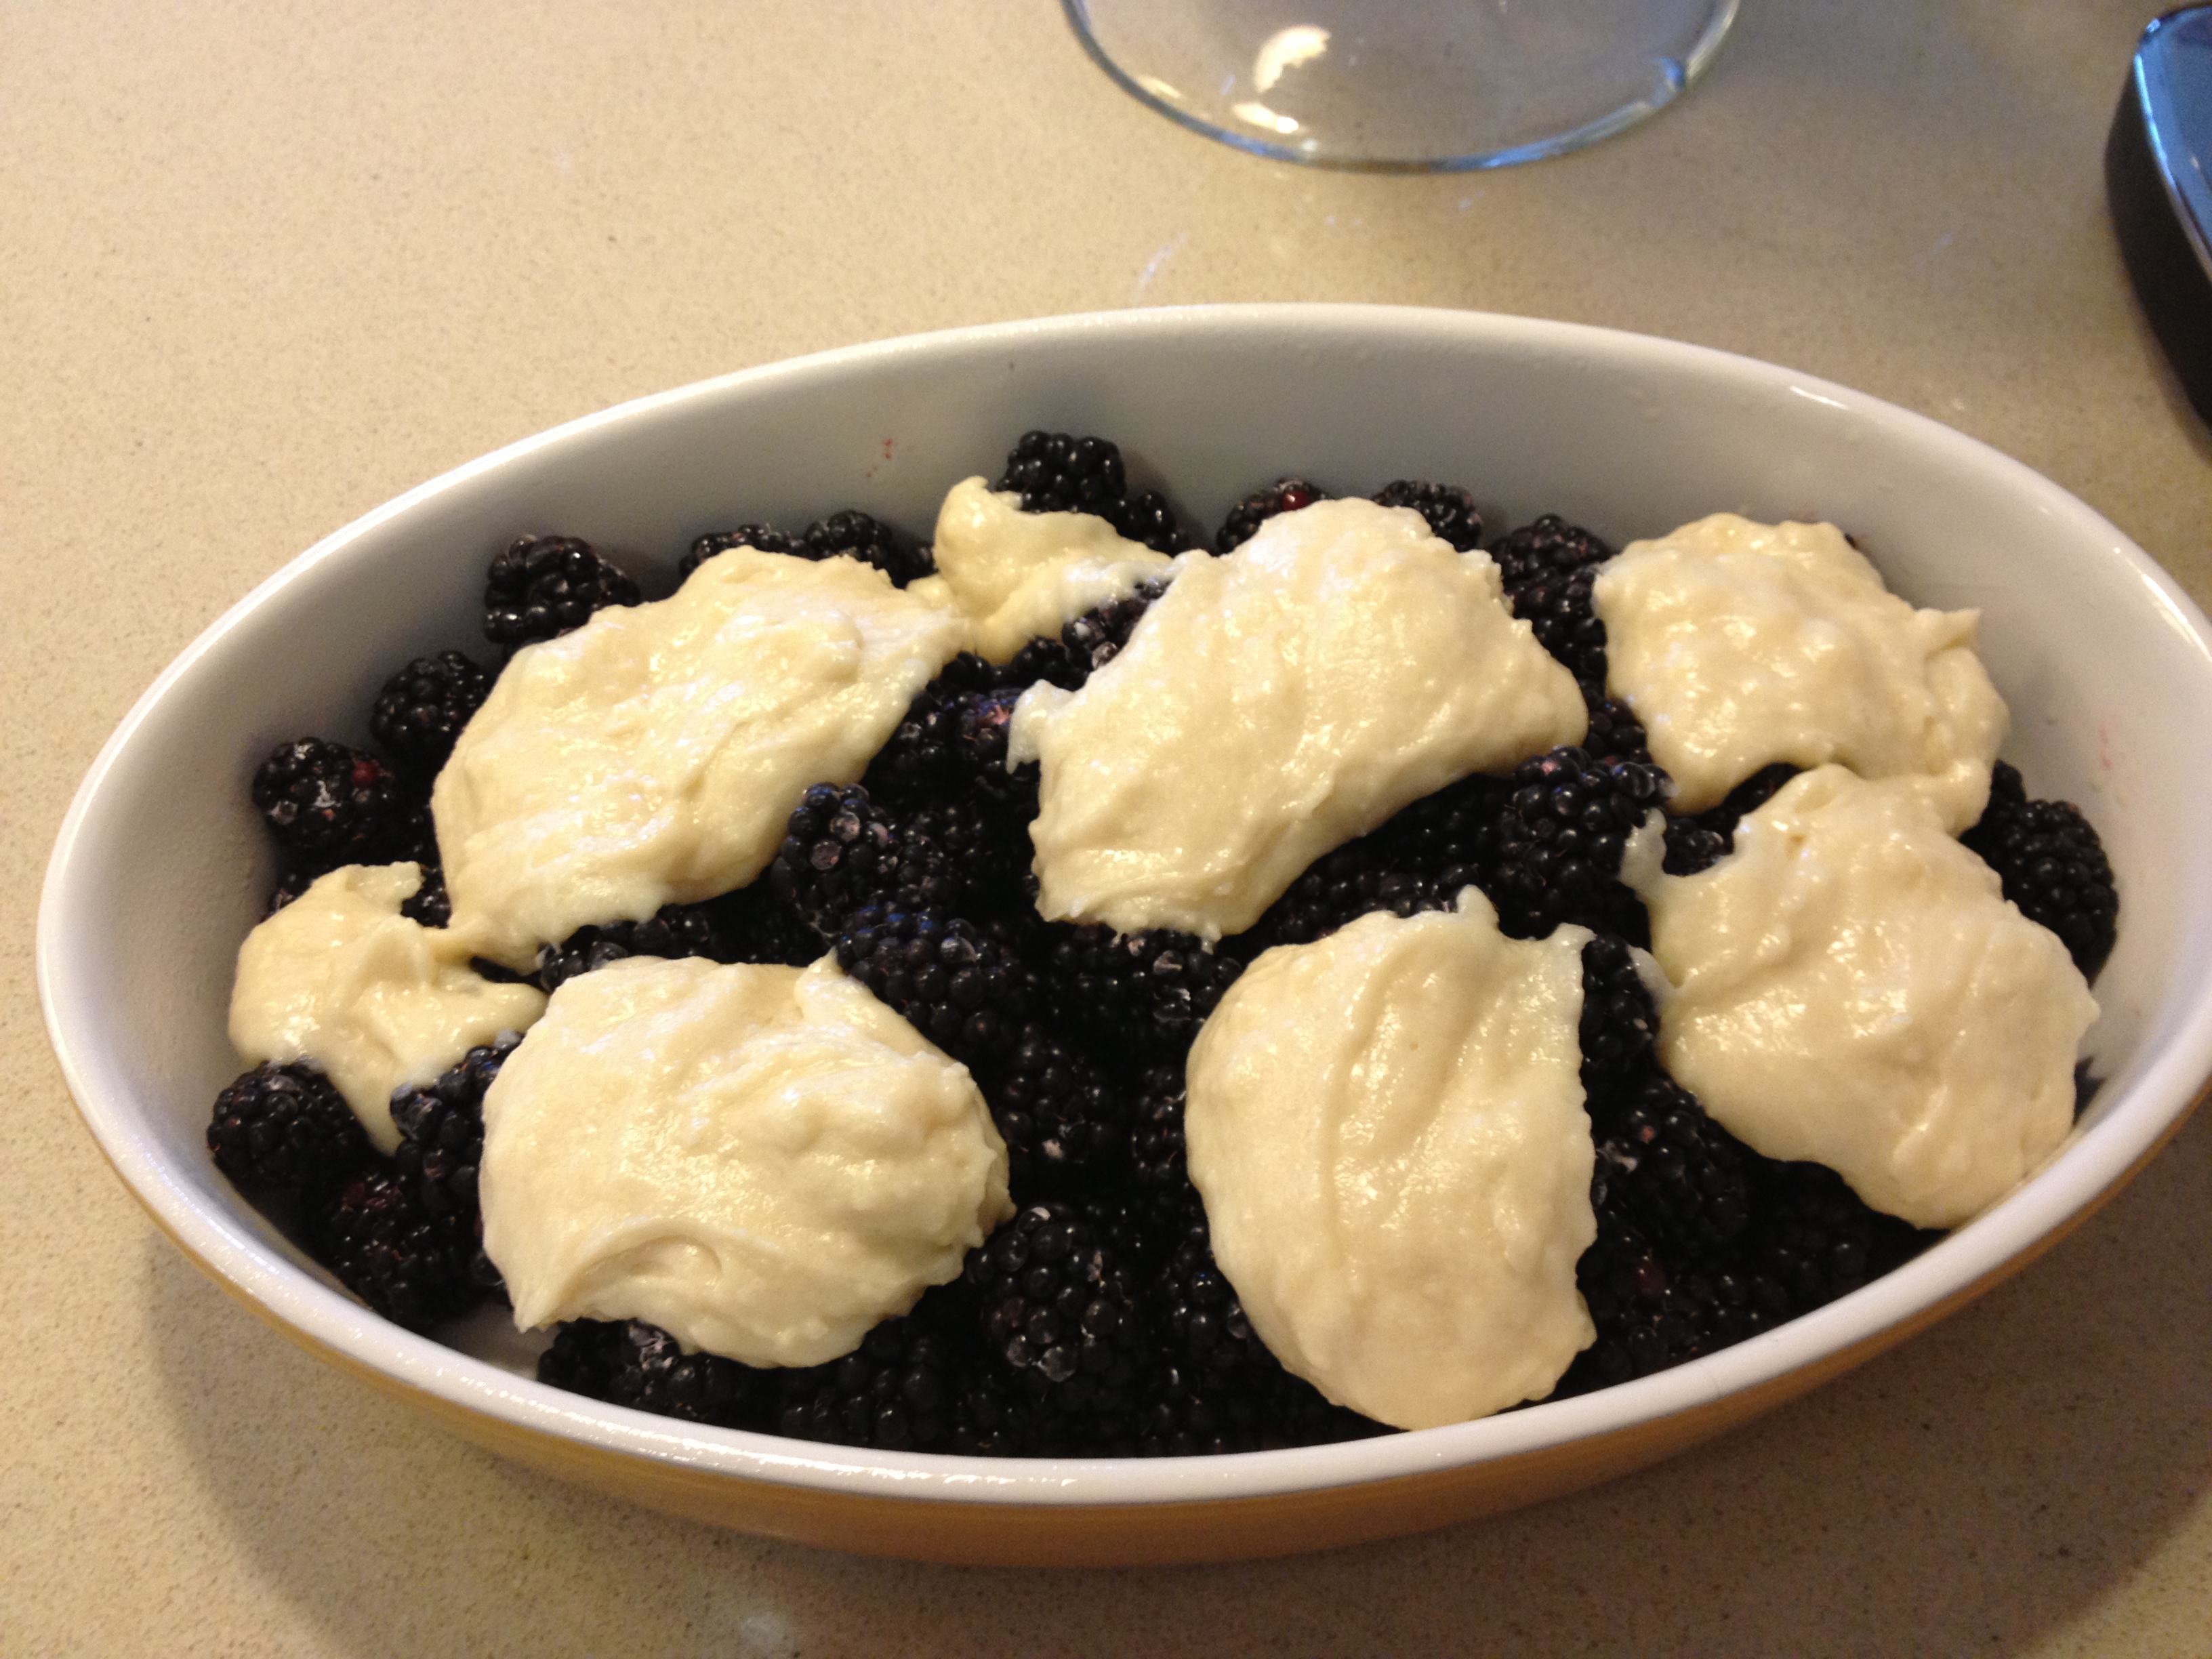
In a bowl, mix together the berries with the lemon juice. Divide between the ramekins ( spray ramekins first) you can also bake this in one large baking dish of course.
You can use the same bowl or a new one, and mix together remaining ingredients until combined. Spoon the almond mixture over the berries. Bake for app. 30 minutes , until bubbly and golden brown. Mine were done in 25 minutes so check your oven after 20 minutes to see where they’re at.
Let it cool slightly before serving.


 This is a delicious easy to make Chocolate Fudgy Brownie. Perfect for Valentines Day , as it is such a Chocolatey Holiday. I have always had a rather large sweet tooth and Valentines Day always meant candy, chocolate, dessert of one kind or another and it was always up there with my other favorite , Halloween for pretty much the same reasons. How can you not like a holiday that has so much sweetness? Make this brownie anytime and top with ice cream and chocolate sauce for an incredibly killer dessert. I personally cut them up into small pieces and don’t feel as guilty when I eat them. I came in today from being out all day and saw them on the cake stand and because I had cut them up so small, I indulged in two pieces and it just hit the spot!!! Make no mistake these are the real deal, and I never really understand why anyone would use a mix when this is so easy and all the ingredients are so readily available. And you have bragging rights for Homemade. Just make sure you use an 8 x 8 baking dish, this really does make a difference. Enjoy and Happy V-Day!!!!


