
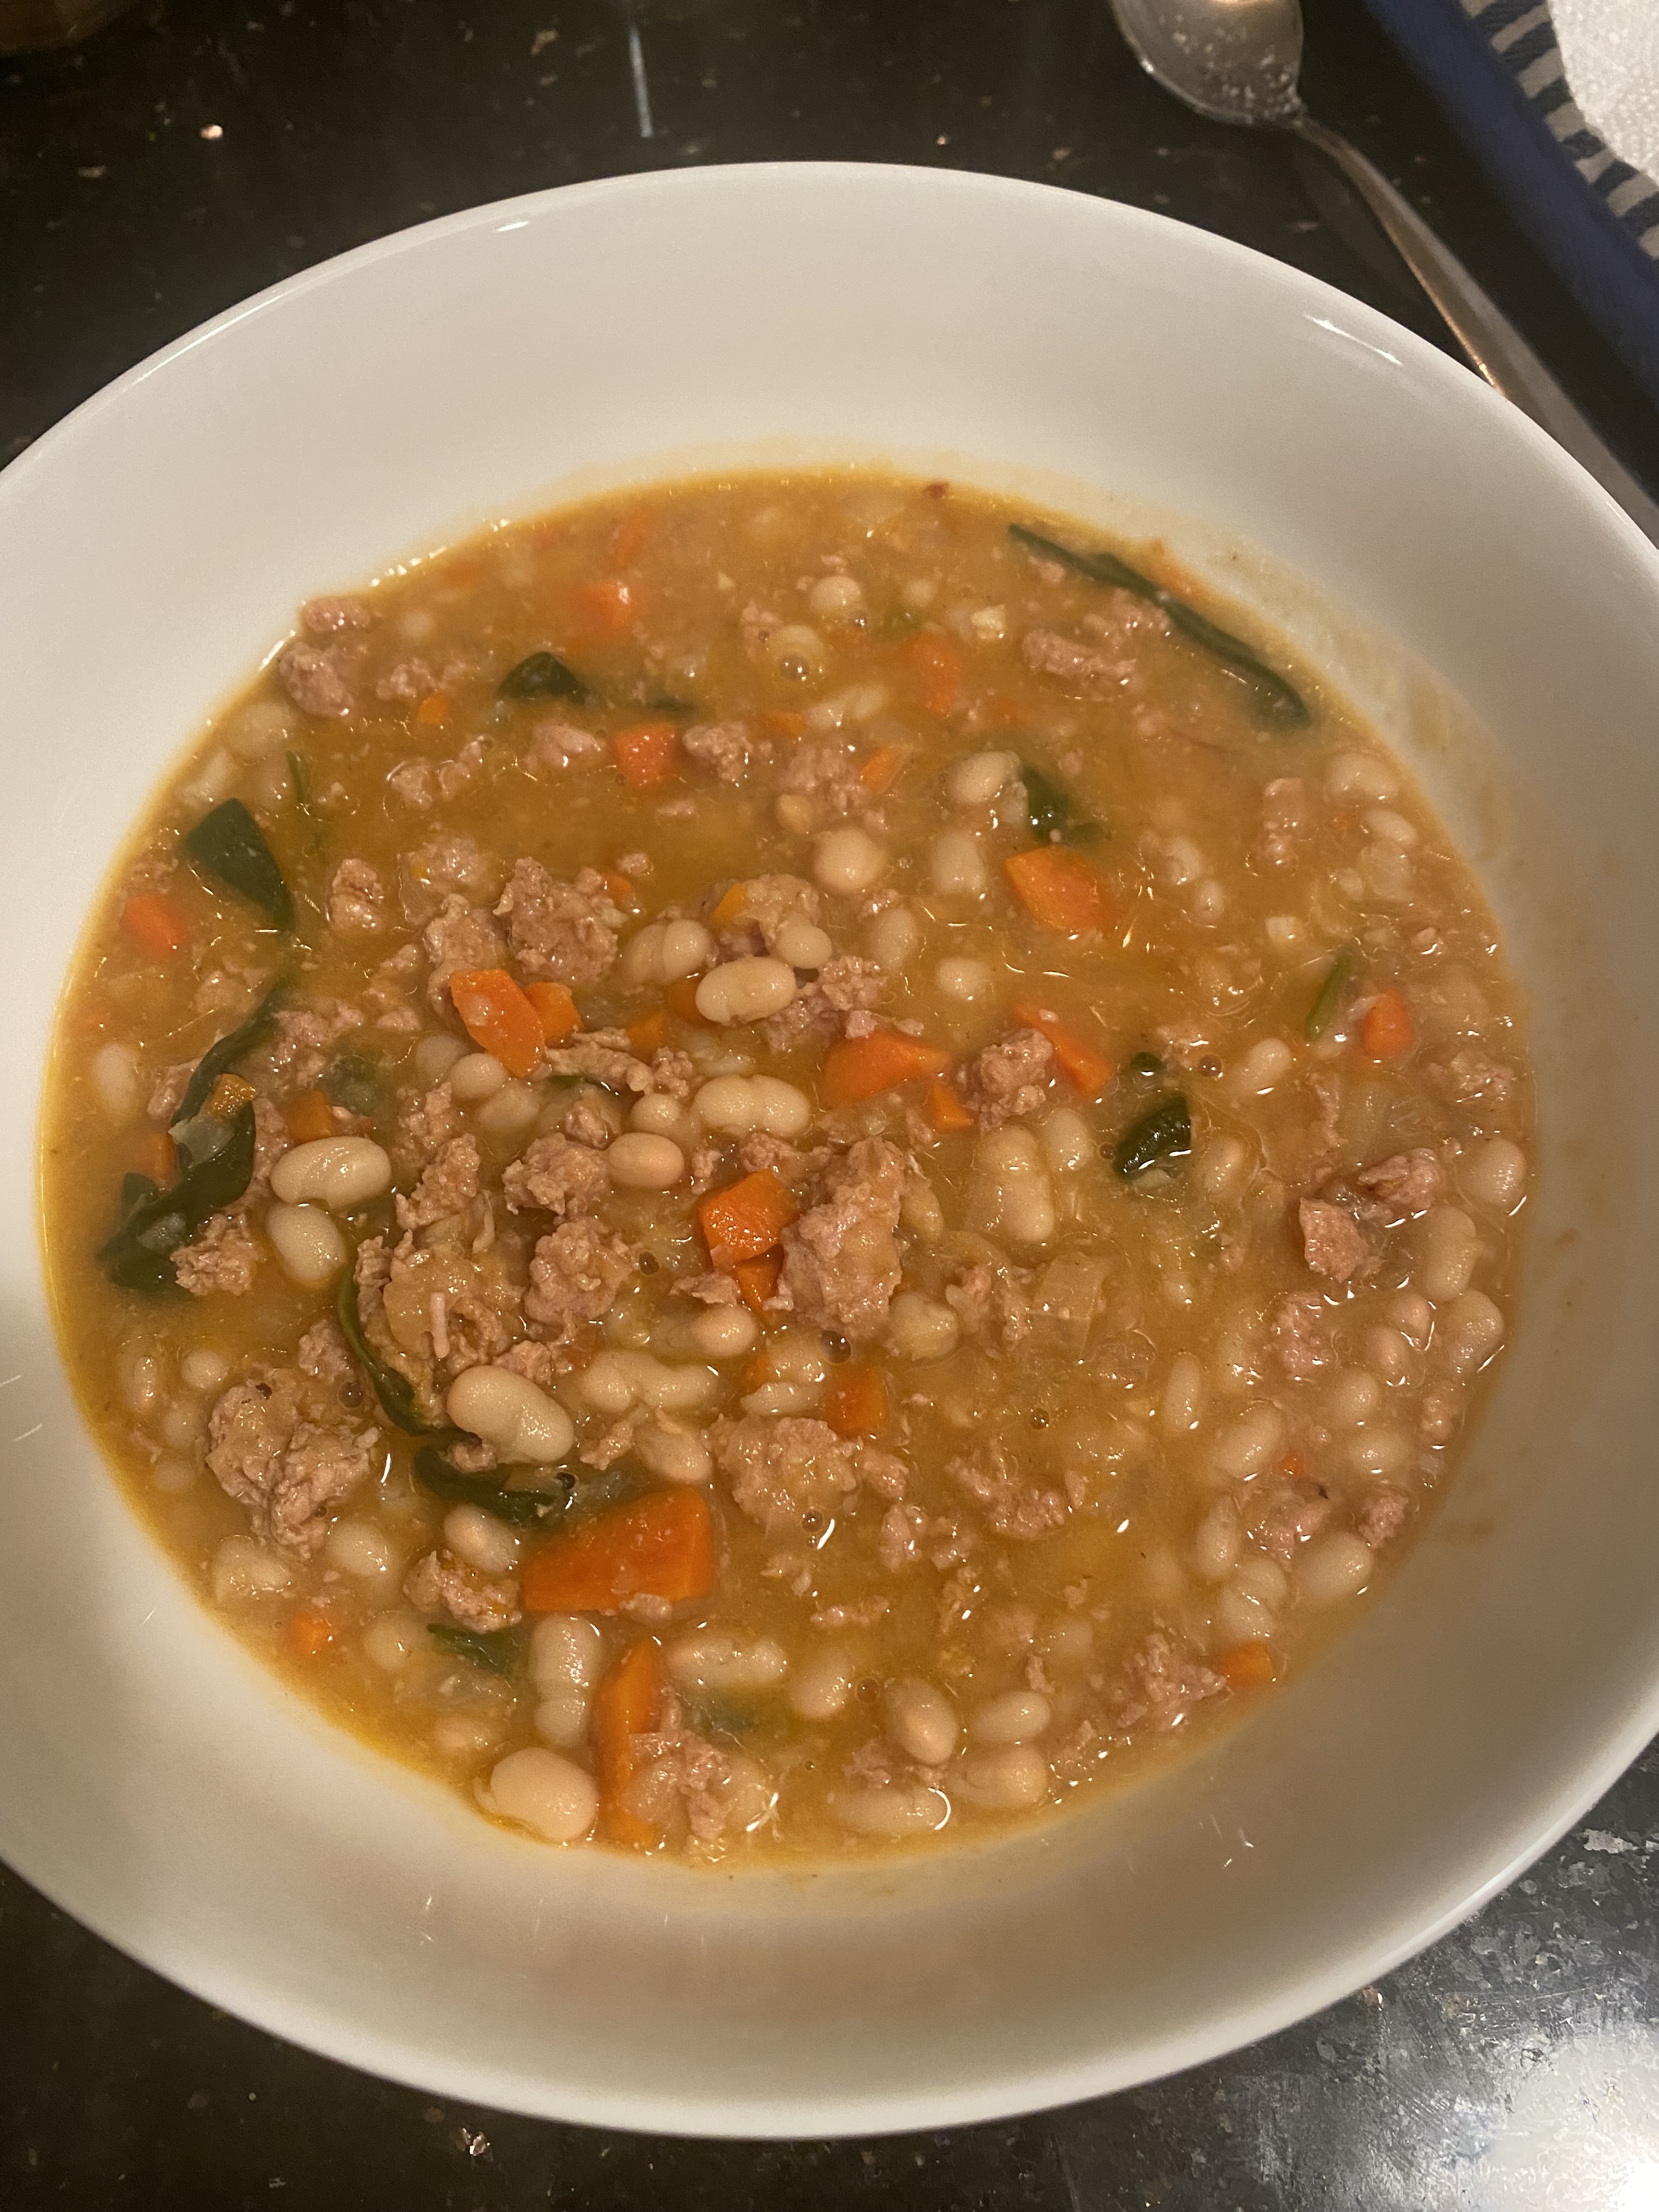
This soup recipe was inspired by Melissa Clark’s Lemony White Bean Soup with Turkey and Greens. I changed the recipe around to suit my taste by all means check hers out as well @nytimes.com/recipes .
I like my soups thicker so I pureed 1 can of beans with a little broth and this had the desired effect. Don’t skimp on the squeeze of lemon it brightens up the flavor perfectly.
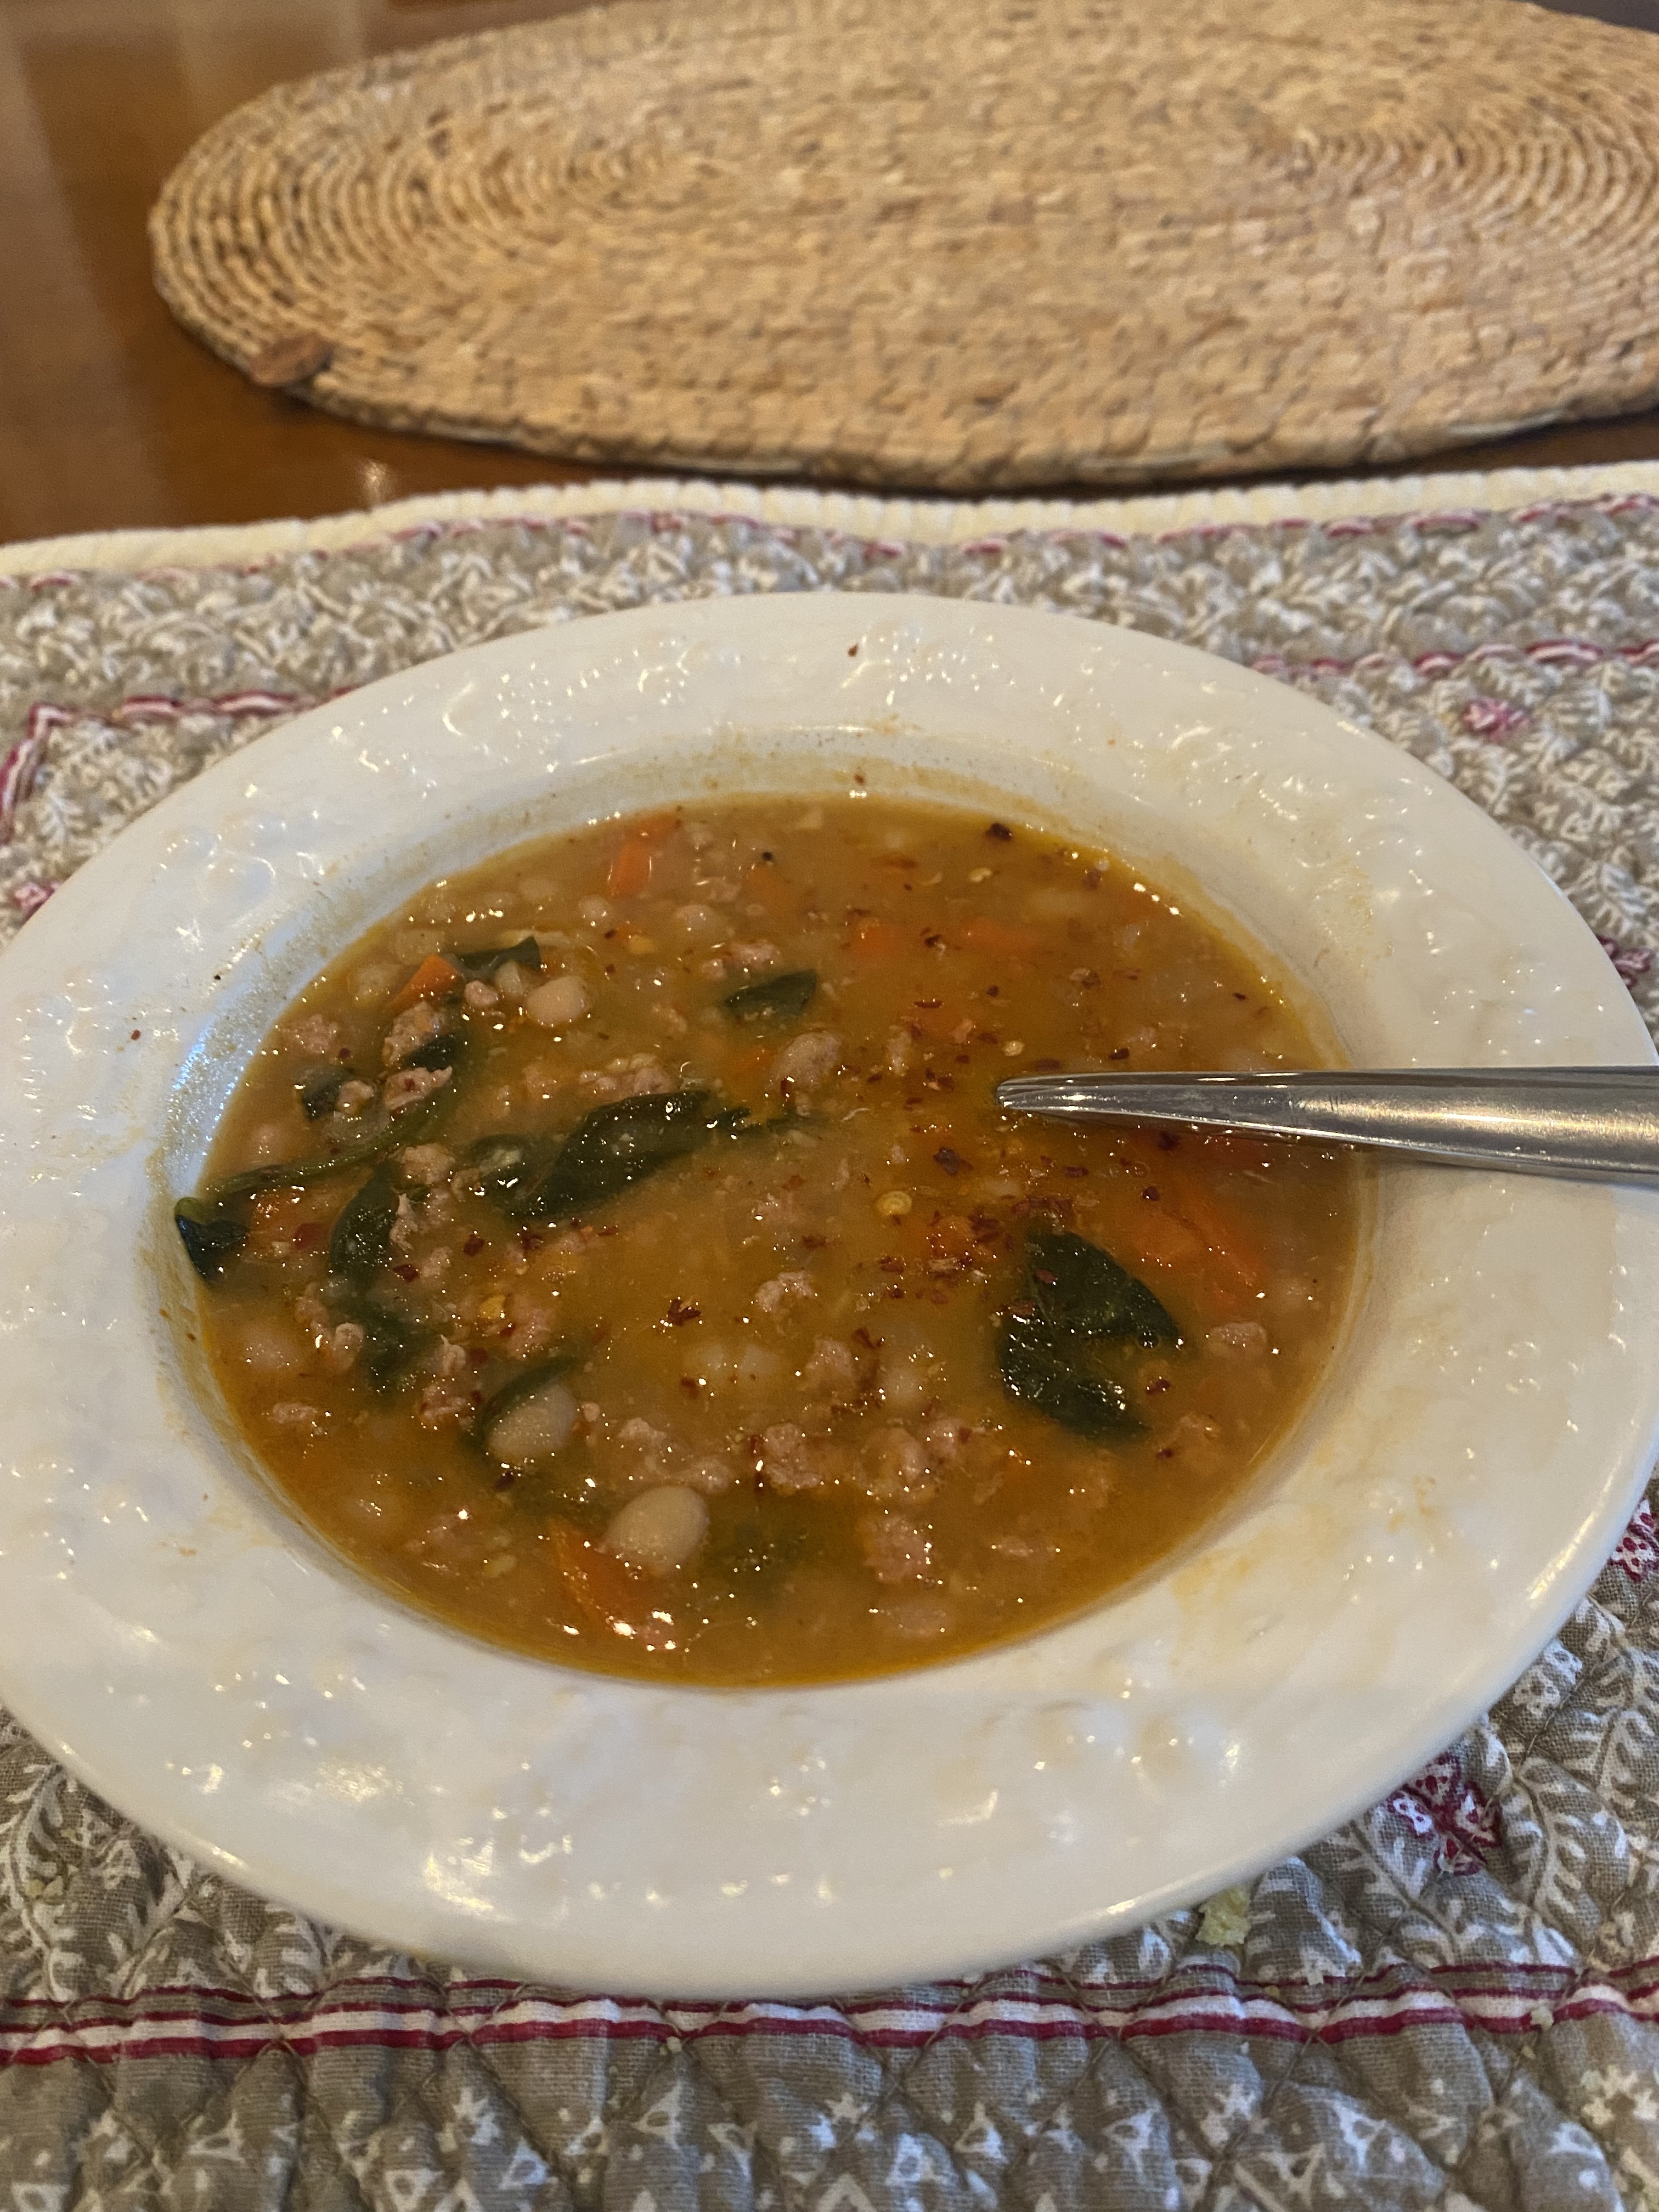
I really enjoyed this soup and it was excellent as lunch the next day . I just added a little water or broth if you still have some on hand and heated it up and it was perfection in a bowl.
You can freeze up to 3 months and when you defrost you’ll just add a little water or broth to bring it back to the perfect consistency.
I served alongside a lovely crusty bread with some Manchego cheese and a green salad. ( just a suggestion)
This is what I did.
Ingredients:
3 Tablespoons Olive Oil
1 large onion , diced
1 large carrot, peeled and diced
app. 1/2 bag baby spinach or regular spinach
1 Tablespoon Tomato Paste
1 Teaspoon Ground Cumin
1/4 teaspoon red-pepper flakes
1 lb. ground turkey
3 minced garlic cloves
1 Tablespoon finely grated fresh ginger
1 Teaspoon kosher salt, plus more to taste
1 quart chicken stock– I used a little more to puree beans or just puree beans without broth — it will be fine. I happen to have some extra broth on hand.
2 15 oz. cans white beans, drained and rinsed — Cannellini or small white bean or Navy Beans
1/2 Lemon — squeezed
Directions:
Heat a large soup pot ( Le Creuset) over medium-high heat for a minute or so and add the 3 tablespoons olive oil, heat for another minute or so. Add diced onion and carrot, saute until very soft and onions are translucent , app. 10 minutes. ( don’t burn)
When the onion is golden, add tomato paste, cumin and red-pepper flakes to the pot, saute until paste darkens, a few minutes more.
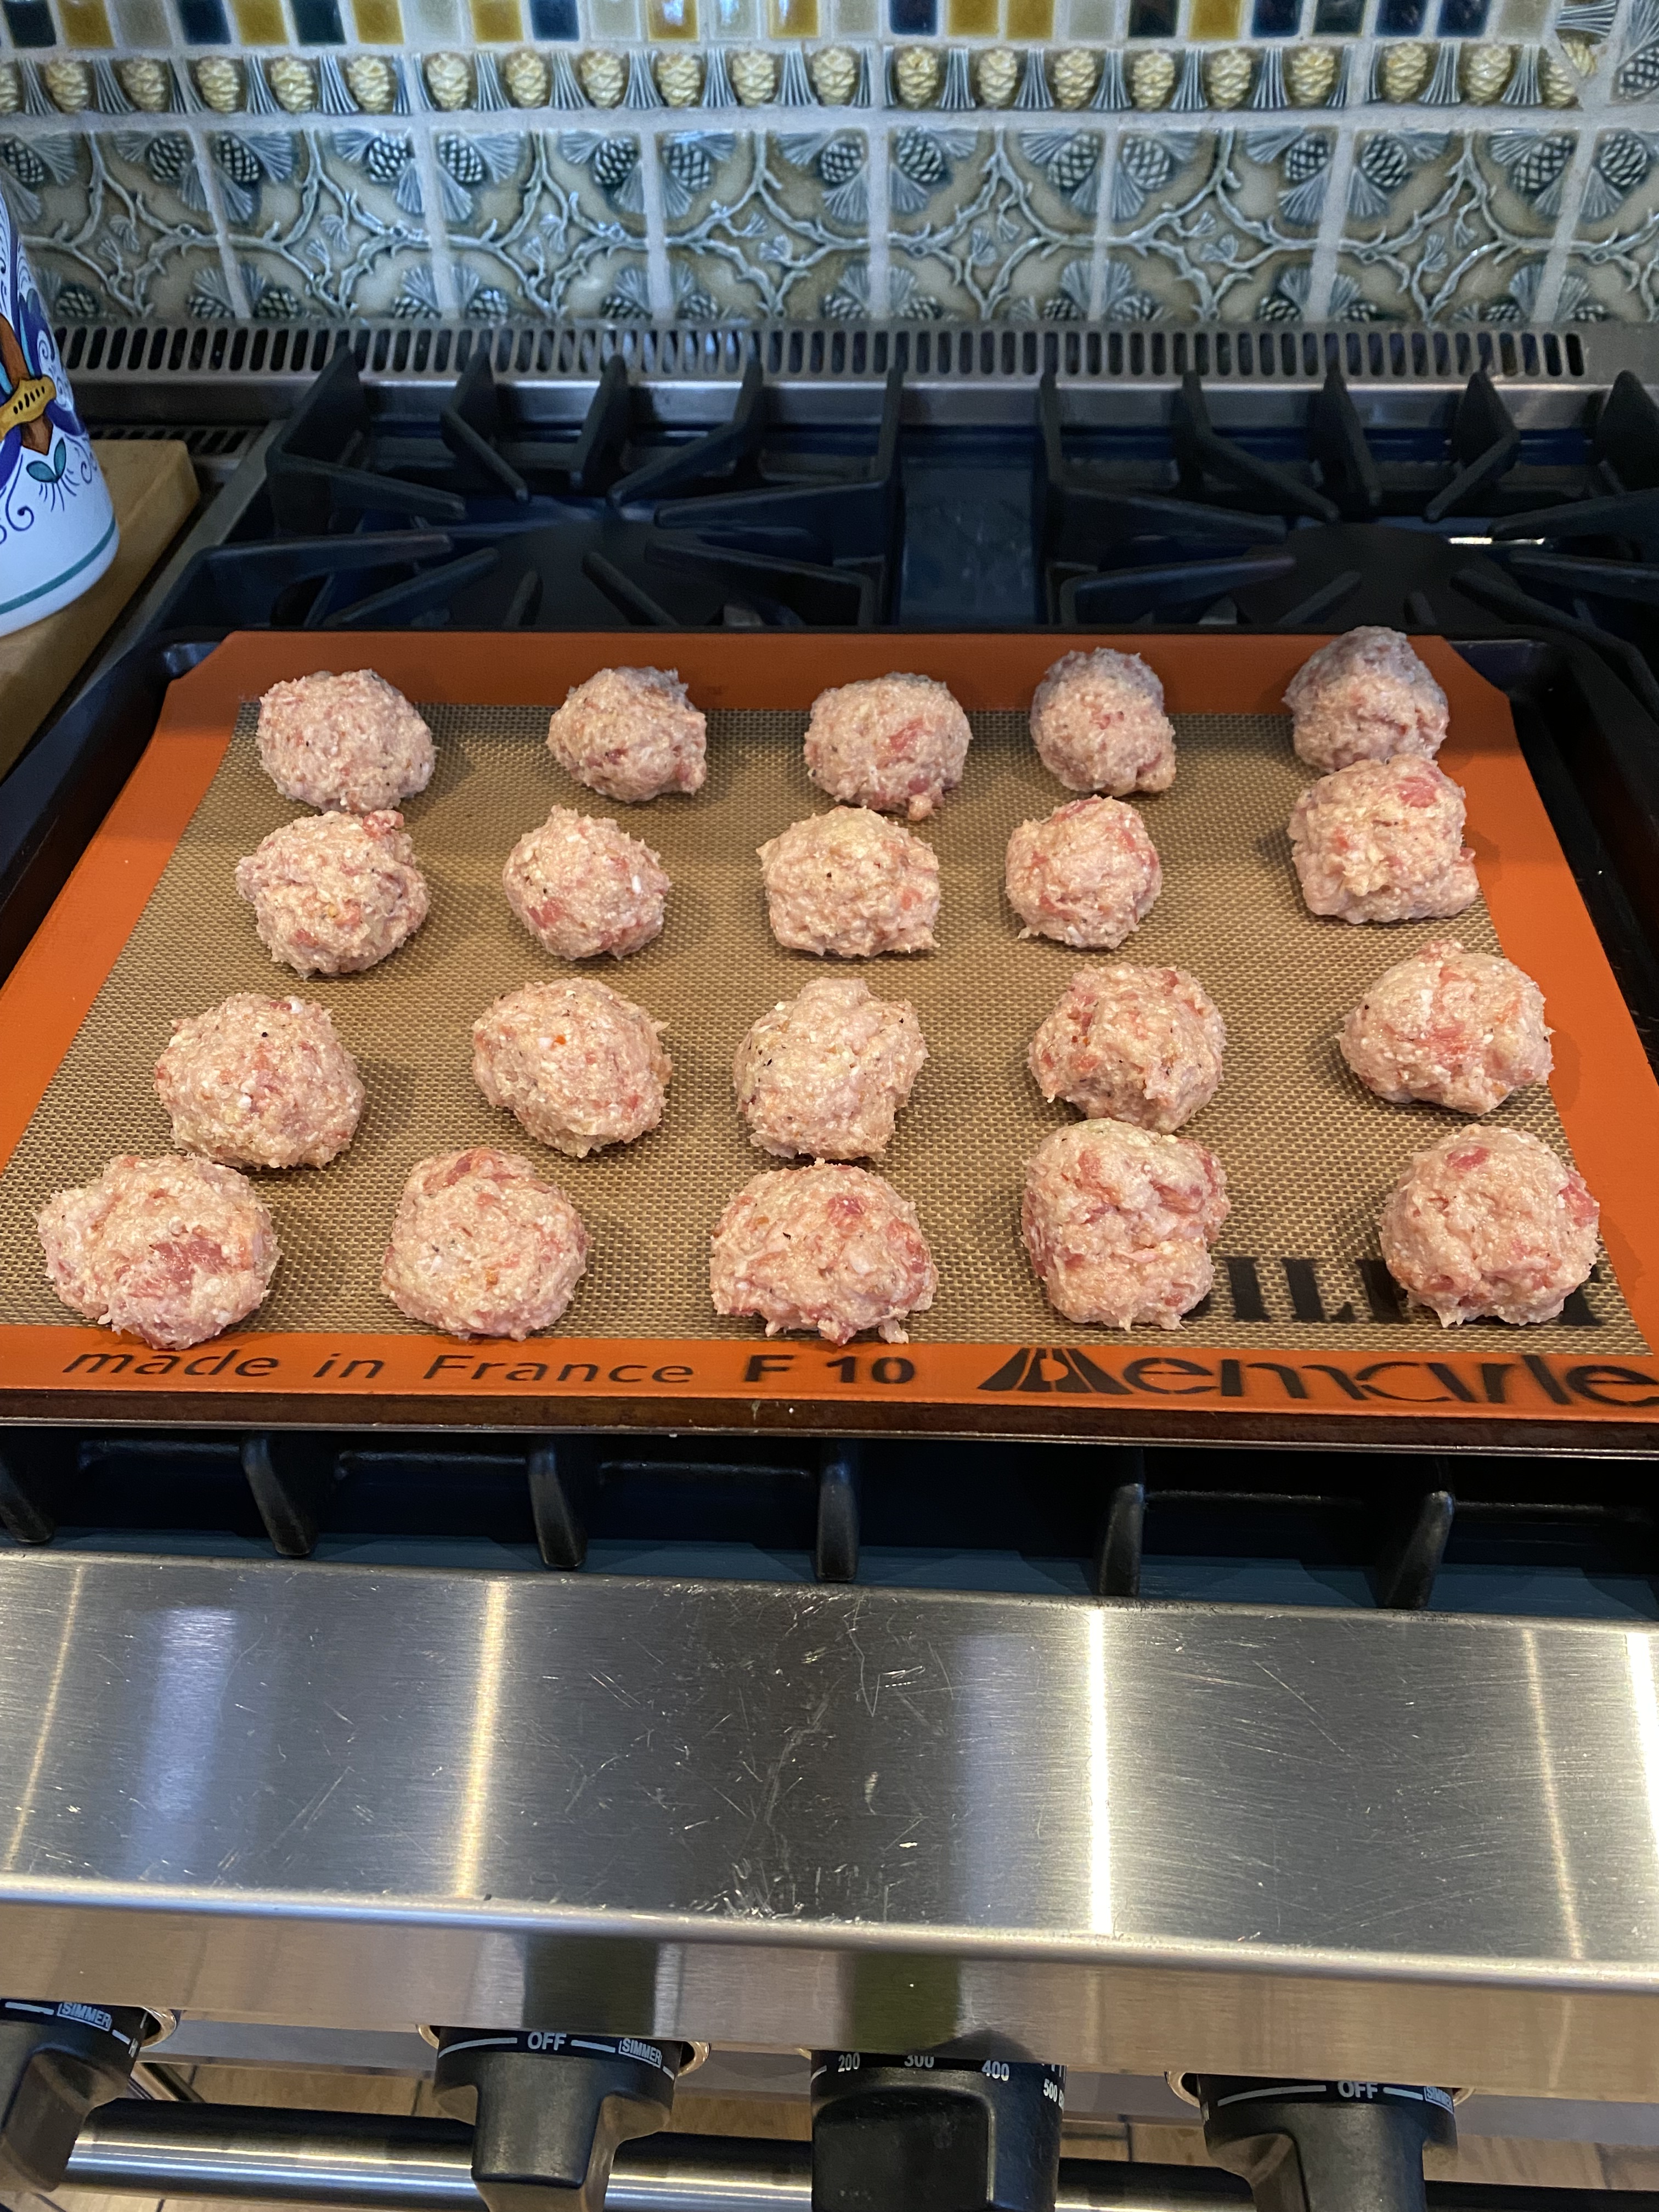
Add turkey, garlic, ginger and 1 teaspoon kosher salt, saute and break up the meat, until turkey is well incorporated , app. 7 – 10 minutes.
While this was cooking , I took 1 can of beans , ( rinsed and drained) and pureed along with a little broth in the food processor.
Keep the other can of beans whole after you rinse and drain.
Then add the stock and the whole beans and pureed beans and bring to a simmer. Let simmer until soup starts to thicken, tasting for salt as you go. I do this for at least an hour. I prefer a thicker broth and the pureed beans gave me this. You can always add more stock , a little water or even a splash of white wine to thin out the broth.
I like my soup to sit for a while and I kept it on a low simmer . Right before serving I added app. 1/2 bag of baby spinach. ( any greens will do but I prefer spinach because it’s soft and and takes no time. If you use Kale or a tougher green like collard greens it will take longer to soften up — maybe another 15 minutes or so.
I then squeezed 1/2 lemon into the soup pot, tasted for salt and it was done.
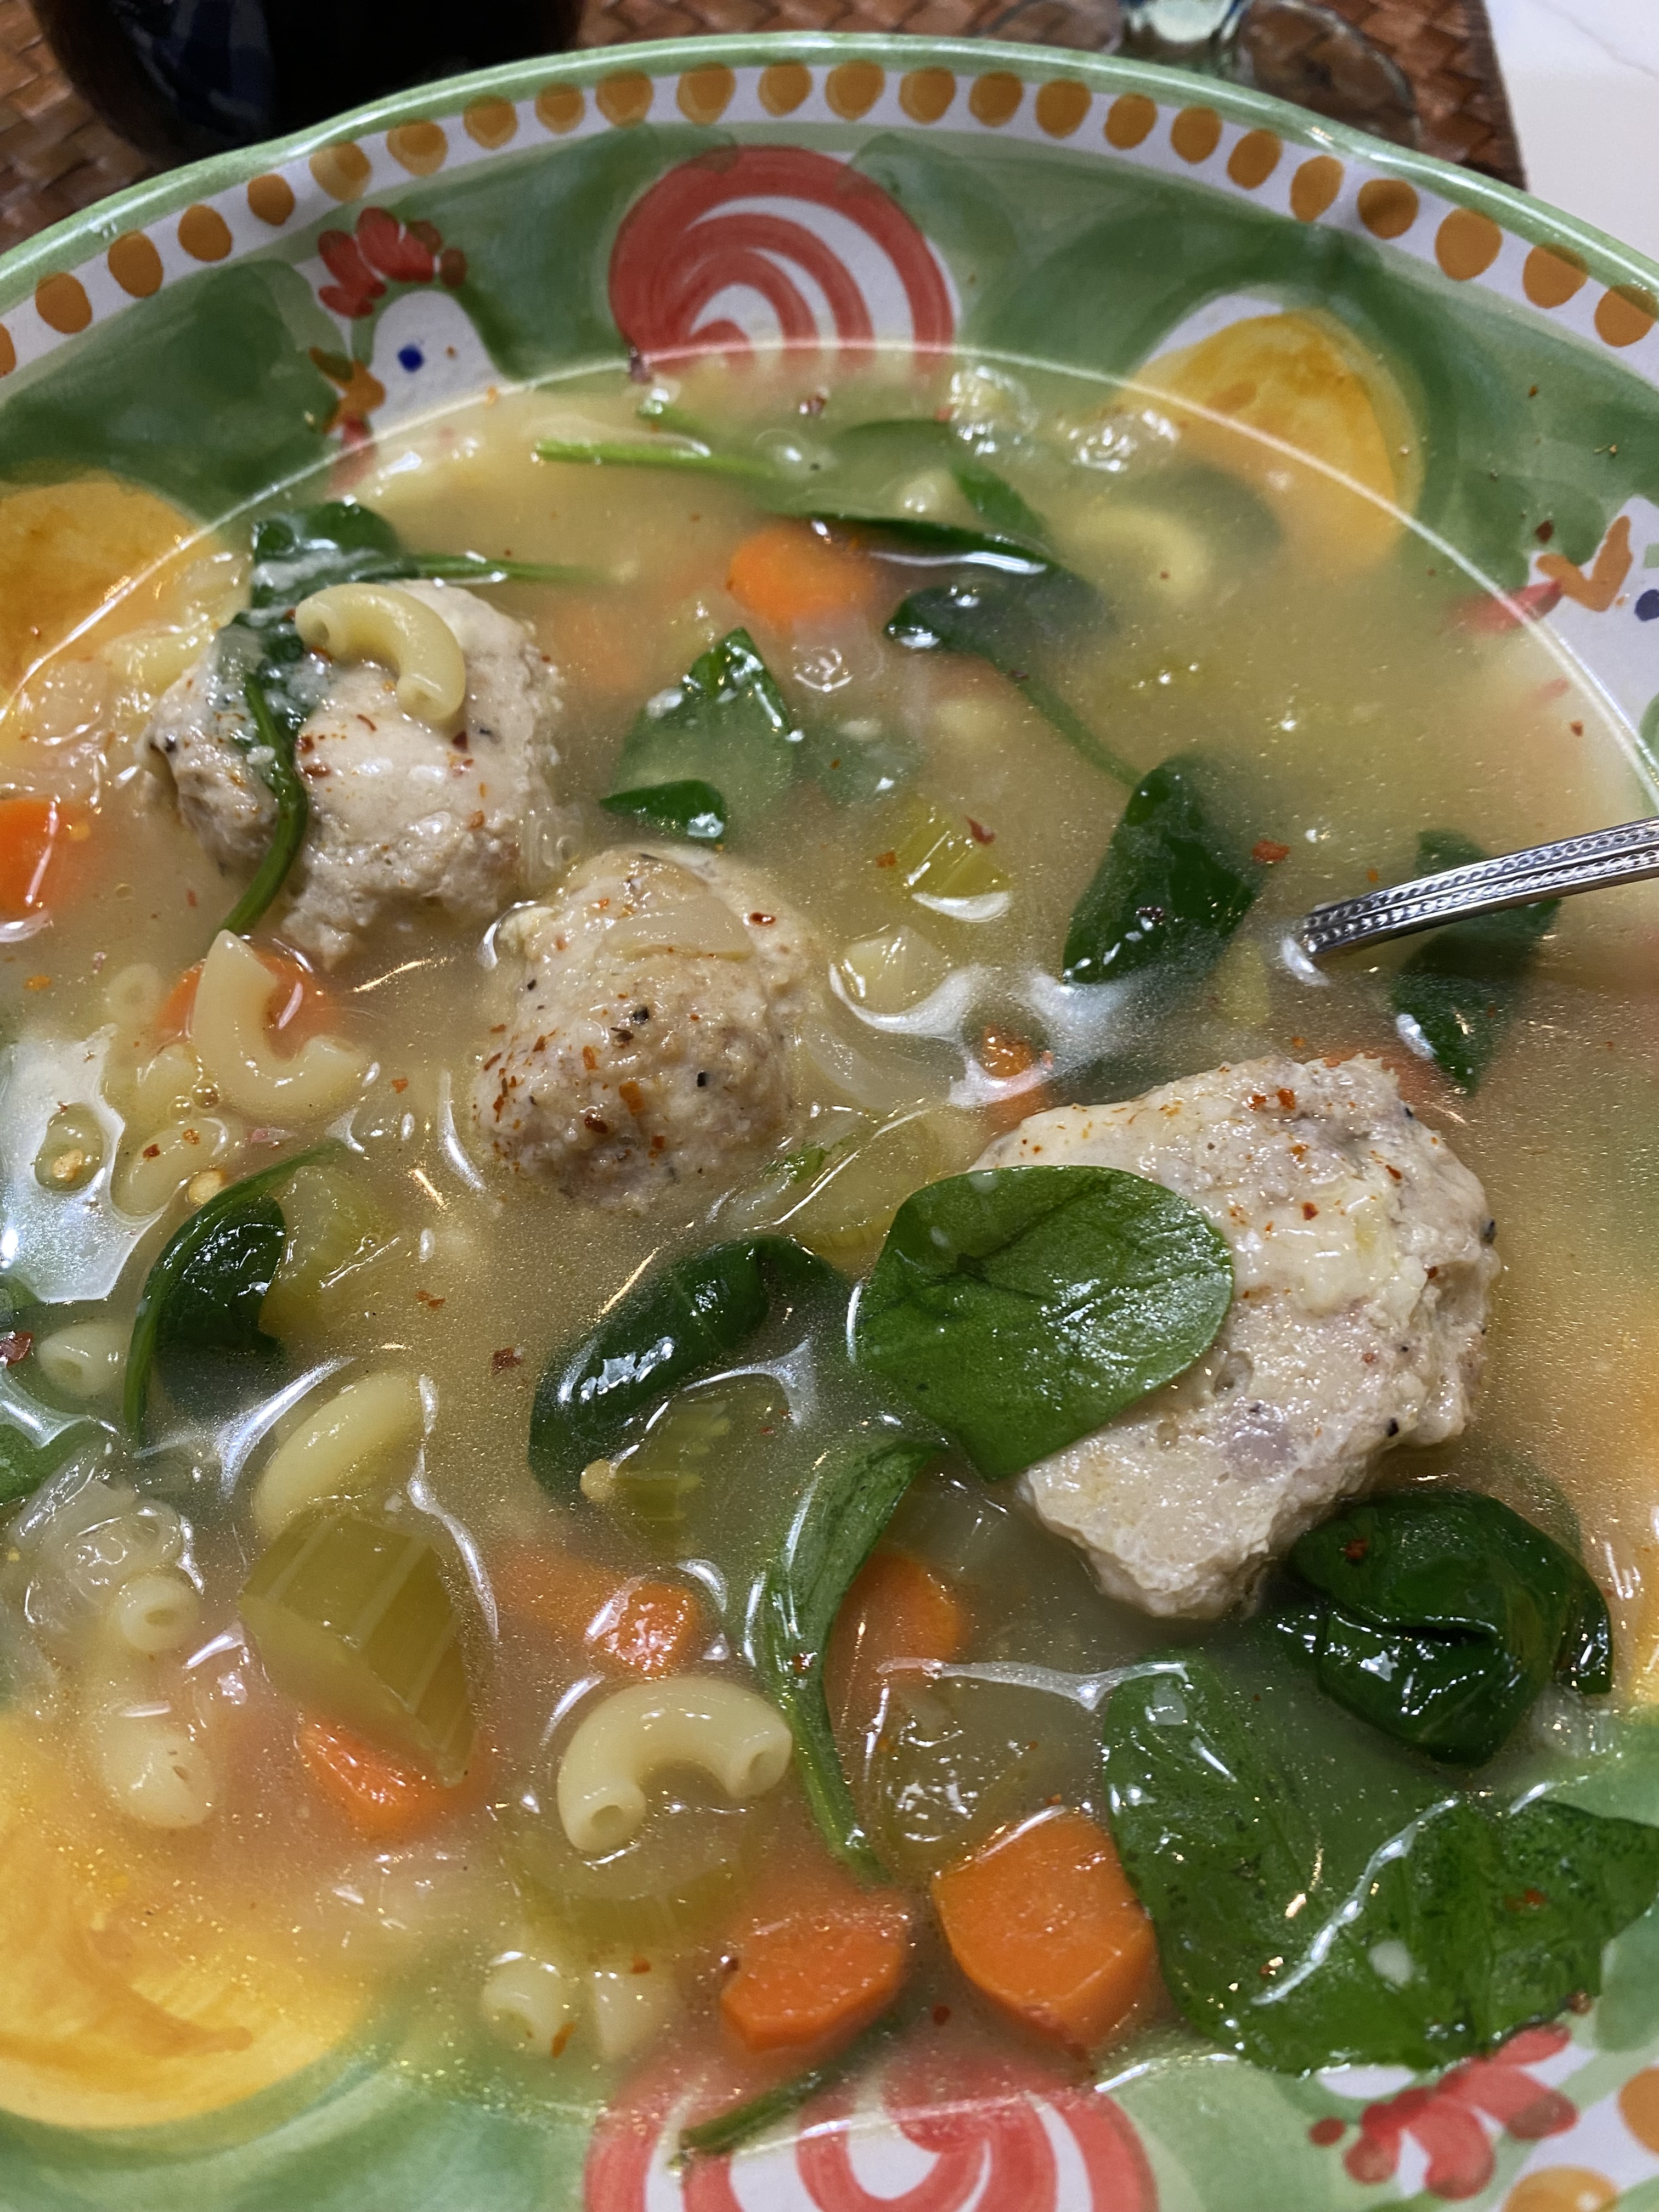
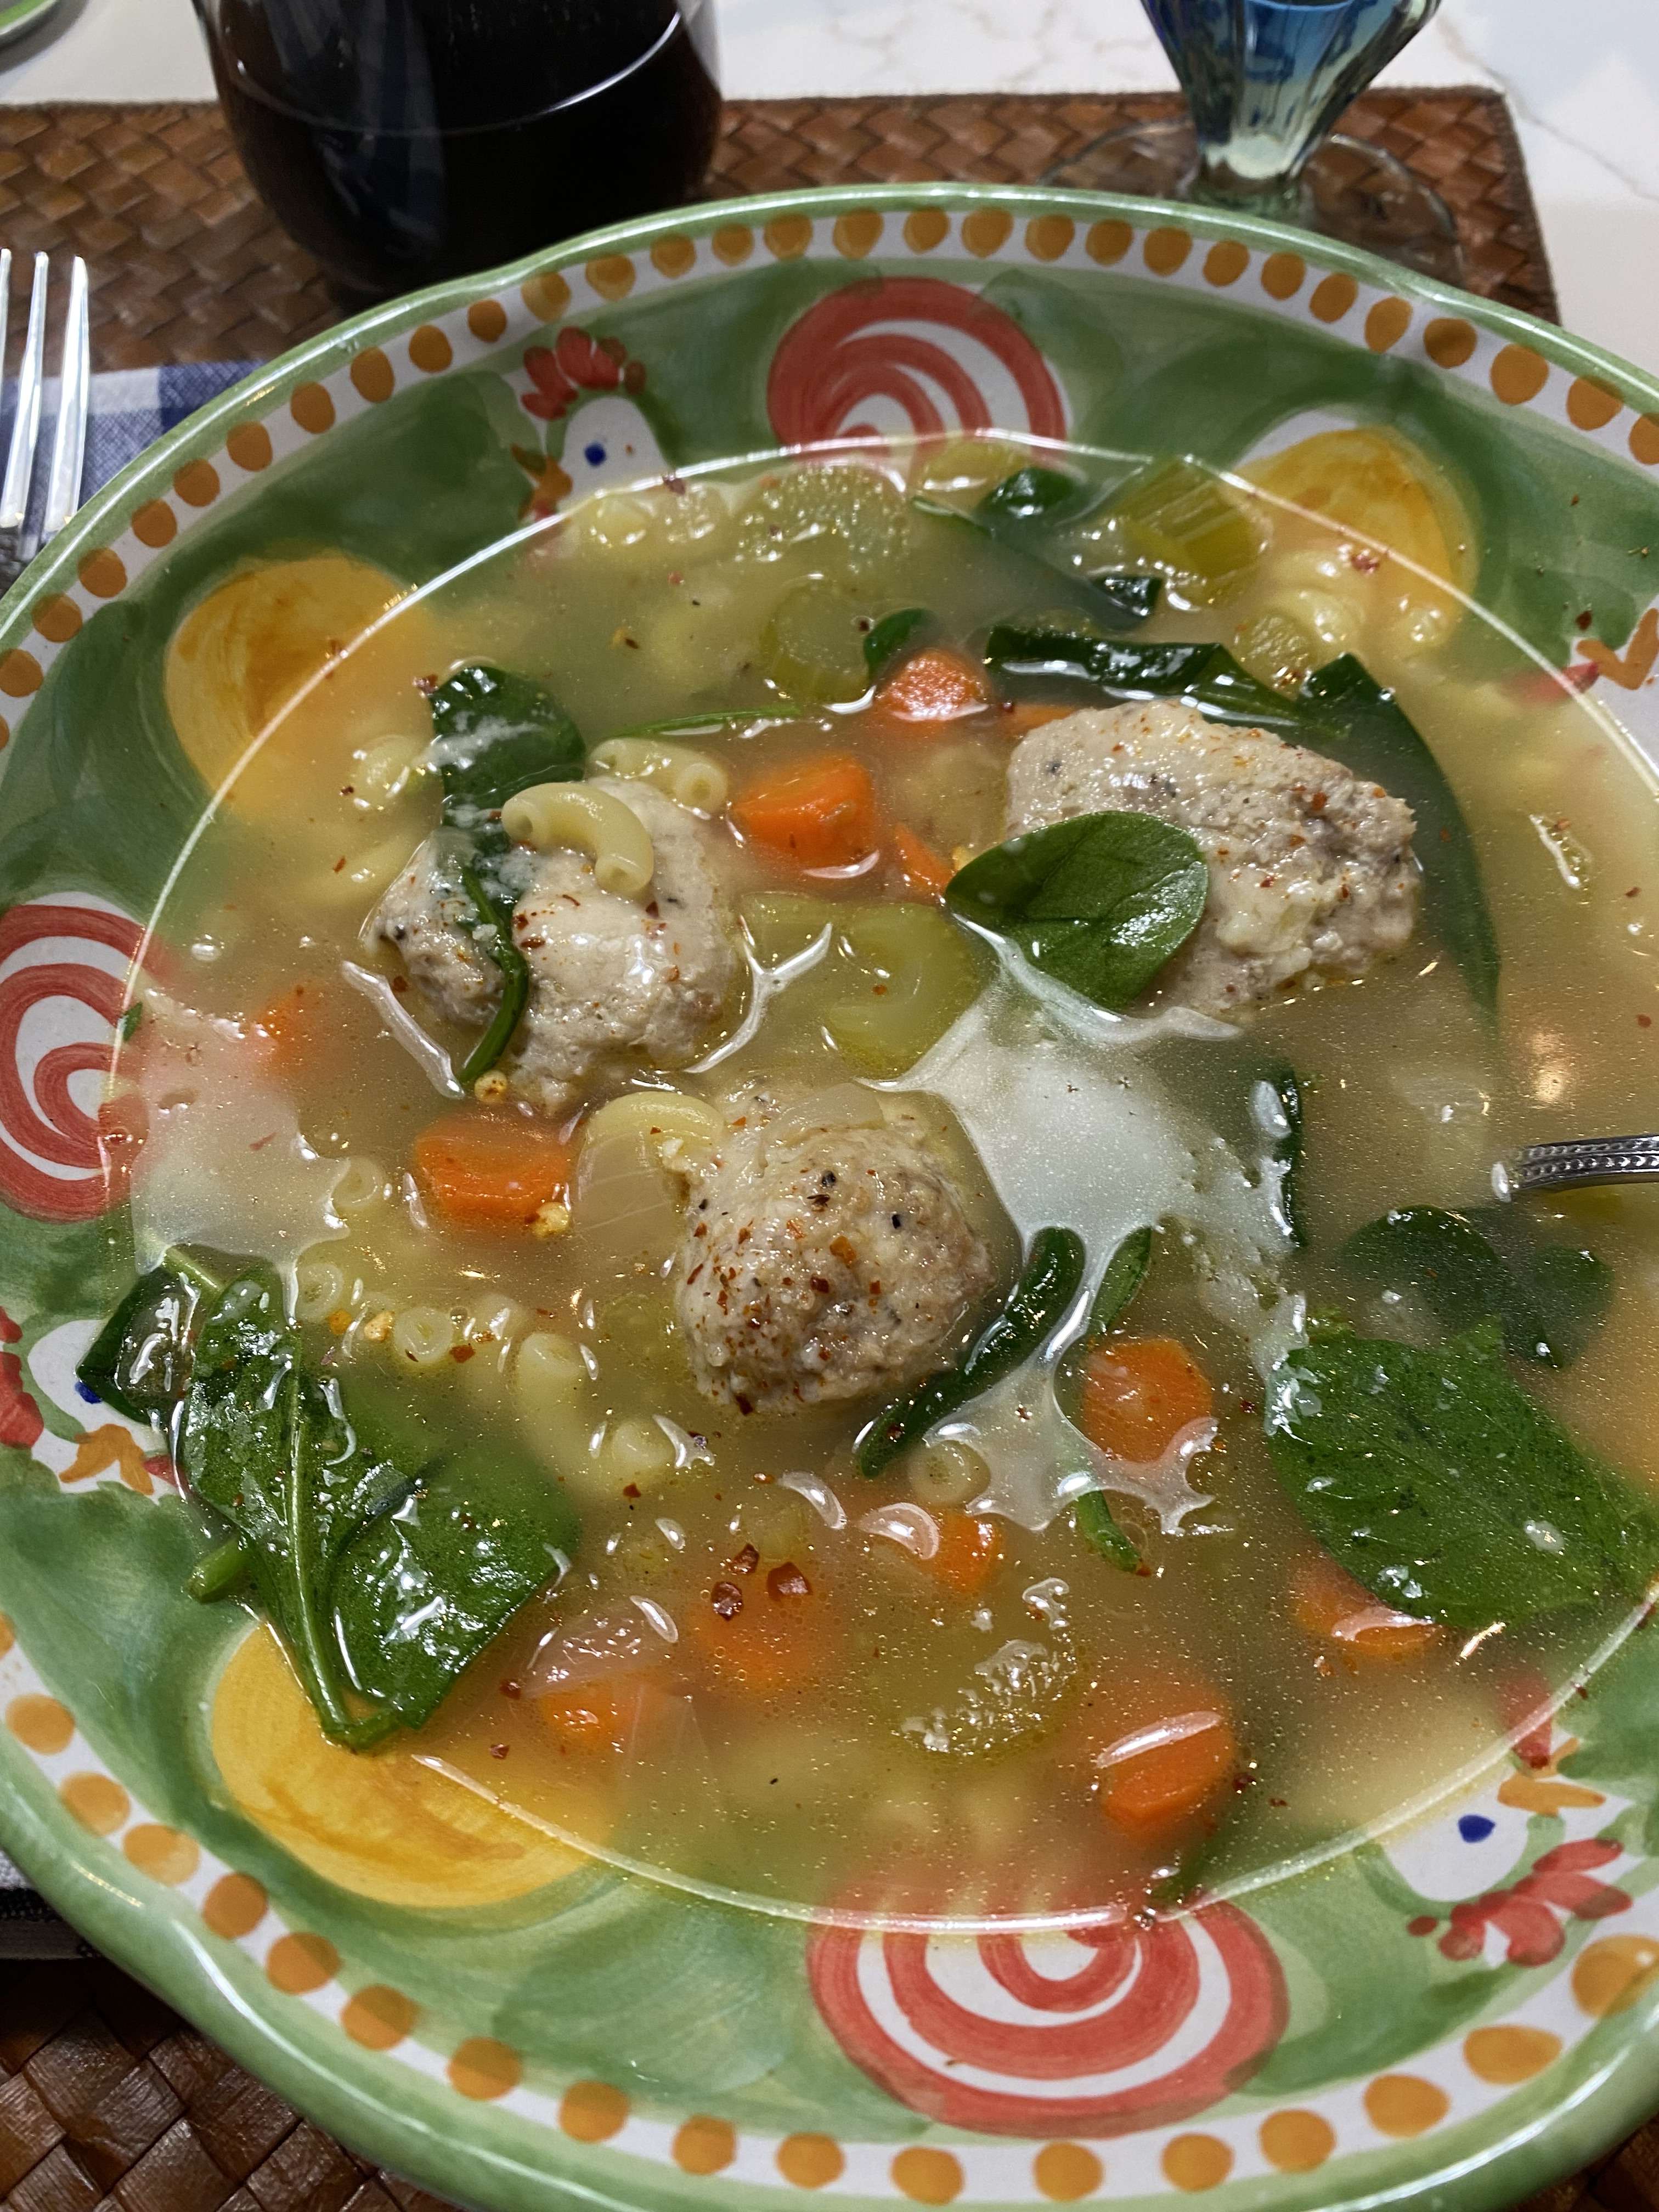
I served with a little grated parmesan cheese and next time I make this I think I will cook up some small pasta ( ditalini type ) and add to the soup bowl for a very filling meal.


")


