I just love a baked pasta — nothing like it for good old fashioned comfort food. This recipe is delicious and perfect comfort food for those cold winter nights. I wanted a crowd pleaser that was vegetarian and something that can easily be made ahead and frozen and that would appeal to both kids and adults equally.
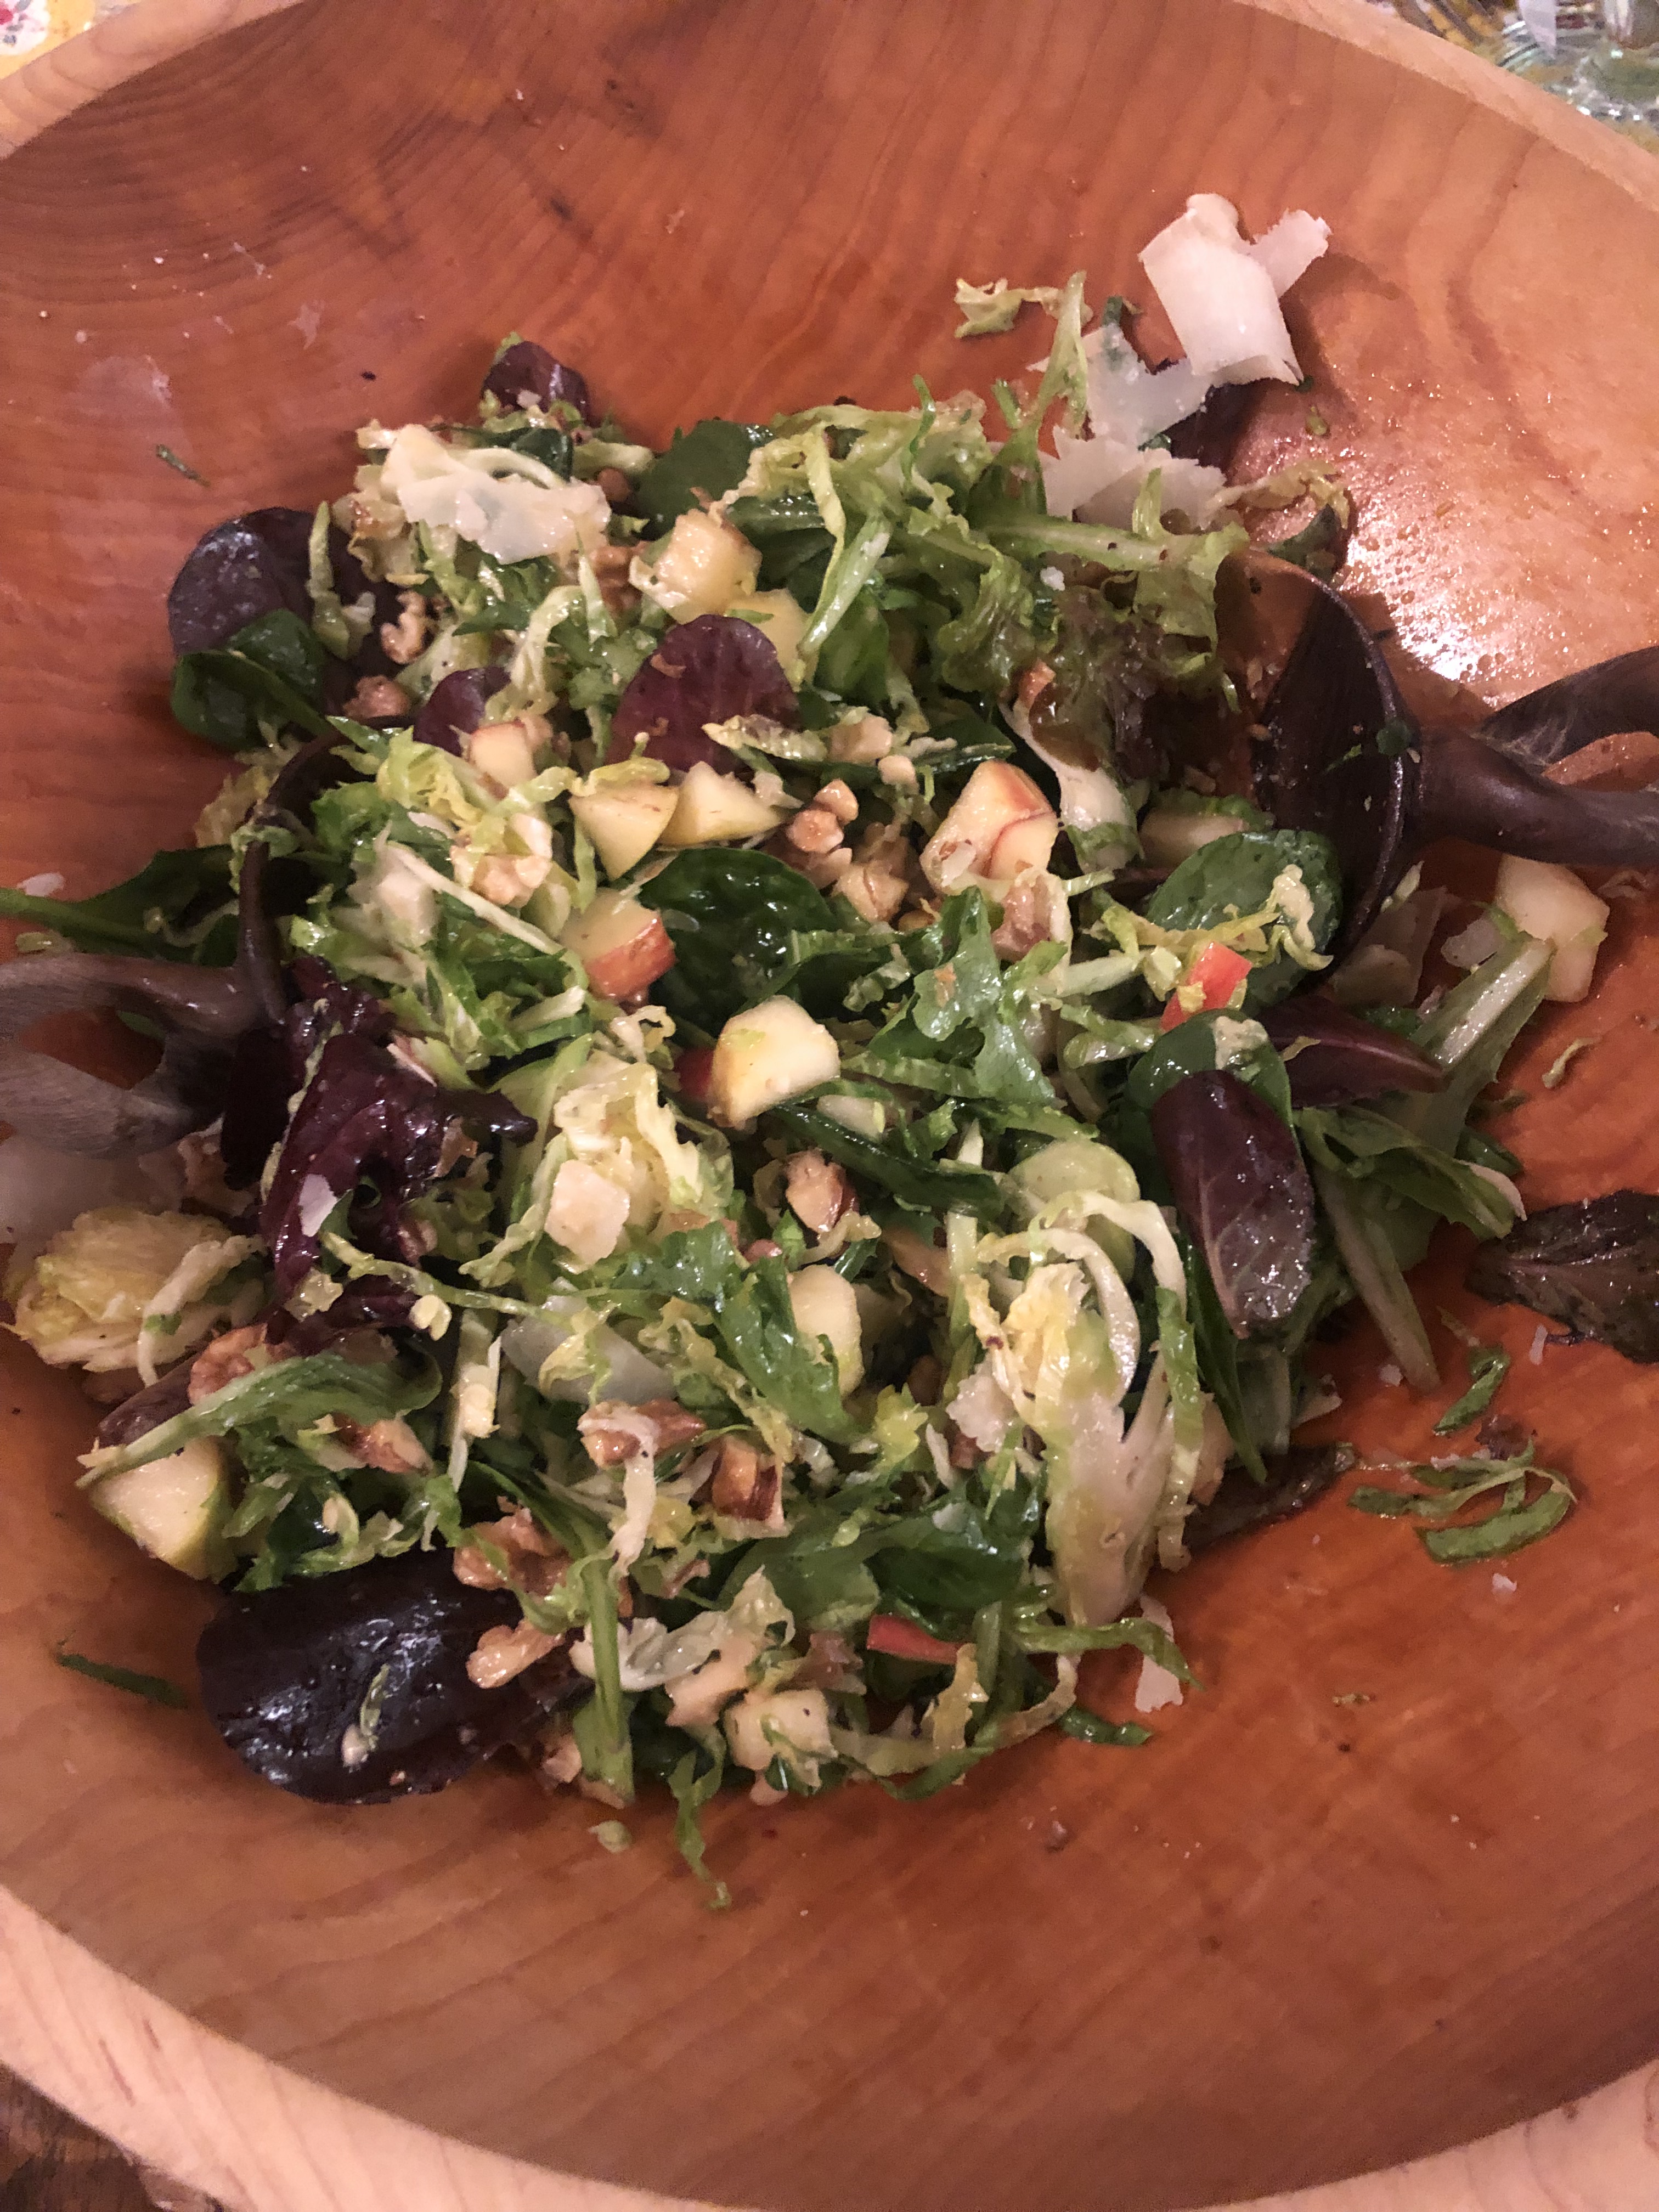
I served with a salad with my Homemade Maple Syrup Salad Dressing ( see on blog) and it was really pretty awesome. Took a few hours to prepare, mostly because I made my own sauce ( Sunday night sauce) but feel free to use a jar of prepared sauce if you’d like. This is a perfect meal to make ahead of time, and just pop into oven.
*This dish will stay fresh in the freezer for up to 3 months. Assemble the shells with the cheese and cover tightly and freeze. When you’re ready to eat, you can bake from frozen but be sure to add another 30 minutes to the cooking time. You can also freeze individual sized portions of leftover shells that have already been cooked. Reheat previously baked shells in the microwave in 90 second intervals until heated through.
Perfect for Christmas and New Years.
Of course if you love it with meat you can make a meat sauce and follow same directions.
Happy Holidays to all — and visit me on Instagram @cookingwithcandi
Ingredients:
1 box Jumbo Shells ( you won’t use all but a lot of them break, etc.)
1 lb. Ricotta ( I used Part Skim)
1 Egg
1 lb. Mozzarella Shredded ( I used Part Skim) if you can obtain fresh mozzarella and shred it that would make it even better! whatever works for you
1 cup grated Parmesan ( any kind you like)
1/4 cup chopped flat leaf parsley
Salt and Freshly Ground Black Pepper
*marinara sauce or any red sauce I made my own and use my own recipe. If buying sauce and there are some delicious good sauces out there, you’ll need at least 1 large jar of Sauce and my go-to if not using my own is Raos Marinara. It’s nice to have a little extra sauce in case you need it when you re-heat the stuffed shells.
Directions:
Preheat oven to 375 degrees.
Prepare Pasta , cook for between 12 and 15 minutes, you’ll want them soft but not undercooked at the center. Drain pasta and cool for easy handling.
Combine ricotta, 1/2 of the mozzarella, 1/2 of the Parmesan, parsley and egg in a bowl. Taste for Salt and Pepper.
When shells have cooled down, fill them with rounded spoonfuls of cheese mixture and arrange them seam side down in casserole dish. I used a 9 x 13 Pyrex and spray with cooking spray. Top Shells with remaining sauce and remaining mozzarella and grated cheese. Place shells in very hot oven . You can turn on broiler for last few minutes , it should be slightly browned and bubbly. Let cool for a few minutes before serving.
Delicious!


")


 T
T