Judy’s Apple Matzoh Kugel for Passover

DSCN2653

photo (37)DSCN2642DSCN2539

If you ask me, kugels are the best part of Passover. Put together in a casserole dish these sweet and savory dishes are my absolute favorite dish on the Seder table.  It was always about the kugel with me from the time I was a kid. This is an awesome recipe from a family friend which came to me via Karyn, so thanks Judy and thanks again Karyn. I used to make this recipe all the time and over the years I replaced it with something else and completely forgot about till another friend asked me for the recipe. Karyn came to the rescue. This is a delicious sweet addition to the table and if I remember correctly everyone loved it. It is easy and not too many ingredients and hardly any steps at all. Enjoy!

Plan ahead:

Kugels can be made a day or two ahead. On the day of the serving, allow the dish to come to room temperature. Then heat it, covered in a preheated 350 degree oven until warm, 30 – 40 minutes. My experience has always been that the kugels hold together better when they are pre-made.

Ingredients:

12 sheets matzoh

9 eggs beaten, use eggs at room temperature

1 1/2 tsp. salt

1 1/2 cups sugar

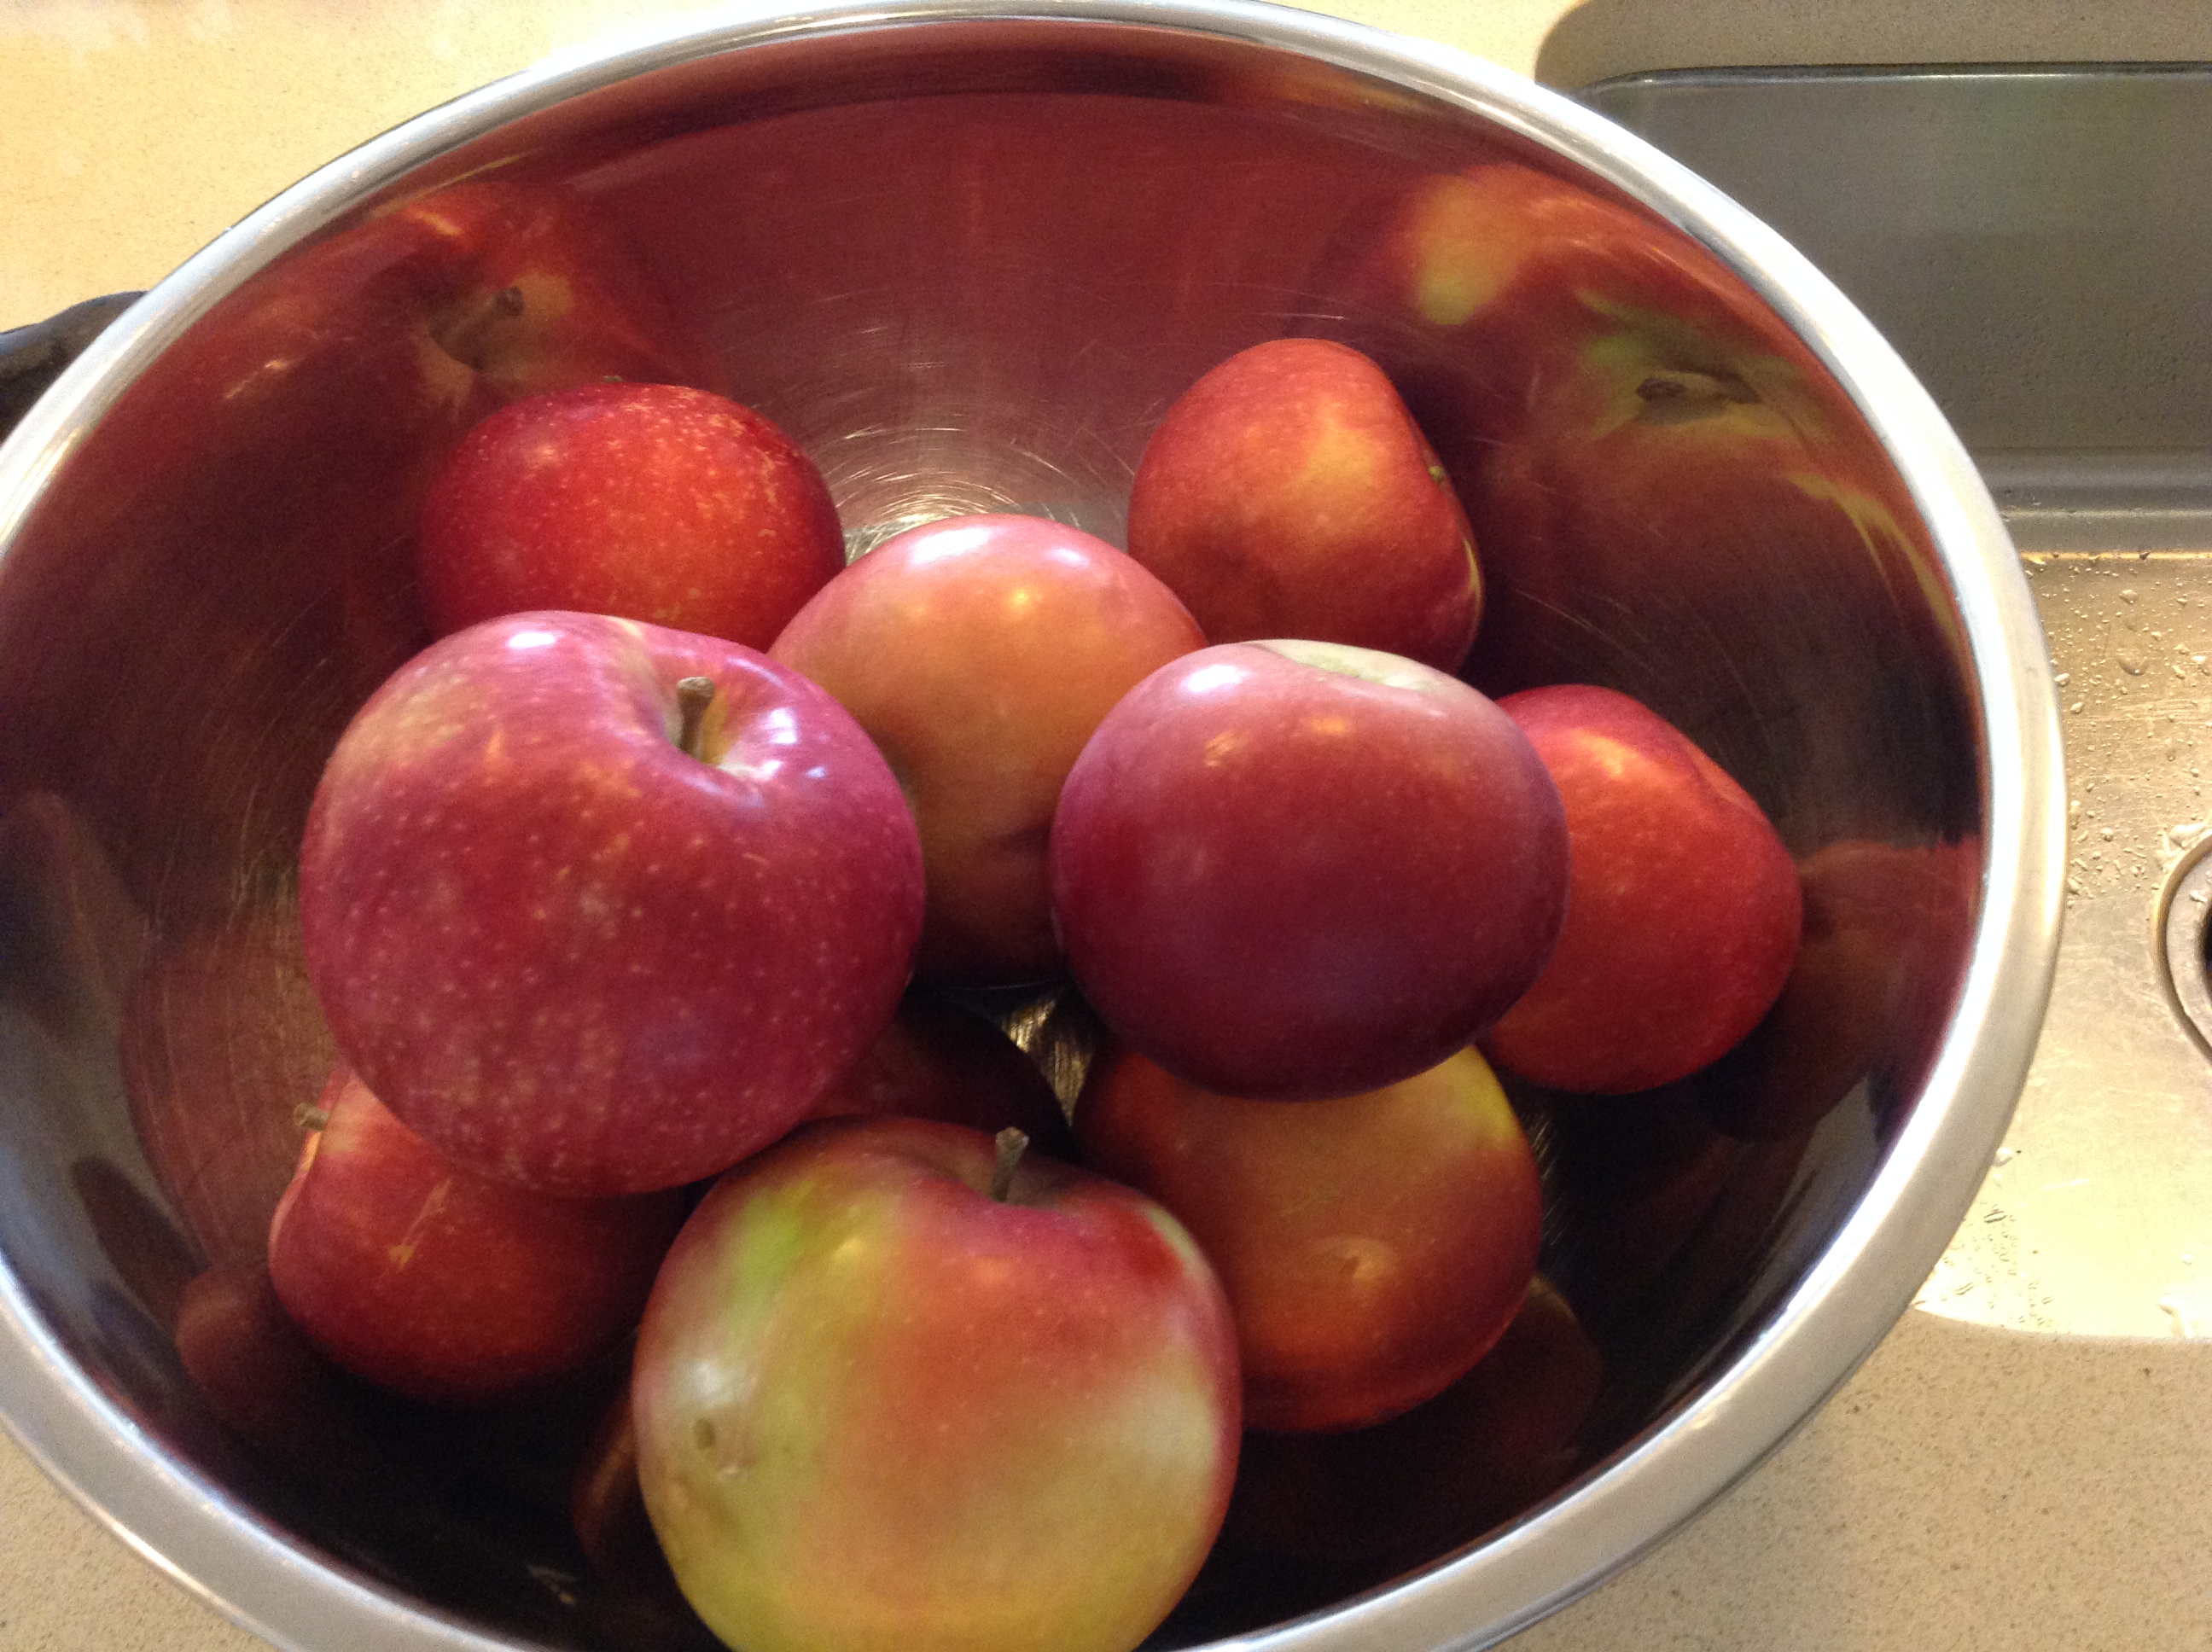
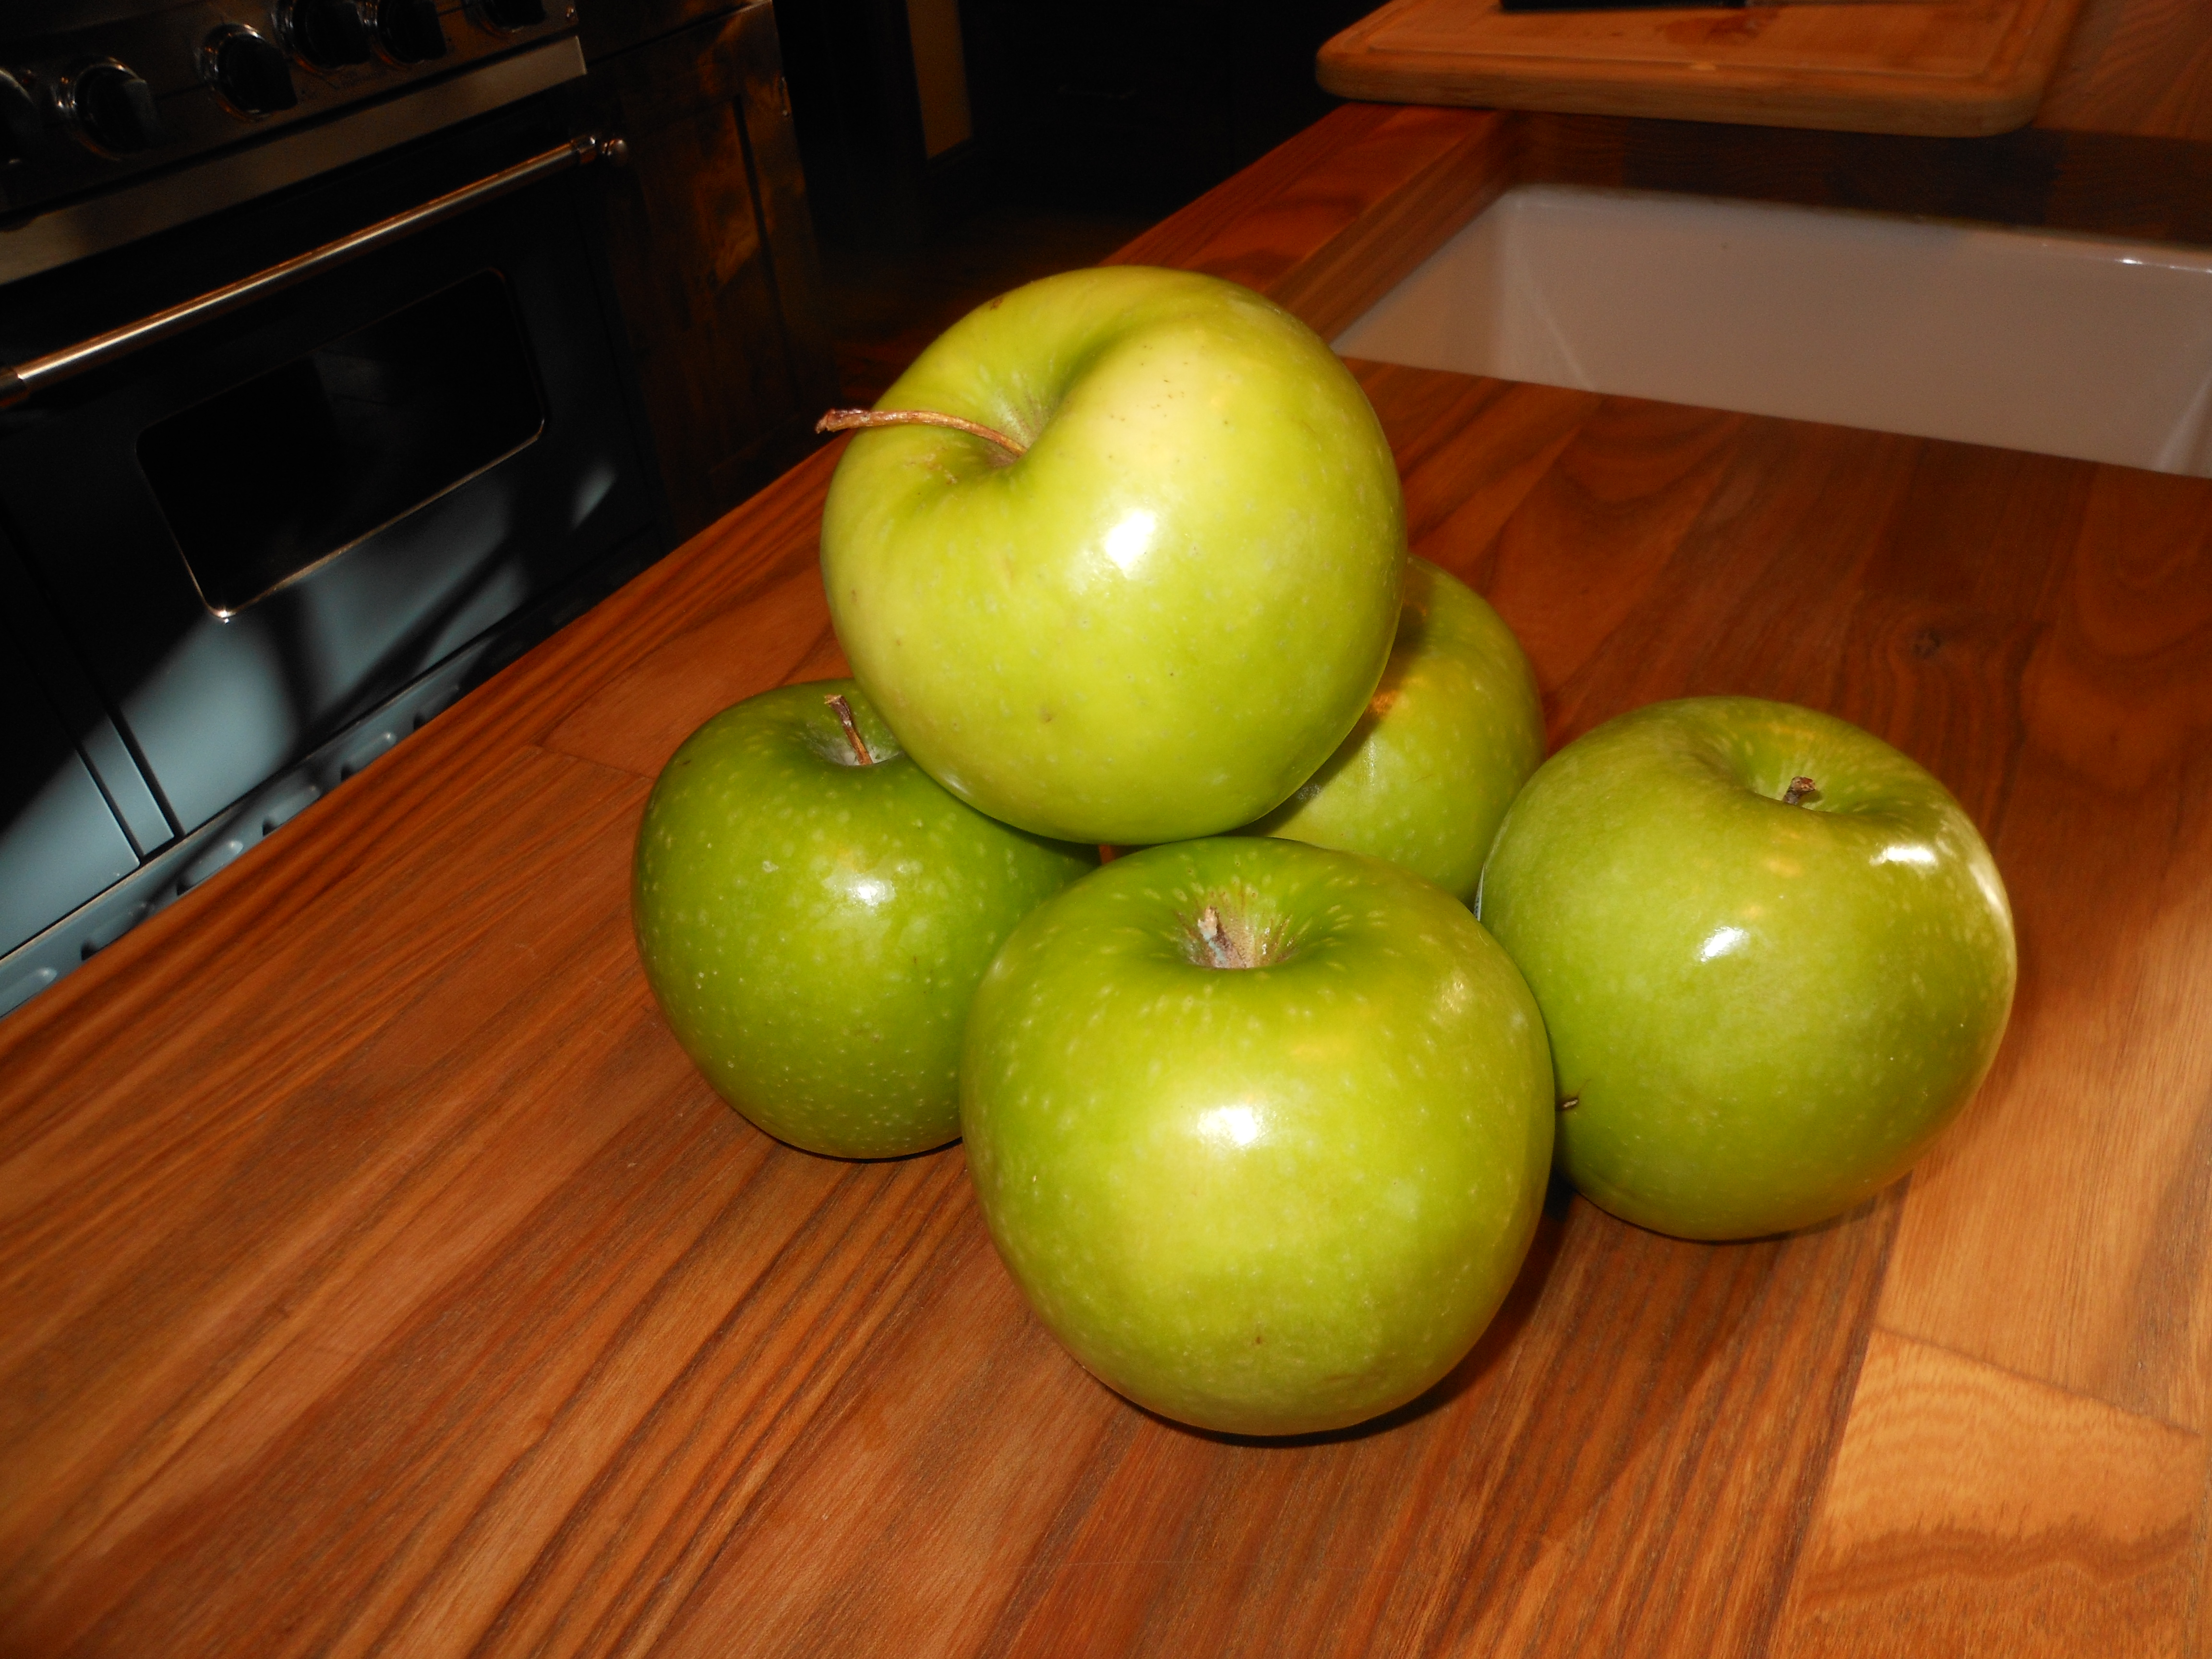
6 large apples, peeled and sliced (any kind will do)

3/4 cup vegetable oil

3 Tsp. cinnamon

1 1/2 cups white raisins

Directions:

Preheat oven to 350 degrees.

Break matzoh into colander and run warm water over it, just to soften, then drain and put in a large bowl. Add beaten eggs, add salt , sugar , apples, oil, cinnamon and raisins and pour into a pre-greased ( or cooking sprayed) baking dish . Bake at 350 degrees for 50 minutes.

Bake at 350 degrees for about 50 minutes. Enjoy!

*first time baking it keep it uncovered, when you re-heat you will cover it so it doesn’t dry out.

Marcy’s Matzoh Crunch ( like candy)

Marcy gave me this recipe a long time ago and it’s one of those recipes that I have made every Passover since. We all love it –it’s very easy with simple ingredients and you can make it your way. I make a few days before and you can even make a week before and store in an airtight container or ziplock plastic bag that’s  sealed tightly. This recipe may be fun to do with your kids and Grands .
My friend Marcy ( who is a great cook) says she must always supply it for her kids, and she keeps in tins in refrigerator and sends them home with it ( even better) this is the stuff that I find deadly to keep around. It’s candy, and fun to make with your kids or grandkids. You can use white chocolate, M & M’s , or toasted almonds/pecans /walnuts etc. or stick with recipe as it is. You would add the nuts and or candy sprinkled on top as chocolate is setting. Thanks for sharing  the recipe Marcy.

Don’t say I didn’t warn you about how good this is.

Enjoy and Have a Happy Passover.

Ingredients:

4 – 6 unsalted matzoh sheets

1 cup unsalted butter or margarine

1 cup brown sugar, firmly packed

3/4 cup chocolate chips or semi-sweet chips you can use white chips as well

*nuts if you’d like sprinkled on top (almonds/walnuts etc.) or colored sprinkles are fun !

Directions:

Preheat oven to 375 degrees

Line a cookie sheet with foil and cover bottom of pan with baking parchment on top of foil. ( this is important b/c mixture is very very sticky) Line bottom of pan evenly with matzoh sheets, cutting extra pieces of matzoh to fit on the cookie sheet as even as possible. Combine margarine/butter and brown sugar in a heavy bottomed saucepan. Cook over medium heat, stirring constantly. Remove from heat and pour over matzoh. Place in oven and reduce heat to 350 degrees.  Bake for 15 minutes watching to make sure the mixture is not burning. Remove from oven and sprinkle chocolate chips on top. Let stand 5 minutes, then spread melted chocolate over matzoh. Then add your toppings– sprinkles , nuts whatever you’d like. While still warm, cut into squares or odd shapes and put in refrigerator until set. Chocolate will get hard. I think it’s better to go with the “odd shapes” as it may be hard to cut perfectly square. You can use white chocolate, and if you’d like sprinkle nuts on top as I mentioned above.

My Favorite Macaroons–Traditional Style for Passover

macaroons for passover

I am not sure why I only make these macaroons during Passover. They are definitely my favorites; they are very easy to make, look totally professional, and are the Passover cookie in my book. These can be made ahead of time and stored. I usually make a few days before the Seder because I dip them in melted chocolate (just the tops). You don’t have to dip, you can leave plain. I dip up to 1/2 the macaroon in the chocolate. They are sweet and crunchy on the outside, and moist and chewy on the inside. After Passover, if there are any left over, I freeze them. Cannot have them lying around. Of course you may make these any time of year…they are always welcome on the menu.

*When dipping, just turn macaroon upside down (with top part into the chocolate). I usually go just a bit more than the top (probably 1/2 the macaroon into the chocolate). Use as much or as little as you like.

*just a little note, silpat is awesome to use for this recipe instead of parchment paper. You must cool completely before trying to lift off the paper. Also before you dip into chocolate I like to cool down completely.

This could be a fun recipe to do with your kids. A little messy but whatever — desperate times call for desperate measures right? They may not come out uniform but the kids could fun have making them and dipping them.

Stay Safe and Be Smart

Ingredients:

3  large egg whites (When I bake, I always leave eggs out so that they are at room temp.)

1/2  cup sugar

1/4 teaspoon salt

1 package (14 oz.) sweetened, flaked coconut ( I like this Angel Flake Baker’s Brand, but they’re all fine)

*1 package semi-sweet chocolate chips (You can really use any semi-sweet chocolate to melt. It’s just easy with the chips.)

Directions:

Preheat oven to 350 degrees. Line a baking sheet with parchment paper (you can use non stick cooking spray, like Pam, but I just line with parchment, which works really well).

In a large bowl, whisk together egg whites, sugar and salt until frothy. With a fork, stir in coconut until moistened.

Using a level tablespoon (measuring ones are perfect), pack the mixture into the spoon, so all macaroons are equal size. Drop mixture onto prepared sheet (cookies will not spread). Bake until golden brown, about 25 – 30 minutes. Towards the end, check on them to be sure they don’t burn. I make a little peak with my fingers on the cookies before I bake them (this makes for easier dipping). You can also just leave the top round — this is perfectly fine.

*To melt chocolate on stove top: I bring a small saucepan of water to a rolling boil, and on top of it put a small stainless (oven proof) bowl filled with the chocolate.( works like a double boiler if you don’t have one) When it completely melts, take off heat. Once macaroons are completely cool, you can dip the tops. Just make sure chocolate and macaroons are cooled off first. Just dip top of cookie in chocolate and place on a plate to cool. When I am all done, I refrigerate the macaroons to set the chocolate. You can leave in fridge until you are ready to serve and take out with enough time to bring to room temp. Before serving, I usually use a cool cookie sheet with parchment paper to cool off cookies once they’ve been dipped.

*should yield about 20 – 25 cookies. You can double if you’d like.

Traditional Ashkenazi Charoset–Apple/Walnut

DSCN2703This is my easiest Charoset and maybe this year we just have a little bit of this on the table for tradition sake.  It’s traditional in the sense that it’s an Ashkenazi (Eastern European) recipe. I add a little brown sugar instead of white sugar and it gives it just a bit more character. Remember, while a reminder of the mortar used in making bricks for Pharaoh, charoset is really just a sweet condiment of apples and wine!

Have a Sweet Passover !

Ingredients:

3 medium Fuji apples (or any other kind you like), peeled, cored and finely diced (use processor to make your life simpler) I usually use whatever is in the house, but on Passover I go through so many apples, so buy what you like (I always like Granny Smith because they are nice and tart)

1 1/2 cups walnuts, chopped (buy them pre-chopped)

1/2 cup sweet red wine such as Manischewitz Extra Heavy Malaga or just Concord Grape is fine

*20 pitted dates, chopped; or 1/2 cup golden raisins (optional)

1 1/2 teaspoons ground cinnamon

1 tablespoon packed brown sugar

*for a bit of extra added flavor you can add 1/2 teaspoon of powdered ginger (optional)

Directions:

After chopping apples, stir all ingredients in a large bowl. Keep in refrigerator ’til ready to serve. Serve at room temperature. You can also pulse everything together in processor, just be very careful not to over-process. I often do this to save time. You don’t want it too fine, so just go gently with the processor if you go that route. I do it in the processor, and I know exactly how I like it to come out, so go easy with the chopping.  If it’s a little dry or too thick, you can always add more wine. I find this always tastes better after it sits and allows the wine  to really soak and ripen for 24 hours. Before serving, check for consistency and add a little more wine, if necessary.

Chicken Marbella–perfect for Holiday Cooking

This recipe is my “go to” chicken. I’ve made it almost every Passover or Rosh Hashana since I found it. The original recipe is from the”Silver Palate” cookbook.  It has been a staple on my holiday table for as far back as I can remember.  It’s really a perfect recipe for any time of the year.  I usually make the Chicken Marbella and the meatballs as another dish. 

Enjoy!

*The key to this recipe is to marinate overnight , which is essential to the moistness of the chicken.

Ingredients:

1/2 cup olive oil

1/2 cup red wine vinegar

1 cup pitted prunes

1/2 cup pitted Spanish green olives (no pimentos)( if you can’t find, just pick out pimentos)

1/2 cup capers with a bit of juice

6 bay leaves

1 head of garlic, peeled and finely pureed(chopped well)app. 10-12 cloves in a head


1/4 cup dried oregano

Kosher salt and freshly ground black pepper, to taste (I start with 1 teaspoon kosher salt, and a few grinds of black pepper.)

4 chickens, cut into eighths (original recipe calls for chickens to be quartered but I find that you get more per person if you do it in eighths.) the chickens are about 2 1/2 lbs. apiece , so it’s about 10 lbs. of chicken . Sometimes I ask the butcher to cut the breasts in 1/2, if they are very large.

1 cup brown sugar

1 cup dry white wine

1/4 cup fresh flat-leaf parsley (finely chopped)

Directions:

Combine the olive oil, vinegar, prunes, olives, capers and their juice, bay leaves, garlic, oregano, and salt and pepper. ( You can combine in a large bowl, but I use a large Ziploc bag.) Add the chicken, then stir or mix around to coat well. Refrigerate overnight.

Preheat oven to 350 degrees.

Take a large shallow baking pan (you may need 2), arrange the chicken in a single layer and spoon the marinade over it evenly. Then sprinkle the chicken pieces with the brown sugar and pour the white wine around them.

Bake, basting frequently with the pan juices until the thigh pieces yield a clear yellow juice (don’t want it pink). It takes anywhere between 50 to 60 minutes to cook. (Test thigh with a fork.)

When you are ready to serve, transfer the chicken with a slotted spoon to serving platter. Moisten with some of the pan juices and sprinkle generously with the parsley. You can pass the remaining juices in a gravy boat.

*should serve 10 or more

* this chicken is delicious cold or at room temperature. If you make ahead and it is in fridge, just remove from fridge, reheat it in the juices, then allow to come to room temperature.

Peach Farfel for Passover – crowd favorite

 
This is most definitely a “must have” Passover recipe.  It has been a winning recipe ever since my friend Audrey gave it to me many years ago. This one is probably one of the most favorite Passover staples. Recipes are funny in that -they tend to spread out to a wide group of people and people start passing them down to their people and so forth and so on and before you know it no one remembers where the original recipe came from , they just remember that it was on their Passover table and they can’t imagine a Seder dinner without it.  Enjoy this one; it is sweet and makes for a delicious side dish with poultry or beef. This has always been a crowd pleaser. I know, the amount of eggs is obscene on this holiday! This one has 7 eggs in it!!!!!

Make this part of your Passover tradition, you’ll be happy you did.

Follow me on Instagram @cookingwithcandi and please DM me or email me any questions or comments — I look forward to hearing from all of you. Happy Cooking from my kitchen to yours .

  • as I said I have never froze this particular recipe but I would cook 1/2 way so it’s in a more solid form and then wrap well and freeze. If you’re lucky enough to have an extra freezer and can freeze in the original baking dish even better.

Ingredients:

1 box matzoh farfel (I think it’s in a canister now) you will need 16 ounces of the farfel

2 15 oz. cans sliced peaches

7 eggs

2 cups sugar

1 tsp. salt

2 sticks margarine, melted

2 tsp. vanilla

4 cups hot water

Directions:

Preheat oven to 350 degrees.

Place dry farfel in a bowl, then pour hot water over it. Let stand until absorbed.

In a separate bowl, combine eggs, syrup from peaches, salt, sugar, margarine, and vanilla. Add farfel and combine well. In a well sprayed 9 x 12 baking dish, pour 1/2 the mixture, then arrange a layer of peaches on top. Add remaining mixture on top, then top with remaining peaches. Sprinkle with just a bit of cinnamon if you’d like. Bake for 1 hour at 350 degrees. Serve hot out of oven, or room temp. It is quite delicious at room temperature, if you don’t have the room in your oven, and it makes for a pretty awesome leftover.

Can be assembled, cooked 1/2 way through, then cooked the rest of the way through on the day of the holiday.

Passover 2022

Passover starts on Friday , April 15th and ends on Saturday April 23 this year. So I guess it’s about that time that we should start thinking about what we’re going to make for the Seders. Every year people ask me about freezing some of my recipes. I can’t really speak to freezing everything because I haven’t done so. I will try and note recipes that I’ve frozen and add to recipes. Everyone asks me about freezing the Peach Farfel and while I haven’t I know some of you have , I don’t see why you can’t freeze it. I would only cook it 1/2 way through and when it cools down and is more solid I would wrap it well and freeze. I would wrap with plastic and aluminum. If you have an extra freezer and can keep it in the baking dish even better.

I will start to post the tried and true recipes that mean so much to me and my family and I know have become a part of your Passover traditions. If you have a great Passover recipe please email to me I would love to check it out.

Happy Cooking from my kitchen to yours.

Happy Passover.

Pasta with Sausage, Beans and Greens

I love pasta and am always on the lookout for new and delicious ways to prepare it. This recipe is the real deal and reminded me of many a pasta dish I enjoyed in Italy.  If Joel liked greens more I would have added more kale and as it is he always wonders why I contaminate the pasta with all the beans and green stuff. If I were making for myself I would have added more kale or whatever greens you like. It’s not the most simple recipe as it has a few steps but thoroughly worth the effort involved. I loved the way the beans gave it so much flavor. I used Paccheri Pasta — I was able to pick up a homemade version of this pasta.  It’s just a smooth, giant rigatoni with thinner walls . It soaked up the beans and broth ! I used a can of cannelinni beans but fava beans would be a nice change or chickpeas. I used Italian spicy sausage but you can try spicy lamb sausage as well or any sausage you would like.

Now if you leave out the sausage it can be made completely vegetarian!

Enjoy!!

Ingredients:

1/2 cup olive oil

8 oz. spicy Italian sausage, casings removed

1 15 oz. can cannellini beans (white kidney) rinsed and drained. You can use fava or chickpeas but I prefer the soft white kidney beans that are cannellini

1/2 cup dry white wine if no wine in the house try chicken broth

12 oz. paccheri, rigatoni or any tubular pasta–try a homemade pasta from your local market

6 cups (lightly packed) torn escarole, baby kale, regular kale, Swiss chard leaves, regular kale even spinach will work–whatever you like

Kosher Salt

Freshly Ground Black Pepper

1/2 cup + 1/4 cup of finely grated Parmesan

Directions:

Heat the olive oil in a heavy bottomed pot over medium-heat. Add sausage to pot and cook breaking up with a wooden spoon, stir occasionally until browned and cooked through, app. 10 mins. Transfer with a slotted spoon to a separate plate.

Add white beans to pot (drained and rinsed) and cook tossing occasionally, I mashed some beans with the back of a wooden spoon. So about 1/2 the beans mashed and the rest I left whole. Cook beans till slightly browned for about 5 minutes. Transfer 1/2 of this mixture to plate with sausage. Leave the other 1/2 in pot. Add the wine to the pot, bring to a boil and cook until liquid is almost gone–about 2 minutes. I sprinkled a little kosher salt in to the bean mixture at this point. You’ll taste again for salt .

Meanwhile, cook your pasta in a large pot of boiling salted water, stirring occasionally, cook until very al dente, a few minutes less than you would normally cook. Don’t overcook!

I used a pasta insert to cook my pasta . I reserved a few cups of the cooking water –you’ll need it. Don’t throw it down the drain. Drain Pasta and then transfer pasta to pot with beans and add your greens and 1 cup of pasta water . Your heat should be on low under the pot just so it’s cooking without burning. Cook and stir often until greens are wilted , pasta is al dente and sauce is thickening up probably 5 minutes or so. Stir and Stir. Add another 1/4 cup of pasta water, then gradually add in 1/2 cup of grated cheese, tossing until melted and cheese dissolves into a beautiful glossy sauce. Thin out the sauce with more pasta water if too thick. Taste for salt  and I put a little freshly ground black pepper in at this point.

Now add in reserved sausage and beans. Delicious pasta right here right now in your pot! and so professional looking and tasting.

Sprinkle with extra cheese if you’d like and crushed red pepper if you’d like.

Pasta was rich and tasty served hot off the stove.

No Breading Chicken Parmesan

So delicious and so perfect. I used thin chicken breasts to start , if you’re using thicker ones you’ll have to monitor the timing of them a bit more and you should just use a meat thermometer to do so. This really couldn’t be easier and it was super tasty and is a cheese lovers delight. It’s lightened up from traditional breaded and fried chicken parm.

Prep and ingredients are super easy .

This recipe is for 4.

Ingredients:

1 1/2 – 2 pounds of thin chicken breasts

1 egg

3/4 cup grated Parmesan Cheese

1/2 tbsp. garlic powder

1/2 tbsp. onion powder

1 Tablespoon Italian Seasonings — It comes in one jar and is available in most spice sections in supermarkets —

pinch kosher salt

1/4 tbsp. freshly ground black pepper

and because we like a little extra kick I add a sprinkle of crushed red pepper flakes

3/4 -1 cup Jarred Marinara or if you have home made that’s good too . I prefer Raos Arabiata or Marinara

Shredded Mozzarella — probably 1/2 cup to 1 cup depending on how much cheese you like — I like a good sprinkle of cheese — see pics.

A little olive oil for drizzle in pan before cooking

Directions:

Pre heat oven to 400 degrees

I used a large baking dish and sprayed with cooking spray and drizzled a bit of olive oil to bottom of pan — just a little

Beat egg in a wide enough bowl for dipping chicken

In a second wide bowl combine the parm cheese and spices and mix

Dip each piece of chicken in the egg and then the cheese, coating both sides. Place in prepared baking dish.

Bake for 20 minutes — since cutlets are thin this should be fine because you’ll be cooking more with sauce and cheese. If thicker cutlets you may need a bit more time.

Top each piece with sauce and shredded mozzarella. ( you can spread a little sauce in between chicken as well . I served over spaghetti and needed a little more sauce so this was enough. If you want you can heat up extra sauce in a small saucepan for spaghetti. Bake for another 10-20 minutes till chicken is 160 degrees when checked with meat thermometer and cheese is melted and bubbly. I like my cheese just slightly browned so you can turn to broil for a minute or so depending on your broiler but be careful you don’t want to burn the whole thing.

I served over pasta and had enough sauce for us.

That’s it folks — enjoy!

Braised Chicken with Coconut Milk and Tomatoes in One Pot

Bone in Chicken Thighs work beautifully here as they cook up rather quickly and are very tasty . I browned them first and gave them a nice crust and then they get braised in a beautiful tomato sauce with coconut milk and amazing spices. It’s stew like in consistency and I served over rice. Any rice will do . I added some red peppers and it was enough of a meal on it’s own with the rice. Bread would be lovely if you’d like to soak up the remaining sauce . A nice green salad would work well here as well.

Enjoy!

Ingredients:

1 1/2 – 2 lbs. bone-in , skin-on chicken thighs, at room temperature

Kosher Salt and Black Pepper

2 Tablespoons grapeseed or Canola Oil — I used Grapeseed

1 medium red onion thinly sliced

4 garlic cloves minced

1 2 “piece of fresh ginger, peeled and minced

1 teaspoon ground Cumin

1 teaspoon Curry Powder — I use Spicy Curry Powder use whatever you like

1/2 teaspoon Ground Cinnamon

1/2 teaspoon red-pepper flakes

1/2 pint of grape or cherry tomatoes– I left them whole

1 Red Bell Pepper– cut into thin strips

1 14 oz. can diced tomatoes with their juices

1/2 (13 oz.) can full-fat coconut milk — save the rest of can if you feel the sauce needs more– I didn’t use it

1 Tbsp. Tomato Paste

*handful of roughly chopped fresh cilantro — totally optional

Directions:

Pat chicken thighs dry and I placed on a baking sheet and sprinkled kosher salt and coarse black pepper all over

In a deep 12 inch pot or pan — I used my cast iron Le Creuset –perfect. add the 2 Tablespoons Grapeseed Oil till oil gets hot enough to add chicken ( medium-high heat) I use tongs and place the chicken skin side down, let them brown up nicely without disturbing them for about 5 minutes using the tongs you can look at them and make sure they’re lightly golden not burning. Flip and brown the other side for about 5 more minutes . If too hot you can lower the heat. When finished transfer the chicken to a plate and set aside.

Turn heat to medium-low add the onion and cook until softened, about 3-5 minutes. Add the garlic, ginger, curry, cumin, cinnamon and red pepper flakes, cook for a minute or so then add in the red pepper strips and cook down for a few minutes till peppers are softened.

Add the can of tomatoes with their juices , the tomato paste, fresh tomatoes ( I left them whole), and the coconut milk , stir until combined and scrape up all the brown bits that may have formed on bottom of the pan. Nestle the chicken back into the skillet ( do not submerge the chicken) Simmer uncovered, until the chicken is cooked through and the sauce has had a chance to thicken slightly ( if too thick add a little more coconut milk) Taste the sauce for Salt and Pepper. Cook anywhere from 30 – 40 minutes more. If you have a meat thermometer you can test for chicken doneness (165 degrees) I probably cooked for 40 minutes. Then if not crispy enough put whole pot under broiler in the oven for a few minutes but be careful not to burn the chicken.

I divided rice into bowls and plated chicken and sauce on top , Sprinkled a little cilantro and we thoroughly enjoyed this very flavorful dish.