
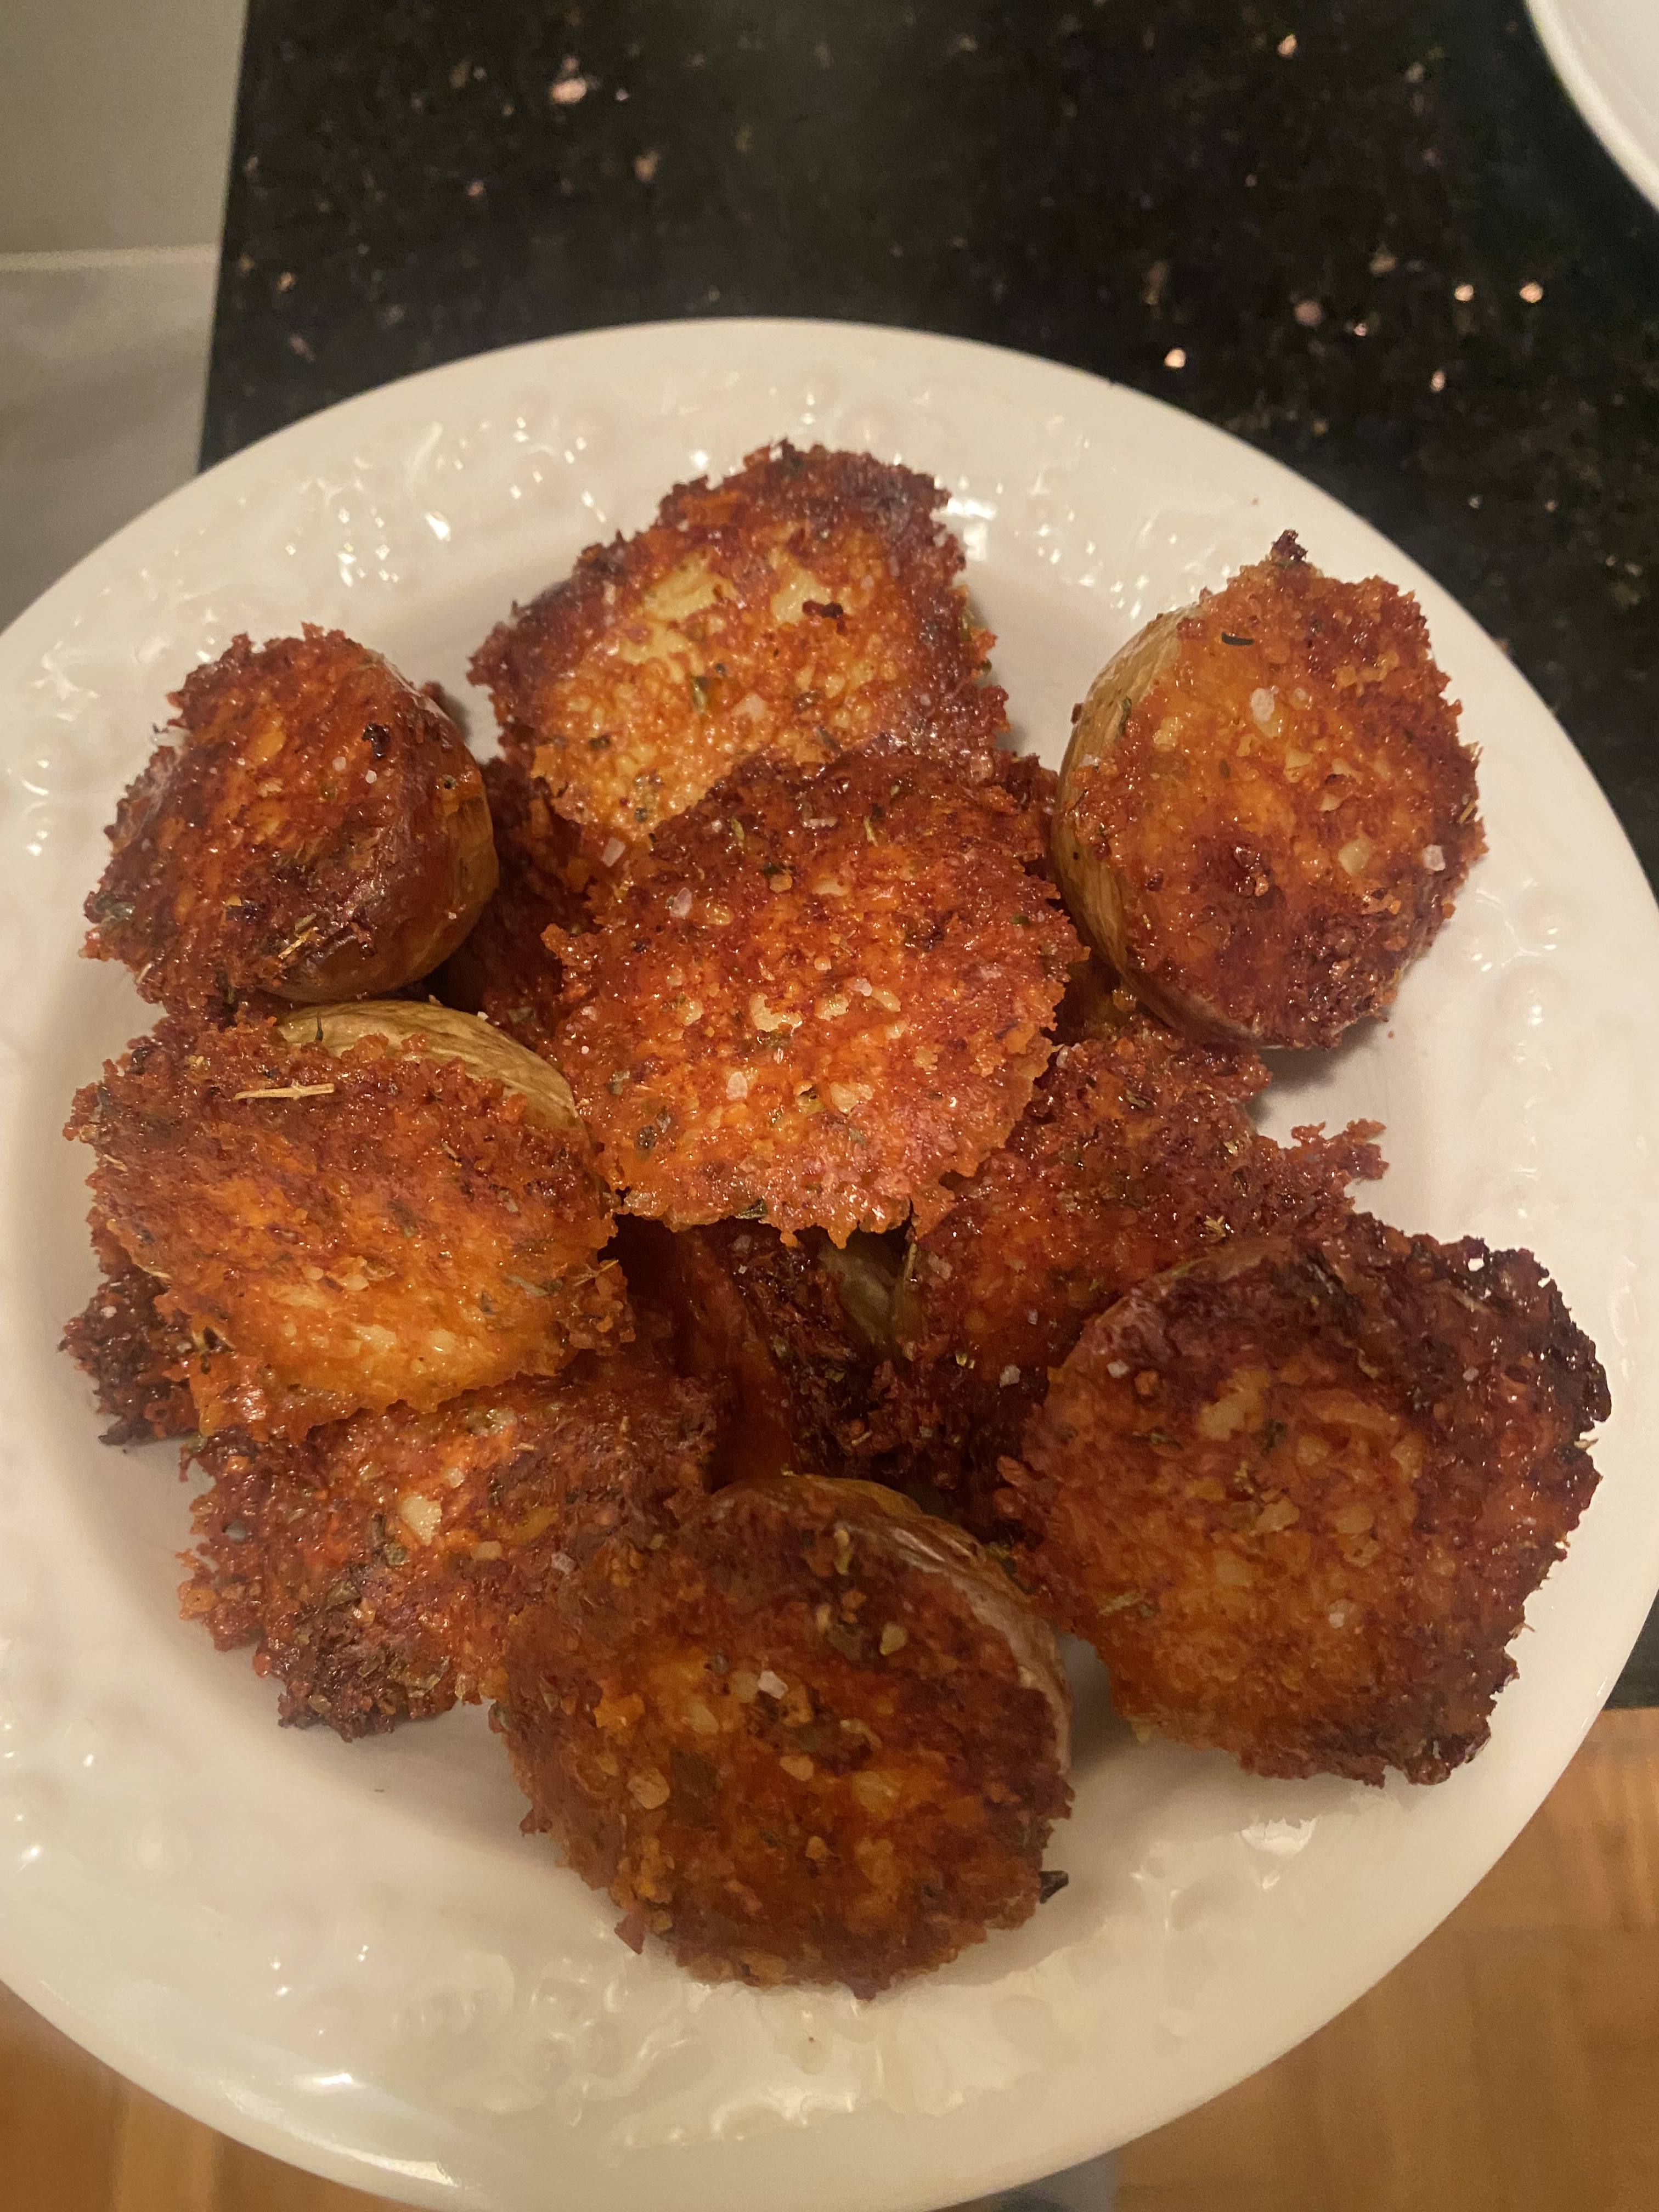
These potatoes are crispy, delicious and probably my all time favorites to serve alongside a rather simple chicken dinner. It elevates dinner to a new level. Maybe better than fries? Very few ingredients and pretty simple and you’ll look like a pro. And to add another layer of flavor serve them with sour cream — and they make a great hors d’oeuvre but I like them for dinner. BTW you can do the same thing with Cauliflower! All I know is they were delicious and I have made them a few times and play around with ingredients — if you don’t like Italian seasoning use oregano or omit entirely . I used garlic powder but if you prefer it without don’t use that either — just don’t omit the salt!!! Of course you can modify and play around with this recipe any way you like best. But use small potatoes which are available all over.
Enjoy and write me and lmk how much you loved these!
Ingredients:
1 lb. baby potatoes or just small potatoes –baby Yukon gold are perfect for the two of us I used 6 small potatoes and cut in 1/2 which was 12 pieces — you’ll use what you like and modify baking dish to fit the amount of potatoes you’ll be using
1/4 cup butter or 4 Tablespoons Olive Oil — melted butter
1/2 tsp. garlic powder
1/2 tsp. Italian Seasoning
1/2 cup Grated Parmesan Cheese
1/4 tsp. at least of kosher salt — we like salty so I add a little more
Directions:
Pre-heat oven to 400 degrees
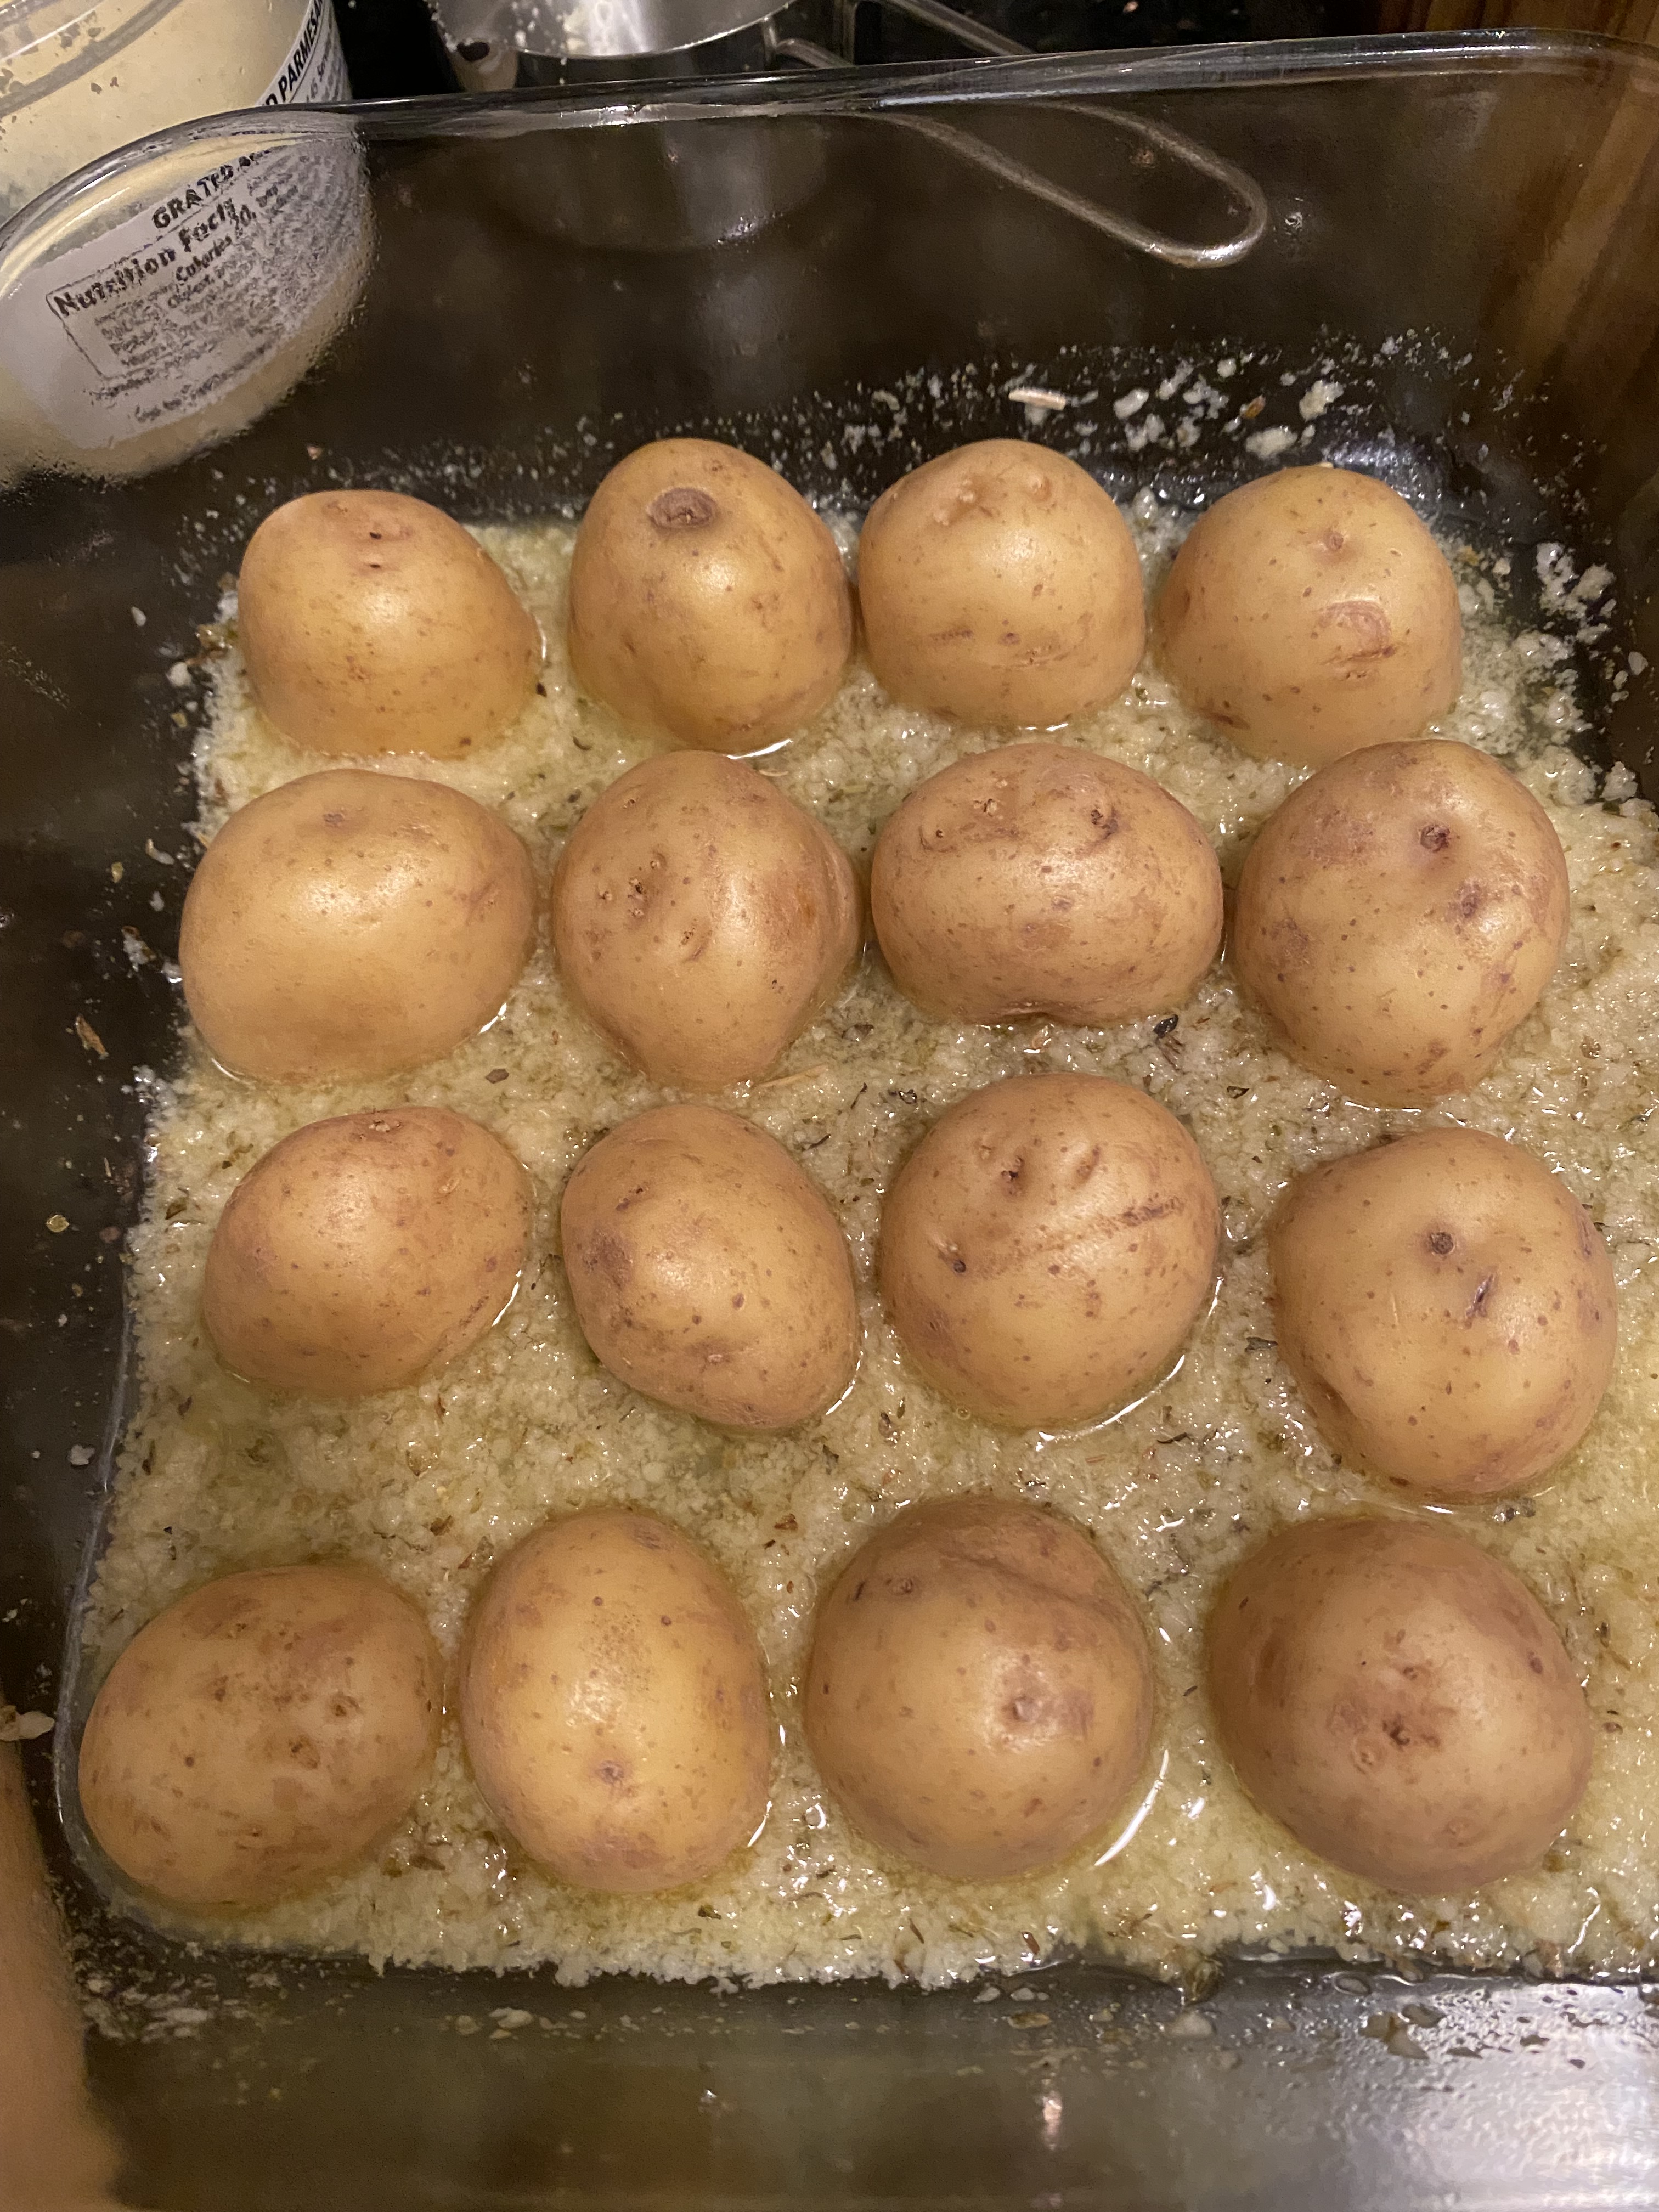
Wash potatoes but leave skin on and cut in 1/2 — spray your baking dish with cooking spray for easy clean up. I prefer a glass baking dish for these little beauties.
In my baking dish I put melted butter ( or olive oil) tilt pan to spread butter or oil all over the bottom of pan. Using a spoon scatter the parmesan cheese and spices. Spread as evenly as possible. It’s tough to spread so do your best just make sure cheese is spread uniformly as you sprinkle it along with spices. Place potatoes cut side down into mixture. If easier you can put cheese and spices in a bowl first and mix then sprinkle over the bottom of the pan
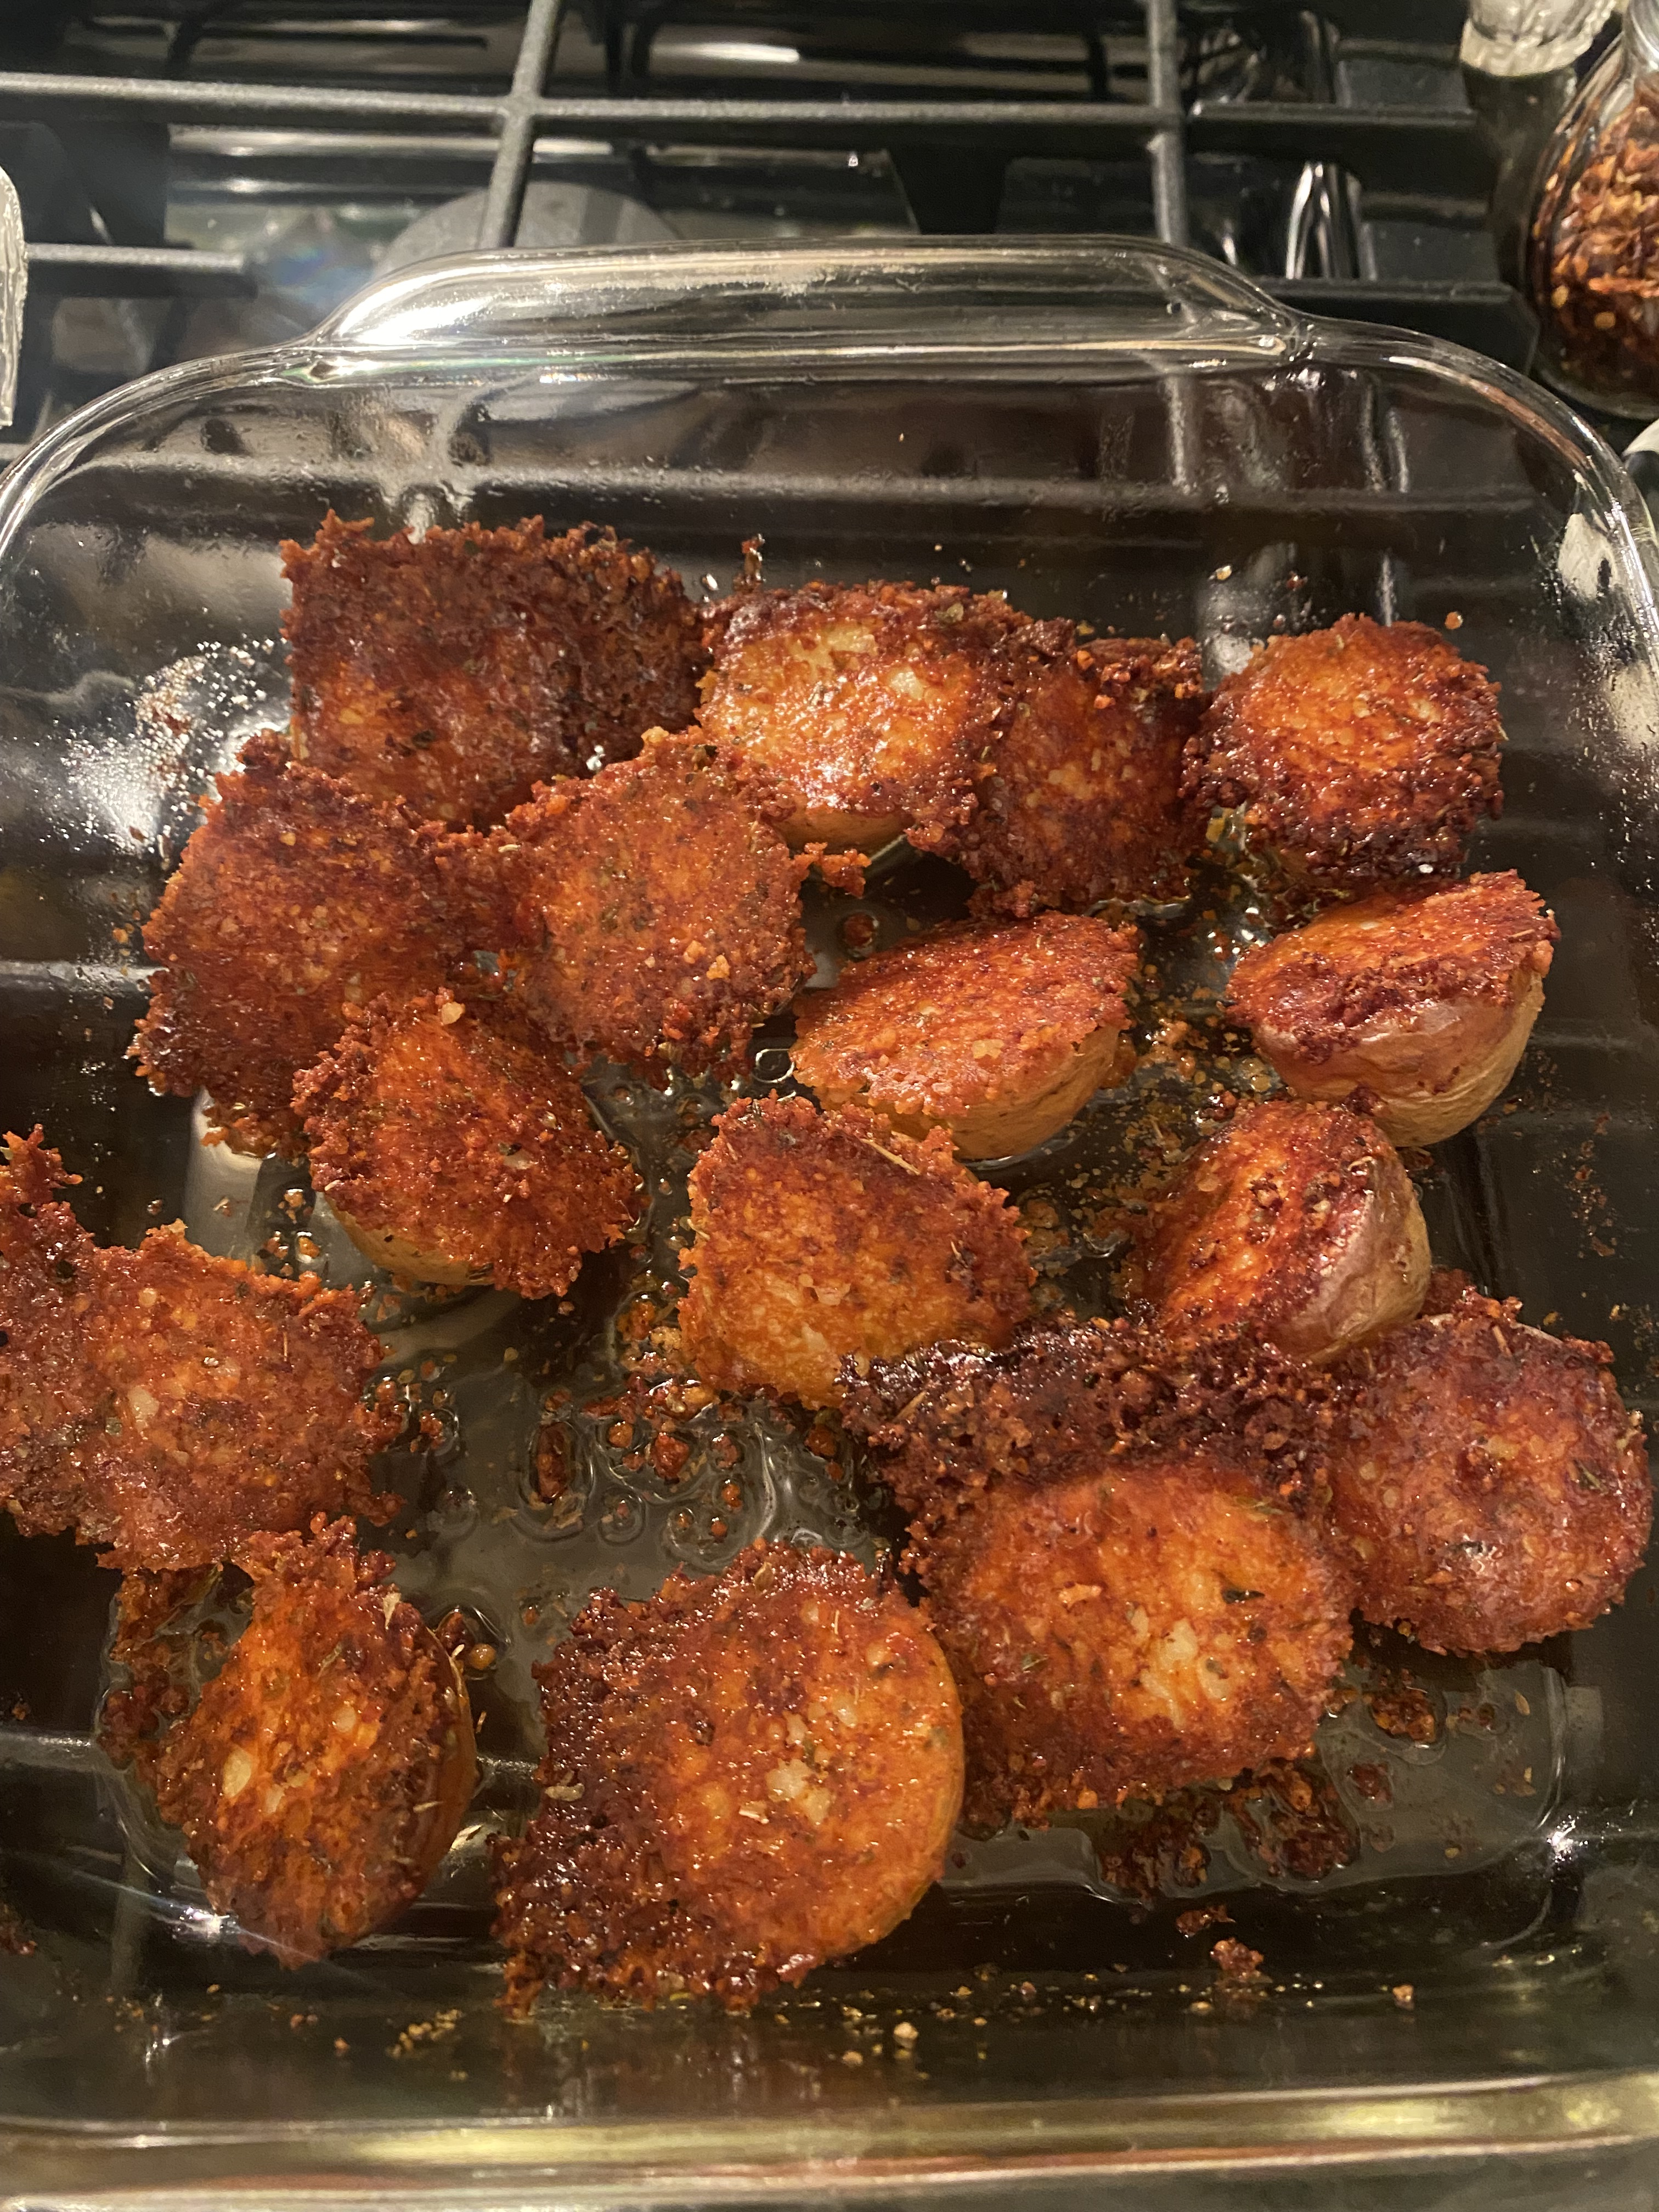
Bake potatoes for about 35-40 minutes until they’re soft and the parm crust is deep golden brown. I like my potatoes very crispy so I baked a little longer but keep an eye on them after 1/2 hour. Let them rest for a few minutes then using a small flipper or even a fork cut through the small layer of palm crust around base of each potato and flip over — after 5 minutes transfer to serving dish and serve alone or with some sour cream.
Leftovers can be stored in refrigerator in an airtight container for a week and re-heat in 400 degree oven for about 5 minutes until cheese is crispy again — not quite the same as freshly made but they’re still pretty darn good.
Enjoy!


")
