Making Pizza at Home with store bought dough in a sheet pan

Making pizza at home with store bought dough is one of my favorite things to do. It’s easy once you get the hang of the dough and I found a few tricks along the way which help make it easier. The real trick to the dough is letting it rise and come to room temperature. If you try to work with cold dough out of the fridge it won’t work . You will need a rimmed sheet pan as well. I keep some dough in the freezer and take it out the night before and let it defrost in the fridge and the next day about 4 hours before I am using I place it on the counter ( in the sun even better) and let it rise and come to room temperature. There are many places to buy dough and you’ll have to find the best one by your home. I buy in Whole Foods when I am in Colorado and in NY Trader Joes , Whole Foods and your local pizza place or bakery will probably be happy to sell you a ball of dough. .Dough will need at least 3 – 4 hours to rise outside of the fridge. Nothing will happen to it so just set it out on the counter — I open the bag and let it rise away. My ingredients are simple and if you follow instructions you should be fine. Don’t be discouraged if the first few times it doesn’t come out perfectly — it took me a few times with the dough to really get the hang of it. Give it a try!

This is what I do and these are my instructions:

Ingredients:

1 bag Pizza Dough — for 4 people I make for 2 and we always have extra slices

16 oz. Pizza Sauce — if I have homemade I use that if not I always have a jar of Raos Arrabiata or Marinara on hand

Italian Seasonings — dry app. 2 tsp. you’ll have to eyeball it

flour for stretching dough — this is a must

Olive Oil Spray for spraying baking sheet — I like this better than using olive oil — either one will work on baking sheet

Parmesan Cheese

Shredded Mozzarella — app. 8 oz. more or less

Directions:

Let dough rise. Read notes above. Keeping the store bought dough on a counter for at least 3 hours or more. It will keep rising in the bag so I usually open the bag to give it room to rise. If you’re defrosting it do so overnight in fridge and then take it out the next day. You’ll notice it rising in fridge ( at least it should)

Pre-heat oven to 450 degrees — very important to get oven hot so make sure you’re oven is pre-heated

Spray baking sheet with Olive Oil Cooking Spray or using a brush lightly coat bottom of baking sheet with Olive Oil . I use a 12x 17 rimmed baking sheet . You don’t need a pizza stone.

Stretch the dough. On a clean surface ( counter top ) I put down a light amount of flour (enough for both sides) and you can always add more , the flour will help to expand the dough. Place raw dough on top of flour, coating each side. Begin stretching the dough by pinching the outside in a circular motion to spread it out. I put my fists under the dough to stretch ( you don’t need a rolling pin) You can alternate between pinching the dough with your finger, pressing it out on your work surface, and using your knuckles to pull the dough from underneath in circular motions. Usually a few motions will get the dough stretching. When it’s large enough gently transfer to the prepared sheet pan. I spread it out thin in center and more dough around perimeter ( crust) if there are holes in your dough pinch together dough or fold over the dough in that spot and get rid of them . I spread it out all the way to cover entire baking sheet . Don’t worry about your dough being a perfect shape. All pizza is delicious and beautiful.

Bake the naked pizza dough in the oven at 450 degrees for 7 minutes. During this time prep your toppings. I am sort of a purist so it’s sauce, cheese , and seasoning. Never add the toppings to raw pizza dough.

After par-baking the pizza dough, remove from oven and raise temperature of oven to 500 degrees. ( make sure it gets to 500) I add my sauce — spreading it out on dough, I leave a little room around perimeter ( see photo) , dried Italian seasoning ( if you’re using) parmesan cheese and mozzarella cheese . Obviously if you have other toppings you want to use this is the time to add.

Bake the pizza at 500 for another 10 minutes — all ovens vary so check on it after 7 minutes.

I like my cheese fully melted and a little brown in spots. Let it cool off for a few minutes before slicing .

I use a pizza cutter and get 8 slices .

Let me know how this comes out — tag me on Instagram story — I would love that.

these are some photos from current pizzas and past pizzas–sometimes they come out better looking than other times but they always taste incredible! No such thing as an ugly pizza in my book.

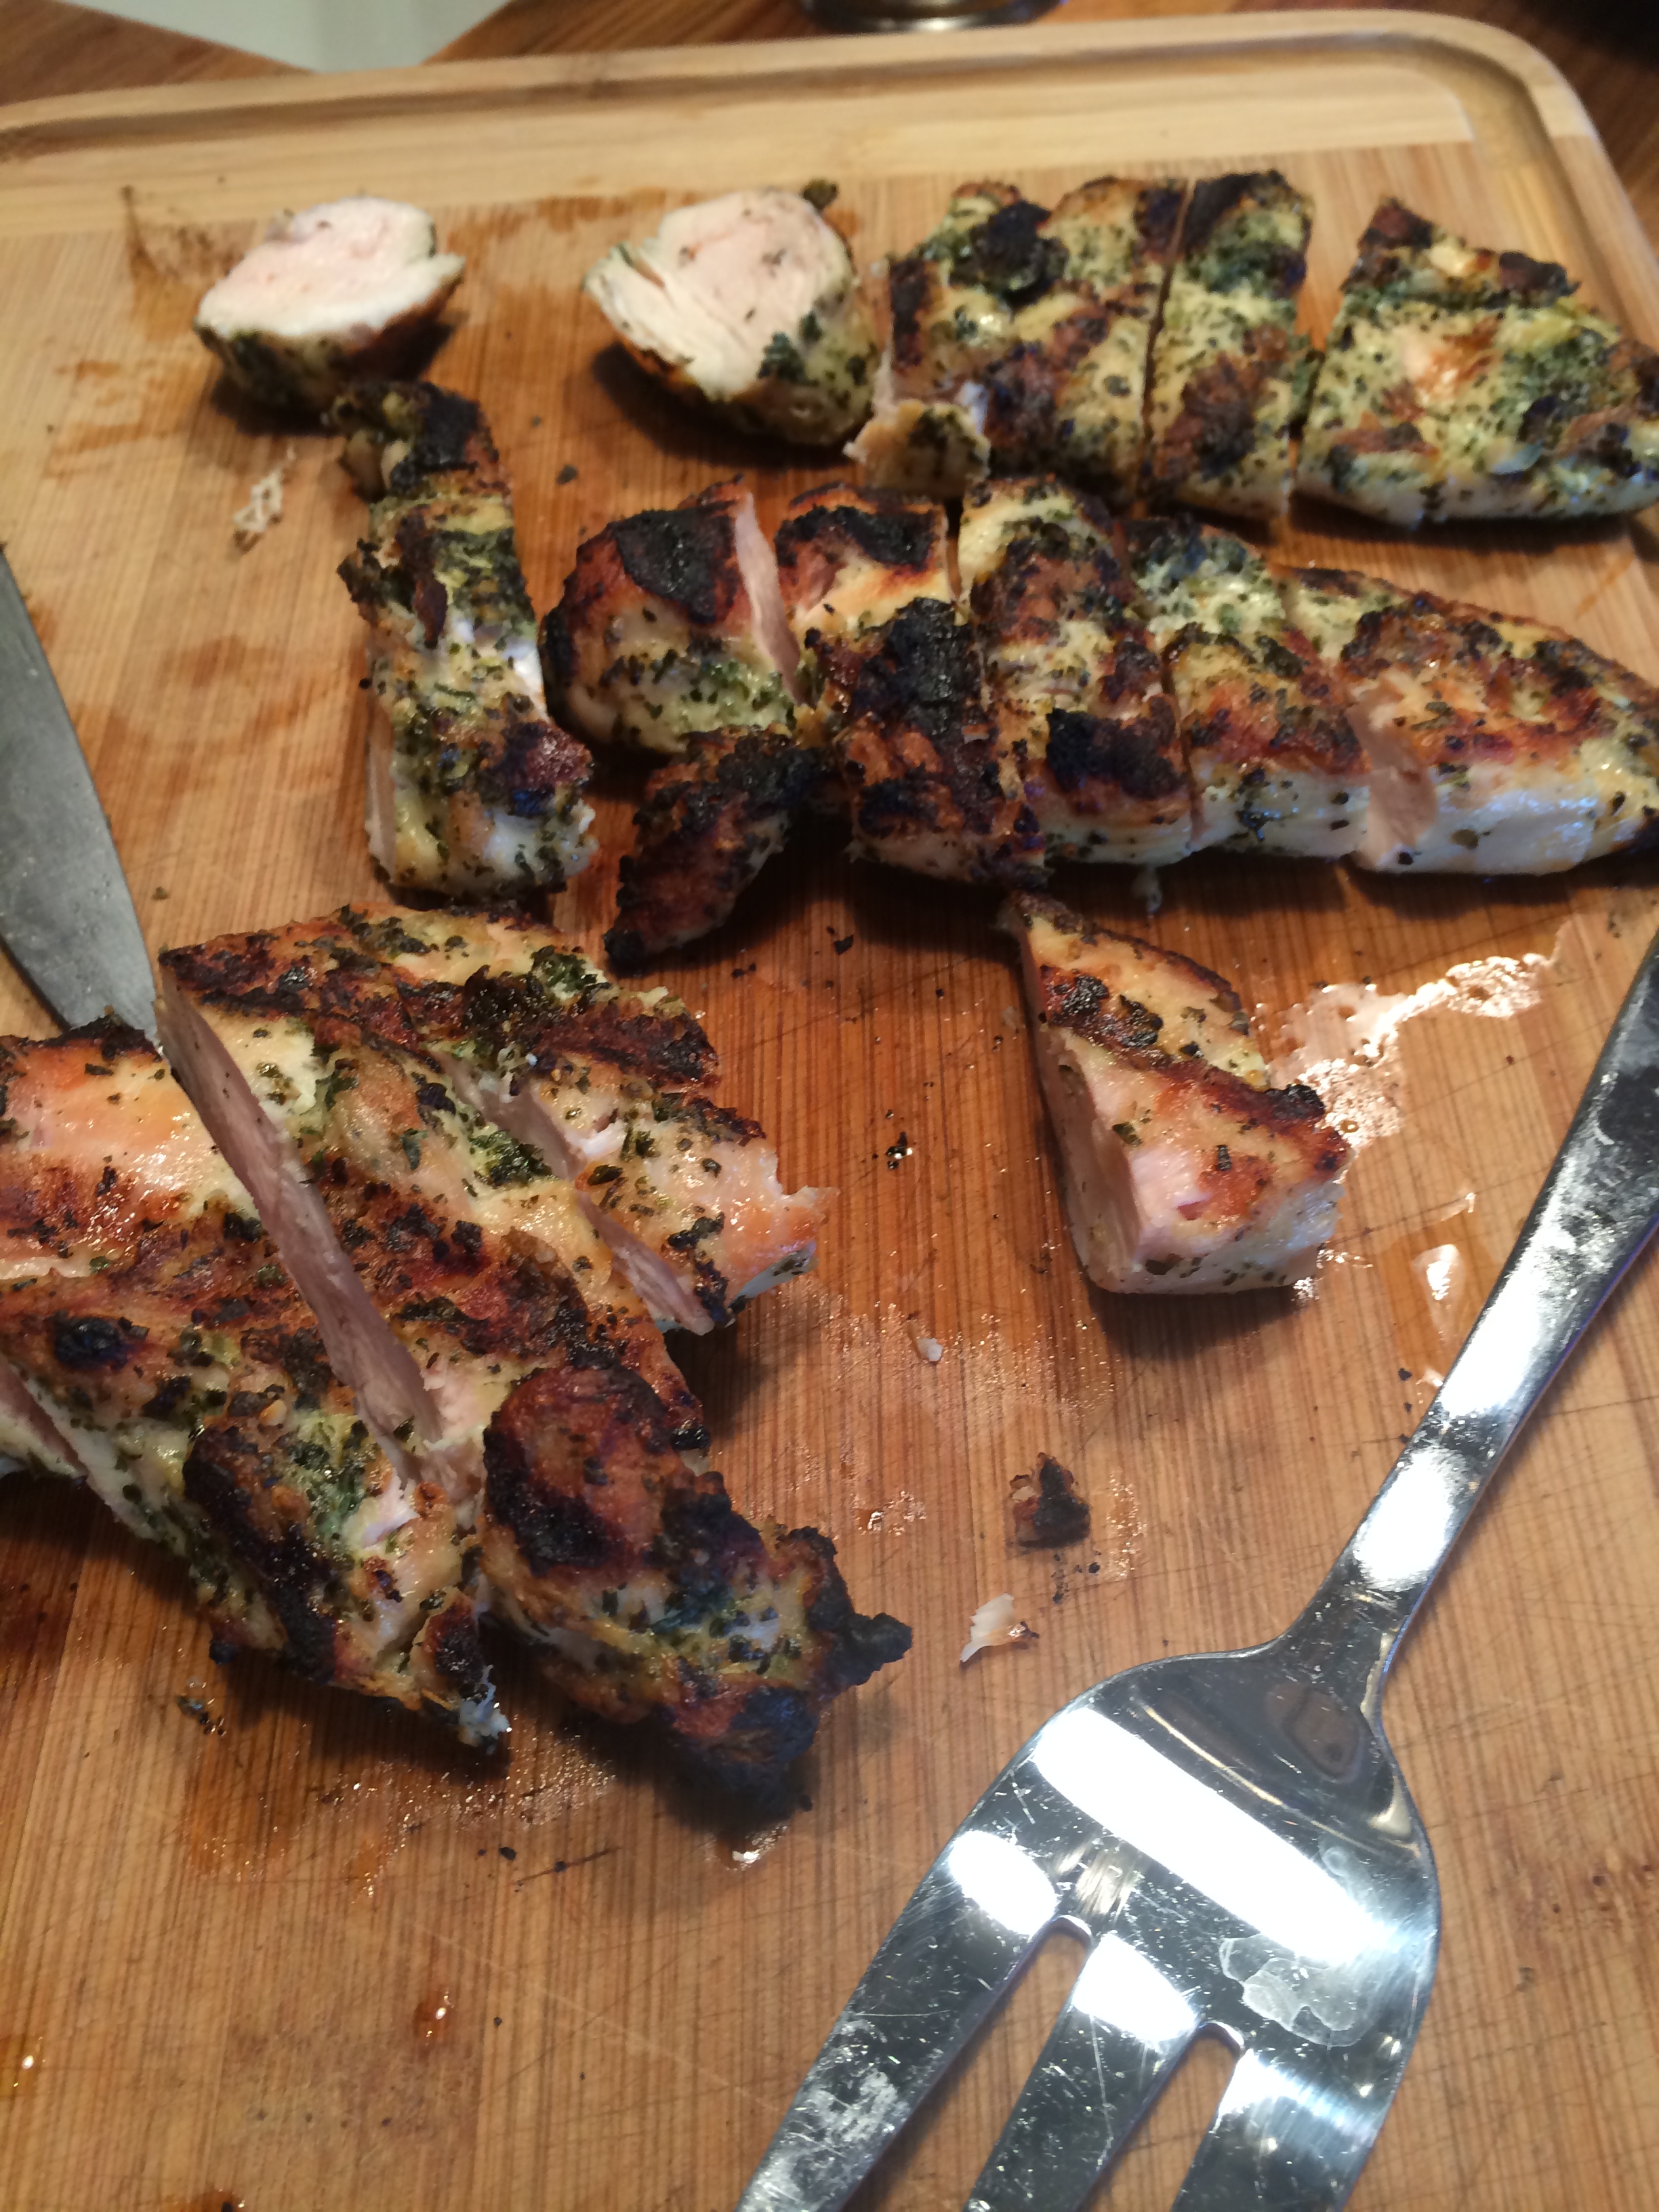
Boneless Skinless chicken thighs baked in the oven

I love making boneless skinless chicken thighs for dinner because they’re tasty and easy to cook and very difficult to mess up. They are tender and juicy and in the summer I grill them and especially good for a large crowd. But while I’m in the city I bake them in the oven. I keep in the freezer , take them out in the morning and figure out how I’m going to make them that night. This is my go to easy as 1-2-3 . Here’s what I did tonight.

The ingredients can vary and if you don’t have fresh garlic use garlic powder. (see ingredients)

I served alongside rice pilaf and a green salad. You can serve alongside anything you like.

Ingredients:

1 pound package boneless, skinless chicken thighs

Kosher Salt

freshly ground black pepper

4 cloves garlic minced or use garlic powder ( roughly 1 to 1 1/2 tablespoons of garlic powder

2 tablespoons olive oil

1 tablespoon heaping Dijon Mustard

1 tablespoon balsamic vinegar

1 teaspoon packed brown sugar (light or dark)

*crushed red pepper flakes -optional but I love a little kick just a sprinkle

Directions:

arrange a rack in the middle of the oven and heat the oven to 425 degrees. Place 1 package ( app. 6 chicken thighs) on a plate and pat dry with paper towels, sprinkle with salt and pepper and drizzle a little olive oil ( just a drizzle) I drizzle a little olive oil over the top of the chicken as well to ensure browning well in the oven this is optional.

Mix 2 tbsp. olive oil, dijon, balsamic, brown sugar, garlic and a sprinkle of crushed red pepper if you like, whisk well and pour over the chicken.

Toss to combine.

img_0356
img_0362
img_0358

Place the chicken in a single layer in a 9×13 glass baking dish. No need to grease I do use Pam cooking spray to help with clean up

Boneless, skinless chicken thighs cook quickly . Roast for about 20 minutes or until the internal temperature is 165 degrees. I like to put under the broiler for app. 3 minutes. I cover with aluminum foil for about 10 minutes and let the chicken rest , this helps it to be more tender.

Eat and Enjoy!

Crispy Parmesan Sweet Potatoes

Thanks to my friend Leslie for this delicious recipe. So great when friends share their delicious recipes with you and you love the recipe so much that you are making it on repeat and now I’m sharing with all of you.

These are cheesy and crispy on the outside and soft and mushy on the inside — just like a sweet potato should be.

The first time I made these I didn’t use parchment paper but I think I would use all the time in the future. I sprayed the baking sheet and it was fine and came out easily enough but I believe parchment paper is the way to go– I would however still lightly spray the bottom of your baking pan before placing the parchment paper which can help it stay in place . Parchment paper is designed to be non-stick so spraying it would be redundant. As you can see in photos some of the cheese fell off but it’s ok because they were delcious anyway.

This is easy to make and delicious to eat and highly recommend if you love Sweet Potatoes and you love Parmesan Cheese.

*little hack that I was unaware of that I’m passing on to all of you– when I went to my local cheese shop to buy grated parmesan cheese the owner happened to be there and he told me after I use grated cheese put it in the freezer , it will not freeze. When I need it again just take out of freezer and use and return un used cheese to freezer. It will not go bad!!!!!! as it often does once it is opened and expiration date is only for a few weeks. This is a great little hack one I will use from now on.

Ingredients:

4 small sweet potatoes -just buy potatoes that can be cut in 1/2 the long way sometimes it’s tough with “knobby” ones

2 Tbsp. Olive Oil

1/2 tsp. garlic powder

1/2 tsp. Italian seasoning

1/2 cup -3/4 cup finely shredded parmesan

Kosher Salt and Coarse Black Pepper

Directions:

Pre-heat oven to 400 degrees and line a baking sheet with parchment paper or just spray with baking spray

In a small bowl I mixed olive oil, garlic powder and Italian seasoning

Place your cut sweet potatoes in a large enough bowl to fit all of them — pour olive oil mixture over them mix well getting olive oil all over the sweet potatoes — sprinkle with some salt and pepper and let them sit for a minute while you prep pan

Sprinkle parm cheese evenly onto prepared baking sheet – place sweet potato halves cut side down on top of parmesan

bake for 30-40 minutes till sweet potatoes are tender and bottom layer of cheese is crusty and deeply browned.

Remove and let cool a little bit before serving!

I wish I had better pictures but you get the picture.

img_5356
img_5358-1

Happy Holidays to all.

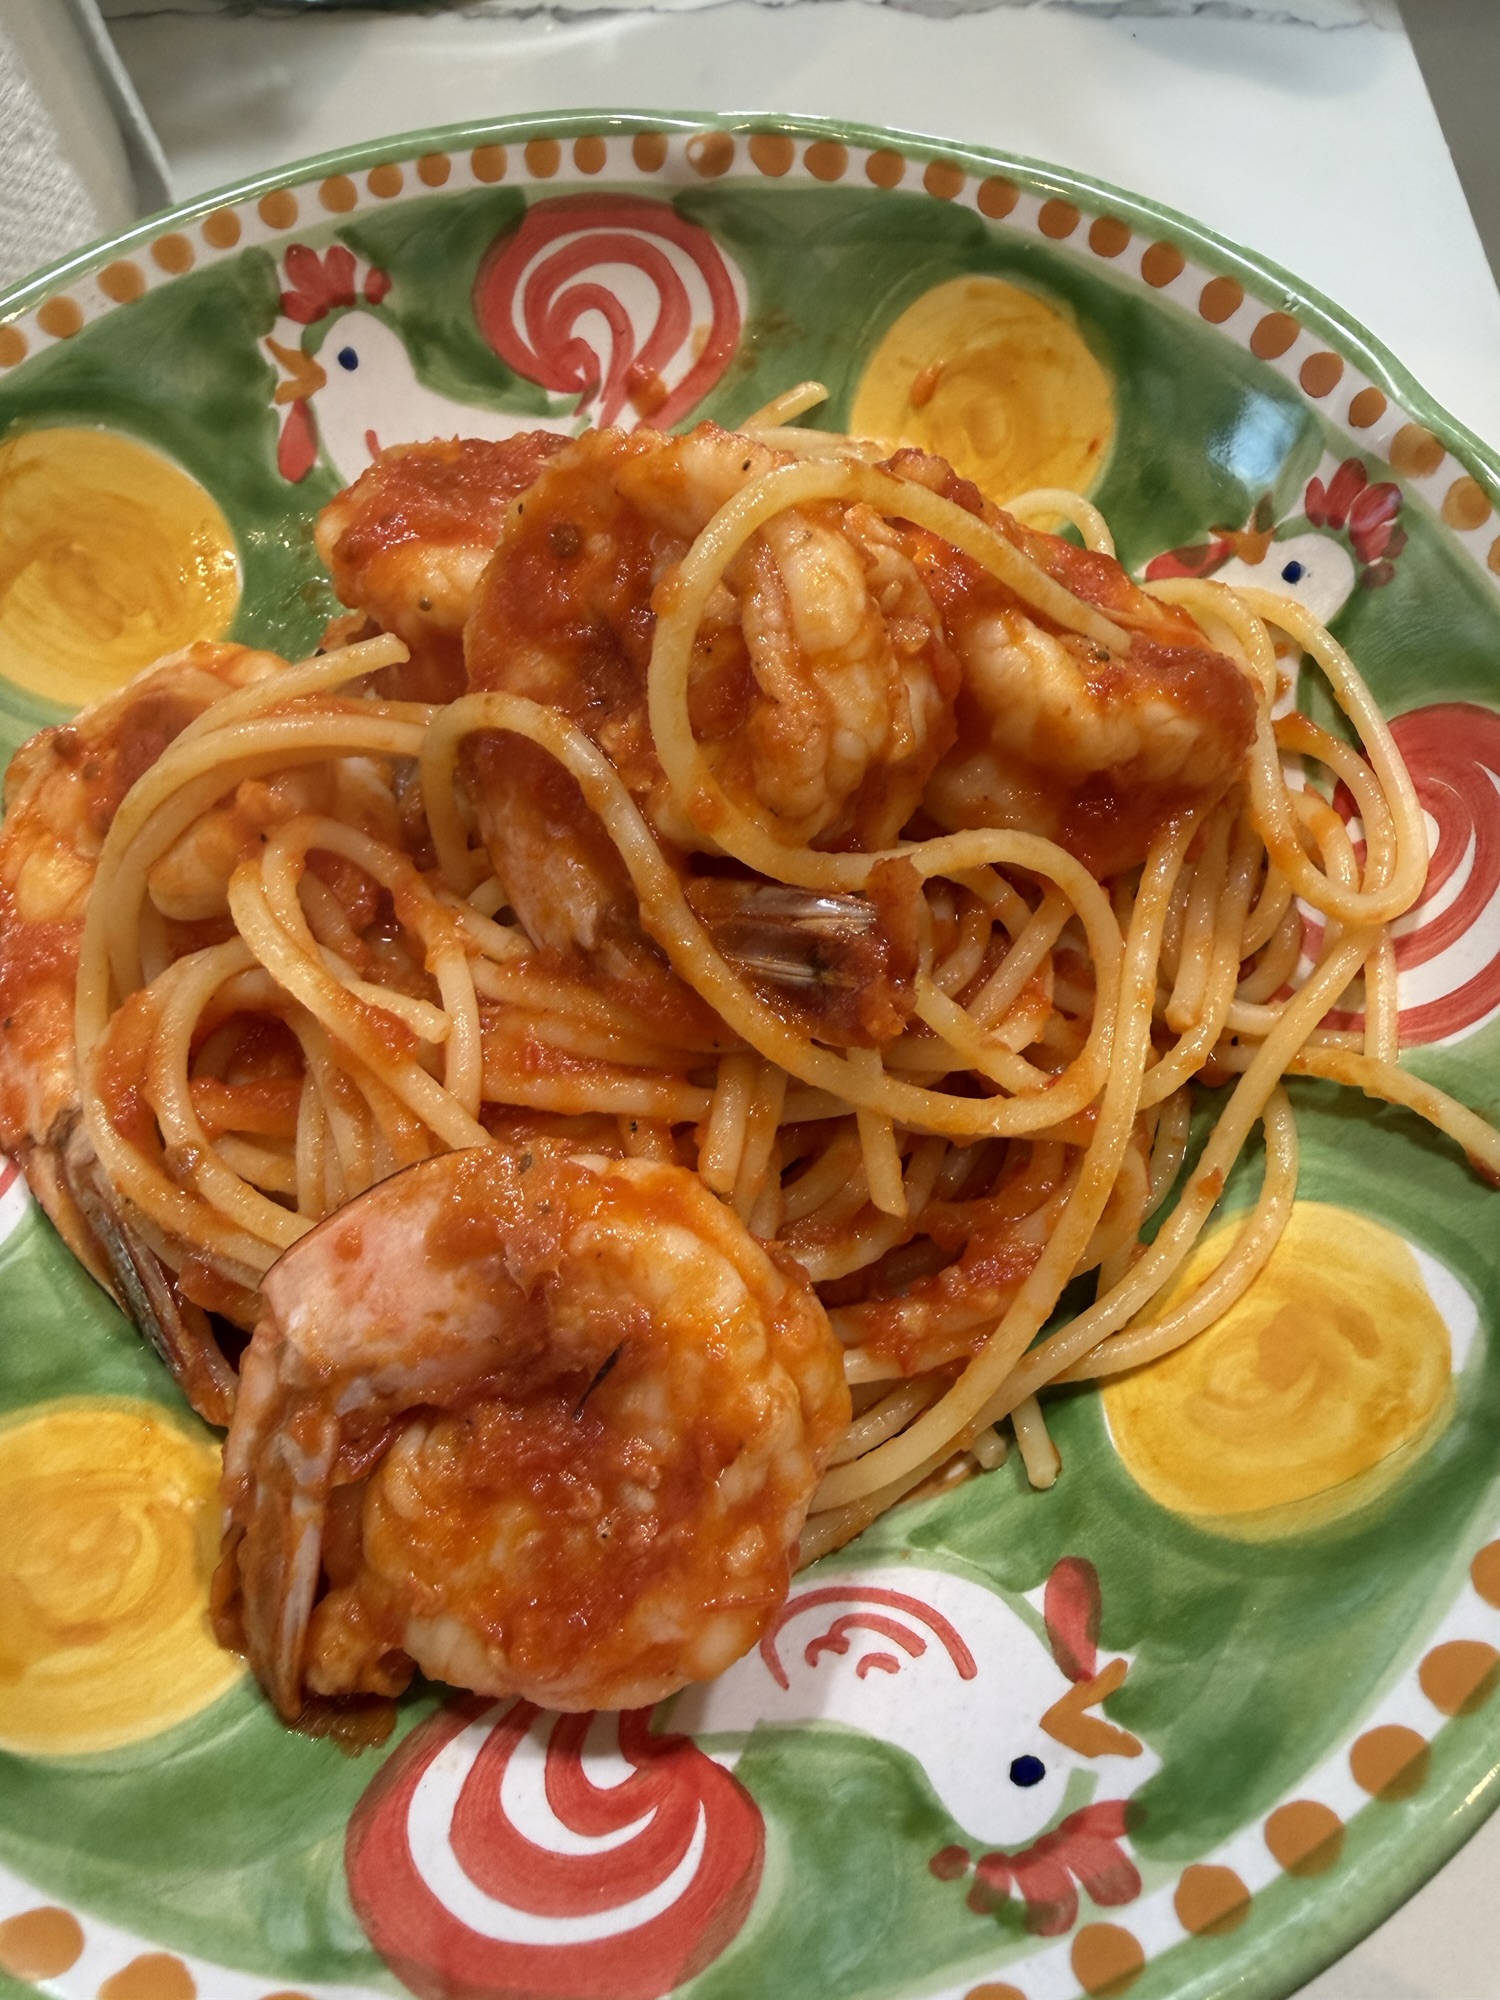
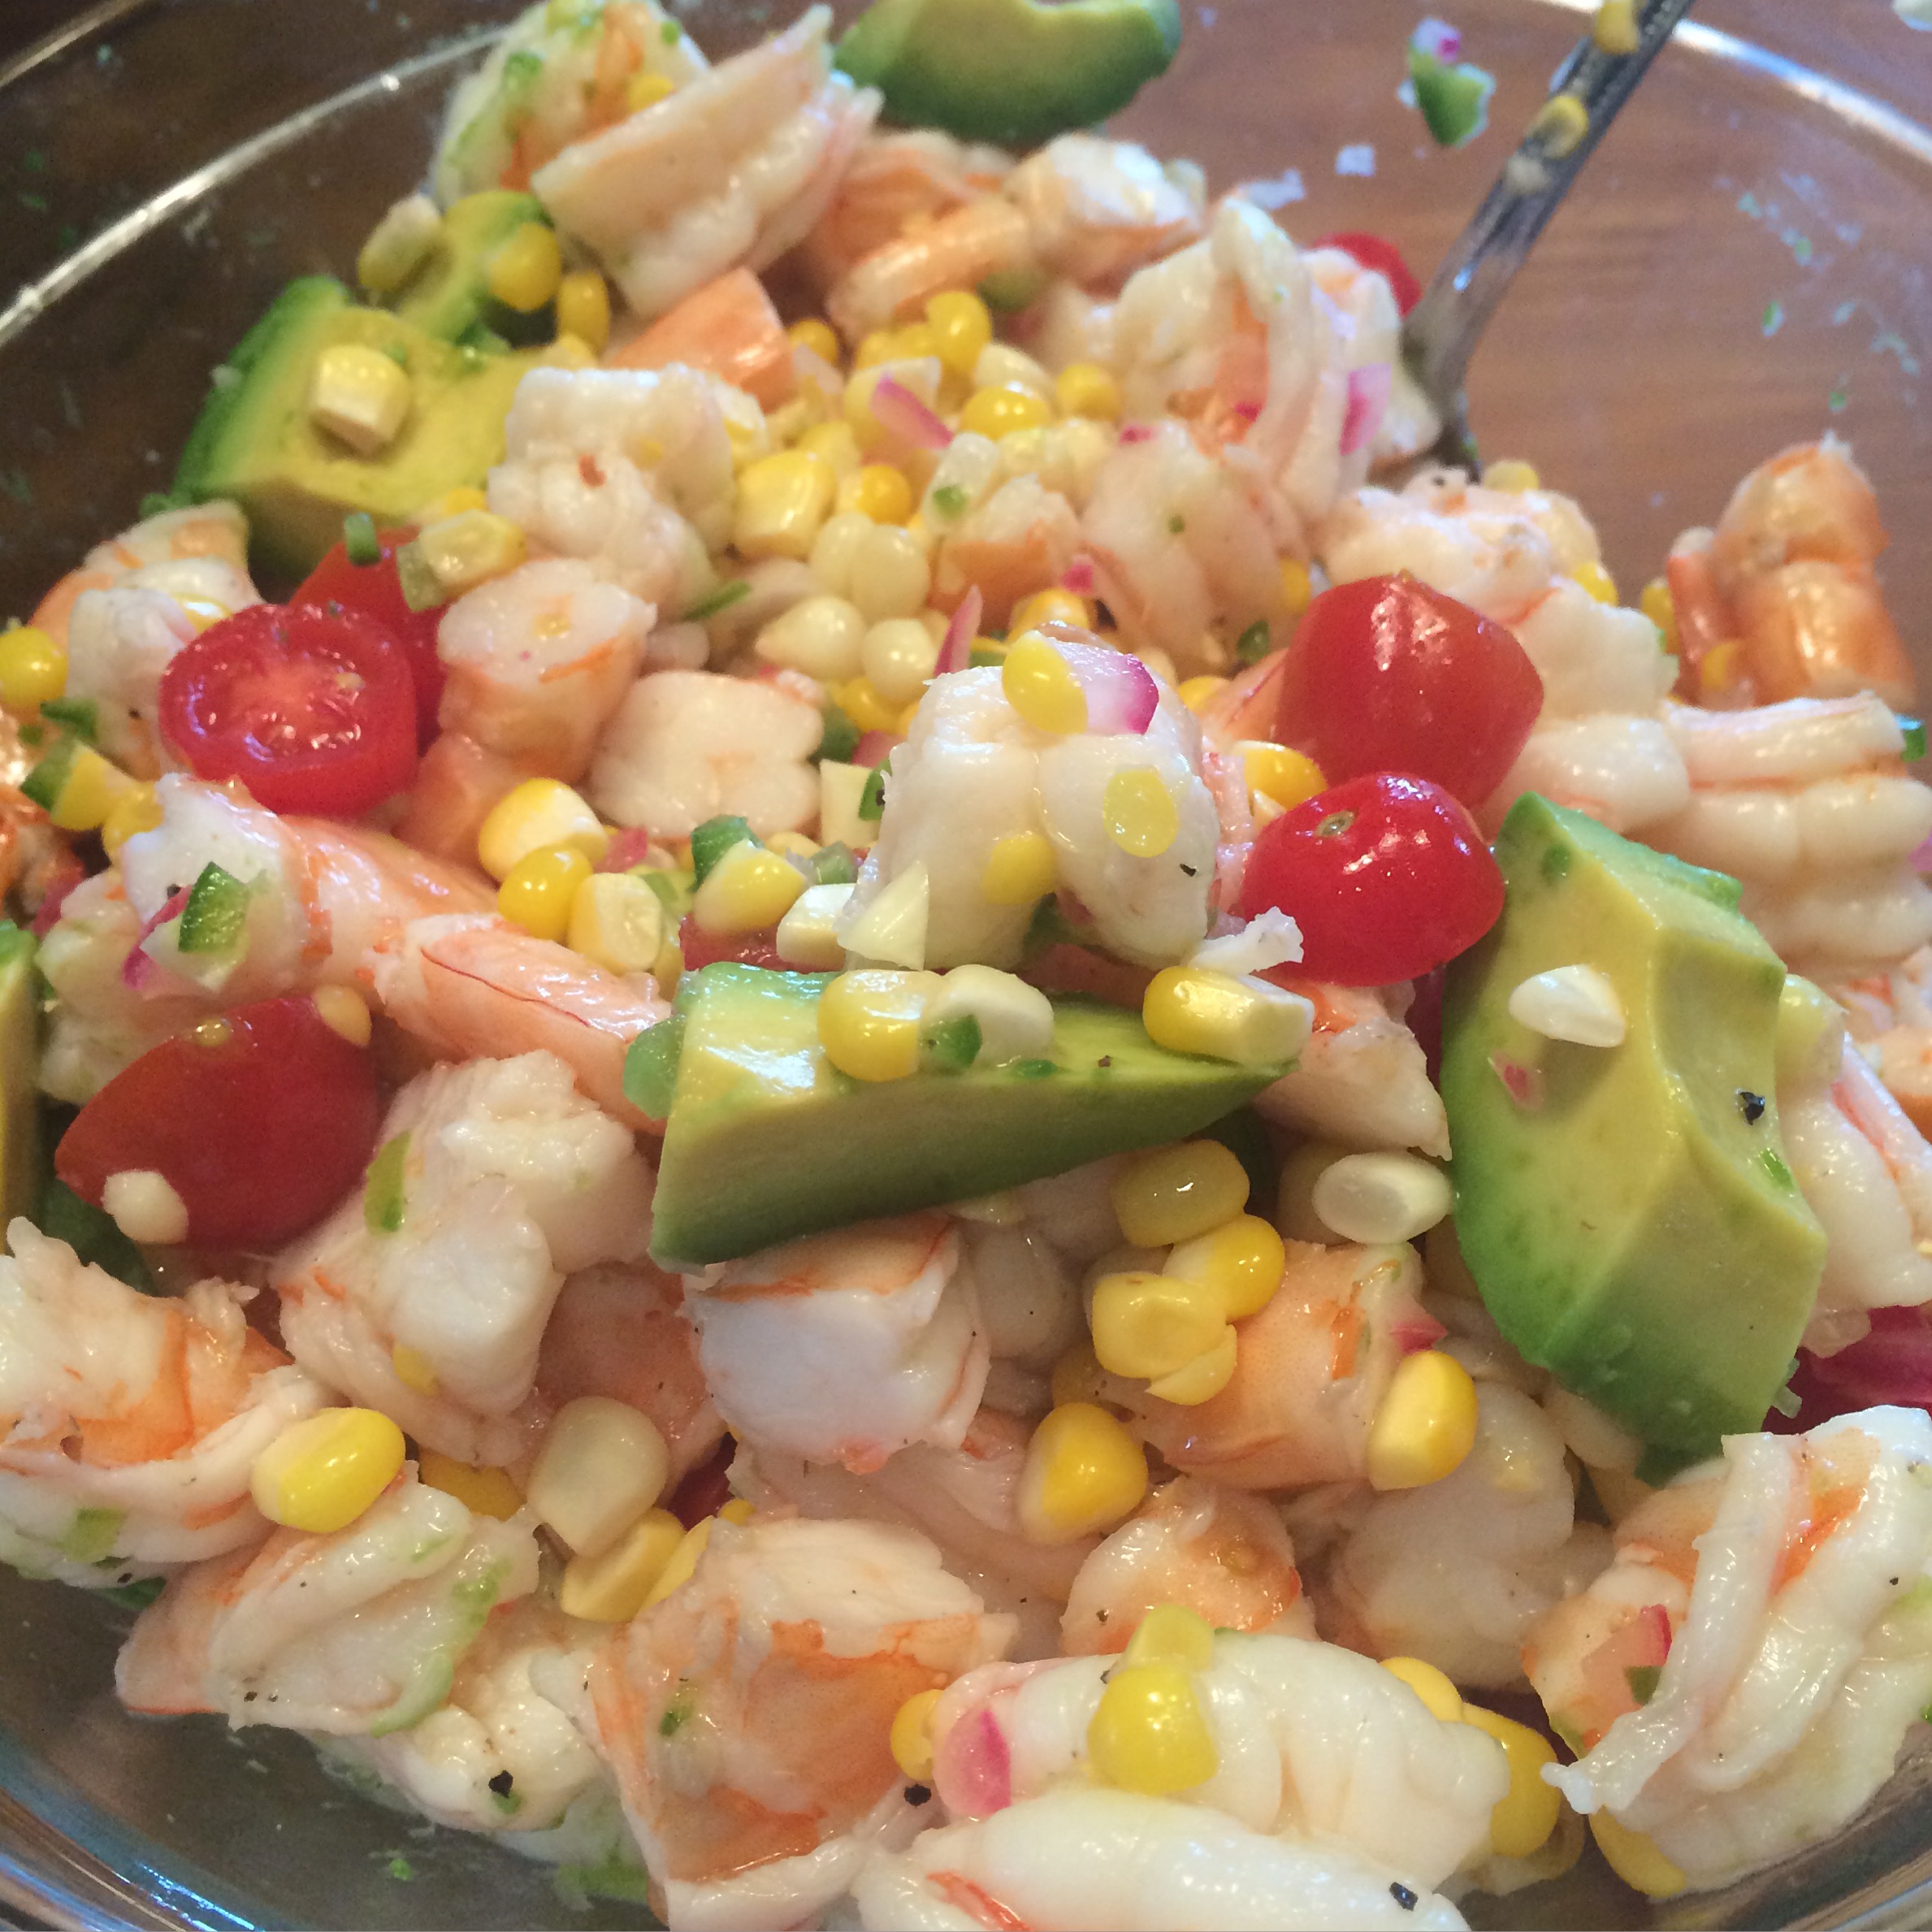
Shrimp with Tomatoes and Corn

I saw this recipe on the New York Times cooking site by Ali Slagle. One of my most favorite cooking sites. I made a few changes to recipe and would highly recommend checking out this recipe. Sometimes I serve with rice but this recipe stands on its own as a meal. You can use pasta or bread as well. If you love shrimp and corn and tomatoes this one’s for you.

Perfect in the summer months with all that sweet fresh corn out there. Grab some fresh corn and use it in this wonderful dish.

Enjoy!

Ingredients:

1 pound large shrimp, peeled and deveined — I used under 12 ( meaning 12 to a pound) Mexican White Shrimp– this is the shrimp I prefer but use what you can get and like

Kosher Salt and Pepper 

2 Tablespoons Extra-Virgin Olive Oil

1 pint cherry or grape tomatoes — there are so many variations out there now– I used these tiny little grape tomatoes but would use different colors as well ( heirloom grape / cherry tomatoes)

2 cups fresh or frozen corn– app. 4 ears fresh corn

5 garlic cloves–minced

1/2 teaspoon red-pepper flakes — we like the heat use at your own discretion– this was not spicy

1/4 cup dry white wine

2 Tablespoons fresh lemon juice from 1 large lemon

2 Tablespoons unsalted butter

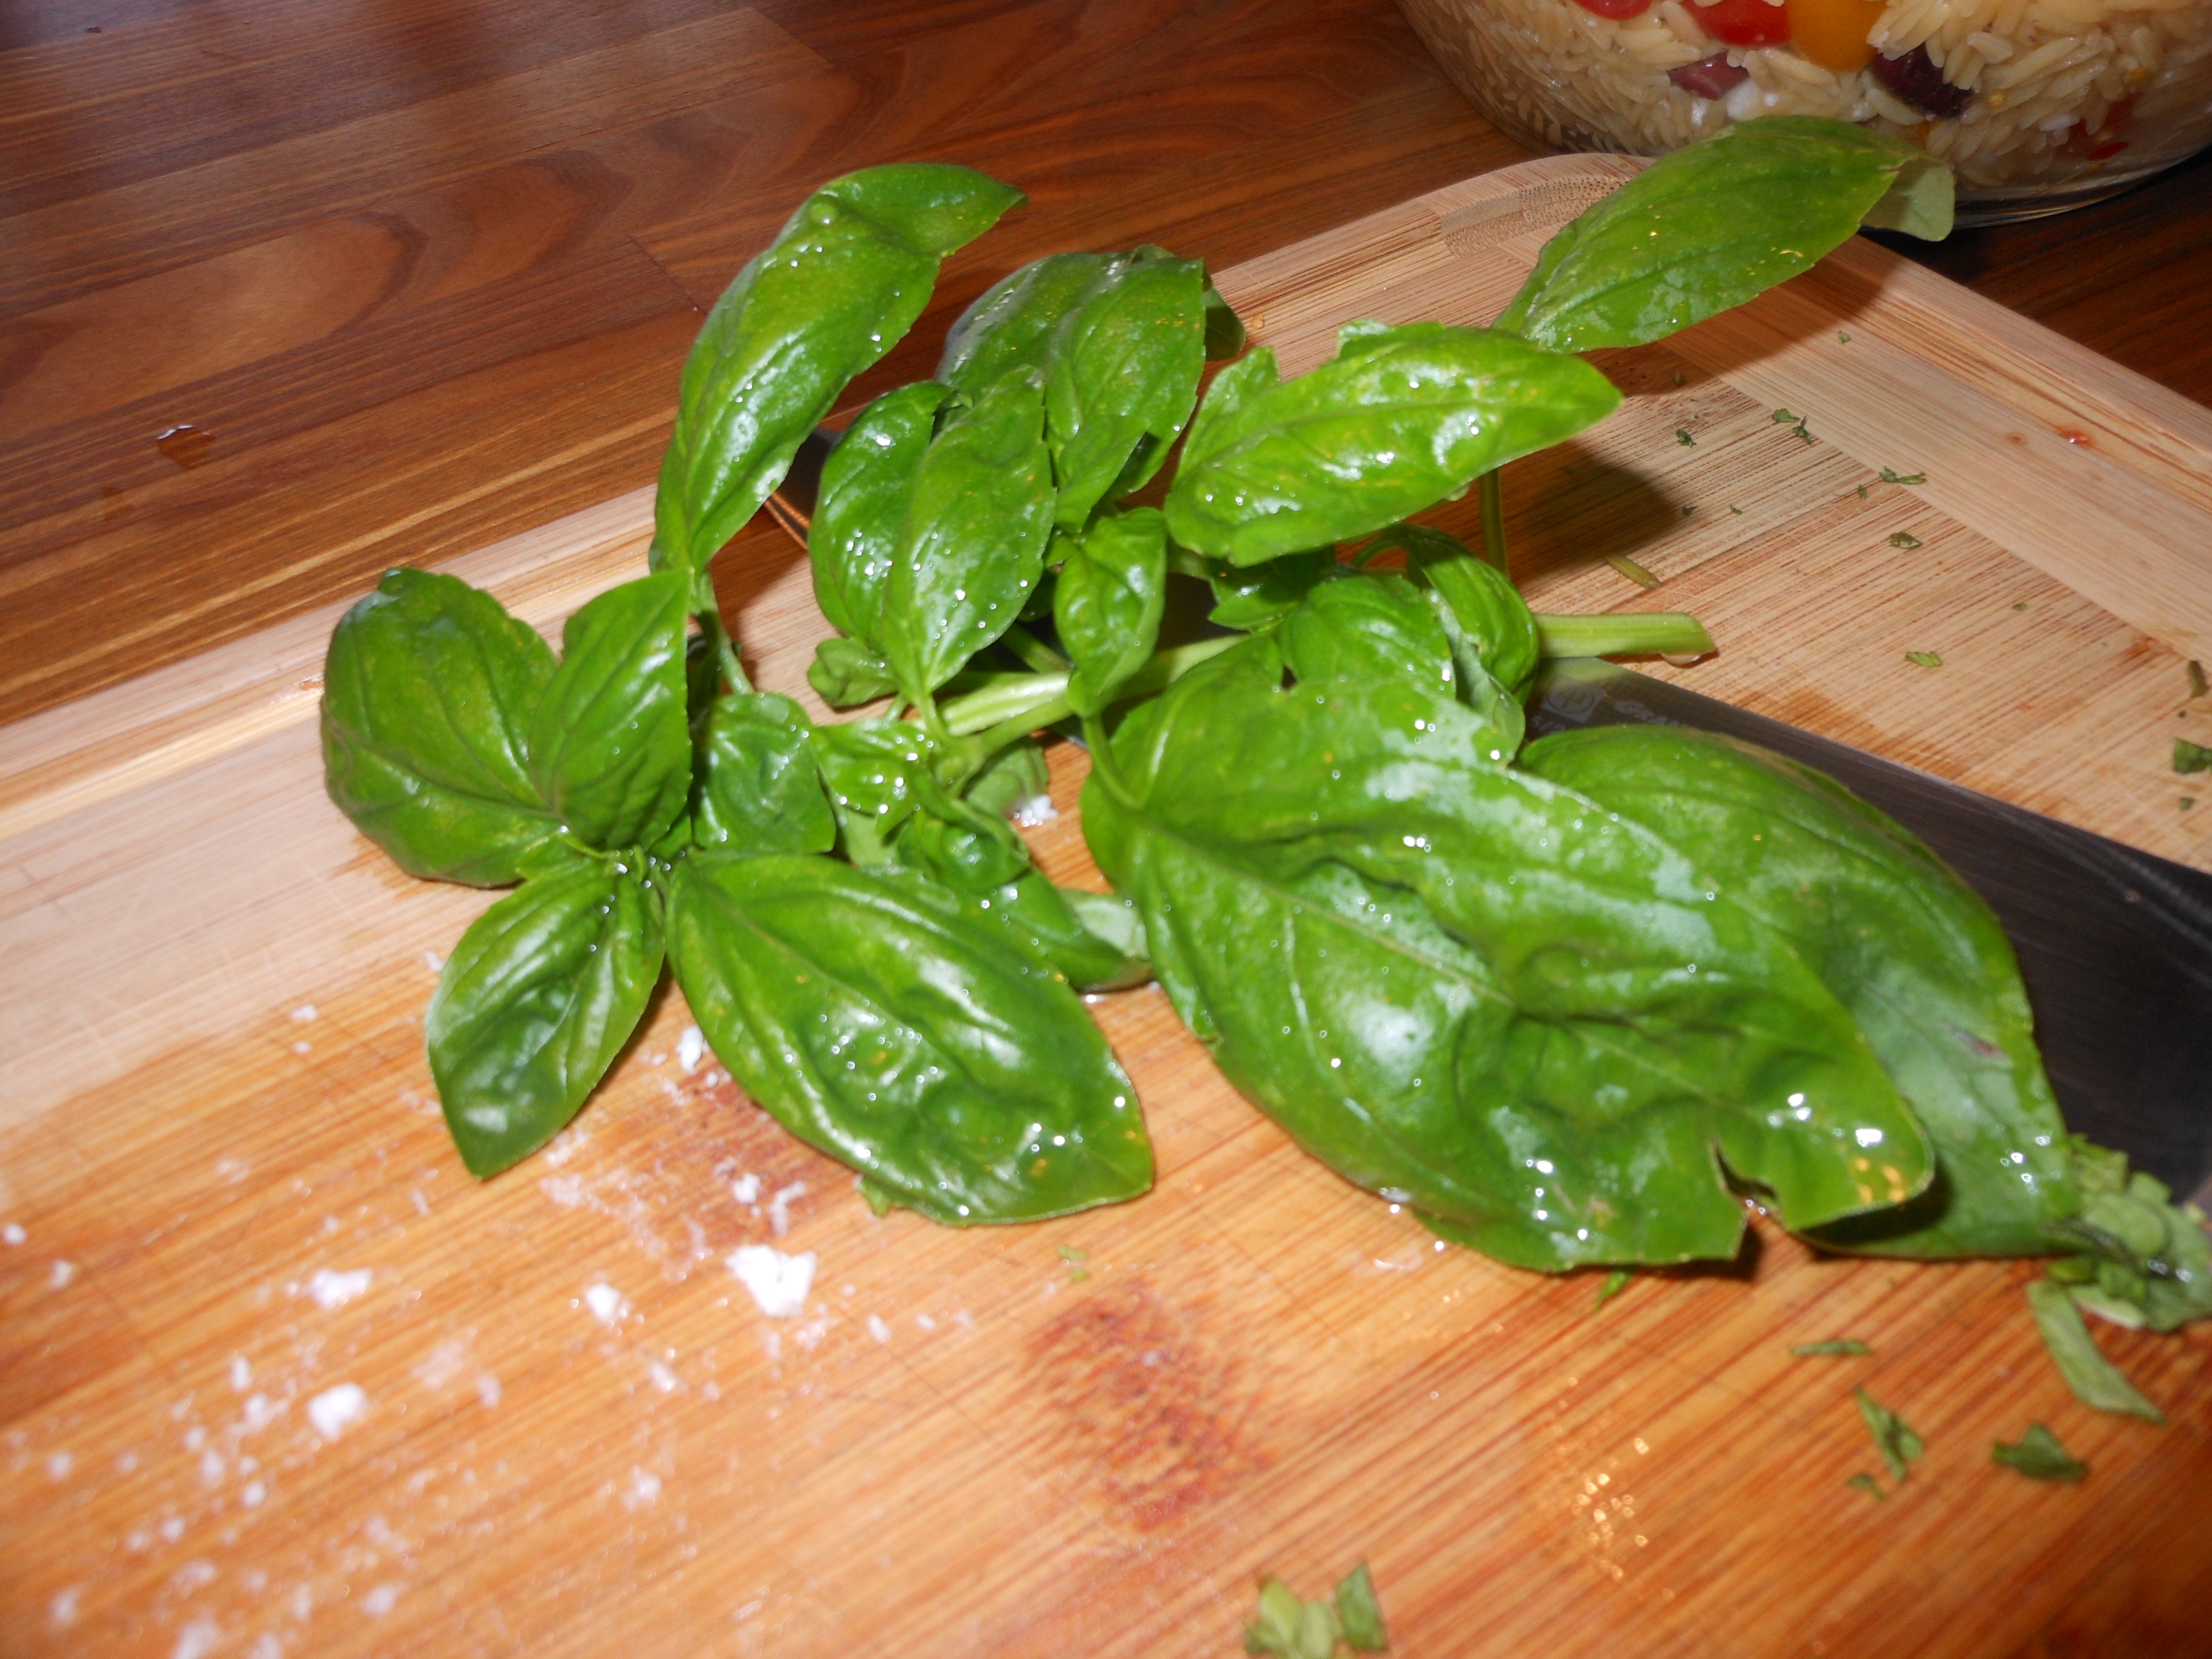
*extra lemon wedges and cut up fresh basil for serving–totally optional

Directions:

Pat the shrimp dry and season with salt and pepper. In a large skillet heat the olive oil over medium high heat. Add the shrimp and cook until pink and lightly golden in spots, app. 1 – 2 minutes on each side. Remove with slotted spoon to a plate and set aside. You will finish cooking through at the end and you don’t want shrimp to over-cook.

Add the tomatoes to the skillet, you can season with a little salt and pepper if you’d like and cook stirring a few times just till the tomatoes to start to blister, 3-4 minutes. Add the corn, season with salt and pepper, and cook, stirring a few times to incorporate. Tomatoes will start to burst and the corn is golden , another 3- 4 minutes.

Add the minced garlic and red-pepper flakes and cook stirring another few minutes. 

Reduce heat to medium and add the wine and lemon juice, stirring any brown bits from the bottom of the pan. Cook until nearly evaporated, then add the butter and stir until melted . Add back the shrimp and stir until warmed through and shrimp is fully cooked , another 2 minutes or so. Stove was on medium-low.

Taste for Salt and Pepper . Add some fresh Basil if you’d like and you can serve with some extra lemon wedges .

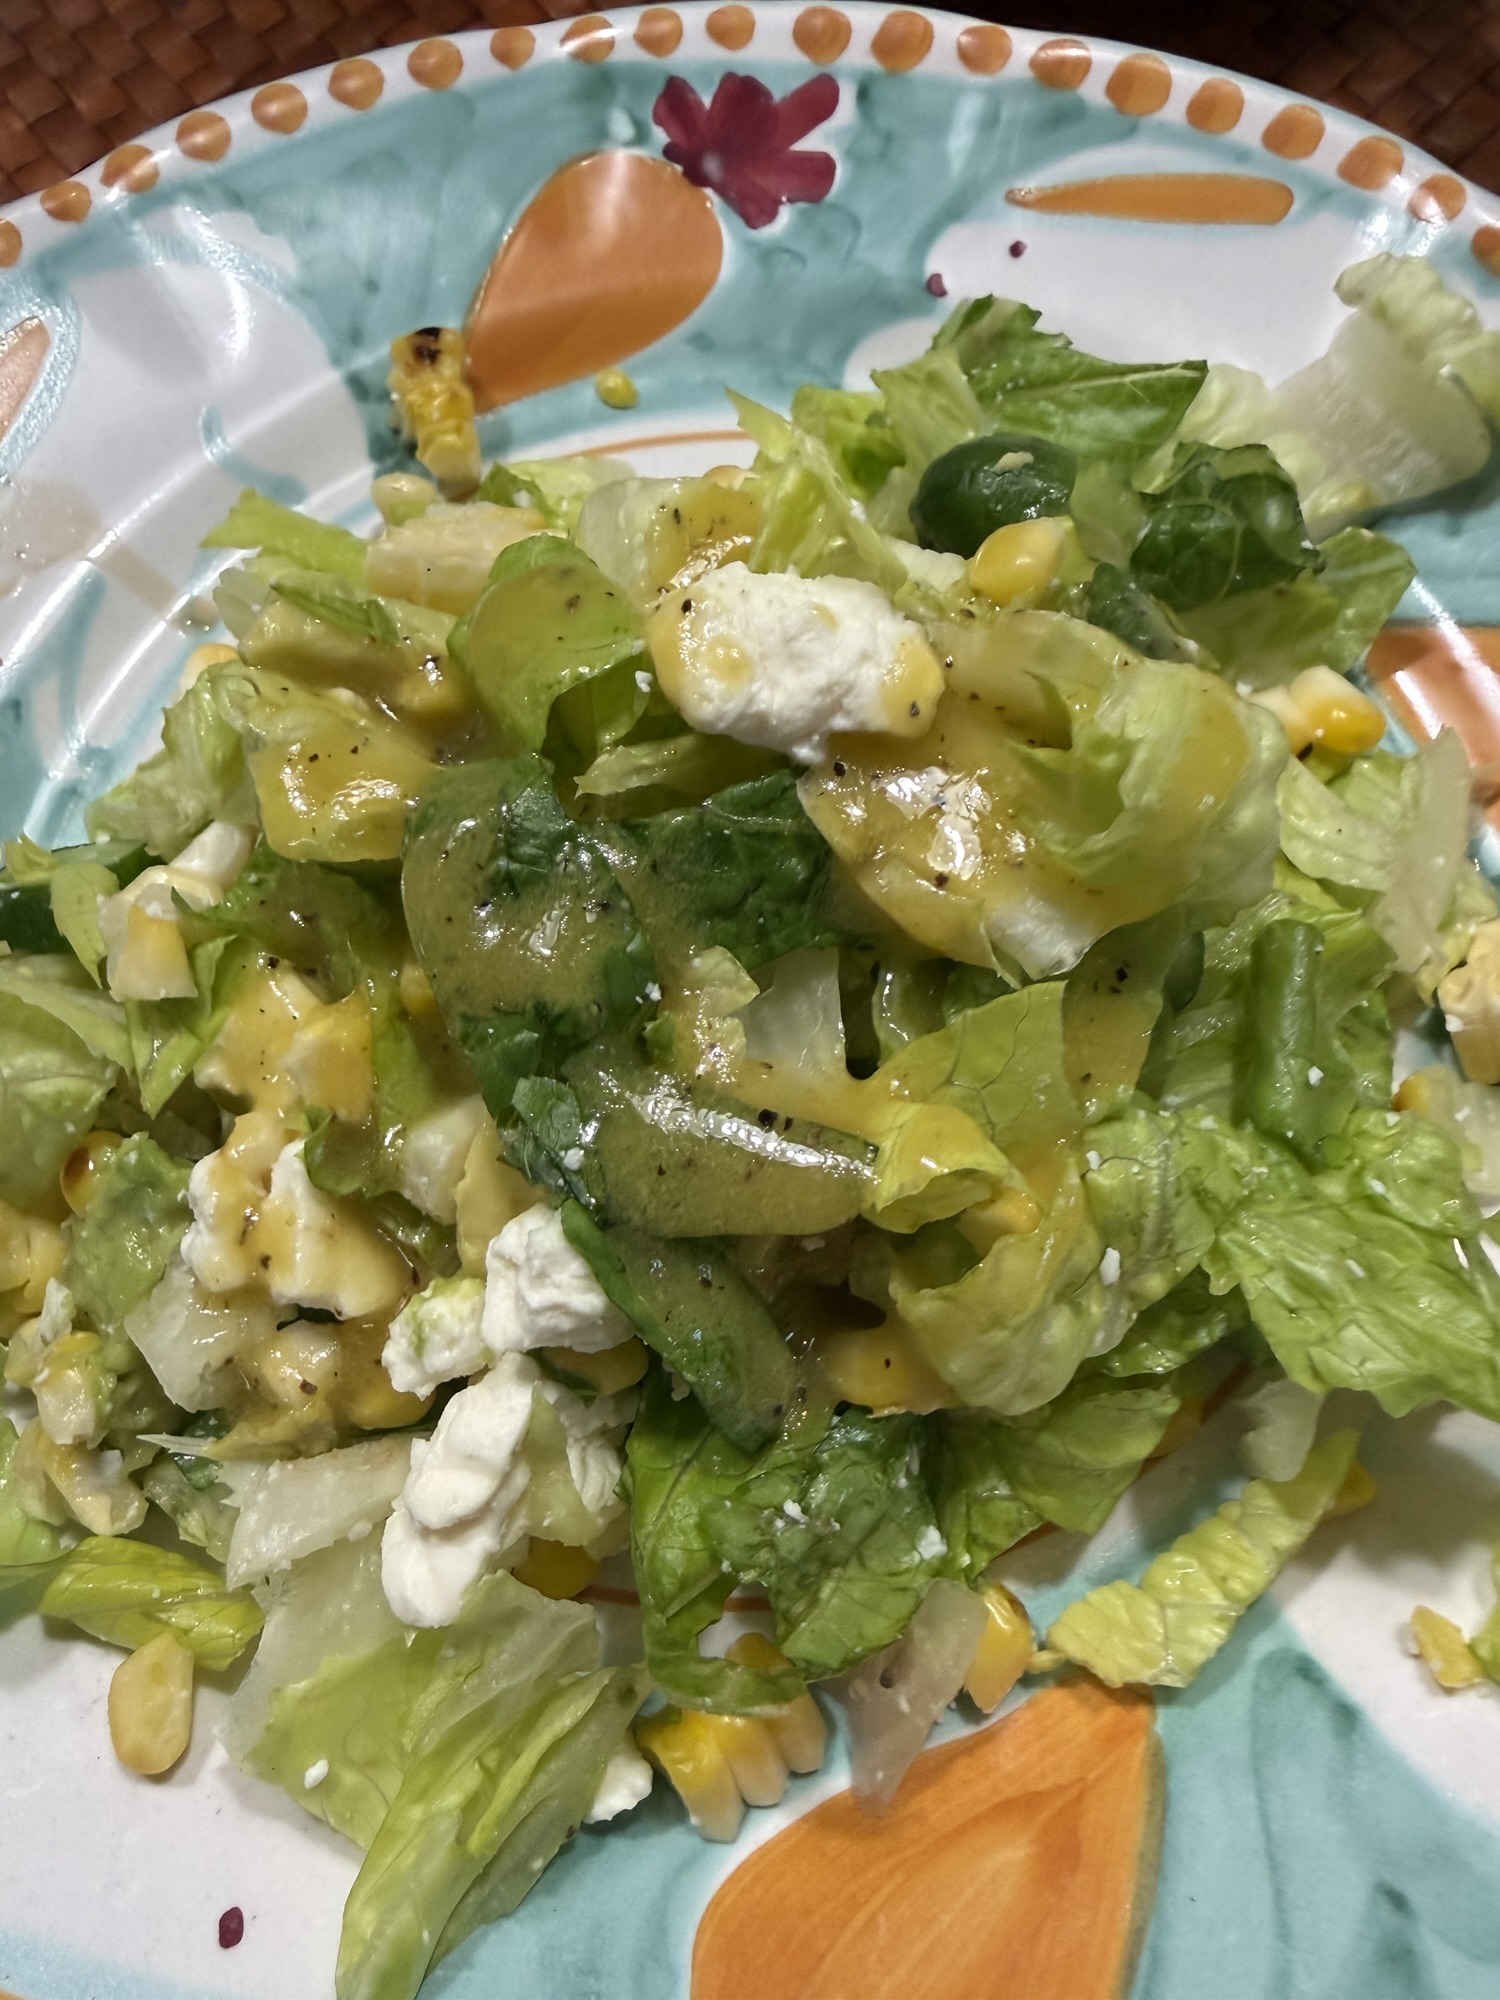
Maroulosalata (Greek Lettuce Salad)also known as Marouli Salad

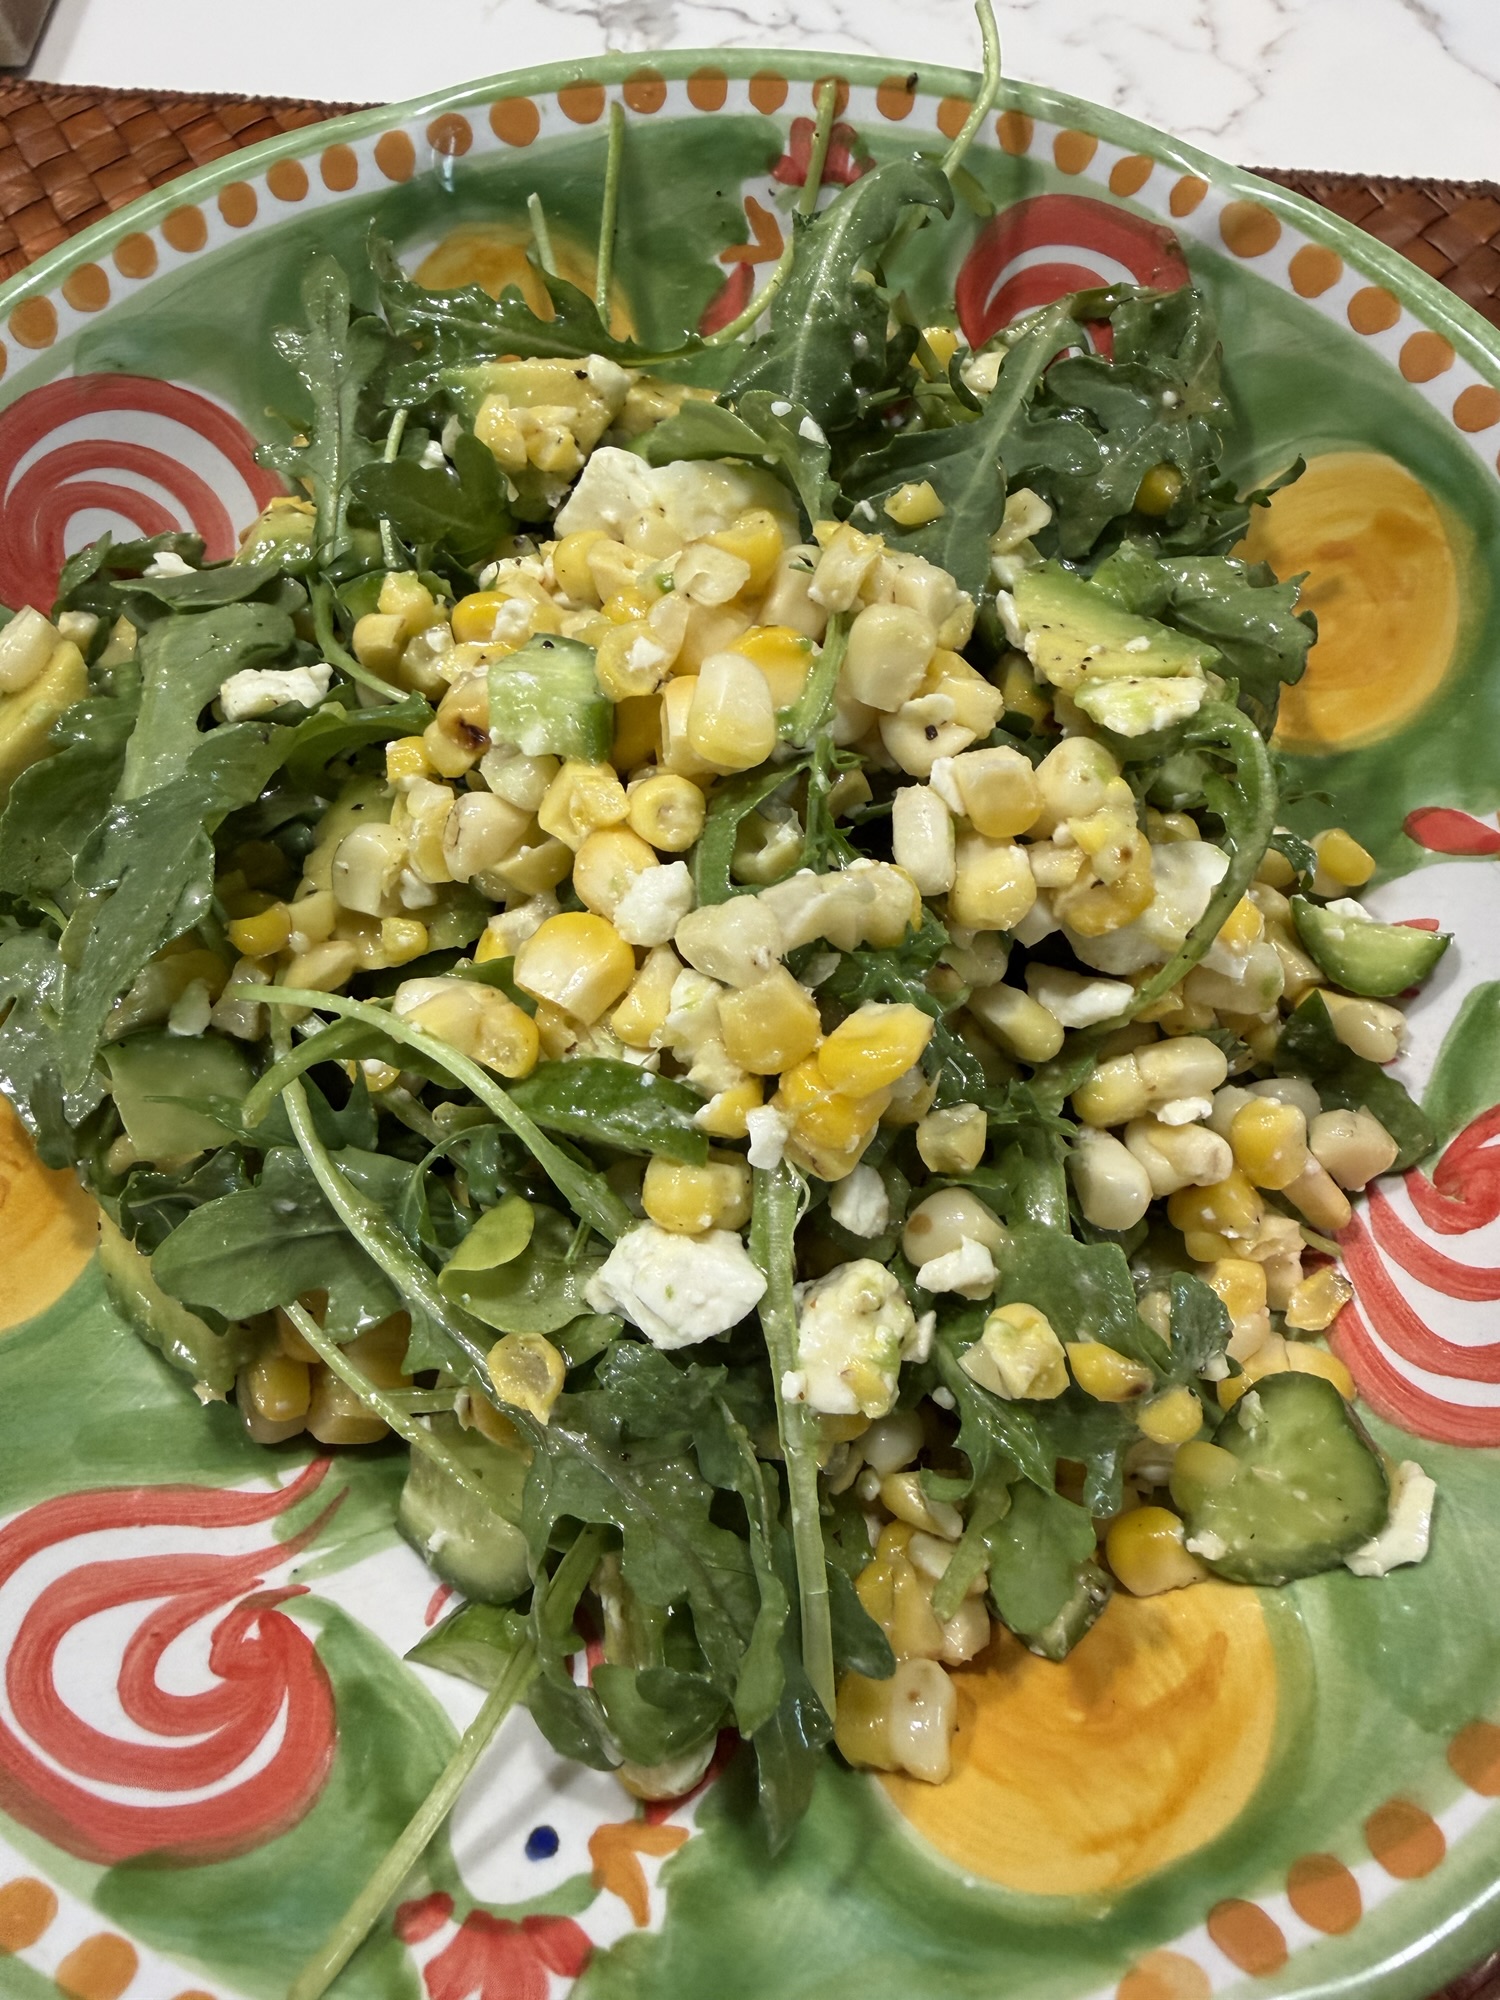
this is a traditional Greek Green lettuce salad which is simple to make with just a few key ingredients. When I eat in a traditional Greek Restaurant this is my “go-to”. While I love a good greek salad there’s something about the combo of herbs and cheese and lemon here that I love.

I love a good herb flavor and this one is packed with delicious fresh dill. If you’re not a fan of dill this one’s probably not for you and stick with my Lemon Parmesan Salad.

Enjoy!

Ingredients:

2 hearts romaine lettuce

4-5 scallions, diced

1 small bunch fresh dill, chopped — this is the flavor you’re after so don’t omit unless you hate dill then go with another salad

4 oz. Feta Cheese, crumbled

*feel free to add chopped cucumbers

Dressing:

1/2 cup olive oil

1 large lemon, juiced

1/4 tsp. kosher salt

*1 teaspoon dried oregano –also optional

*cracked black pepper to taste -also optional

Directions:

Rinse your lettuce –then thinly slice. Dry well.

whisk together the oil, lemon juice and salt until smooth. Can be made ahead .

Place the first 4 ingredients in a large enough bowl to hold salad and toss. Toss all ingredients together .

That’s it folks!

*dressing holds for a few days in the fridge – probably a week

Lemon Couscous with Chicken and Peas

photo (11)  Lemony couscous with grilled chicken and peas!!! Love it!!! It was so easy using very few ingredients and very yummy!   I used chicken breasts and threw them on the grill pan with a little olive oil , salt and pepper. If you really want to make this easy you can use a store-bought rotisserie chicken. You can also substitute any grain of your choice. I happen to love the Israeli couscous ( pearl couscous), it’s not as mushy and has a better texture for this dish especially. I also like to use organic lemons when I’m using the zest of a lemon. If it’s just the juice of a lemon I don’t care as much but I have to say I prefer the organic ones when I know I’ll be eating the skin of the vegetable or fruit.  The flavor of the fresh lemon is just wonderful . 

Enjoy this one!

Ingredients:

2 tablespoons olive oil

1 1/3 cups Israeli couscous ( pearl)

2 1/2 cups chicken broth

Zest of 2 large lemons ( organic)

1/4 cup fresh lemon juice

1/2 – 1 teaspoon kosher salt ( start with less and you may need to add a little more) the parmesan is salty, and you’re salting the chicken.

1/4 teaspoon freshly ground black pepper

1/2 cup grated Parmesan

4 green onions, chopped

1 cup frozen peas

1 lb. thin chicken breasts, a little olive oil and salt and pepper or use a rotisserie chicken breast

Directions:

On a baking sheet, brush chicken breasts with a little olive oil and lightly salt and pepper. The thin cutlets grill up very quickly app. 3 minutes per side. Grill and set aside . I cut chicken up into small pieces before adding them to couscous. You can also cut up thicker chicken cutlets into 2 inch pieces and using a grill pan or frying pan cook them the same way ( olive oil salt and pepper) I like to put chicken in a bowl glaze them with olive oil and s and p and then cook them.

In a large saucepan, heat the 2 tablespoons of olive oil over medium high heat. Add the couscous and cook until lightly toasted , 2-3 minutes. Add the broth, lemon zest, lemon juice, salt and pepper. Bring to a boil. Reduce the heat to medium-low and simmer uncovered until the couscous is tender but still firm to the bite, app. 8 minutes.

I then stirred parmesan cheese into couscous along with the green onions, peas and cut up chicken. Taste for salt and pepper.

I plated it up and we totally enjoyed!

Sheet Pan Shrimp with Asparagus and Potatoes

IMG_4193

This dinner was just delicious.  I used under 8 size shrimp. What this means is that there were about 8 to a pound , so rather large and the cooking times were perfect for them. You will probably have to adjust your cooking time depending on the size of your shrimp. Obviously the larger shrimp took a little longer to cook. Timing will vary depending on your oven and the size of the shrimp you use.  The potatoes and asparagus times will remain pretty much the same. I just love cooking on one sheet in the oven! This recipe is a keeper and one I will re-visit often and maybe use different veggies, since I am the only one who ate the asparagus anyway.

Ingredients:

1 pound large shrimp ( anywhere from 8 – 16 count) is perfect – thawed, peeled and de-veined and leave the tails on

Extra – Virgin Olive Oil

3 cloves of garlic-minced

1/4 tsp. crushed red pepper flakes if you hate the spice you can omit it

2 Lemons, 1 for zest and juice of, the other 1 thinly sliced

1 lb. Asparagus-trimmed

1 lb. Fingerling Potatoes–halved lengthwise

Kosher Salt and Freshly Ground Pepper–read directions for amounts

Directions:

Preheat oven to 400 degrees.

Spray a large rimmed baking sheet for easy clean up

Place the shrimp in a large mixing bowl and drizzle with 2 Tbsp. Olive Oil . Add in minced garlic and crushed red pepper flakes. Stir to coat and set aside.

In another mixing bowl , toss the sliced potatoes with 1 Tbsp. Olive Oil. Season generously with Kosher Salt and Freshly Ground Black Pepper. Transfer Potatoes to the baking sheet in a single layer. Roast potatoes for anywhere between 20 and 30 minutes, or until they are almost tender.

While potatoes are roasting, toss asparagus with 1/2 Tbsp.of Olive Oil and season with Salt and Pepper,  Set aside

Now add 1 Tablespoon Lemon Juice to bowl of shrimp and toss to coat. Season Shrimp pretty generously with kosher salt and freshly ground black pepper.

After 20 minutes or so remove potatoes from the oven and add asparagus and lemon slices to baking sheet. Continue to roast potatoes and asparagus for another 10 minutes,  potatoes should be tender by now , pierce a potatoe with a fork to check for tenderness. If potatoes still need time you can leave them in for a few more minutes. Using a slotted spoon add shrimp to baking sheet and put back in the oven. Roast for another 10 minutes or until shrimp are pink-opaque and firm to touch. My shrimp took about 12 more minutes, this time will depend on your shrimp. I checked after 5 minutes and using tongs turned them over and continued cooking for another 7 more minutes.

When I removed from oven I sprinkled with lemon zest. Perfection on a plate!

*one added tip– after my shrimp is peeled and de-veined and before I am about to cook I always wrap my shrimp in some paper towels to dry them off. It helps with the oil and spices sticking to shrimp.

Air Fryer Salmon in 15 Minutes

Last night I made this salmon and I have to say it was so delicious — served it up with a side salad and Trader Joe’s vegetable fried rice — easy peasy and delicious — all you need is an air fryer and some very basic spices. Perfect and quick and delicious! This is a very loose recipe so use as much or as little of the spices as you like. You can use whatever spices you like as well– the paprika gives it a nice color though.

Not much more to say so here’s what I did. Couldn’t be easier.

Ingredients:

I used 3 Salmon Fillets because I like to have a piece left over for the next day so as many filets as you like

Dijon Mustard or you prefer a different mustard use what you like I love Dijon and I slather it on

Paprika

Garlic Powder

Kosher Salt

Black Pepper — I prefer freshly ground but use what you have

Olive Oil Spray

Directions:

Pat salmon filets dry – this is important so that toppings stick to the salmon

I place salmon on a small cookie sheet and slather the salmon tops with dijon mustard use a flat knife or brush — see photo

I then sprinkle each of the spices over the salmon — eyeball it and don’t go too crazy with any one spice but be generous with garlic powder and paprika. Easy on the kosher salt just sprinkle and a few grinds of the black pepper. I then finish with a quick spray of olive oil on top to keep the salmon moist .

I like to pre-heat my air fryer so I set it to 400 and pre-heated for 5 minutes ( optional)

I can only get two filets into my air fryer at a time — I cooked the first two skin side down at 400 for 8-10 minutes depending on how you like your salmon, 9 minutes should be perfect but every air fryer is a little different. Then repeat with the rest of the salmon. Salmon doesn’t have to be served piping hot so you can wait another 9 minutes to serve. The salmon skin gets crispy when you pre-heat the air fryer which I find perfect. Pre-heating is really optional and you can remove the skin after cooking if you prefer — I don’t. The salmon gets a beautiful crust and the mustard gives it delicious flavor.

*obviously the size and thickness of your salmon will impact cooking time so always best to undercook the salmon and add time rather than over cook the salmon.

Linda’s Crispy Rice Salad

My friend Linda made this for lunch for our canasta game and it was a big hit. I loved it and knew I had to make it so thanks to Linda for passing this on to me and now I’m passing it on to you. Enjoy! it’s delicious and has that crispy rice which gives it the crunch and bite. It is a little spicy and a little sweet. Love all the flavor and texture going on here and plenty of nutrition going on here. there is some prep involved here but you can do everything ahead of time if you’d like.

Ingredients:

For the Rice:

2 cups cooked Jasmine rice, cooled — I used Uncle Ben’s rice in the microwave packet and it was perfect

1 Tbsp. low sodium soy sauce

1 Tbsp. sriracha

1 Tbsp. Vegetable Oil or Avocado Oil

2 tsps. sesame oil ( available in the asian section in most supermarkets)

For the Salad:

I used a small bag of shredded cabbage, you can use the Cole slaw mix or just plain white cabbage usually both are available

3 small Persian cucumbers, cut in 1/2 moons

1 small red bell pepper, diced

1 cup finely diced red onion

1/2 a ripe avocado, cut in small pieces

1/3 cup shelled edamame (available shelled in the frozen vegetable section of most supermarkets)

1/4 cup fresh chopped parsley

For the Dressing:

1/2 cup mayonnaise

2 Tbsps. Rice Vinegar

1 Tbsp. low sodium soy sauce

1 Tbsp. Honey

1 Tbsp. sesame oil

1/2 tsp. sriracha

Topping:

diced scallions

white sesame seeds- toast on a small sheet pan or piece of aluminum for about 2 to 3 minutes, watch carefully once you smell them it’s usually too late, so keep an eye on them

Directions:

Make the rice:

Preheat the oven to 400 degrees F.

In large bowl, combine the cooked and cooled Jasmine rice with the soy sauce, sriracha, vegetable oil, and sesame oil until the rice is well coated,

I sprayed a baking sheet with cooking spray and spread the seasoned rice on top in an even layer, pressing gently with a spatula

Bake for 25 to 30 minutes, stirring halfway through until the rice is golden and crispy

Let it cool completely, then break apart

Assemble the Salad:

In a large serving bowl, add the cooled crispy rice, sliced Persian cucumbers, red bell pepper, red onion, avocado, shelled edamame , and chopped parsley. Top off with scallions and toasted sesame seeds.

Make the dressing, in a small bowl combine mayonnaise, rice vinegar, soy sauce, honey , sesame oil, and sriracha until incorporated and smooth.

I don’t like to dress the salad so I can keep it for leftovers, I leave the dressing on the table in a dressing jar so everyone can help themselves. Enjoy!

  • some tips
  • customize the ingredients to your liking if don’t like the cabbage mix leave it out, Mango is a nice fresh addition, peanuts or cashews if no allergies and you know it
  • Cilantro if everyone likes that
  • Make sure rice is truly cooled off
  • and use Jasmine rice or a long-grain rice including brown rice , short grain rice has a different texture and is not ideal for this recipe
  • I also serve alongside a grilled chicken sliced up for protein for those who like vegetarian you can keep it that way
img_9787

Matzo Brei

This is a delicious way to make a meal with eggs and matzo. Sometimes we eat it for dinner and it’s just sort of perfect. Real comfort food for us.  I always loved Matzo Brei since I was a little girl, and I always wondered why it is that we only eat this delicious concoction during Passover.  It’s such a delicious treat why don’t we eat it more often? In our house we usually eat it till the matzo runs out. Usually for the week of Passover, then we stop. It’s so good. Everyone has their own little special spin on it.  Before I met Joel I always ate my matzo brei sweet with maple syrup sort of a matzo french toast. Joel loves it crispy and salty with a lot of pepper and since I know him he always asks for it this way , I sort of grew to love it this way as well. What’s not to love?  You definitely don’t have to be Jewish to love Matzo Brei. This is how we make it around our house.

Ingredients:

*serves 2 just barely (can and should be doubled)

3 Sheets of Matzo broken into little pieces

2 Large Eggs

Salt and Pepper

2 Tablespoons Vegetable Oil to cover bottom of pan — but usually 2 Tablespoons is about right

Directions:

Break the matzo into little pieces and place in a bowl. Cover with very hot water from tap. Let it stand for a couple of minutes, and then drain it. ( I usually put a plate over bowl and pour out all the water) Beat Eggs in another bowl, season with salt and pepper. Use your own discretion here, Joel likes it with a lot of salt and pepper. Wait a few minutes so matzo isn’t very hot before adding the eggs then combine the eggs with the drained Matzo till a batter forms. Heat the vegetable oil in a large frying pan over medium -high heat — make sure oil is very hot . I carefully  add the matzo mixture to the hot oil  and start to fry it up scrambling it as I go, we like it in little pieces. ( you can make this batter into small pancakes as well and just fry up until golden brown) I cook it till it is all fryed up and crispy. It should cook up pretty quickly if the oil is hot enough. You can serve it with less salt and pepper and put jam on the side, maple syrup on it, cinnamon , whatever you like! Matzo Brei is awesome even when you feel like you can’t face another piece of matzo.