Orange Chicken

Orange chicken served with rice and beans

IMG_7498

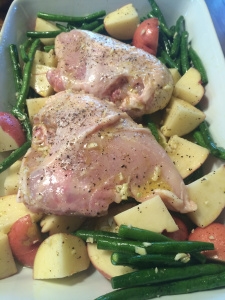
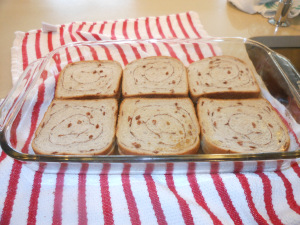
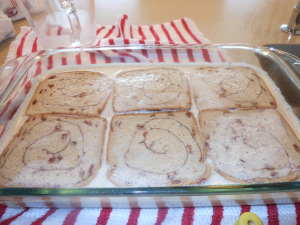
Chicken Cutlets dredged in flour and paprika


IMG_7502

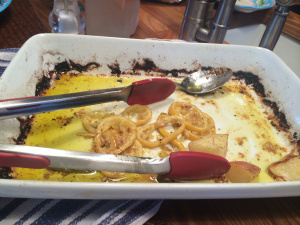
Rosemary and Garlic in Pan


IMG_7504

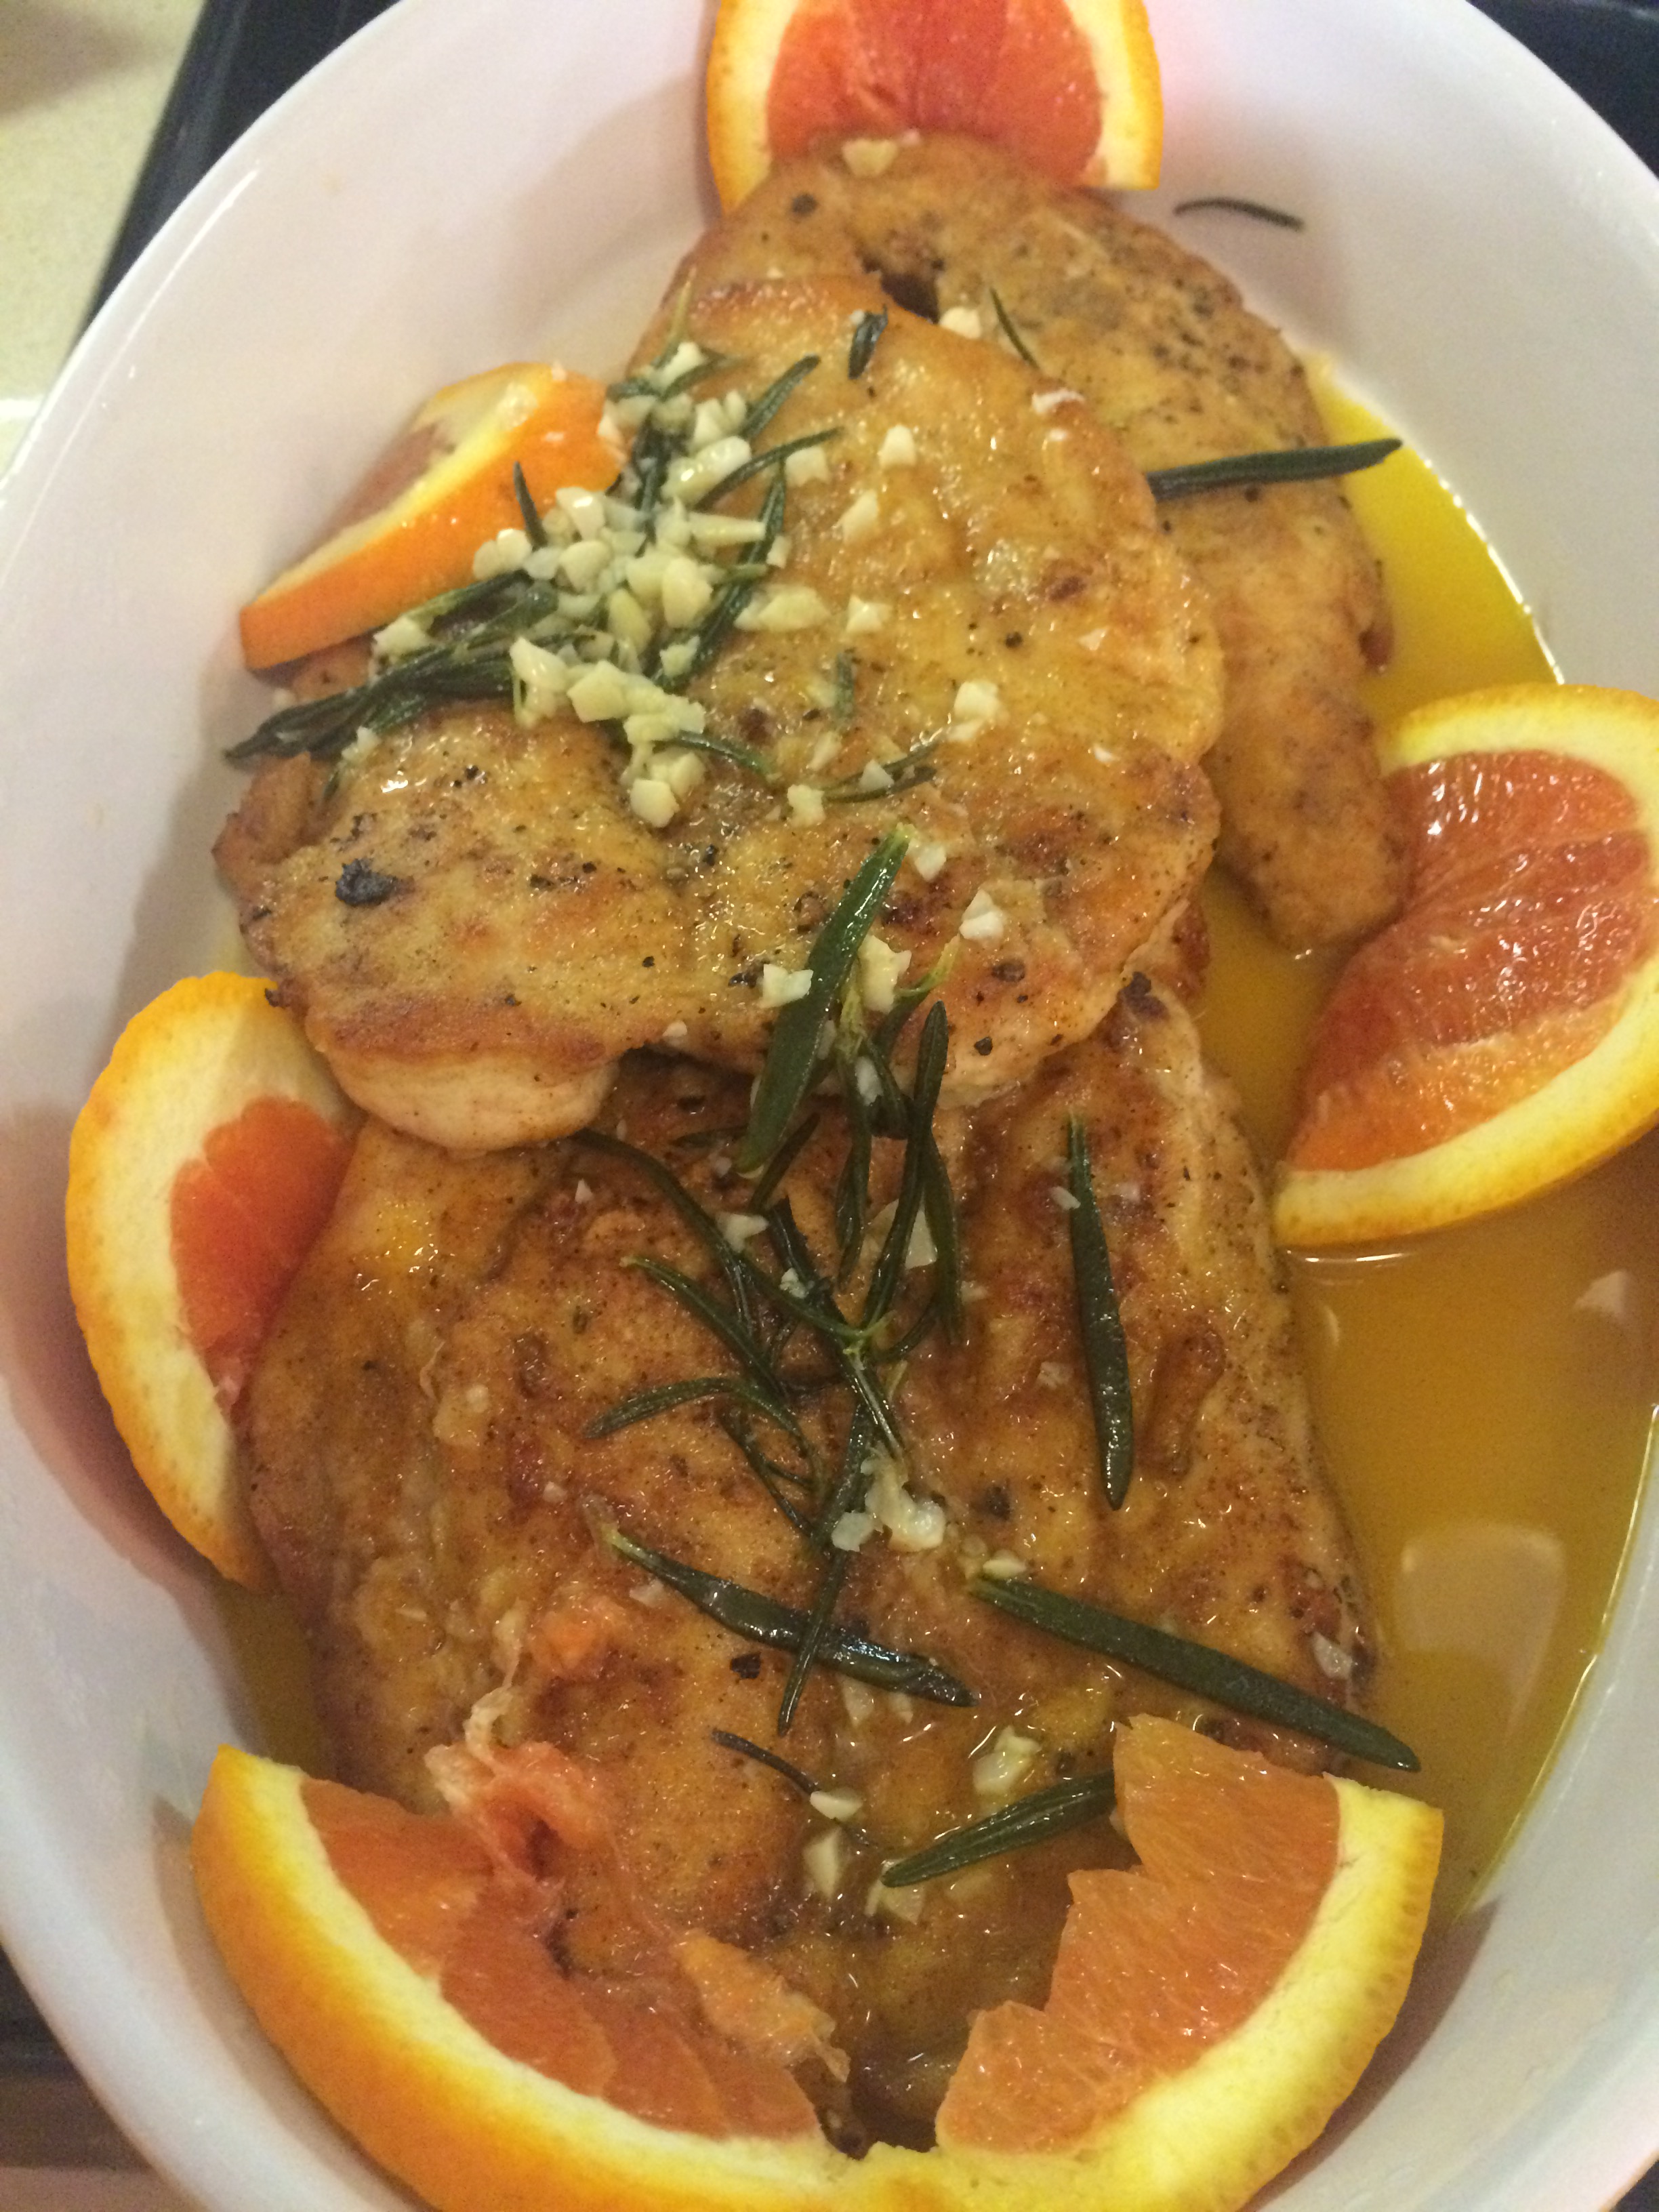
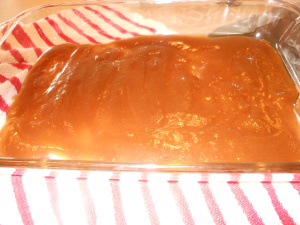
Finished Product–Orange Chicken


IMG_7436 IMG_7438 IMG_7442 Once again I took this recipe from the inimitable Jessica Seinfeld. I just love her recipes mostly because they are so easy and so delicious. This one is pretty easy to make with very few ingredients. Just make sure to get yourself some fresh rosemary, some fresh garlic and use fresh orange juice! This is a must and I used some oranges for a very simple garnish.

Get Cooking and Enjoy!
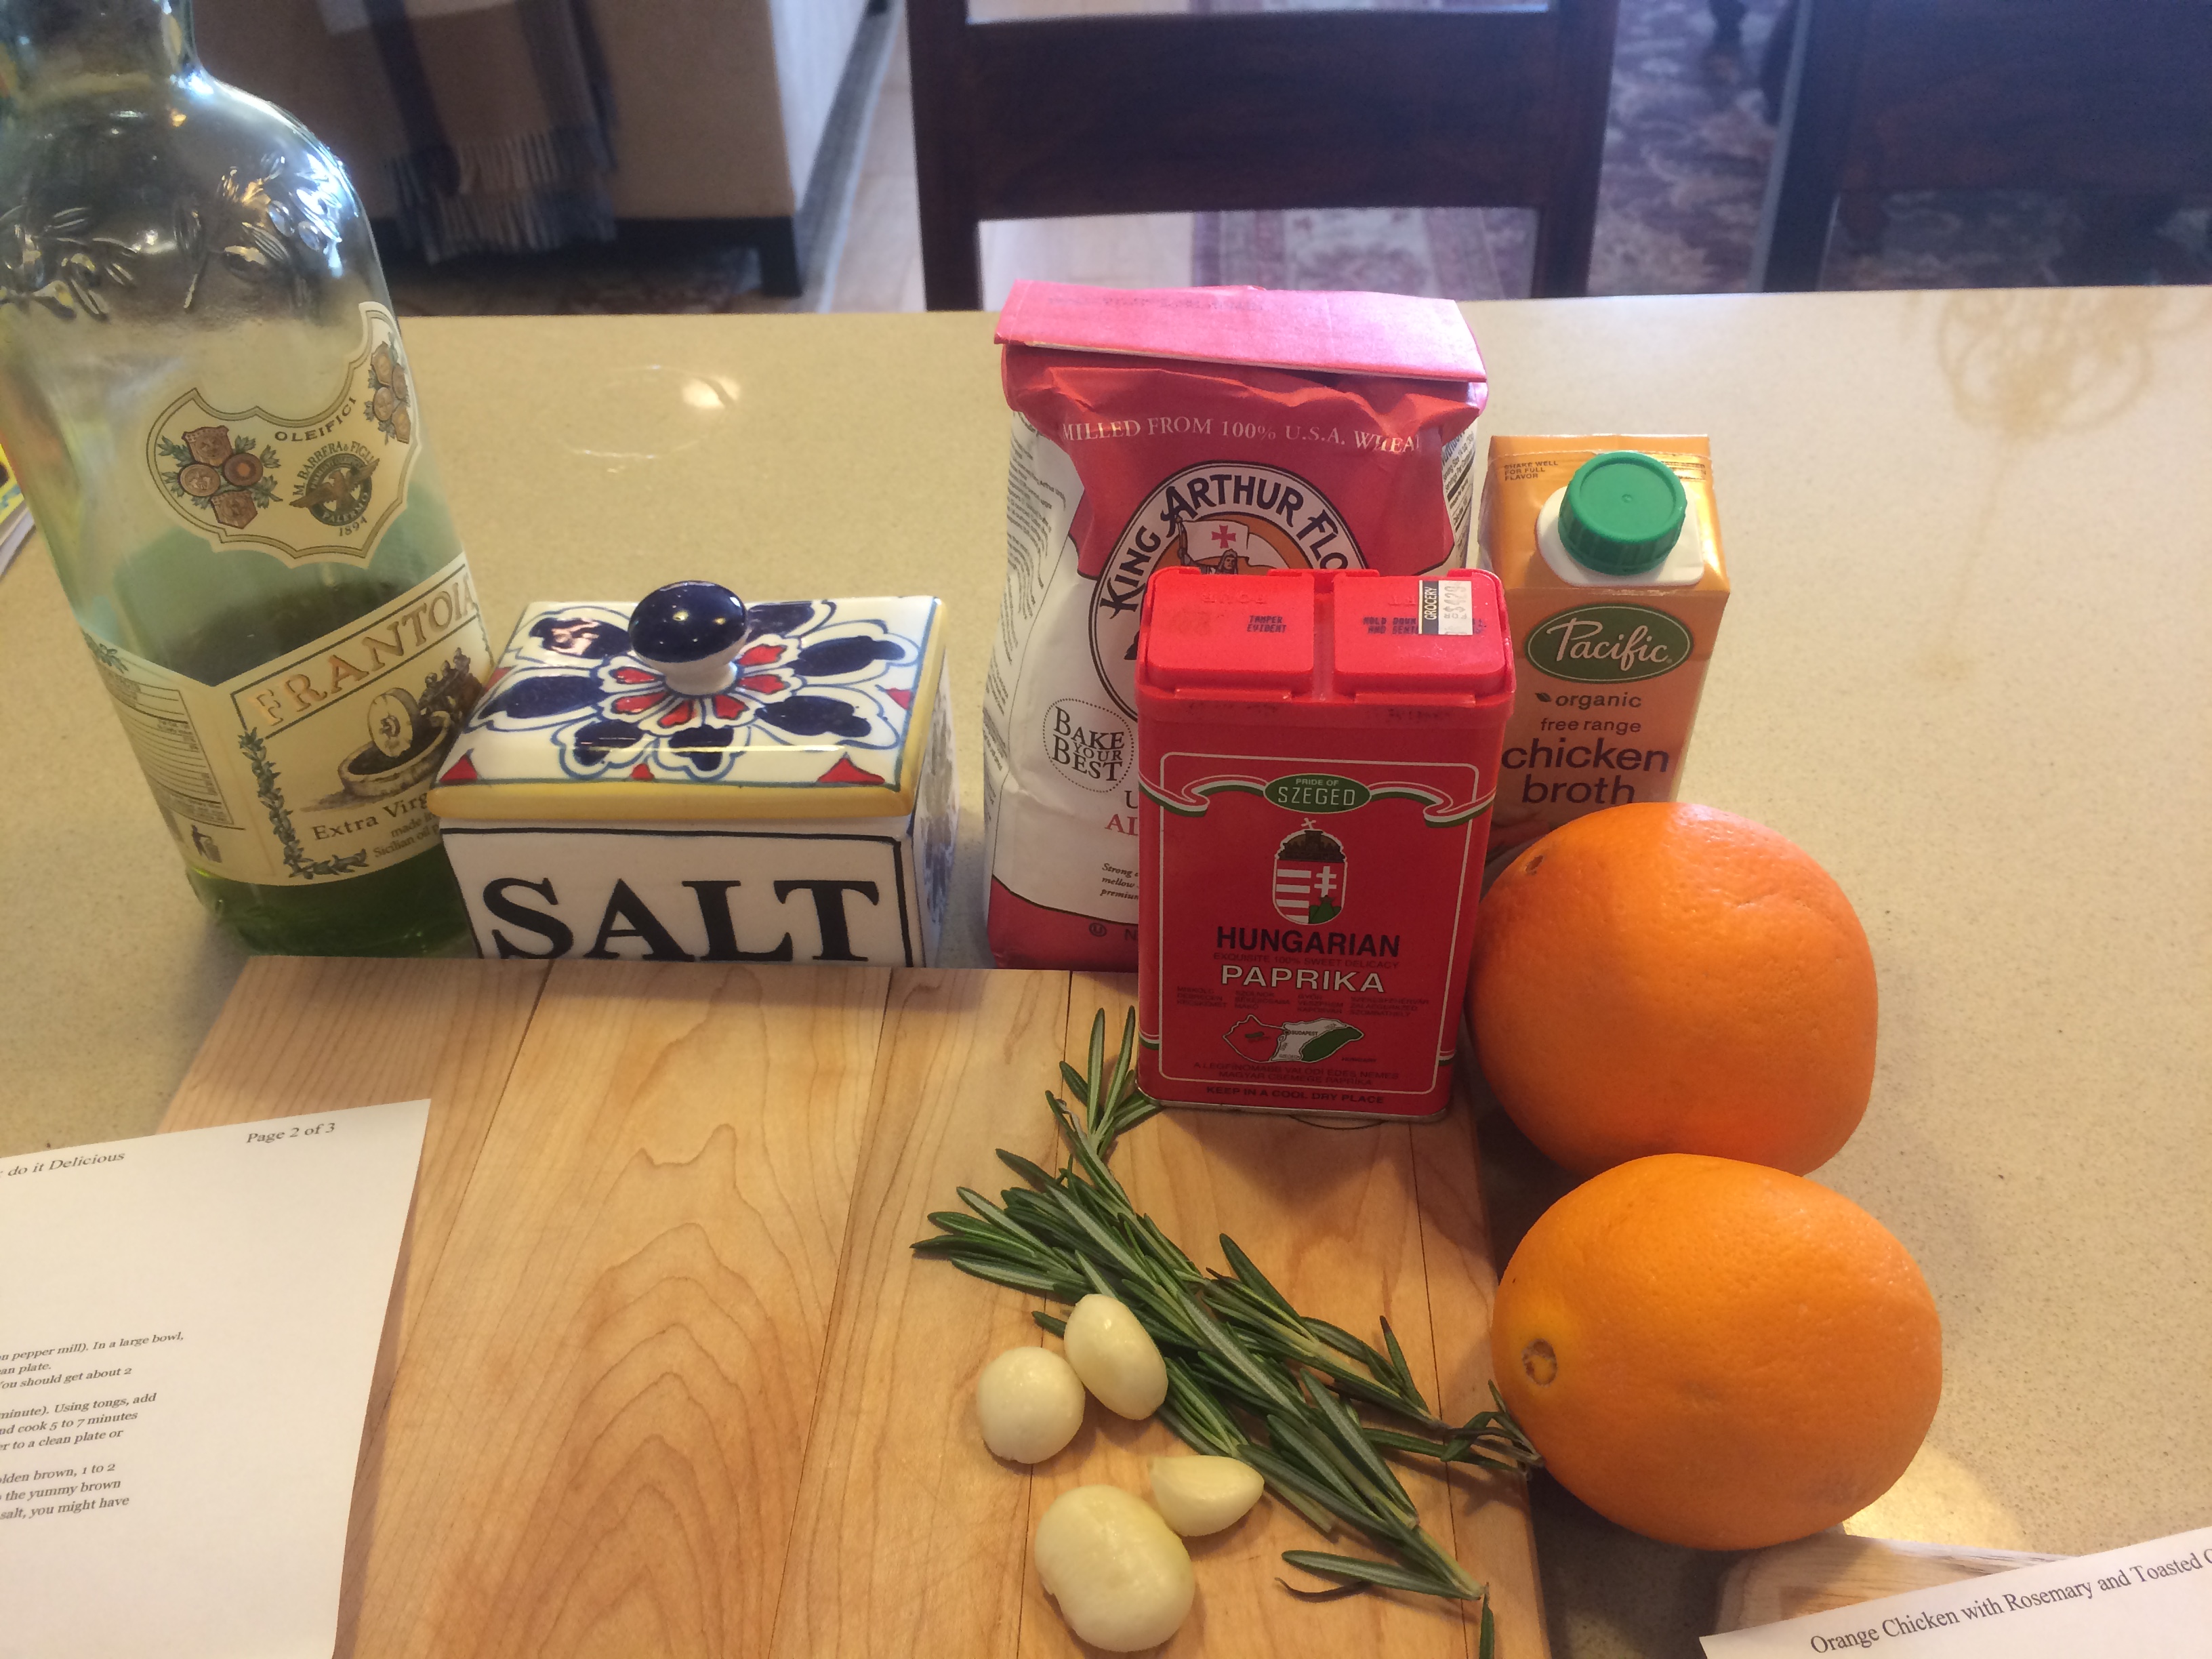
Ingredients:

*recipe as is will probably serve 4 , 2 cutlets a piece

4 boneless, skinless chicken breasts

1/2 teaspoon kosher salt

1/4 teaspoon freshly ground black pepper

1/2 cup all-purpose flour
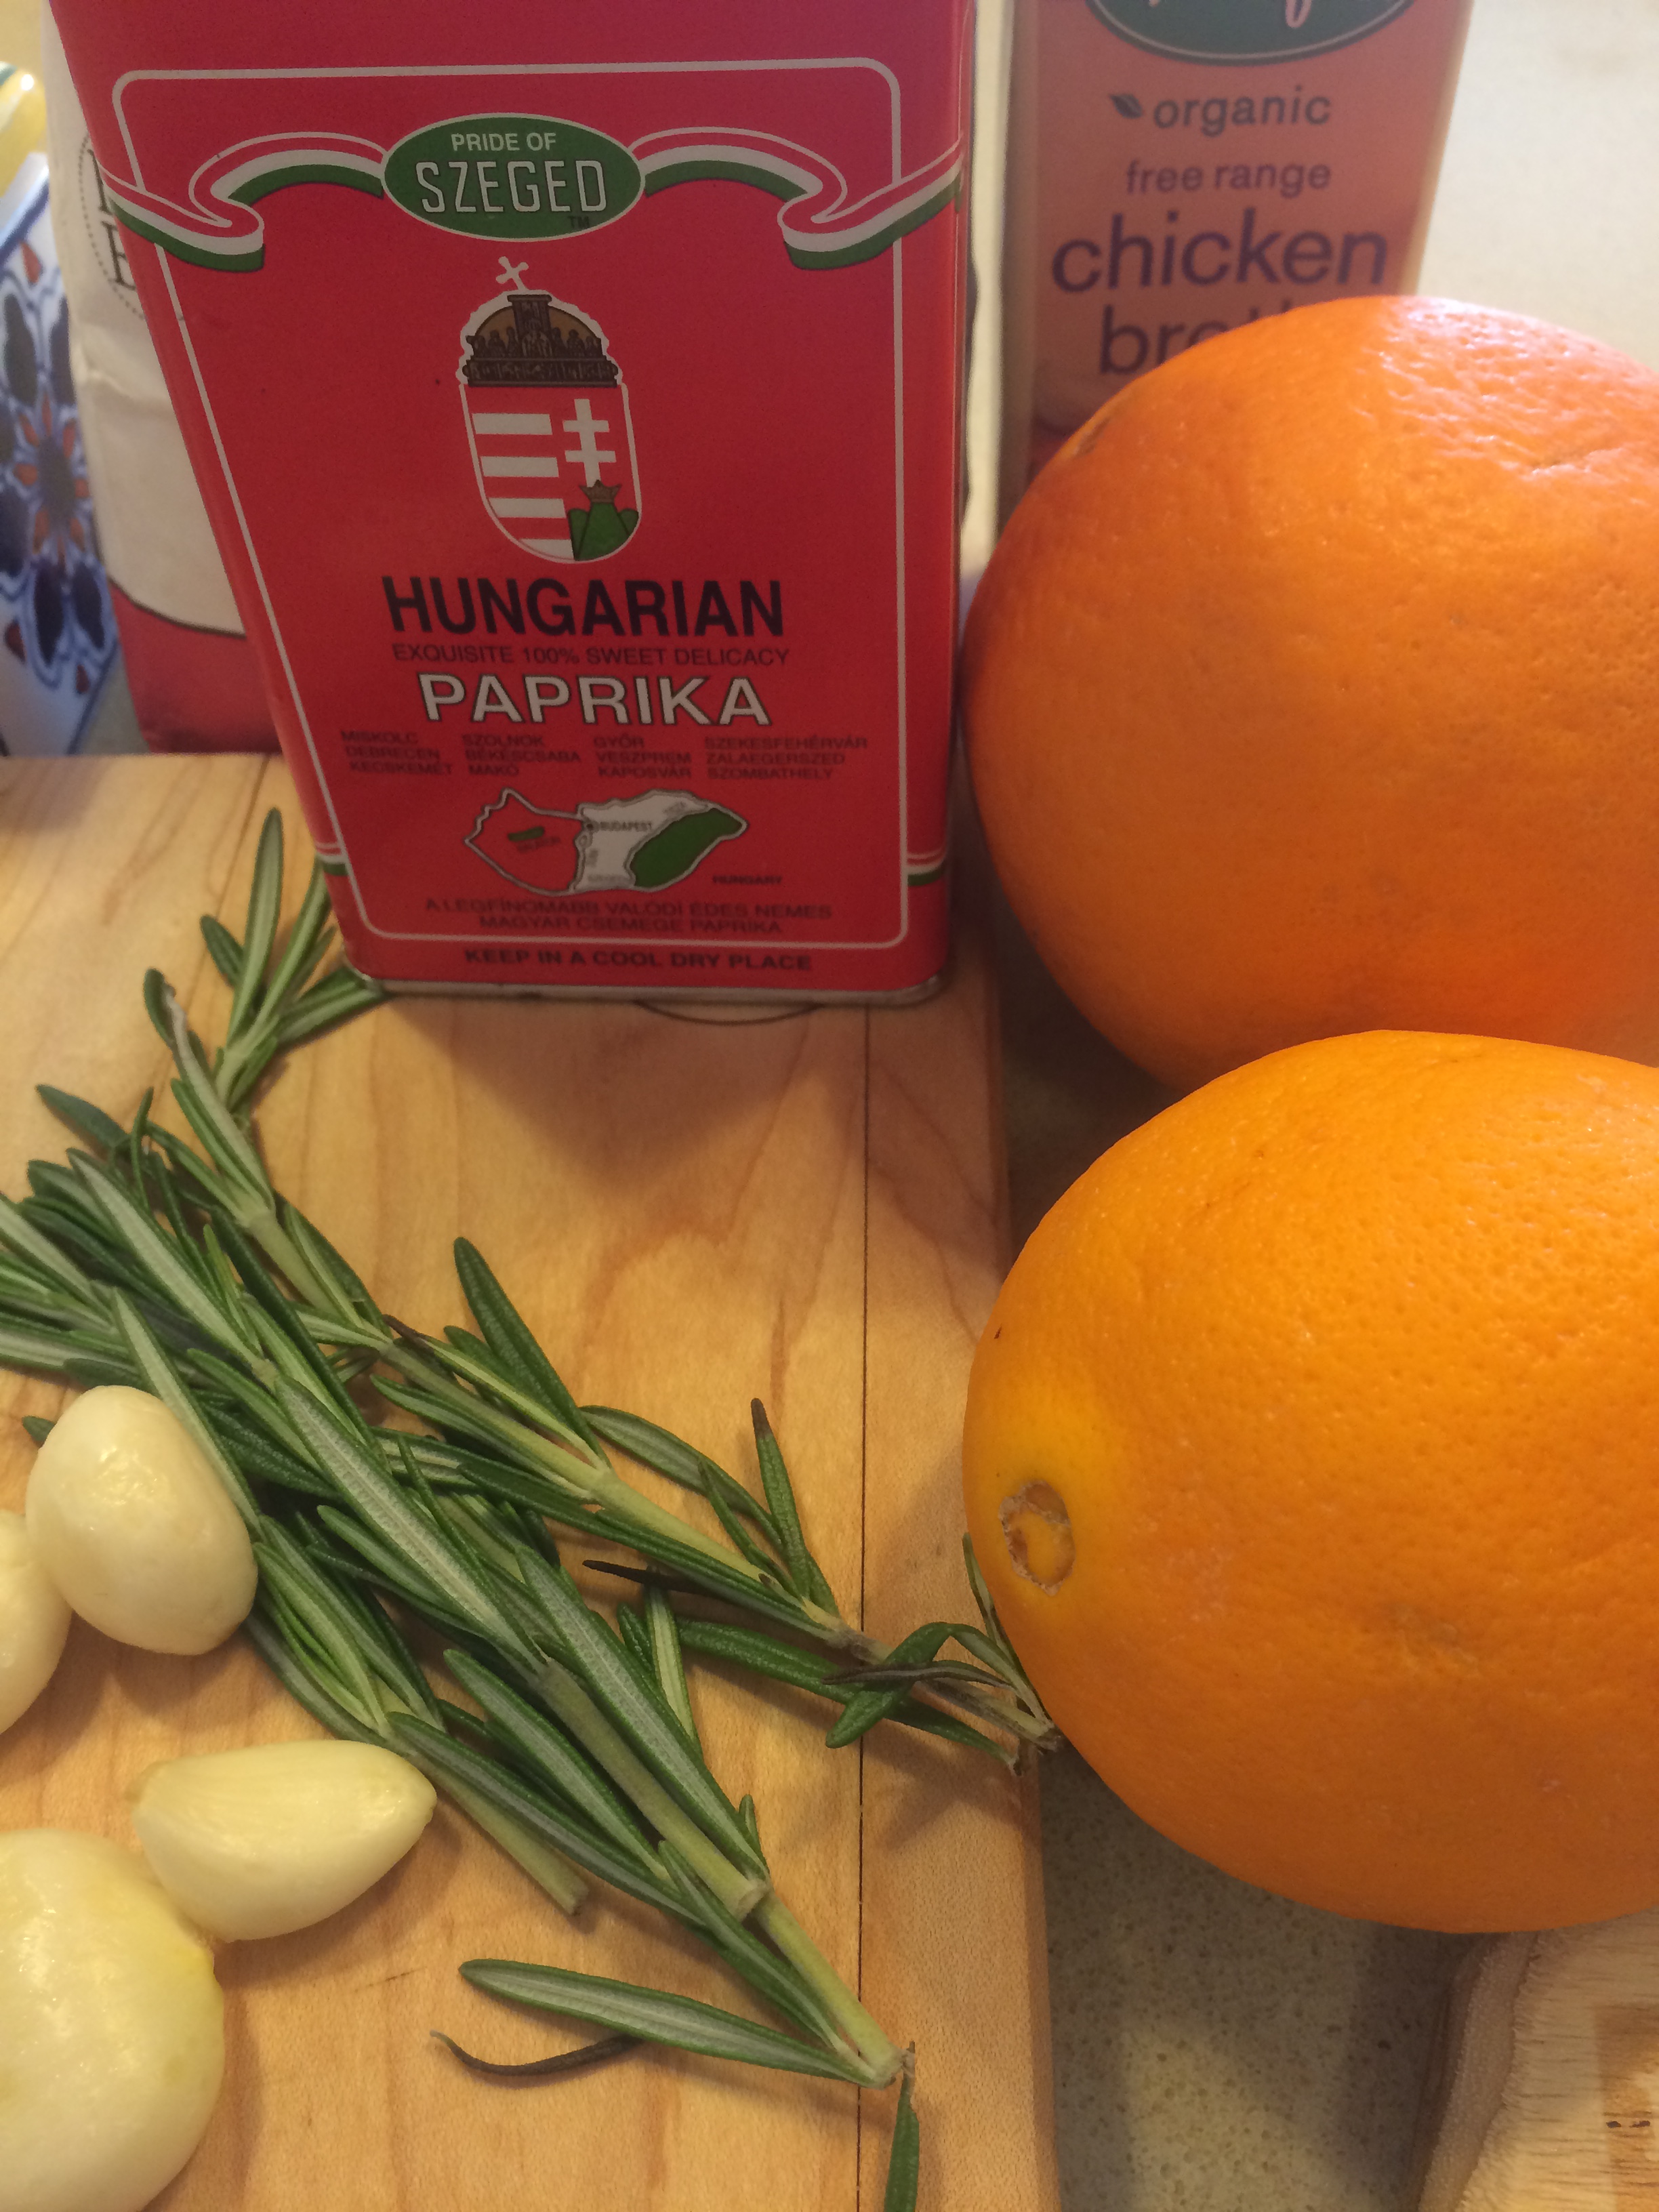
1 teaspoon paprika

4 cloves garlic–I chopped garlic, if you prefer just smash it and leave in larger pieces that you can remove right before serving or just leave in the sauce. We like garlic so I chopped it. Up to you, both ways are fine.

3 sprigs fresh rosemary

3 Tablespoons olive oil, plus extra if necessary– I used 4 because I cleaned out pan after chicken cutlets cooked up.

1/2 cup freshly squeezed orange juice, ( probably 1 large juicy orange)

1/2 cup chicken broth

Directions:

Rinse off chicken breasts and pat dry with paper towels. Season both sides with the salt and pepper. In a large bowl combine the flour and paprika. Dredge the chicken in the seasoned flour, shaking off excess flour, and place on a clean plate. Smash and peel the garlic and chop into small pieces or leave the garlic smashed and if you like you can remove it just before you serve or leave whole smashed cloves in the sauce, it’s really a personal preference. Wash the rosemary , pat dry, and pull the leaves from the sprigs. It should be about 2 Tablespoons.

Place a large skillet on the stove and turn the heat on to medium. Add the olive oil and heat until it shimmers ( about a minute) Using tongs, add the chicken, and cook 5 – 7 minutes per side more until browned and cooked through. You can cut through the thickest part to make sure it is cooked through) Transfer to a clean plate or platter and cover with aluminum foil to keep warm while you prepare the sauce.

I actually wiped the skillet clean and started with another tablespoon of oil for the sauce. I found the skillet cleaner this way. When pan cooled down a little bit I wiped it dry with a clean paper towel. Then proceed with the next step. Add in the garlic, stirring until golden brown, 1 – 2 minutes. Stir in the rosemary and let cook for about a minute. Now add the orange juice and broth. Let simmer and stir up all the brown bits that may be stuck to the bottom of the pan. Simmer until the sauce starts to thicken a bit, about 5 minutes. Taste for salt, I added a little bit.

To serve I placed on platter and spooned the sauce over the chicken and added some orange slices.

Enjoy!!


Lemon Blueberry Loaf Cake

Even if it doesn’t look like Summer out there right this minute it’s time for summer baking and nothing beats blueberries and lemons. Light and Delicious –a perfect little cake. Easy to make and easy ingredients. Enjoy!

cookingwithcandi's avatarCooking with Candi

photophotoDSCN0186I am clearly obsessed with everything blueberry and everything lemon. So a loaf cake with both was most definitely in order.  It doesn’t get much better, yum! I had a lot of lemons in the house and this took 3 large lemons to get the right amount of zest. I ended up with 2 lemons that look naked without their peel, but I am certain I will find some use for them. This really is a delightful combo and how perfect for a quick loaf cake. I will probably freeze this cake for a later use. You can even cut in half and eat part of it now and freeze the rest. I am a big fan of freezing baked goods, as long as you wrap them well and don’t keep frozen more than 3 months. If you’re in the market for another new recipe for blueberries, here you go. Happy Cooking.

INGREDIENTS:

View original post 225 more words

Green Pea Soup from Bergdorf Goodman

IMG_7457IMG_7459IMG_7455 IMG_7466 IMG_7469The first time I had this soup was downstairs in BG and I thought to myself I must re-create this delicious light soup. Low and behold along came *The Bergdorf Goodman Cookbook which included this delicious recipe.   My two favorite items to order on the BG menu are the Gotham Salad and  the Green Pea Soup and they are both right there in this wonderful little cookbook. There are many other delightful recipes in the book as well which make it a worthwhile purchase. The shocking part of this delicious soup was the addition of a sweet potato and soy sauce. I didn’t see that coming, I would have made it without either of those two items. The soy sauce adds an intense layer of flavor and the potato gives it some real texture. Blend well. I used my high-speed blender for this .

*The Bergdorf Goodman Cookbook by Laura Silverman–available through Amazon or Bergdorf Goodman

Ingredients:

2 Tablespoons Olive Oil

1 1/2 cups yellow onion, chopped

1 cup chopped celery

1 cup chopped carrots

1 whole sweet potato, peeled and chopped

1 Tablespoon chopped garlic

1 teaspoon kosher salt

1/2 teaspoon ground black pepper, if you have white pepper use it but I didn’t so I used black

3 3/4 cups chicken stock

2 Tablespoons soy sauce

1 lb. fresh or frozen , thawed green peas. I used one whole bag of frozen green peas.

1/2 cup chopped fresh flat parsley

Directions:

Heat the olive oil in a large stockpot over medium-low heat and sauté the onion, celery, carrots, sweet potato, garlic, salt and pepper until the vegetables are tender but not brown. I let it cook down for about 1/2 hour.

Add the stock and soy sauce and bring to a boil. Stir in the peas and just blanch them for a minute.

Turn off the heat. Cool slightly, then add the parsley ( don’t omit the fresh parsley, please) Taste for Salt but I found it was just right with the 1 teaspoon.

In a blender or food processor, do it in batches ( I did it in 3) , puree all the ingredients until smooth. Serve warm!

Love the taste and enjoy all the healthy benefits!!!

*can be made vegan with vegetable stock

Lemon Garlic Chicken with Green Beans and Potatoes

This is one of the best chicken dishes ever!!! Super easy and you will look like a pro. Nothing exotic just chicken and a few easy to obtain ingredients. Beautiful and delicious! Perfection on a plate! Enjoy!!

cookingwithcandi's avatarCooking with Candi

photo 5 (59)photo 1 (3)photo 3 (2)photo 1 (2)

photo 2 (2)I love one pot meals. I think they have become my most favorite kind of meal to make. This one is so delicious and perfect. Chicken was cooked perfectly and the lemons caramelized in the pan adding a delicious flavor to the chicken and potatoes and beans. We thoroughly enjoyed this and it is a perfect recipe for all year round. I made it with 2 chicken breasts for the 2 of us, this recipe should serve 4 beautifully according to directions with 4 breasts. You will need a large baking dish or you can make in a cast-iron skillet. The prep is pretty quick and the shopping is easy. Nothing exotic here just good old cooking with easy ingredients. Enjoy!

Ingredients:

Olive Oil– 6 Tablespoons, divided 1 and 5

2 lemons, 1 thinly sliced and 1 you will juice

4 garlic cloves, minced

1 teaspoon kosher salt

1/2 teaspoon…

View original post 263 more words

Chicken Cubes with Rosemary, Lemon and Garlic

I have archives upon archives of saved recipes. Some days I just go through to see what I’d like to make next. I often come upon old ones which I’ve totally forgotten about. Other times, I cut out new recipes that I’m eager to try. But this one came to me through our friend, Drew (Susan’s husband). He got into cooking a few years back, found this recipe and turned me on to it. It is light and flavorful. What a ringing endorsement. For a while, it was very much a part of my repertoire. Then, for no apparent reason, I just stopped making it. But recently, while going through some older chicken recipes, I came across this one again. It really is simple–very few ingredients, and a perfect dinner served with rice and a vegetable. It is originally from Rachael Ray with a few changes on my part. If you’re not fond of rosemary, this recipe isn’t for you. (Although my son-in-law, Brian, isn’t a fan and he liked this chicken a lot anyway.)

Ingredients:

2 – 2 1/2 lbs. boneless, skinless chicken breasts (the thicker ones are the ones you’ll need)

6 cloves garlic, minced

3 tablespoons fresh rosemary leaves, stripped from stems (I chop them up)

4 tablespoons olive oil

1 lemon, zested and juiced

1/2 cup dry white wine (I use whatever is open, or buy something inexpensive to use like those little bottles I recently discovered, which are perfect to cook with.)

1/2 tablespoon kosher salt

sprinkling of black pepper

Directions:

Preheat oven to 450 degrees.

Cut chicken into large cubes (try to keep sizes uniform and not too small).

Arrange chicken in a 9 x 13 baking dish. In a separate bowl, mix garlic, rosemary, olive oil, lemon zest, salt and pepper, and mix it together. Then toss and coat the chicken cubes with the mixture and distribute evenly. Place in oven. Cook for 20 minutes (set your timer; you don’t want to overcook.) Put lemon juice (from the lemon you zested) and wine in a separate bowl. After 20 minutes, add the lemon juice and white wine, turn oven off and return to oven for another 5 minutes. Remove from oven, and serve, spooning pan juices over the chicken pieces.  This is delicious served over rice. (I used brown rice this time out.)

Baked French Toast — all time best

If you are considering making breakfast/brunch/lunch for Mother’s Day this has to be your go to recipe. I think it’s the best French Toast and so super easy. I usually make it twice a year–and there is never a single piece left. Any one who has ever eaten this will agree. Simply Amazing. Happy Mother’s Day to all the Moms out there who do so very much all year round . Enjoy the Day !!!

cookingwithcandi's avatarCooking with Candi

DSCN4275

DSCN4288

DSCN4283

DSCN4274

DSCN4270

DSCN4302

DSCN4294I posted this originally back in October 2011 for Yom Kippur break fast. It is truly one of the best French toast recipes I’ve ever made.  I include it every year since my friend Ilene Stern gave it to me. I never have a single piece left. Delicious and decadent, perfect brunch and breakfast food. I almost always include it in my Mother’s Day Brunch as well. Once you’ve made this recipe there is no turning back, your whole family will love it and you’ll have to make it every time.

The only downside is that you must prepare and refrigerate the night before without cooking it, you cannot cook this dish till you’re ready to eat it, the bottom will get hard like a caramel candy would. So cook right before you’re going to serve. Enjoy!

*recipe as is should serve 6- 8 if you have more people make 2 trays!

Ingredients:

View original post 328 more words

Shrimp Seared with Paprika and Other Good Stuff

IMG_0531

Raw Shrimp after being butterflied, cleaned and de-veined

IMG_7353

Raw Shrimp on Baking Sheet with Dry Spices

IMG_7357

Finished Product Sprinkled with Chopped Fresh Parsley

IMG_7361 (2) IMG_7354

Yeah !!!! I’m back and cooking. I had rotator cuff surgery and repaired a tear in my right arm 7 weeks ago.  Yes my right arm, so how that translates to me is no spinning, no biking, no cooking and basically no nothing. First few weeks are so bad you don’t really want to do much but as you start to feel better you want to do more but can’t because you are stuck in a sling for 5 weeks!!!! This surgery is a bear and sort of unbearable. No choice in the matter I had to do it, so here I am healed up enough 7 weeks later to start cooking again!!!!!  Joel and I were so sick of take-out food and eating out 7 days a week . You realize that it’s the little things in life that mean the most to you. I am still not up to very difficult tasks but am healed up enough to whip up this delicious Paprika Shrimp . Not too difficult to prepare but make certain you read through recipe thoroughly before cooking. You too can look like a rock-star and cook up this meal.

If you like shrimp this is a must try recipe and if you don’t.   I called my local fish store in the morning (Roslyn Seafood Gourmet) I asked him to clean and de-vein but ask him to butterfly it as well. Joel butterflied it for me and it’s not that difficult to do it’s just time consuming.  I called the fish store in the morning and picked up in the afternoon, so they were all ready for me to cook. I asked for Mexican Whites and the largest he had was Under 15 so this was perfect. I realize that shrimp can be pricey but there is a lot of different shrimp out there priced for every pocket today.

So happy to be back cooking and sharing with all of you as I enter into my  5th year of writing this blog. Thanks again for all the support you’ve all given me throughout .

Keep Cooking with Candi .

*original recipe adapted from The Pollan Family Table — my new favorite cookbook

Ingredients:

2 teaspoons all-purpose flour

1 Tablespoon Paprika

1 Teaspoon granulated sugar

1/2 teaspoon kosher salt or any other coarse type of salt

1/8 teaspoon of freshly ground black pepper

1/2 teaspoon kosher salt or any coarse salt you like

2 lbs. large shrimp ( 15-20 per pound) peeled, deveined and butterflied. Ask them to leave the tails on. I used 1 1/2 lbs. for the two of us and there wasn’t a single piece left!!! *see picture

2 Tablespoons extra virgin olive oil

6 Tablespoons unsalted butter

3 large cloves of garlic minced app. 1 Tablespoon minced garlic

5 chopped sun-dried tomatoes in oil (available in a jar)

2 teaspoons capers, drained

1/2 cup dry white wine I used a Pinot Grigio

1 Tablespoon fresh lemon juice

1 Tablespoon finely chopped Italian flat-leaf parsley , don’t leave this out . It gives it a super professional look.

Directions:

Preheat oven to 350 degrees

In a small mixing bowl, combine the flour, paprika, sugar, salt and pepper.  Pat the shrimp dry on paper towels and lay the shrimp out on a rimmed baking sheet. Make sure to cover the shrimp with the mixture. Make sure to get both sides covered. Use all of the spice mixture up. I used my hands to completely cover the shrimp.

Heat 1 Tablespoon of the olive oil in a large skillet over medium-high heat. When oil is hot , place half the shrimp in one layer in the skillet. Let cook undisturbed for about 2 minutes, using the timer.  Flip the shrimp and sear the other side, for  2 more minutes. Wipe the skillet clean with paper towels before the second batch. Add 1 more tablespoon of olive oil and the remaining shrimp. Put the shrimp in a sprayed ( cooking spray) oven-proof baking dish. Place the baking dish in the oven and bake until lightly browned on the edges and opaque in the center. I cooked for 5 minutes.

While the shrimp are baking, wipe out the skillet with a paper towel again and return to the stove top over low heat. Melt 1 Tablespoon of the butter. Add the garlic and stir for 30 seconds and be careful not to burn garlic. Add the chopped sun-dried tomatoes and capers, raise the heat to medium-high and sauté for 2 more minutes. Add the wine and lemon juice and bring to a boil. Reduce the heat to medium and cook for app. 5 minutes. Melt the remaining 5 tablespoons of butter into pan. Pour the sauce over the shrimp and stir. Sprinkle with the parsley and serve. I served over rice. Amazingly delicious.

Cinco de Mayo Salad and Green Goddess Dressing

photo (2)photo (5)photo (2) photo May is here and it usually brings warm weather and beautiful flowers which signal springtime.  I have to admit here on the East Coast in NY it is a bit wintry like at 46 degrees this morning !!!!! I am certain warmer weather is on it’s way though and this is a perfect way to bring a little Cinco de Mayo into your home in a pretty healthy way. So here’s a little heads up on Cinco de Mayo so you’ll be ready with a rocking salad to help you celebrate.

Any excuse to celebrate a holiday with a new recipe! Happy Cinco de Mayo everyone and here is a new salad and salad dressing to help celebrate with. While I am not a vegan and don’t always cook that way,  I tried this salad dressing which I found in Gwyneth Paltrow’s cookbook, “It’s All Good”, and I have to say it is all good! All good ingredients. I am not talking diet food–just good, healthy food, that when eaten in moderation, yields very good results. I used * Vegenaise in making this and highly recommend it in the place of mayonnaise. You can also use yogurt in its place. This is low salt and low sugar. Delicious, fresh ingredients. I made it with the delicious salad listed below. I love love cilantro, and I have to say that if you don’t love cilantro, this one’s not for you. I used half of a jalapeno and it was not hot at all, next time I will use a little more.  I scraped the seeds out. Be very careful handling jalapenos and their seeds–make sure to wash your hands well afterwards and maybe wear gloves to prevent any problems.

This dressing will keep well in a jar for up to a week.

*a little story about Vegenaise, which is lighter than mayonnaise and contains no eggs, milk or animal products. No GMO’s (Genetically Modified Organisms). Mix it with Dijon for great flavor in the place of real mayo. Extra added bonus is a great jar to store future salad dressings in.

Ingredients:

*this will be vegan if you use Vegenaise

DRESSING INGREDIENTS:

2/3 cup of Vegenaise, yogurt, or mayonnaise

2 scallions, white and light green parts only, chopped

1/4 cup freshly squeezed lime juice (about 4 limes)

1/2 green jalapeno, roughly chopped (you can use more or less, whatever level of heat you like)

1/2 cup extra virgin olive oil

1/2 teaspoon kosher salt

1 tablespoon honey

DRESSING DIRECTIONS:

Blend all ingredients in a blender except for olive oil (I open the top and pour oil in after all other ingredients are combined.) It is a beautiful light green color with specks of dark green. Joel was definitely suspicious of the color but he really loved it! Gave it a big thumbs up!

This should serve 4 nicely as a salad but adjust quantities based on how many people you are feeding.

SALAD INGREDIENTS:

About two hearts of romaine Lettuce, shredded

1/2 can of yellow corn (or 2 fresh ears of corn, shucked)

1/2 can black beans (I use organic canned beans and rinse and drain them)

4 scallions, white and light green parts only, thinly sliced

1 ripe avocado, cut into chunks

approx. 1/2 cup chopped tomatoes (I used delicious cherry tomatoes, halved)

1/4 cup roughly chopped cilantro

Green Goddess Dressing (see above)

If you’re using fresh corn, you’ll have to cook it first. I used the canned version this time. Place the lettuce in a large bowl and dress it with about 1/4 cup of the dressing, just so it’s nicely coated. I then added beans, tomatoes, scallions, avocado, cilantro and corn. Add a little more salad dressing, and serve immediately. Joel likes a lot more dressing on his salad so I served with dressing on the side. And no he didn’t eat all that stuff in the salad; he just ate lettuce and tomatoes…he really doesn’t know what he’s missing!

Happy Anniversary CWC #4

IMG_7351 (2)

Here I am in my pajamas working on my computer. Trying to plan out my next recipe!

I can hardly believe that 4 years have gone by since I started Cooking with Candi. It started as a labor of love and continues to be for me. It is even more satisfying today than when I started . I have so many more subscribers that I interact with and so many people in the blogosphere that have been so supportive. Instagram and Facebook have both been a tremendous boost. Here’s to a new year with more new recipes and of course my tried and true “oldies”.

Thanks to all of my subscribers for your continued support of this pet project of mine. Hope to continue sharing with you for many years to come. I appreciate all of your support and your input in helping me achieve my goals.

I have had a rough couple of months since my shoulder surgery but am on the mend and the good news is that I have a whole bunch of new recipes which I plan on trying out as soon as possible. Tonite is going to be my first time back cooking in the kitchen, We are so tired of take out food!!! Can’t wait to try out some of these new recipes and pass them on to all of you.

Again thanks for all the support and love you’ve thrown my way. Follow me on Facebook and Instagram. If you’re not a subscriber now’s the time, it’s free and fun and so easy to do. Cookingwithcandi.com and follow the instructions. I’ll be looking for you.


Mustard Roasted Chicken

I just bought the newest cookbook from Ina Garten titled “Foolproof” . I love her recipes and couldn’t wait to try them. I made her Crispy mustard Roasted Chicken and while it was amazing, it was super super salty. Even for Joel who loves a lot of salt. I went back and read the recipe again and noticed that she never said anything about what kind of Panko , just 2 cups panko. Her recipes while amazing can be a little salty but this was crazy salty. I finally figured out that it should be Plain panko crumbs and I would add 1 teaspoon of salt and taste crumbs and then add the other teaspoon. I think if you start out with plain panko crumbs you’ll be fine following the rest of the recipe. I remade it with plain panko and it was delicious. I also think that if you use seasoned panko you can just omit the salt all together. I was gun-shy about the salt though, so I added 1 teaspoon at a time as I said. Go for it, and her book is fabulous as ever.

Ingredients:

4 garlic cloves

1 tablespoon minced fresh thyme leaves ( I used a teaspoon of dried thyme)

2 cups Plain Panko Crumbs ( Japanese bread flakes)

2 teaspoons kosher salt ( make sure if you’re adding salt you are using plain panko)

1 teaspoon freshly ground black pepper

1 tablespoon grated lemon zest ( 2 small lemons)

2 tablespoons olive oil

2 tablespoons unsalted butter, melted

1/2 cup Dijon Mustard

1/2 dry white wine, if you’re buying to cook with use Pinot Grigio it’s the dryest, if not use whatever is open unless it’s super fruity

1 3 1/2 – 4 lb. chicken cut up in 8’s

Directions:

Preheat the oven to 350 degrees

Place the garlic, thyme, 2 teaspoons salt, and 1 teaspoon pepper in a food processor fitted with the steel blade and process until the garlic is finely minced. Add the panko, lemon zest, olive oil, and butter and pulse a few times to moisten the panko. In a shallow bowl, whisk together the mustard and wine.

Pat the chicken dry with paper towels. Sprinkle chicken with salt and peppr ( I omitted this step or it would have been way to salty) using the plain panko it would be fine, but the 2 teaspoons of salt should be enough. Taste the crumbs before salting the chicken . Dip each piece in the mustard mixture to coat on all sides, and then place skin side down only into the crumb mixture, pressing gently to make the crumbs adhere. Place the chicken on a sprayed cookie sheet crumb side up. Press the remaining crumbs on to the chicken pieces.

Bake the chicken for 40 minutes. Raise the heat to 400 degrees and bake for another 10 minutes, until the crumbs are browned and the chicken is cooked through.

*if you’d like to make in advance, prepare the chicken without baking it. Refrigerate till ready to use and then bake before dinner.

Serves 4 nicely