Orzo with Feta, Tomatoes and Mint

IMG_7873IMG_7872 IMG_7864 IMG_7863
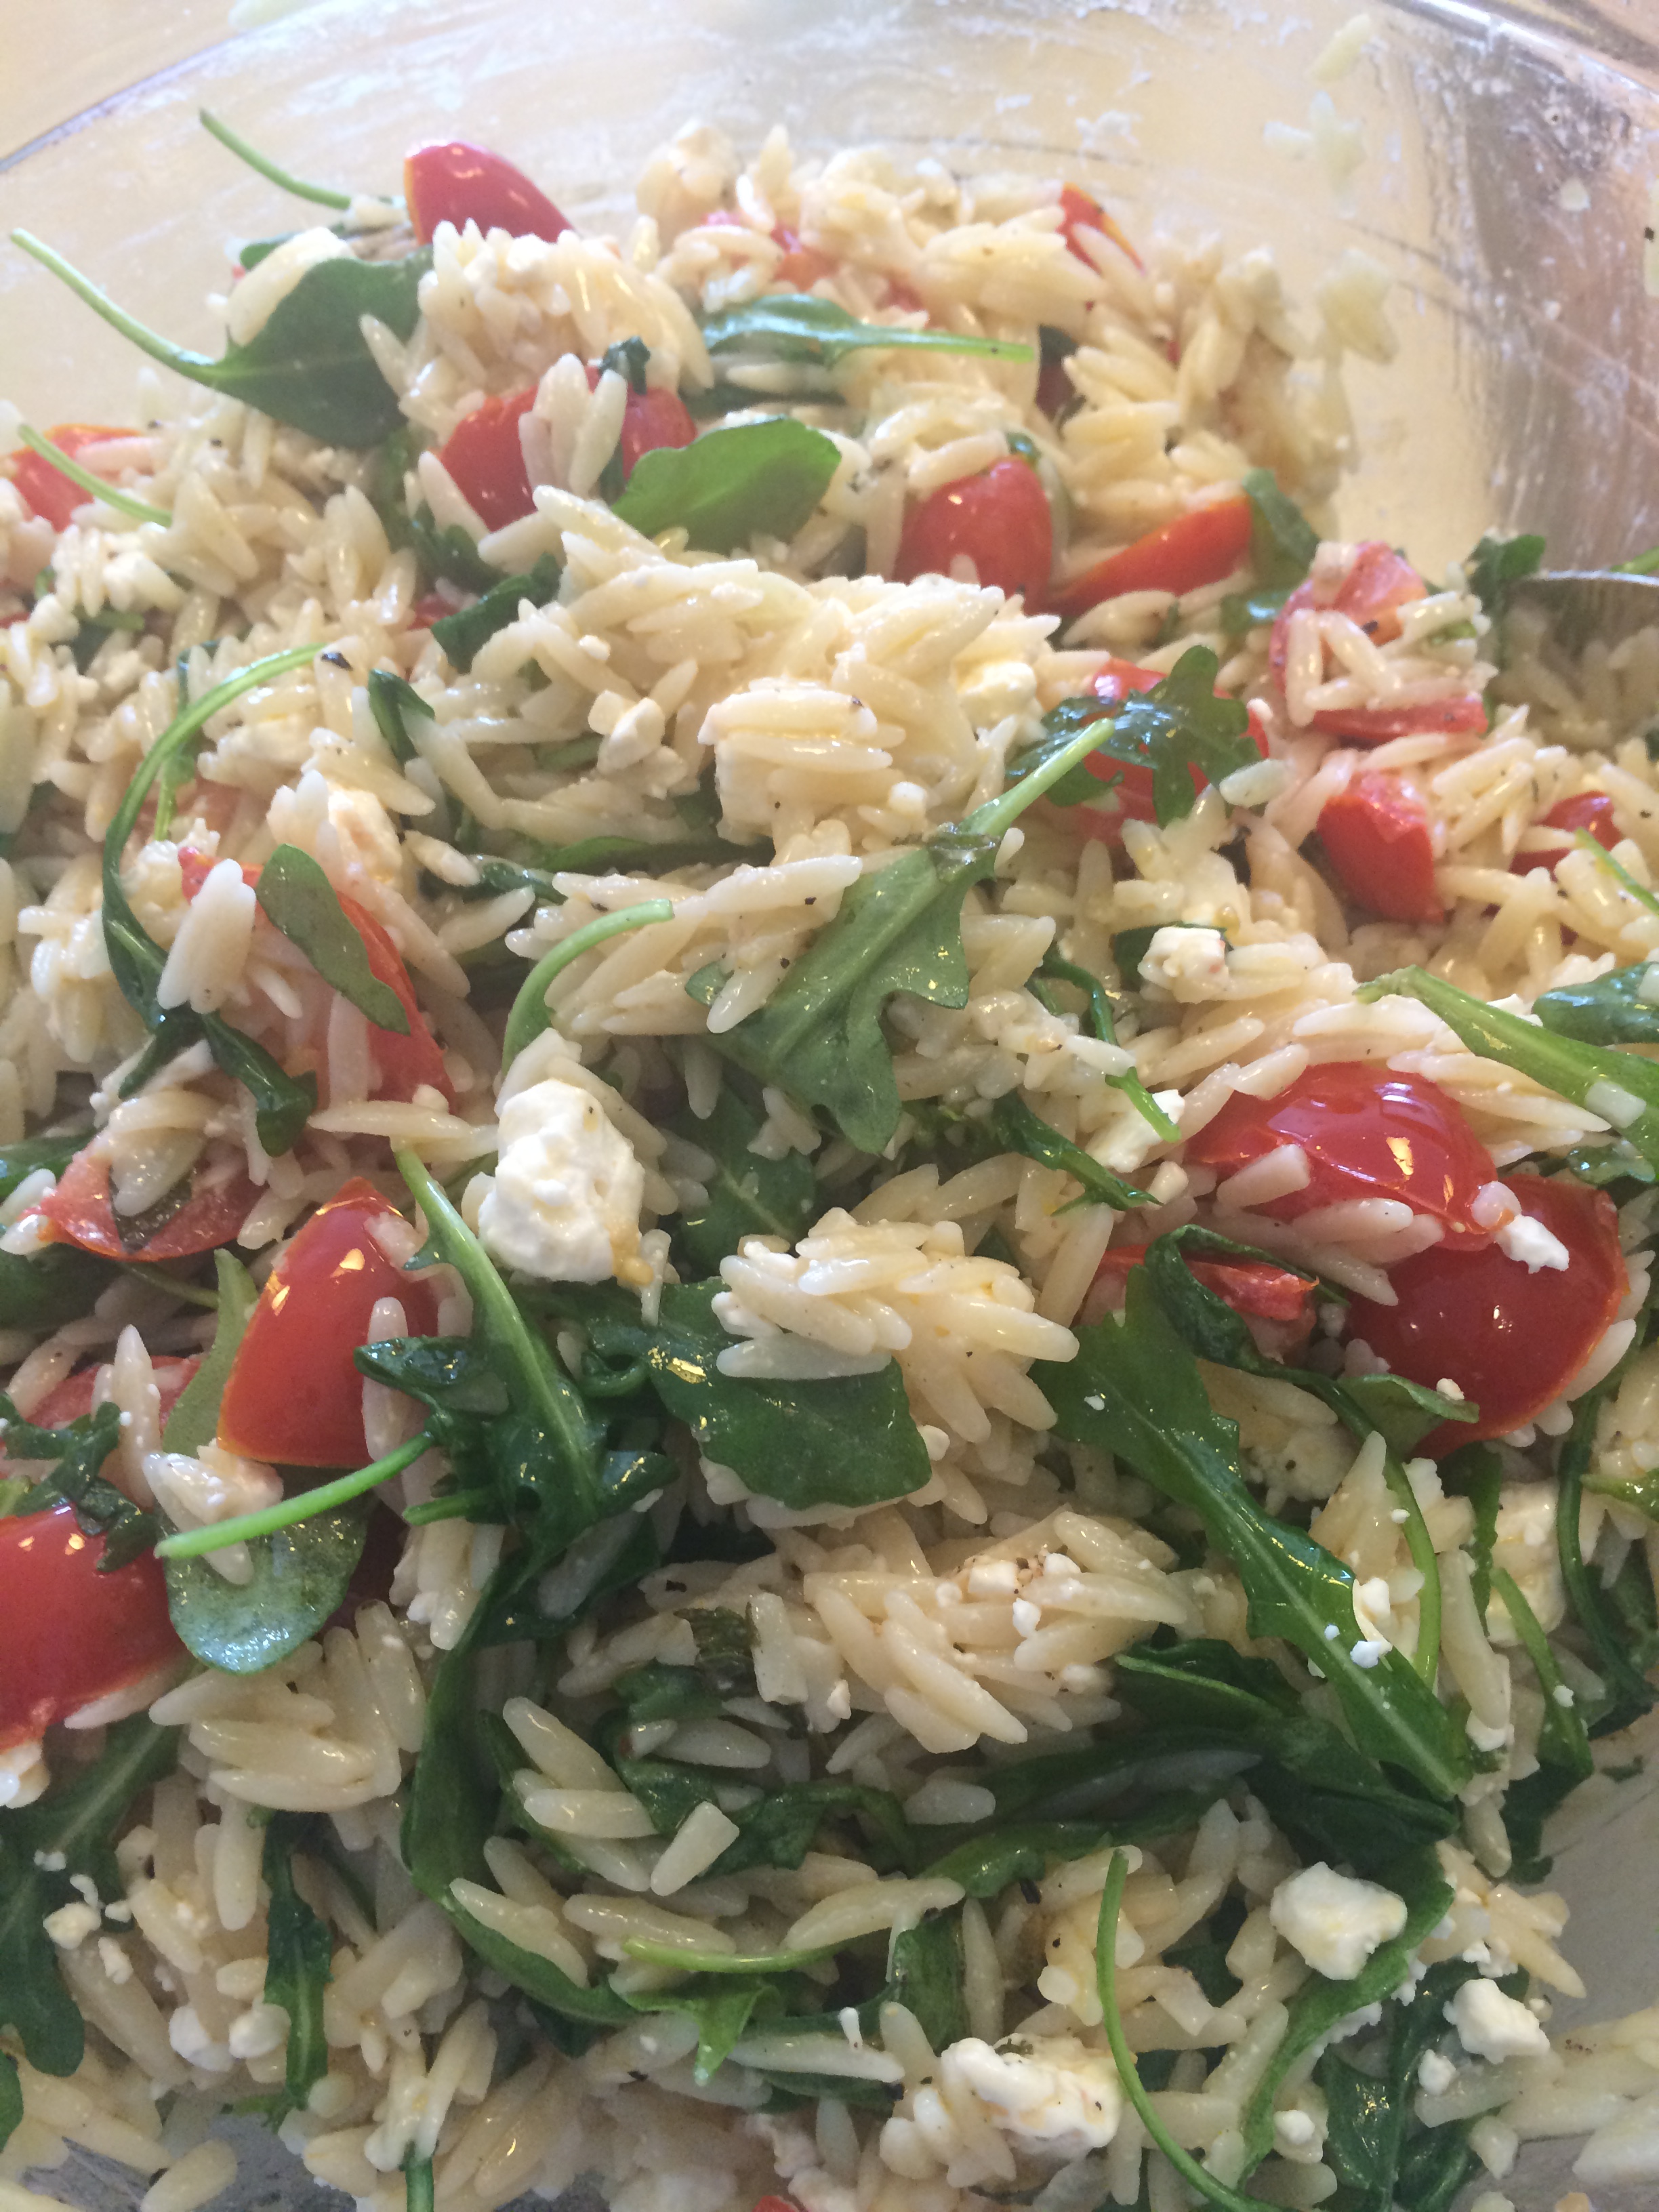
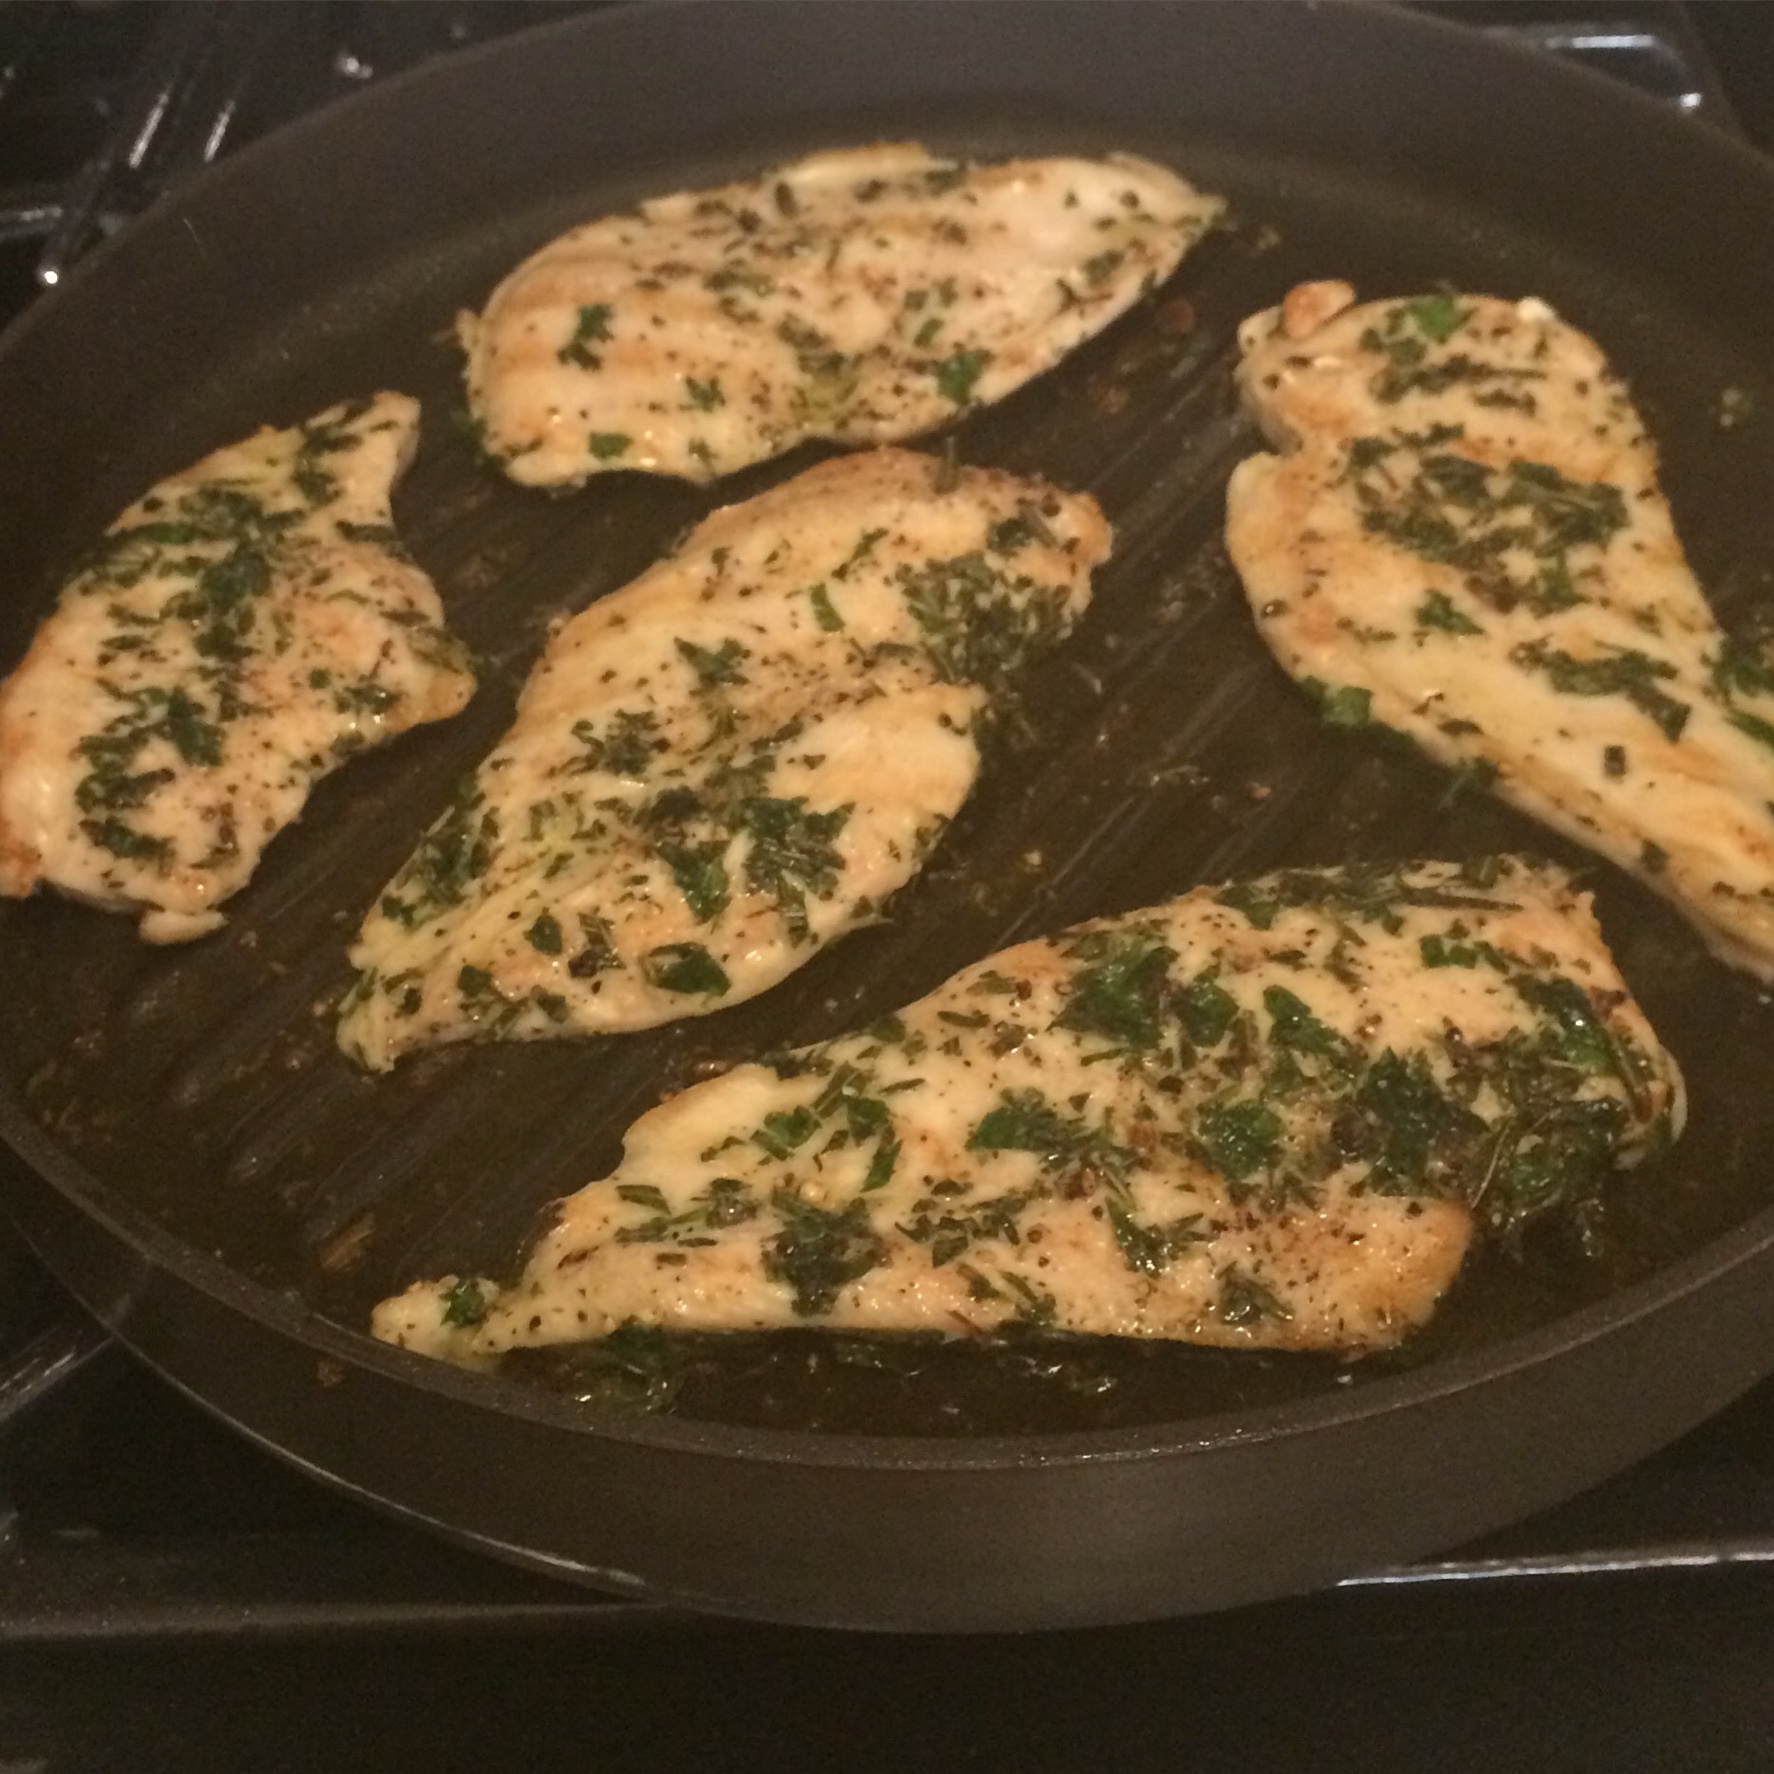
Totally delicious and fresh tasting that’s what this is. Looking for an easy,  fresh side dish?  This could be it. It’s very easy and took about 1/2 hour to make whole recipe and I served it alongside Mustard Glazed Salmon for dinner. Mint gives this dish the most wonderful layer of flavor, don’t leave it out. Tastes and looks like Summertime in a bowl.  Easy, quick and packed full of flavor, you can even add crushed red pepper for a little heat if you like.

Perfection!!!!

Ingredients:

1 pound orzo pasta

1/4 cup olive oil plus 1/8 cup olive oil

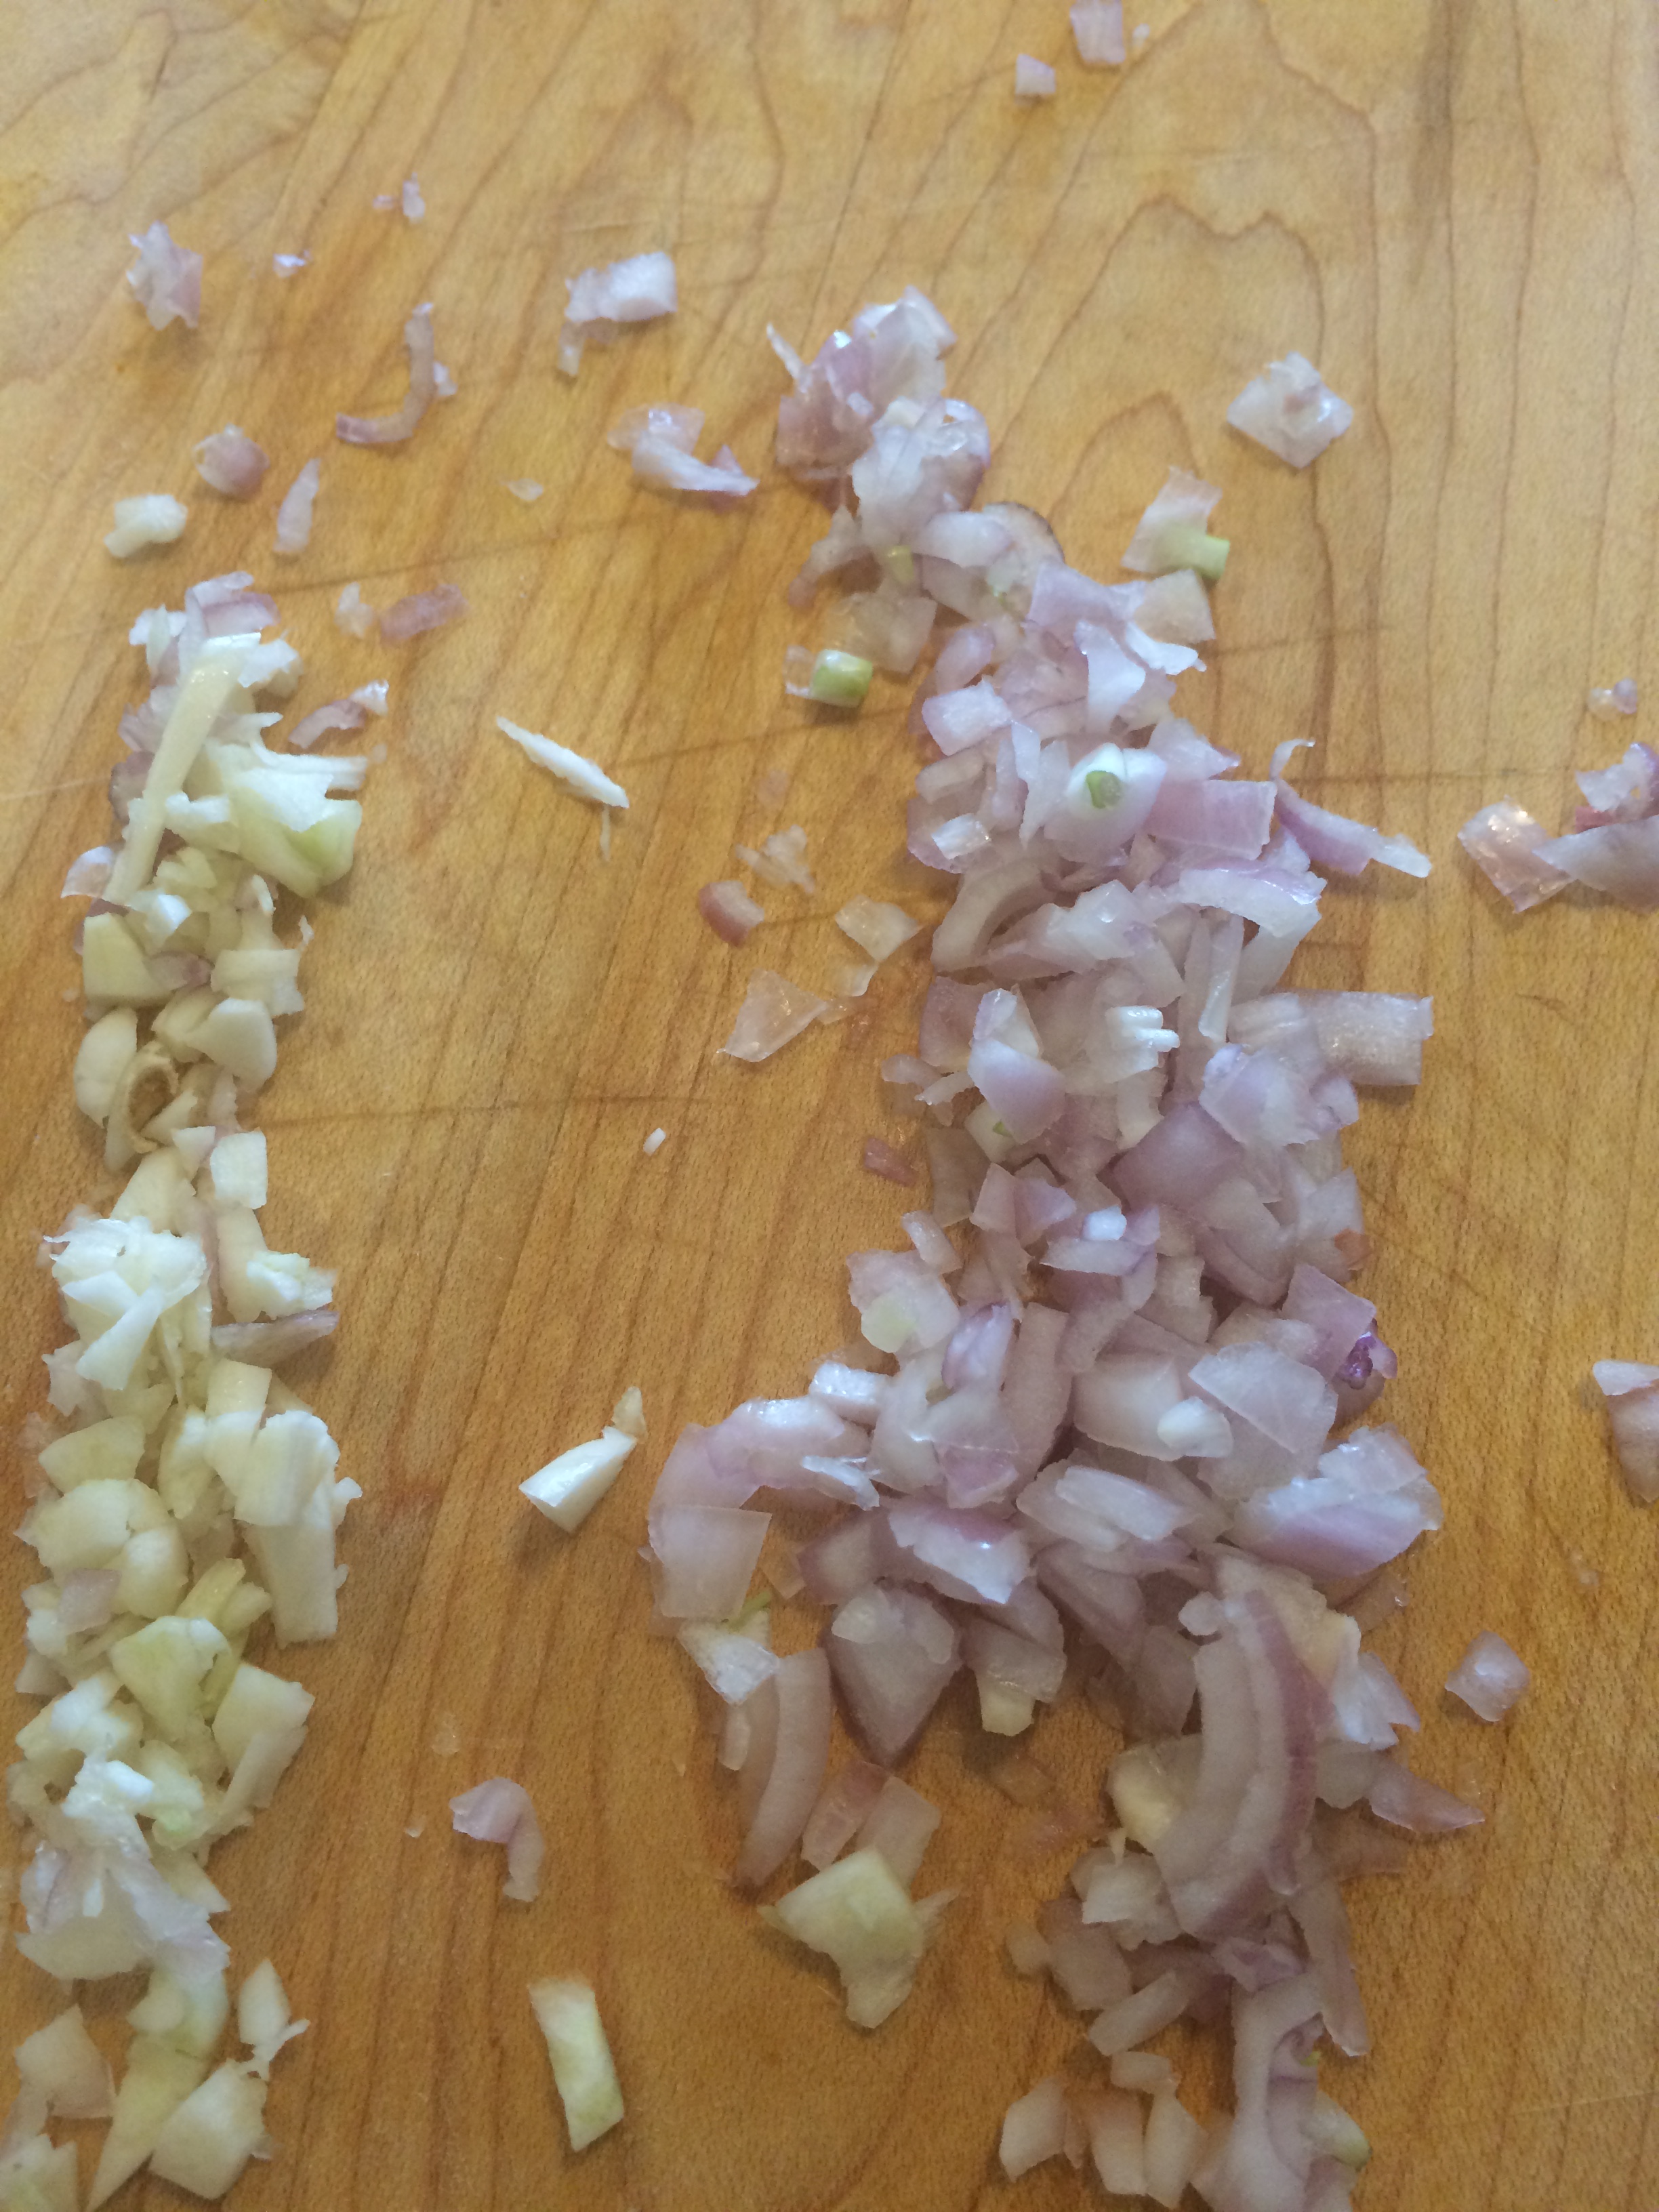
1 medium shallot, finely chopped

1 clove garlic, minced

1 pint cherry tomatoes, quartered

1 cup or more feta cheese use as much or as little as you like but at least 1 cup for that tang and bite. I used crumbled feta which makes it a little easier to work with. Block of Feta is fine and equally delicious, you’ll just have to cut it up.

1 cup or more arugula ( I used a little more) but use at least 1 cup

1/2 cup fresh mint , chopped ( don’t omit)

3 Tablespoons white balsamic vinegar

1 teaspoon kosher salt ( you may want to taste before adding this , I used 1 teaspoon )

1/4 teaspoon freshly ground black pepper ( you may want to taste before adding this as well, this is what I did)

Directions:

Prepare orzo according to box directions for al dente and make sure you add salt to water

While the pasta is cooking, heat 1/4 cup of the olive oil in a large sauté pan over medium-low heat. Add the shallots and garlic, and sauté until the shallots soften and the garlic is fragrant, about 3 minutes on a very low heat. Be careful not to burn! Add the cherry tomatoes, and then heat for another few minutes and then I put heat on the lowest setting and let tomatoes just sit on stove-top while orzo cooked. ( about 5 more minutes)

Add tomato mixture to a large bowl along with the feta, arugula, mint and balsamic vinegar.

Drain the orzo and allow to cool a little bit. Add it to the bowl, and drizzle app. 1/8 of a cup of olive oil. Toss well . Taste for Salt and Pepper, I added 1 teaspoon kosher salt and 1/4 teaspoon ground black pepper. Adjust seasoning to your taste.  I put it in refrigerator till we ate dinner, it can be served cold or warm, delicious either way.

Toss and Serve.

1/4 teaspoon freshly ground black pepper

Herb Grilled Chicken–Simple and Speedy

IMG_6847 IMG_6841 IMG_6835 IMG_6834 IMG_6829Nothing fancy going on here , just really delicious tasty chicken on the grill in the house or outside. If doing outside just watch closely because nobody likes burnt up chicken. I did it on the grill pan this time and it was just perfect, light and tasty. Just what you might be looking for when you have run out of ideas for dinner. Serve with a salad for a perfect weeknight meal. Simple and Speedy!!!! my kind of meal.

*can easily be doubled up

Ingredients:

4 chicken cutlets app. 1 1/2 lbs. of thin cutlets ( I prefer them a little thinner)

1 teaspoon chopped fresh flat-leaf Italian parsley

1 teaspoon chopped fresh thyme

1 teaspoon chopped fresh rosemary

1 teaspoon olive oil

1 1/2 teaspoon kosher salt

1/2 teaspoon freshly ground black pepper

1 lemon quartered

Directions:

Wash and pat dry the chicken cutlets. Mix together all the dry ingredients and  the olive oil, then coat chicken on both sides with mixture. Heat up the grill pan over medium-high heat ( I brushed a drop of olive oil to grill pan) My chicken breasts cooked up pretty quickly ( about 5 minutes each side) you want to get them browned with grill marks but not dried out. You can always check by cutting into chicken after 5 minutes, just keep an eye on them. Cooking time really depends on your pan and the size of your chicken breasts. Use tongs to flip over chicken.

Serve on plate with lemon .  I like a little squeeze of lemon over my chicken.

Avocado Salad with Corn and Tomatoes –Fresh and Delicious

DSCN0190 DSCN0195 DSCN0194 DSCN0199It’s June so let’s break out the delicious summer food. This is a most perfect summer salad and it is a vegetarian delight . It is totally vegan. I am not a vegan but totally love this salad with all it’s fresh flavors . I had 2 beautiful ripe avocados on hand and all the ingredients for this yummy salad.  I had some fresh corn so I just brought the water to a boil threw it in and when it turned yellow took it out and threw it in a bowl of ice water to stop the cooking.   Of course I love  jalapenos , use your own discretion and this would be amazing without as well but it was kick ass with them.  You can make the salad ahead and let juices meld but don’t add the avocados till you’re ready to serve.  You can give them a little squeeze of fresh lime juice so they won’t turn brown so fast.  I like to serve salad at room temperature, you just don’t get the flavors when it’s too cold. It will keep in fridge for a few days, but you’ll have to take out the leftover avocado since it will turn brown. I cut this salad in 1/2 for the 2 of us. This easily will serve 6 as a side. By the way Joel took a bite but too much healthy stuff going on in here for his liking, although he’s gotten better he’s not quite up to this yet, it’s OK because there was more for me with leftovers.

I was inspired for this recipe from the Barefoot Contessa recipe for Guacamole Salad. The corn was my idea.

Ingredients:

2 cobs of fresh corn ( cook and then shuck corn off the cob) if no fresh corn available use frozen . I use frozen when I have to and 1 small bag is usually sufficient. The frozen corn will defrost very quickly so just take it out and when you mix in with other ingredients it will start to completely thaw by the time you’re ready to serve. You want to serve at room temperature anyway.

1 pint grape tomatoes , halved

1 yellow bell pepper, seeded and diced into small pieces ( app. 1/2 “)

1 15 oz. can black beans, rinsed and drained

1/2 cup small diced red onion

2 tablespoons minced fresh jalapeno peppers, seeded ( app. 2 small jalapenos) use at your own discretion . Remove Seeds

1/2 teaspoon freshly grated lime zest

1/4 cup freshly squeezed lime juice ( 2 limes)

1/4 cup good olive oil

1 teaspoon kosher salt

1/2 teaspoon freshly ground black pepper

1/2 teaspoon minced fresh garlic

1/4 teaspoon ground cayenne pepper

2 ripe Hass avocados, seeded, peeled and cut into small cubes.

Directions:

Place the tomatoes, yellow pepper, black beans, red onion, jalapeno peppers, and lime zest in a large bowl. Whisk together the lime juice, olive oil, salt and pepper, garlic and cayenne pepper. Pour over the vegetables. Toss well. In the meanwhile cook the corn , bring water to a boil throw in for a few minutes to turn bright yellow, then I throw in a bowl of ice water for a few minutes to stop the cooking and lock in flavor and color. Then remove corn from cob. I let the salad sit for about an hour before adding avocados into the salad. Just fold avocados into the salad when you’re ready to serve. Check for seasoning and serve at room temperature.

Triple Berry Crisp–Gluten Free

IMG_7716 IMG_7709 (2) IMG_7702 IMG_7698 I love sugar as much if not more than the next guy but this was an opportunity to make a berry crisp without any white sugar or flour.  I stumbled upon this recipe on one of the million blogs, sites and posts I see spouting Paleo and Gluten Free recipes. I am not a paleo eater nor am I gluten free but it can’t hurt to have a recipe that is light on the sugar and fairly healthy to boot. If you would like it a little bit sweeter you can add a tablespoon of coconut sugar or a packet of stevia, I didn’t and I liked it just the way it was.  It intrigued me since I love a crisp but hate the amounts of sugar that go into it, even though I do love eating it.

I had some fresh blueberries, some fresh blackberries and a few random raspberries that were going to go uneaten . What better time to try this? You can make this with just blueberries, or any berry or fruit you like. Berries are in abundance now and super delicious. This recipe took me all of 1/2 hour to put together. Use cooking spray on ramekins and baking sheet or use parchment paper for easier clean-up.  I used 4 ramekins but you can stretch this to 6 for sure.

I just sampled and can say that while they are not cloyingly sweet they have a bit of sweetness and crunch and you can really taste the tartness of the berries. I wouldn’t mind topping with some  ice cream or yogurt but I guess that would be defeating the purpose. There are some wonderful dairy-free ice creams out there and I suppose they would work just fine.

Just an addition– I ate it for breakfast this morning!!! with a little greek yogurt!

Ingredients:

app. 2 pints of berries — as I said you can mix them or use any one you like best. I used black, blue and raspberries. This can be made with apples, peaches, strawberries , nectarines and any combination of the above. I like making them in individual ramekins as a way of having portions already prepared which I think is very nice for dessert but equally nice made in a larger baking dish and you may need to double up on ingredients.

Ingredients:

Juice of 1 lemon

1 cup almond flour–available in most supermarkets today ( Whole Foods)

*1/2 cup slivered almonds–obviously can be made without nuts but I love the crunch

1/4 cup coconut oil, melted

2 tbsp. maple syrup ( use pure maple not the artificial one)

1 tsp. cinnamon

pinch of nutmeg

Directions:

Preheat the oven to 375 degrees

In a bowl, mix together the berries with the lemon juice. Divide between the ramekins ( spray ramekins first) you can also bake this in one large baking dish of course.

You can use the same bowl or a new one, and mix together remaining ingredients until combined. Spoon the almond mixture over the berries. Bake for app. 30 minutes , until bubbly and golden brown. Mine were done in 25 minutes so check your oven after 20 minutes to see where they’re at.

Let it cool slightly before serving.

Creamy Shrimp Pasta

IMG_6744

Plated up and ready to eat

IMG_6738

Shrimp cooking in the sauce

IMG_6733 IMG_6735 IMG_6741 IMG_6742 This recipe got sort of just thrown together last-minute because I had purchased the shrimp earlier in the day and was in the mood for pasta. There really is no time we are not in the mood for pasta and nothing quite satisfies like the real deal. I had everything else in the fridge but these are super easy ingredients and I highly recommend this recipe to all of you. It’s creamy and delicious without being too heavy. In the mood for pasta and shrimp? this one is sure to satisfy.

Enjoy!

Ingredients:

1 lb. peeled and deveined shrimp, I used under 15 (15 to a pound) for the two of us. This could probably serve 3 to 4 as a side dish, and 2 – 3 comfortably as a main dish. Leave the tails on when you peel and de-vein.  I only used 1/2 box of pasta but you can increase the pasta for more people.

3 Tbsp. Olive Oil

3 large garlic cloves, minced

1/4 tsp. dried oregano

1 15 oz. can of Tomatoes, I used whole but diced would be fine. Whole was what I had in the house and I just broke with the back of a wooden spoon while it was cooking. Either one would work just fine.

3/4 cup Heavy Cream

1/2 cup white wine ( I used Pinot Grigio) just nothing too sweet

1/2 tsp. fresh lemon juice

*1/2 tsp. kosher salt–this is what I used but you can taste for salt and black pepper

*1/4 tsp. freshly ground black pepper

*sprinkle of crushed red pepper–totally optional but if you like a bit of heat this works perfectly here. Use as much or as little as you like and can be added at table if you’re not sure everyone will like it.

1/2 lb. pasta–you can use capellini or fettucine or anything in between. I used fettucine because I was using what I had on hand in the pantry.

Directions:

Heat olive oil in a heavy skillet over medium-high heat ( at least a 12″ heavy skillet) Heat oil until it starts to shimmer but not smokes. Cook shrimp along with garlic, oregano , app. 1/2 tsp. kosher salt and app. 1/4 tsp. freshly ground black pepper, turning the shrimp over after 2-3 minutes (as soon as shrimp curls). Stir in wine and tomatoes, scraping up any bits which may be at the bottom of the pan. Add heavy cream and briskly bring to a simmer until sauce has thickened slightly, about 2 minutes. Stir in lemon juice. I let the sauce sit off the heat while I prepared my pasta, you don’t want rubbery overcooked shrimp.

Meanwhile cook pasta according to box directions for al dente in a well-salted pot. Reserve 1 cup of pasta water . ( you may need water if sauce gets too thick)  Drain pasta.

I then turned on the heat and brought sauce to a low boil and added in the pasta. If sauce is too thick you can thin it out with a little pasta water. I only used a bit of the pasta water. It was divine.

Salmon with a Mustard Glaze

IMG_7557 IMG_7571Here is another delicious Salmon recipe and so super easy. I made this for dinner the other night and it was ready in no time and tasted truly delicious.It is light and easy, it doesn’t get much easier than this. The whole recipe took less than 1/2 hour to prep and cook! Depending on how thick your salmon is it could take no more than 10 minutes to fully cook right in the oven. Very few ingredients and a perfect dinner casual enough for just you and your family and can be bumped up to serve to guests. This is a winner.Last night I served with potatoes and a salad.  Almost any side dish will do alongside this. The other night made it with roasted red potatoes and burnt brussels.

img_3593

Ingredients:

3 Tablespoons Olive Oil

1 heaping Tablespoon Dijon Mustard

1 Tablespoon fresh lemon juice (app. 1 average size lemon)

Kosher Salt and Freshly Ground Black Pepper ( about 1/4 tsp. of each)

4 pieces Salmon fillets ( app. 6 oz. each) with skin on

*sprinkle a little fresh thyme if you’d like!!! and you can use a sprinkle of dried thyme as well.

Directions:

Preheat the oven to 425 degrees. Spray a baking dish with cooking spray to facilitate removal of fish not to mention clean-up.

In a small bowl, mix together olive oil, mustard, lemon juice, and 1/4 teaspoon each kosher salt and freshly ground black pepper. I used a mini whisk and it came together beautifully.

Place Salmon, skin side down in a baking dish , and spoon mustard glaze over each piece of fish. Bake until salmon is just cooked through and no longer red, 6 – 10 minutes depending on the thickness of your fillet. I then turned on the broiler for a few minutes, check to see if fish is done before doing this. You don’t want it over-cooked. I cooked in oven for 6 minutes and then broiled for 4. It was done to perfection. You don’t have to do the broiler you can just cook the salmon in the oven for about 10 minutes. You might want to check on it depending on the thickness of your filet.

Sometimes I just put lemon slices on the salmon before I cook it– gives it a more lemony flavor and looks very pretty and I happen to have a lot of lemons in the house.

Voila! done and enjoy. I served this time with a delicious lentil side dish.

Roasted Cauliflower with Chickpeas – Vegan

DSCN0013DSCN0019 DSCN0024DSCN0025 I love cauliflower, Dijon mustard and chickpeas, so how bad can this possibly be?

So so good, that’s how good.

This is a perfect side dish and very healthy, to boot. Completely vegan, protein packed and very filling. I’m certain it would be delicious with broccoli as well. Give this a try!

Thanks again to Gwyneth Paltrow and her cookbook It’s All Good . It is all good!

Ingredients:

1 14 oz. can chickpeas, rinsed and drained and then dried in a kitchen towel.

1 head of cauliflower, outer leaves removed and discarded, cut into bite size florets.

3 tablespoons of extra virgin olive oil, plus 1/4 cup of olive oil

Kosher salt

1 tablespoon Dijon mustard–I love Maille brand Dijon Mustard for just the right bite, but any Dijon mustard will do.

1 tablespoon whole grain mustard ( if you don’t have whole grain , just use all Dijon) it just adds a nice texture and looks good.

1 tablespoon white wine vinegar

freshly ground black pepper

*sprinkling of about 1/4 cup of chopped Italian parsley

DIRECTIONS:

Preheat the oven to 400 degrees and set the rack in the middle.

Toss the chickpeas and cauliflower together in a large roasting pan with the 3 tablespoons of olive oil and a big pinch of kosher salt. Roast, stirring now and then, until everything starts to brown up nicely, and the cauliflower is quite soft (about 45 minutes.)

Meanwhile, whisk together the mustards, vinegar, and 1/4 cup of olive oil, and a few healthy grinds of black pepper. I didn’t think it needed more salt, the mustard was salty enough as was the cauliflower.  While the chickpeas and cauliflower are still warm, toss them with the mustard dressing and if you like, add a little sprinkling of parsley.

Serve warm or at room temperature.

Winner Winner Chicken Dinner-Mustard and Balsamic

IMG_7542

Chicken in Marinade for 1/2 hour


IMG_7548

Chicken finished cooking


IMG_7553 (2)

plated chicken


IMG_7538

Lemon and chopped Rosemary

IMG_7545 I made this for dinner the other night and I have to say it was very delicious. I used boneless skinless chicken thighs, of course you can use any cut of chicken you’d like.  All I needed was the chicken and the fresh rosemary.  I had all the other ingredients on hand. You will need to marinate for about 1/2 hour and cooking time is about an hour, no need to marinate over night which is part of what I loved about this recipe.  Balsamic Vinegar and Dijon Mustard and a few other easily obtainable ingredients make this a no fuss recipe.  This recipe is for 8 boneless skinless thighs but feel free to double it up, I used about 10 thighs . It would be perfect on the grill as well. I used my oven and I have to say we both loved this recipe.

The chicken would also be wonderful on day 2 as a leftover in a salad!

Enjoy!

Ingredients:

8 boneless chicken thighs

1 Tbsp. Dijon Mustard ( make it heaping)

1/4 cup of Balsamic Vinegar

1/2 cup of Olive Oil

2 tbsp. fresh lemon juice ( I average lemon)

2 Tbsp. Fresh Rosemary chopped

1 garlic clove, minced

app.  1/4 tsp. of kosher salt, I just sprinkled lightly over the chicken and about 6 grinds on the pepper mill. If you’re doubling recipe you will obviously need more salt and pepper

Directions:

In a bowl, combine the mustard, vinegar, garlic, rosemary and lemon juice. Slowly add in the olive oil with the mixture while you whisk–to emulsify.

Place the chicken in a container or Pyrex  (don’t use metal). I sprinkled about 1/4 teaspoon of kosher salt over the chicken tops.  Pour the marinade over the chicken. I left it out for 1/2 hour and let it marinate, you can refrigerate it.

Preheat oven to 375 degrees

Transfer the chicken to a sprayed ( cooking spray ) baking dish and empty any remaining sauce on top of it.

Place in the oven and bake for 1 hour , or until the chicken is cooked through. It got a nice crust without drying out the chicken after one hour. Depending on your oven and the size of your chicken 1 hour should do it. If you’re working with breasts you’ll have to cut into chicken after 50 minutes to check for doneness depending on the size of your breasts. Haven’t tried it on the grill yet but I can’t imagine this would be anything but delicious, just don’t burn it up!!!!!!

Summer Sangria on the Light Side

It is the un-official start of the summer season so if the weather would cooperate it might just feel that way. Well this drink could help you kick off Memorial Day Weekend whether you’re inside or outside.

This is a light cool drink for when the weather turns warm. Sangria and Summer!  Perfect to make for a large crowd, easy as could be and light because it’s made with sugar-free Lemonade .  If you don’t want to use sugar-free just use regular lemonade, it’s no problem. I remember making Sangria and it was messy and required a lot of different ingredients plus a lot of sugar. My friend Carol has been making this for years and I have called upon her many times to re-create this Sangria. It can be made with white or red wine. It makes 2 quarts without ice, so that goes a long way . You can cut up whatever fruit you like , peaches are beautiful , oranges, apples, pears, strawberries whatever you like. I like to make the Sangria in the afternoon just so the fruit gets the full  flavor of the wine and marinates for at least a few hours. It’s not critical though. I think you’ll like this one. Again, thanks Carol so much for sharing and promise I won’t annoy you anymore now that I have it written down .


Ingredients: 

1 Bottle Wine Red or White ( I used Pinot Grigio but you can use whatever you like or have) I wouldn’t use a very expensive bottle for this.

1 Bottle Club Soda ( not the very large bottle ) 1 quart bottle

Fruit of your choice , peaches , pears, oranges, nectarines, apricots, apples ,etc. I slice into thin slices which are easy to eat . Slice them up and eyeball it. Whatever you like, I used peaches, apricots, apples and oranges .

1 packet Sugar Free Wylers or Crystal Light Lemonade , I use Yellow Lemonade for White Wine and Pink Lemonade for Red Wine , if you’re opposed to using sugar substitutes you can certainly use fresh lemonade.

You’ll need a 2 quart pitcher, I use a nice glass pitcher . It can be kept for a while in fridge in a plastic 2 quart container. Sometimes for a very large gathering I make an extra one and keep in refrigerator without the fruit, just as a back up.

Directions:

Cut up fruit into slices/pieces for Sangria. I take a 2 quart pitcher pour in the bottle of wine, put in the packet of Wylers or Crystal Light, add the Club soda almost up to the top of the container or pitcher leaving room for fruit, so you may not need whole bottle . Add fruit and Stir, I usually add the rest of the club soda after fruit goes in . Put in refrigerator and let flavors meld together for a few hours and get cold. Serve in glasses with ice, you can add additional fruit like raspberries at the time you serve. It’s delicious , refreshing, low in calories and did I mention super easy???

Happy Memorial Day Blackberry Cobbler

before cobbler gets baked , with biscuit topping

before cobbler gets baked , with biscuit topping

finished product - Yum

finished product – Yum

photo (3)

I saw these amazing blackberries at Whole Foods and had to buy them. They are nothing short of amazing right now. I have posted numerous blueberry cobblers , etc. Today is a version of my blueberry cobbler made with blackberries, and an opportunity to write up another recipe and wish everyone a wonderful Memorial Day weekend. Whatever you have going on  stop and think about all the very brave men and women who have served our wonderful country and continue to serve and protect every single day.

Enjoy the unofficial start of the summer season! We finally made it.

Ingredients:

1 pound or about 3 1/2 – 4 cups blackberries , cleaned , rinsed and dried

1 tablespoon arrowroot or cornstarch

2 tablespoons fresh lemon juice

1 cup all-purpose flour

3/4 cup sugar, I use regular granulated sugar for cobbler inside and on top I use turbinado sugar. 1/2 cup granulated sugar for inside cobbler and 1/4 cup turbinado

1 teaspoon baking powder

1/4 teaspoon salt

1/2 cup whole milk or you can use low-fat buttermilk

3 tablespoons unsalted butter, melted

3/4 cup boiling water

Directions:

Preheat the oven to 350 degrees.

In a bowl I place the clean blackberries that I’ve washed and dried. I sprinkle them with the arrowroot and lemon juice and mix gently  Set aside.

In a medium size bowl, I sift the flour, 1/2 cup sugar, baking powder and salt. Add the milk and butter. Stir until just combined, don’t over stir, it shouldn’t be smooth. Then by the moundful drop dough onto blackberries. I spread around a little bit but don’t completely cover the top of berries. ( see photo) the dough will spread a little once it’s baked.

Pour boiling water over the dough and fruit before you bake it. Sprinkle top with 1/4 turbinado sugar or regular sugar. Raw sugar or turbinado sugar makes it a little crunchier topping. I prefer it to regular sugar for a topping.

*if you are preparing in advance which is what I did today. Prepare up till the boiling water and sugar part. Refrigerate for up to 2 days , bring to room temperature then pour boiling water and top with sugar and bake. I baked for app. 45 minutes till dough gets browned and crackly looking and blackberries are bubbling. ( see photos)

Happy Cooking and Happy Memorial Day from my kitchen to yours.