Category Archives: sides

Spinach Casserole–perfect for Holidays

cooking with candi 233I came across this recipe in my recipe file. I made it once a while ago and am re-visiting it because I had made notes on this lovely gratin. It’s super-rich and belongs on a holiday table. It goes well with meat and poultry. Made with frozen spinach, I bought the frozen organic spinach at Whole Foods frozen works better than the fresh stuff here. I am all for some plain roasted veggies but who can resist this beautiful gratin? If someone asks you to bring a side dish this could be the one. Go for it! and use a beautiful casserole dish , a 9 x 11 should work perfectly. I am making this one day ahead and will bring it to room temperature on Thanksgiving and re-heat it. Enjoy!

Shopping List:

onions, Gruyere Cheese (grated), 3 16 oz. bags of frozen chopped spinach, Panko Breadcrumbs

Pantry Items:

unsalted butter, onions, grated nutmeg, flour, cayenne powder, kosher salt and pepper, whole milk and flour.

Ingredients:

*should serve 10 people as a side

4 tablespoons unsalted butter

2 medium-sized yellow onions , chopped

1/4 cup unbleached all-purpose flour

3 cups whole milk

1/4 tsp. freshly grated nutmeg ( or ground nutmeg)

pinch of cayenne powder ( gives it a little kick)

1 1/2 cups grated Gruyere Cheese

3 16 oz. bags of frozen chopped spinach- thawed ( organic spinach is nice but not necessary)

1 tsp. Kosher Salt

1/2 tsp. Freshly ground black or white pepper

Topping:

2 Tbsp. unsalted butter

1 1/2 cups Panko seasoned breadcrumbs

Sea Salt to taste ( if no sea salt use kosher salt)

Directions:

Preheat oven to 400 degrees.

Squeeze all of the liquid out of the thawed spinach, by the handfuls, (very important ) get all of the water out. Set spinach aside. You’ll want it as dry as possible.

Heat milk to a simmer in saucepan, not to a boil but a simmer.

Melt the butter in another pot, add onions and cook until translucent but not browned, app. 10 minutes. Add the flour and cook for a few minutes. Stir in the hot milk and whisk until it thickens up, this is the roux. Add the nutmeg and cayenne. Turn off the heat.

Stir in the cheese and season with salt and pepper. Taste for seasoning. Add the spinach and mix well.

Pour into a well sprayed 9×11 glass or ceramic baking dish. Prepare crumb topping.

Melt butter in a medium skillet, add panko, sprinkle with a little sea salt and stir until lightly browned.

Gently smooth the topping on top of the gratin. Cook for about 1/2 hour to 45 minutes until bubbling.
Kasha Varnishkes–Jewish Comfort Food

This is truly traditional Jewish comfort food made with buckwheat grains and bowtie noodles. I love it and grew up eating it and  try to make it a few times a year. What better time to make it than the Jewish New Year? it’s super easy and super tasty. If you’ve never made it why not start now. It’s a wonderful side dish to any meal and it can be vegetarian for all of those who need some extra vegetarian dishes on their tables.

Kasha comes in a box. There are different types of Kasha and almost all will work. I use medium or coarse granulation.  Wolff’s brand is really wonderful so look for it.

If you’re looking for an easy side dish to put together now is the time to look at this great recipe. This is also our go to the night before Yom Kippur. It’s tradition and delicious and comforting all at the same time.

Ingredients:

1 package bowtie ( farfalle ) noodles (app. 3/4 lb.)

1 white/yellow onion thinly sliced or you can use chopped onions , entirely up to you.

app. 2 tablespoons olive oil, you may need a  little more and may want a bit more to drizzle at the end. You can also use vegetable oil. I do use vegetable oil with this recipe.

Kosher Salt and Freshly Ground Black Pepper–to taste

1 box button mushrooms sliced 8 ounce box

1 cup kasha, medium or coarse granulation.

1 egg

2 cups vegetable or chicken stock ( obviously if you’re making vegetarian you’ll use vegetable )

Directions:

Cook the pasta according to directions on box for al dente.

Saute’ the onions in olive oil, salt and pepper until they just start to soften, about 5 minutes. I use a medium size frying pan large enough to add in the pasta, and make sure you have a tight fitting lid.

Add the mushrooms and sauté until they start to soften as well, a few more minutes , set aside. Place mushrooms and onions in a bowl and you’ll use same frying pan to cook kasha.

Coat the kasha in a slightly beaten egg. You’ll just place kasha in a bowl and put beaten egg on grains. This will help the grains not to stick to themselves while you are cooking them. Make sure the grains are completely coated with egg.  Put the kasha in the same frying pan, set over a fairly high heat. Flatten, stir, and break up the egg-coated kasha with a fork or wooden spoon for a few minutes till toasted and the egg has dried on the kasha and kernels are brown and mostly separate. Kasha instructions for cooking are usually on the box as well.

Add back in the mushrooms and onions and combine with chicken broth. Cook box of Bow Tie Pasta according to directions on box al dente.

Bring to a boil and cook over low heat covered tightly. Check on it after 10 minutes or so to make sure the kernels are tender and the liquid has absorbed. If not, cover and continue steaming for another few minutes till all liquid is absorbed.

Adjust seasoning with more salt and pepper if you’d like, mix in cooked pasta, and if you’d like drizzle a little more oil on it. I like to do it all in a large enough frying pan to hold pasta . You can always mix in pasta in a large bowl separately. I like it in frying pan on stove top till I serve it. You can always make ahead and heat up in oven at 350 degrees in a pyrex dish,  you’ll most likely need to add a little oil if you do so.

*Wolff’s Kasha has directions for cooking kasha on the box. It’s pretty much the same , I just add in the mushrooms and onions for more flavor.

*should serve 8 people

Avocado Salad with Corn and Tomatoes and Lots of Good Stuff – Vegan

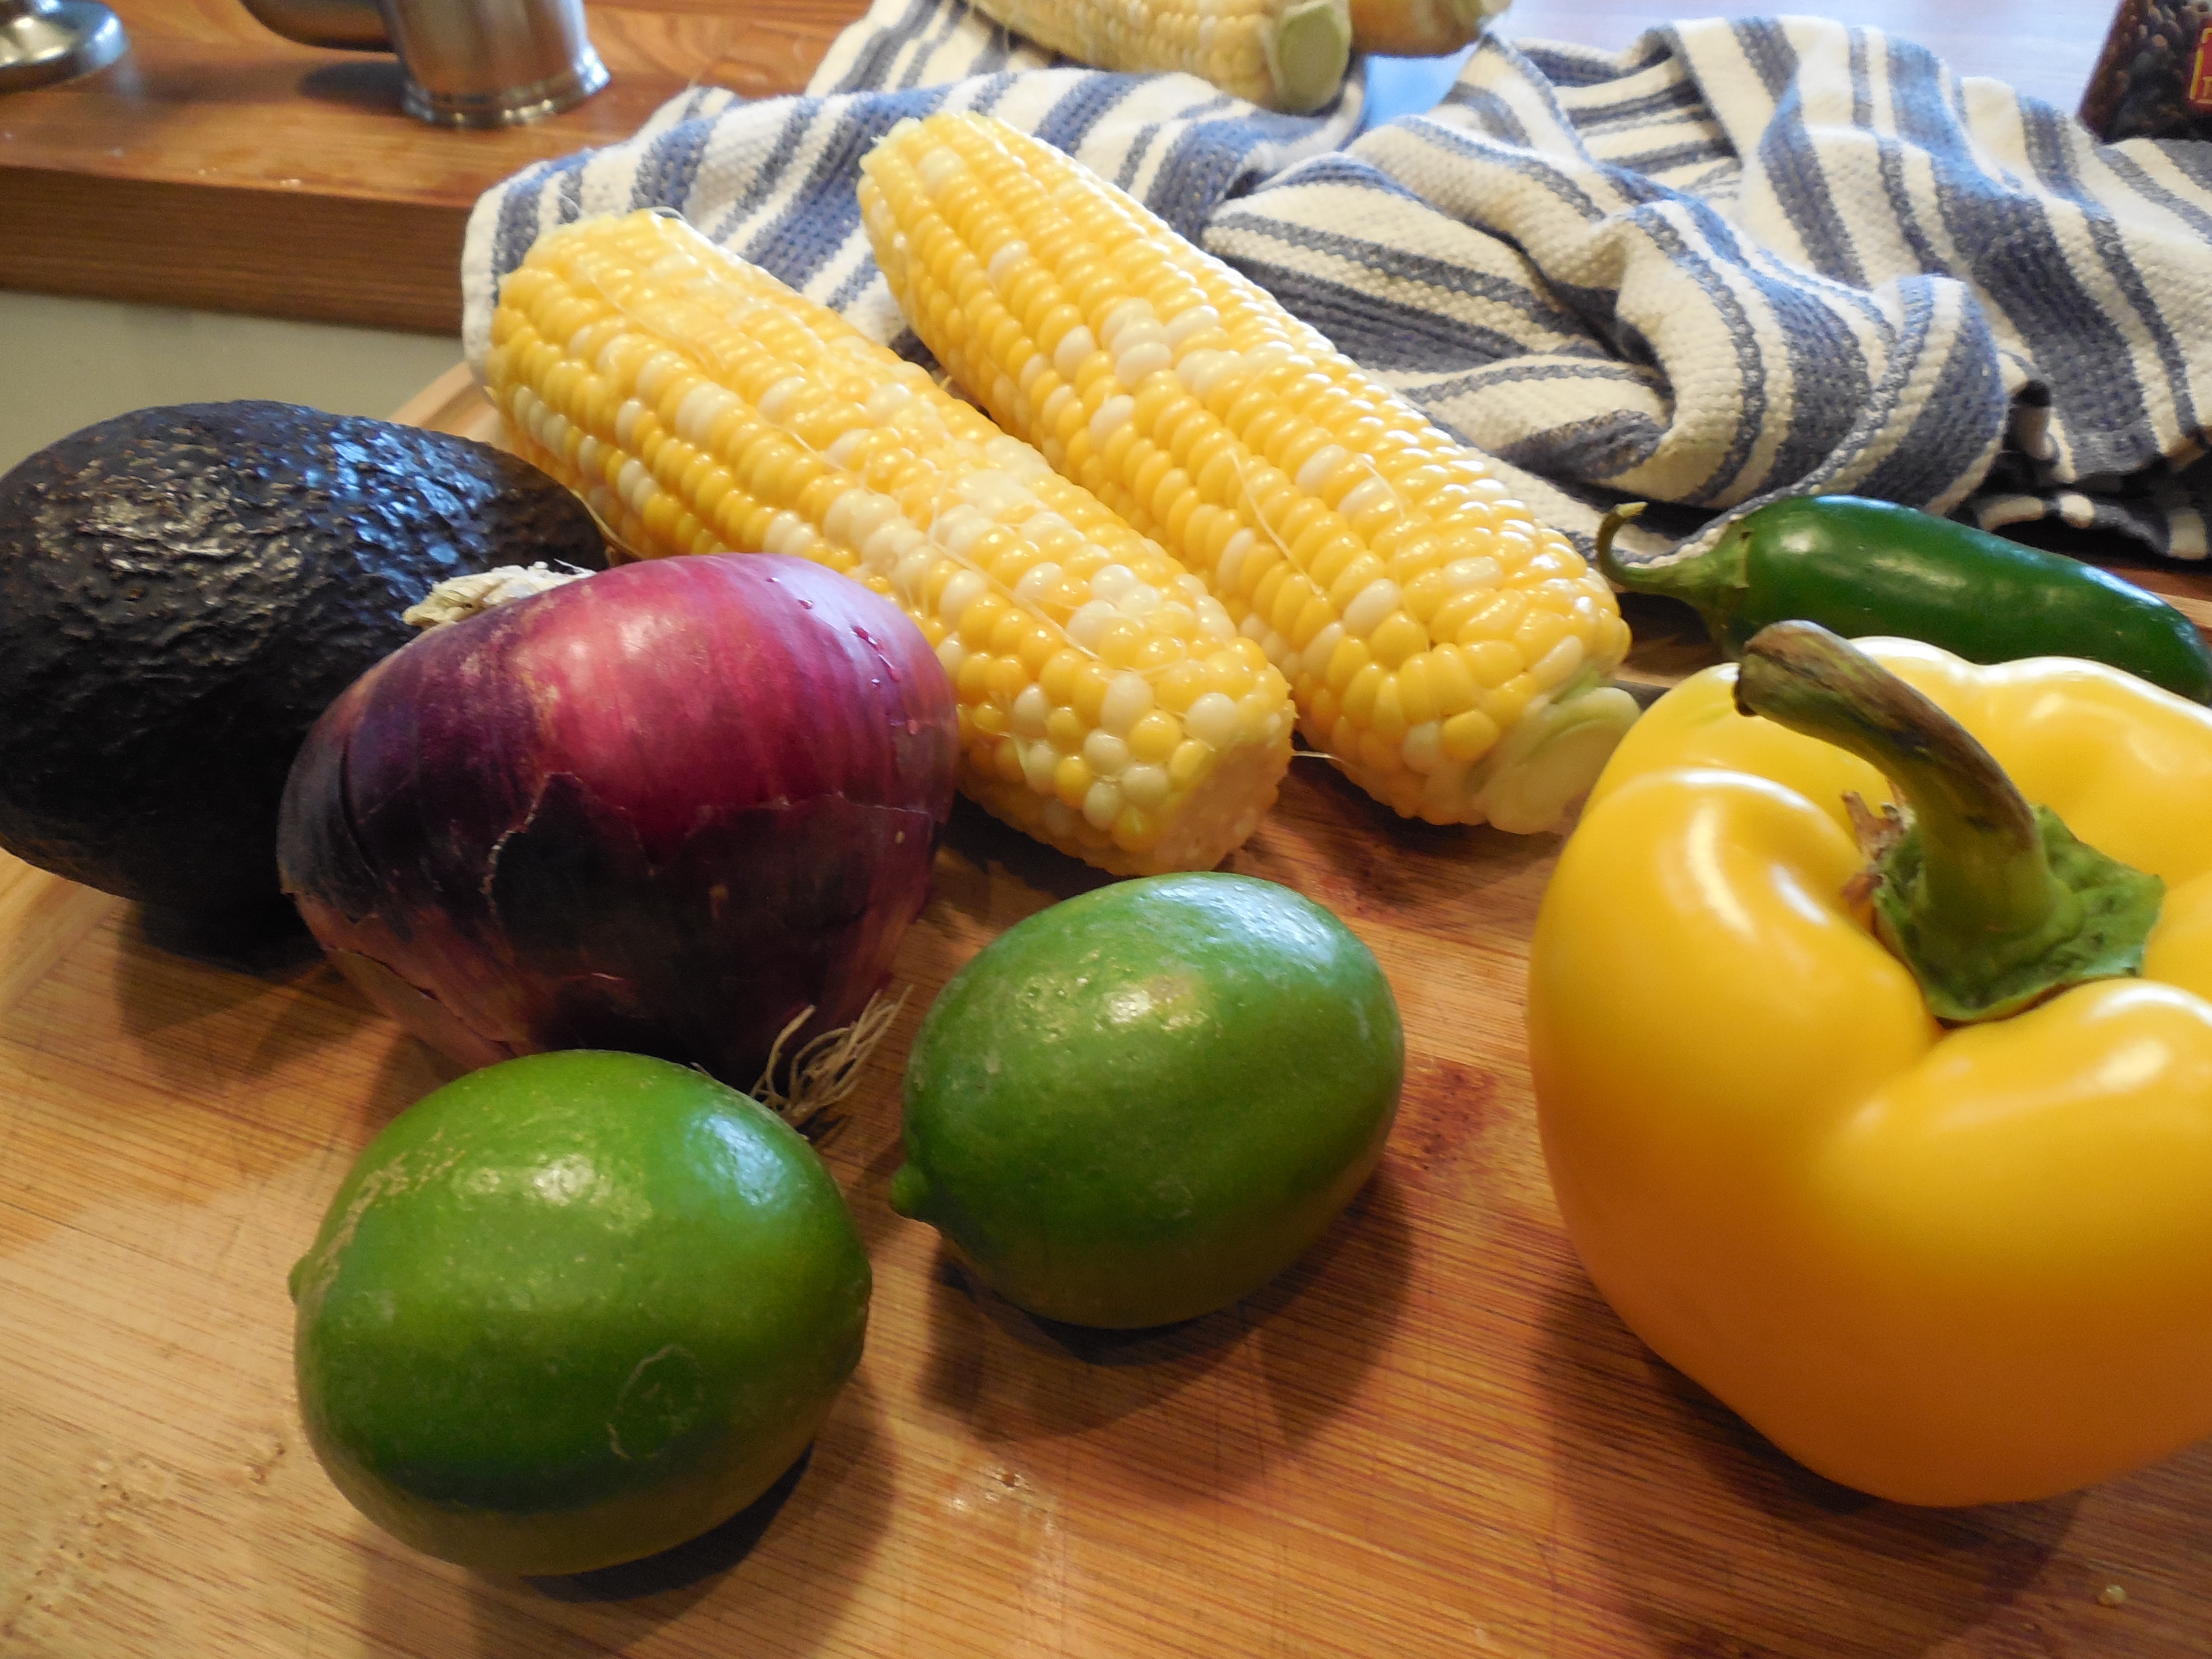
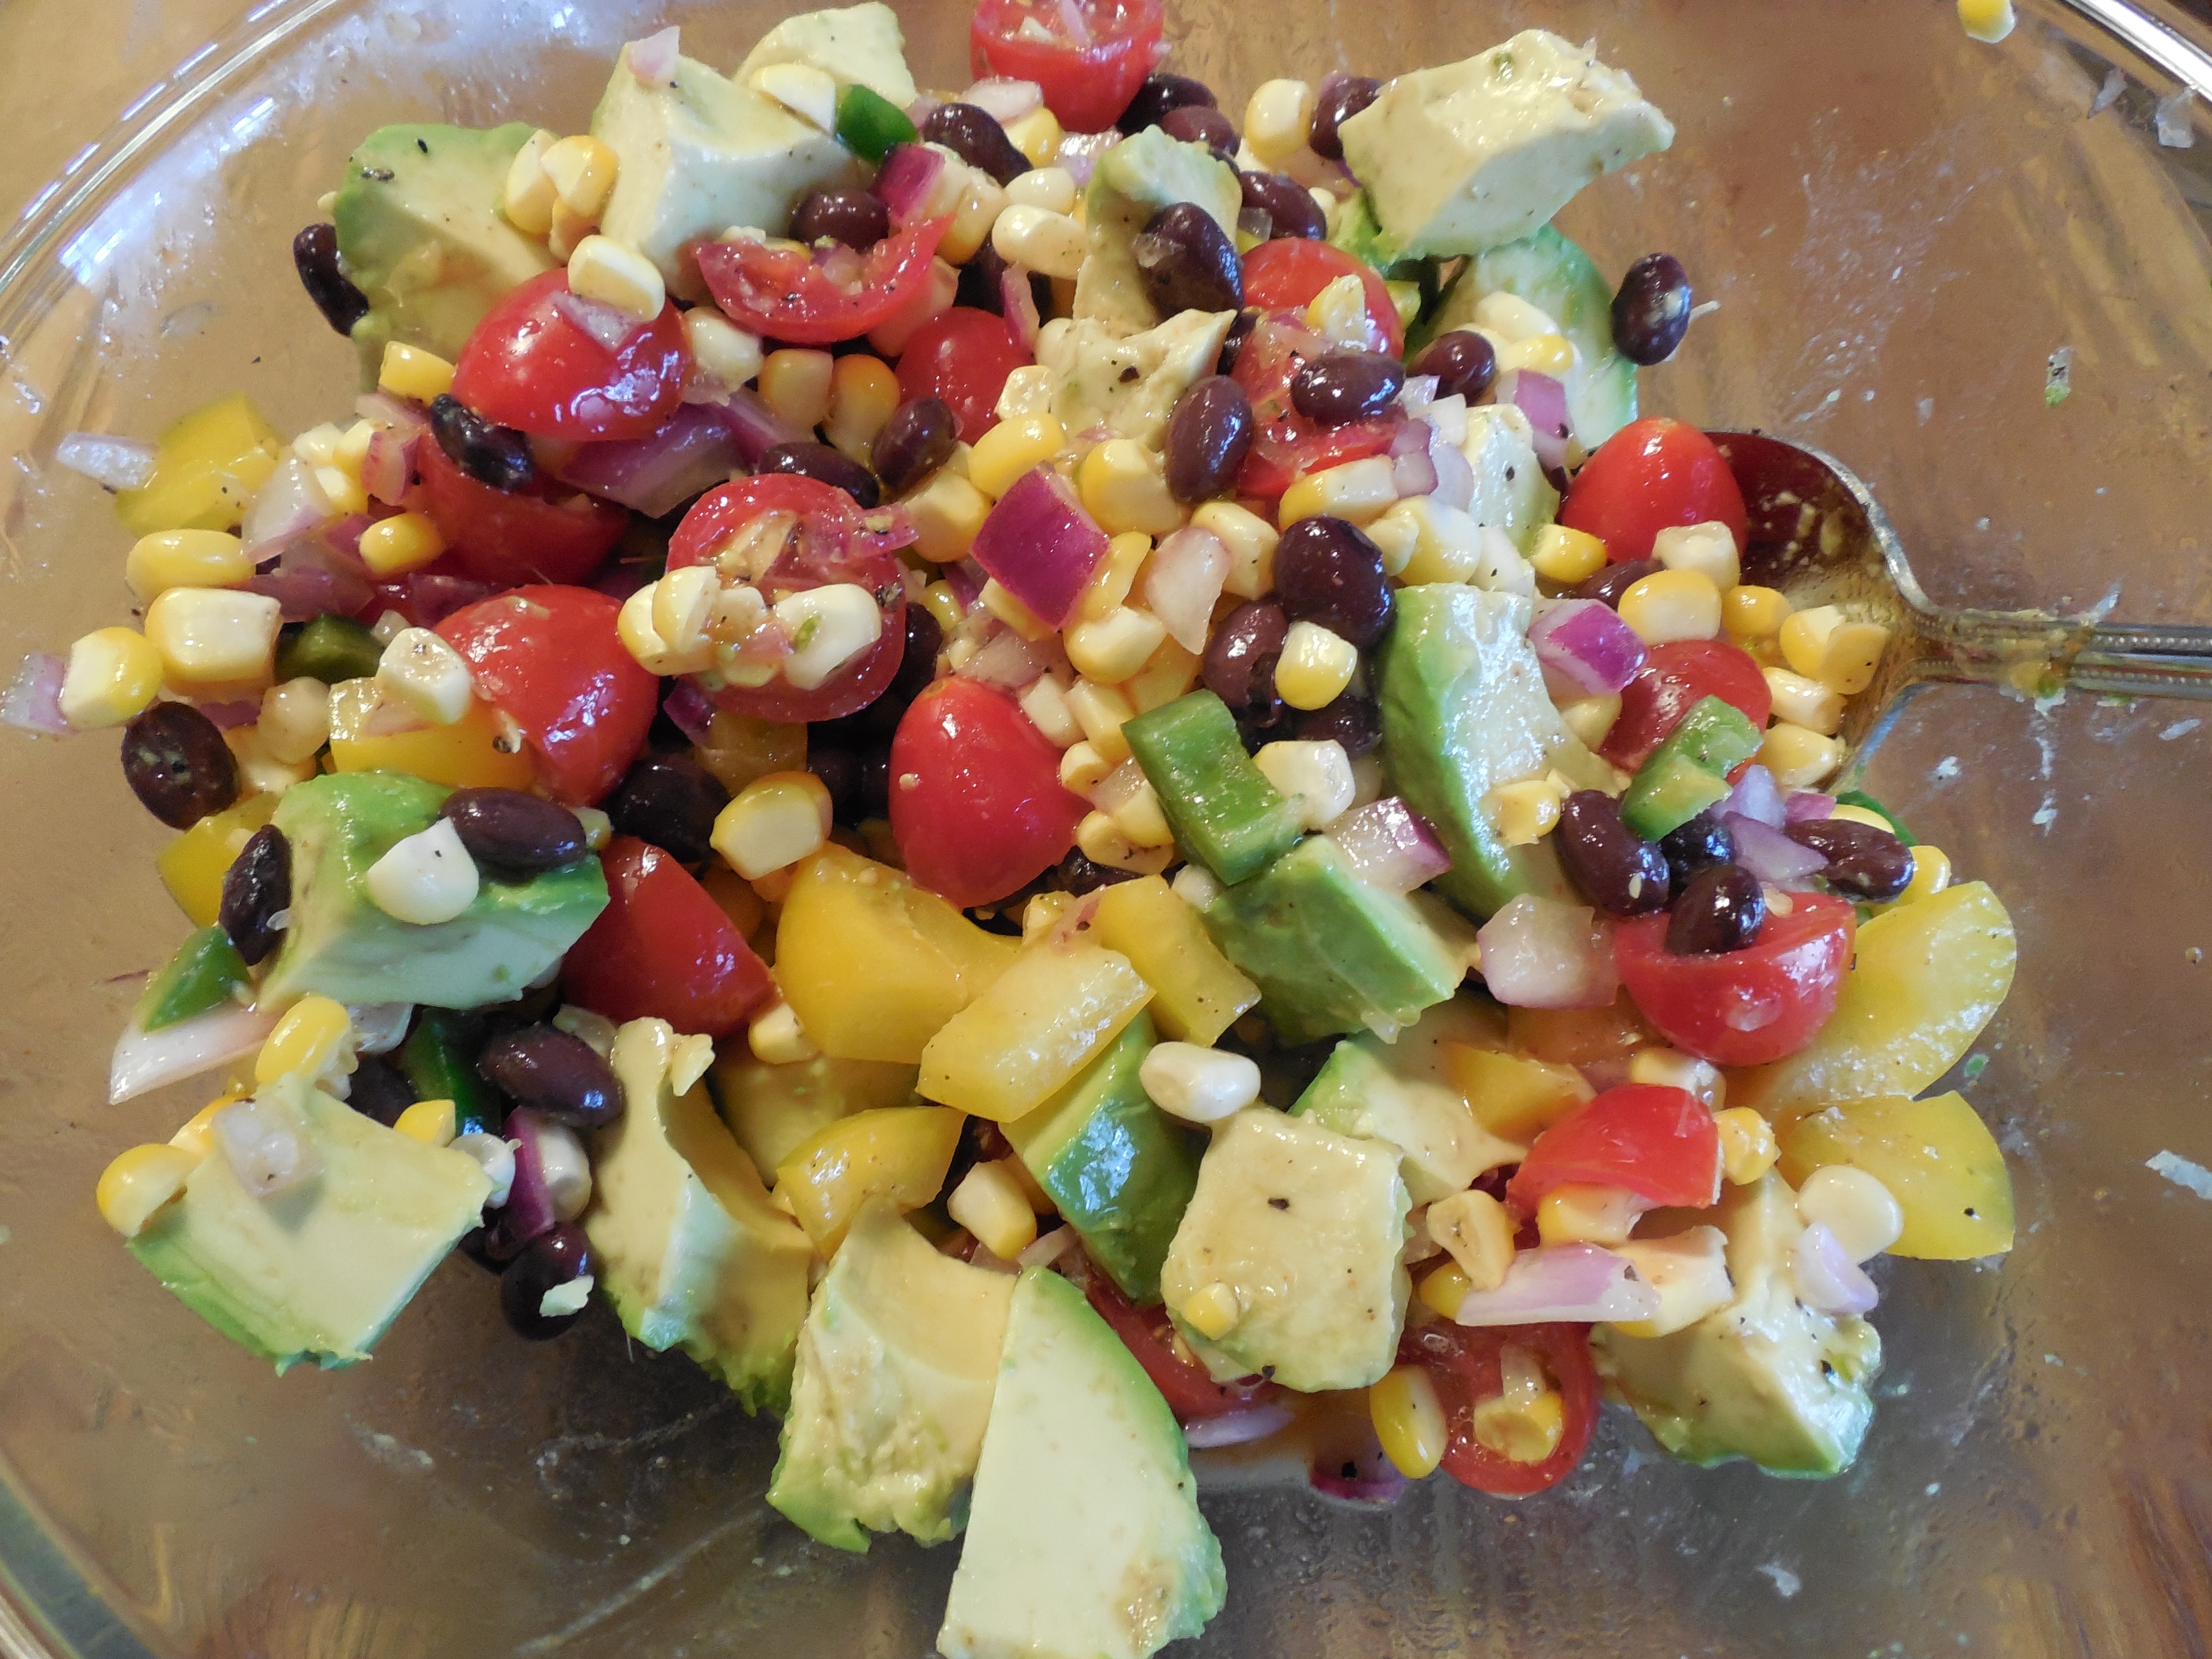
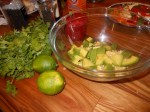
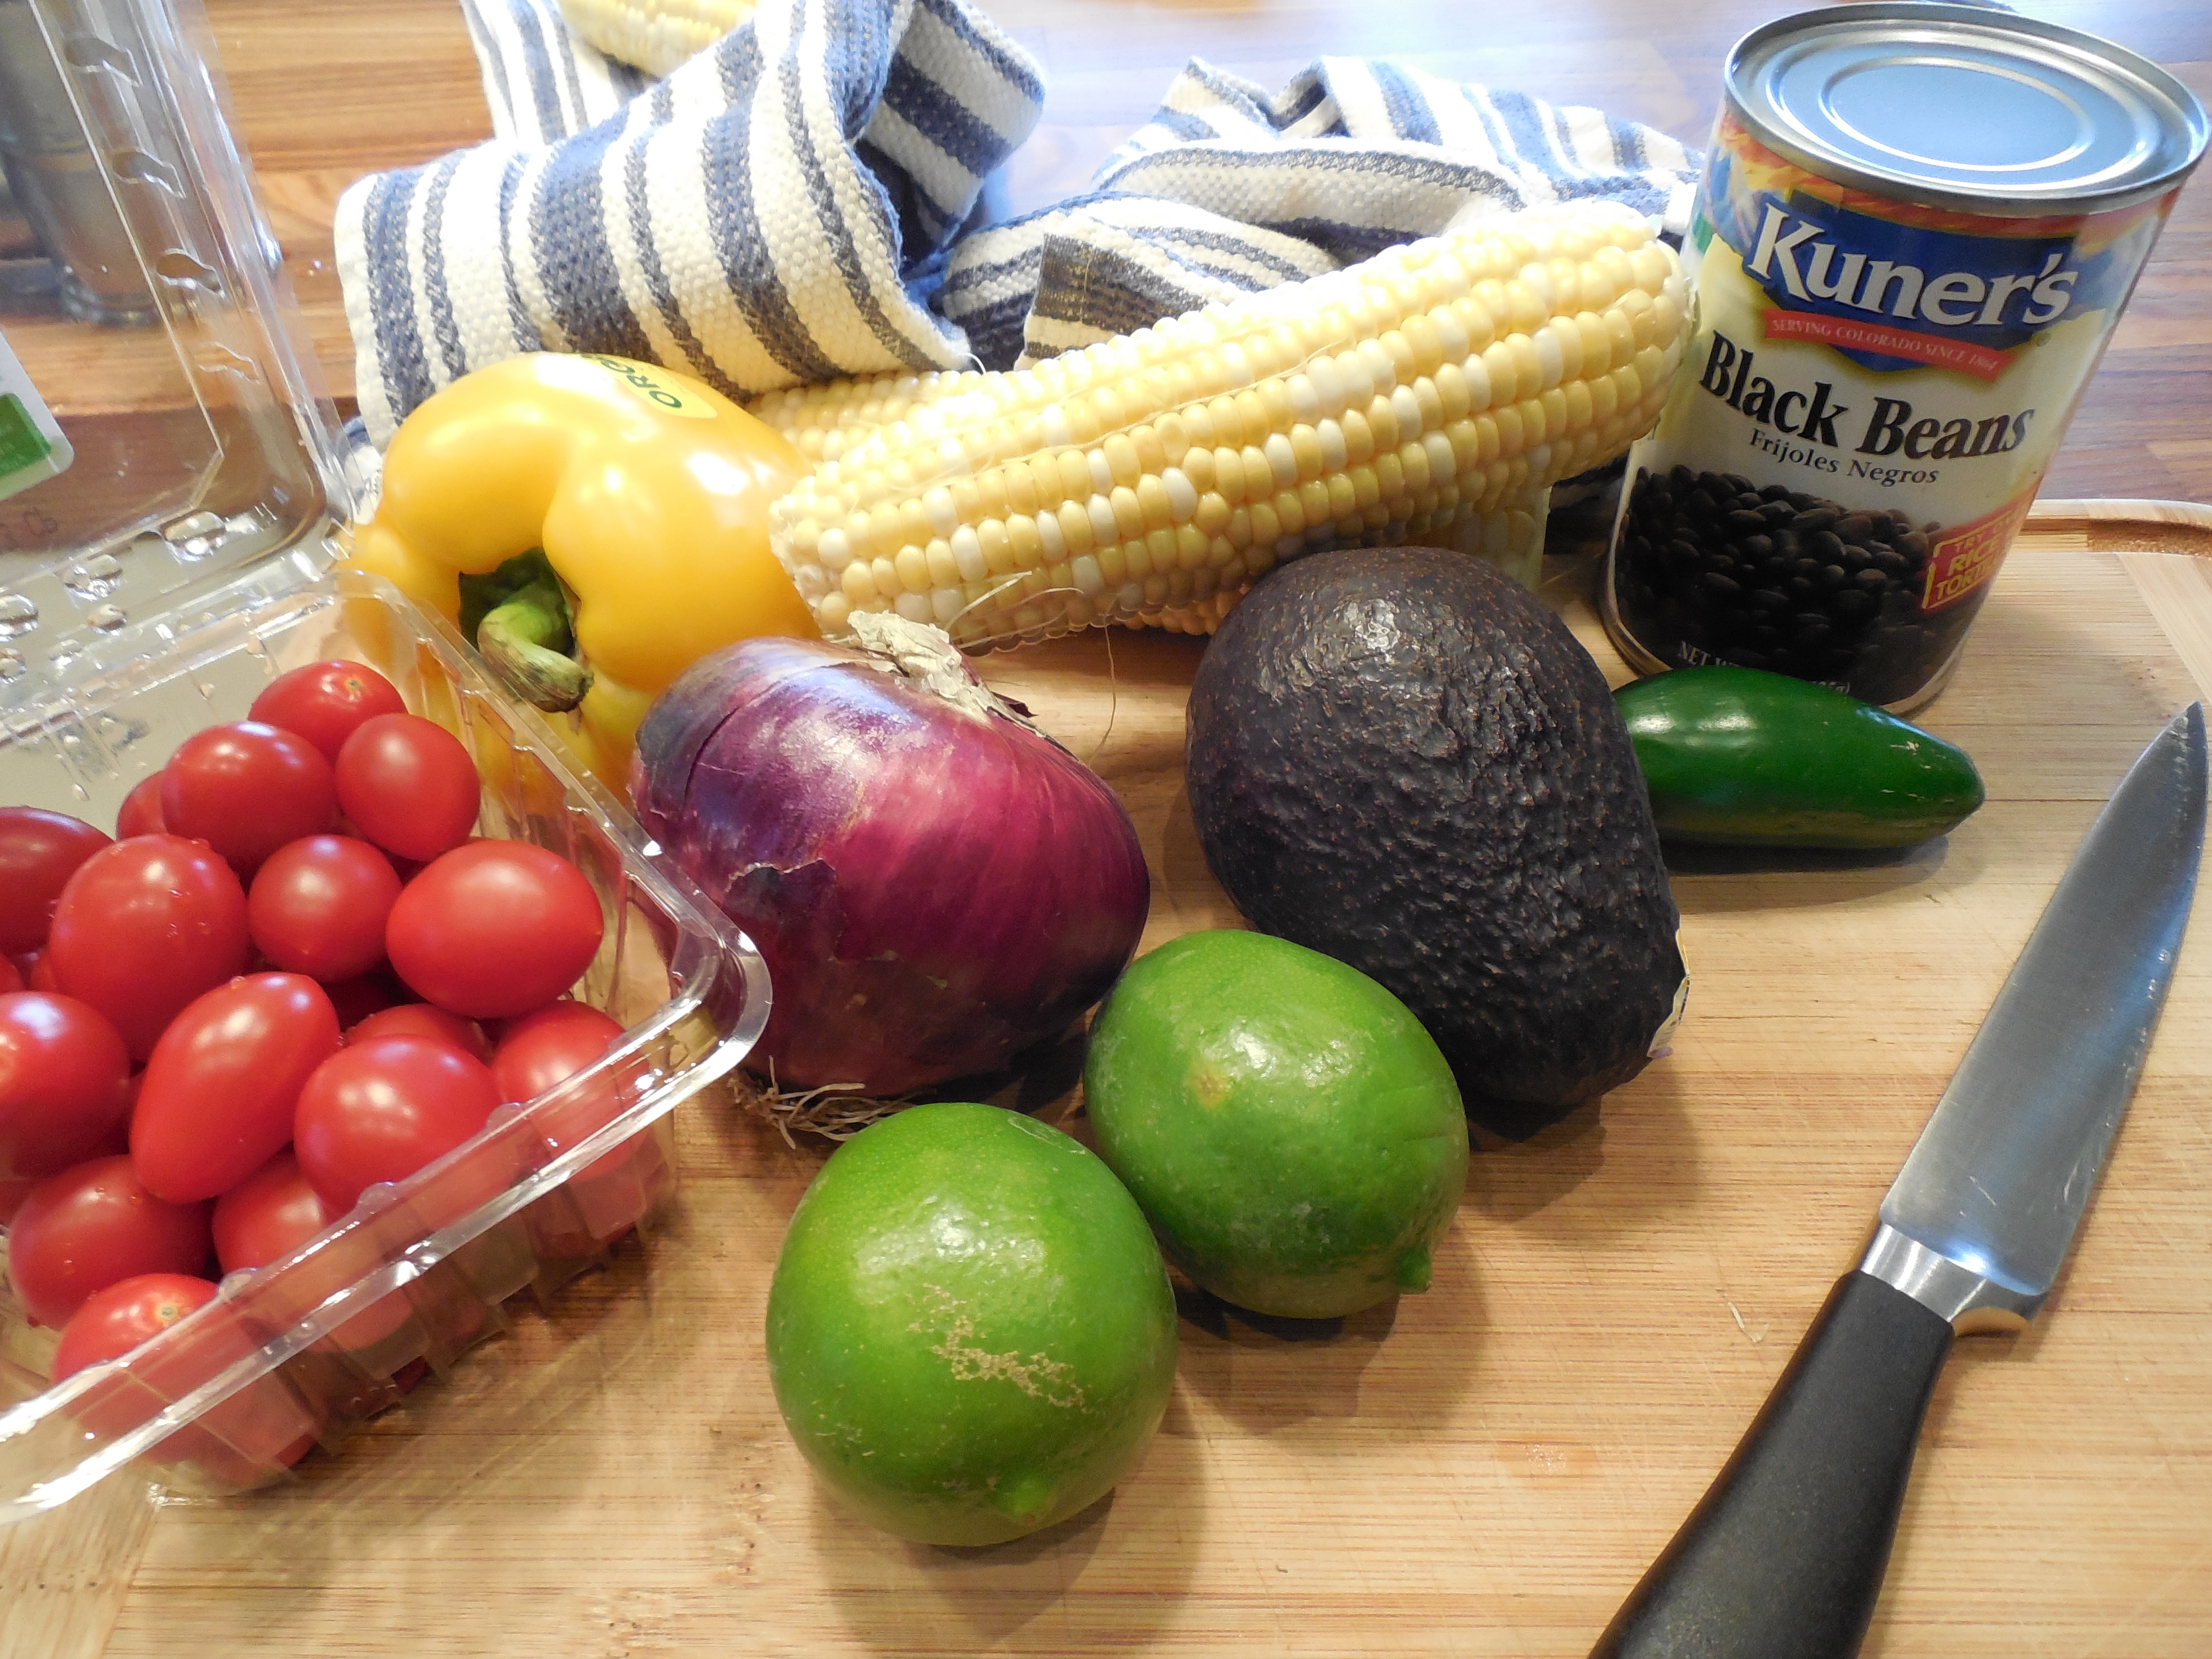
DSCN0190 DSCN0195 DSCN0194 DSCN0199Most perfect summer salad and it is a vegetarian delight. totally vegan. I am not a vegan so I was grilling steaks for dinner and wanted to do a cold salad on the side. I had 2 beautiful ripe avocados on hand and all the ingredients for this yummy salad.  I had some fresh corn so I just brought the water to a boil threw it in and when it turned yellow took it out and threw it in a bowl of ice water to stop the cooking.   Of course I love  jalapenos , use your own discretion and this would be amazing without as well but it was kick ass with them.  You can make the salad ahead and let juices meld but don’t add the avocados till you’re ready to serve.  You can give them a little squeeze of fresh lime juice so they won’t turn brown so fast.  I like to serve salad at room temperature, you just don’t get the flavors when it’s too cold. It will keep in fridge for a few days, but you’ll have to take out the leftover avocado since it will turn brown. I cut this salad in 1/2 for the 2 of us. This easily will serve 6 as a side. By the way Joel took a bite but too much healthy stuff going on in here for his liking, although he’s gotten better he’s not quite up to this yet, it’s OK because there was more for me with leftovers.

I was inspired for this recipe from the Barefoot Contessa recipe for Guacamole Salad. The corn was my idea.

Ingredients:

2 cobs of fresh corn ( cook and then shuck corn off the cob) if no fresh corn available use frozen . I use frozen when I have to and 1 small bag is usually sufficient. The frozen corn will defrost very quickly so just take it out and when you mix in with other ingredients it will start to completely thaw by the time you’re ready to serve. You want to serve at room temperature anyway.

1 pint grape tomatoes , halved

1 yellow bell pepper, seeded and diced into small pieces ( app. 1/2 “)

1 15 oz. can black beans, rinsed and drained

1/2 cup small diced red onion

2 tablespoons minced fresh jalapeno peppers, seeded ( app. 2 small jalapenos) use at your own discretion . Remove Seeds

1/2 teaspoon freshly grated lime zest

1/4 cup freshly squeezed lime juice ( 2 limes)

1/4 cup good olive oil

1 teaspoon kosher salt

1/2 teaspoon freshly ground black pepper

1/2 teaspoon minced fresh garlic

1/4 teaspoon ground cayenne pepper

2 ripe Hass avocados, seeded, peeled and cut into small cubes.

Directions:

Place the tomatoes, yellow pepper, black beans, red onion, jalapeno peppers, and lime zest in a large bowl. Whisk together the lime juice, olive oil, salt and pepper, garlic and cayenne pepper. Pour over the vegetables. Toss well. In the meanwhile cook the corn , bring water to a boil throw in for a few minutes to turn bright yellow, then I throw in a bowl of ice water for a few minutes to stop the cooking and lock in flavor and color. Then remove corn from cob. I let the salad sit for about an hour before adding avocados into the salad. Just fold avocados into the salad when you’re ready to serve. Check for seasoning and serve at room temperature.

Joy’s Cranberry Sauce

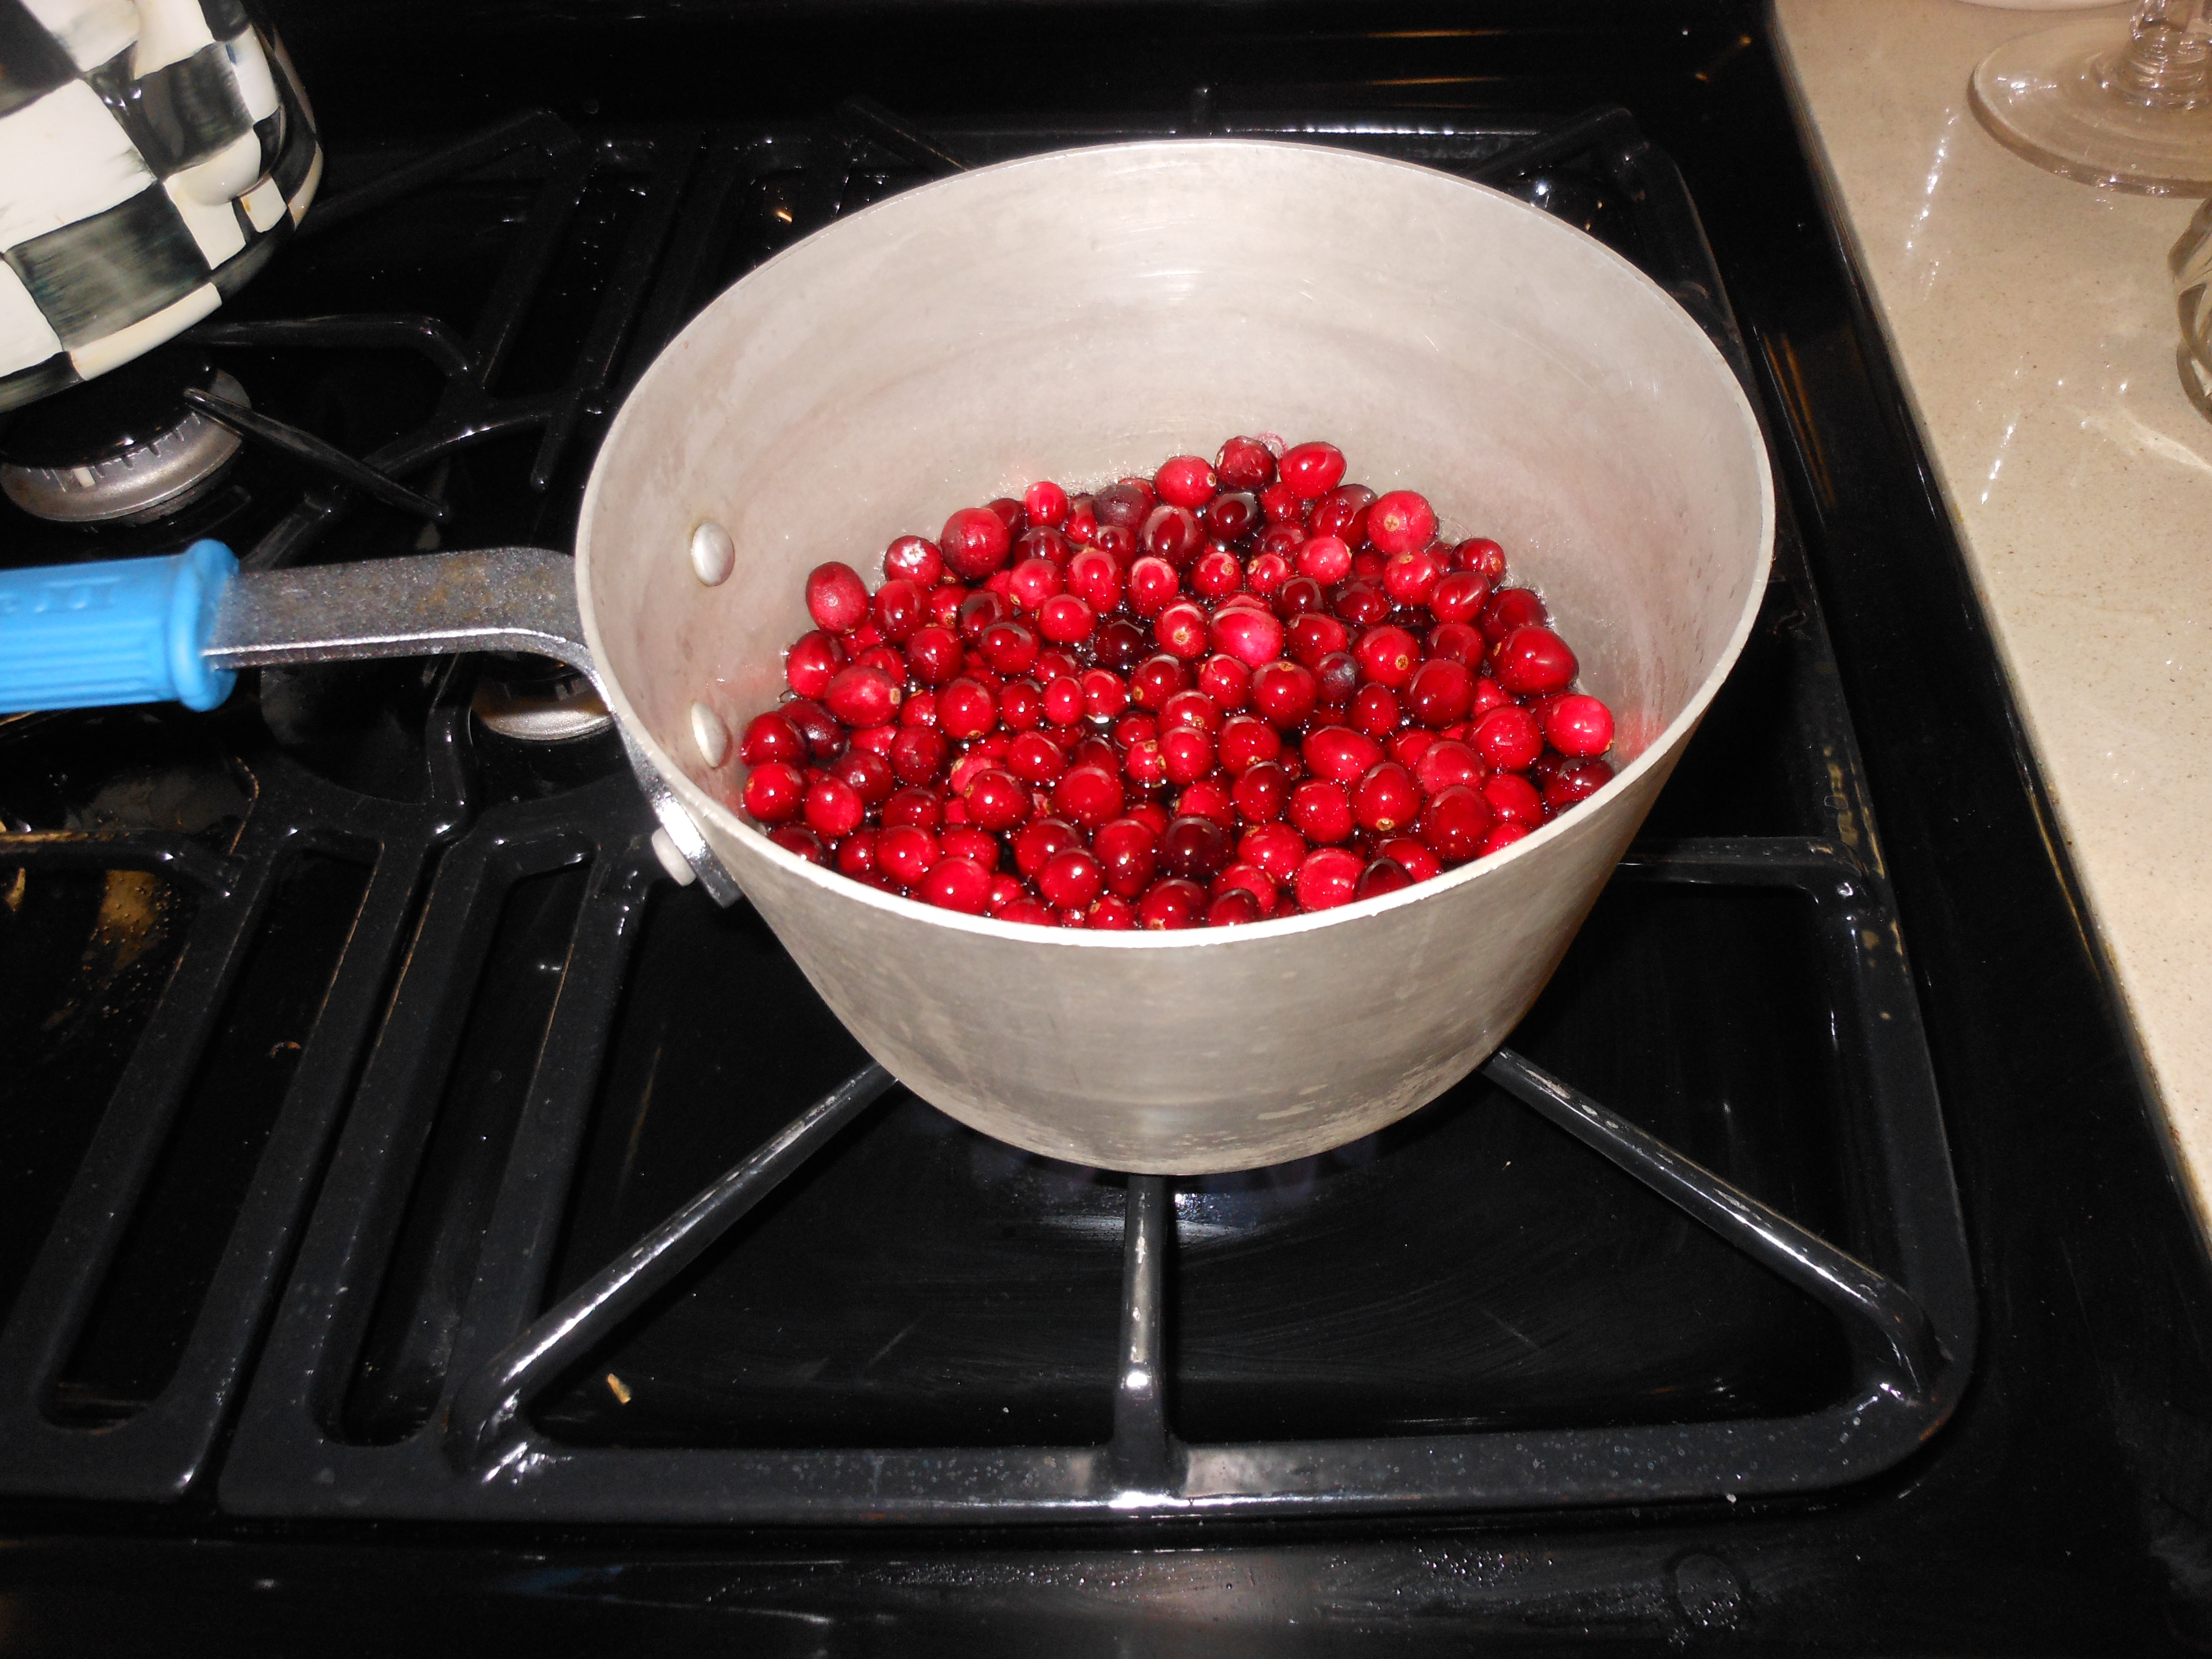
cookingwithcandi 069cookingwithcandioct17 181. This looks so good, and it is pretty easy. So if you’re still in the market for a Thanksgiving Cranberry Sauce give this one a try. I try to keep a few bags of cranberries in my freezer all year round , they are the perfect side to a roast chicken anytime of the year. I always make simple fresh plain Cranberry Sauce and Karyns’s Cranberry Crisp on the holidays. This is a lovely alternative to the simple Fresh Cranberry Sauce recipe or A little twist on Cranberry Sauce on my blog.

Thanks to Joy who is a friend and has been a faithful fan and supporter since the beginning of this blog.  I think we can trust her in the food dept. she knows her stuff!

Recipe as follows: (of course you can double)

Ingredients:

1 12 oz. bag of cranberries

3 granny smith apples , peeled and cut into 1/2 ” cubes

2/3 cup sugar

2/3 cup apple juice

1/2 tsp. cinnamon

1/4 tsp. ground cloves

Directions:

Bring to boil over medium simmer ( about 6 minutes) all of the above ingredients. If it seems too thick add a little water . Refrigerate and serve!

Farro with Roasted Mushrooms

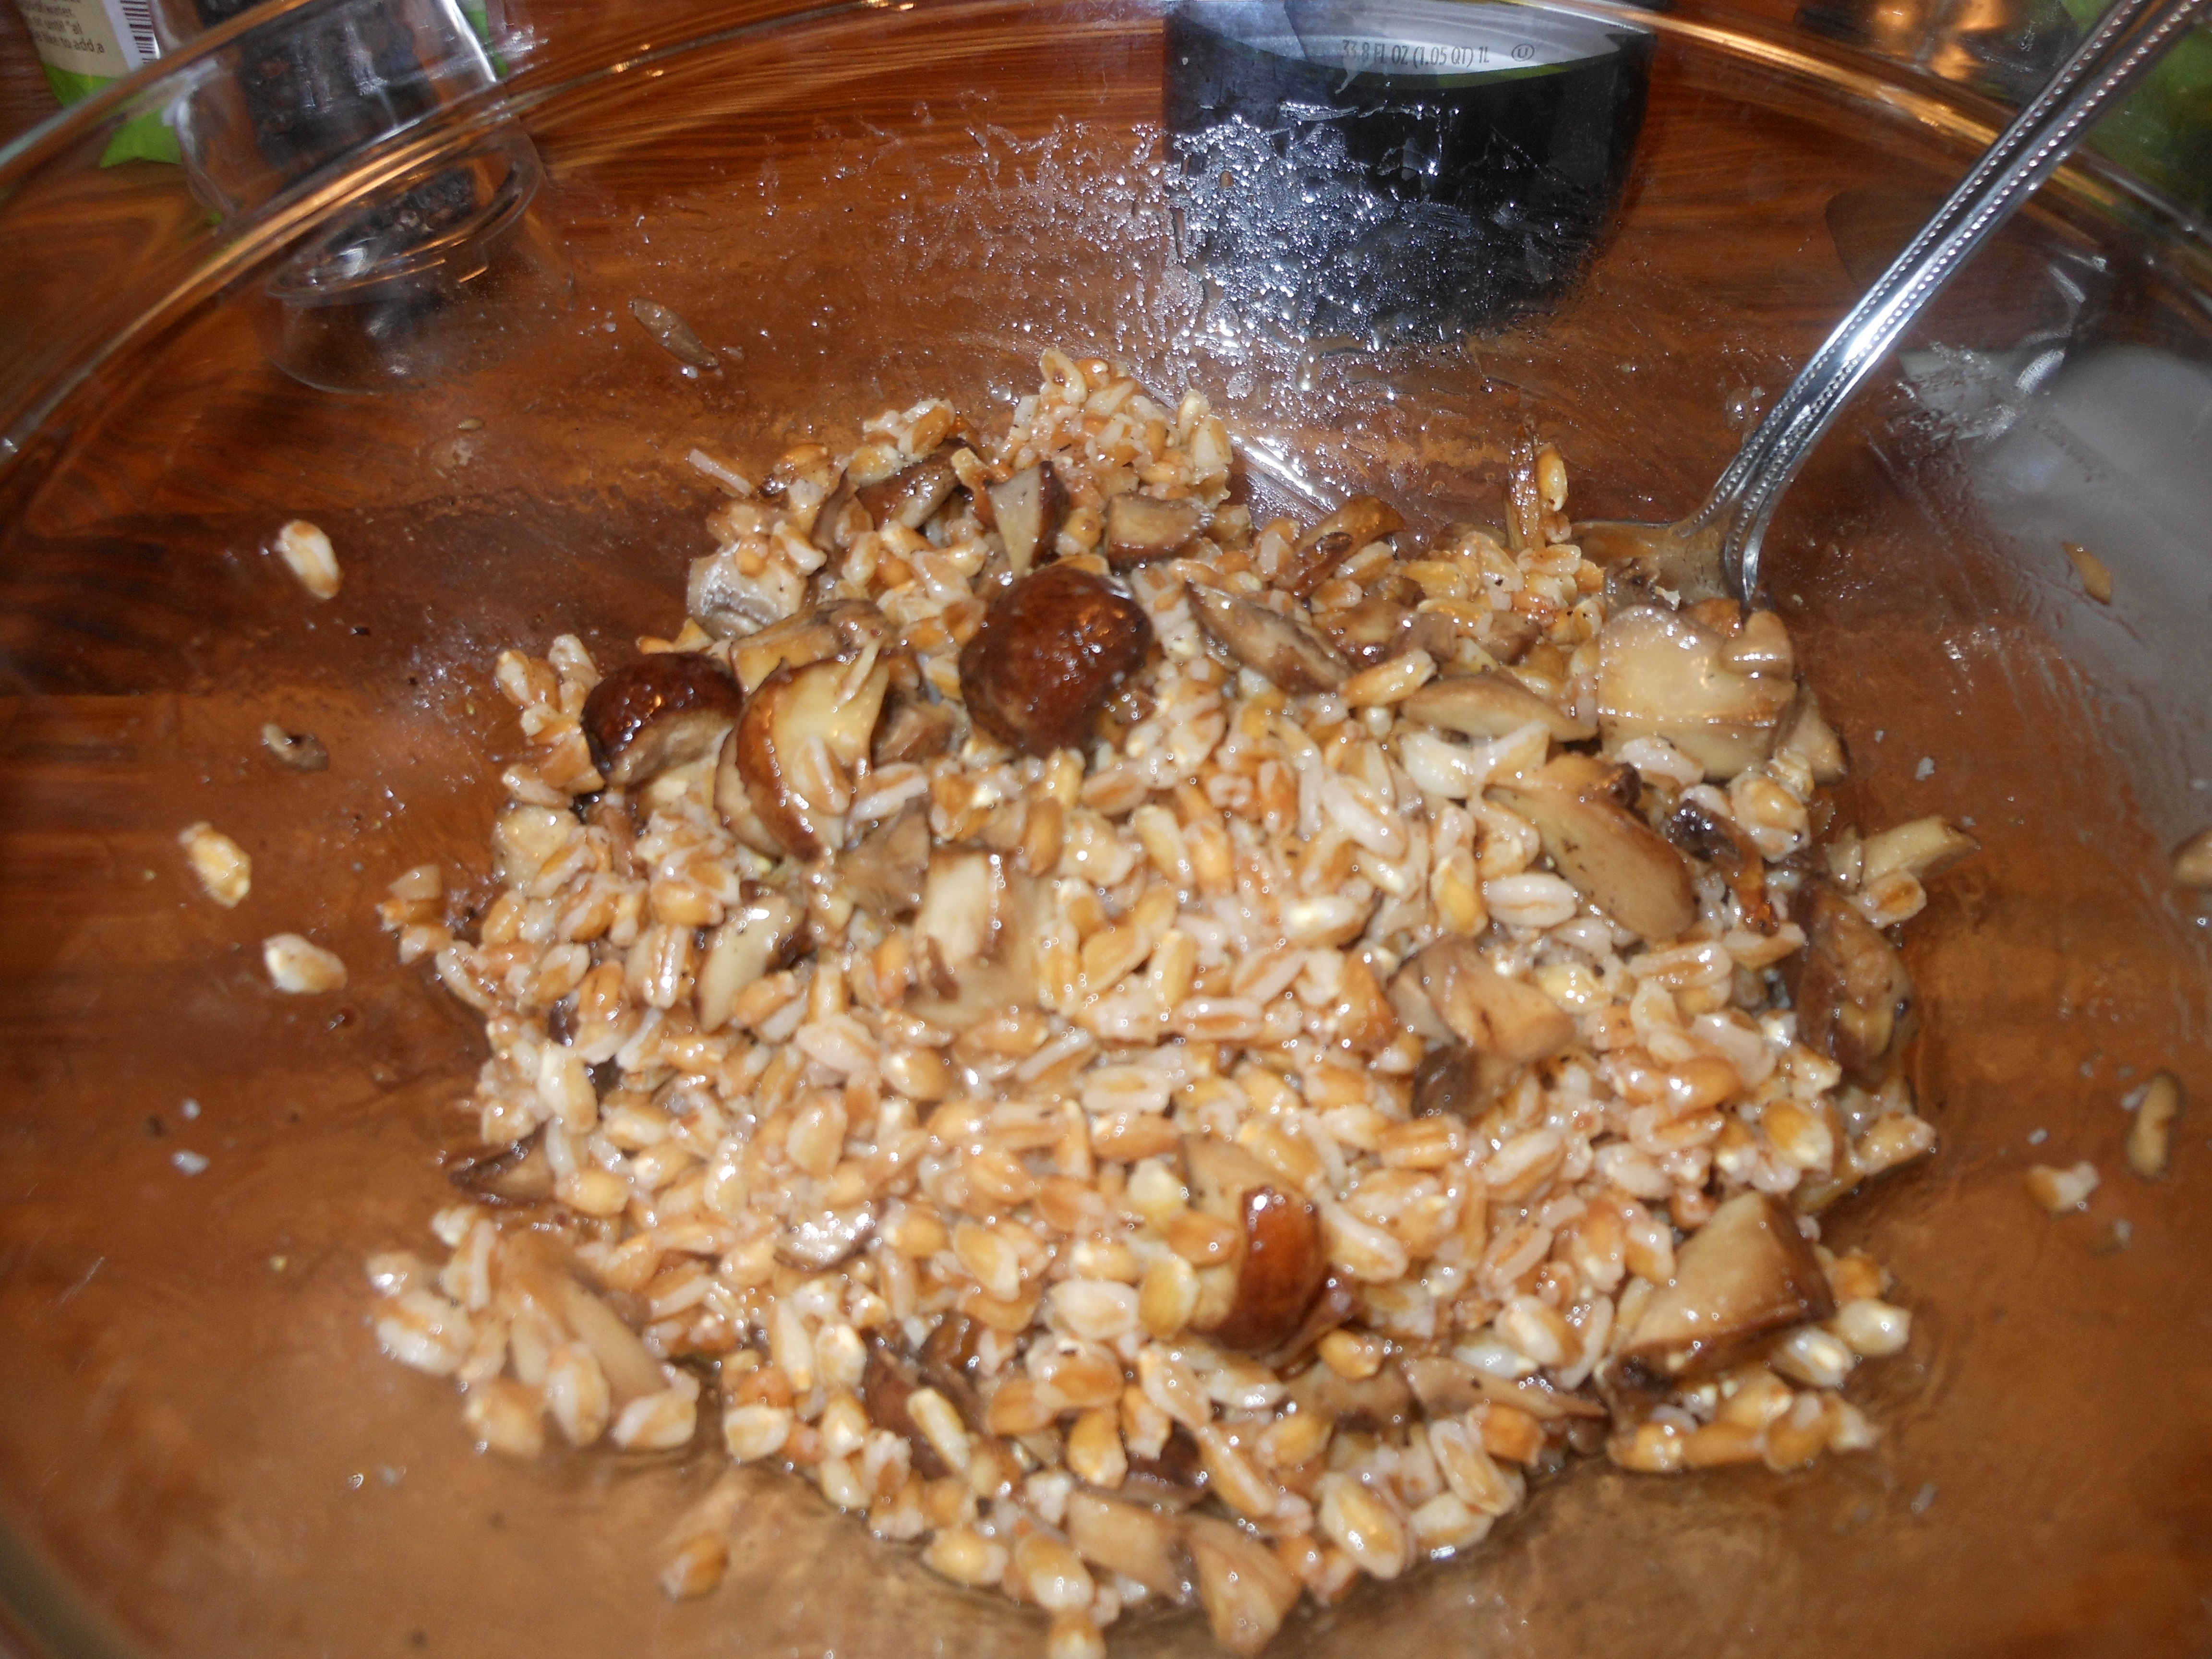
Farro is one of the oldest grains cultivated by humans. It was originally found in the Middle East, and is now primarily grown in Italy. Farro is delicious and a good source of fiber, as well as protein and iron. It is a perfect source of protein for vegetarians. Farro looks and tastes a bit like brown rice, but it has a more fibrous texture and a nutty taste with hints of oats and barley. It holds its texture better than arborio rice when cooked, which makes it a perfect alternative to risotto. It has a crunchy, nutty complex flavor and is low in gluten. This evening I prepared it like a salad at room temperature. I then added it to my Caesar salad and it was wonderful. It is great on greens or as a side dish. I am going to be making this wonderful grain more and more and I especially can’t wait to make it for my vegetarian daughter.

Ingredients:

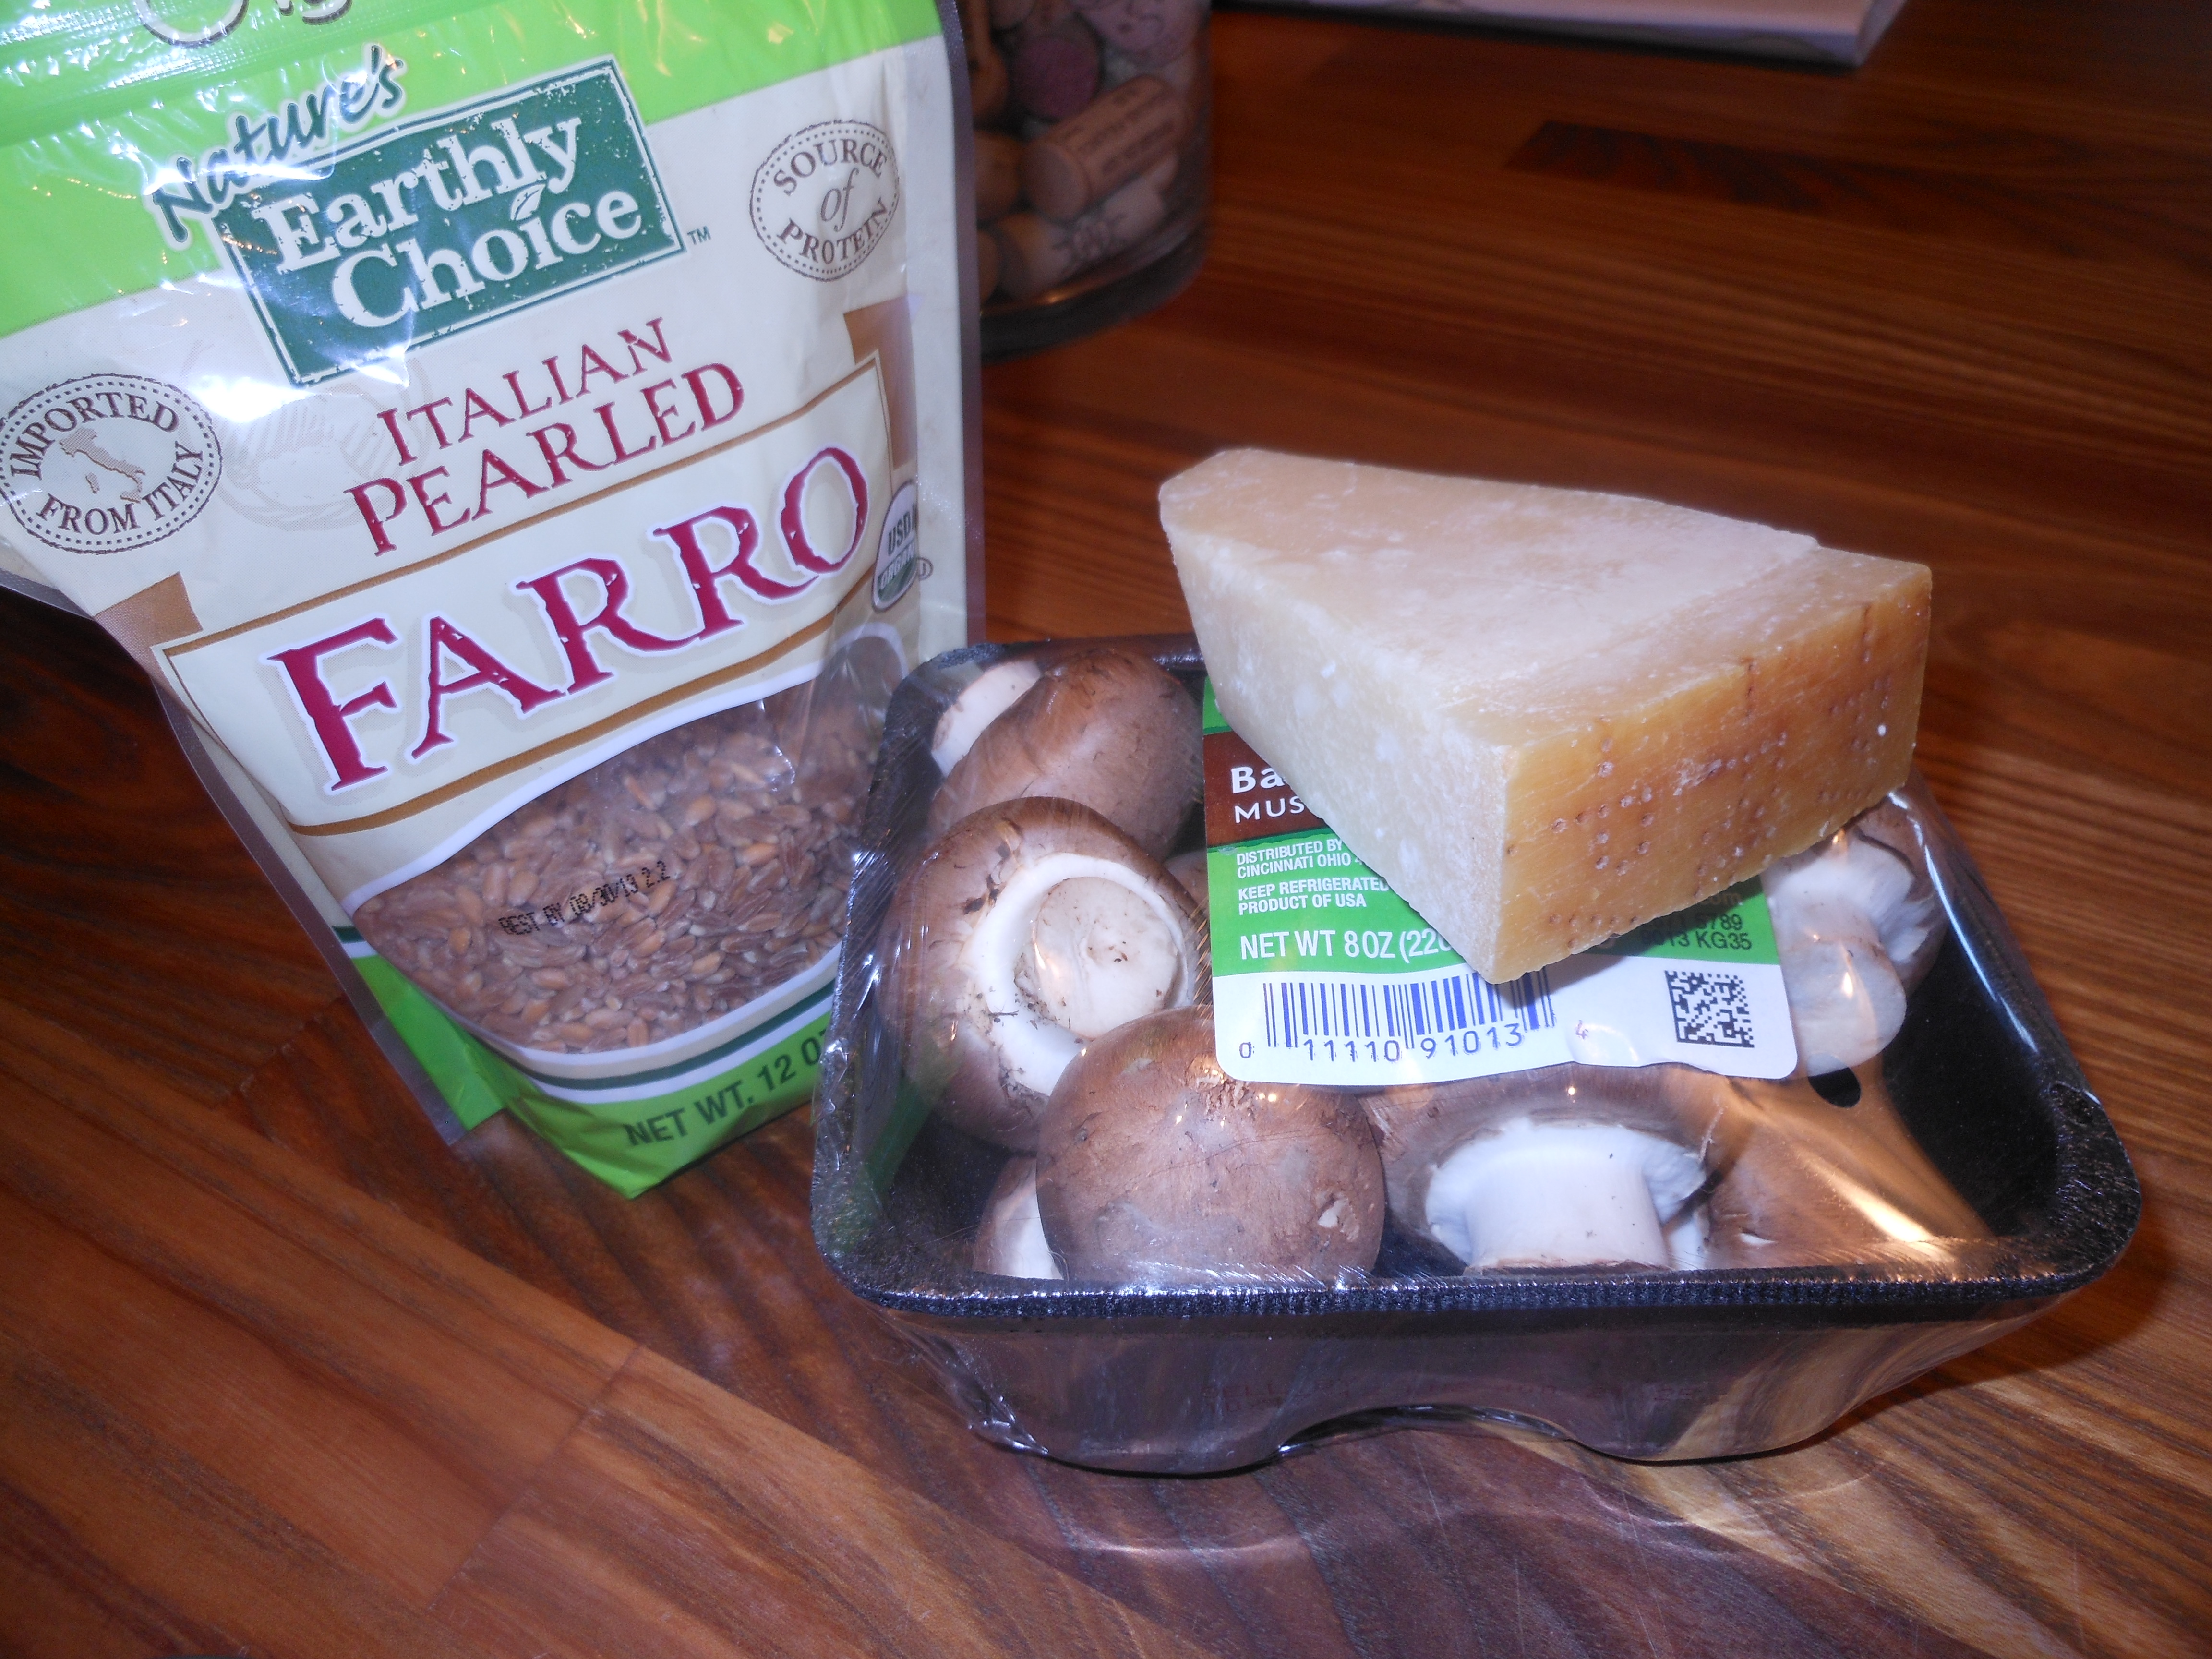
1 cup uncooked farro (I used Italian pearled farro)

Kosher salt

1/2 lb. mushrooms (I used cremini, but a mix of wild or any kind you prefer would be good too)

Olive oil

Freshly ground black pepper

2 tablespoons fresh lemon juice

* finely chopped or crumbled parmesan – this is totally optional but added a delicious flavor

* a little chopped fresh parsley (I didn’t have any so I didn’t use, but it would be nice)

DIRECTIONS:

Heat the oven to 350 degrees. In a medium saucepan,  prepare the farro according to directions on bag.  I bought the italian pearled type and it didn’t call for soaking, but a lot of farro needs to be soaked prior to cooking. I would suggest buying the type that doesn’t unless you have a lot of time.

While the farro is cooking, wipe and trim the mushrooms. I gave them a rough chop but left a lot of larger bite-sized pieces, don’t chop too small.   On a rimmed baking sheet spread the mushrooms out and drizzle generously with olive oil and sprinkle with kosher salt and freshly ground black pepper to your liking (you can always add salt at the end). Toss gently to distribute everything, spread the mushrooms out evenly on the baking sheet and put in the oven for about 30 minutes. I like the mushrooms crispy around the edges.

Once the farro is cooked, drain it well, and allow it to cool down. I took the mushrooms off of the baking sheet with a slotted spatula, just to remove a bit of the liquid. When the farro and mushrooms have cooled down to room temperature or barely warm, I combined them in a serving bowl. I then add the lemon juice and I added 2 tablespoons of olive oil, but if that is not enough, you can add more a little bit at a time. There is some oil that gets left on mushrooms and it is enough. If you’d like, add the parmesan and parsley and taste for salt and pepper at this time. I served at room temperature. I also think it would be delicious with some chopped vegetables added, completely up to you. Joel even ate it.

* should serve 4 as a generous side dish

Salmon with Maple Glaze and Pineapple Salsa on the Side

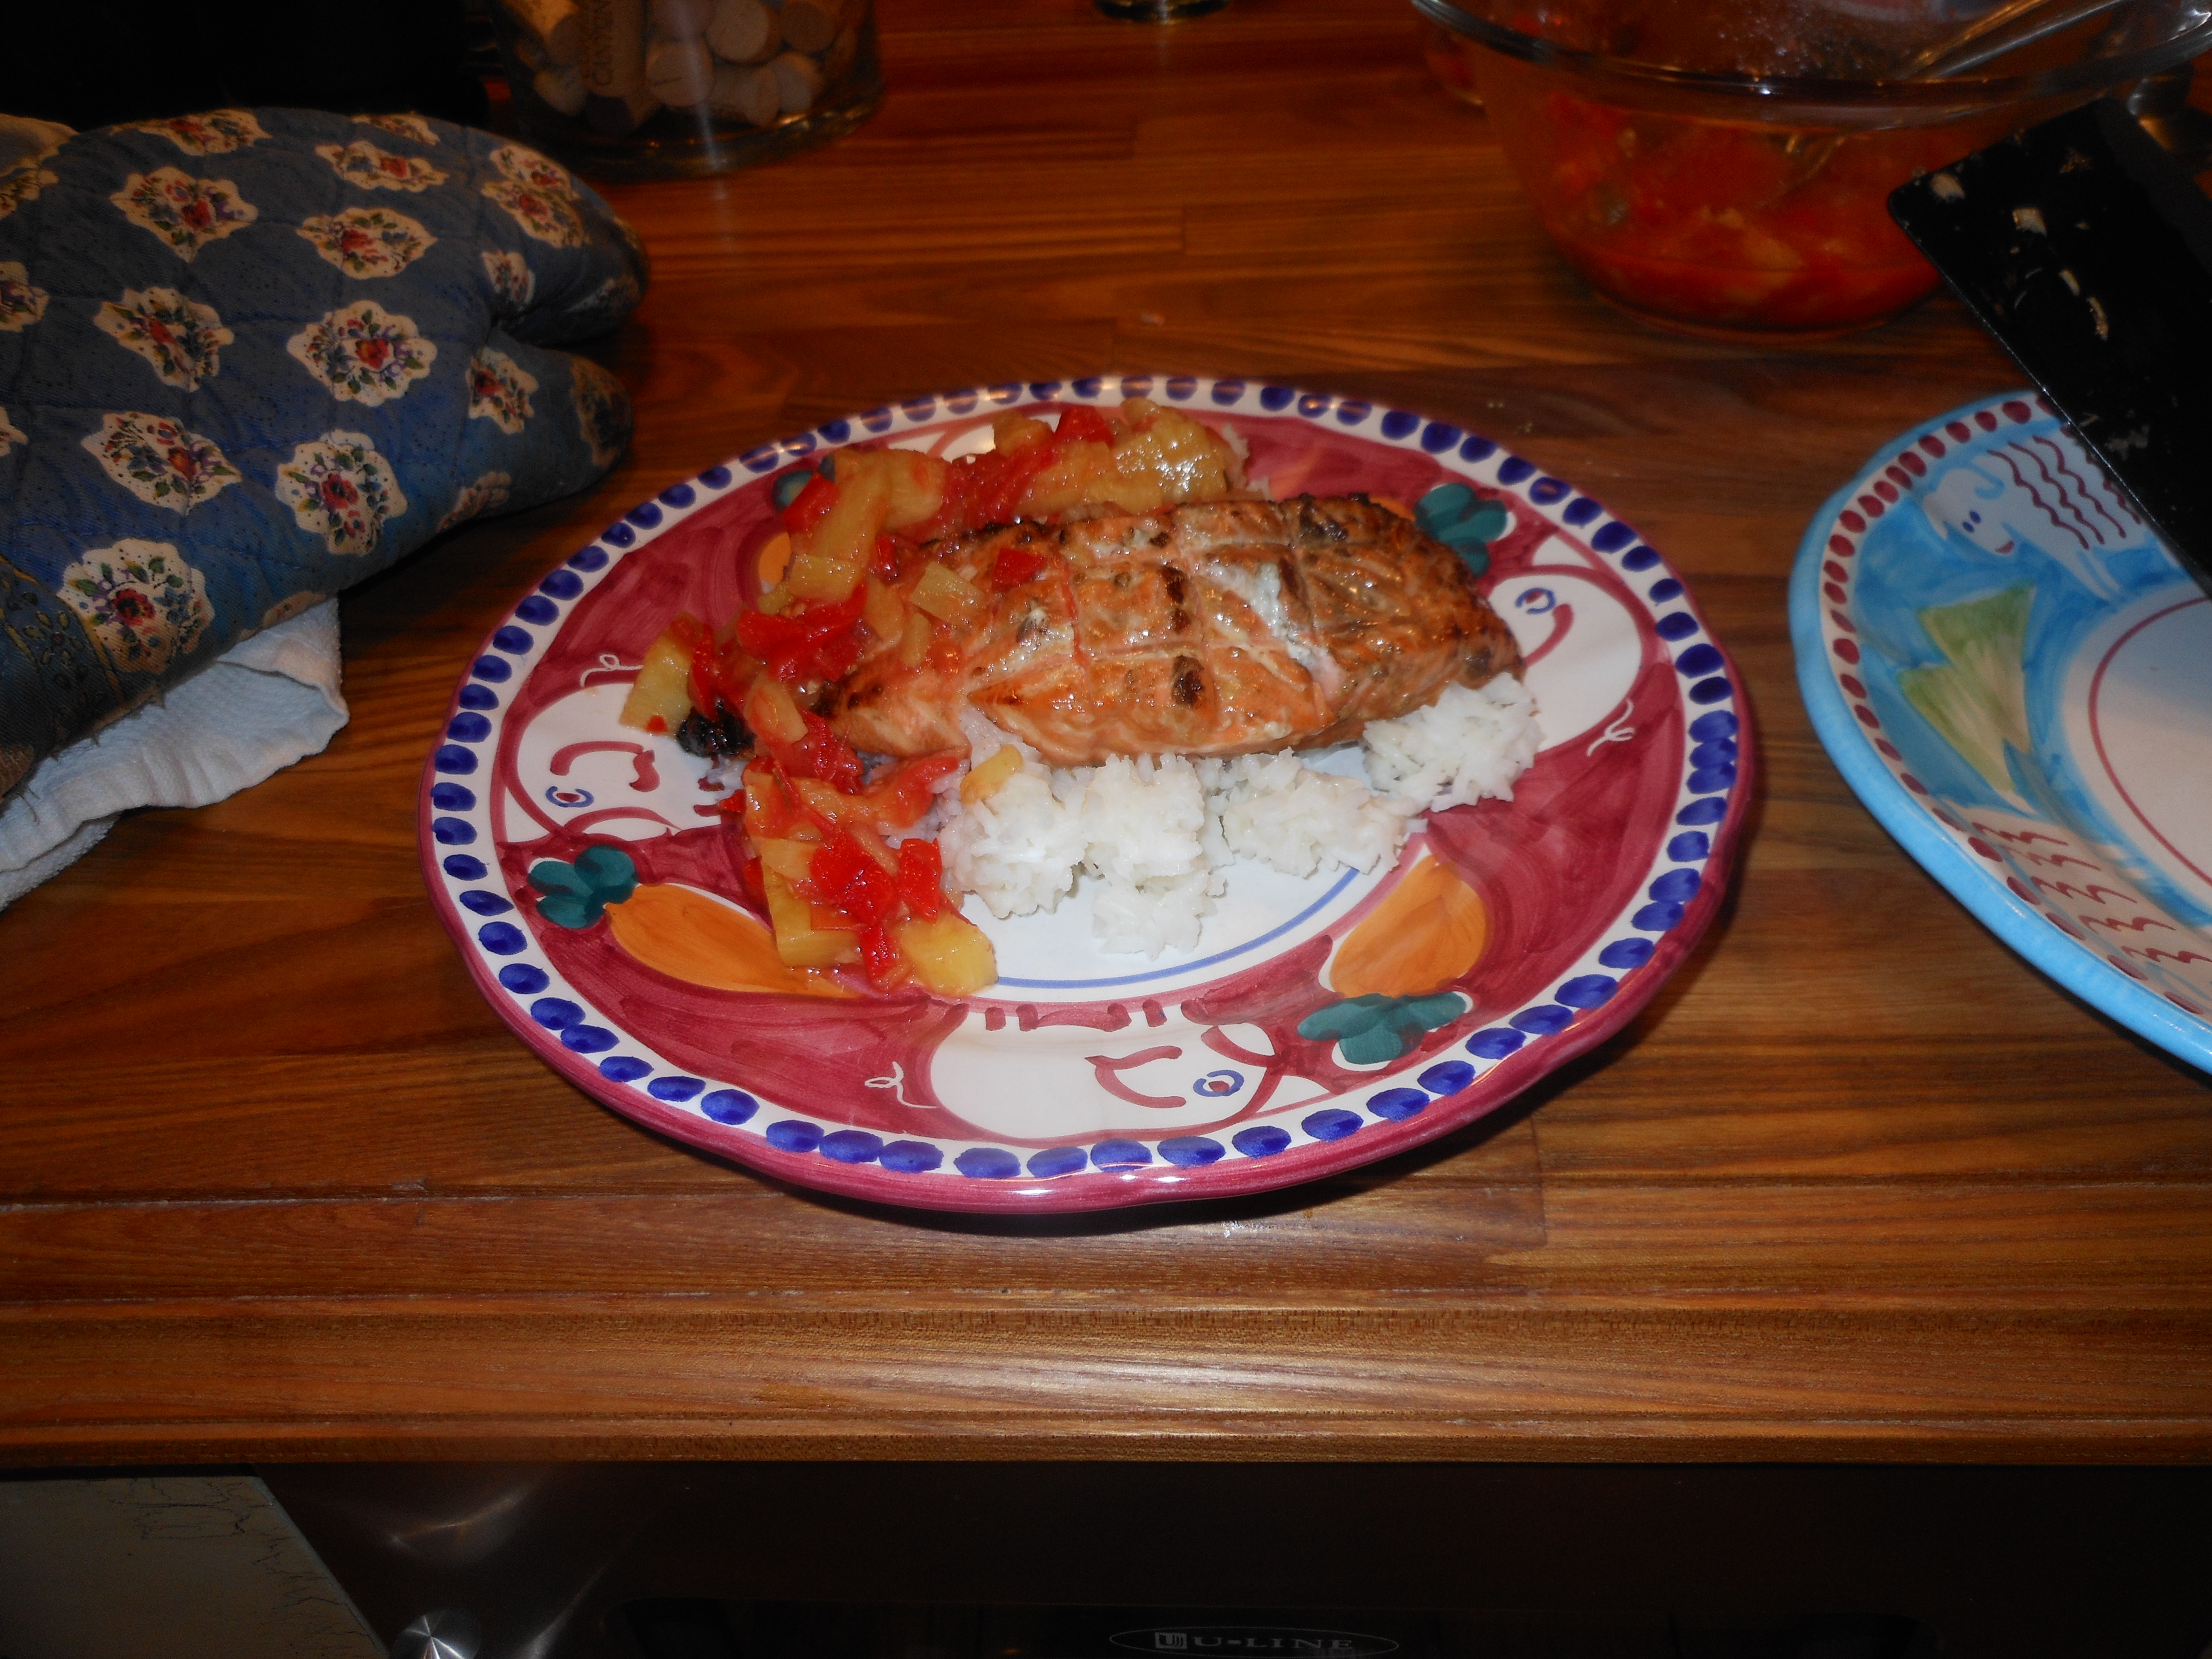
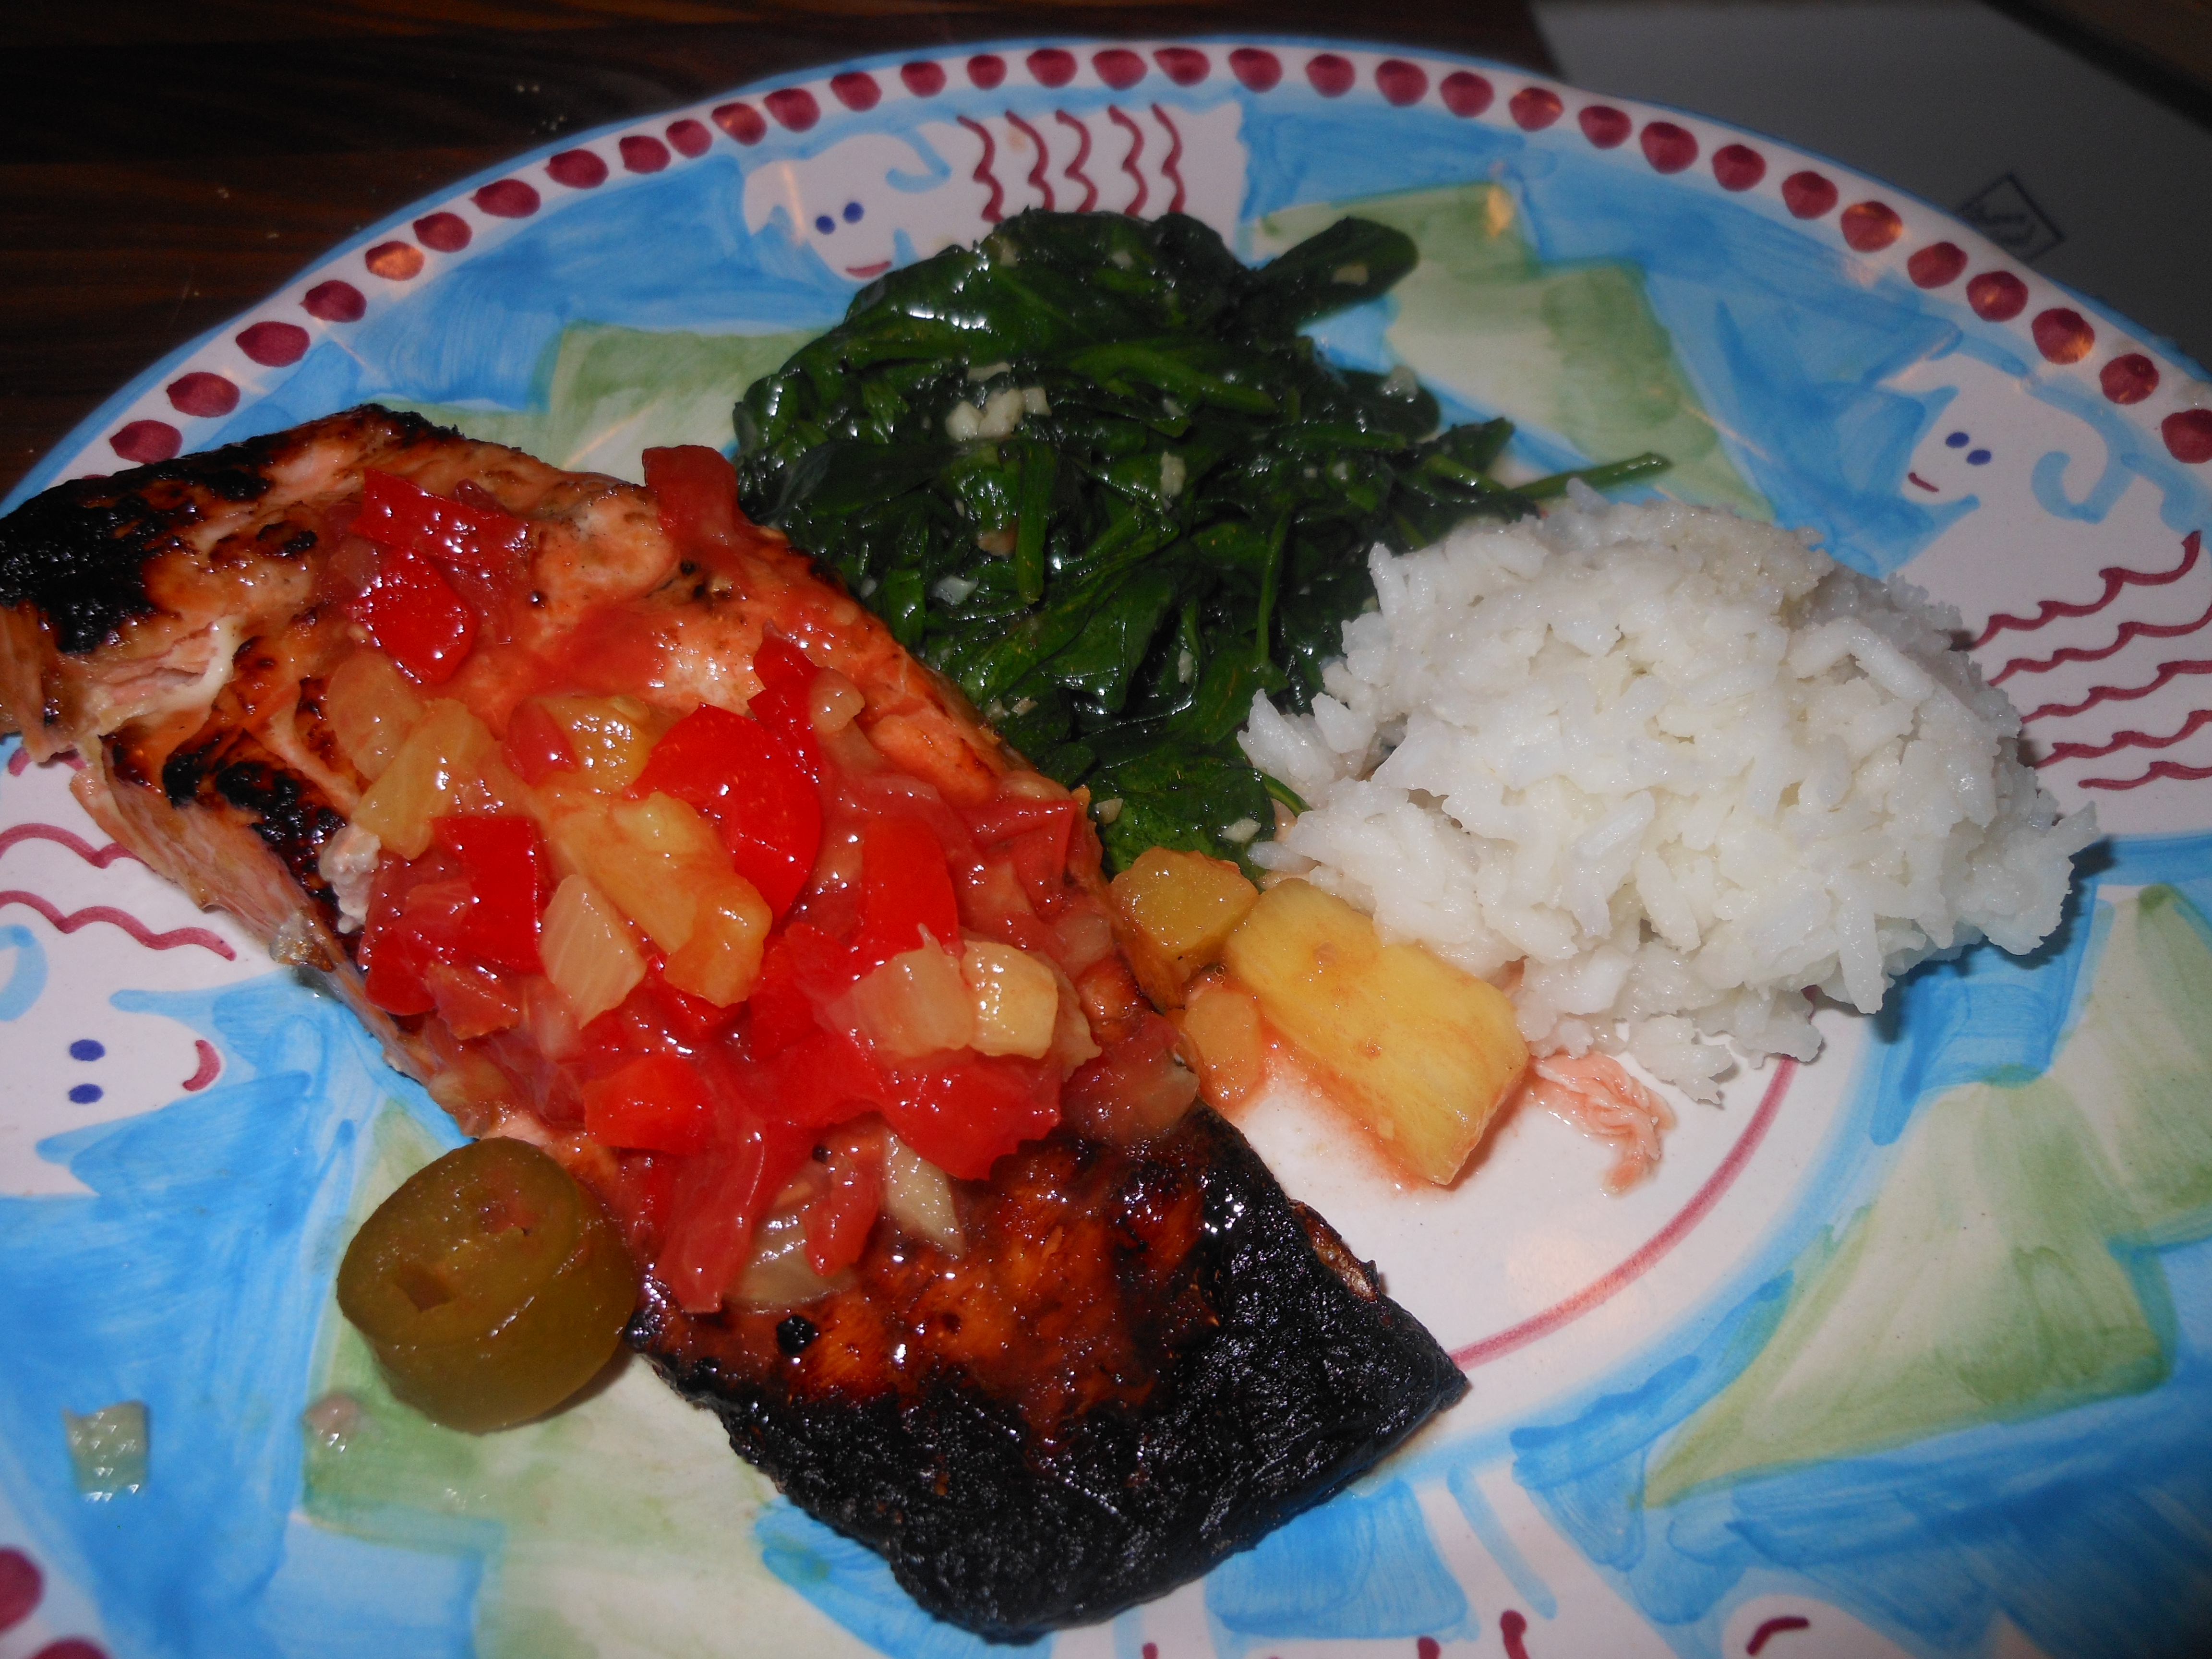
Here’s another Salmon recipe for you. Originally from Paula Deen but with no butter this time around! The pineapple salsa was awesome served alongside with basmati rice. The glaze is simple and most of us have ingredients in the house.   I grilled the salmon in a basket and it came out amazingly delicious.  One piece got a little more charred than the other one, and I ate that piece ( picture with the spinach) it was really just the skin that got burnt.  If you’re brave you can put it right on the grill (just make sure your grill is well-oiled). You can marinate this overnight if you like, or just for a few hours if time doesn’t allow. I also served alongside some garlic sauteed spinach, which of course I alone ate because Joel absolutely will not eat spinach.

Ingredients: 

4 (6 ounce ) salmon fillets

1 tablespoon maple syrup

1 tablespoon teriyaki or soy sauce

1 tablespoon pineapple juice (juice from fresh pineapple )

1 teaspoon fresh ginger, minced

1 clove garlic, minced

Directions:

In a ziploc plastic bag place salmon fillets and pour marinade right over, squish around a bit and make sure it surrounds the fish.

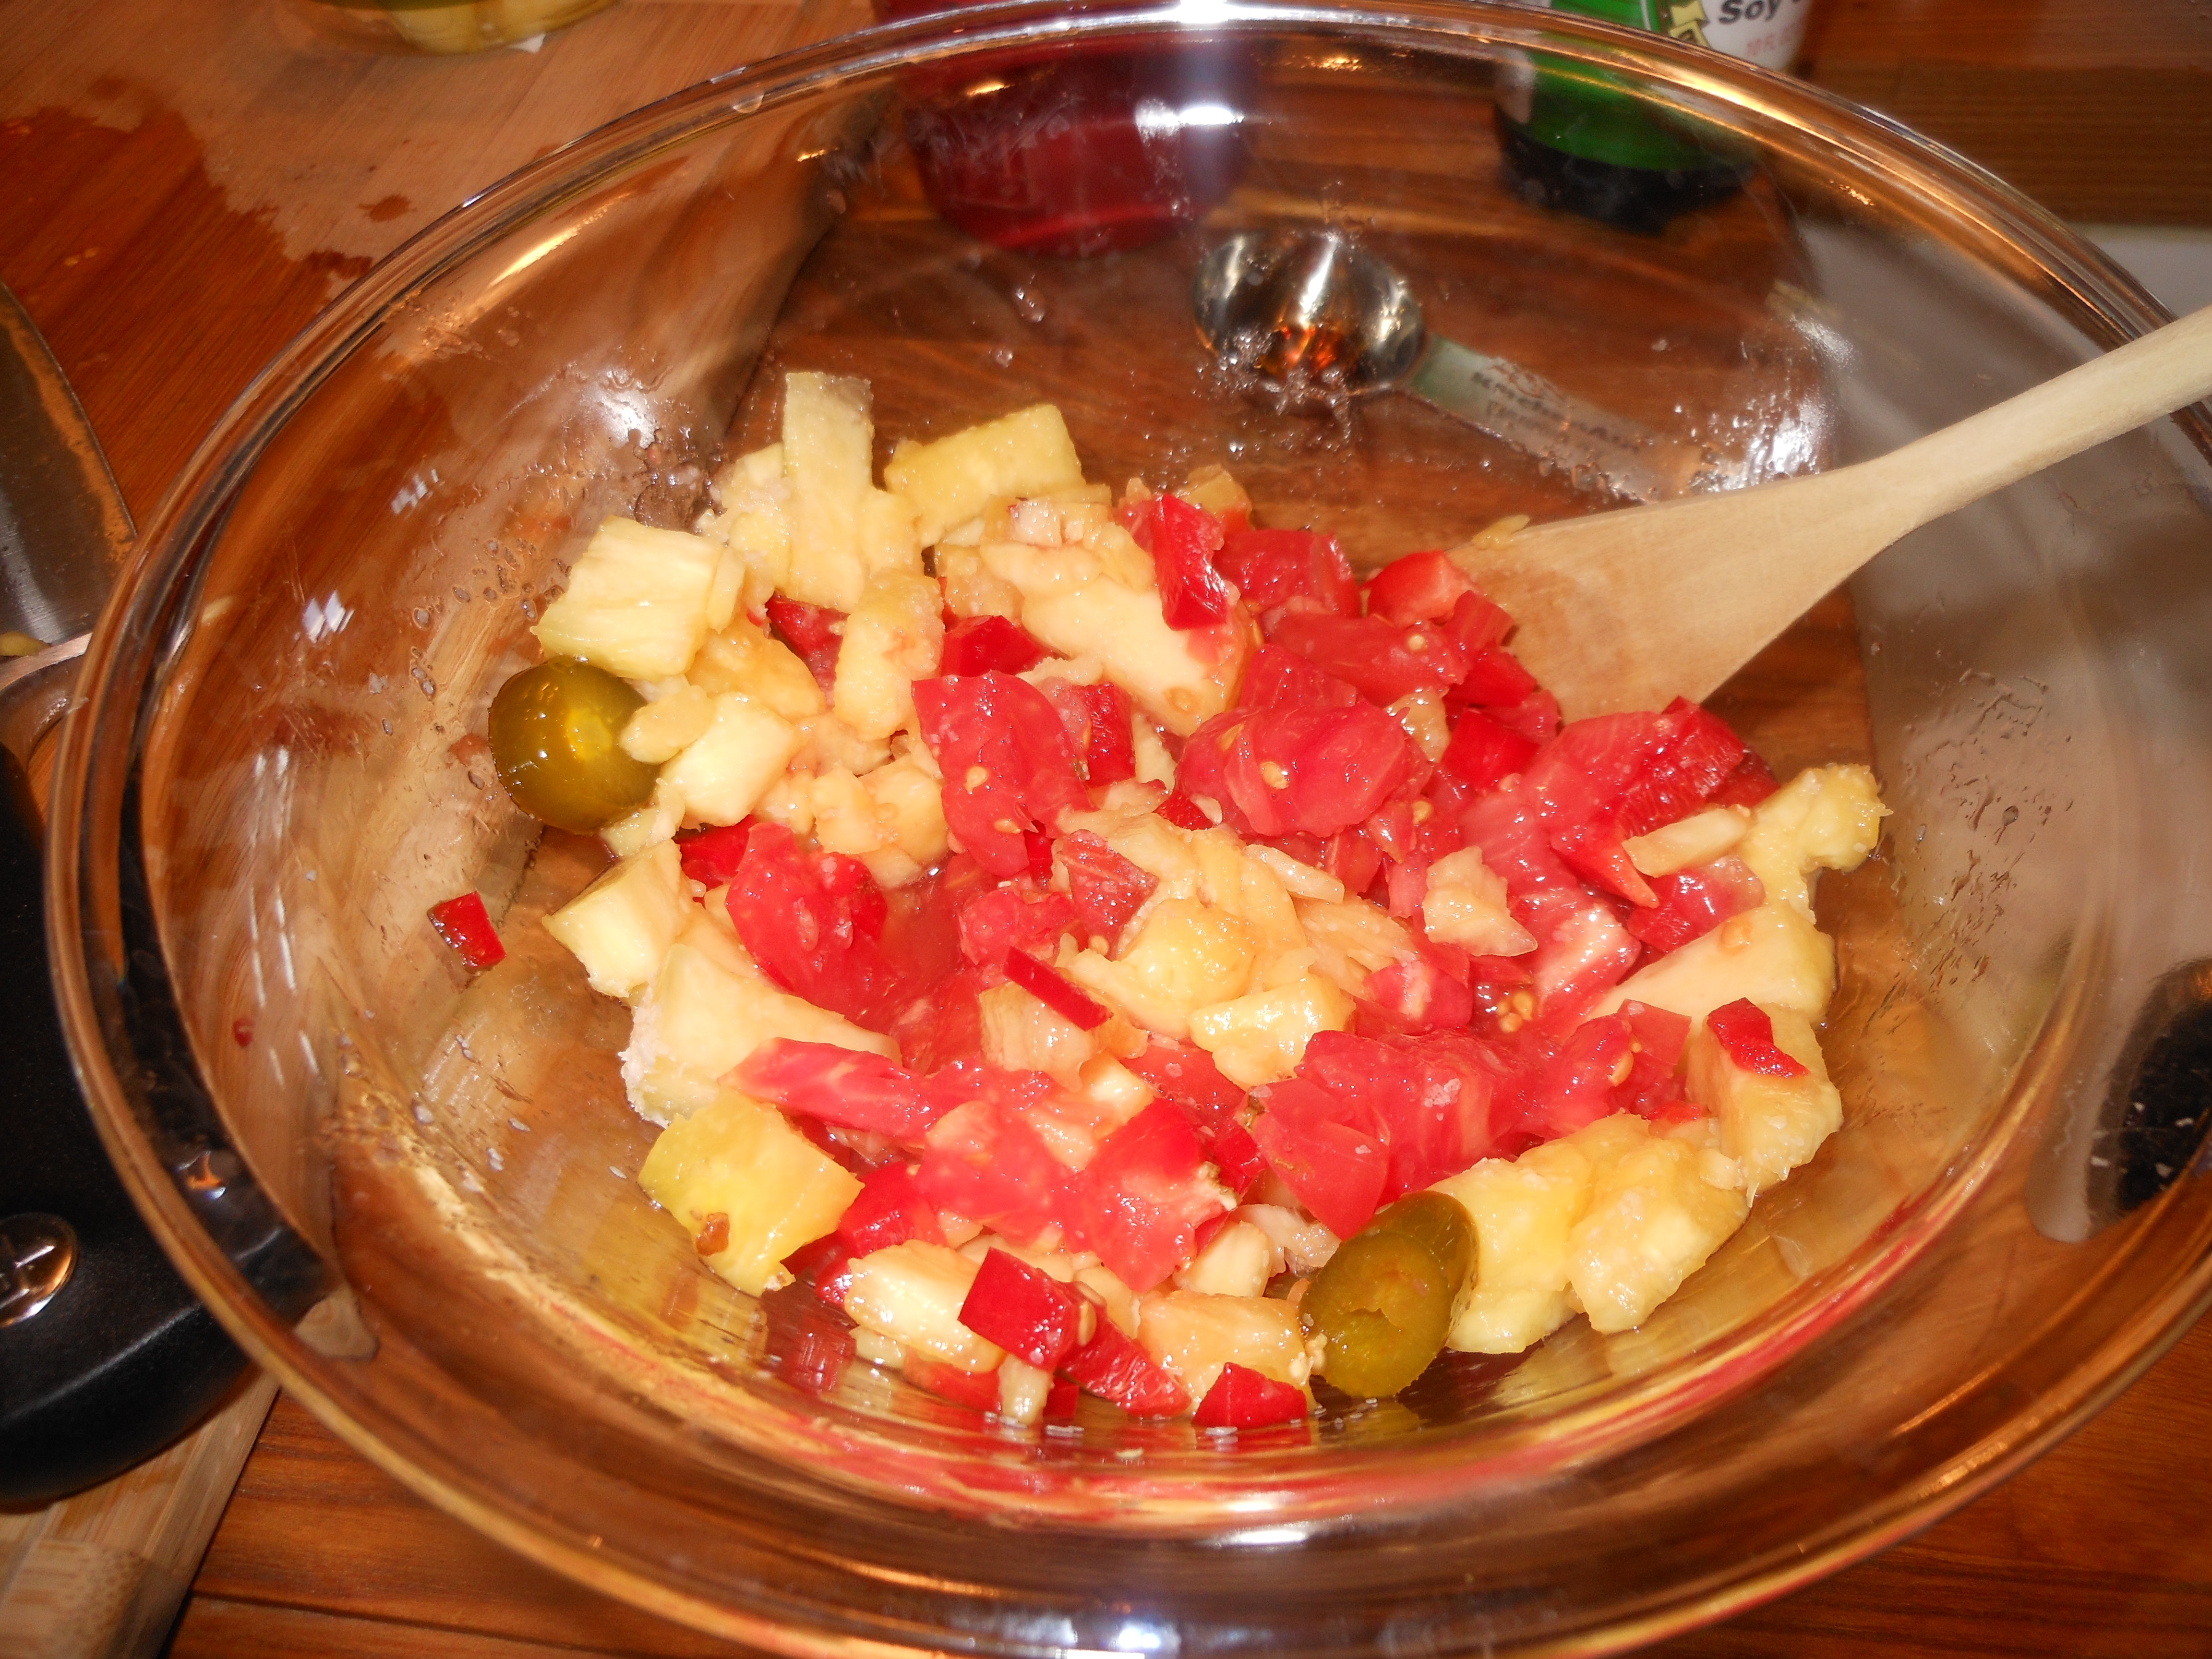
Pineapple Salsa:

1 medium size ripe tomato, chopped into small cubes

1/4 cup chopped red bell pepper

2 pickled jalapeno pepper slices (right out of the jar; no gloves required), finely chopped. (If you don’t like jalapeno just omit.) I didn’t even chop them, it’s entirely up to you, and I also put in more jalapeno.

1/2 cup pineapple chunks, fresh or canned. (I used fresh, and used the little bit of juice from them for marinade.)

1 teaspoon kosher salt

1 tablespoon sugar

Directions:

Place all ingredients in a small saucepan. Simmer over low heat for about 5 minutes. Cool it down, refrigerate for a few hours,  and serve with salmon.  I served with Basmati Rice and garlic sauteed spinach. Perfect!

Tomato, Corn and Avocado Salsa

Three of my favorite things in the world in one bowl! Tomato, corn and avocado! All I do is chop up some very ripe tomatoes, and combine with raw corn kernels, and diced avocado, some chopped up fresh cilantro , and fresh lime juice .(about juice of 1 lime)  I like to add a little heat so I put in some minced fresh jalapeno or minced serrano chile. Season with salt and pepper, and there you go a delicious fresh salsa perfect alongside any piece of fish, chicken or just for snacking with chips! Let it sit in lime juice for a bit before serving. Use as much or as little of any of the ingredients. What a perfect side dish, what a perfect fresh raw salsa to serve on chips!  The possibilities are endless here. It’s all fresh and raw and wonderful. Did I mention super easy?

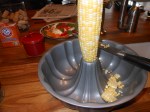
*also a little trick to take corn off the cob is to use your bundt pan, put corn right in the center hole and using your knife cut down from the top, this will prevent corn from flying all over the place and all kernels will just fall directly into the bundt pan. Don’t waste your money on those other corn removal gadgets, they don’t work as well as this.

Smoking Hot Salmon ( on grill or in oven) and a quick Corn Salad from leftover grilled corn

Grilled Leftover Corn for salad

Always on the prowl for new recipes for Salmon. I usually cook it on the grill in the summer but this could easily be cooked indoors if no grill available. I actually cook this on a piece of aluminum foil on the grill, it really is like an outdoor oven. You can use a basket but I always find it makes such a mess. Whatever works for you, when I have placed fish right on grill it’s just a disaster, so I’ve taken to doing it this way. I played with these ingredients for the marinade and you know I took liberties with the cayenne pepper, so just put a sprinkle if you don’t like it too spicy. The marinade thickened up and it was perfectly delicious with a sprinkling of fresh cilantro. Cilantro can be eliminated but we love it, so it stays on in this house. I had some leftover ears of Grilled Corn so I threw together a very impromptu Corn Salad which is listed below as well.

Ingredients:

1 lb. Salmon Filets ( I used 1 1lb. piece for the 2 of us) This time out I got Copper River Salmon and it was just delicious. I use Wild Salmon usually. Use whatever you like best

For Marinade:

2 tablespoons unsalted butter

1 medium shallot – chopped

1/4 cup freshly squeezed lemon juice

1/4 cup light brown sugar

Cayenne Pepper to taste ( I was generous with it, but it packs a lot of heat)

2 tablespoons chopped fresh ginger ( if you can’t use fresh ginger, use powder ginger , I wouldn’t omit this spice)

1/4 cup red wine vinegar

2 tablespoons soy sauce

2 tablespoons chopped fresh cilantro

Directions:

In a small saucepan, melt the butter. Add the shallots and saute until softened. Add all the remaining ingredients, except for the cilantro. Cook over medium heat until slightly thickened, about 10 minutes.

Remove from heat and add the cilantro.

Baste the salmon filet with a bit of the sauce and preheat your grill to a medium high heat. I placed the salmon on a piece of aluminum foil. I just cooked it for about 15 – 20 minutes till the salmon was flaky, and the center was just cooked. You don’t want to over cook it. If you’re placing right on the grill it will cook much quicker. When you finish cooking, remove from grill and serve with some of the remaining marinade as additional sauce. This is delicious with rice and a vegetable. I served with a side of some leftover grilled corn which I turned into a lovely side dish.

Corn Salad from leftover grilled corn

I used 4 ears of corn, you can use 4 cups of any kind of corn . I just happened to have had some corn leftover from a barbque.

1 cup red pepper- diced

1 medium red onion – diced

2 – 3 Tablespoons fresh cilantro – chopped

Fresh Squeezed Lime Juice from about 1 small lime

* 1 Jalapeno pepper – seeded and minced ( make sure to remove all seeds if you don’t like spicy) you can omit all together if you don’t like the flavor . I love it.

I just added a little olive oil to taste ,  I would say 1 tablespoon

Kosher Salt and Freshly Ground Black Pepper to taste

This was really a throw together, but it came out so good!!!!!  Allow the ingredients to blend for a few before serving. Enjoy!

leftover grilled corn

Asparagus with Arugula and Parmesan – Done Simply Raw

As you know, I am slightly in love with asparagus. Before the asparagus season ends, I highly recommend this salad. Once the early season goes, you can grill it, you can roast it,  you can douse it in dressings. But in this salad it’s used raw which is really ideal when the asparagus is sweet and fresh. Check out your local green market, and ask where the asparagus is from. I was able to obtain this asparagus at a local market which carried Long Island asparagus, and it was delicious.  Through most of the winter, asparagus comes from Peru; and there’s a lot of early spring asparagus from Mexico and Southern California. The green markets will have regional produce and it’s worth the trip. Just saying… If you don’t buy it at the market, that’s alright too–all asparagus is pretty decent now.  Enjoy this recipe. It couldn’t be simpler.

Ingredients:

1/2 lb. medium or large asparagus

2 tablespoons freshly squeezed lemon juice

3 tablespoons extra virgin olive oil

Kosher salt and freshly ground black pepper

nice sized bunch of arugula ( 6 – 8 oz) use as much or as little as you like

Chunk of parmesan cheese for shaving (with a vegetable peeler)

Directions:

Snap off and discard the tough ends of the asparagus. If you have a mandolin, a sharp vegetable peeler or thin bladed knife, use one of those tools to slice the asparagus as thinly as possible, like paper-thin ribbons. If you prefer, you can slice diagonally; just try to get the pieces as thin as possible, because you are not cooking them. So it’s all about thin slices. I used a vegetable peeler.

In a small bowl, whisk together the lemon juice and olive oil to make a dressing. Season to taste with salt and pepper.

Place the asparagus ribbons in a shallow salad bowl. Season lightly with salt and pepper and coat with some of the dressing. Add the arugula, tossing gently to distribute the asparagus. Drizzle with the remaining dressing.

With a vegetable peeler, shave thin curls of Parmesan over the salad.

Tomatoes, Tomatoes, Tomatoes – Bruschetta (With or Without Chicken)

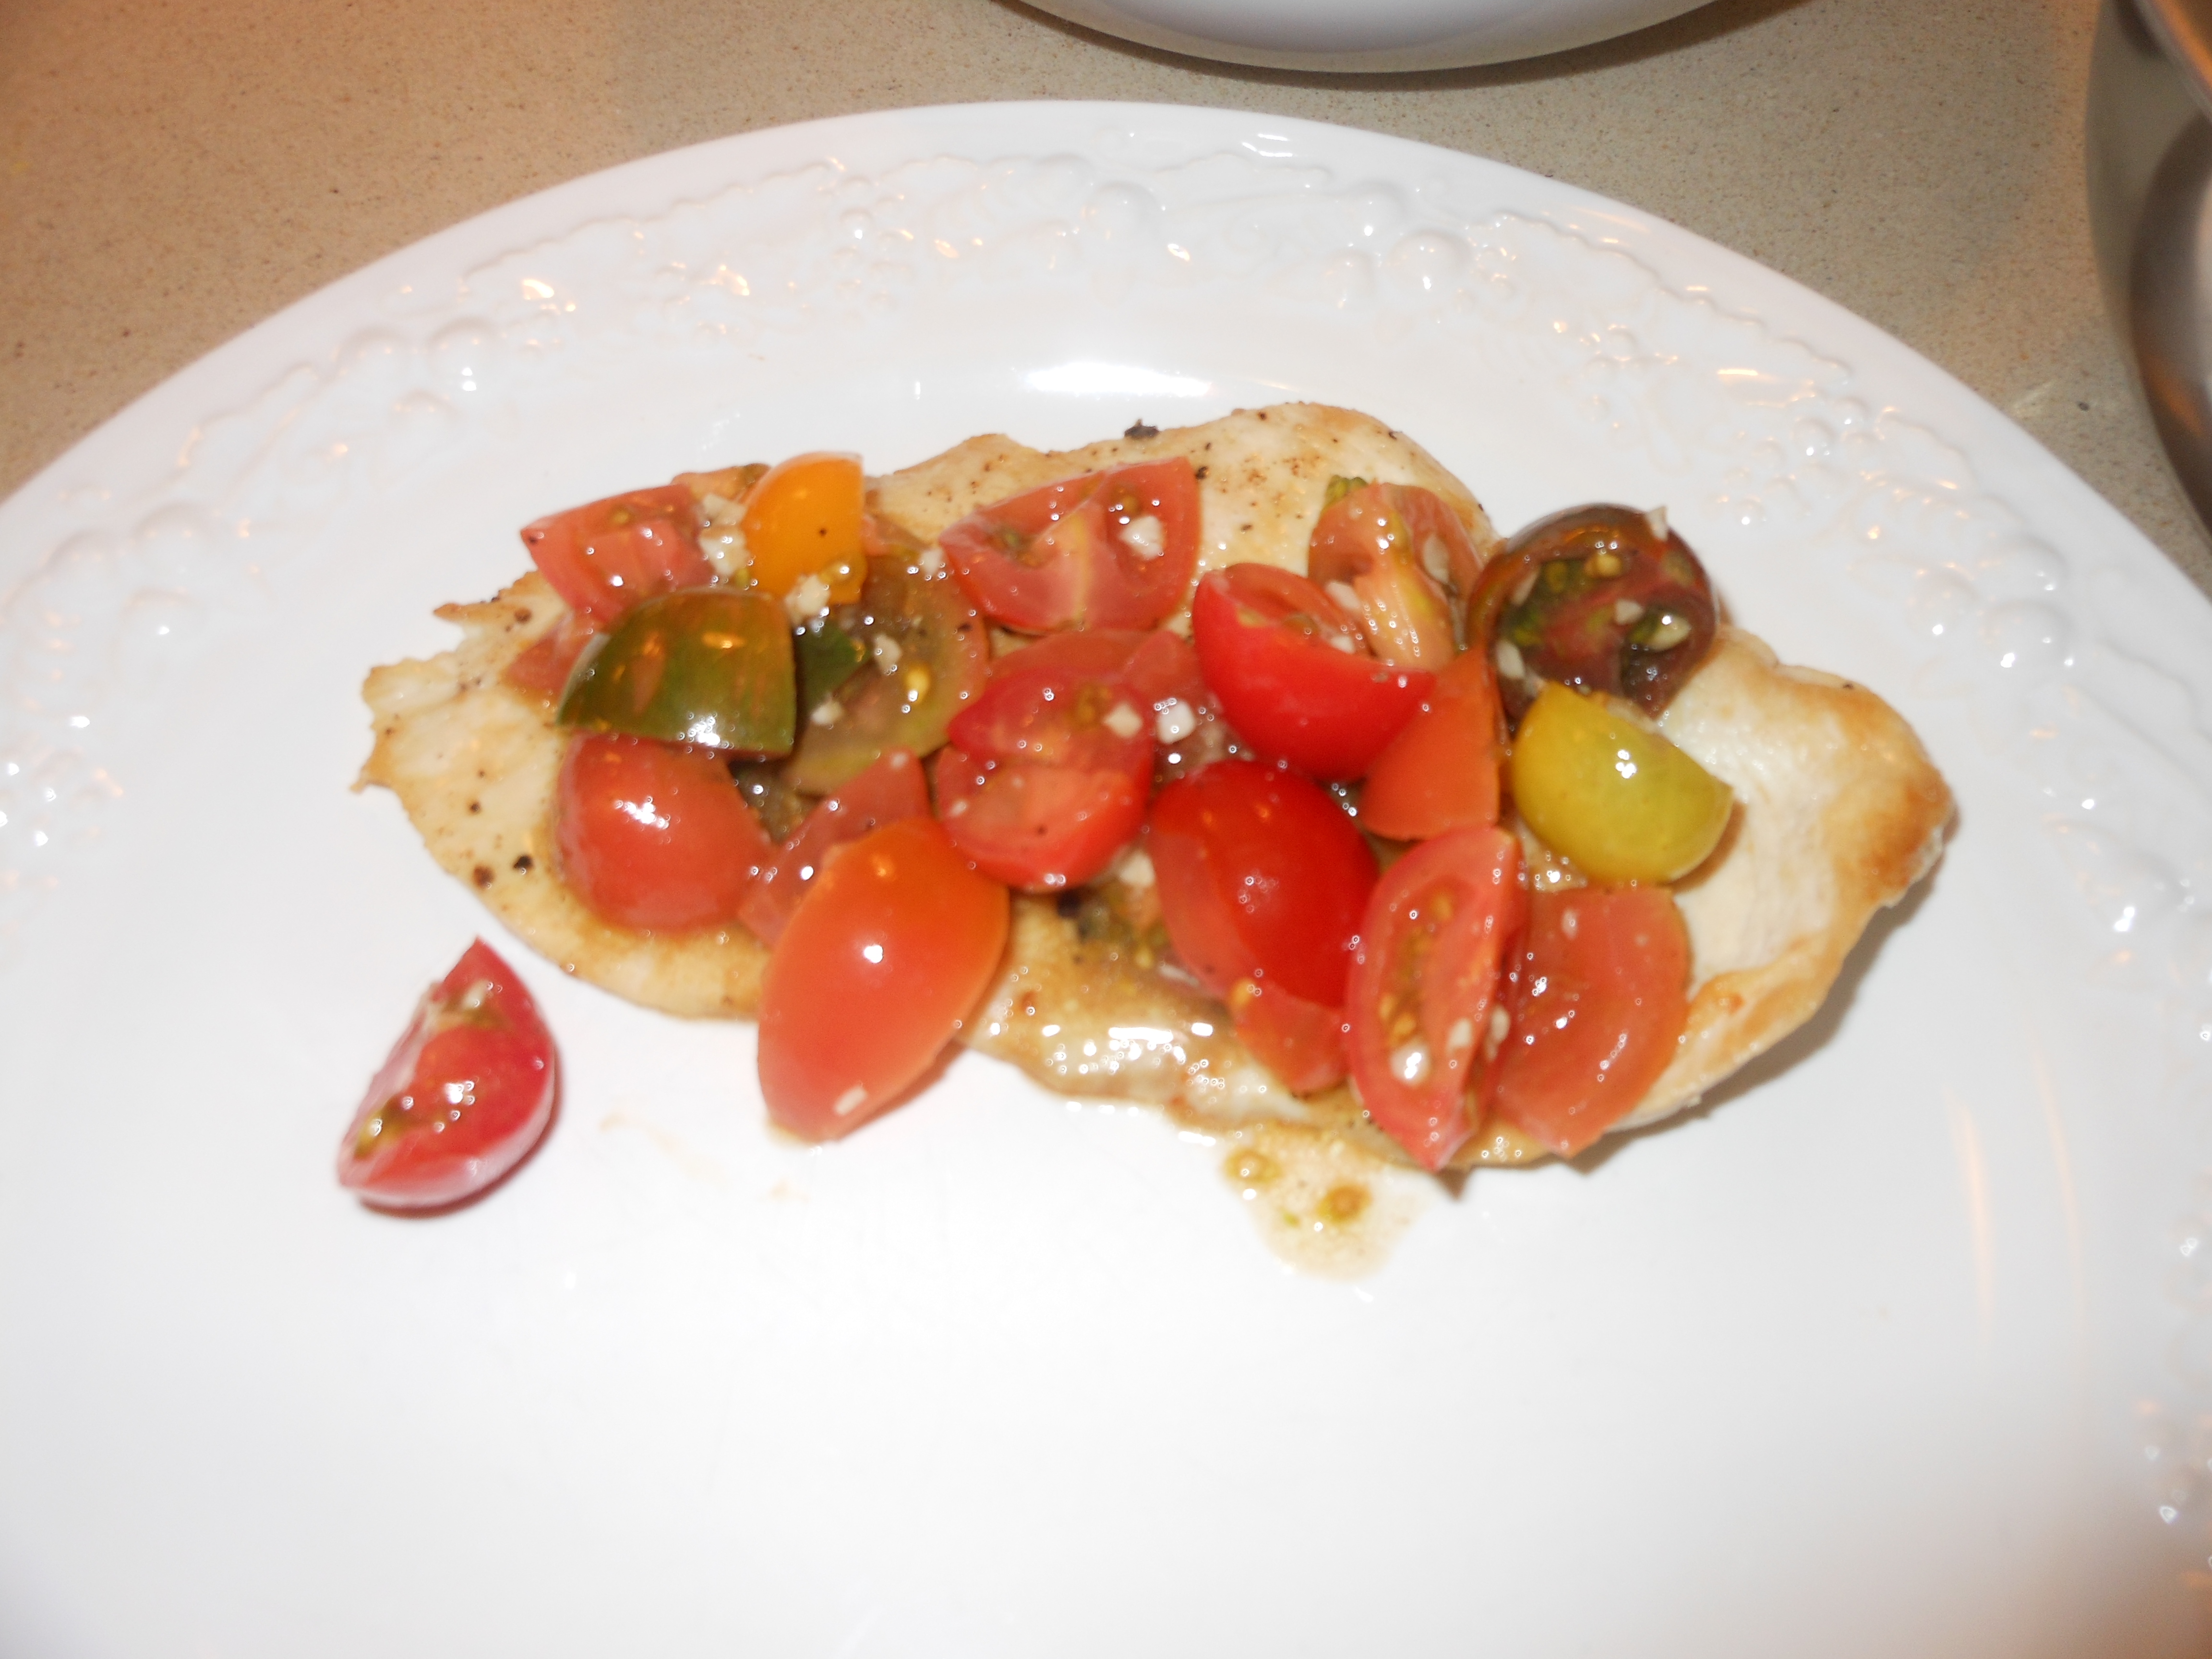
I love this Bruschetta. It’s delicious as an appetizer over toast, but I also love it with chicken. I usually make it ahead of time, put it in the fridge and let the flavors marinate. Then, I either use it on toasted baguette slices or on top of a simple, grilled piece of chicken or fish. It’s similar to my Salmon Done Simply in Foil recipe. This has  a delicious, fresh taste and will last at least a few days (probably three) in the fridge. Now that the weather is getting warmer, this is such a wonderful, light dish using tomatoes, which I love.This evening I used a grill pan on the stove with a little olive oil in pan, kosher salt and freshly ground black pepper on paper thin chicken breasts and just grilled a few minutes on each side and they were perfect with tomatoes on top.

Ingredients:

2 tablespoons olive oil

5 cloves garlic, finely minced

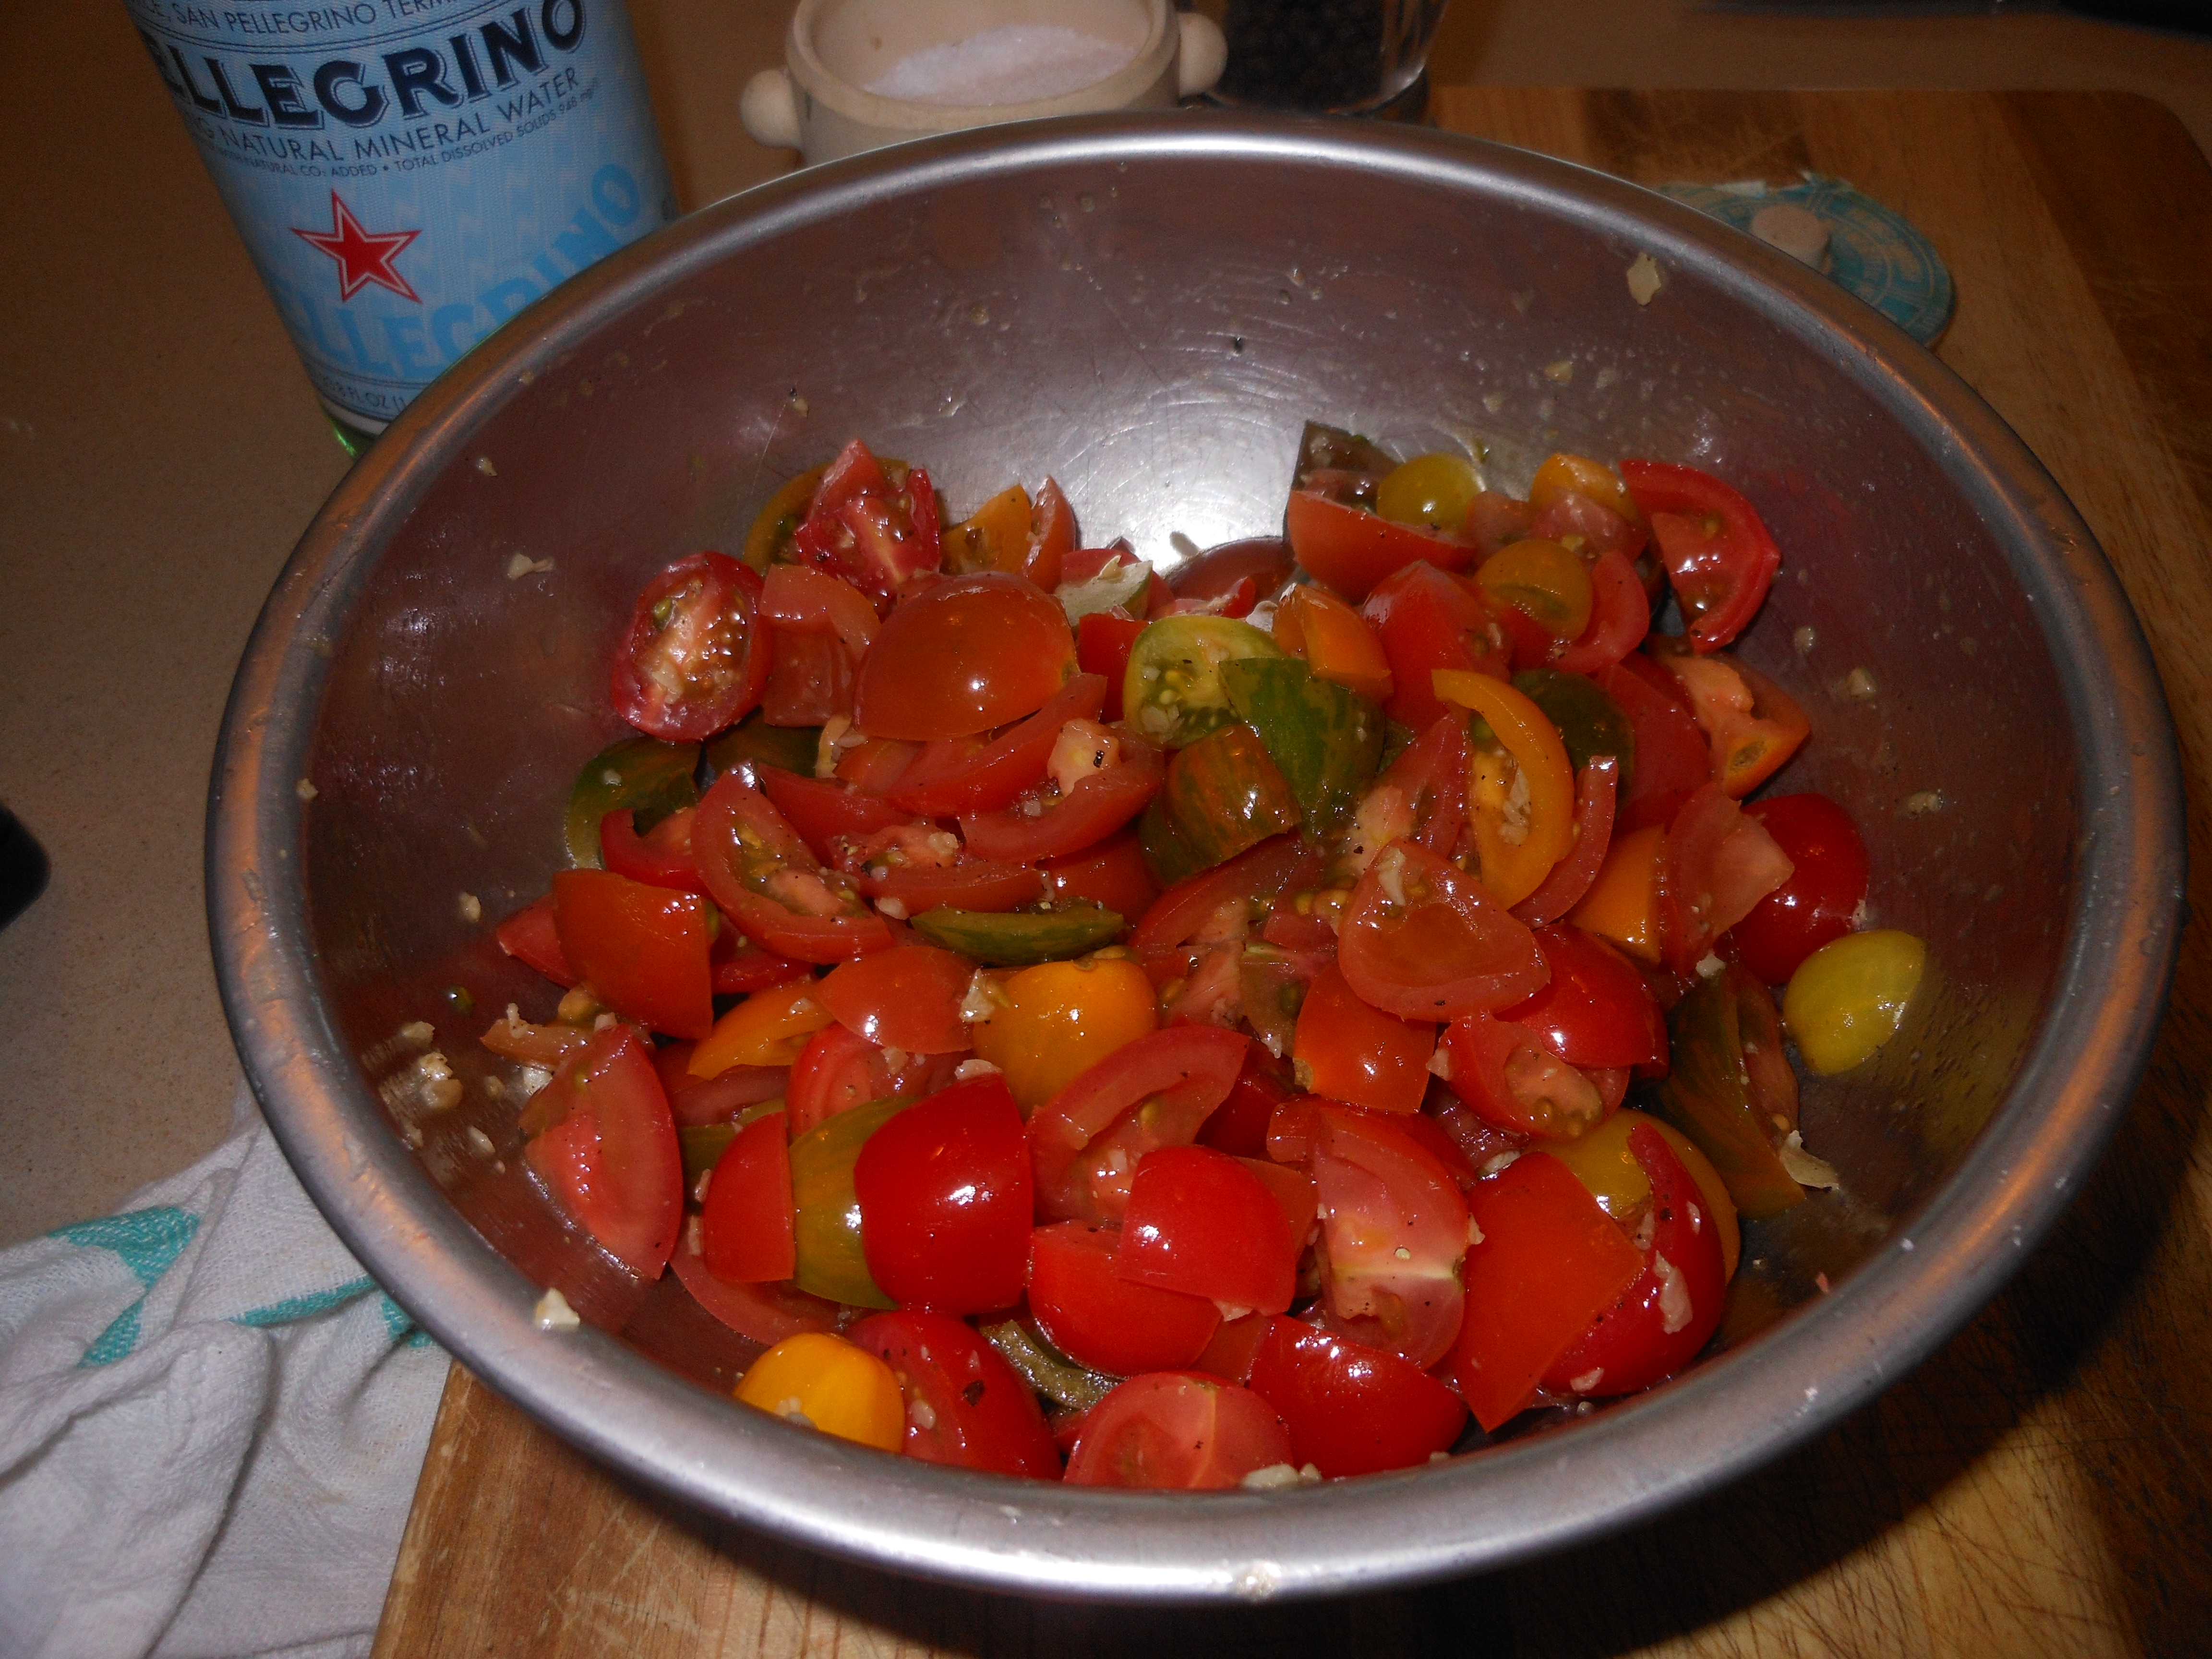
2 pints grape tomatoes (I like to mix yellow and red ) and of course you can use heirloom when they’re in season or any fresh tomatoes. I cut the tomatoes in half lengthwise, or just into small pieces )I actually was able to obtain cherry heirloom tomatoes, and I cut them into small pieces.

1 tablespoon balsamic vinegar

fresh basil (about 16 leaves), cut up in chiffonade style (just roll basil and take a kitchen scissor and cut it up; you can also just chop it up) * I actually forgot to buy the basil this time but usually I do put it in, it adds a great deal of flavor.

Kosher salt

Freshly ground black pepper

*chopped red onion ( app. 1/2 cup) I didn’t use this time out but it adds a little crunch and another flavor

Directions:

In a small skillet, heat olive oil over medium high heat. Add the garlic and lightly stir it around for a minute or so. Don’t brown the garlic–just warm it up to a golden color, what I actually do is heat the olive oil and when it’s hot remove from stove then put the chopped garlic in and let it turn a golden color off the heat. Pour into a bowl and allow it to cool down. Add the tomatoes, balsamic, salt and pepper (to taste). Be careful not to over-salt–just put a little in and stir it; you’ll be able to check salt and pepper again later. Cover and refrigerate for at least an hour. Obviously the longer it sits, the better it will taste.

When you take the mixture out of the fridge, stir the tomatoes and now taste again for salt and pepper. Spoon bruschetta over the sliced bread, and serve on a large platter. This is a perfect substitution for a salad. If you’re serving over chicken or fish it’s just simply divine. I simply put a little olive oil on chicken cutlets sprinkle with kosher salt and freshly ground pepper and use a grill pan on stove or throw on the grill outside.

If I am serving over bread, I slice the baguette on the diagonal. Take a little softened butter ( melted butter) and brush on top of bread, then put in oven on a baking sheet to toast until golden and then repeat on the other side. You can also brush with a little olive oil (you just don’t want the toast too dry). If you’d like, you can also put toast on outdoor grill to get grill marks.