Category Archives: Holiday Recipes

Homemade Chicken Soup with Not-So-Homemade Matzo Balls

IMG_4514I always make my own chicken soup. It is delicious broth. I usually make a few batches and freeze them because it’s a great thing to have frozen in quart containers as stock and will last for up to six months frozen. When the holidays come—whether Rosh Hashanah or Passover—I always make my chicken soup with matzo balls. I make the soup a day ahead and skim whatever fat is on there before adding my matzo balls. Keep reading for my “secret matzo ball recipe”.

INGREDIENTS: CHICKEN STOCK:

1 5lb. organic roasting chicken (I throw away the insides)

1 package of chicken wings (this was suggested to me a long time ago by my BFF Karyn and she was oh so right. It adds some fat, which translates into a lot of flavor and you will skim off the fat the next day. Thanks, Karyn…yes, I remembered!)

1 large, yellow Spanish onion; unpeeled and quartered

A big bunch of dill

4 celery stalks with leaves, cut into thirds

4 carrots, unpeeled and halved

Bunch of flat-leaf parsley (Use this only if you want. This time, I didn’t have it so I used only the dill.)

A bunch of thyme (if you wish)

1 head of garlic, cut in half cross-wise (skin and all)

2 tbsp. kosher salt

2 tsp. whole black peppercorns

DIRECTIONS FOR SOUP:

I place the chicken, chicken wings, onion, carrots, celery, whatever herbs I’m using, garlic, salt and pepper in as large a  pot as I can find (usually about a 16-20 qt. stockpot.) Add cold water to cover chicken by at least 2 inches above the chicken but not to the top of the pot because it will boil over (very messy). Bring to a boil and then simmer, uncovered, for about 3 hours. I skim the soup skum (sounds lovely) off for the first half hour or so—after that, you shouldn’t have much more. I remove the chicken from the broth after an hour or so, because it is cooked and it will taste like a rubber chicken if you plan on eating it. Sometimes, I like to shred it and return it to the soup. If you are not using the chicken (what a waste of good chicken), just leave it in. It will fall apart in there. I leave the wings and discard them at the end of the 3 hours. Next, I strain all of the soup, discard all remnants, fill my containers and put in the fridge. The next day (or the day of the holiday), I usually skim off the fat that has risen to the top and make my matzo balls (recipe below).

MATZO BALLS:

This has always been my secret, but now it’s out. Okay, I own it. After years of making matzo balls from scratch, my mother (yes, my mother, the cook) turned me on to Manischewitz boxed matzo ball mix! It just wasn’t worth it. My balls weren’t as consistent as I would have liked, whereas these are always perfection! Light and fluffy and everyone always loves them. No sinkers here!

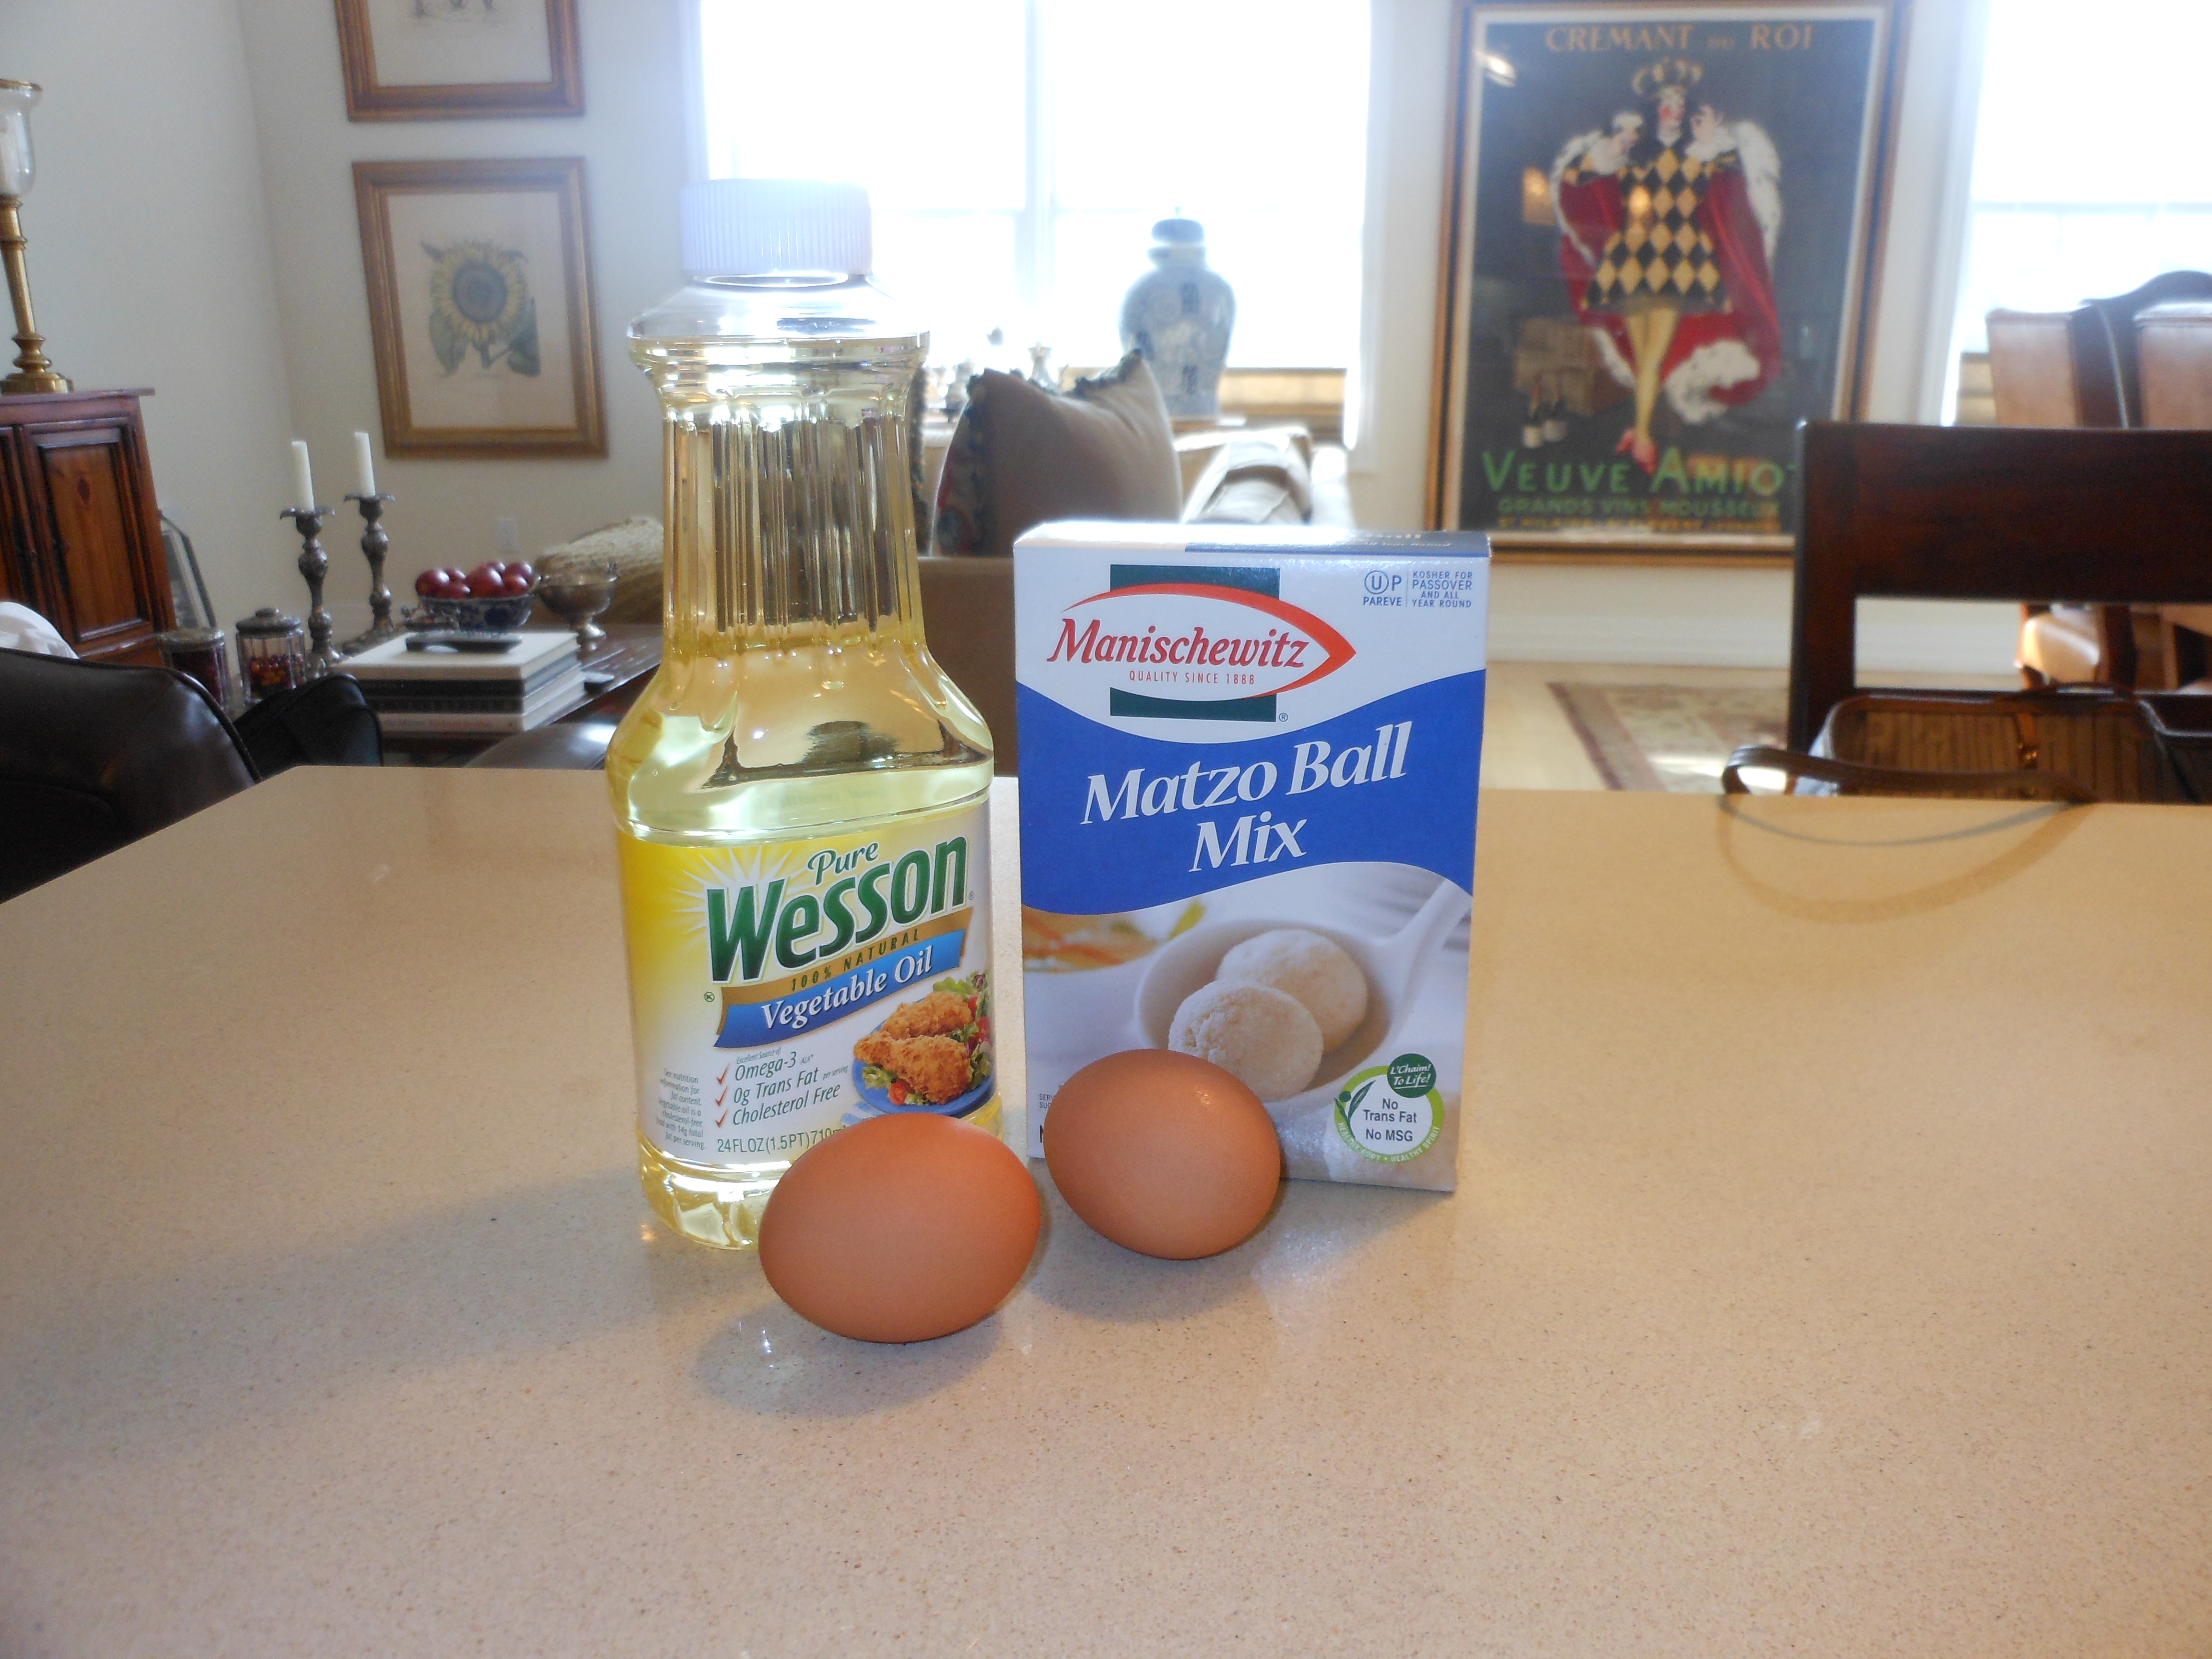
I follow the directions on the box carefully. They sell just the mix box. You will need vegetable oil and 2 eggs per box. I do add a little piece of dill inside each ball, but that’s it! Now my secret is out. Sometimes this is really the only way to go. It saves time and ingredients and is really good. No MSG or trans-fats either! So make the soup, cheat with the balls, and enjoy. There is no substitute for homemade chicken soup, though.

*You can also add thin soup noodles to this recipe, if you like. (obviously not on Passover)

Classic Potato Pancakes –Latkes

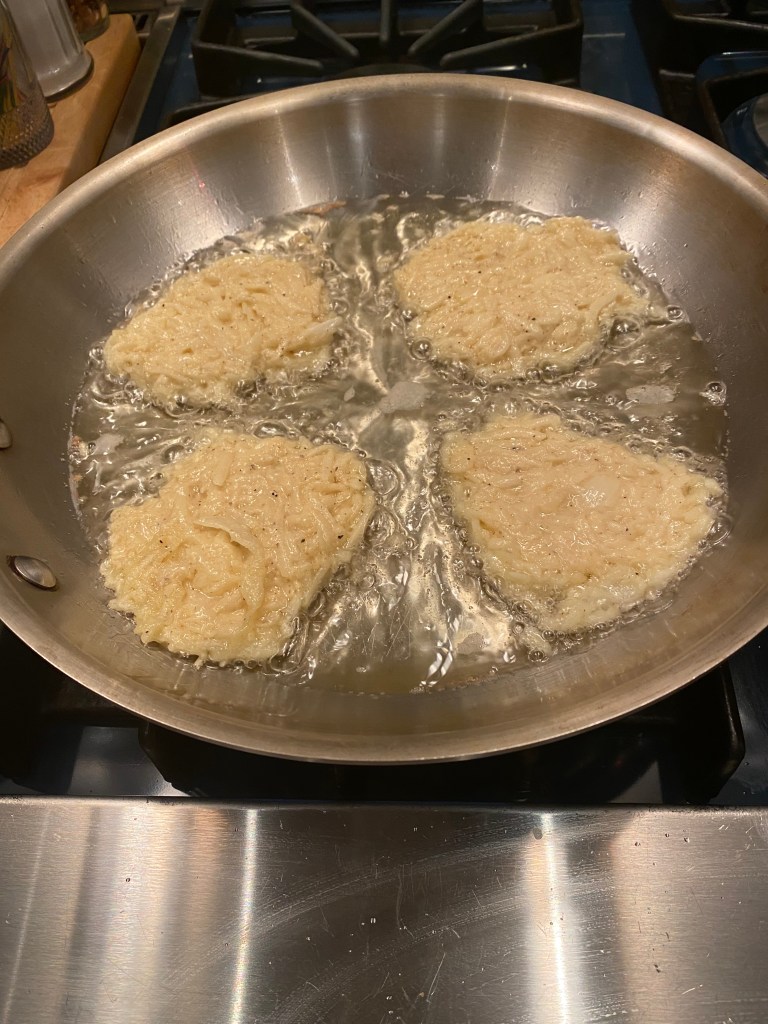
Chanukah will be here starting this Wednesday night Dec. 25 –Here is my recipe for delicious Potato Latkes.

It is a delicious fairly easy recipe for simple latkes. If you eat them hot they’re best but that’s tough to do sometimes. They really are most delicious hot off the frying pan. Serve with Applesauce or Sour Cream . Enjoy and Happy Chanukah from my kitchen to yours. I do have a delicious recipe for homemade apple sauce on my blog if you’re feeling inspired to make it along side the potato pancakes. Homemade Apple Sauce is it’s title and just put that into the search bar or google homemade apple sauce cooking with Candi .

This is what I do with a food processor and Happy Chanukah

This recipe should serve 4

Ingredients:

2 large Russet Potatoes — peeled and cut lengthwise into quarters

1 large Spanish Onion–peeled and cut into quarters

2 large eggs

1/2 cup all purpose flour

2 Teaspoons Kosher Salt

1/2 Teaspoon freshly ground black pepper

1 Teaspoon baking powder

Vegetable Oil for frying

Directions:

Using a food processor with a coarse grating disc, grate the potatoes and onion. Transfer the mixture to a clean dishtowel ( I prefer a thin one for this task) and squeeze out as much liquid as possible. This is key to a delicious latke.

Transfer the mixture to a large bowl. Add the eggs, flour, salt, pepper, and baking powder and pepper and mix until the flour is absorbed.

In a medium heavy-bottomed pan over medium-high heat, pour in about 1/4 inch of the vegetable oil. Once the oil is hot use a heaping tablespoon to drop the batter into the hot pan, cooking in batches. Use a spatula to flatten and shape into round discs. When edges of the latkes start to brown and get crispy ( about 5 minutes) , transfer the latkes to a paper towel lined plate to drain . Repeat.

If you’re making double the recipe I would swap out the oil and wipe with paper towel and start with fresh oil. For one batch the oil was fine. Just control the heat on your stove.

Enjoy and Happy Chanukah.


Banana Pudding from Magnolia Bakery – One of my Top Ten Desserts that you don’t even bake

Since the first time my daughter Jenn made this dessert we have added it to our Thanksgiving Table. Just what you need after that big dinner is this dessert!!! We love it and can’t get enough of it. Whether you’ll be making it for Thanksgiving or anytime just be prepared to fall in love with it. Completely decadent and totally ridiculous in calories and richness it is love at first bite.

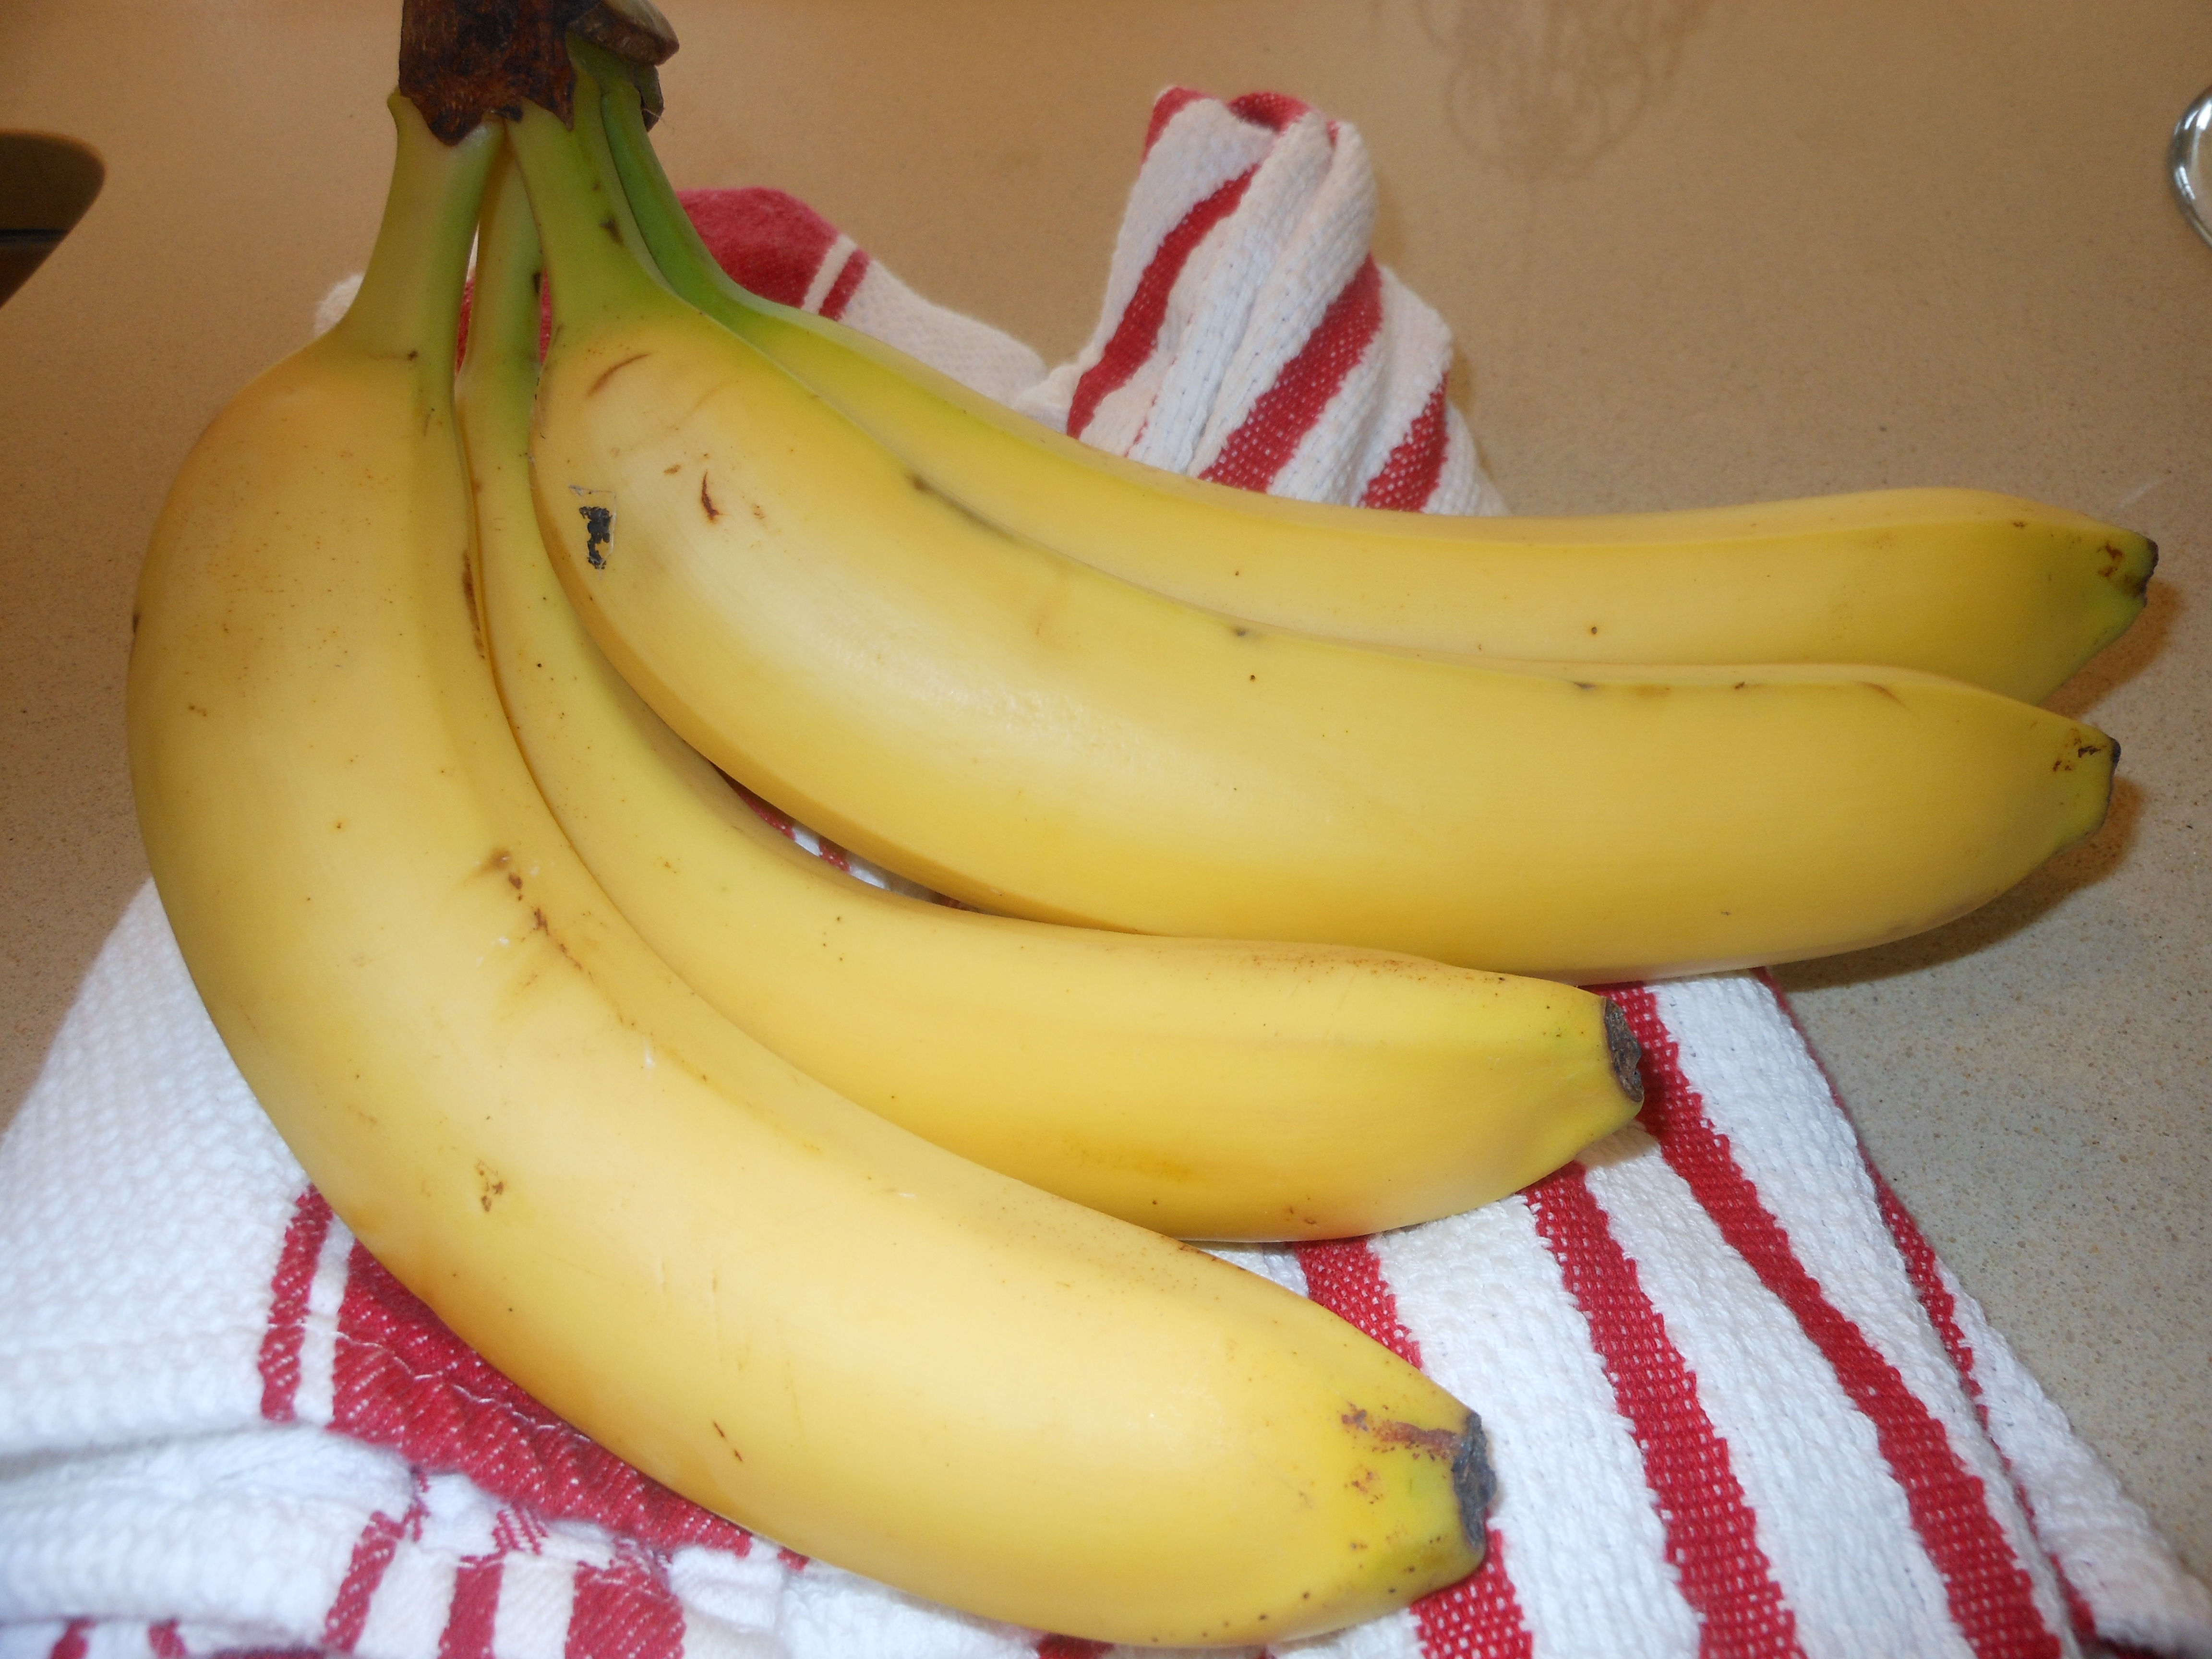
It is actually a subtle taste of bananas, but I wouldn’t make this if I didn’t like bananas. I happen to just adore bananas and I absolutely love love this pudding. I cannot have it in the house because I will continually find an excuse to go into the fridge and eat it till it’s pretty much all gone.  As full as I was last year and swearing I wasn’t going to eat another thing for at least a week, when I saw this  pudding I knew I was going to eat it.  I find it impossible to resist and I know others who suffer from this same fate. If you’re in the market for a purely decadent rich over the top dessert then this is it for you. Probably up there on my top ten desserts ever. This is from the More from Magnolia Cookbook so how could it be bad?

*this recipe really needs time , so you must start the day before to let initial pudding set, and then you’ll need at least 4 more hours minimum before serving. So you must factor time into your prep of this awesome pudding but it’s so worth it.

Happy Thanksgiving from our house to yours.

Ingredients:

1 14 ounce can sweetened condensed milk

1 1 /2 cups ice-cold water

1 3.4 ounce package instant vanilla pudding mix ( preferably Jell-O brand)is there another brand?

3 cups heavy cream

1 12 ounce box Nabisco Nilla Wafers ( no substitutions) is there another brand?

4 cups sliced ripe banana

Directions:

In a small bowl, on the medium speed of an electric mixer, beat together the sweetened condensed milk and cold water until well combined, about 1 minute. Add the pudding mix and beat well, about 2 minutes more.* Cover and refrigerate for 3 – 4 hours or overnight, before continuing. It is very important to allow the proper amount of time for the pudding mixture to set.

In a large bowl, on the medium speed of an electric mixer , whip the heavy cream until stiff peaks form. Gently fold the pudding mixture into the whipped cream until well blended and no streaks of pudding remains.

To assemble the dessert, select a large, wide bowl ( preferably glass) with a 4 – 5 quart capacity. Arrange one-third of the wafers to cover the bottom of the bowl, over-lapping if necessary, then one-third of the bananas and one-third of the pudding. Repeat the layering twice more, garnishing with additional wafers or wafer crumbs on the top layer of the pudding . ( Just crush up a few remainder cookies in food processor) Cover tightly with plastic wrap and allow to chill in the refrigerator for *4 hours–or up to 8 hours, but no longer! Serve and behold the love!

Serves anywhere from 12- 15

It’s a large dessert and a substantial one. It stands alone beautifully!

Joy’s Cranberry Sauce

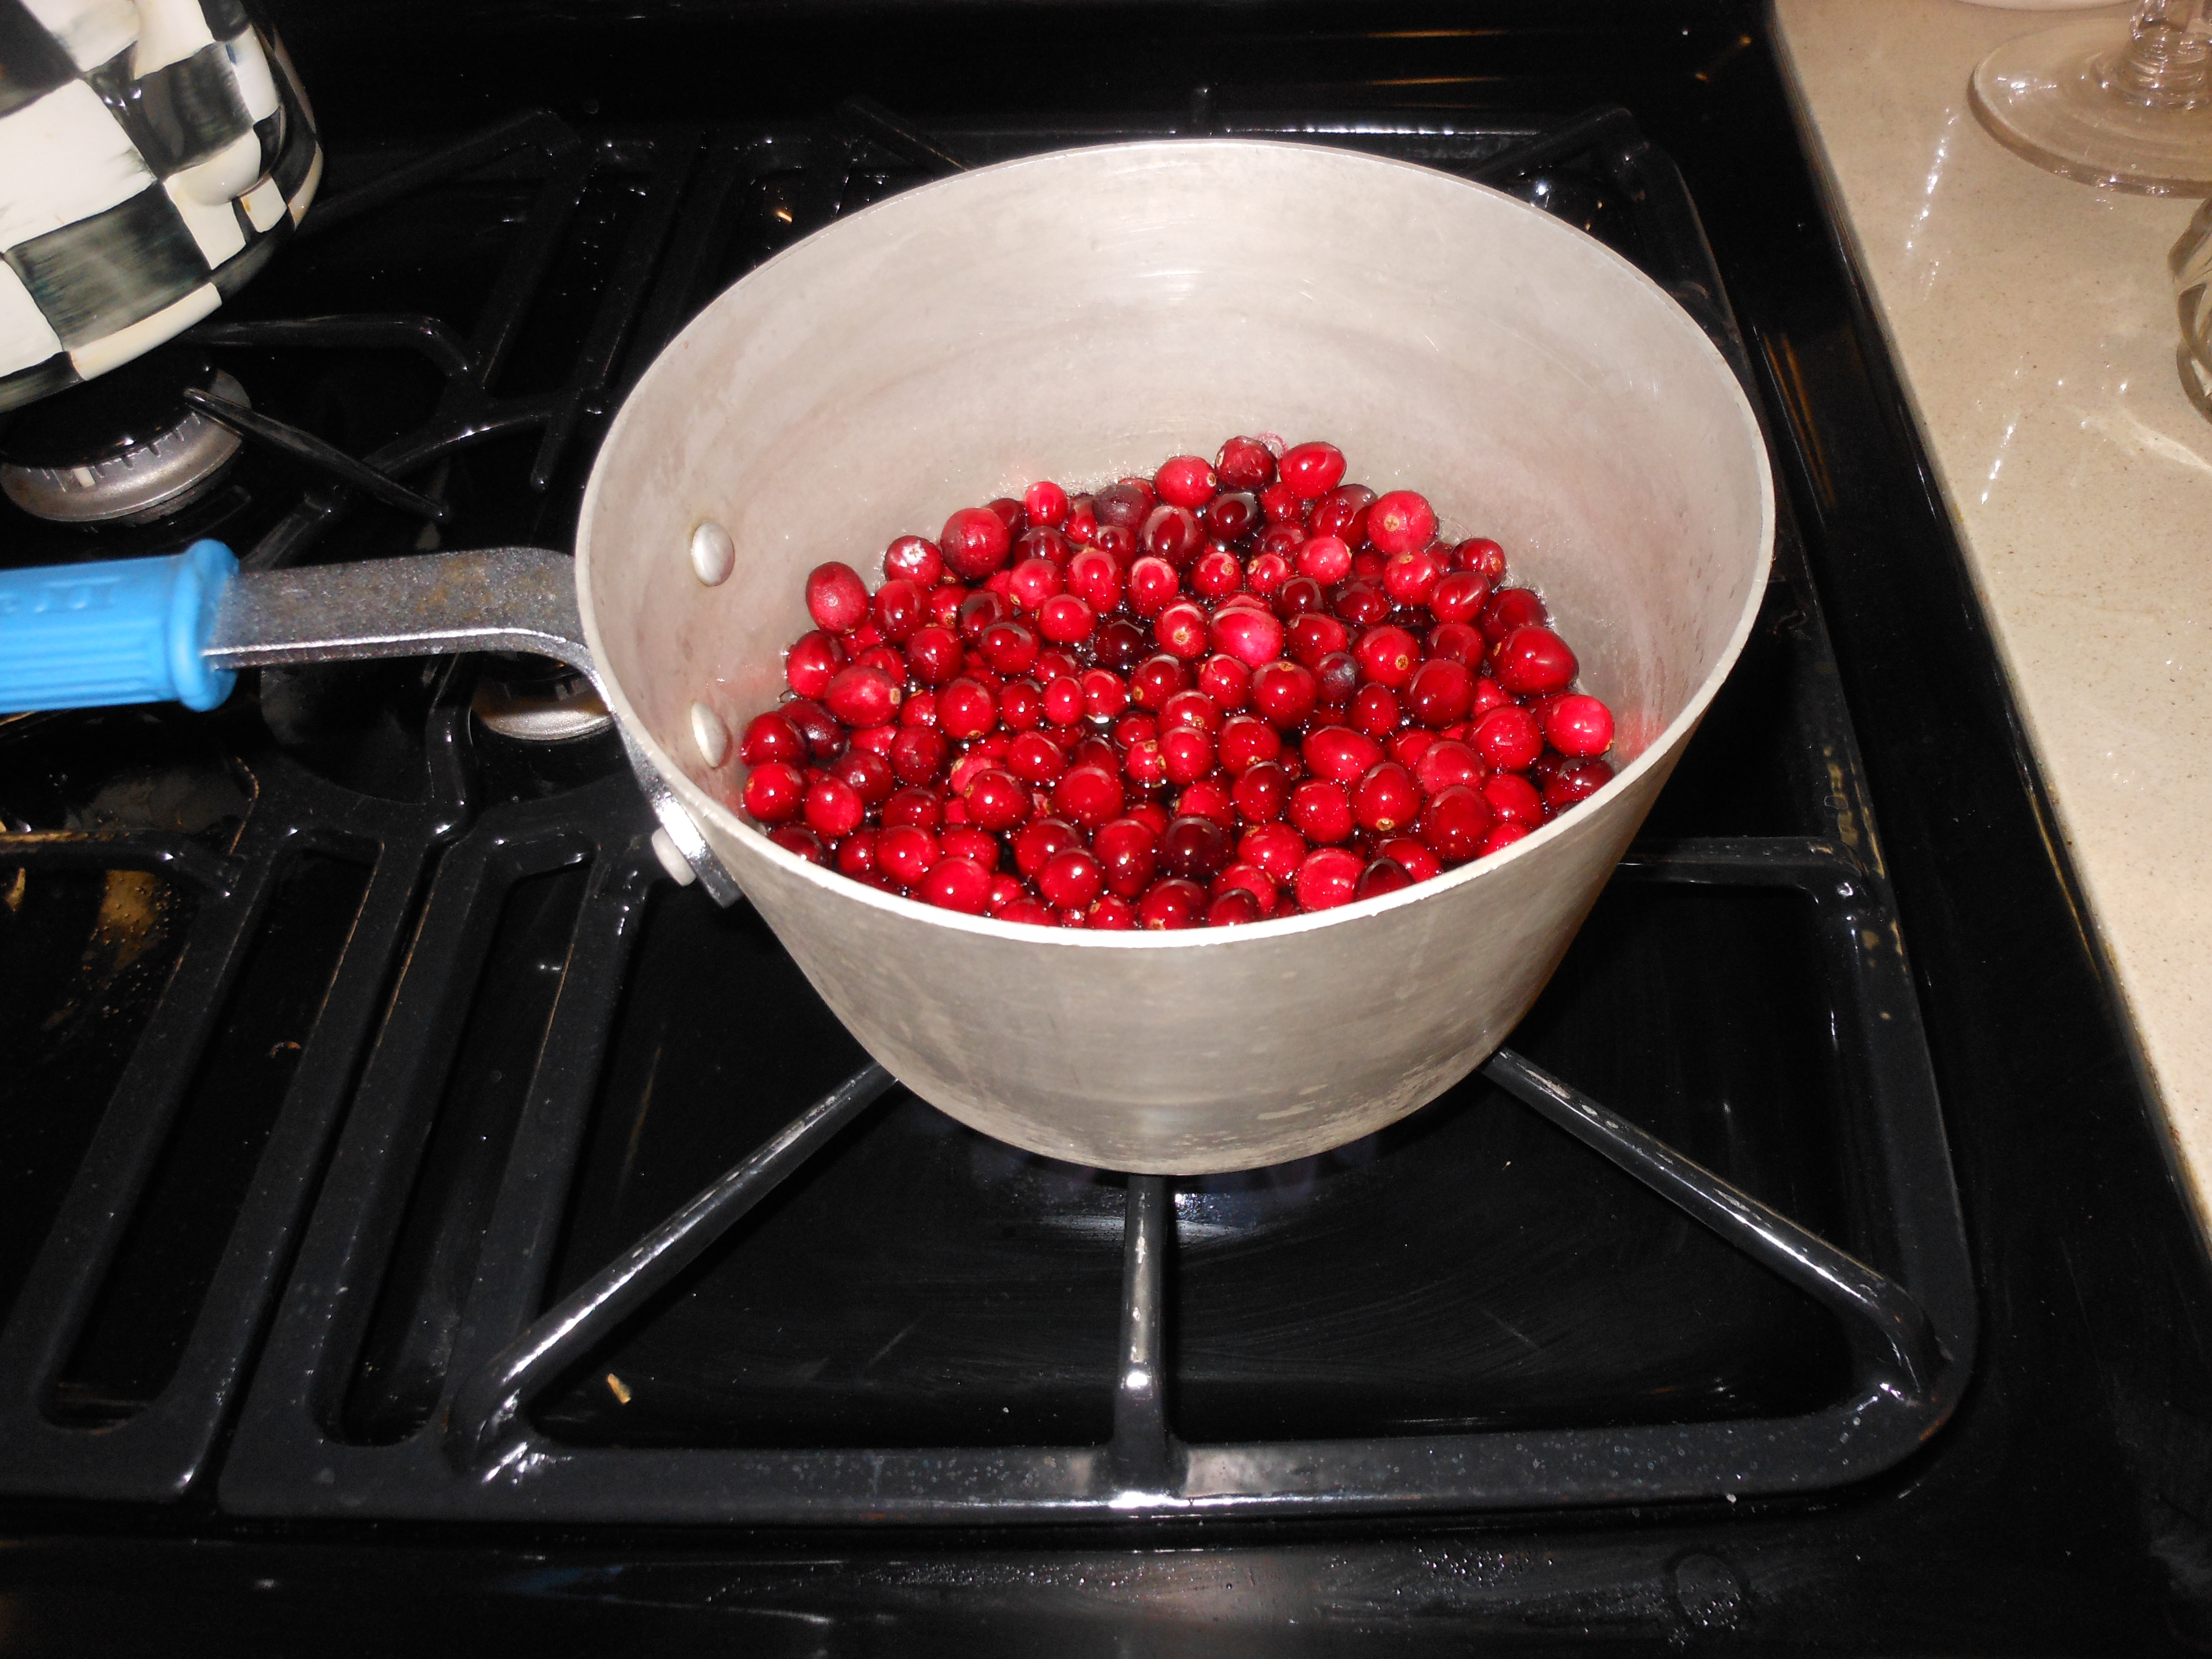
cookingwithcandi 069cookingwithcandioct17 181. This looks so good, and it is pretty easy. So if you’re still in the market for a Thanksgiving Cranberry Sauce give this one a try. I try to keep a few bags of cranberries in my freezer all year round , they are the perfect side to a roast chicken anytime of the year. I always make simple fresh plain Cranberry Sauce and Karyns’s Cranberry Crisp on the holidays. This is a lovely alternative to the simple Fresh Cranberry Sauce recipe or A little twist on Cranberry Sauce on my blog.

Thanks to Joy who is a friend and has been a faithful fan and supporter since the beginning of this blog.  I think we can trust her in the food dept. she knows her stuff!

Recipe as follows: (of course you can double)

Ingredients:

1 12 oz. bag of cranberries

3 granny smith apples , peeled and cut into 1/2 ” cubes

2/3 cup sugar

2/3 cup apple juice

1/2 tsp. cinnamon

1/4 tsp. ground cloves

Directions:

Bring to boil over medium simmer ( about 6 minutes) all of the above ingredients. If it seems too thick add a little water . Refrigerate and serve!

Marshmallow Sweet Potatoes (gotta have ’em)

1/2 eaten Sweet Potatoes with Marshmallows

1/2 eaten Sweet Potatoes with Marshmallows

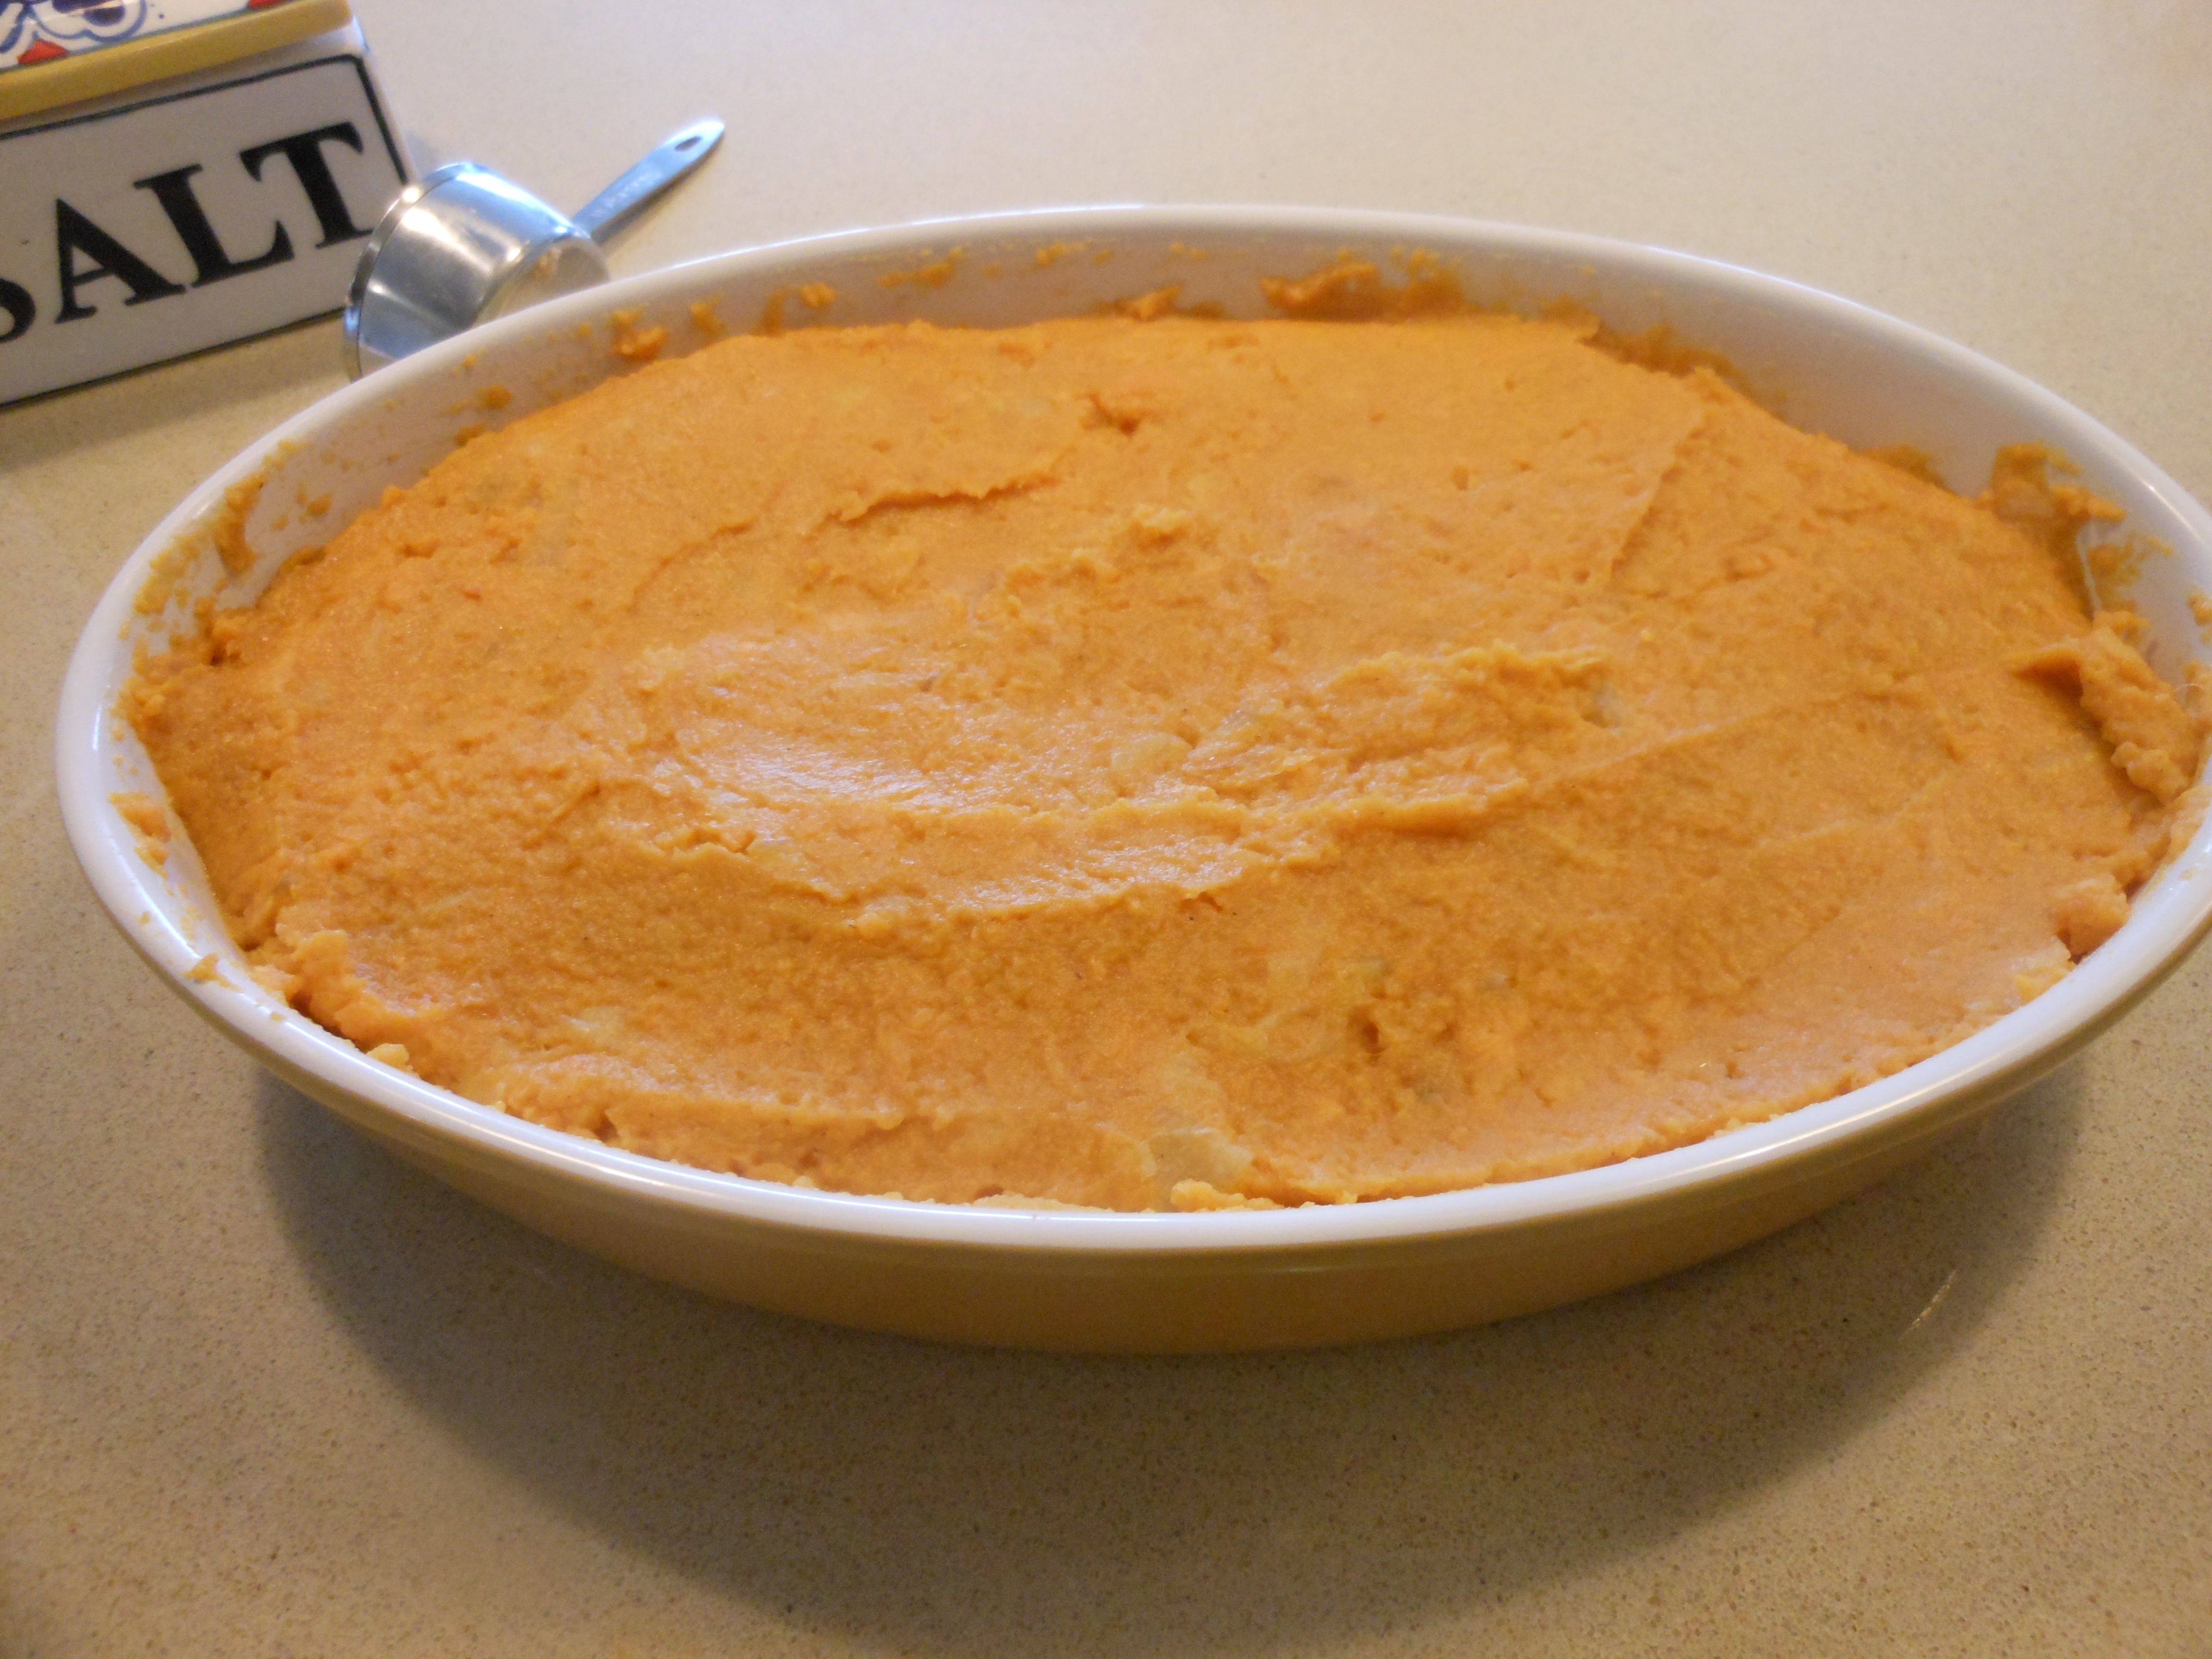
pre marshmallow topping

We always have to have a sweet potato dish with those darn marshmallows! This has a little twist which makes it a bit more interesting. It’s easy, tasty and unique, because I make it with both marshmallows and pecan halves on top. There are probably a million different recipes for mashed sweet potatoes, but this one goes on my table this year.

Ingredients:

3 lbs. sweet potatoes, peeled and cut into 2 inch chunks. Cook Sweet Potatoes (If you want to cheat with the canned ones, I won’t tell anyone, and what’s more is no one will know with all the other stuff in it.) Just drain them well.

1/2 cup whole milk (no skim please)

4 tablespoons unsalted butter (when I double I just add 2 tblsp. butter no need to add 8)

1 can (8 ounces) crushed pineapple, drained

1/4 cup brown sugar, packed

1 teaspoon pumpkin pie spice

1/4 teaspoon kosher salt

20 big marshmallows or mini marshmallows ( as many as you can fit on top)

*40 pecan halves to cover top (you can use only marshmallows if you want)

Directions:

Cover sweet potatoes with cold water in a large pot and bring to a boil. Reduce to a simmer and cook for about 15 minutes or until potatoes are knife tender. Drain and return to pot. Mash potatoes with a masher, then stir in milk, butter, pineapple, brown sugar, pumpkin pie spice and salt.

Transfer mixture to a 2 1/2 quart oval casserole dish, smooth out on top. If you want to make a checkerboard top, start at the top left, and alternate one marshmallow with 2 pecan halves until the entire casserole is covered. Bake at 350 degrees for about 30 minutes or until marshmallows are browned and puffed. If you don’t feel like doing the checkerboard, you can also sprinkle mini marshmallows on top, or some large ones. Whatever you like. This is pretty loose, but you gotta have marshmallows!

*one little tip when making a day ahead which is what I do. I assemble the sweet potatoes and I refrigerate as is till day of Thanksgiving. On Thanksgiving when I am ready to put in oven, I put in oven at 350 degrees for about 1/2 hour then add the marshmallows till they brown up. Also be careful with aluminum foil on top of cooked marshmallows because they tend to stick to the foil.

*this recipe serves about 8 – 10 as a side

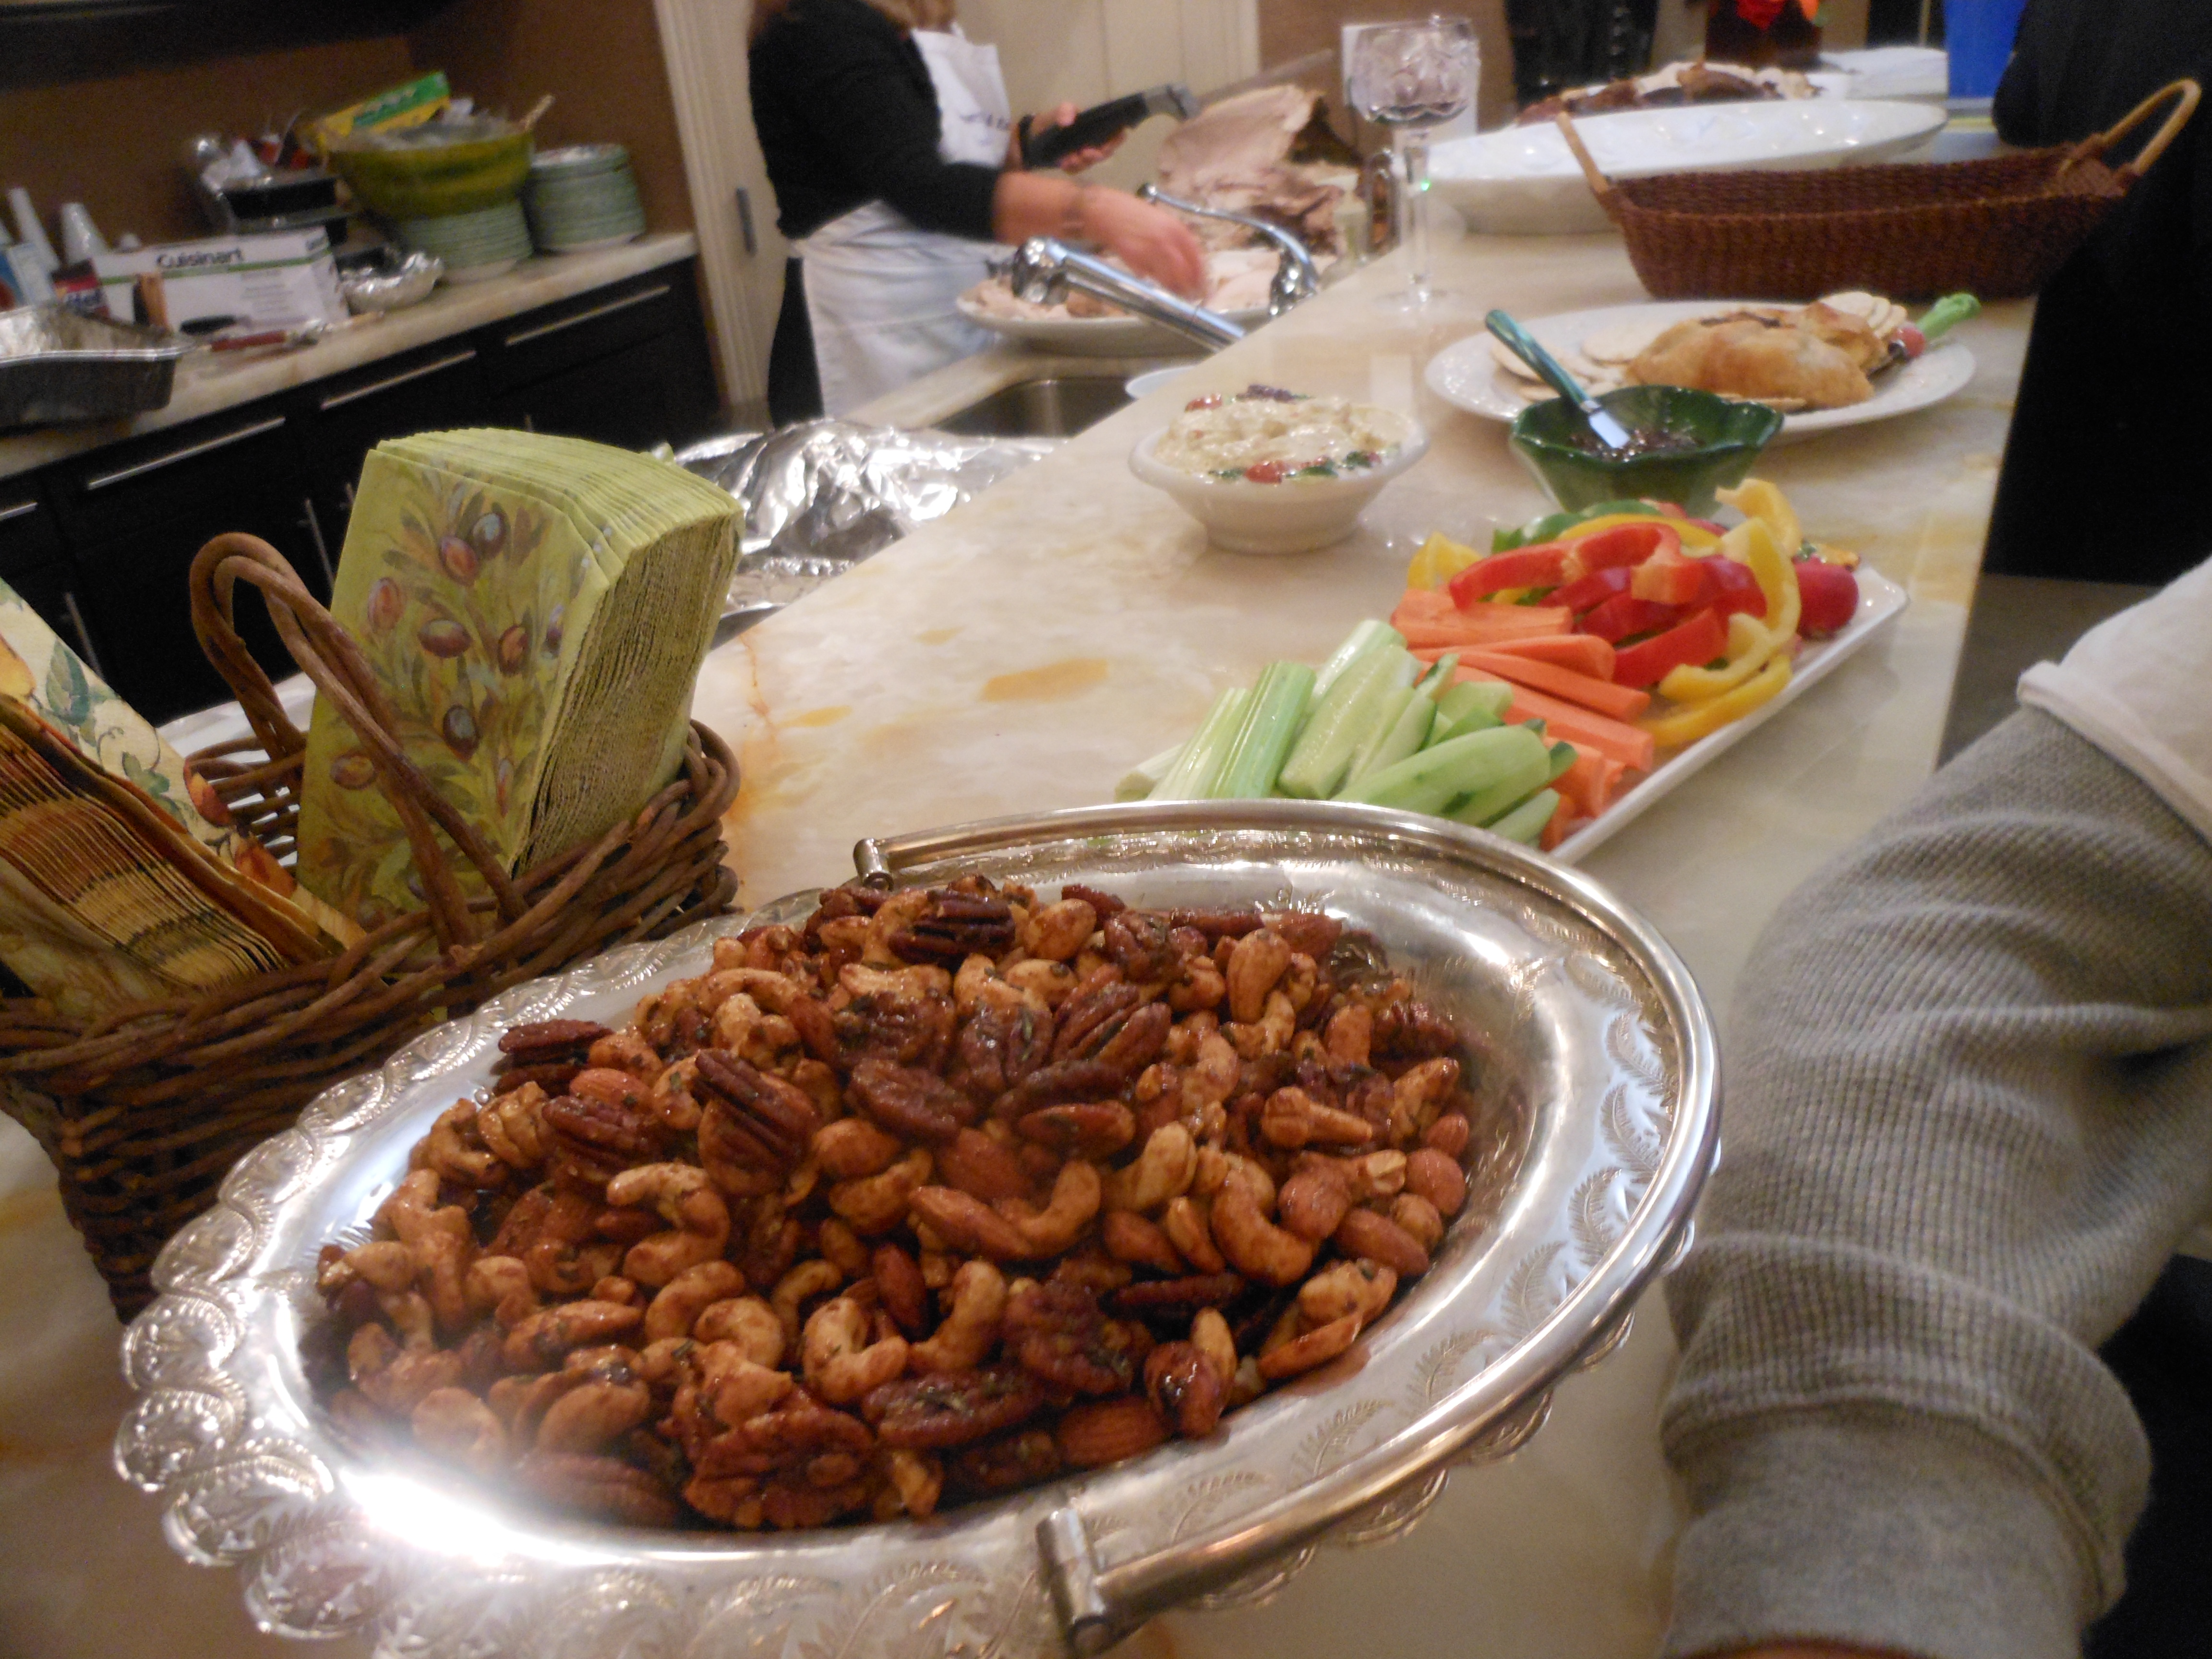
Sweet and Spicy Nuts – Perfect for Thanksgiving

T

My inspiration for this recipe came from Barefoot Contessa. These are my go-to nuts for Thanksgiving. Just a little something to nosh on before the big meal.  These last for a while so you can make ahead and keep them in a baggie or an air tight container.  These nuts make the perfect appetizers, no one who eats nuts can resist. I also like mine with a little “kick”, you can manage the heat on these with more or less cayenne pepper or chipotle powder.

And they make a lovely edible gift to bring to dinner if you’re arriving as a guest. ( check for nut allergies first though)

Enjoy and Happy Thanksgiving from our house to yours. Also a most perfect addition for Christmas so hold on to this recipe –I only post it 1x a year!

Ingredients:

vegetable oil–just enough to brush a sheet pan plus 2 Tbsp. for nuts

7 cups of nuts (you can break it up any way you want. You can do 7 cups of roasted mixed unsalted nuts or any other combination as long as they equal 7 cups. if you can’t find unsalted nuts you can use salted but be sure to adjust the salt on this recipe as per direction below) 

1/3 cup pure maple syrup

1/4 cup light brown sugar, lightly packed

3 tablespoons orange juice (fresh or container. fresh is always best (and one orange will do the trick,) but honestly no biggie.)

2 teaspoons ground chipotle powder–I use 2 teaspoons but if you really like them mild use a little less. You can also use cayenne pepper and sometimes I use a little of both.

4 tablespoons minced fresh rosemary leaves (divide 2 tablespoons for now and 2 tablespoons for later)

4 teaspoons Kosher salt (also divided 2 for now and 2 for later. don’t add second 2 teaspoons of salt if you bought salted nuts)

Preheat oven to 350

Brush a sheet pan (prefer one with sides) generously with vegetable oil (use a brush, love the silicone brushes)

First, combine nuts, 2 tablespoons of vegetable oil, maple syrup, brown sugar, orange juice, and chipotle powder in a large bowl (I prefer a large metal bowl). Toss to coat the nuts evenly.

Add 2 tablespoons of the minced rosemary and 2 teaspoons of the kosher salt and give it a good toss (a large metal spoon works the best b/c it can get a little sticky with a wooden spoon.)

Spread nuts in a single layer on sheet pan.

Roast nuts for 25 minutes, stirring twice. You will want to take them out of the oven to stir them b/c they may slide off the tray. Use a metal spatula. Roast for the rest of the 25 minutes until nuts are glazed .

Remove from the oven, and sprinkle with remaining 2 teaspoons of kosher salt (only if they were unsalted) and add the remaining 2 tablespoons of rosemary.

Toss well and set aside at room temp.

While they are cooling, stir them up a few times b/c they may stick together.

Taste for seasoning. They really don’t achieve full flavor until they fully cool. So you won’t know how spicy they are until they sit for a while. I’ve made these a million times and can tell you that this amount of chipotle has kick, but not psycho hot.

Serve warm, or let them cool. Put them in a container and serve whenever you like. They stay good for a long time.

*just a note: you can adjust salt, rosemary, and chipotle to your liking. I have recipe for Union Square Nuts and they don’t have chipotle and are also delish but I prefer these b/c I love the heat of the chipotle!

Enjoy!

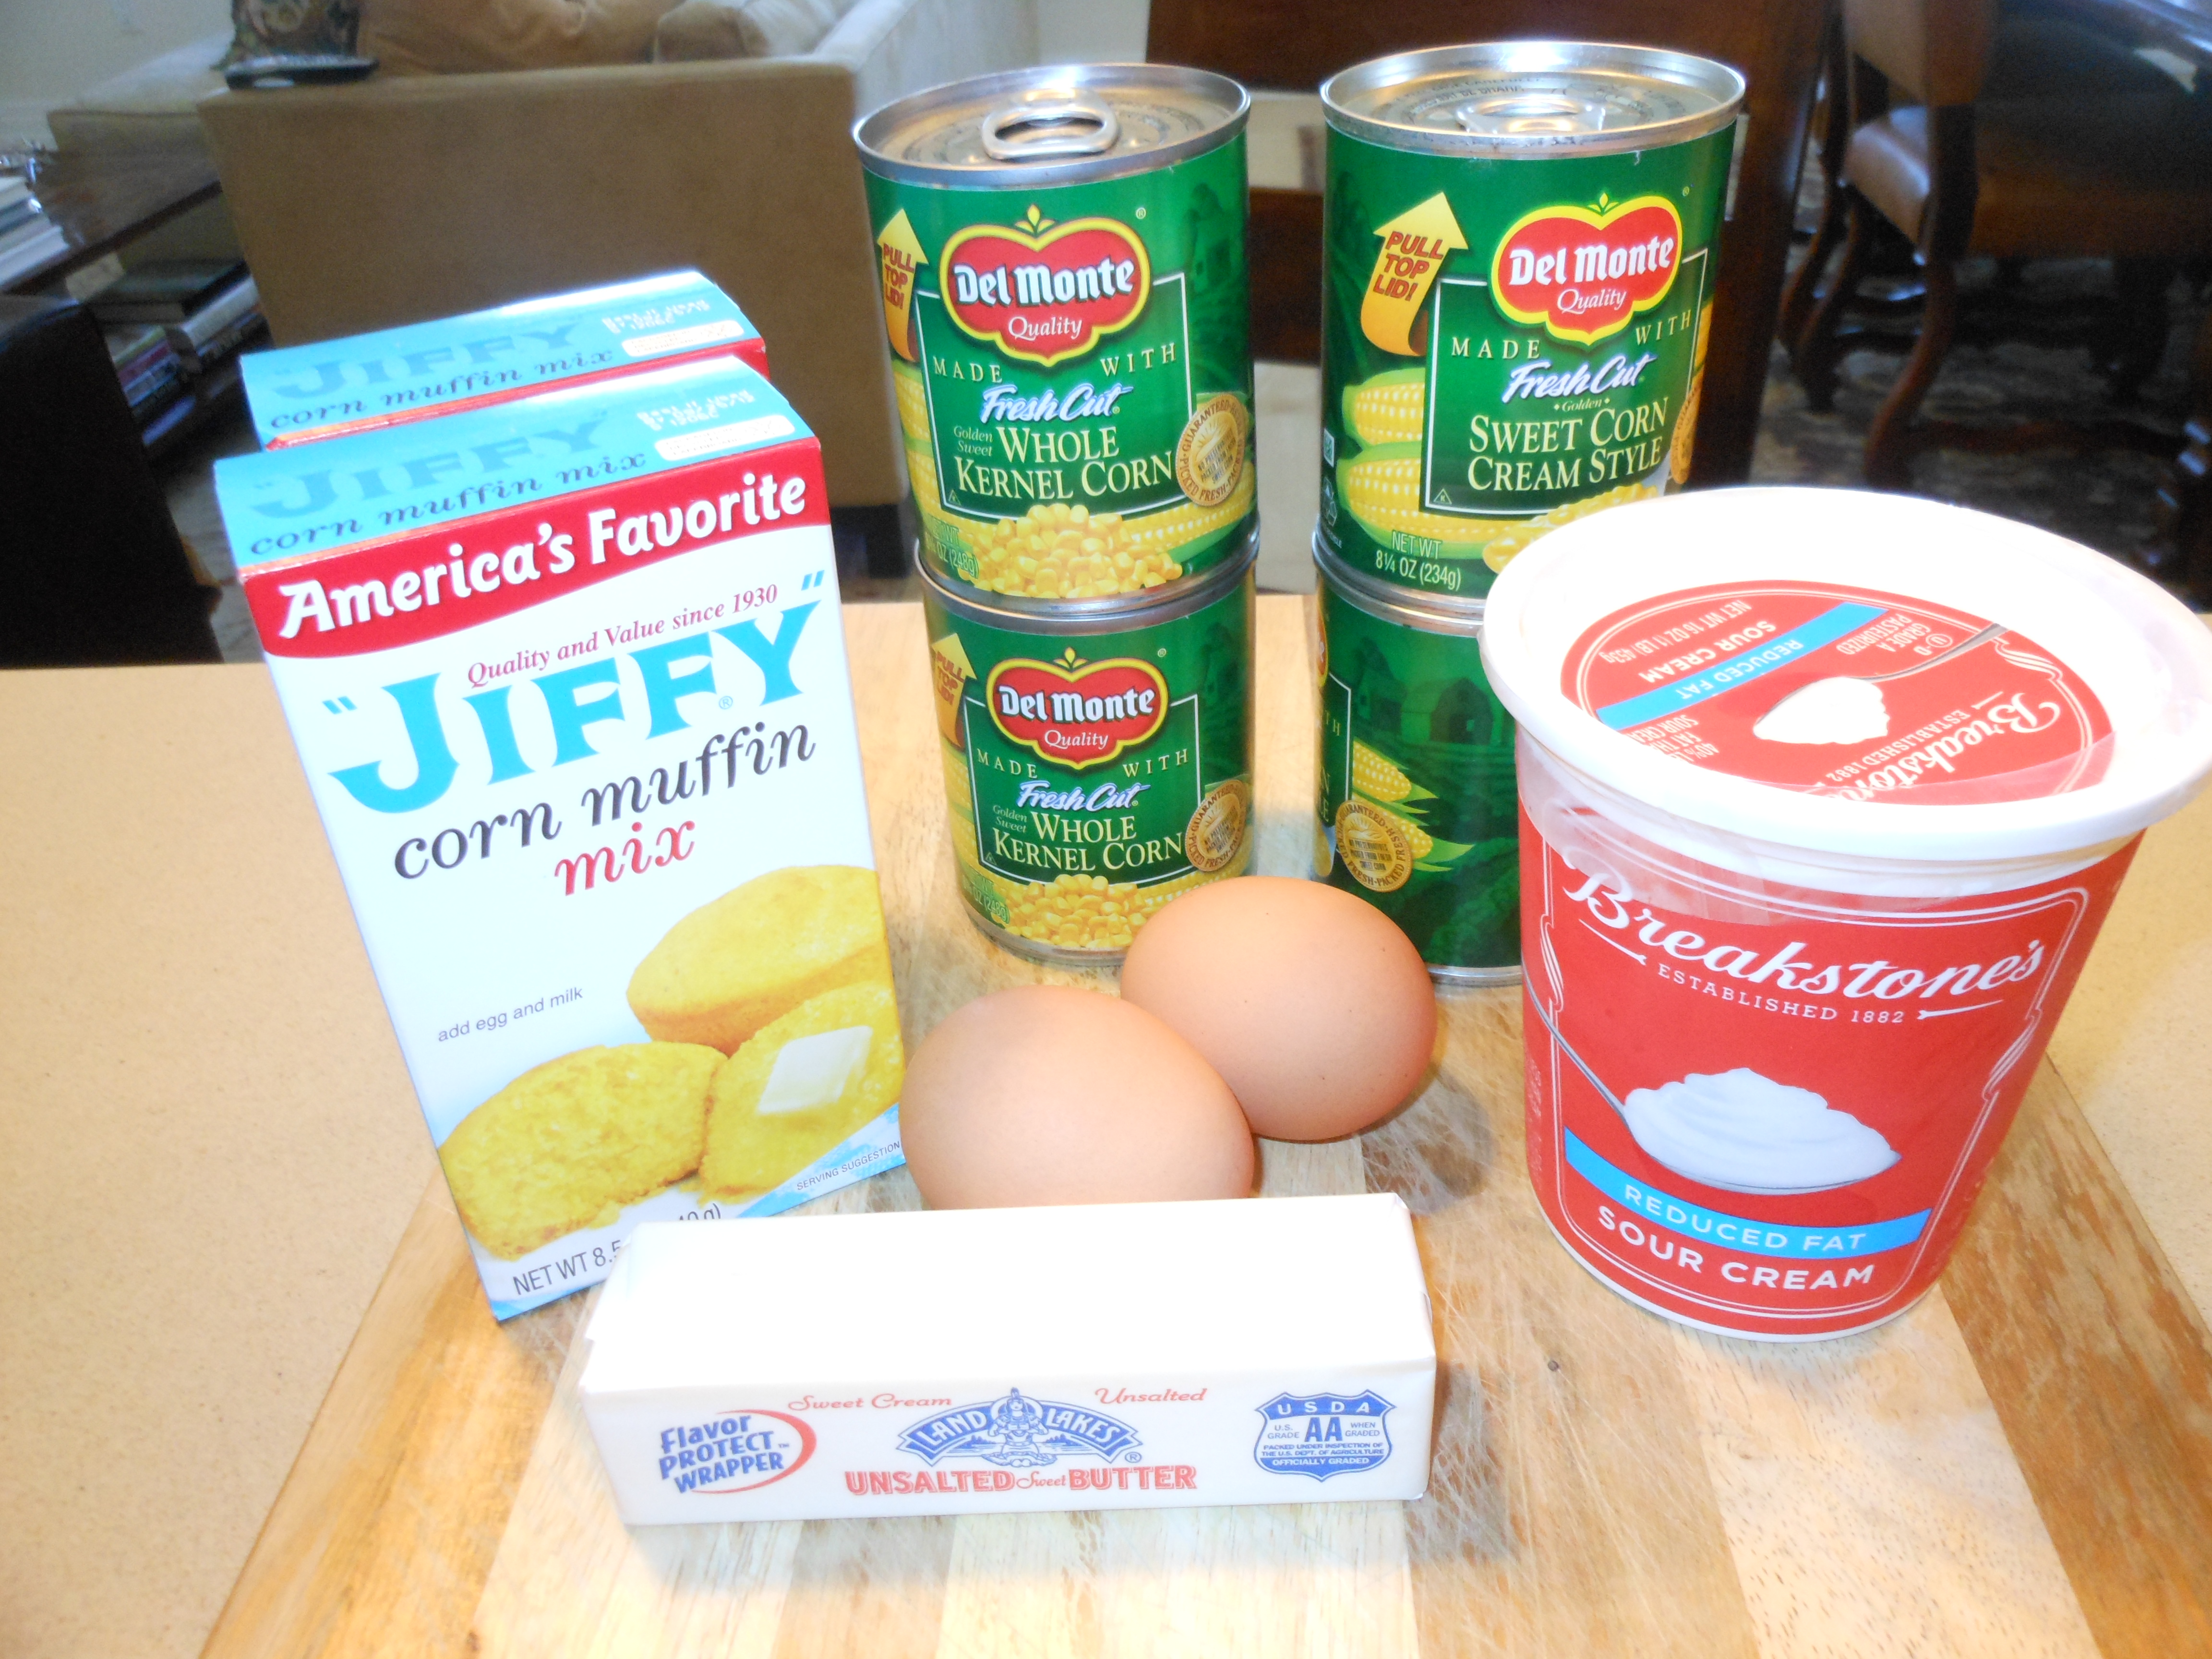
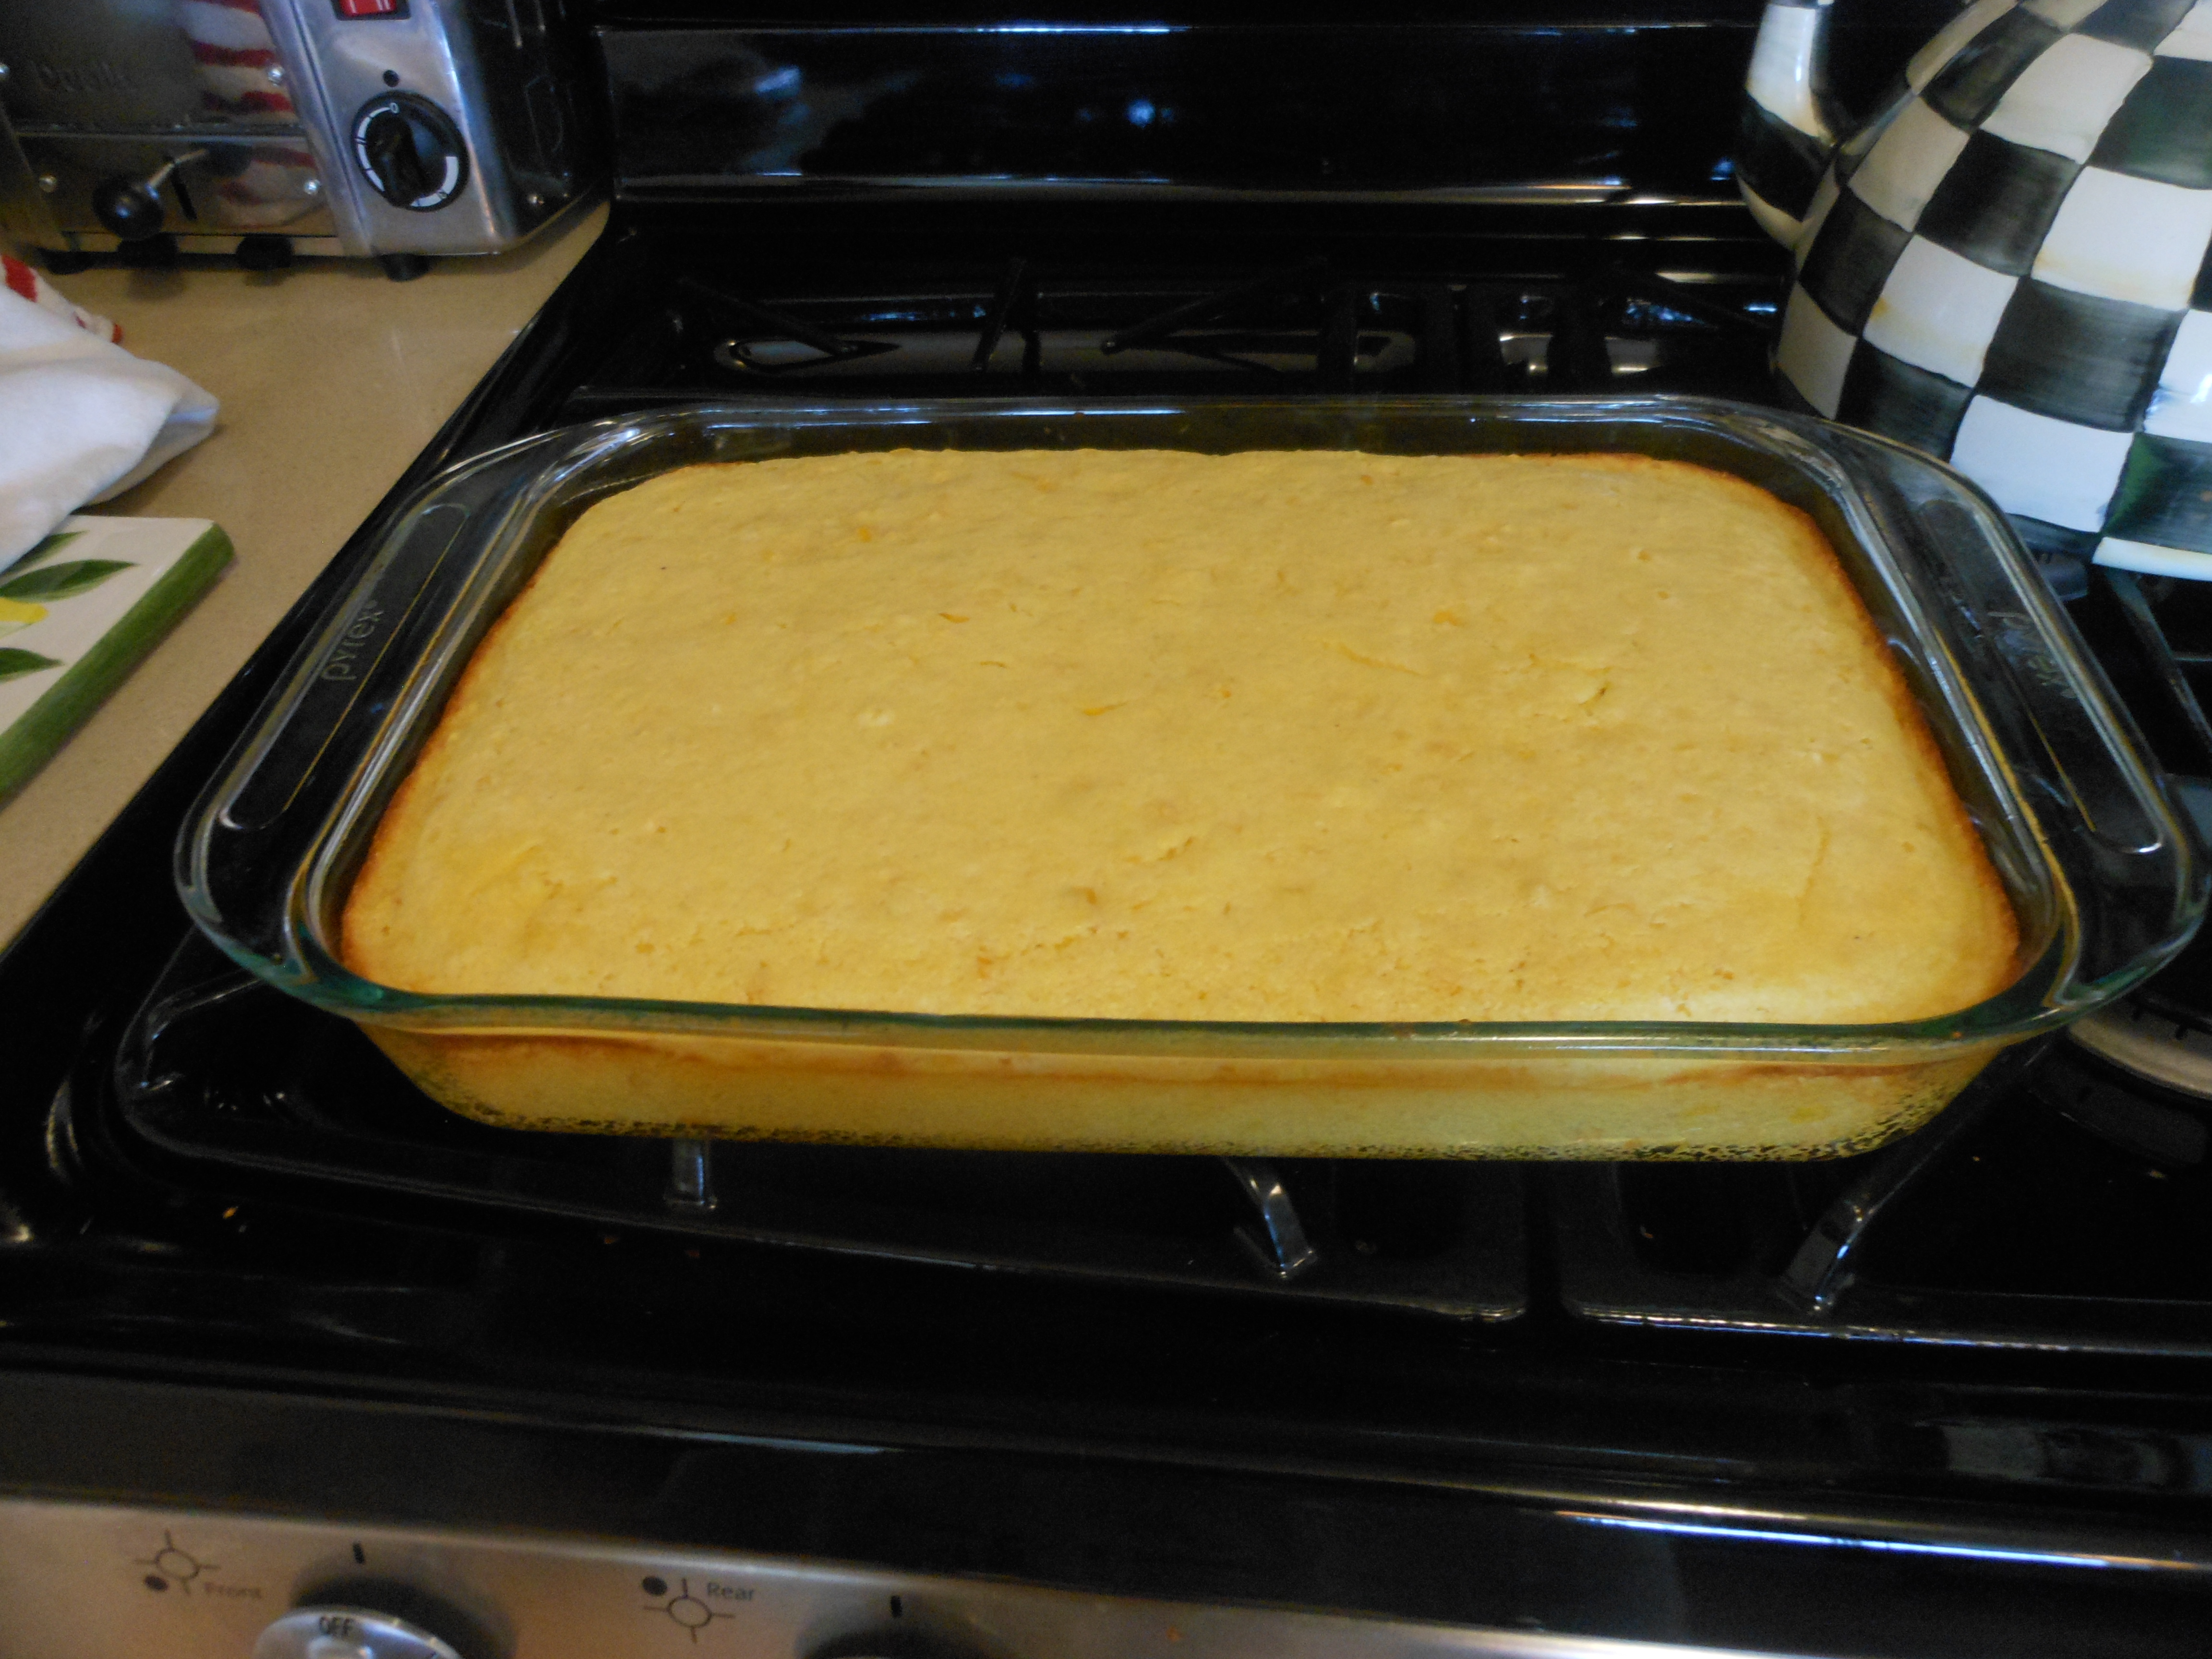
Thanksgiving Corn Bread Pudding

This has to be one of my all time favorite side dishes for Thanksgiving. It really would be great any time of year but for some reason it only gets made for Thanksgiving. It’s super easy and super delicious. My friend Audrey gave this recipe to me many years ago, and it has become a staple on our thanksgiving table ever since. It just wouldn’t be Thanksgiving without it. It is a favorite in our family. Can be doubled easily, just make sure your baking dish is large enough.

Enjoy!

This one is very special and a real winner! and super easy!

Ingredients:

1/2 cup butter (unsalted) 1 stick

1 8 oz. sour cream (lite is OK  but not fat-free)

1 8 oz.  can sweet corn (drained)

1 8 oz. can creamed corn (not drained)

1 8 oz. pkg. corn muffin mix

2 eggs, lightly beaten

Directions:

Preheat oven to 350 degrees.

Melt butter, mix in beaten eggs, then add the rest of the ingredients.

Pour into glass baking dish (Pyrex is good and I spray it first with a good cooking spray like Pam or Bakers Aid ) 9 x 12 works fine, it’s not a very deep pudding.

Bake at 350 degrees for 35 minutes.

Pumpkin Cupcakes with Cream Cheese Frosting–Fall Treats

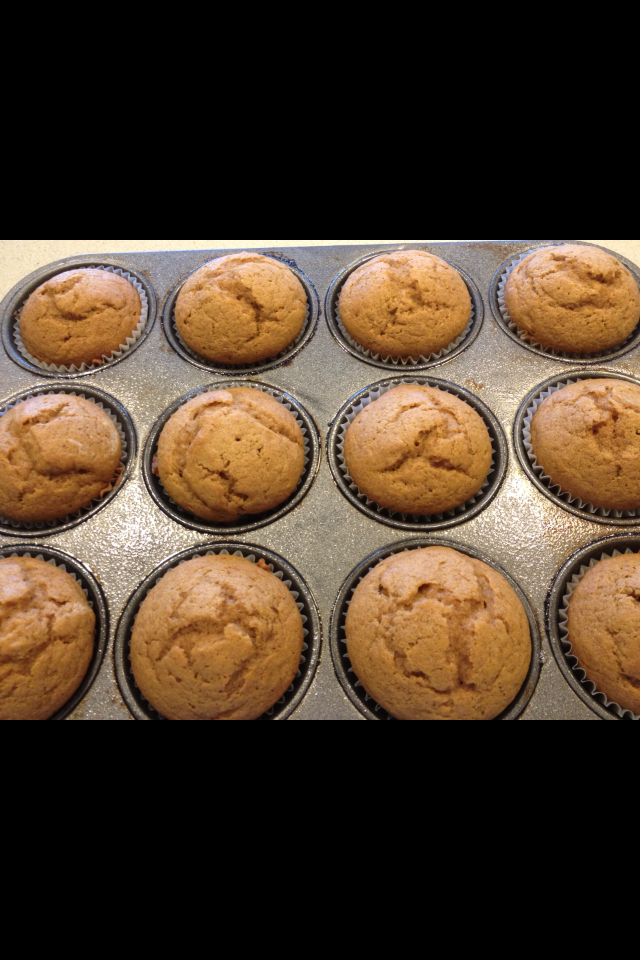
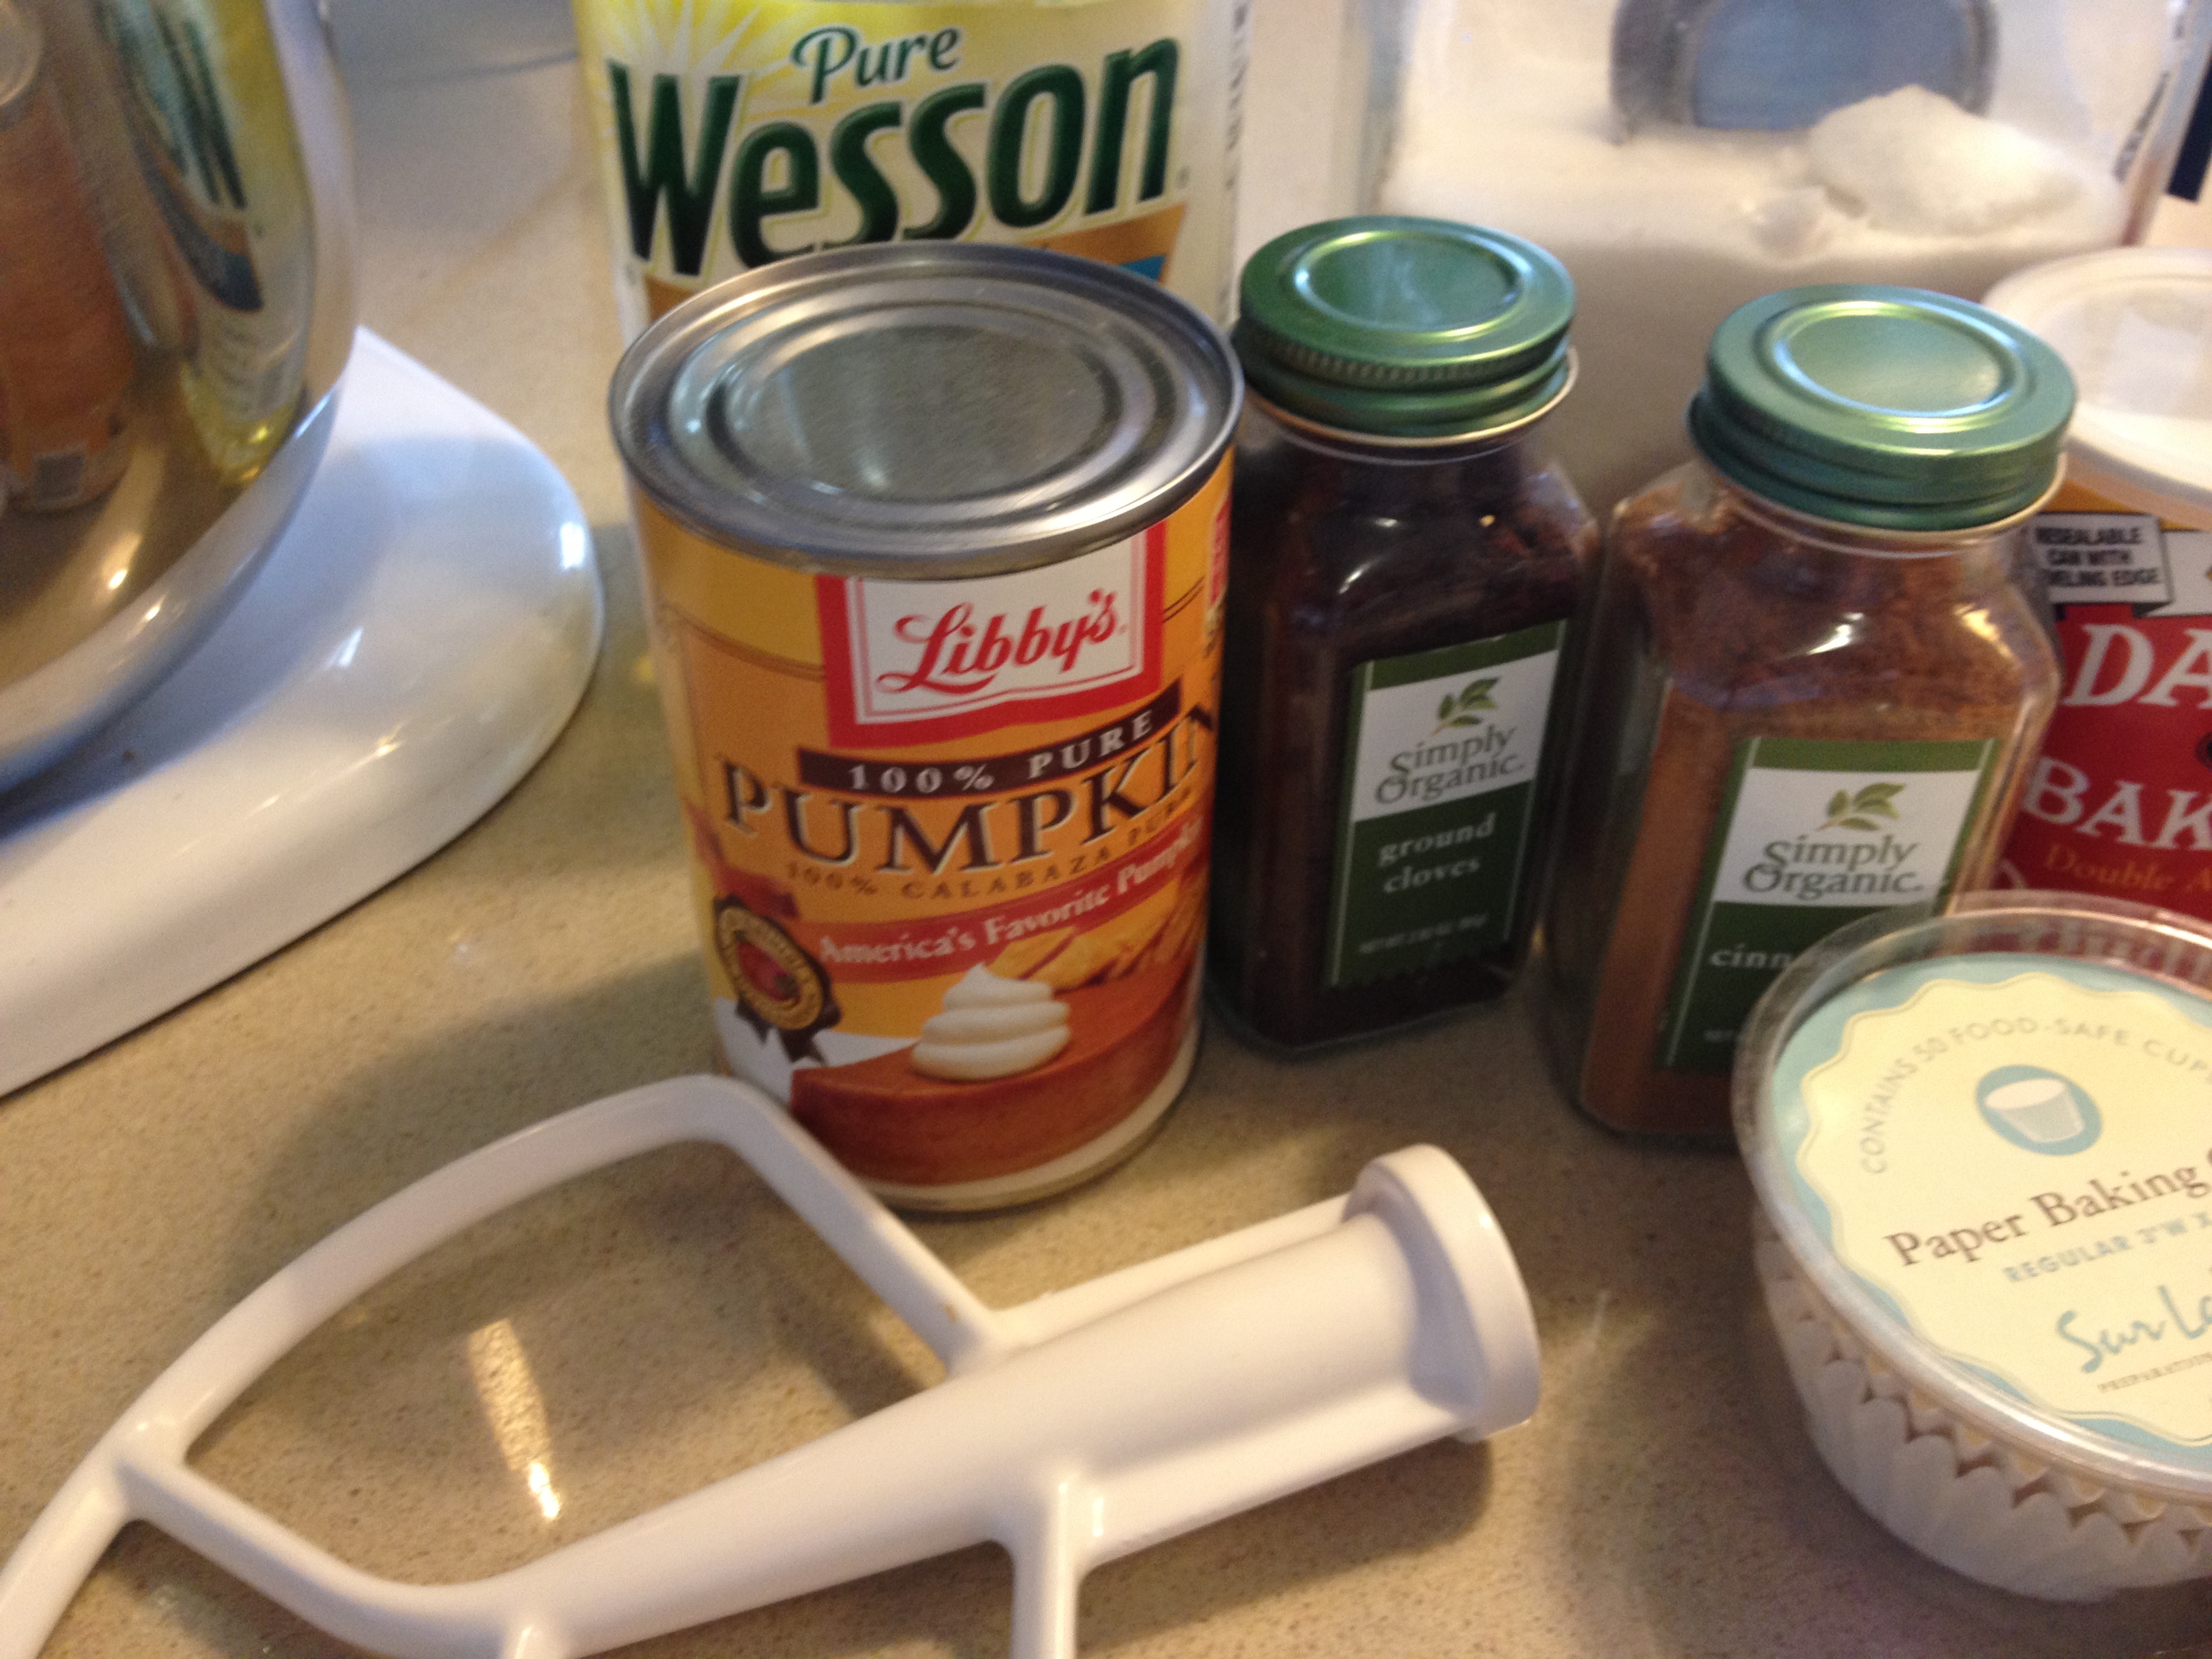
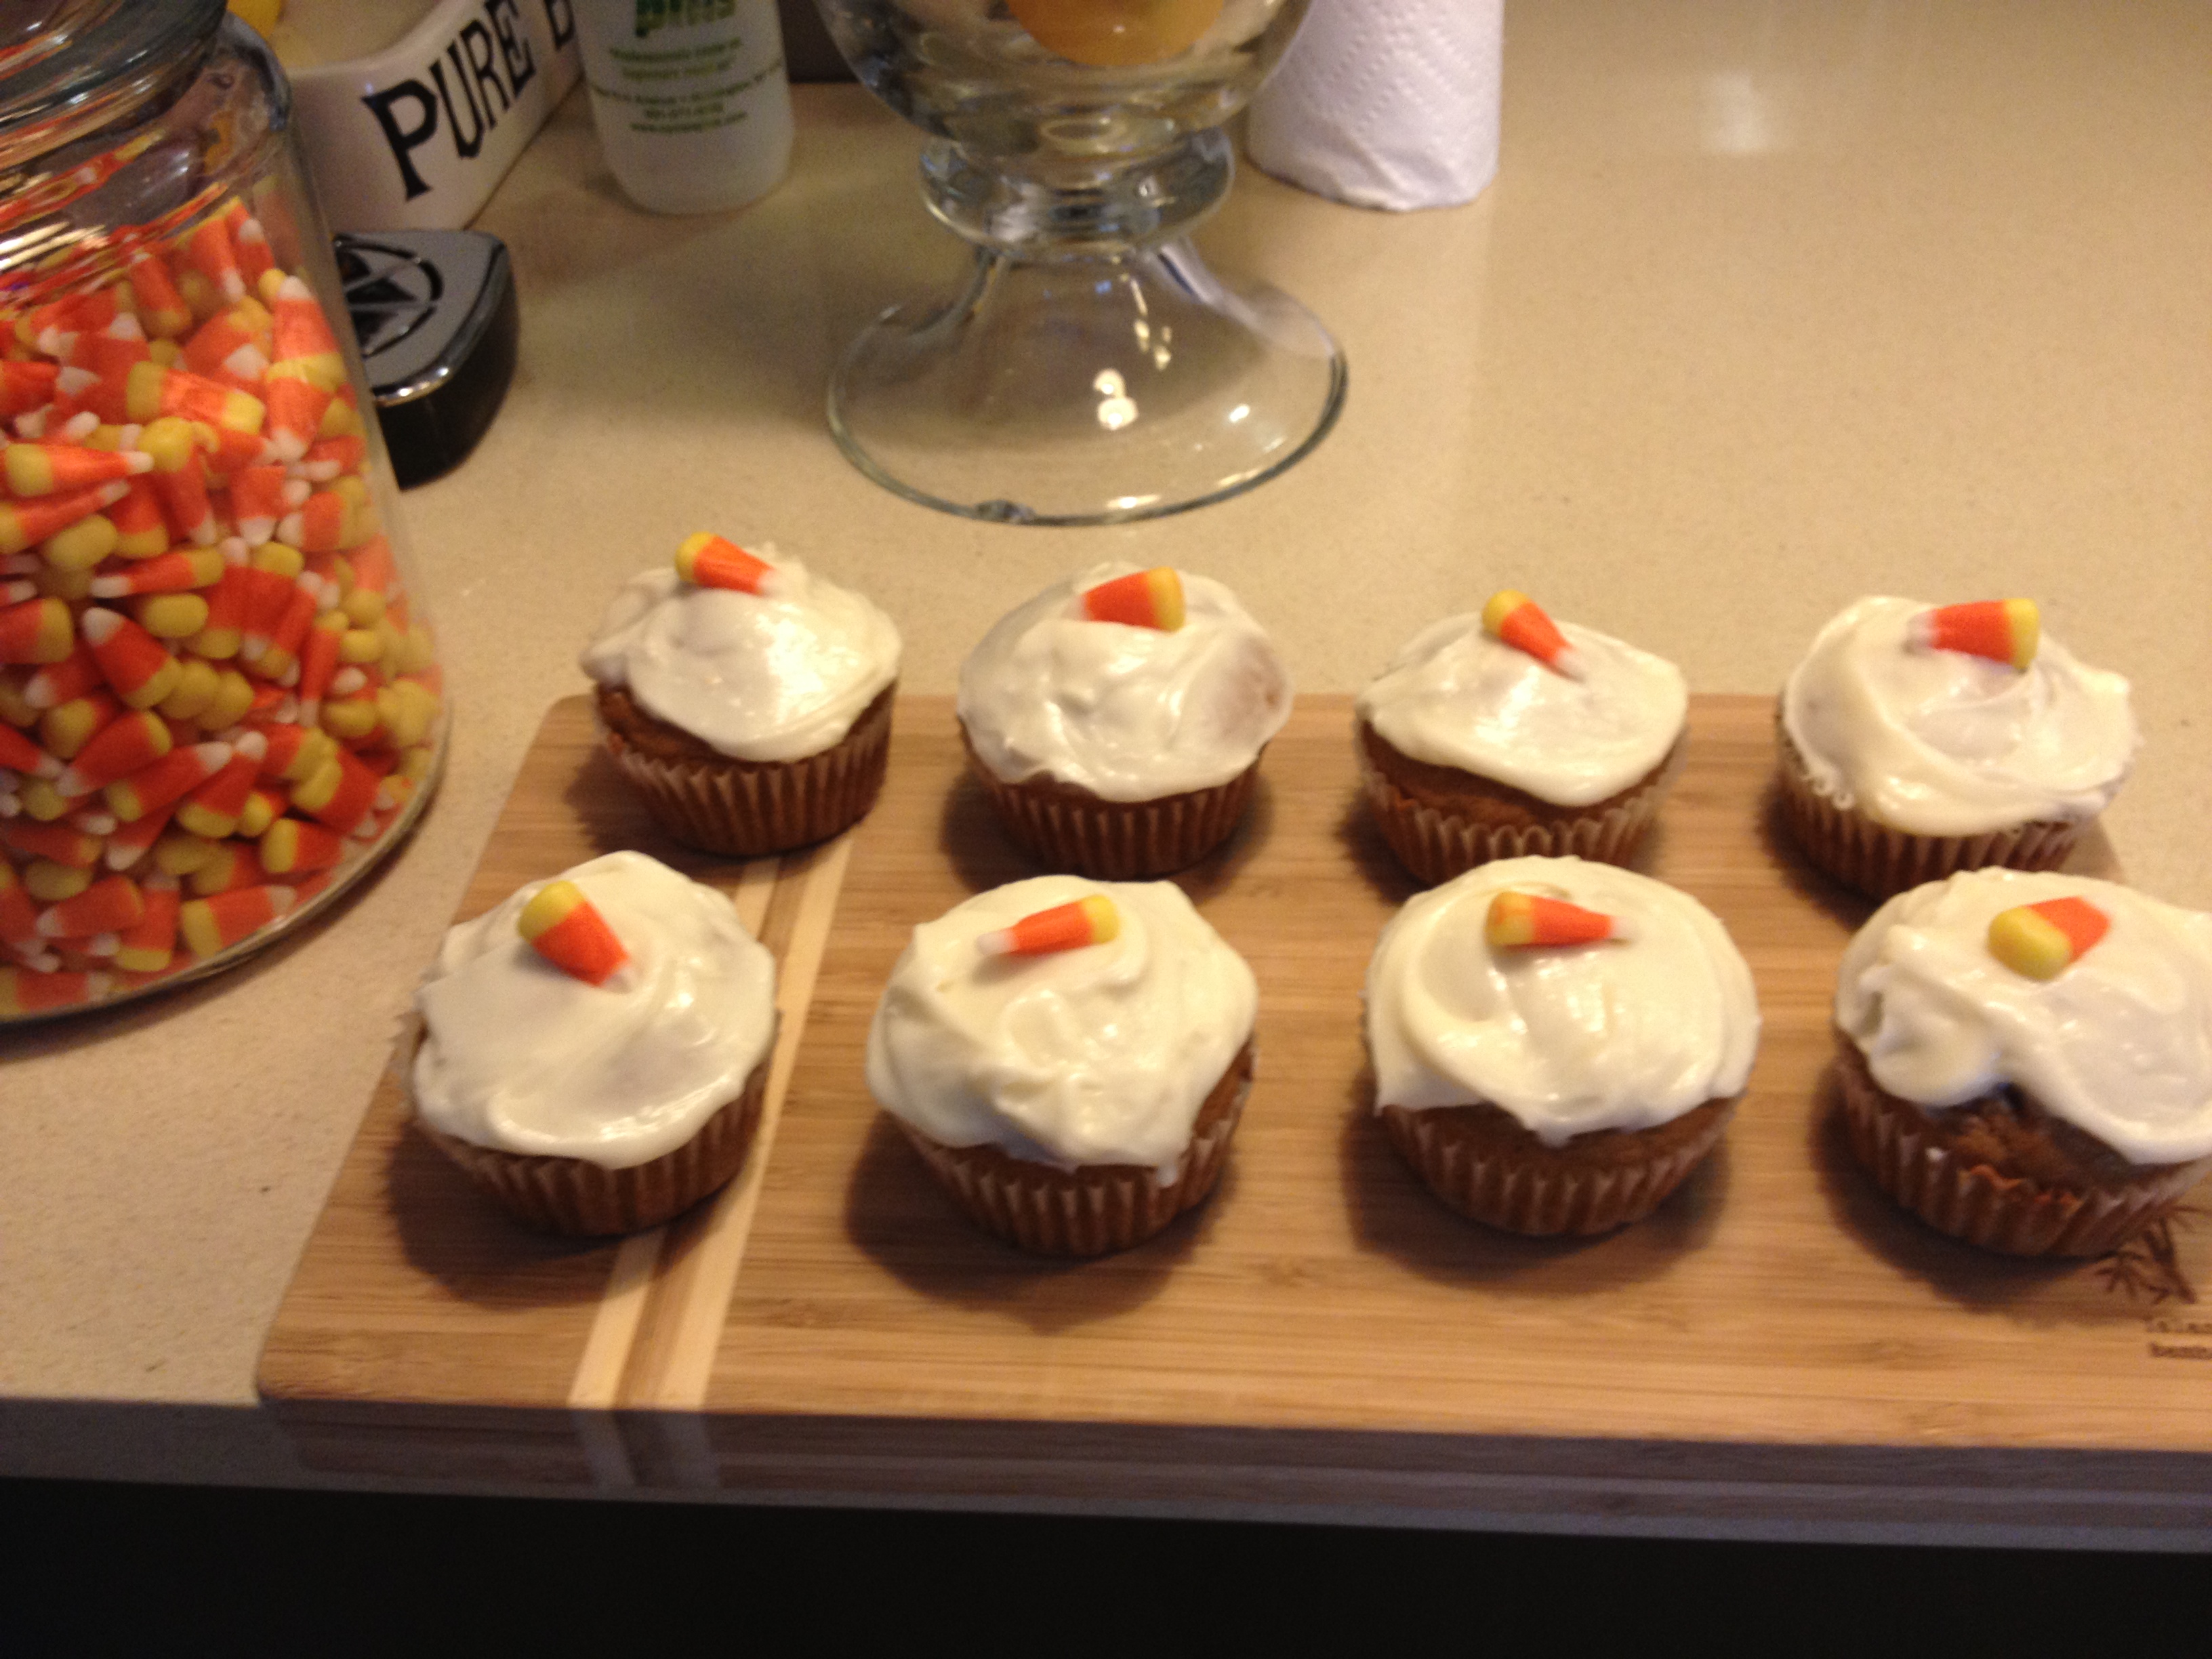
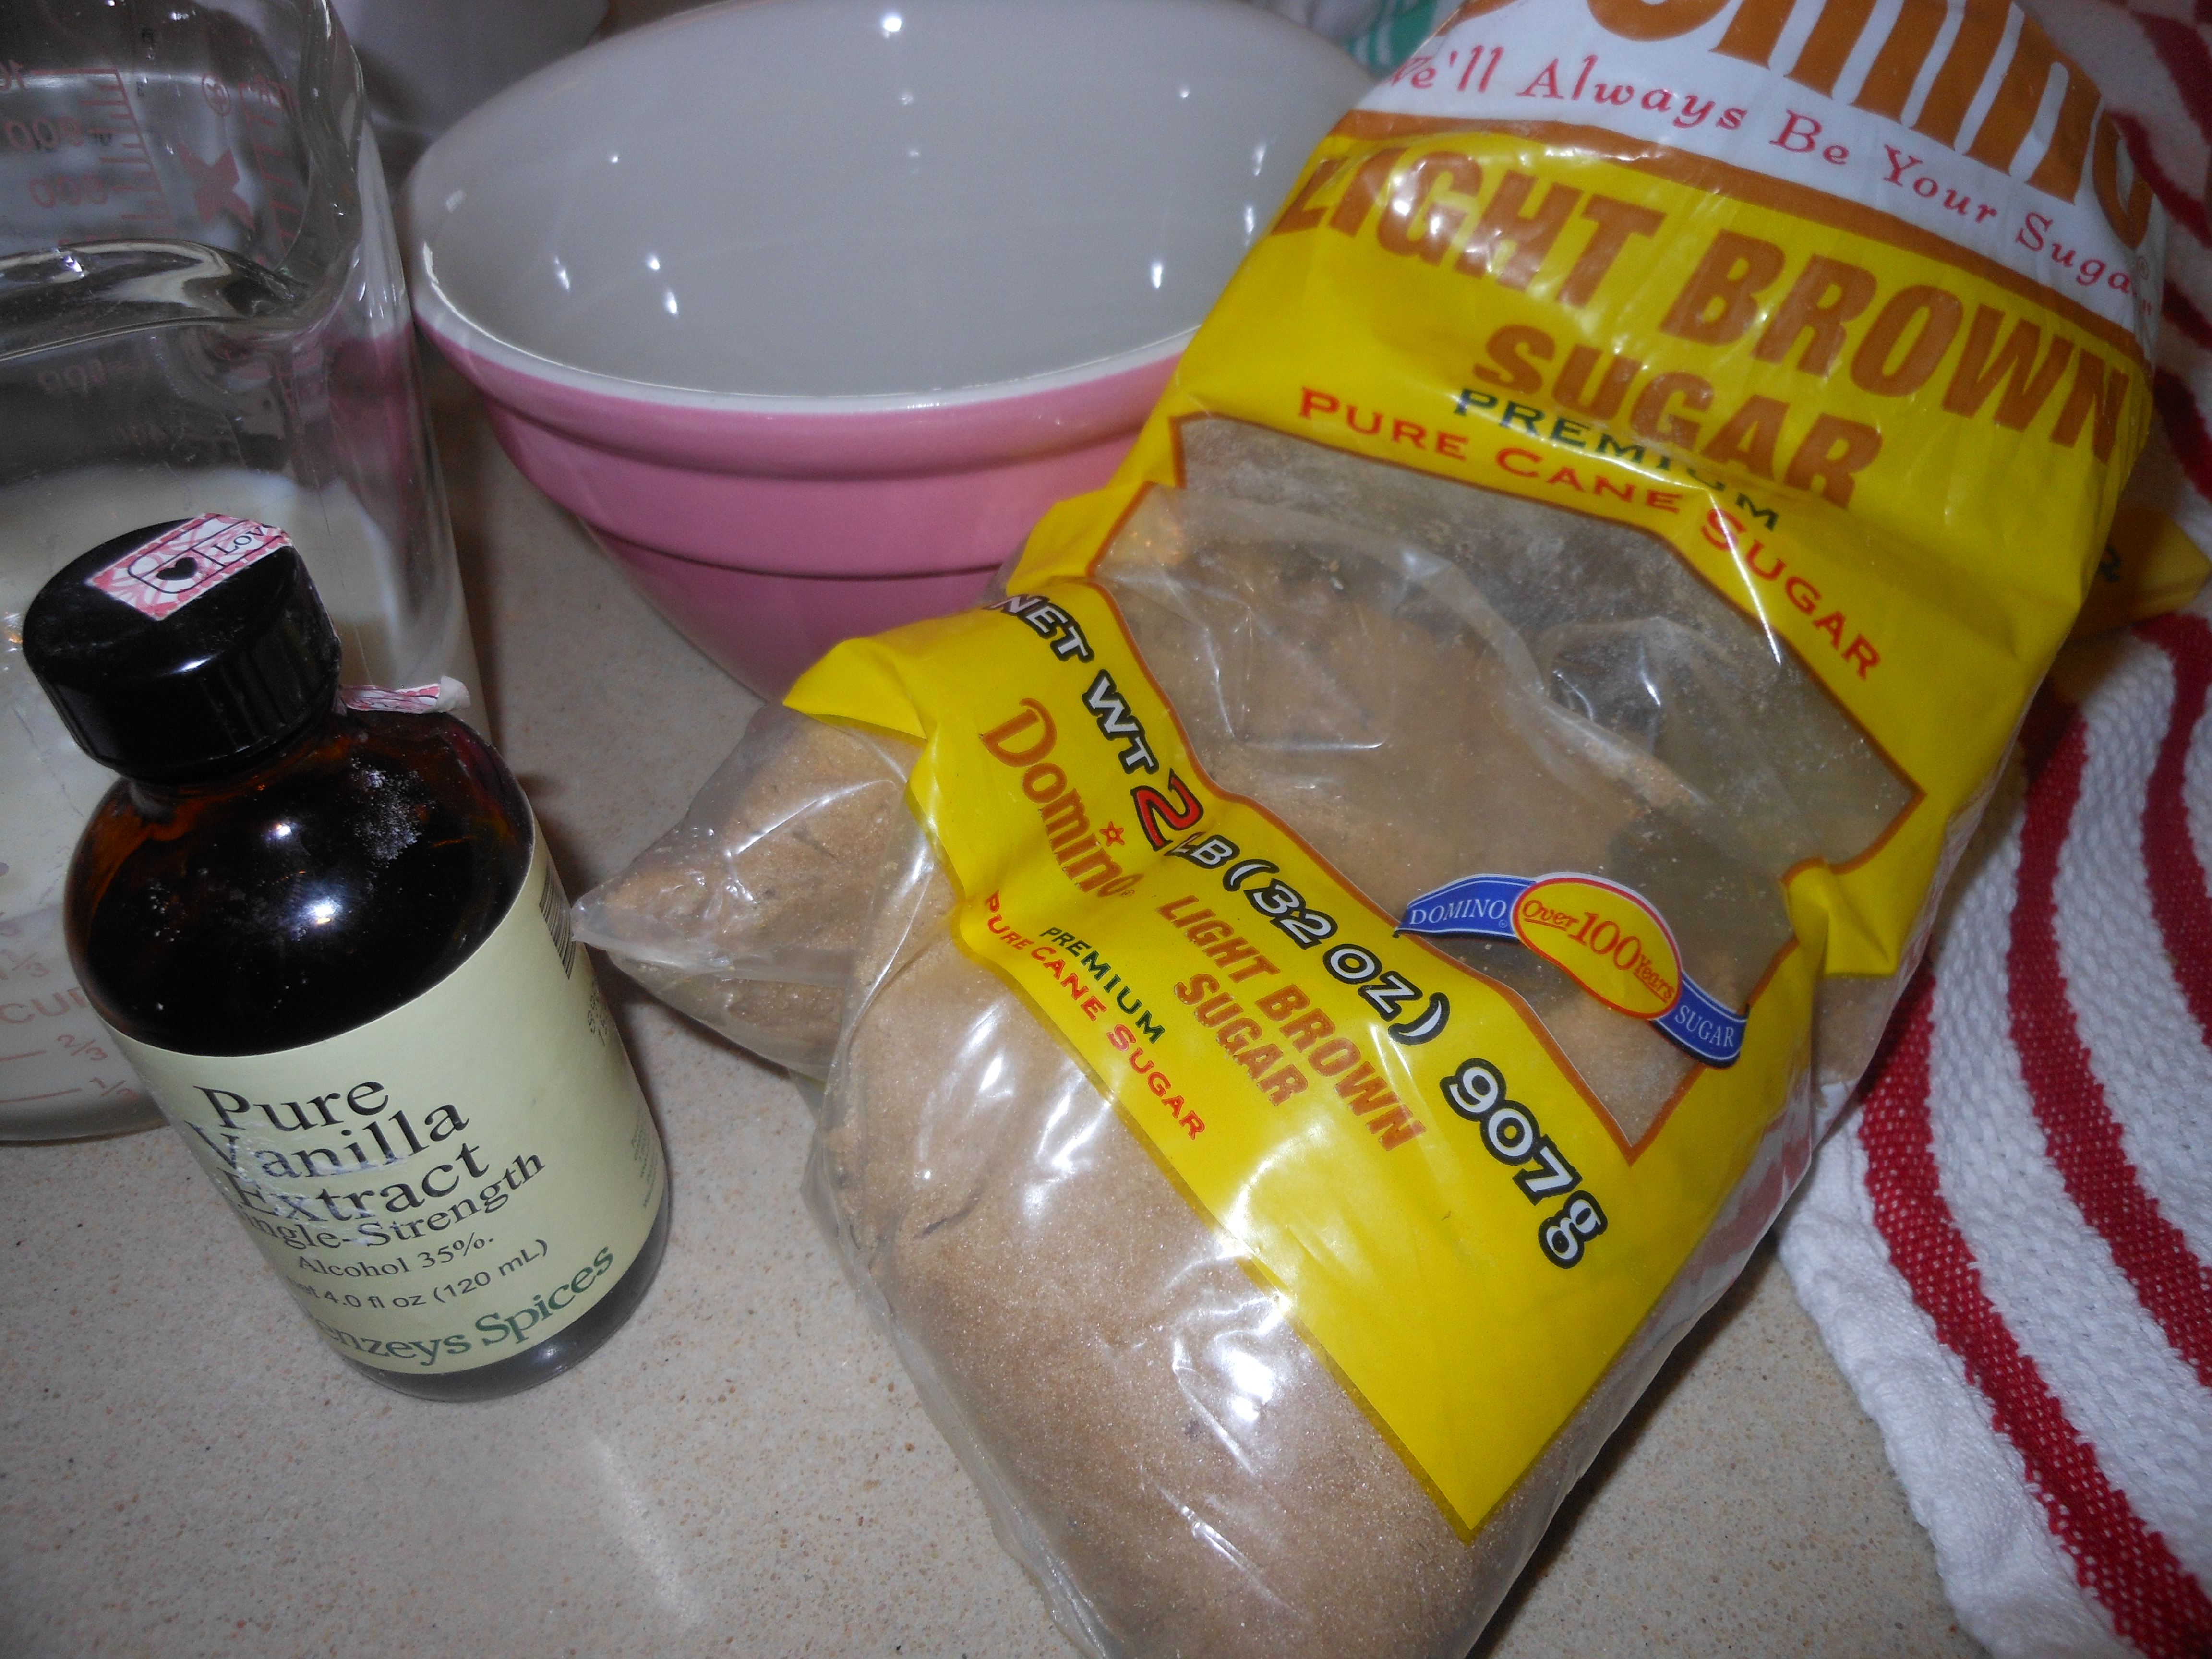
photo (4)photo (16) photo (17) photo (18) photo (19)There are a few things I really love to eat. Mostly anything sweet and mostly dessert. Anyone who knows me well knows that I have a sweet tooth. Funny that my name is Candi and I love candy, cookies, cakes and ice cream so very much. I would probably pass on most entrees and just cut to dessert if I had my way . When I was a kid I would gladly trade a sandwich for dessert any day of the week. Some things never change. I’d like to believe that my tastes in dessert have changed a wee bit and that I have a bit more of a sophisticated palate now but not when it comes to candy,  I still love junk candy as much as I did when I was 6. However my taste in cake has definitely improved with age. I don’t think I would have enjoyed pumpkin cake as a kid but I really love it now. Anything baked with pumpkin gets high marks in my book and if you put cream cheese frosting on it it’s off the charts.   It’s just the right amount of sugar and spice! A most perfect Fall Cake or cupcake.   It really is a very easy recipe to follow ,  I made cupcakes but you can easily make this in a Pyrex 9 x13 inch pan as a sheet cake and frost it and decorate with candy corn or those little candy pumpkins! Nice little treat for those little trick or treaters in your house.

Now you can make these without frosting and just eat like muffins with a little smear of cream cheese which wouldn’t be too bad either.

Happy Halloween Everyone!!!

follow me @cookingwithcandi on Instagram

Shopping List:

1 can Pumpkin ( not pumpkin pie filling just Pumpkin) 15 oz. size

cream cheese  and paper liners for cupcakes

Staples: (things you should have in your Pantry and fridge all the time)

all-purpose flour, sugar, baking powder, baking soda, cinnamon, ground cloves, salt, vegetable oil, eggs, confectioner’s sugar, unsalted butter, vanilla extract, and milk

Ingredients:

2 cups of all-purpose flour

1 cup of sugar

2 tsp. baking powder

1 tsp. baking soda

1 tsp. cinnamon

1 tsp. ground cloves if no ground cloves you can substitute with pumpkin pie spice or nutmeg. I prefer cloves.

1 tsp. salt (regular table salt)

1 cup vegetable oil

1 can Pumpkin (not pumpkin pie filling) Pure Pumpkin

4 eggs ( room temperature please)

Cream Cheese Frosting:

2 cups of confectioner’s sugar

1/3 cup softened butter ( unsalted)

1 tsp. vanilla extract

4 oz. softened cream cheese ( soften in microwave) not melted just softened or you can leave it out for a bit and it will soften up.  I actually used light cream cheese not fat free please. I mean the amount of calories is staggering, but you’re only going to eat 1 cupcake right? how many calories can possibly be in that????? Don’t tell me , I don’t want to know.

1 Tbsp. Milk ( I used skim plus)

Directions:

Preheat the oven to 350 degrees. I mixed all dry ingredients together then mixed in eggs ( one at a time) and can of pumpkin and vegetable oil. Mix till combined, don’t overmix. No need to sift, just put dry ingredients in a bowl first and whisk together with a whisk , get some air in there.

Pour into a greased muffin pan about 3/4 full.  I always use little paper liners and bake at 35o degrees for 20 – 30 minutes . Be careful not to over bake so the cake stays moist.  I baked for 26 minutes. I started checking on them after 20 minutes.

Allow cupcakes to cool completely before frosting. I made my frosting in my electric mixer while cupcakes were cooling.

Frost Cupcakes / Cake  and if you’d like decorate with some of those little Halloween Candies like candy corn or those little pumpkin shaped candies sold this time of year. Enjoy!

*should make about 16 cupcakes , I made 12 and a mini loaf.

Baked French Toast — all time best for Yom Kippur Break Fast

DSCN4275

DSCN4288

DSCN4283

DSCN4274

DSCN4270

DSCN4302

DSCN4294I posted this recipe back in October 2011 for Yom Kippur break fast and every Break Fast it is on the table, it’s practically a law in our family now! It is truly one of the best French toast recipes I’ve ever made.  I include it every year since my friend Ilene Stern gave it to me. I never have a single piece left. Delicious and decadent, perfect brunch and breakfast food. I almost always include it in my Mother’s Day Brunch as well. Once you’ve made this recipe there is no turning back  your whole family will love it and you’ll have to make it every time.

The only downside is that you must prepare and refrigerate the night before without cooking it, you cannot cook this dish till you’re ready to eat it, the bottom will get hard like a caramel candy would. So cook right before you’re going to serve. Enjoy!

*recipe as is should serve 6- 8 if you have more people make 2 trays!

Yom Kippur begins at sundown on Friday, October 11 and ends at nightfall on Monday,October 12 . It lasts one day.

For those of you who fast — have a good fast.

Ingredients:

1 cup packed light brown sugar

1 stick unsalted butter

2 tbsp. corn syrup ( I use Karo Original light corn syrup)

5 eggs (room temperature please)

1 1/2 cups milk ( you can use low-fat, I use Skim Plus)

1 tbsp. vanilla

1 package of sliced cinnamon bread. ( Pepperidge Farm is fine) if you can get thick slices it’s great , but the thin kind will work just double stack them it will be fine) You probably will use 12 slices of bread per tray. You will have 6 stacks of 2 slices each, 12 slices total, or 6 thick slices of cinnamon bread. If you can’t find just cinnamon bread use raisin cinnamon bread it’s easier to find .

Directions:

Melt butter, add brown sugar and corn syrup and combine well. Spray a 9×13 baking dish, Pyrex works well here. Pour butter mixture into baking dish and arrange bread slices flat in the mixture ( you will double stack the thin sliced bread) Unless the bread is 1″thick you will be doubling the standard sliced bread. Squeeze the bread to fit–it should hold 12 slices ( 6 double stacks), 3 on each side of a 9×13 baking dish.

In a blender mix the eggs, milk and vanilla and pour over the bread slices, covering them completely. Cover and refrigerate overnight. The bread will absorb all the liquid by the morning, so if you need to travel with it will be fine.

Uncover and bake in a preheated 350 degree oven for 30 minutes. Once it’s out of the oven you can dust with powdered sugar, but not necessary. Serve right from the baking dish.

*if you let this sit out too long before serving, the bottom may get hard like a praline candy. It never ever lasts long enough for this to happen at my table.

Easy Fast to all .

Follow me on Instagram @cookingwithcandi

Kasha Varnishkes–Jewish Comfort Food

This is truly traditional Jewish comfort food made with buckwheat grains and bowtie noodles. I love it and grew up eating it and  try to make it a few times a year. It is super easy and super tasty. If you’ve never made it why not start now. It’s a wonderful side dish to any meal and it can be vegetarian for all of those who need some extra vegetarian dishes on their tables just substitute vegetable broth for chicken broth.

Kasha comes in a box. There are different types of Kasha and almost all will work. I use medium or coarse granulation.  Wolff’s brand is really wonderful so look for it and for this recipe I follow the directions on the Wolff’s box of Kasha. 

If you’re looking for an easy side dish to put together now is the time to look at this great recipe. This is also our go to the night before Yom Kippur. It’s tradition and delicious and comforting all at the same time. 

Also perfect for Rosh Hashana. 

*Wolff’s Brand Kasha is always available on Amazon

Ingredients:

1 package bowtie ( farfalle ) noodles (app. 3/4 lb.)

1 white/yellow onion thinly sliced or you can use chopped onions , entirely up to you.

app. 2 tablespoons vegetable oil  you may need a  little more and may want a bit more to drizzle at the end plus more — probably 1/4 cup in total

Kosher Salt and Freshly Ground Black Pepper–to taste

*1 small box button mushrooms sliced 8 ounce box — mushrooms are totally optional but sometimes I feel like they add a little something

1 cup kasha, medium or coarse granulation– I use Wolffs Kasha and follow instructions on the box which I have written below

1 egg for kasha as per instructions on the box

2 cups chicken or vegetable broth as per box instructions

Directions:

Cook the pasta according to directions on box for al dente.

Saute’ the onions in vegetable oil , salt and pepper until they just start to soften, about 5 minutes. I use a medium size frying pan large enough to add in the pasta, and make sure you have a tight fitting lid.

Add the mushrooms and sauté until they start to soften as well, a few more minutes , set aside. Place mushrooms and onions in a bowl and you’ll use same frying pan to cook kasha.

Coat the kasha in a slightly beaten egg. You’ll just place kasha in a bowl and put beaten egg on grains. This will help the grains not to stick to themselves while you are cooking them. Make sure the grains are completely coated with egg.  Put the kasha in the same frying pan, set over a fairly high heat. Flatten, stir, and break up the egg-coated kasha with a fork or wooden spoon for a few minutes till toasted and the egg has dried on the kasha and kernels are brown and mostly separate. Kasha instructions for cooking are usually on the box as well. Then I pour in the broth that I am using, a little margarine/butter is OK as well ( app. 2 Tbsp) bring to a boil, cover tightly, lower flame to simmer and cook for 10 minutes till kasha is fluffy–these are the directions on the box that I follow .

Add back in the mushrooms and onions and combine with chicken broth. Cook box of Bow Tie Pasta according to directions on box al dente.

Bring to a boil and cook over low heat covered tightly. Check on it after 10 minutes or so to make sure the kernels are tender and the liquid has absorbed. If not, cover and continue steaming for another few minutes till all liquid is absorbed.

Adjust seasoning with more salt and pepper if you’d like, mix in cooked pasta, and if you’d like drizzle a little more oil on it. I like to do it all in a large enough frying pan to hold pasta . You can always mix in pasta in a large bowl separately. I like it in frying pan on stove top till I serve it. You can always make ahead and heat up in oven at 350 degrees in a pyrex dish,  you’ll most likely need to add a little oil if you do so.

*Wolff’s Kasha has directions for cooking kasha on the box. It’s pretty much the same , I just add in the mushrooms and onions for more flavor.

*should serve 8 people