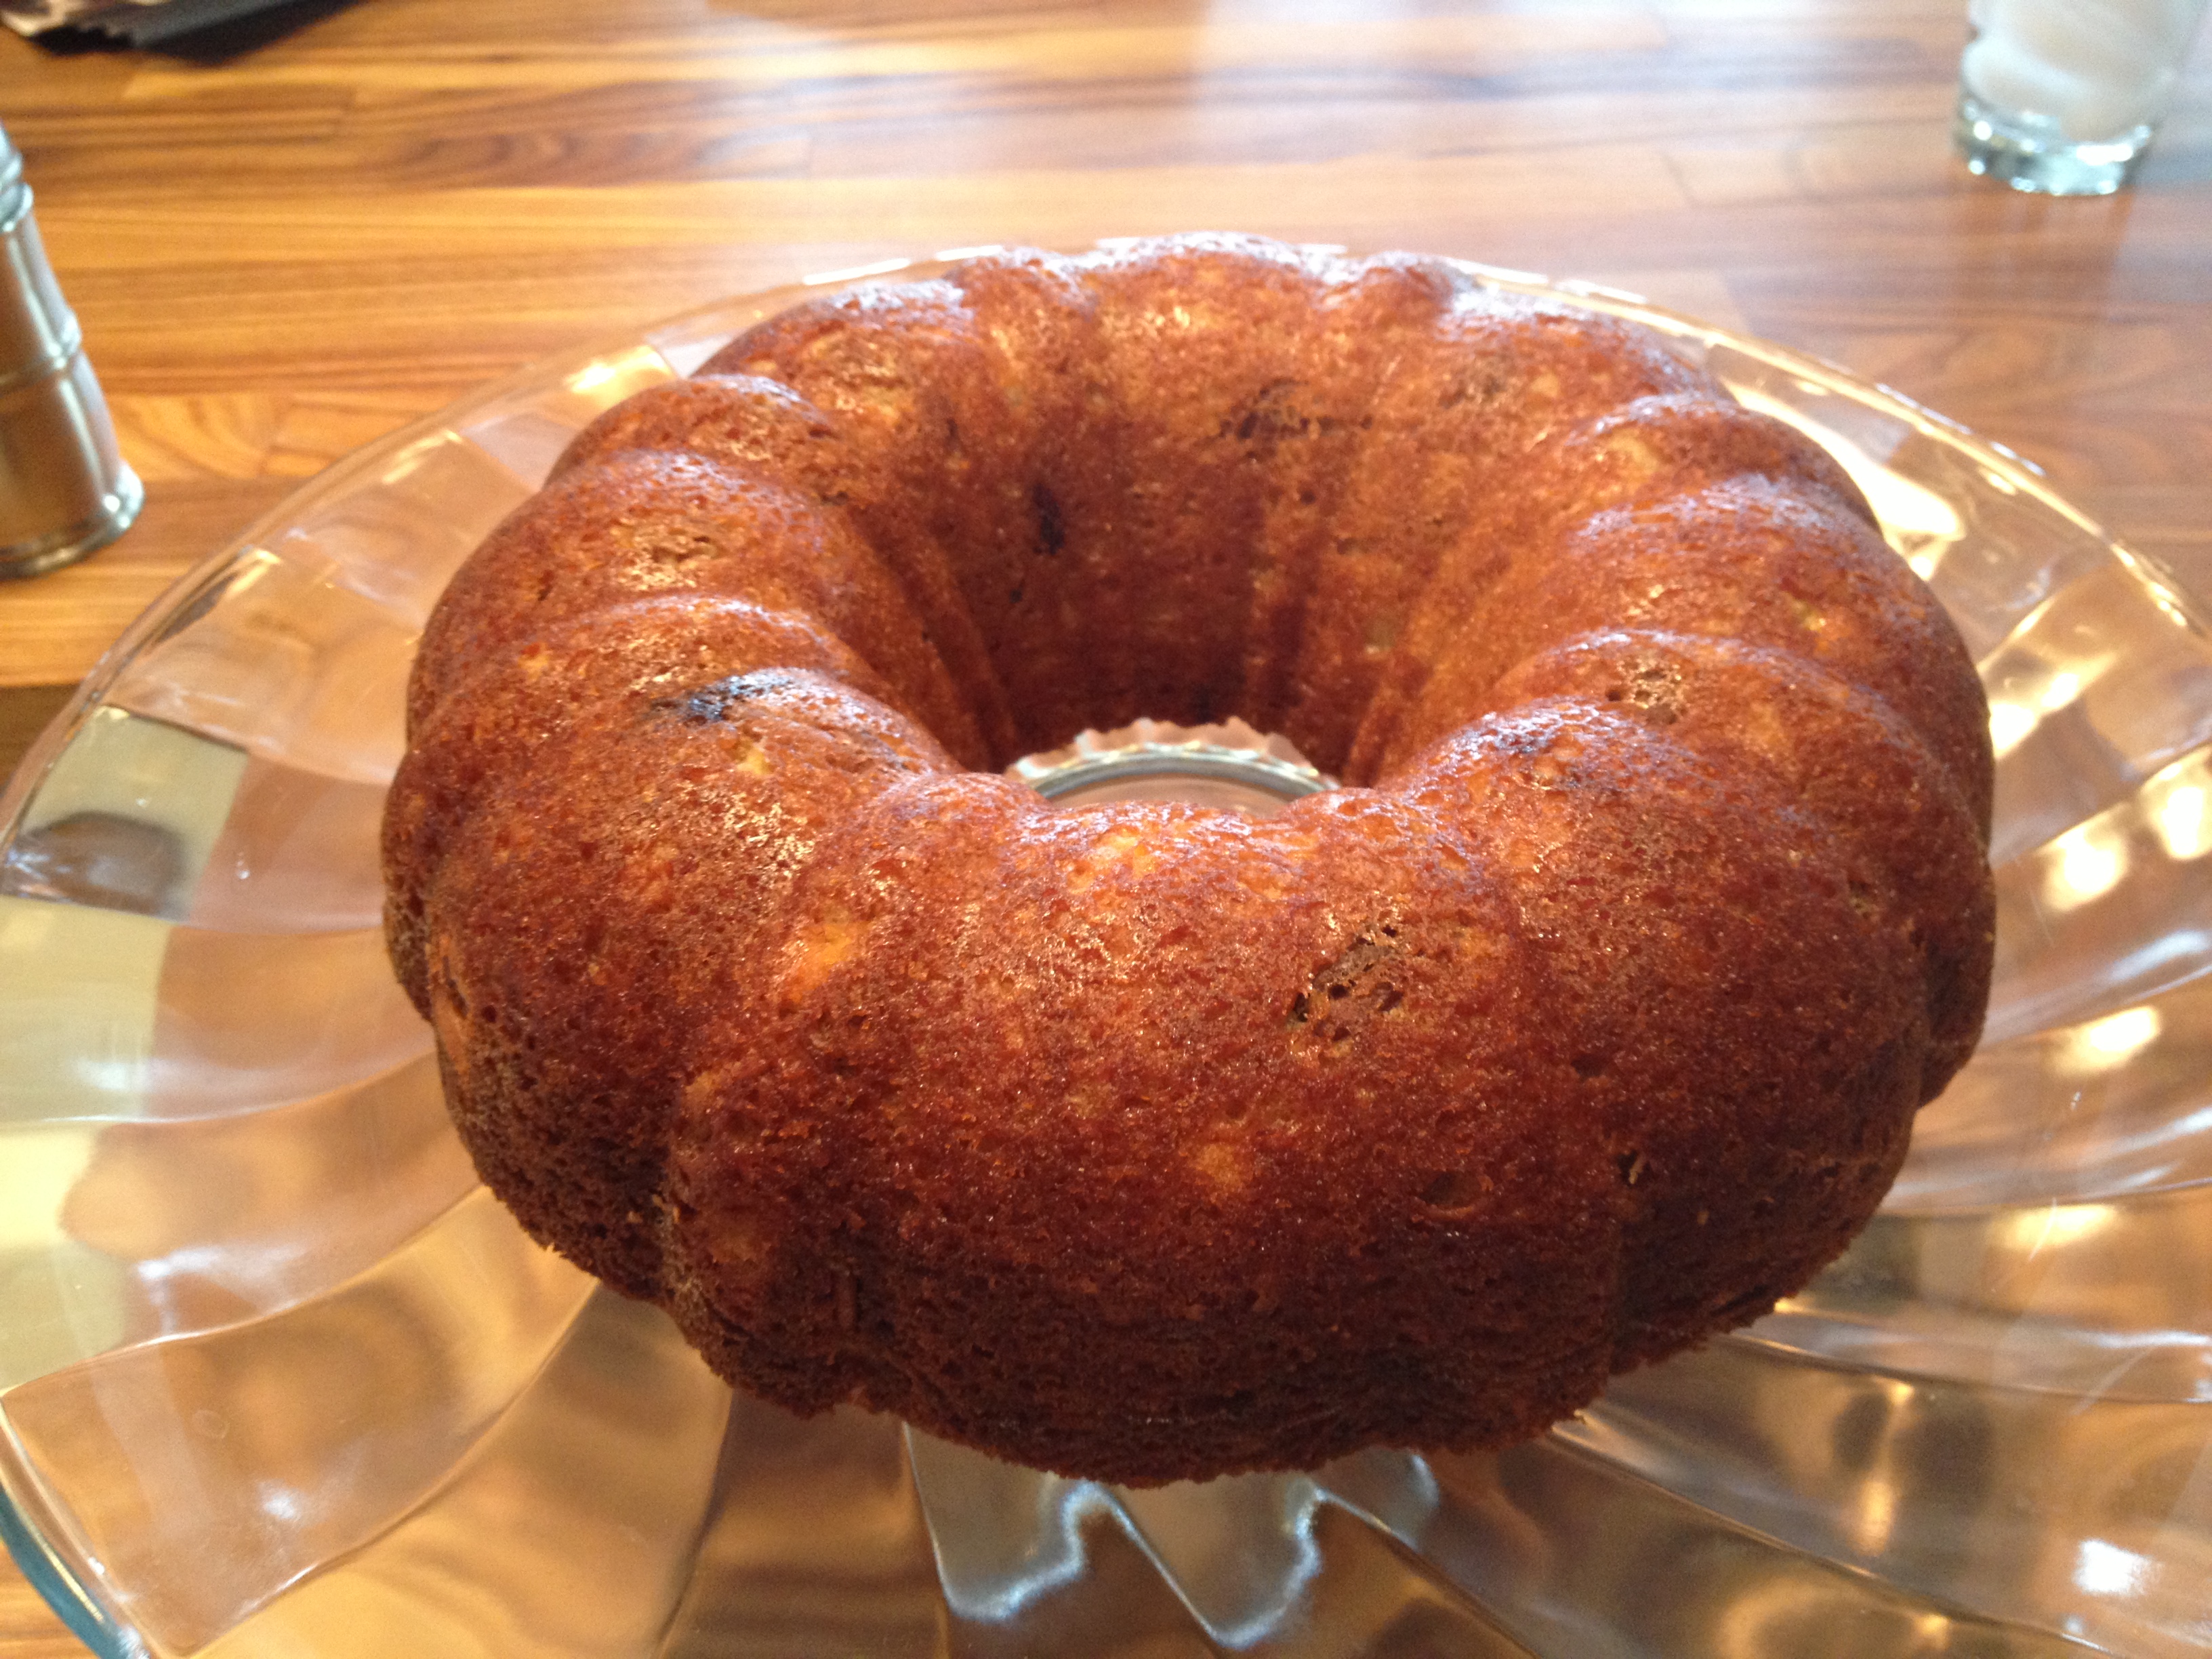
Finished Product Apple Cake
Un-Stuffed Cabbage


 Summer is the most easy-going time of the year and then along comes the Jewish holidays right on the heels of Labor Day and just like that it is over. Kids are back to school and we’re cooking dinner again and preparing meals. Before you know it, it’s Thanksgiving! Oh well here we go again, for those of you who have been reading my blog you may have made a lot of these recipes and welcome aboard to the new readers. I am sort of a traditionalist when it comes to holidays and my family always looks forward to the same things. If I introduce a new recipe it’s always hold your breath time and what was wrong with the old one looks on everyone’s face. Final decisions haven’t been made but I know that there are some things I’d never leave out. Here is a list of suggestions and by all means cruise through my blog and see if there is anything else to your liking. These are just a list of suggestions. I will be posting a few new ones this week, so be on the lookout. Rosh Hashana recipes are tagged Rosh Hashana if you are trying to look them up on my blog. I may sneak in a recipe or two this week if I can get in the time. So sad summer is over but it’s time to move on .
For those who celebrate have a very Happy Healthy New Year! Shanah Tovah!!
Homemade Chicken Soup with not so Homemade Matzo Balls ( even though this is for Passover we eat it a lot on Rosh Hashana)
Happy New Year Brisket
Unstuffed Cabbage–a great alternative to meatballs
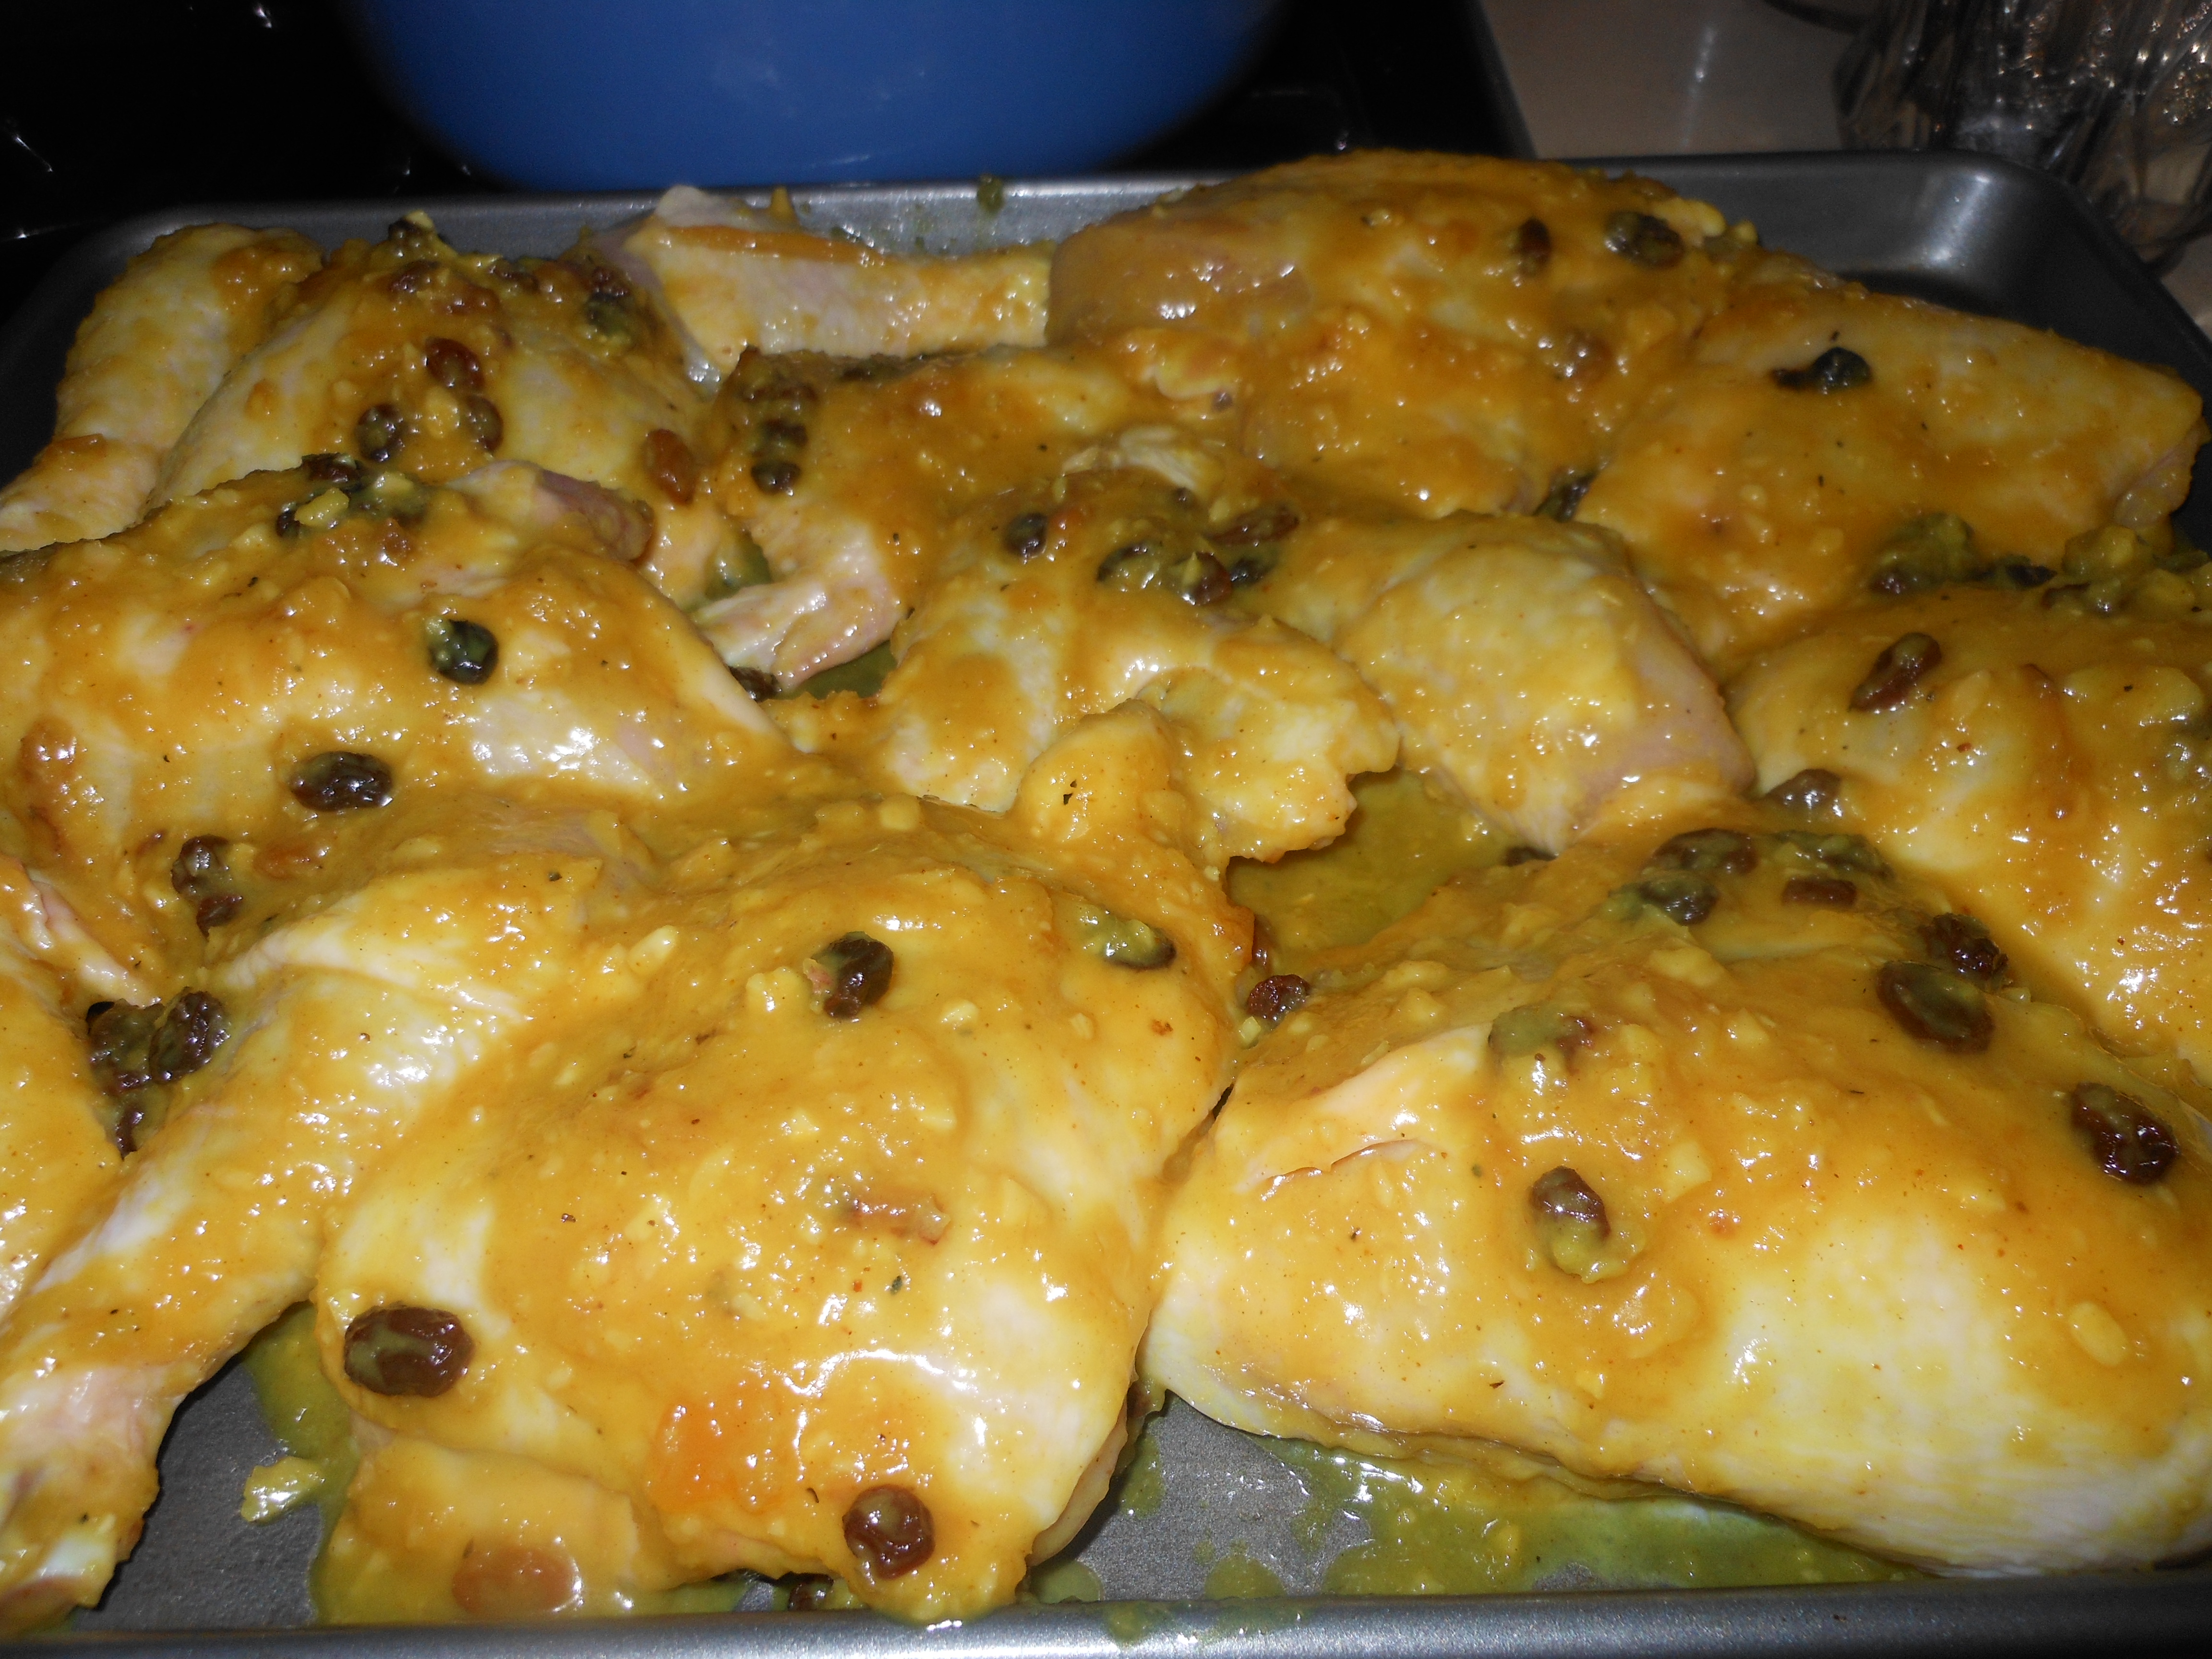
Chicken Marbella
Honey Roasted Chicken
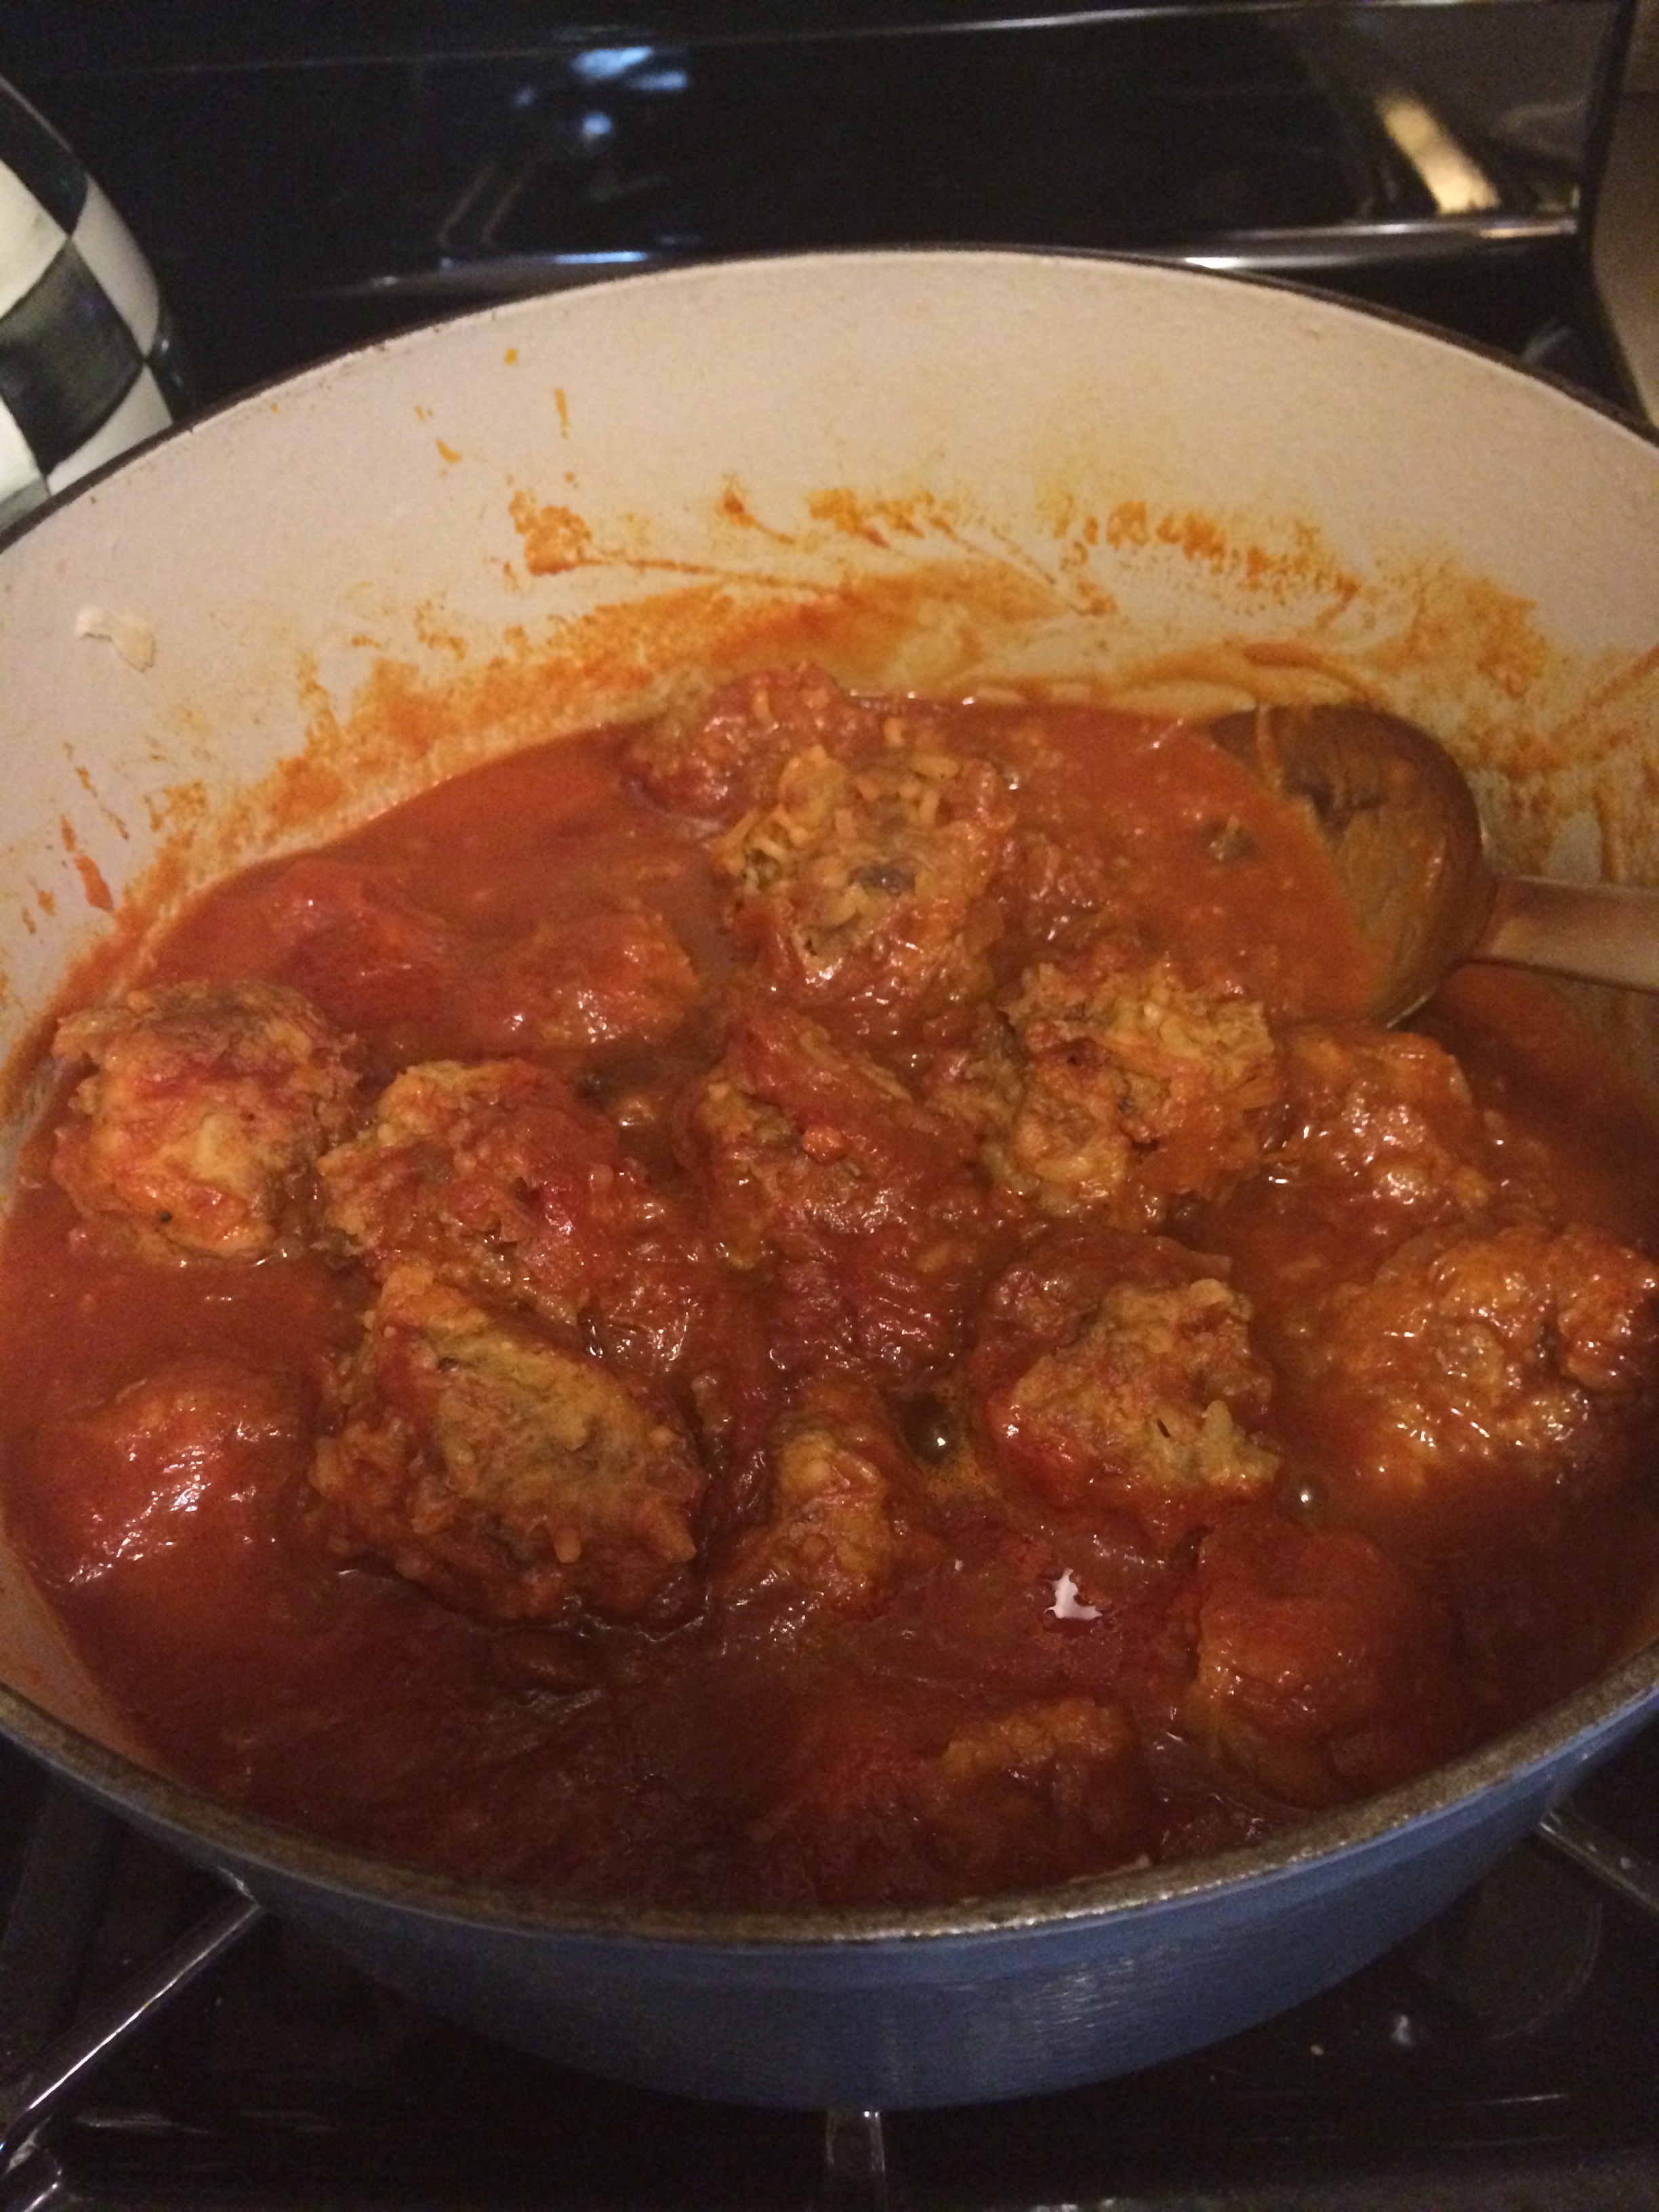
Old School Meatballs
A Noodle Pudding from Ellen
Another Noodle Pudding from Marcy *kosher non dairy
Noodle Pudding with Apricot Nectar–probably one of the all time best kugels ever
Noodle Pudding from Julie
Mushroom Barley
Kasha Varnishkes
Grandma Millie’s Cauliflower
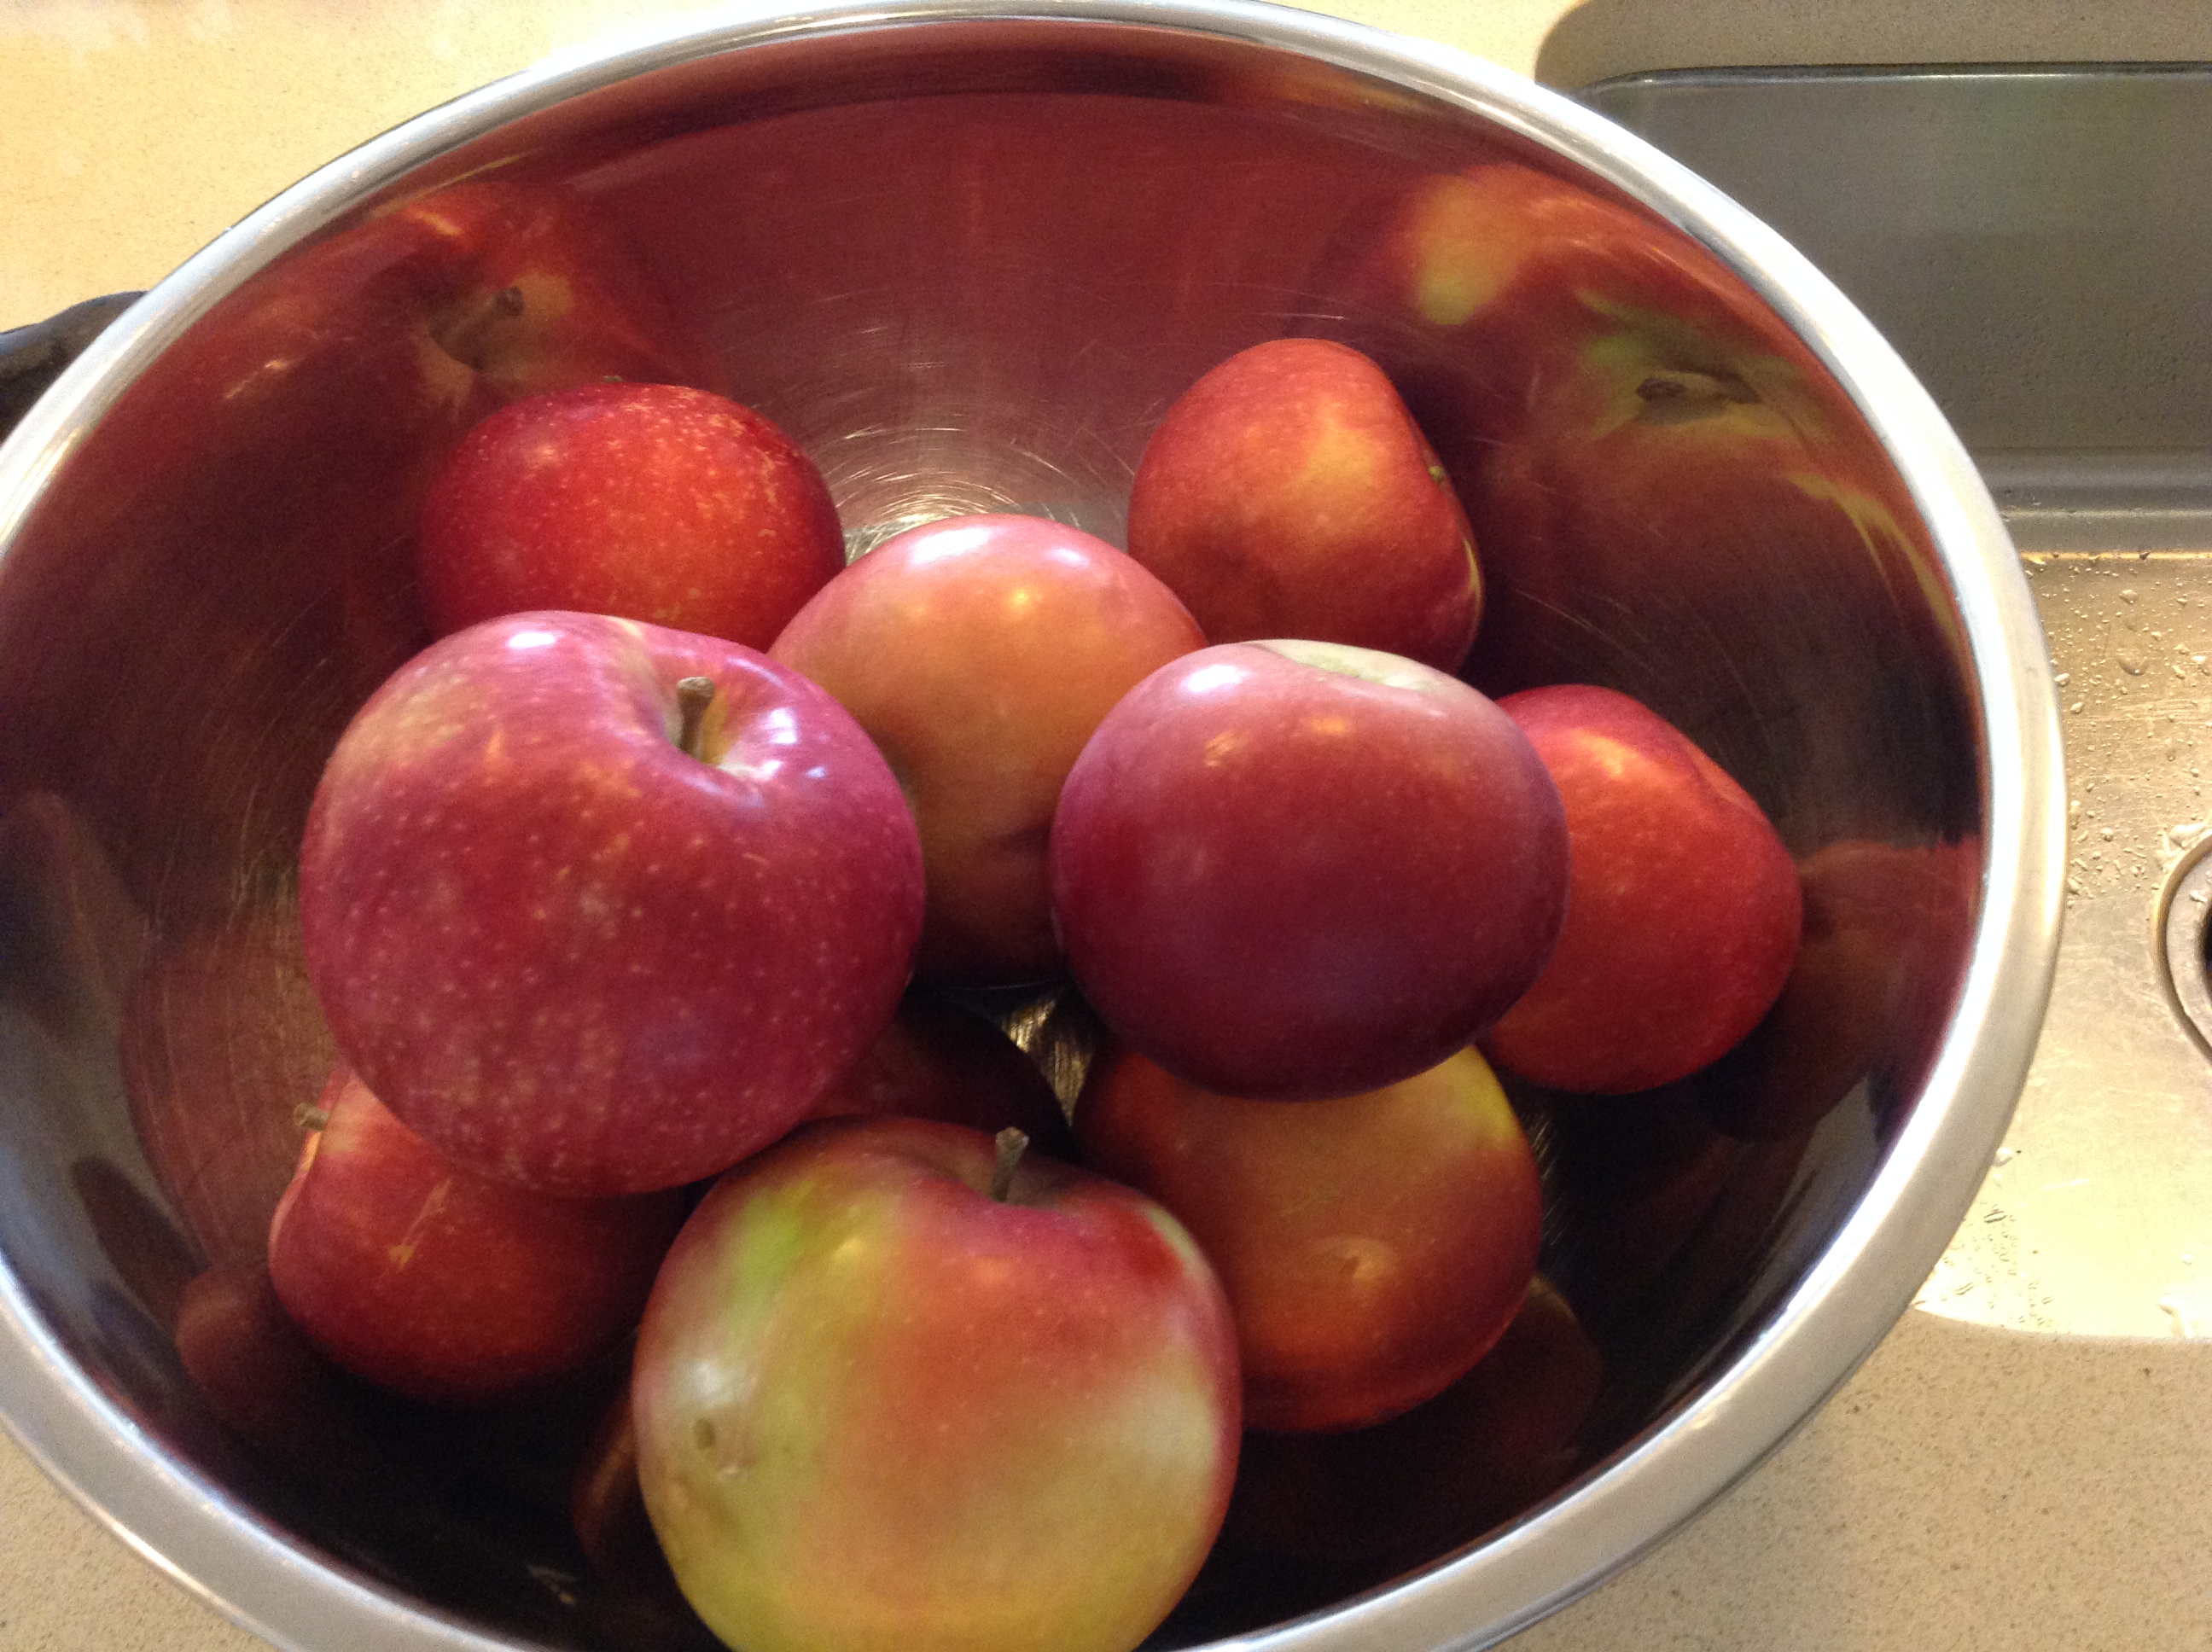
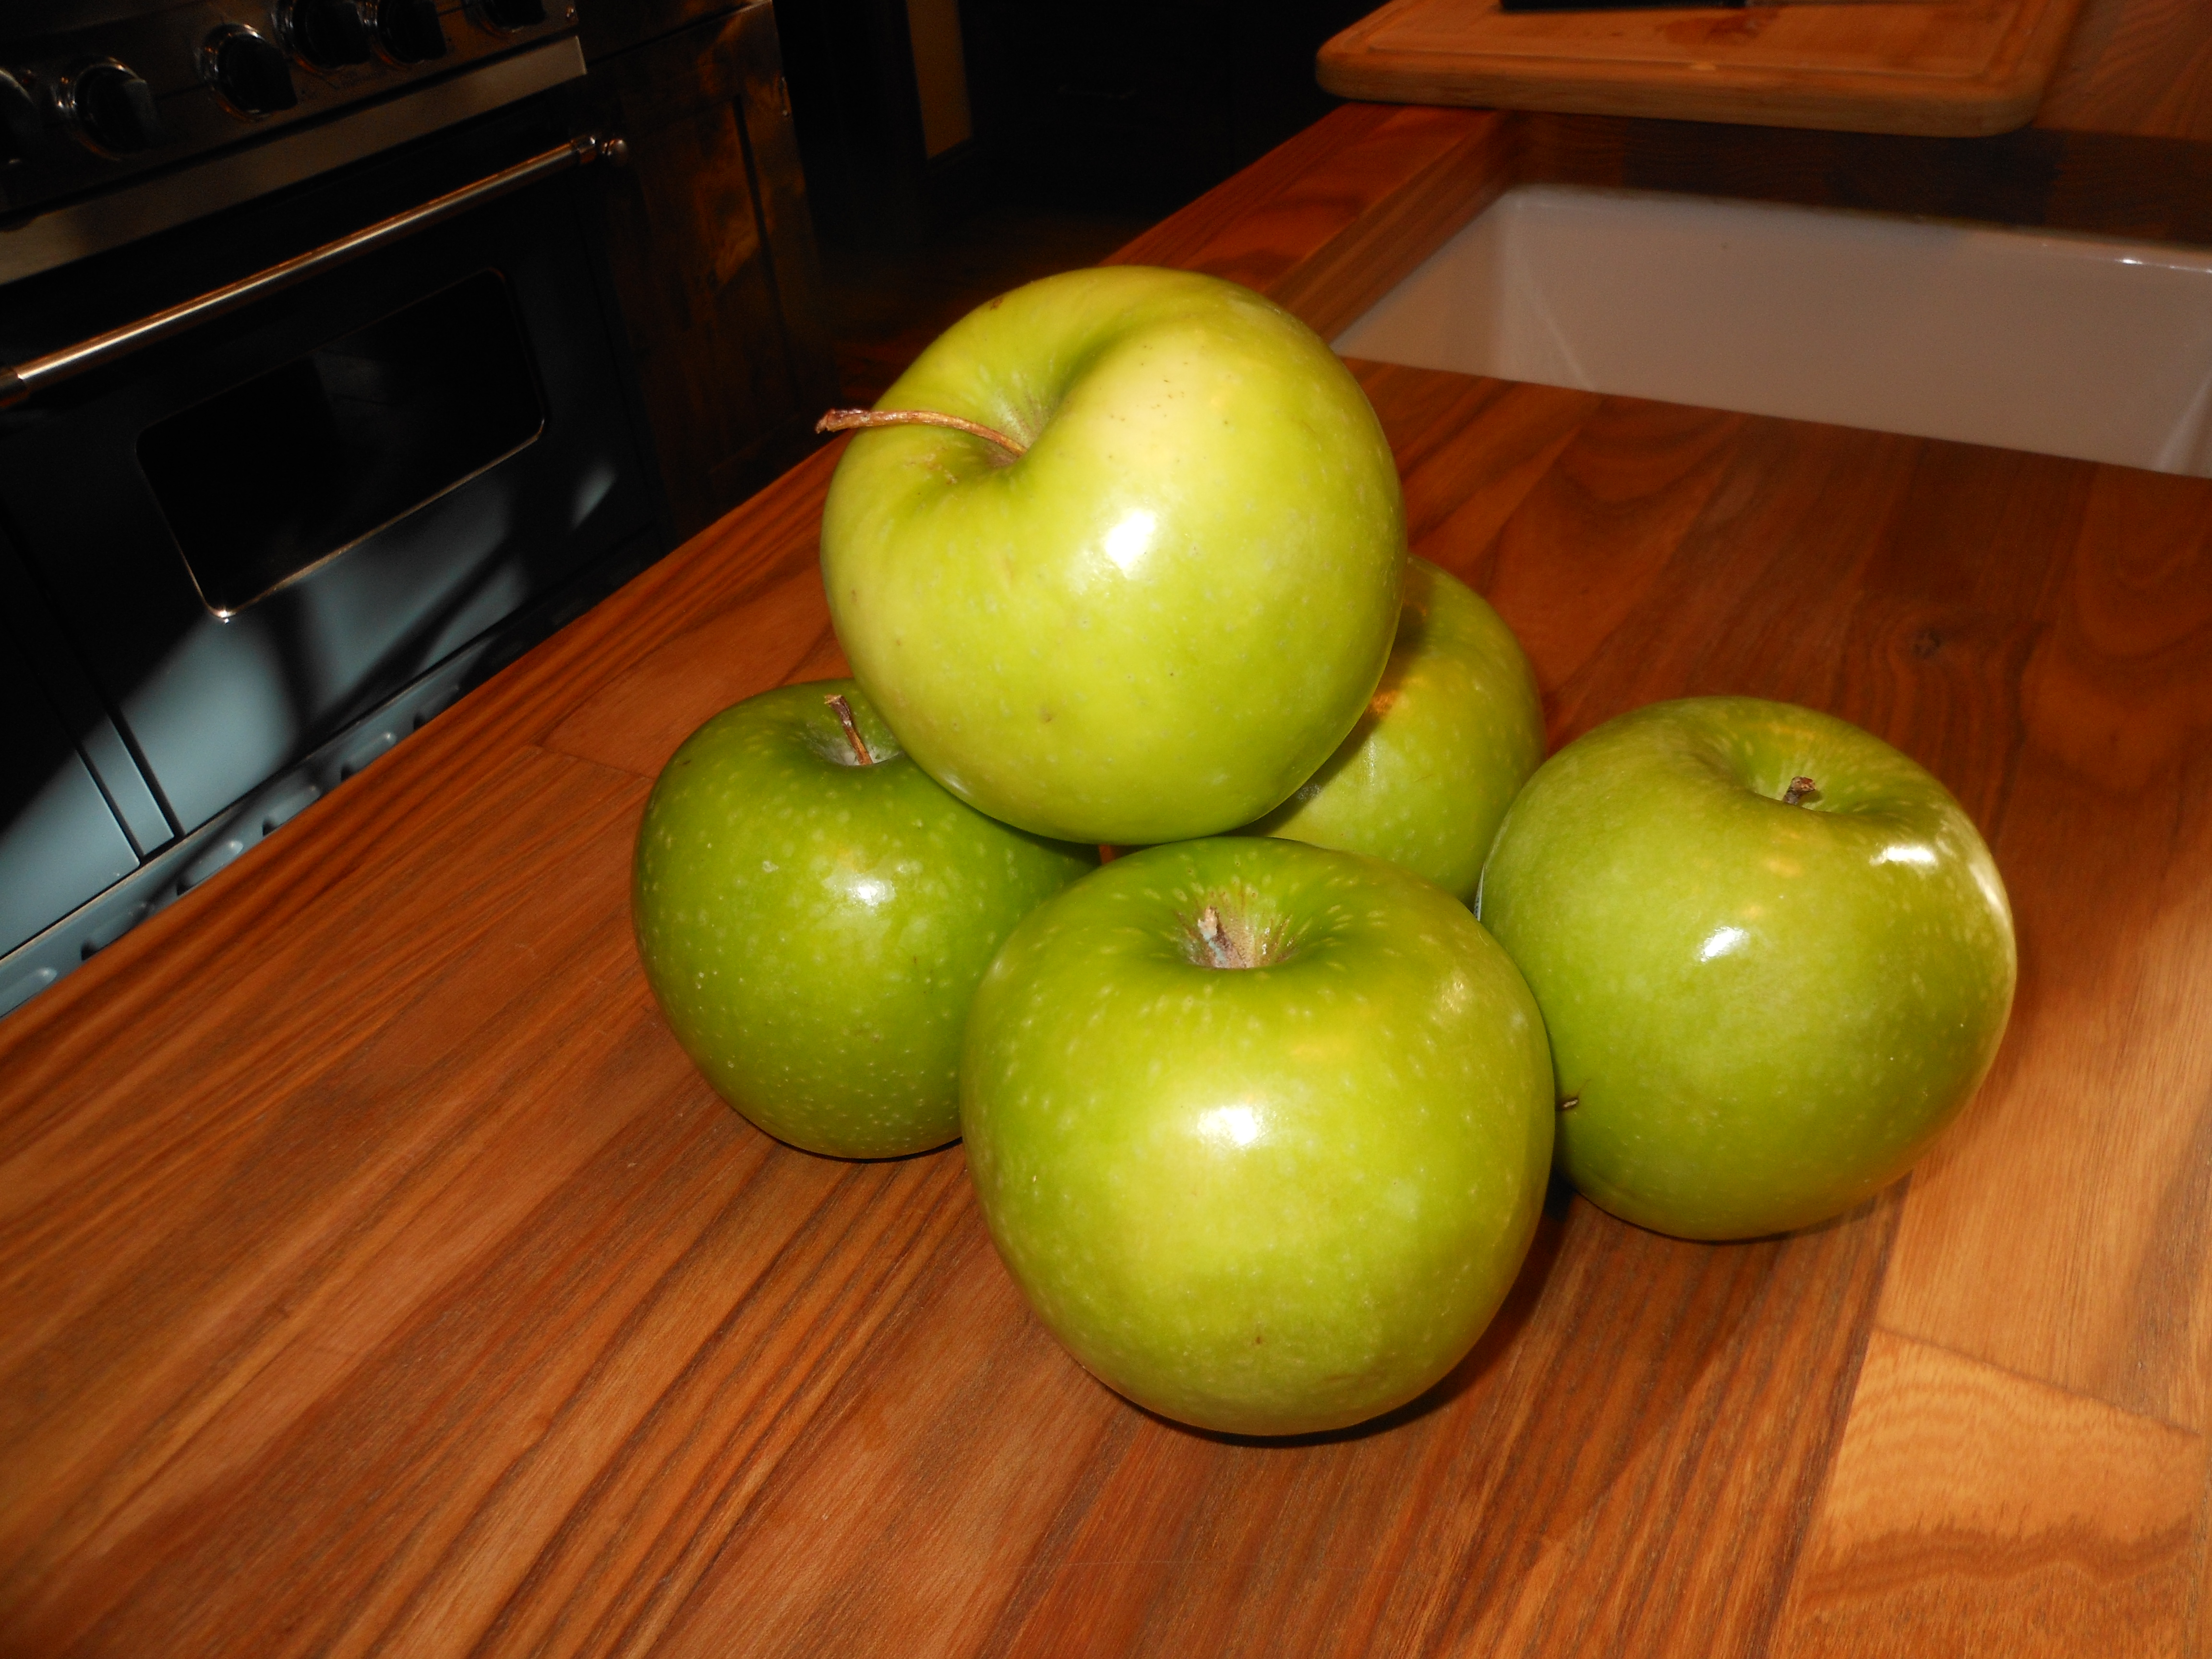
Applesauce and Raisin Cake
Don’t let the Apples go Bad Cake
Julie’s Honey Cake
Plum Torte
My farewell to Norah Ephron- her Tzimmes