
 Brisket can definitely be an intimidating thing to make. I once made it as a young cook, and it was perfectly inedible. Back then, I couldn’t believe how long it took to cook, but it does take very long. Now I usually make it in the slow cooker which is an awesome way to go but this time I used my trusty Le Creuset, which worked out beautifully. A lot of people have some pretty awesome brisket recipes and I welcome you to send me yours. This really couldn’t be any easier and it’s super tasty. This original recipe came from my friend, Michele (with a few comments from Karyn too.) I did change a few things to the original recipe, but not a lot and I thank Michele for the recipe.
INGREDIENTS:
4 lb. brisket (I didn’t need larger but you can adjust this recipe for whatever size brisket you use)
Lawry’s seasoned salt available in the spice aisle
2 large Spanish onions (Karyn uses Vidalia, which is also good), sliced thickly
2 cans of tomato sauce , I used the 16 oz. size. You can also use the 1 can of 28 oz. size. It depends on you and how much sauce you like.
2 tbsp. brown sugar (this is my addition. It doesn’t really change the flavor so much as cut the salt a bit)
DIRECTIONS:
Preheat oven to 350 degrees.
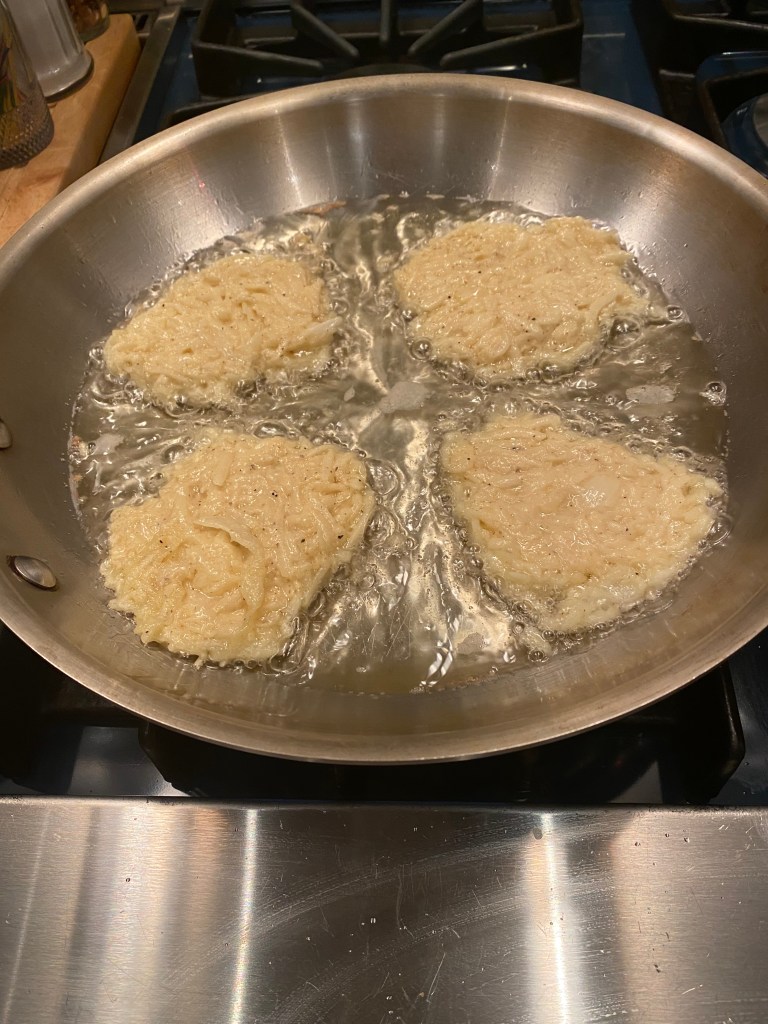
I sprinkled Lawry’s seasoned salt on both sides of the brisket (generously) then seared it in the Le Creuset pot with a little vegetable oil–probably about a tablespoon. (After the meat was seared, it shrunk to fit perfectly in my pot but I don’t think that a larger brisket would have fit.) Next, I added the tomato sauce and onions, covered the pot and put it in the oven. I cooked it for a total of 3 hours. I checked on it after each hour, which probably wasn’t even necessary. I then let it cool, off of the heat, for about an hour. Next, I sliced it with an electric knife, which came out beautifully. The meat was soft, but not falling apart at all. I then added the brown sugar to the gravy, put the brisket in a container with the gravy and froze it. I’ll take it out the night before I serve. Karyn pulses her gravy with an immersion blender. I didn’t do this but I think it makes for a good suggestion. In fact, I might still do it next time I make this recipe. I’ll let you know. Thanks again Michele and Karyn!
- I also use an electric knife to cut my brisket –I find it works best (worth the investment and a rather inexpensive one at that–you’ll have it for years)


 I posted


