Category Archives: dessert

Don’t Let the Apples Go Bad Cake

Apples are the kind of fruit we eat all year round. They are always in the fridge and if they don’t get eaten, I  feel guilty that they’re just sitting there and going to go bad.  I saw this recipe on Smitten Kitchen and decided since we were leaving for Colorado and I was not ditching perfectly good apples, I would make it and freeze it for when we come back.  (The cake would freeze well…the apples, not so much.) You’ll need a tube pan. You don’t need an electric mixer, so it’s pretty easy on the special equipment. Use those leftover apples–dont’ let them go bad. No butter in this recipe, lots of sugar though.  My house smelled divine.

I also love this recipe for the Jewish Holidays which are just around the corner…..just saying. I’m not ready to start posting for the Holidays yet but this makes a lovely dessert.

*you can see in photos that I use a melon baller to get the pits out of the middle of the apple. I prefer this technique over the corer thingys which never really work. The melon baller works perfectly: first cut apple in half, then scoop out just the pits.

www.smittenkitchen

Ingredients:

6 apples (I used what I had in the house: a combo of Granny Smith and Honey Crisp. Good old Macintosh will work, too.)

1 tablespoon cinnamon

5 tablespoons sugar

2 3/4 cups flour, sifted

1 tablespoon baking powder

1 teaspoon salt

1 cup vegetable oil

2 cups sugar

1/4 cup orange juice (try to use fresh but if not, Tropicana will do)

2 1/2 teaspoons vanilla

4 eggs

1 cup walnuts, chopped (this is optional; I didn’t use them this time out)

Directions:

Preheat oven to 350 degrees. Grease a tube pan. Peel, core, and chop apples into chunks. Toss with cinnamon and sugar and set aside (I sprayed with a baking spray. There’s no need to add any butter here.)

Stir together flour, baking powder, and salt in a large bowl. In a separate bowl, whisk together oil, orange juice, sugar and vanilla. This mixture will be rather thick.  Mix wet ingredients into the dry ones, then add eggs, one at a time. Scrape down the bowl to make sure all ingredients are incorporated. Use a rubber spatula to get it all out of the bowl.

Pour 1/2 the batter into prepared tube pan. Spread 1/2 the apples over this. Pour the remaining batter over the apples and arrange the remaining apples on top. Use your eye to halve  batter and apples (don’t worry if it’s not perfectly halved.) Bake for about 90 minutes, or until a cake tester (or toothpick) comes out clean. I would check cake after 1 hour 20 minutes. I baked for the full 90 minutes; it’s a rather thick cake.
Pumpkin Cheesecake with Gingersnap Crust

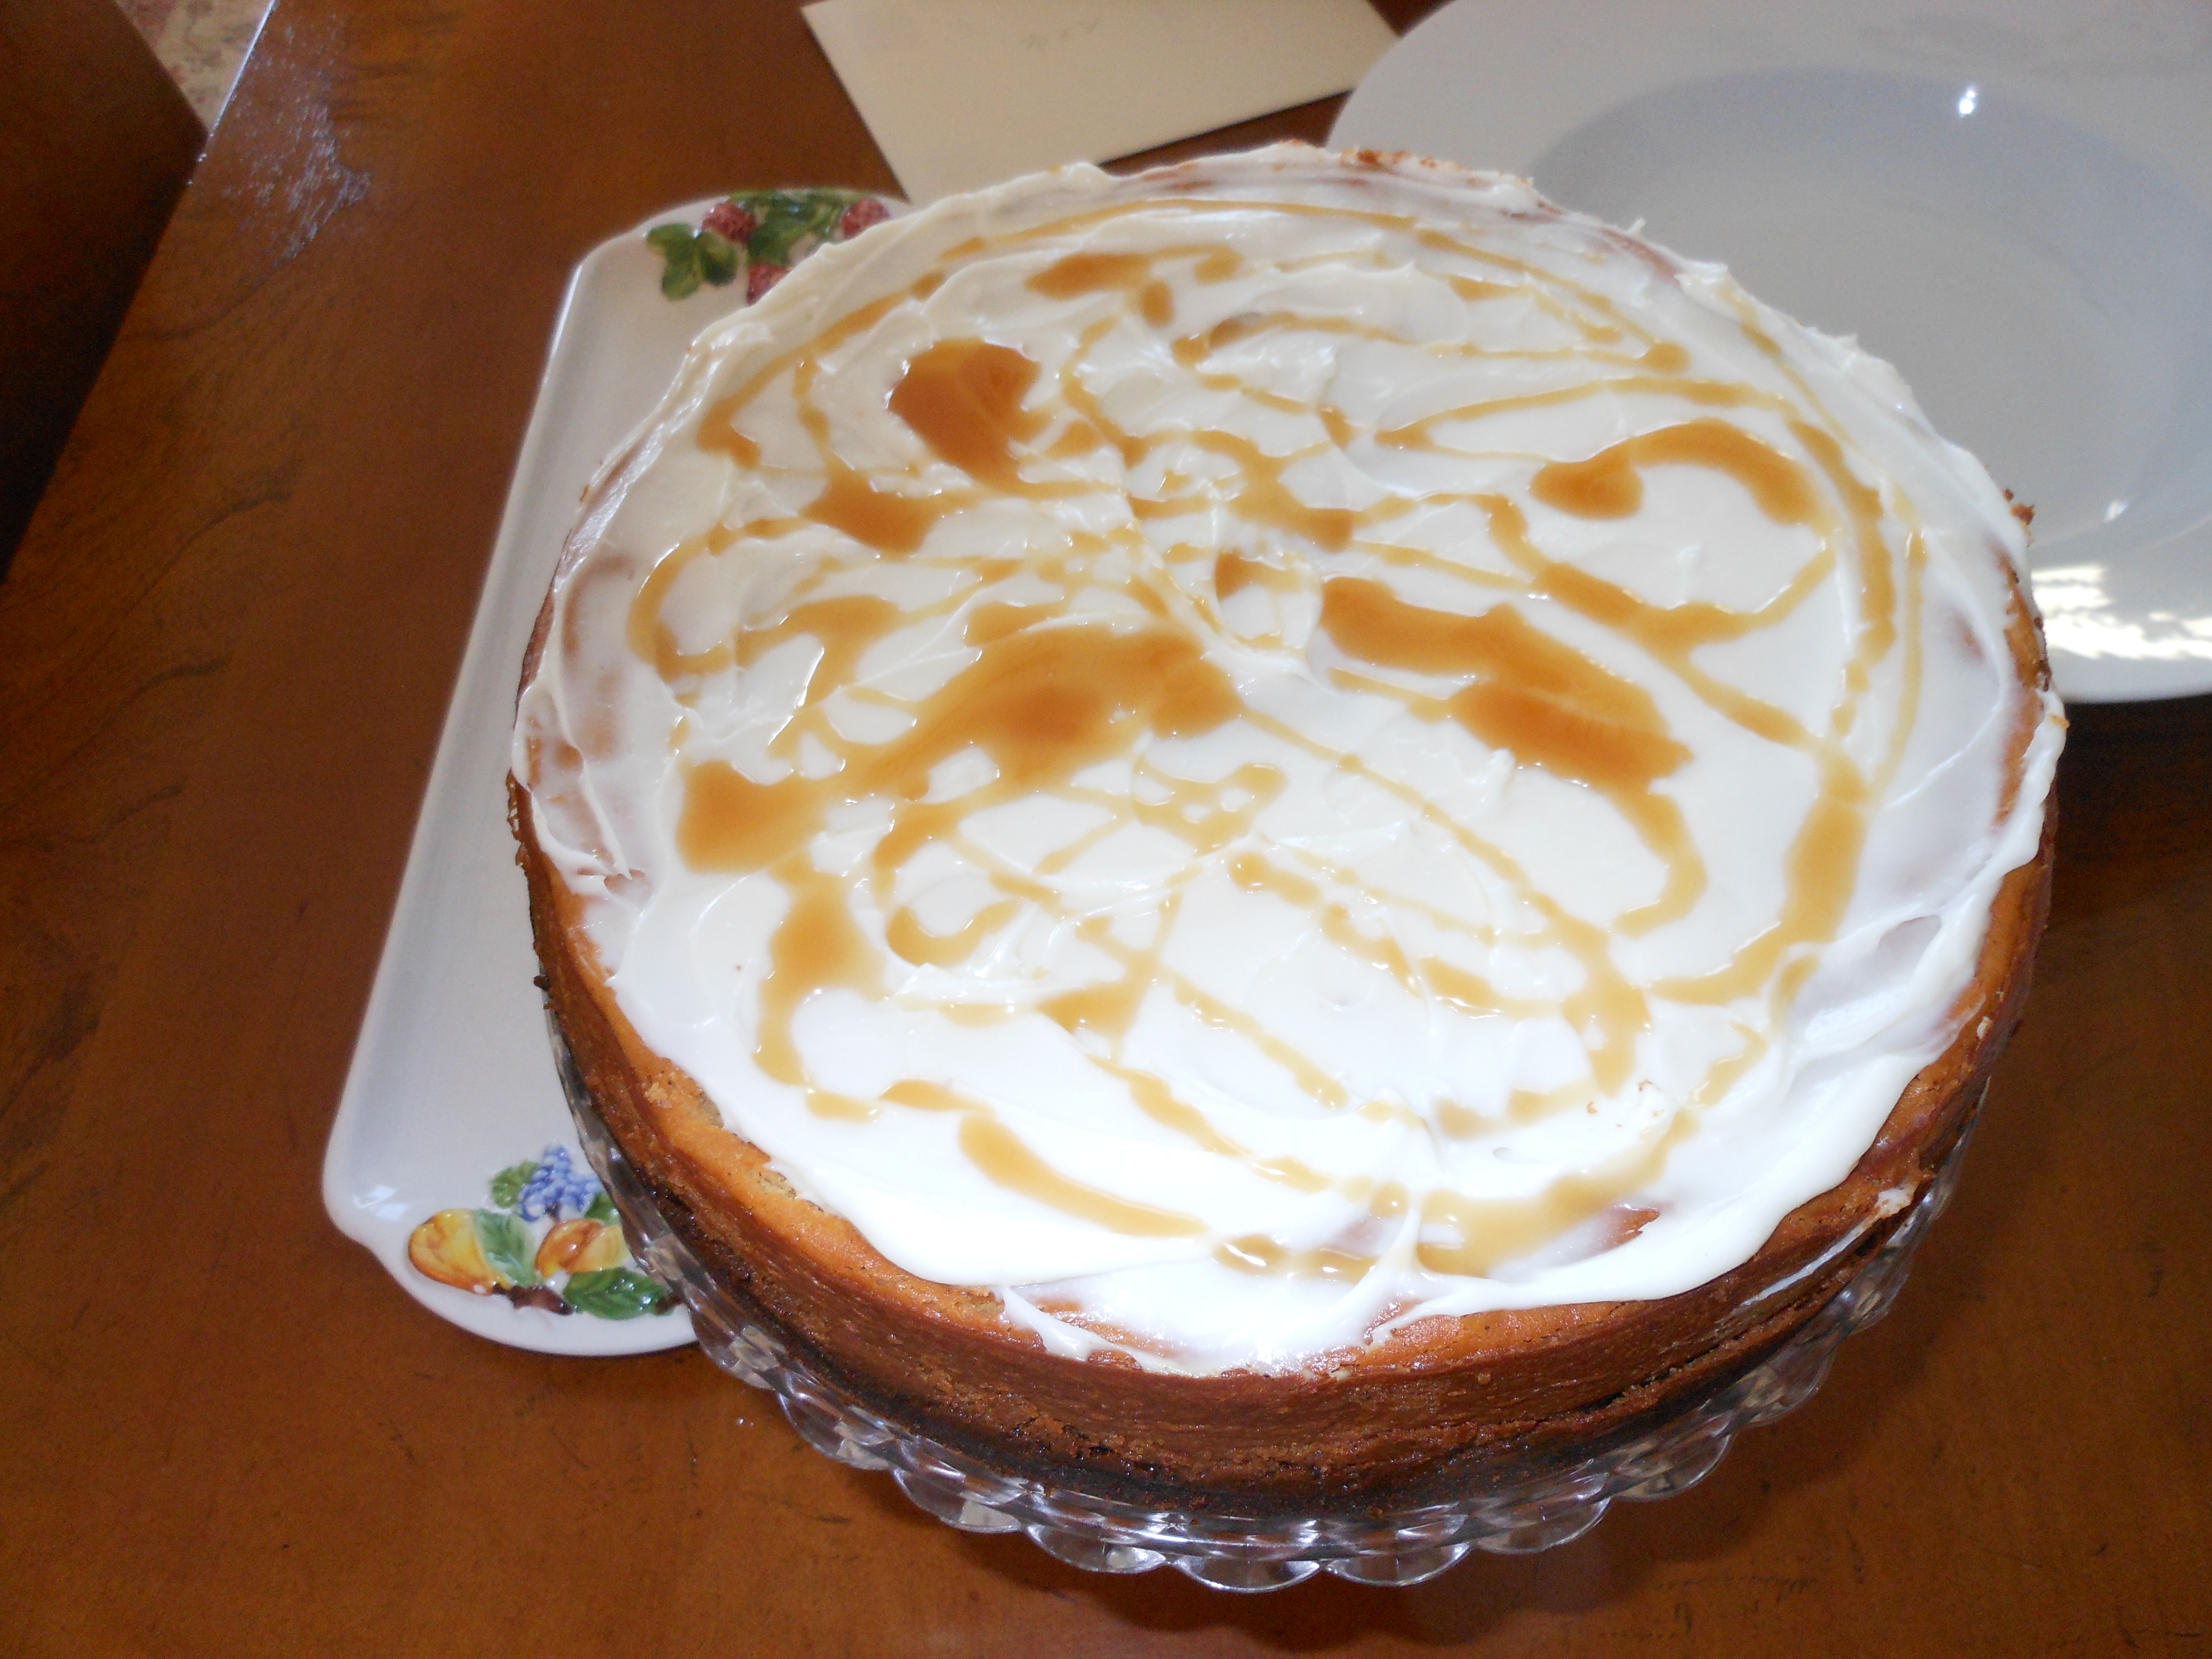
This cheesecake is a bit of a twist on the traditional pumpkin pie. The combination works quite well–the pumpkin adds a velvety smooth texture and delicious flavor even if you’re not a pumpkin pie fan and the caramel topping goes well with the pumpkin cheese filling. It’s a bit of work with a lot of moving parts so if you’re feeling ambitious this could work for you.  The gingersnap crust is also a departure from the traditional graham cracker crust. If you don’t like gingersnaps you can always substitute graham cracker crumbs. You’ll also need a 9-inch springform pan. I love Sur La Table and Williams Sonoma for their pans.

Happy Thanksgiving from our house to yours.

Enjoy and keep on cooking with Candi.

Ingredients: 

Crust:

About 40 gingersnap wafers (about 2 cups cookie crumbs)

1/4 cup packed light brown sugar

5 tablespoons unsalted butter, melted and cooled

Filling:

4 (8 ounce) packages cream cheese, room temperature — I wrote up a little note on softening cream cheese at the bottom of this recipe

1 2/3 cups sugar

1 1/2 cups canned solid pack pumpkin (not pumpkin pie filling)

1 tablespoon vanilla extract

9 tablespoons whipping cream

1 teaspoon ground cinnamon

1 teaspoon ground all-spice

4 large eggs

caramel sauce (store-bought) or melt caramel candy if you can find those little squares

Directions:

Crust:

Preheat oven to 350 degrees. In a food processor, pulse the cookies and brown sugar until well combined and crumbs are uniform and ground up. Transfer to a medium-sized bowl and add the cooled, melted butter. Combine thoroughly, first with a spoon and then with your clean fingers, until the mixture is evenly moist, crumbly, and holds together when you squeeze a handful. Press the mixture evenly over the bottom and part way up the sides of a 9-inch springform pan. Chill for 5 minutes and then bake for 10 minutes. Let cool.

Filling:

Using electric mixer, beat cream cheese and sugar in bowl until light. Transfer 3/4 cup mixture to a small bowl; cover tightly and refrigerate to use later for topping. Add pumpkin, 4 tablespoons whipping cream, vanilla,  cinnamon, and allspice to mixture into balance of filling in bowl of mixer and beat until well combined. Add eggs, one at a time, beating just until combined. Pour filling into crust (it should almost fill the pan.) Bake until cheesecake puffs up, the top browns and the center is a little loose when pan is shaken (about 1 hour 15 minutes.) Transfer cheesecake to rack and let cool for at least 10 minutes. Run a small sharp knife around the cake pan sides to loosen cheesecake from the pan. Let it sit till completely cool.  Cover tightly in pan and refrigerate overnight.

The next day, bring the remaining cream cheese mixture (that you set aside for the topping) to room temperature. Add remaining 5 tablespoons whipping cream and stir to combine. Press down firmly on edges of cheesecake till even thickness. Pour cream cheese mixture over cheesecake, spreading evenly. Now, either use a spoon or pour the caramel sauce over cream cheese mixture and with a knife tip, swirl caramel sauce into cream cheese mixture. (Make 1 day ahead , cover and refrigerate. I wouldn’t make too many days ahead, because the crust may get soggy.) I will make the cake on Tuesday and the topping Wednesday to serve Thursday for Thanksgiving.

*Many people bake cheesecake in a water bath. I find this difficult sometimes, because water can seep into the pan (even though it shouldn’t) and you have to cover the whole pan with aluminum foil to avoid it (and it still happens!) I find if I place a long glass Pyrex dish with water on the rack below the cake it helps to prevent a crack in the center. If the cake still cracks, don’t despair. That’s why I like this recipe because you will be covering it with topping!!! Yeah, a cake fixer!!! Gotta love it. Good luck and keep me posted if you’re game for this.

How to soften cream cheese bars:

Place completely unwrapped package of cream cheese in a microwaveable bowl . Microwave on HIGH for 10 seconds, check it to see how soft it is. Add time in small increments if you need to , like 3 seconds at a time, if you’re doing 2 bars start at 15 seconds.

Apple and Cranberry Cake on my Table for Thanksgiving

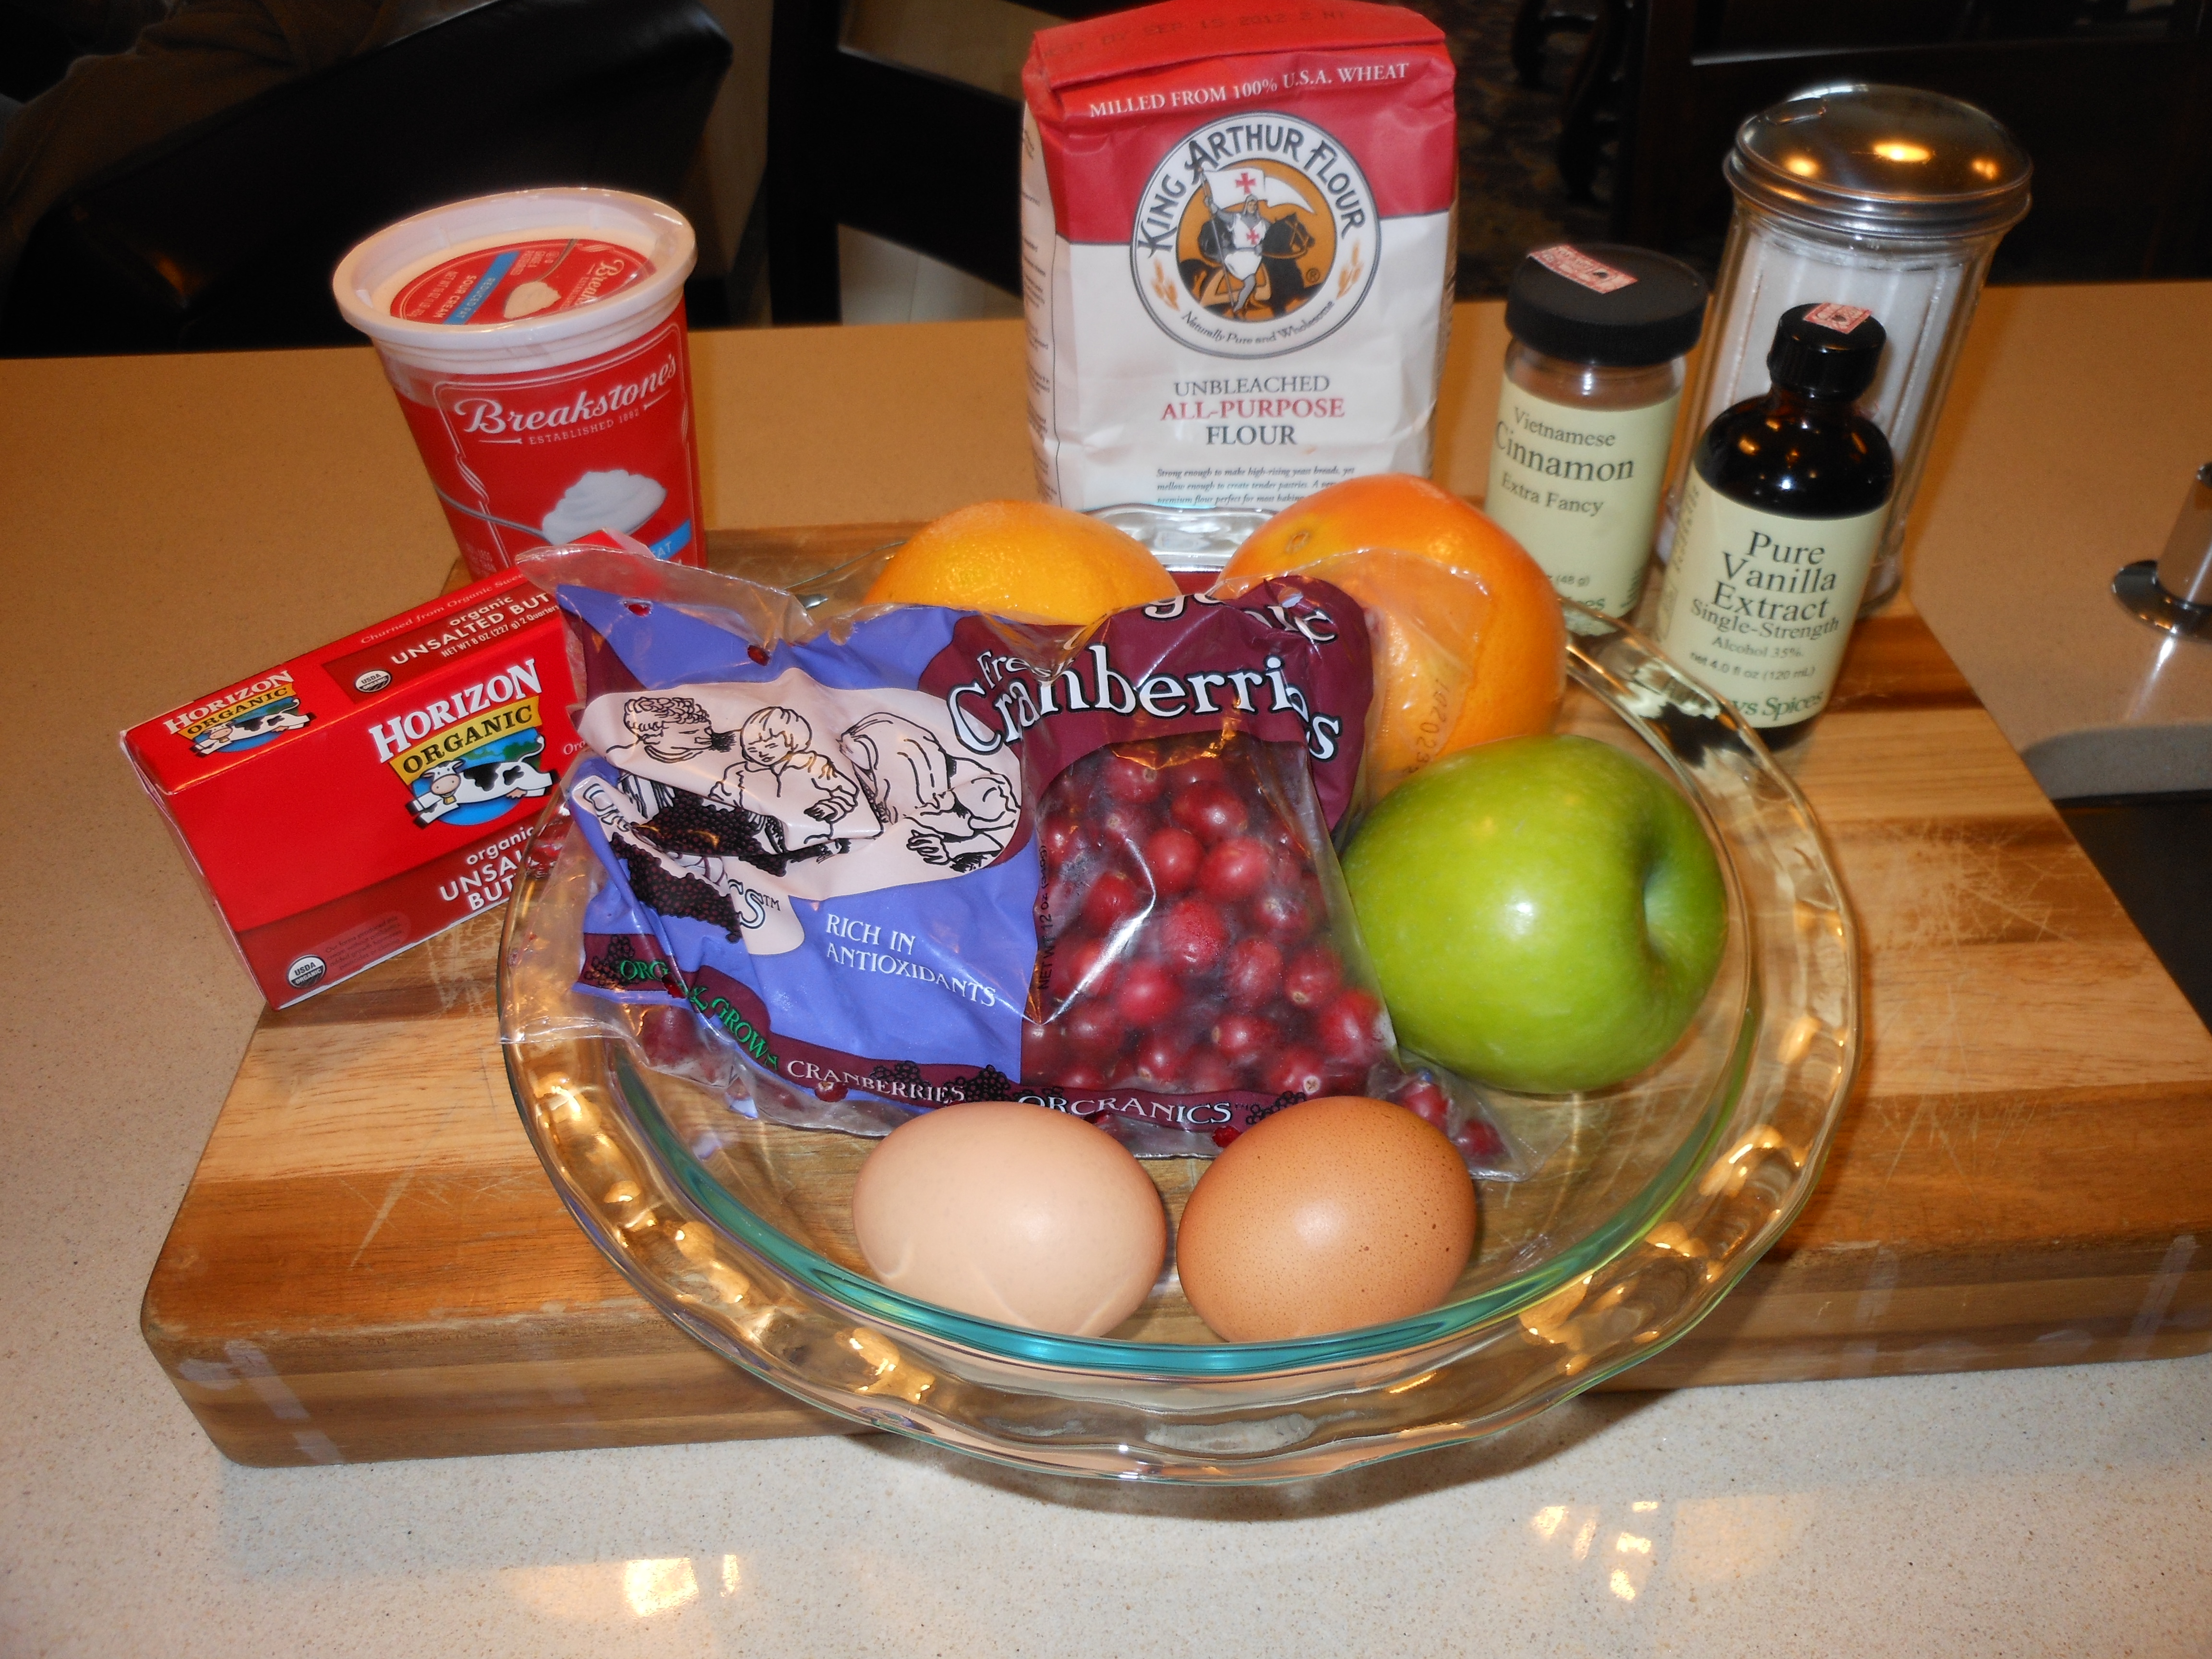
It’s so hard to make a choice of Thanksgiving desserts. Usually by the time dessert rolls around everyone is so full . Somehow though everyone seems to rally for dessert, no matter how full. It’s been on my mind what to bake? I already baked my apple pie which is in my freezer from my Baking Class at ICE.  I know so nice and light right??? Well it’s Thanksgiving, and no one is eating the whole cake, so don’t moan and groan. This is an easy one to do. Pumpkin Cheesecake, not so easy. So if you haven’t finalized your decision, this is a great way to go.  I got this recipe from Barefoot Contessa. (Ina Garten). How easy is that? cookbook. This is a wonderful recipe to make for as long as you have those wonderful cranberries, so stock up in the freezer while they’re around.

Ingredients:

10″ glass (Pyrex) pie plate

1 bag of fresh cranberries (rinse and pick out stems, etc.)

1 Apple peeled, cored, and diced (Granny Smith is a good choice here

1/2 cup light brown sugar, lightly packed

1 tablespoon orange zest (probably need 2 average size oranges)

1/4 cup freshly squeezed orange juice

1 1/8 teaspoons ground cinnamon,( divided 1 Teaspoon for fruit mixture and 1/8 teaspoon for topping)

2 xtra large eggs, at room temp.

1 cup plus 1 tablespoon  granulated sugar

1 stick unsalted butter, melted and cooled slightly

1 teaspoon pure vanilla extract

1/4 cup sour cream (lite OK) not fat free please

1 cup all-purpose flour

1/4 teaspoon kosher salt

Directions:

Preheat oven to 325 degrees

Combine the cranberries, apple, brown sugar, orange zest, orange juice and 1 teaspoon of cinnamon in a medium bowl. Set aside.

In the bowl of an electric mixer with the paddle attachment, beat the eggs on medium-high speed for about 2 minutes. With the mixer on medium, add 1 cup of the granulated sugar, the butter, vanilla and sour cream and beat until just combined . On low speed, slowly add in the flour and salt.

Pour the fruit mixture evenly into a 10 inch glass pie plate (Pyrex) Pour the batter over the fruit, covering it completely. Combine the remaining 1 tablespoon of granulated sugar and 1/8 teaspoon of cinnamon and sprinkle over the batter. Bake for 55 – 60 minutes, until a toothpick or cake tester inserted into the middle comes out clean and the fruit is bubbling around the edges.

Serve warm or at room temperature. Delicious with vanilla ice cream.

Pumpkin Walnut Bread (no butter)

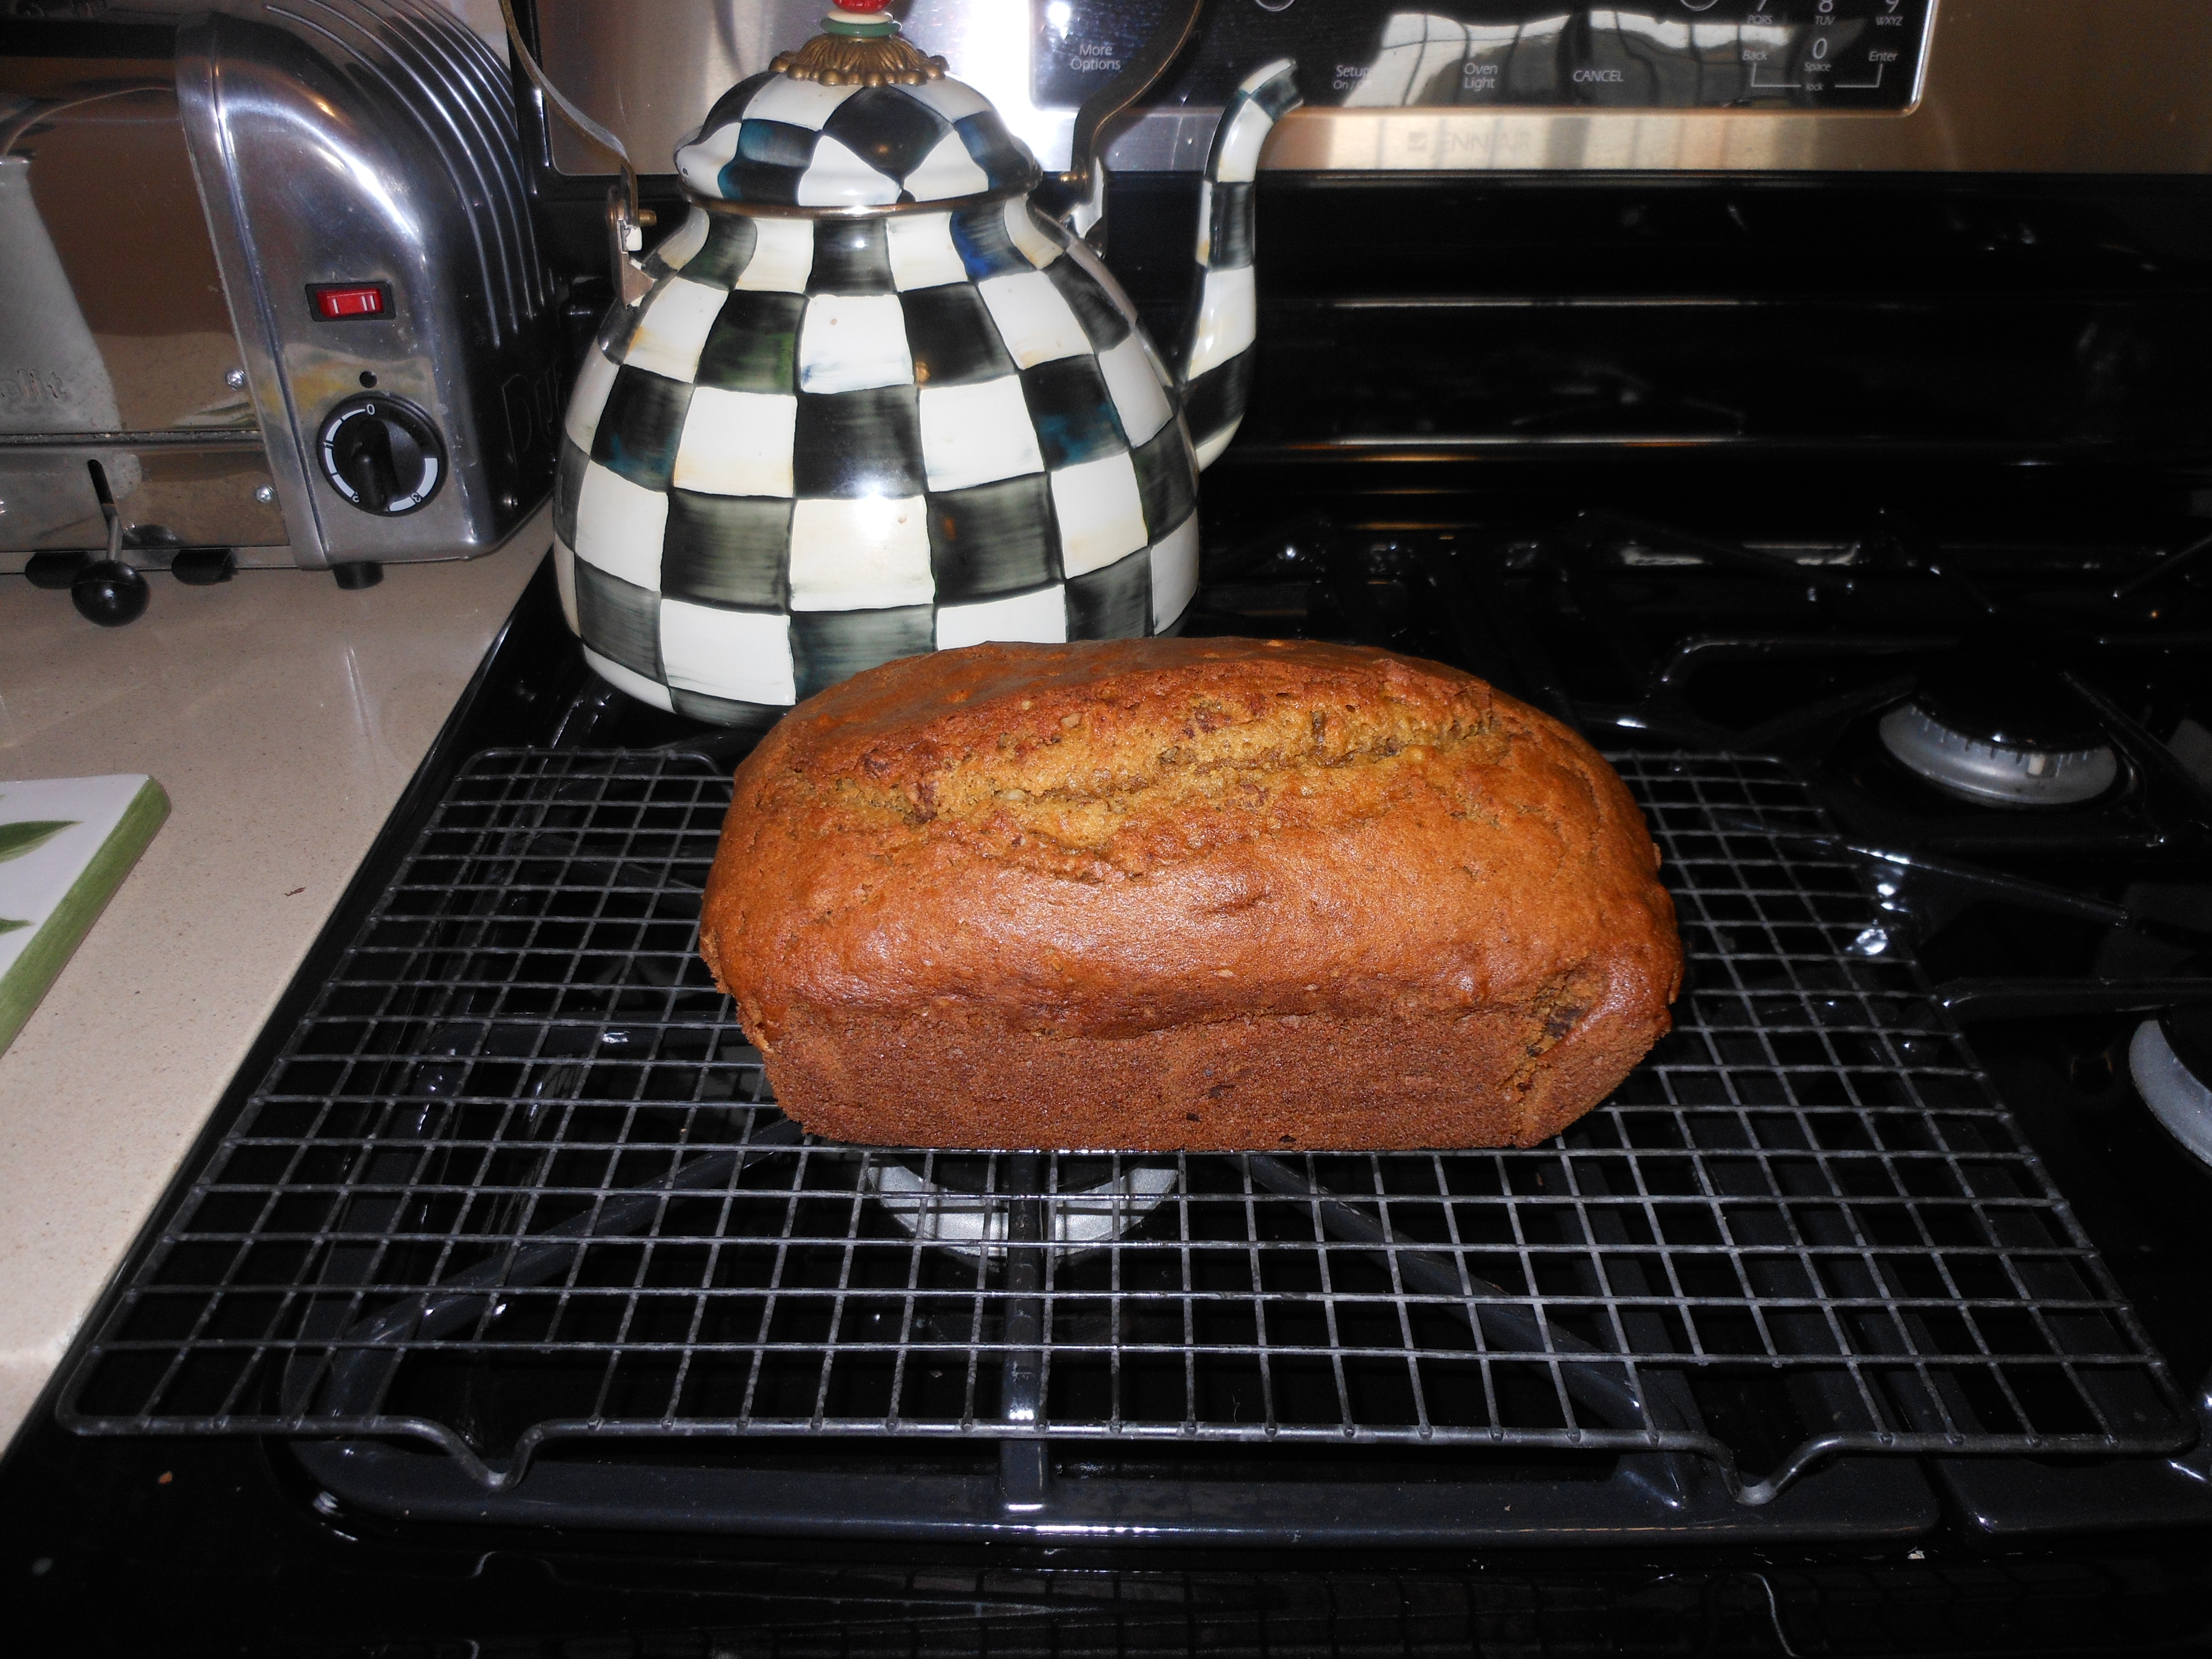
I just love pumpkin and I can’t stop posting about it. Pumpkin Season is here.  I love baking this bread because the smell in the house is beyond. I usually serve pumpkin bread and a banana bread in my bread basket on Thanksgiving. It’s hard to believe that there is no butter in this moist, delicious bread. I make both of these way ahead of time, because they freeze so well. You can even double the recipe if you have two loaf pans, and eat one now and tuck one away for another day like Thanksgiving. It’s a nice thing to bring to someone’s house as a gift as well if you’re so inspired. Also, this bread is loaded with spices, speaking of Spices and Penzey’s Spice Market (see post.)  This recipe will make one perfect loaf.

*this bread freezes beautifully for up to 8 weeks. Double wrap it in plastic and put in a resealable plastic freezer bag, and put the date on it. Defrost, still wrapped in the plastic to avoid condensation on the bread, at least 2 hours before serving. I take out of freezer the night before I’ll be using it.

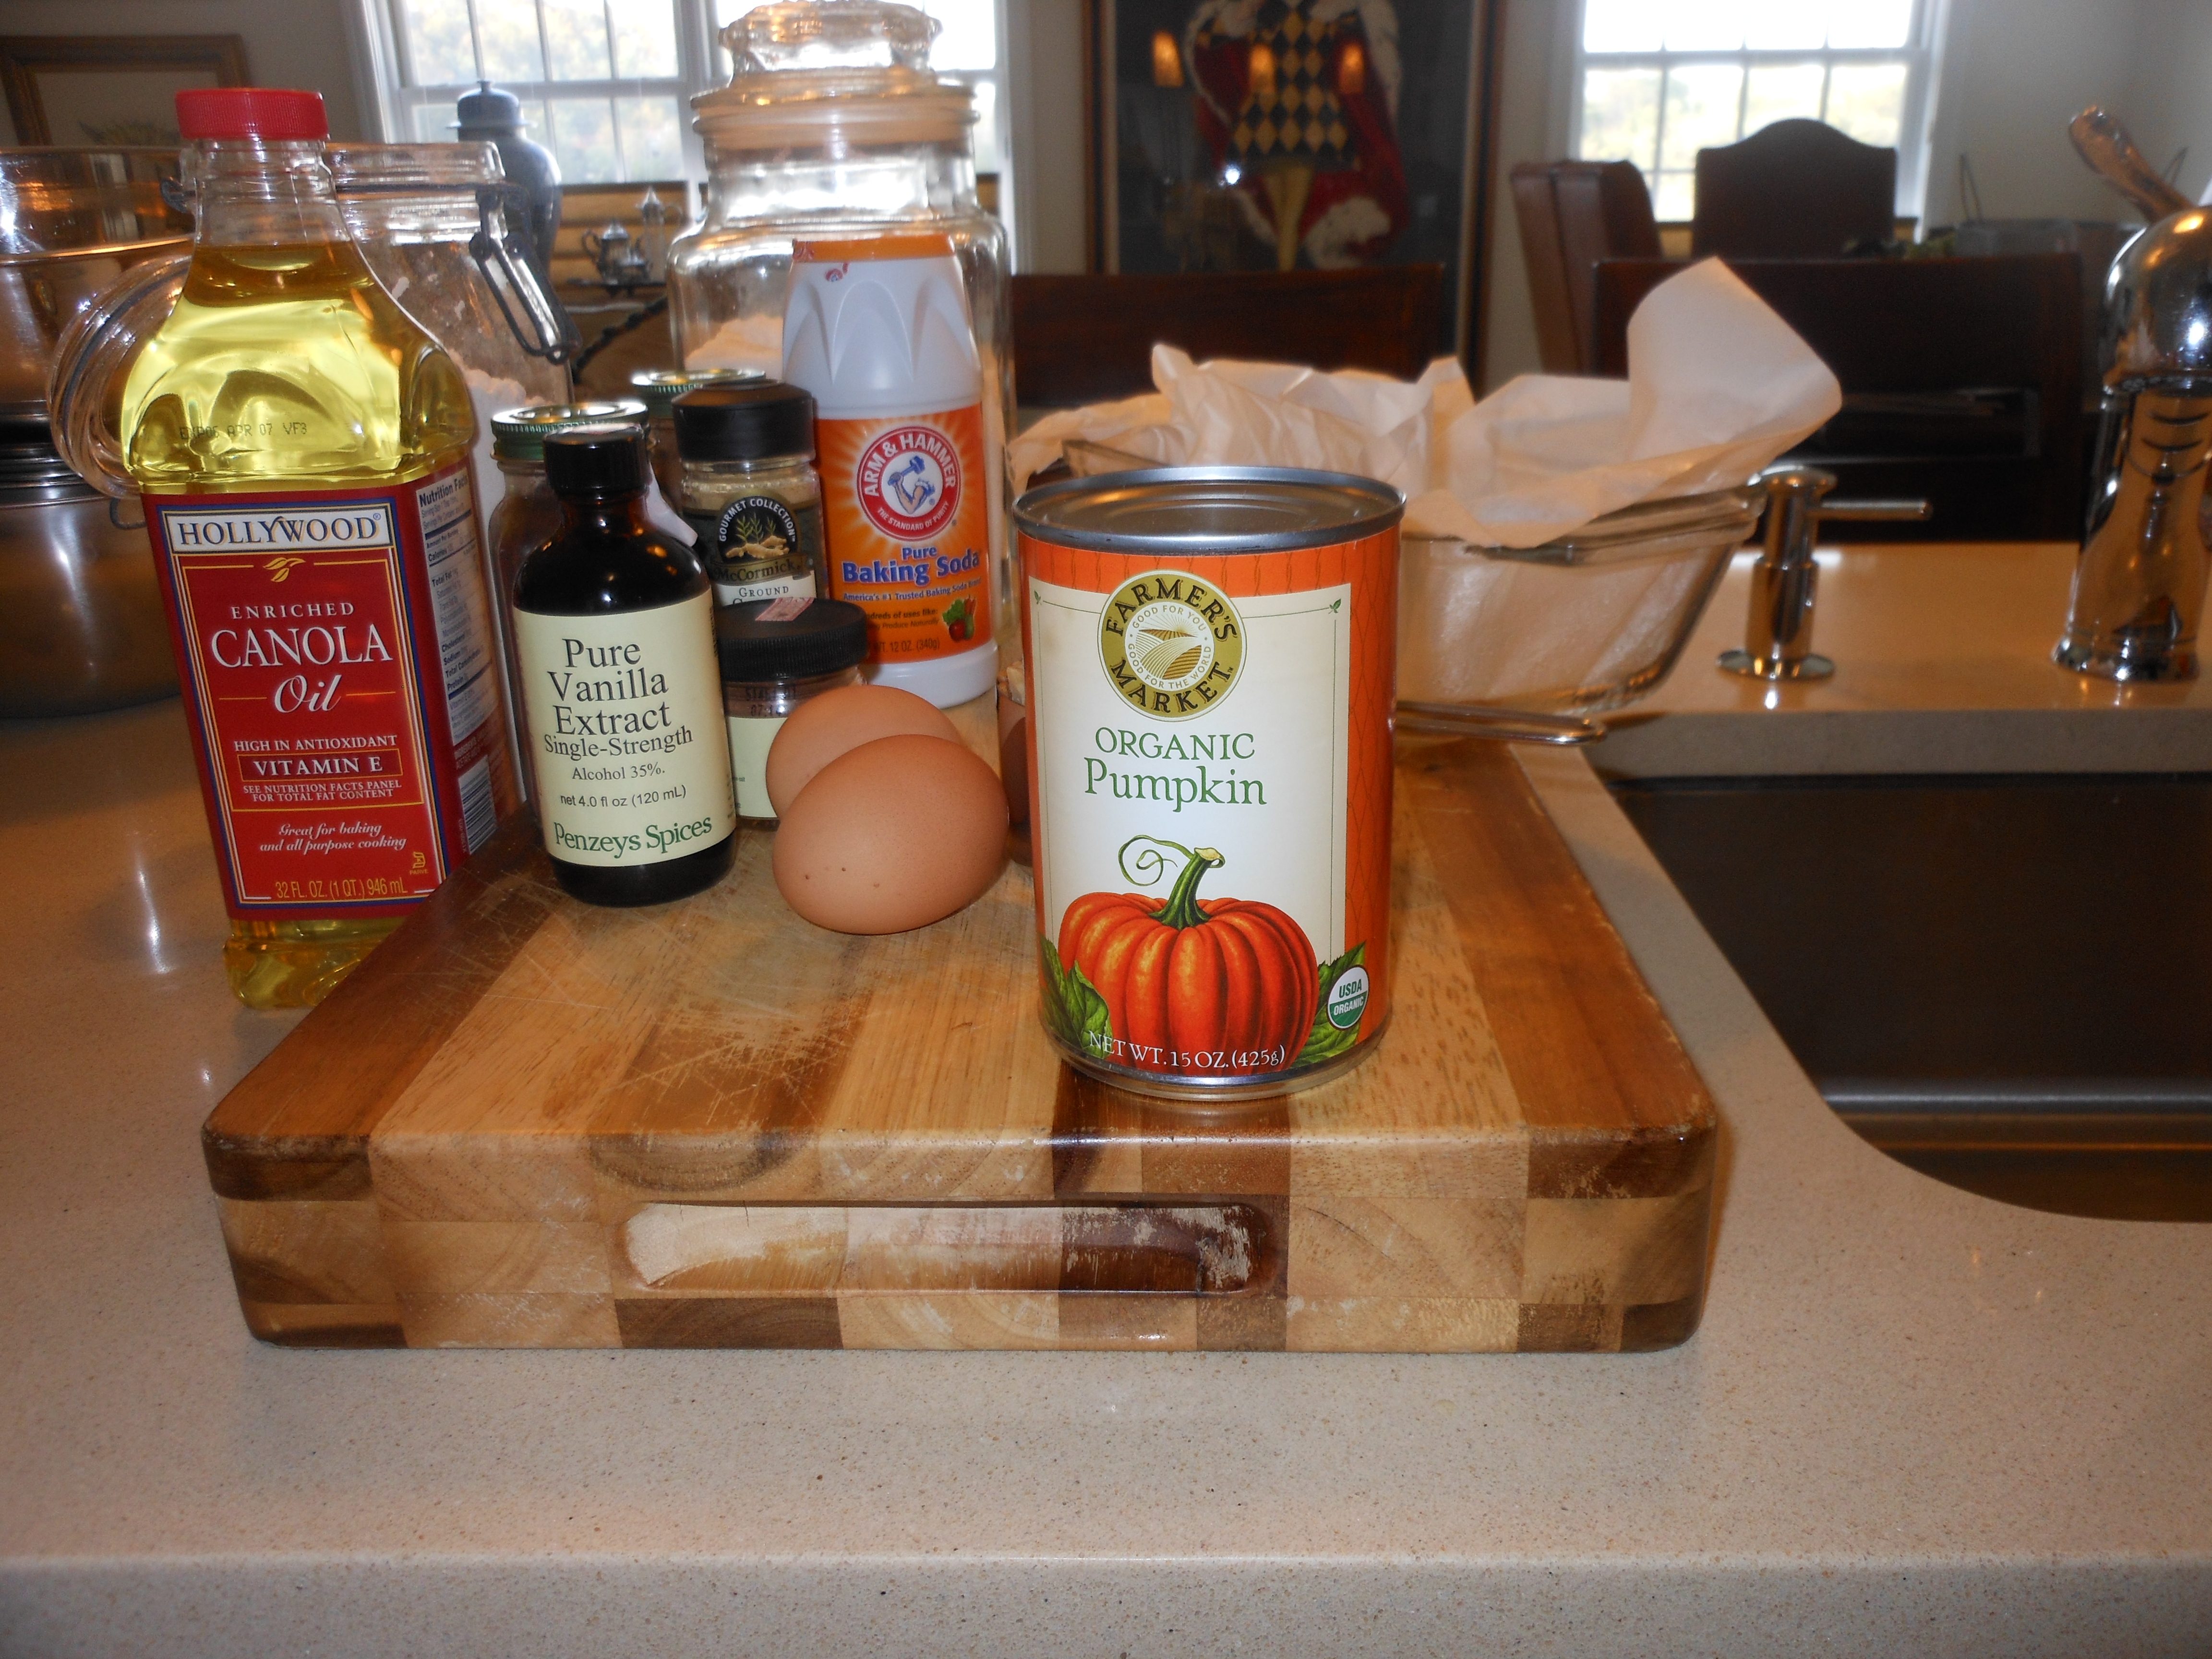
Ingredients:

2 cups all-purpose flour (I sift)

3/4 teaspoon baking soda

1/2 teaspoon ground cinnamon

1/4 teaspoon allspice

1/4 teaspoon ground cloves

1/4 teaspoon ground ginger

1/4 teaspoon salt

2 large eggs, room temperature

1/3 cup water

1 1/2 cups sugar

1 cup canned pumpkin (not pumpkin pie filling)

1/2 cup canola oil

1 teaspoon pure vanilla extract

1 cup chopped walnuts (obviously this is optional)

You will need a 9 x 5 inch loaf pan, parchment paper, large bowl, medium bowl, whisk, silicone or rubber spatula.

Directions:

Preheat the oven to 350 degrees and position oven rack in the center of oven.

Lightly coat the loaf pan with melted butter and dust with flour, or spray with Pam. I line my loaf with a piece of parchment paper that extends one inch beyond the edge of the pan (this makes it easy to life the bread out. It is optional , just make sure you grease pan in one way or another first. If you’re not comfortable working with parchment paper, skip it. I like it but it can be tricky in a loaf pan. Just grease well, or give it a good spray.)

In a large bowl, sift the flour. Then, whisk together the flour, baking soda, cinnamon, allspice, cloves, ginger, and salt until thoroughly blended. In a medium bowl, whisk together the eggs and the water. Add the sugar and blend well. Add the pumpkin puree, vegetable oil, and vanilla extract and blend well. Add the pumpkin moisture to the dry ingredients and whisk until well blended and smooth. Add the walnuts and stir until they are well distributed. Use a spatula to scrape the batter into the prepared loaf pan.

Bake for 55 – 65 minutes, until the bread is firm to the touch and a toothpick or cake tester comes out clean from the center of loaf.  I let it cool for about 10 minutes, then I turn it out onto a rack to cool completely. I don’t freeze it until it is completely cool.

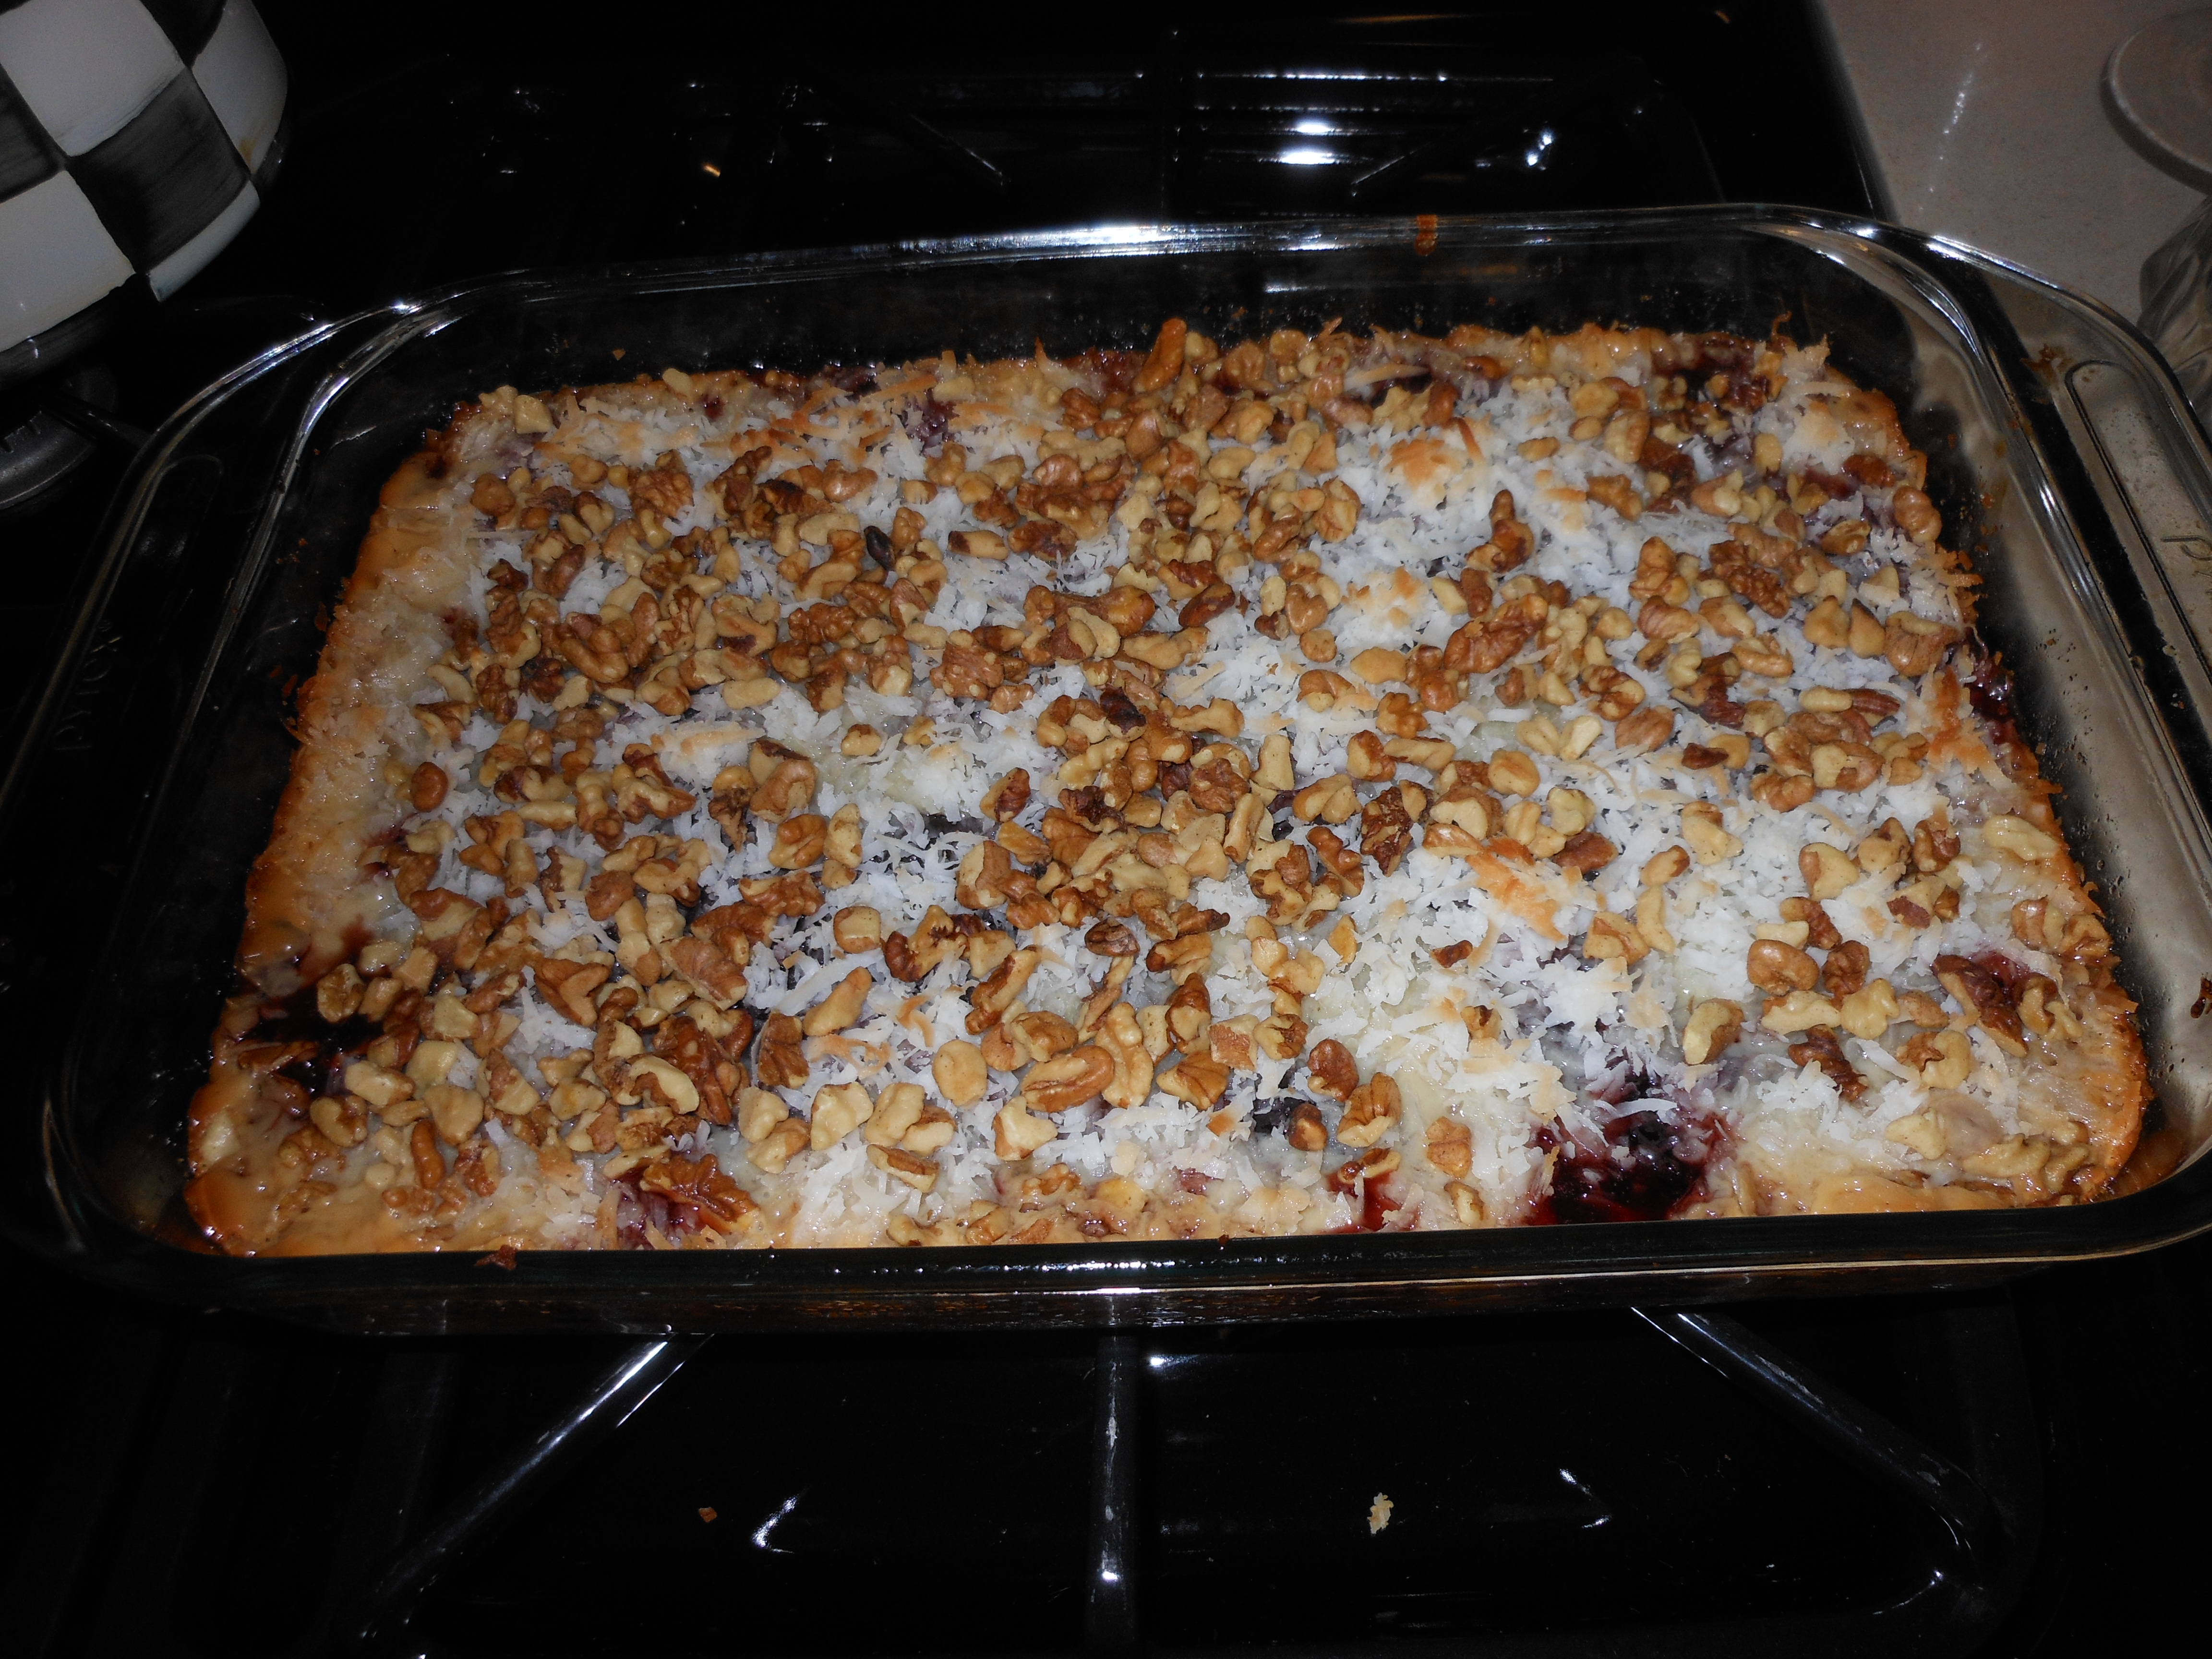
Magical Raspberry Bars ( variation on Heaven in a Bar )

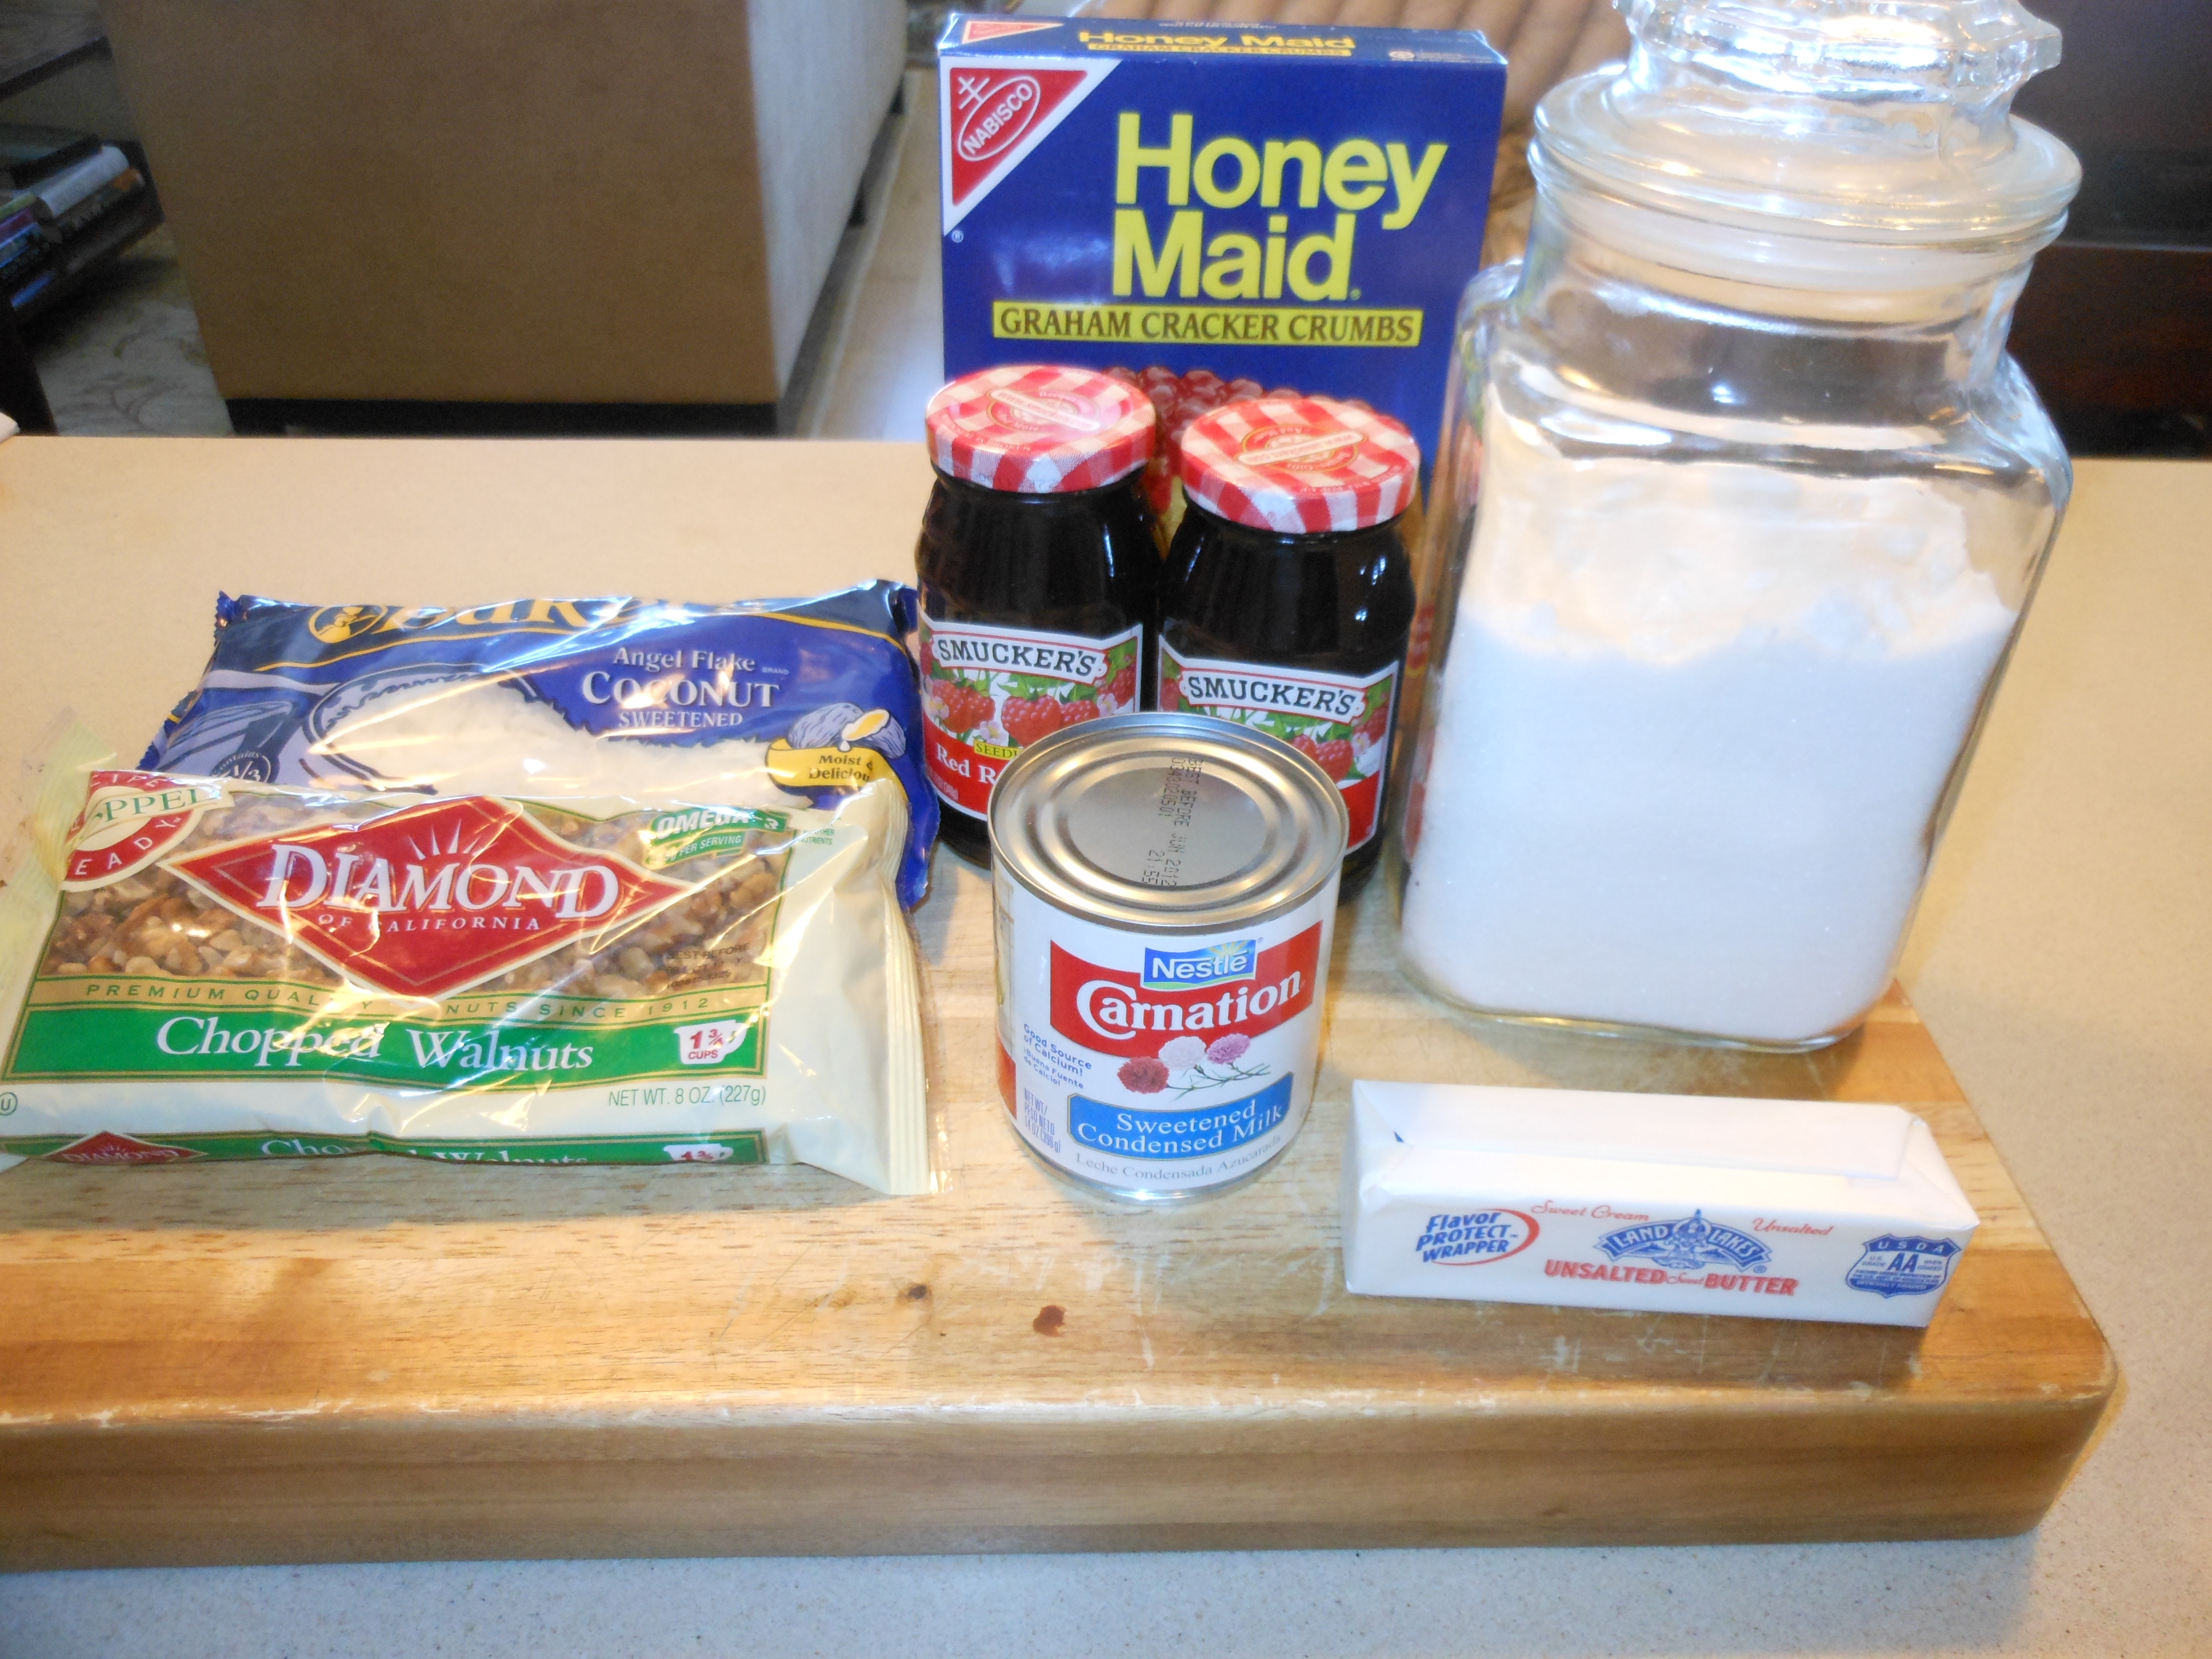
This is a slight variation on the original Heaven in a Bar Recipe. Equally easy to prepare, ingredients are available, etc. So if your idea of Heaven has raspberry in it, here you go. Enjoy!!! They are magical!!!!!!!!!!!!

Ingredients:

2 cups Graham Cracker Crumbs

1/4 cup sugar

1 stick unsalted butter or margarine (1/2 cup)

1 can (14 oz.) sweetened condensed milk

1 – 1 1/2  jars seedless raspberry preserves , small jars they are probably 12 oz. each.  I have found, if I use too much jam it’s super gooey, and doesn’t really hold together as well

1  cup coconut flaked ,sweetened (if it looks light on coconut, you can always sprinkle a little more) 1 – 1 1/2 cups, especially if you like a lot of coconut.

1 cup chopped pecans or walnuts (whichever you prefer)

Directions:

Preheat oven to 325 degrees

In a small bowl combine graham cracker crumbs and sugar. Add melted butter or margarine. Toss till well combined. Press onto bottom of a 9 x 13 baking pan. (I spray lightly first) I use my clean hands to flatten out and even it out.

Evenly drizzle condensed milk over graham cracker crust.  Refrigerate for at least 10 minutes. Take out of fridge and spoon preserves over crumbs and milk mixture.  I loosen up the preserves a bit in microwave in a little bowl. (about 2 minutes) I try to spread as evenly as possible without disturbing milk too much, it’s no big deal if you do. Sprinkle with coconut and nuts. Bake at 325 degrees for app. 25 minutes (maybe 30) until light brown on top. I set timer for 25 minutes, and look at it, if it’s lightly browned I cook it another 5 minutes or so till whole thing looks browned. 30 – 35 minutes should do it. This time out I cooked it for 35 minutes.

Cool completely. I like to cool overnight in the fridge before I cut into bars. Store, loosely covered at room temp. when you’re ready to eat them. I always freeze them because they defrost so quickly and are a great treat to have in the house.

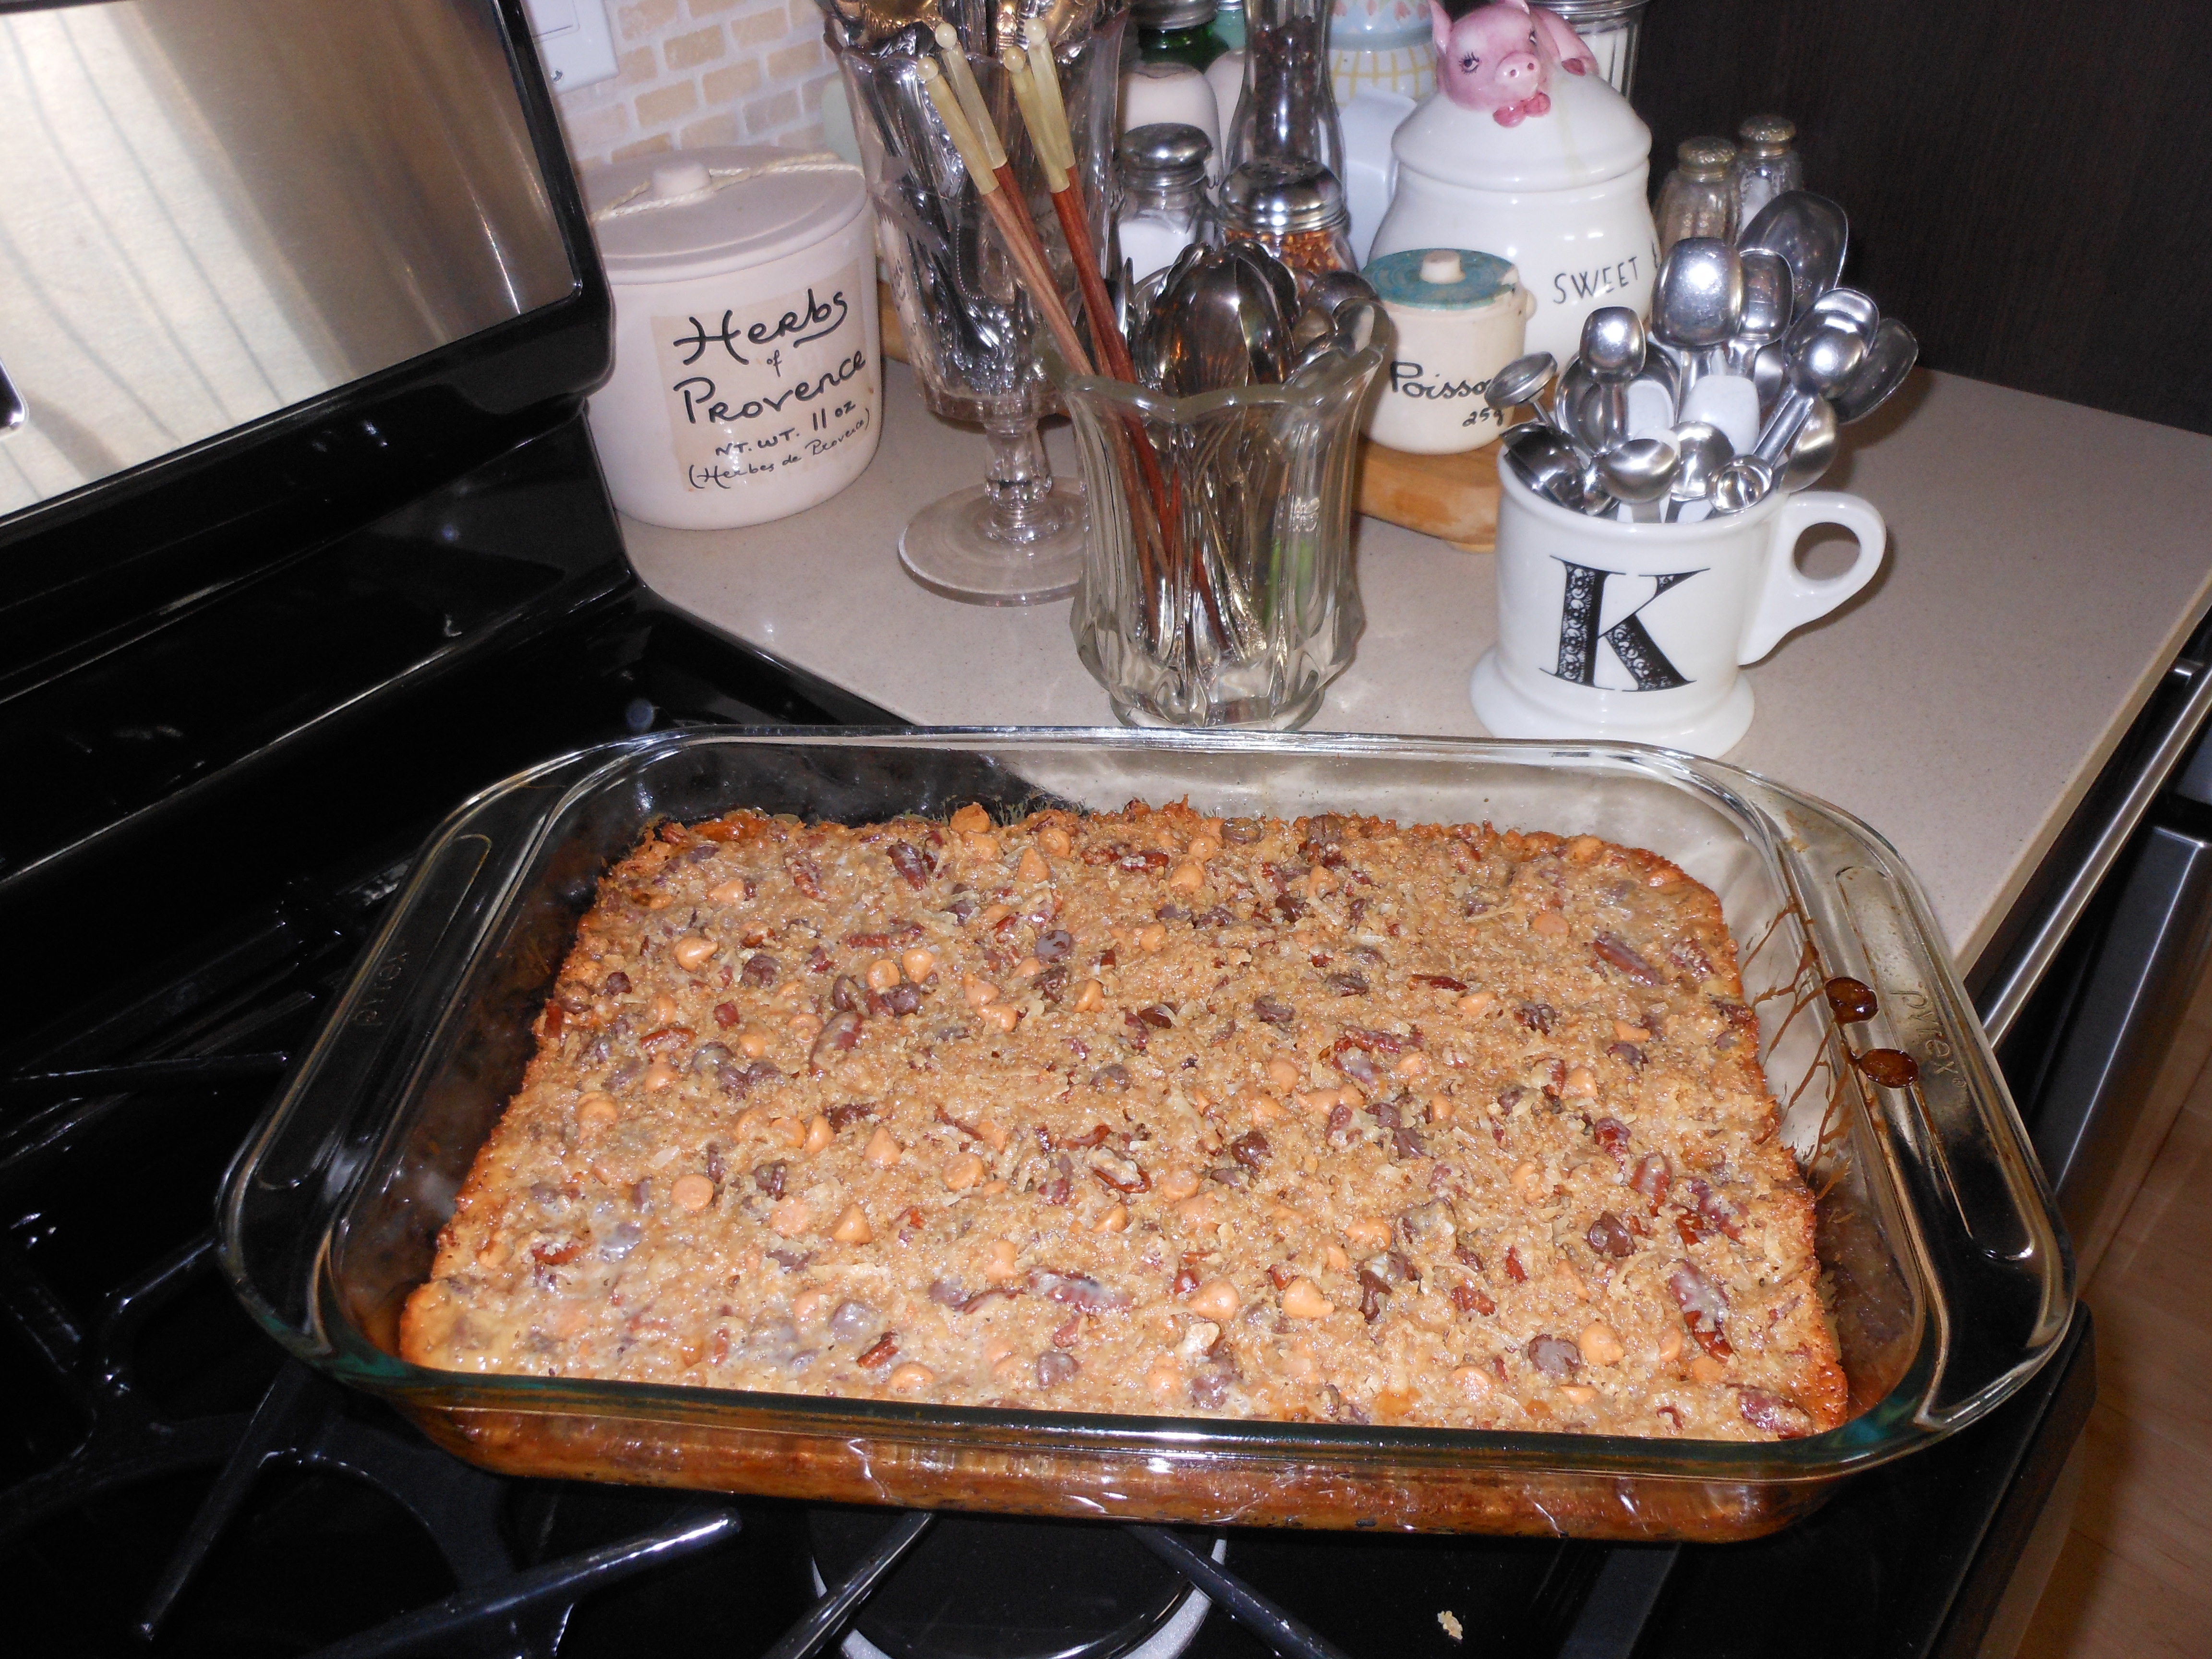
7-layer Heaven (in a bar)

These bars are truly divine. They are, quite simply, a very small bit of heaven on Earth. Superbly sweet and gooey. Perfect for when you need to make a dessert quickly. Buy these ingredients and keep them in your pantry and then when you need to make something quickly, here you go. These bars don’t require any real baking skills and you can’t really screw them up unless you burn them (but you won’t do that!) My daughter, Jennifer, bakes these. She makes a crust first with the graham crackers and butter then layers the other ingredients. These bars are always her go-to dessert and are always welcome around our family. In doing some research for these bars (which aren’t gentle on the thighs), I found that you can dump all the ingredients in a bowl, except for the sweet condensed milk, and it works! So sweet indeed. Simple and delicious!

INGREDIENTS:

2 cups graham cracker crumbs

1 1/2 sticks unsalted, sweet butter, melted

2 cups pecans, coarsely chopped (you can buy them this way)

2 cups sweetened shredded coconut

1 cup semi-sweet chocolate chips

1 cup butterscotch chips (you can also use peanut butter chips or arrange a medley of whatever chips you like as long as you end up using 2 cups total)

1 1/2 14oz. cans (21 oz.) sweetened condensed milk

DIRECTIONS:

Preheat oven to 325 degrees.

Lightly grease a 9 x 13 baking pan (I spray lightly with baking spray.)

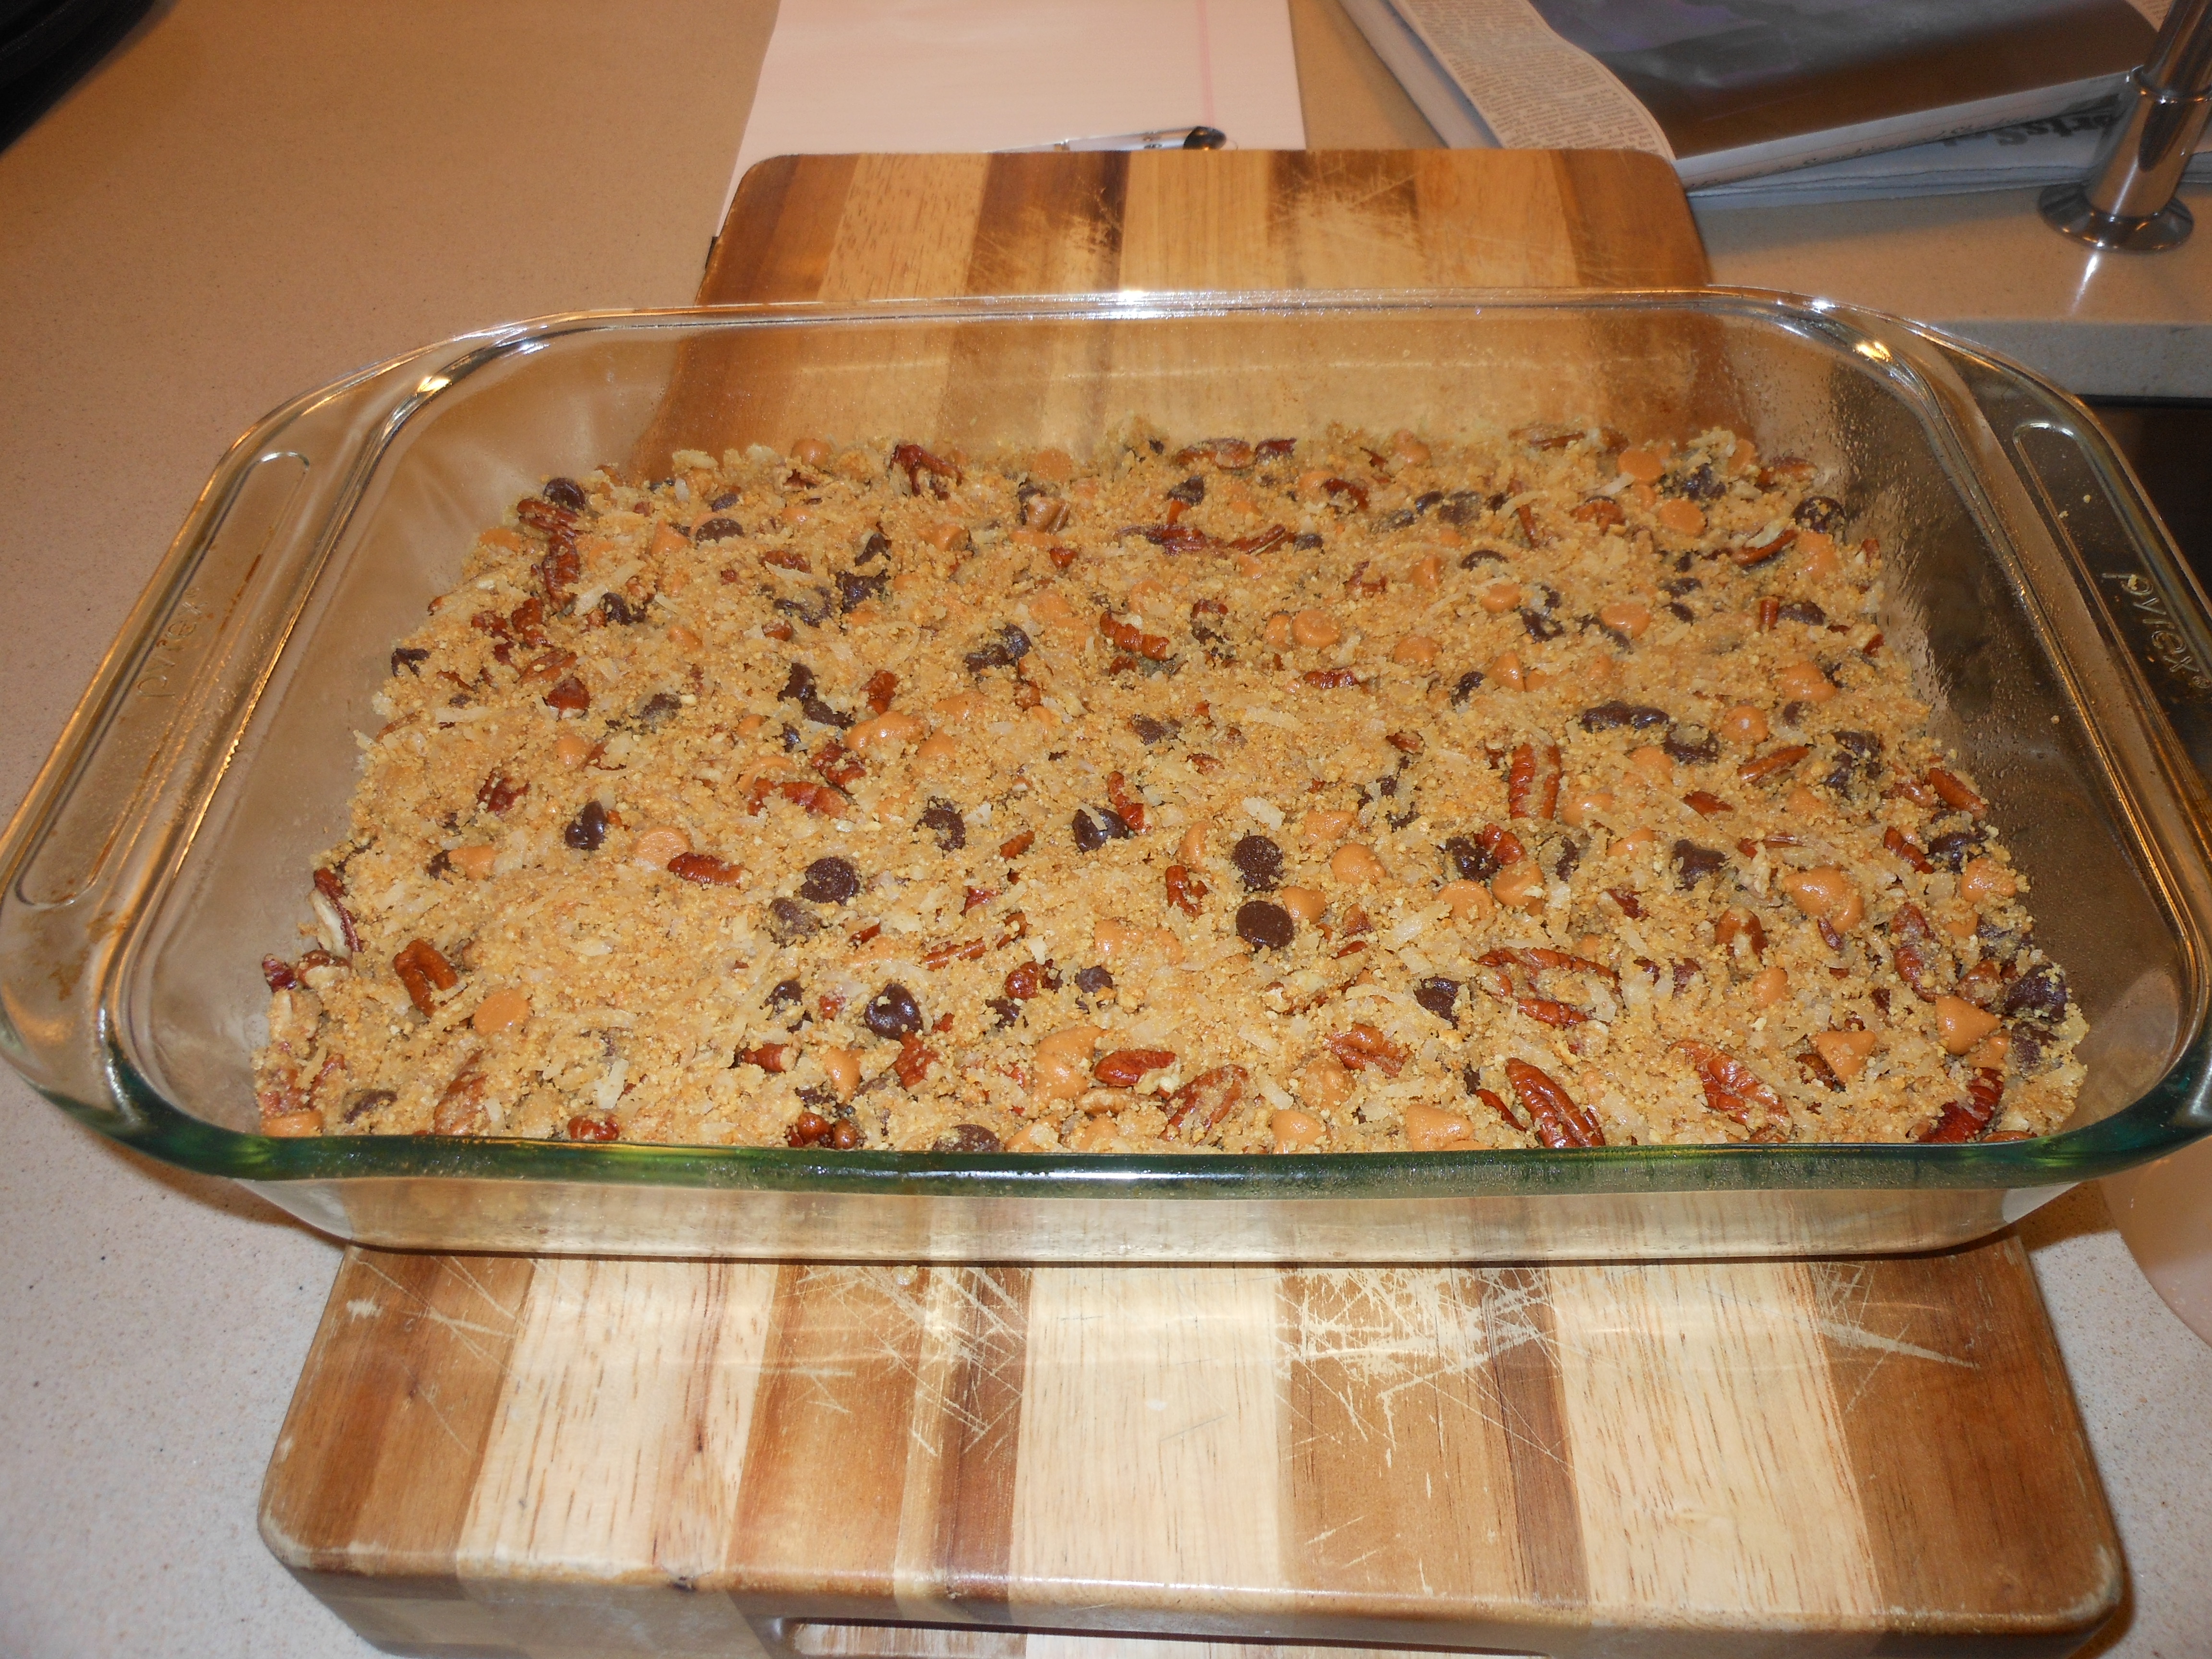
Mix together all the ingredients except for the sweetened condensed milk in a large bowl. Transfer the mixture to the prepared pan and pat it down evenly with your clean hands. Pour the sweetened condensed milk over the top to cover, using a spatula or a knife to spread, if necessary. If you like, you can add nuts on top of the sweetened condensed milk, too. That’s up to you, but this couldn’t be easier to do. Bake for 30 to 35 minutes, until it looks golden brown. Cool to room temperature.

*yields about 24 2-inch bars (or cut into little squares). Best if left to cool overnight before cutting and serving, when possible.

Noodle Pudding with Apricot Nectar

I’ve tried so many noodle puddings, but keep coming back to the same old , same old. they’ve been passed down in so many different incarnations. i don’t even know what the original one is anymore. this is my most favorite. also a perfect break fast food. can and should be made ahead of time, they hold together better.  we used to add apricot jam, but it really was overkill. we omitted it, and it is perfect just the way it is. thanks to karyn r. for this noodle pudding and for being such a great cooking buddy for as far back as i can remember.

1 lb. noodles ( i use extra wide egg noodles, you’ll need a bag and 1/4 app. just eyeball it)

1 cup sugar

6 eggs ( I use extra large and at room temp. just make sure they are not right out of fridge) they work much better when they are not right out of fridge in baking.

1 tbsp. vanilla

1 stick unsalted sweet butter(melted)

6 oz. cream cheese (softened at room temp)

1 1/2 cups milk ( I use skim plus) would not use regular skim milk

2 cups apricot nectar (available in most supermarkets)

Topping:


1 1/2 cups cornflake crumbs

2 tsp. cinnamon

1/2 cup sugar

1 stick butter (melted)

Directions:

 cook noodles. mix 6 beaten eggs with the tablespoon of vanilla in one bowl. in another bowl melt 1 stick sweet butter(unsalted)softened cream cheese, and milk. add the apricot nectar . mix all ingredients together and put in large pyrex type baking dish. mix topping ingredients together, put on top of noodle pudding. cook at 350 degrees for one hour.   i usually cook this ahead of time, cook for 1/2 hour and then freeze it till i am ready to use, take out of fridge bring to room temperature and bake it for another hour till brown on top and cooked through. noodle puddings are best if you let it sit a while (at least 15 minutes before serving) they hold together better that way. can be served at room temperature.

*serves about 12 – 15 people doubled

Break Fast Food – Blintz Souffle

Here we go again…another holiday to cook for. Most of breaking the fast is taking in bagels, fish, etc. Easy to do. But I still try to make a few dishes and this recipe is an oldie but a goodie. I have been making this recipe since 1975 and it never gets old.  This dish can be assembled ahead of time, kept in the refrigerator and baked right before eating. This is a keeper and a tradition in my house. Always delicious. You can buy almost any of the frozen blintzes. Some stores have homemade ones, but it doesn’t really make that big of a difference with this recipe. Enjoy! This is super easy, with excellent results.

INGREDIENTS:

6 blintzes (you can use cheese or fruit-filled, whichever you like. Depending on how many people I’m feeding, I usually make 1 fruit and 1 cheese tray)

2 eggs

1/4 cup sugar

1 tbsp. unsalted butter or margarine

3/4 cup sour cream (lite is fine but I wouldn’t use fat-free)

1 tsp. vanilla

Dash of cinnamon

DIRECTIONS:

Preheat oven to 350 degrees.

Melt butter or margarine in saucepan. Spray baking dish with Pam spray (Original). Mix remaining ingredients in a bowl together. Place frozen blintzes in baking dish. I usually use a 9×13 size dish but anything close to that will work. You can double the recipe, in which case you’d obviously need a larger baking dish (you need room for the blintzes to expand a little and for the egg mixture to rise around it. Don’t spread it too thin.) Pour the melted butter on top of the frozen blintzes, followed by the sour cream mixture. Bake at 350 degrees for approx. 30-40 minutes. Let it sit for a few minutes out of the oven before cutting into it.

P B and J Bars (Peanut Butter and Jelly) Real Comfort Food

p b and j bars

These bars definitely fall into the decadent category. They are super rich, super dense and super delicious. You kind of have to be a PB&J type to really like these and since I am, I love them. This is the time of year for baking and some real comfort food baking seems to happen around the Holidays.

The trick to this recipe is to let it cool completely before even attempting to cut them. Actually, this time I put in refrigerator for a few hours, used a knife with a cup of water to cut. I cut them into very small pieces because they are so rich. Pour a glass of milk, sit down with a small piece and enjoy! The original recipe comes from Ina Garten and I’ve made a few small, personal changes. This time out I omitted the chopped peanuts on top, wanted to make it without , and they were perfect. The extra added peanuts add some crunch, but not totally necessary . I think we could all use a little of this good old fashioned comfort food now and again.

INGREDIENTS:

2 sticks unsalted butter, room temperature

1 1/2 cups sugar

1 tsp vanilla extract

2 extra-large eggs, room temperature

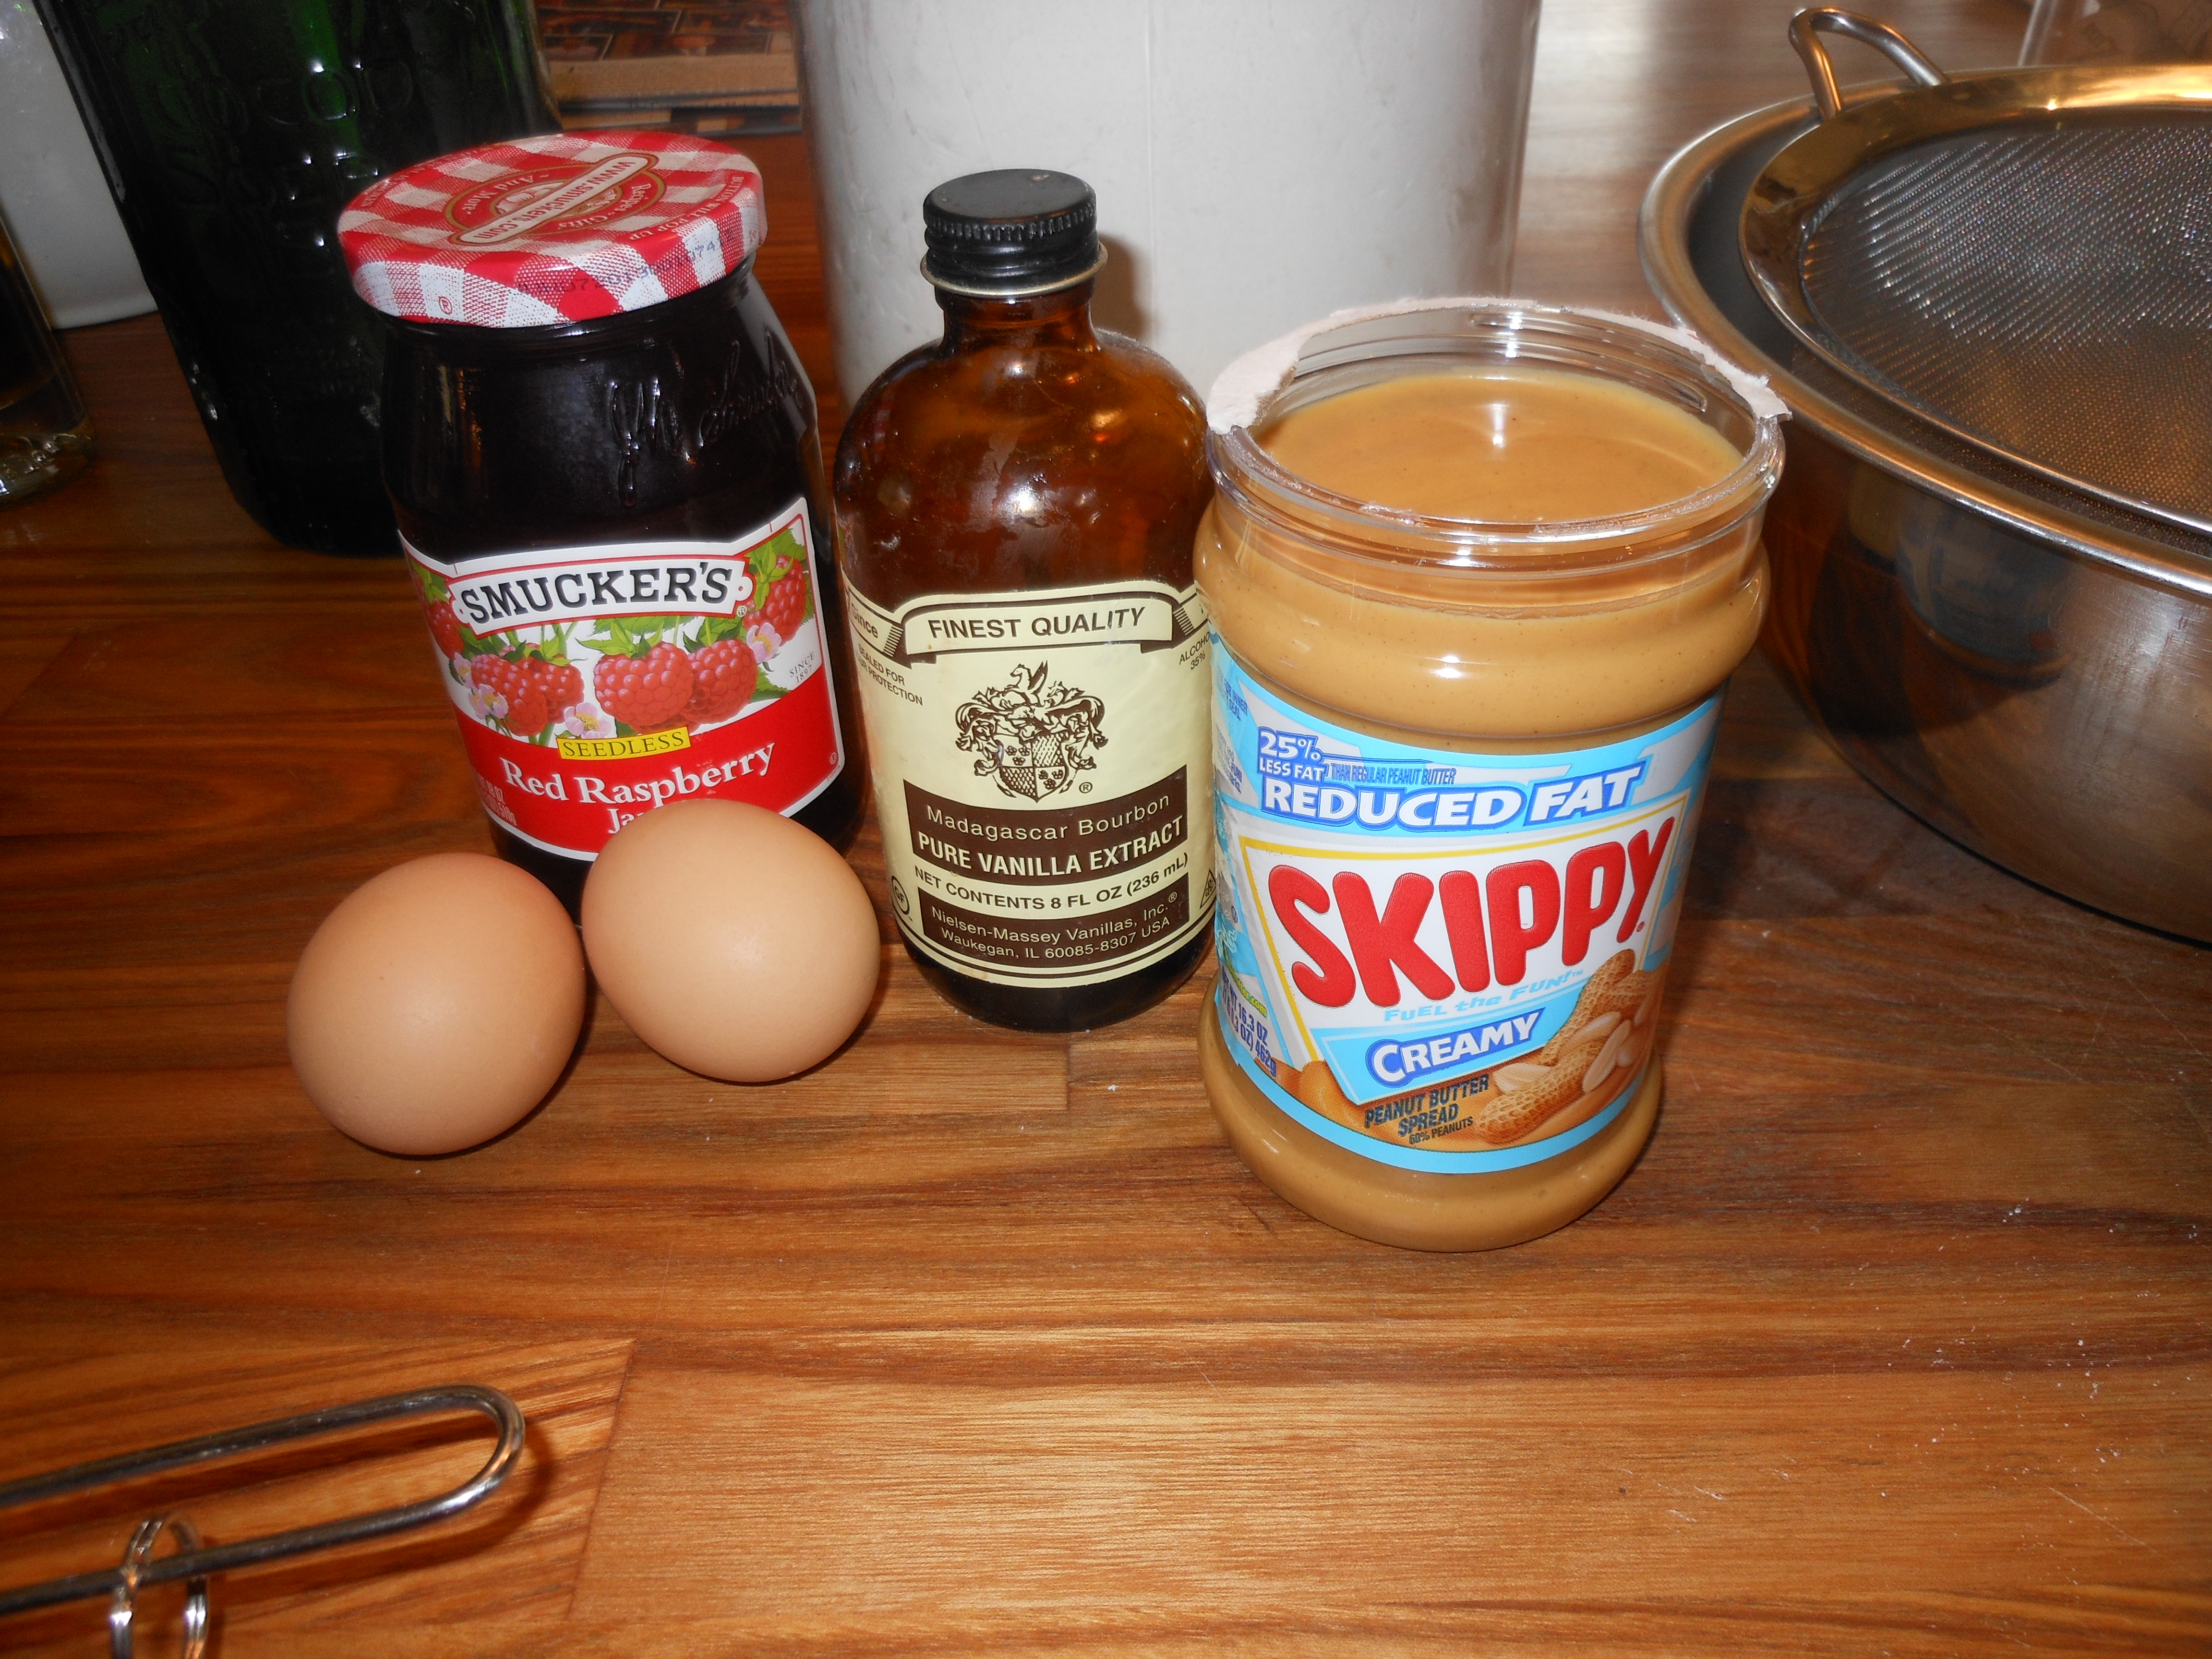
2 cups (18oz.) creamy peanut butter (I use Skippy reduced fat)

1 1/2 cups (18 oz.) raspberry jam (or any other flavor you like) this time I tried seedless raspberry jam which worked out so well ( Smuckers ) but any one will do. Use flavor you like.

3 cups all-purpose flour, sifted

1 tsp baking powder

1 1/2 tsp kosher salt

*2/3 cups chopped salted peanuts ( coarsely chopped) (I omitted this time out ) as you can see by pictures.

DIRECTIONS:

Preheat the oven to 350 degrees.

Grease a 9×13 inch cake pan. Line it with parchment paper, then grease and flour the pan. (You can also spray with baking spray. I like to use a little butter on parchment paper.)

In the bowl of an electric mixer with the paddle attachment, cream the butter and sugar on medium speed until light yellow (a few minutes). Switch the mixer to low-speed and add eggs, vanilla, and peanut butter and mix well.

In a small bowl, sift together the dry ingredients. With the mixer on low-speed, add the flour mixture (dry ingredients) slowly into the peanut butter mixture, until well combined.

Spread 2/3 of the dough into the prepared cake pan and spread over the bottom with a knife or spatula. Spread the jam evenly over the dough. Drop small globs of the remaining dough evenly over the jam (use a spoon and don’t worry if the jam isn’t completely covered). Sprinkle with chopped peanuts and bake for 40-45 minutes. Cool completely and cut into squares.

*yields about 24 bars but I can usually get about 30 but cutting them small

Something to do with a few zucchini (bake a bread), vegetarian

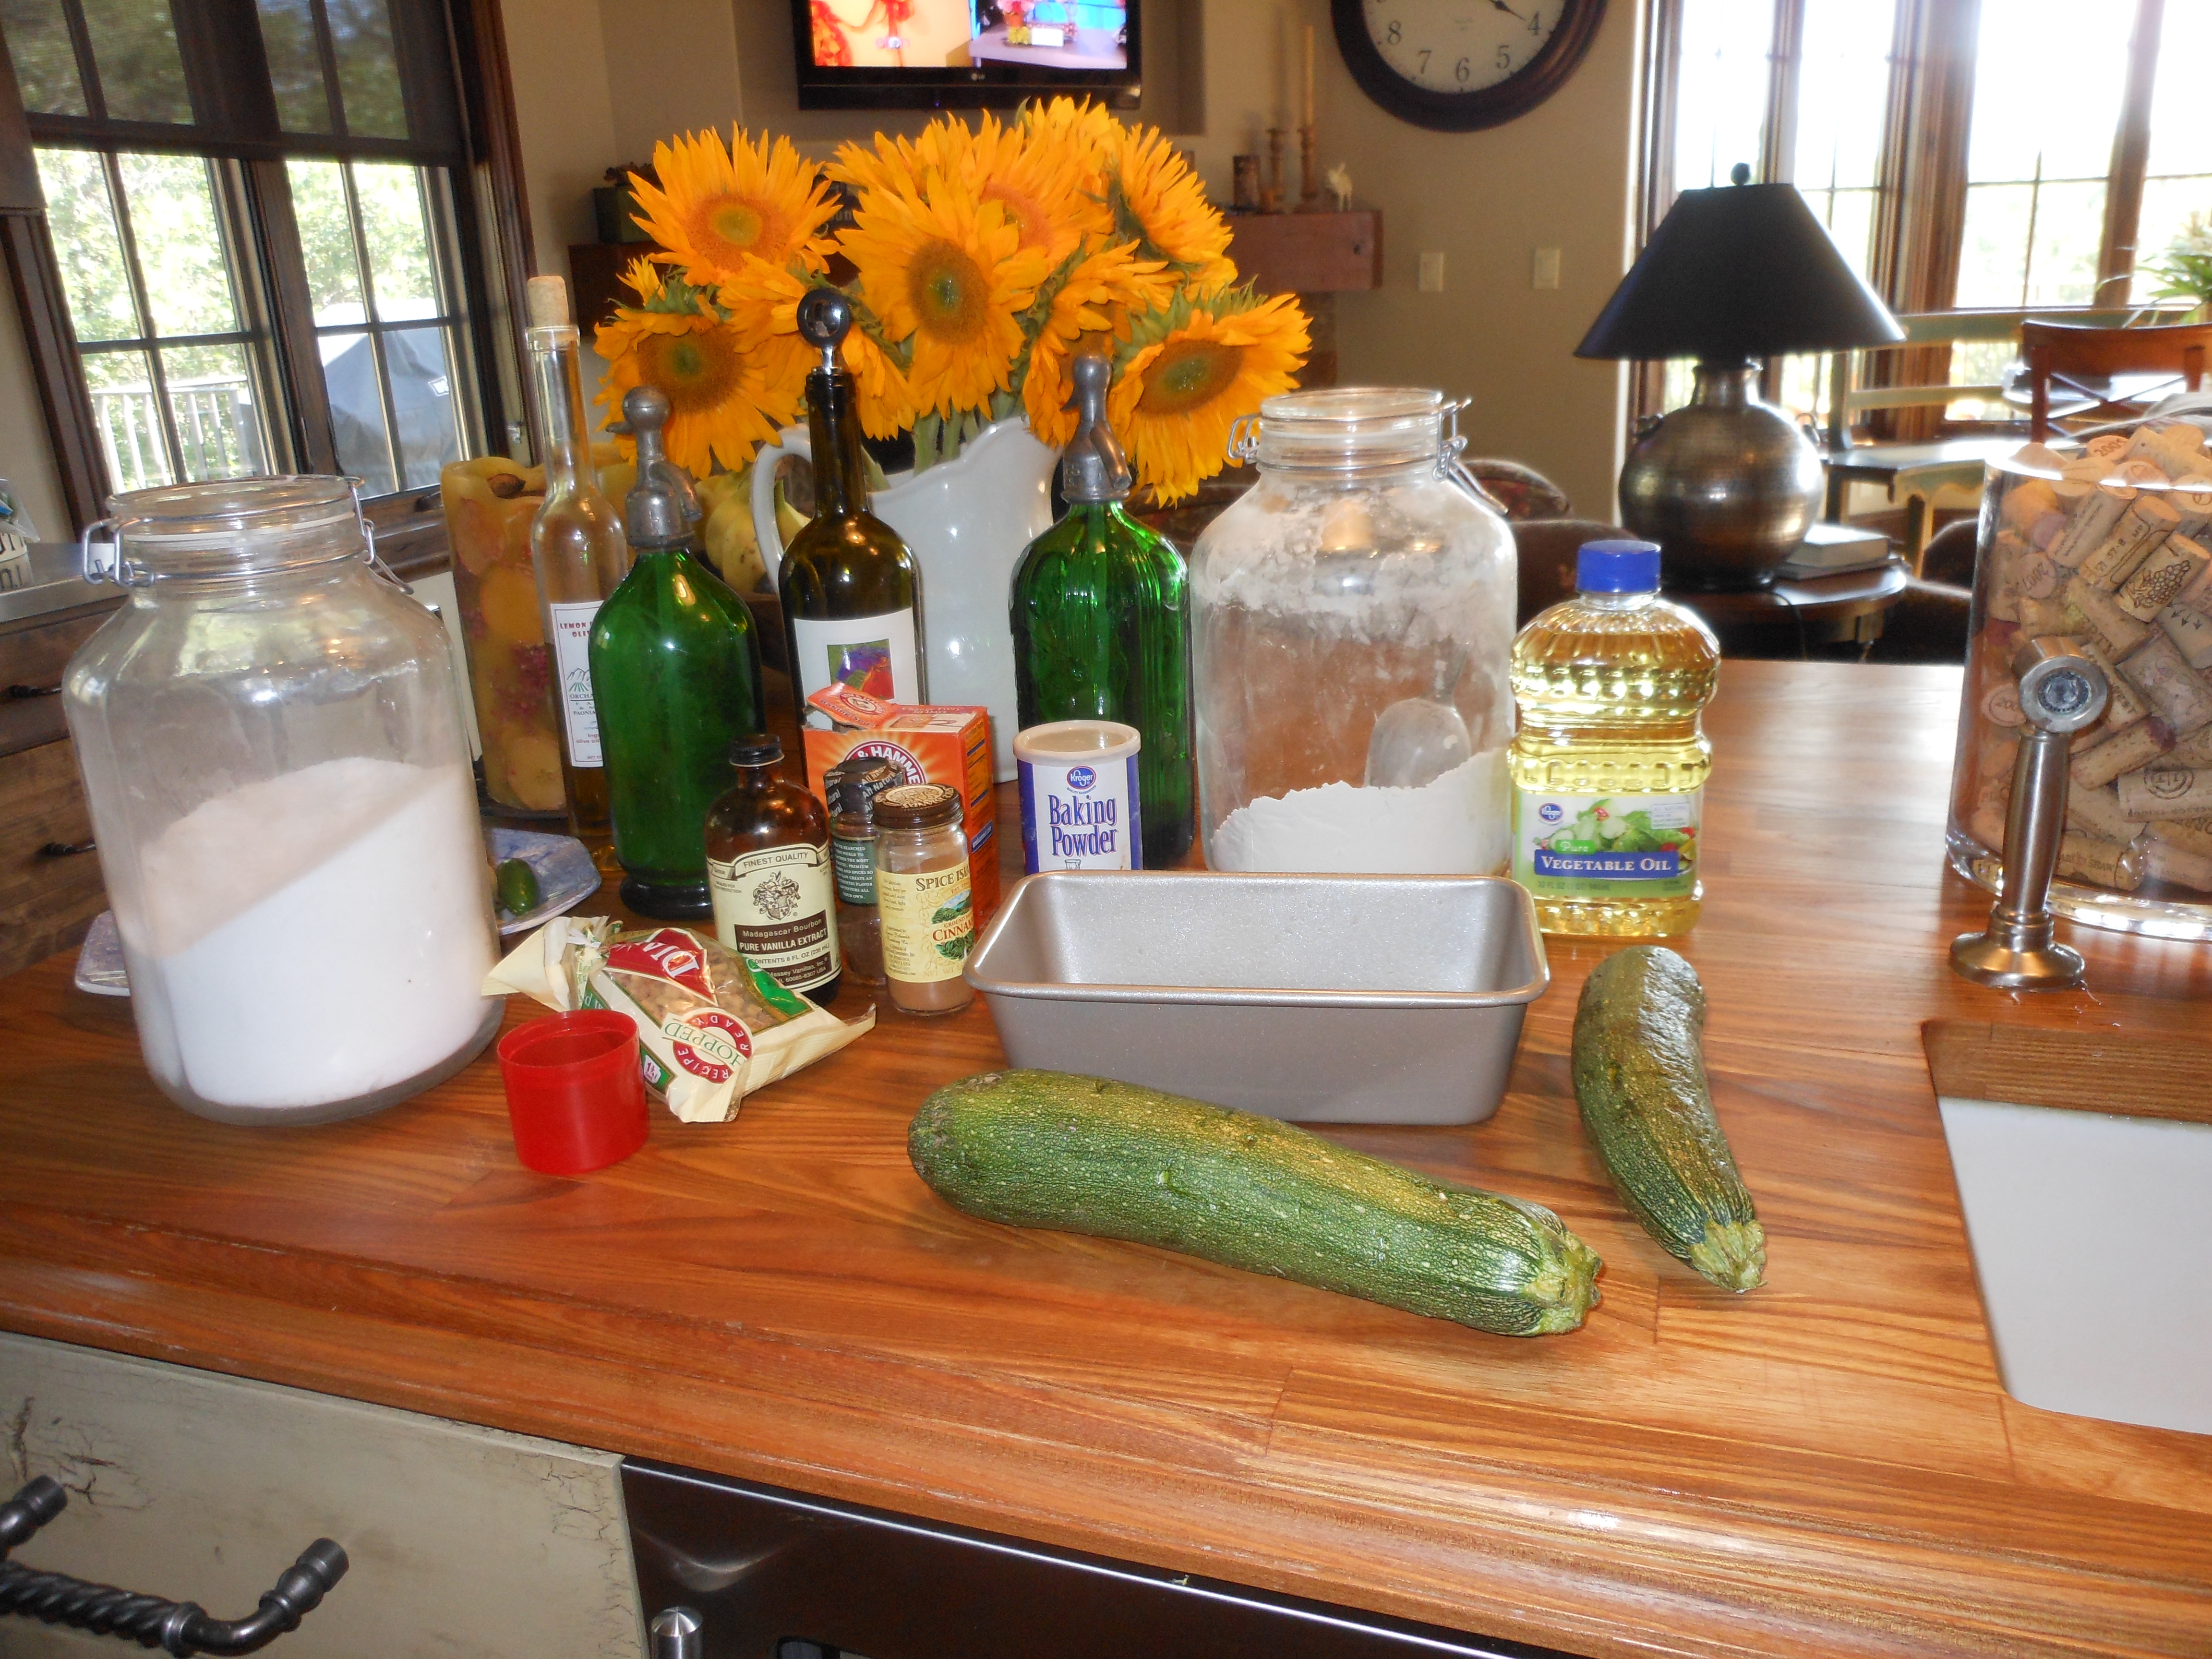
 What to do with that beautiful zucchini you bought at the farmer’s market? Or that your friend gave you from her garden? Bake a bread or make muffins…perfect! This is so delicious for breakfast, as a snack, or a simple dessert. This recipe was inspired from the Original Silver Palate cookbook–one of the best cookbooks I’ve ever used. It’s worth the effort. It’s a bit on the messy side with all that grated zucchini. This would be categorized as vegetarian, but not vegan. 

INGREDIENTS:

3 eggs, room temperature (as always)

1 1/2 tablespoons of unsalted butter, I melt it in the microwave before I add (you’ll also need a little more for greasing the pan)

3/4 cup vegetable oil

1 1/2 cups granulated sugar

1 teaspoon vanilla extract

2 cups grated, unpeeled raw zucchini (about 2 1/2 nice size zucchini), after I grate it , I put it in a mesh sieve and drain it, zucchini is very watery, the trick to baking with it is to rid it of the water. Push down on zucchini while it’s draining and get the water out.

2 1/2 cups unbleached, all-purpose flour (I sometimes mix whole wheat flour in, just make sure you use 2 1/2 cups total) bread will have a browner look with whole wheat flour

2 teaspoons baking soda

1 teaspoon baking powder

1 teaspoon salt

1 teaspoon ground cinnamon

*1 teaspoon ground cloves (optional, this is a strong spice that not everyone likes, so feel free to omit) if you omit clove, might want to increase your cinnamon

1 cup chopped walnuts

DIRECTIONS:

Preheat oven to 350 degrees. I spray pan with Pam and then spread a little butter around the pan, as well.

Beat eggs, oil, sugar, vanilla and melted butter until the mixture is light and thick. (I use my trusty Kitchen Aid mixer with paddle attachment). Fold grated zucchini into the mixture.

In a separate bowl, sift dry ingredients together and then stir into zucchini mixture until just blended. Add walnuts.

Pour batter into the prepared loaf pan (9×5). Bake on the middle rack of the oven for approx. 1 hour (you may need another 15 minutes depending on your oven). Remove cake, and with a cake tester, check for readiness (when the cake tester inserted into the center comes out clean.) I filled the loaf pan about 3/4 to the top. I had a little left over and was able to make 5 muffins with that leftover batter!

Cool slightly, remove from pan, and let it cool completely on a rack.

For optimum flavor, wrap the bread when it is completely cool and let it stand overnight before serving.

something to do with a few zucchini