Category Archives: dessert

Summer Blueberry Cake

I just keep finding new recipes for blueberries. I love blueberries and they are so abundant right now and in peak season. I love them right out of the containers, and I love them in muffins, pies, cakes and cobblers. Here is another delicious cake which you can freeze and a few months from now when fresh blueberries aren’t really around ,you will bring back that summer day that you baked this. I cut this in 1/2 , 1/2 for now and 1/2 for when I return in the winter. You can always make this with frozen berries but I have never done so. To me it’s all about cooking with fruits and vegetables that are seasonal.  There really is nothing like fresh seasonal fruits and vegetables, and I can’t get enough of them . This is a fairly easy cake to bake. I baked it for 45 minutes, and the tester came out clean. You’ll have to check your own oven for cooking time . It can vary from 40 – 50 minutes depending on your oven.

I found this recipe on one of my favorite cooking blogs , Smitten Kitchen. I may have made a few changes which I often do, but it is pretty much the same.

Oh, and I threw in a picture of me and my grandson who is out here visiting.

Ingredients:

2 cups all – purpose flour, plus another tablespoon to dust blueberries with

1 tablespoon baking powder

1 teaspoon table salt

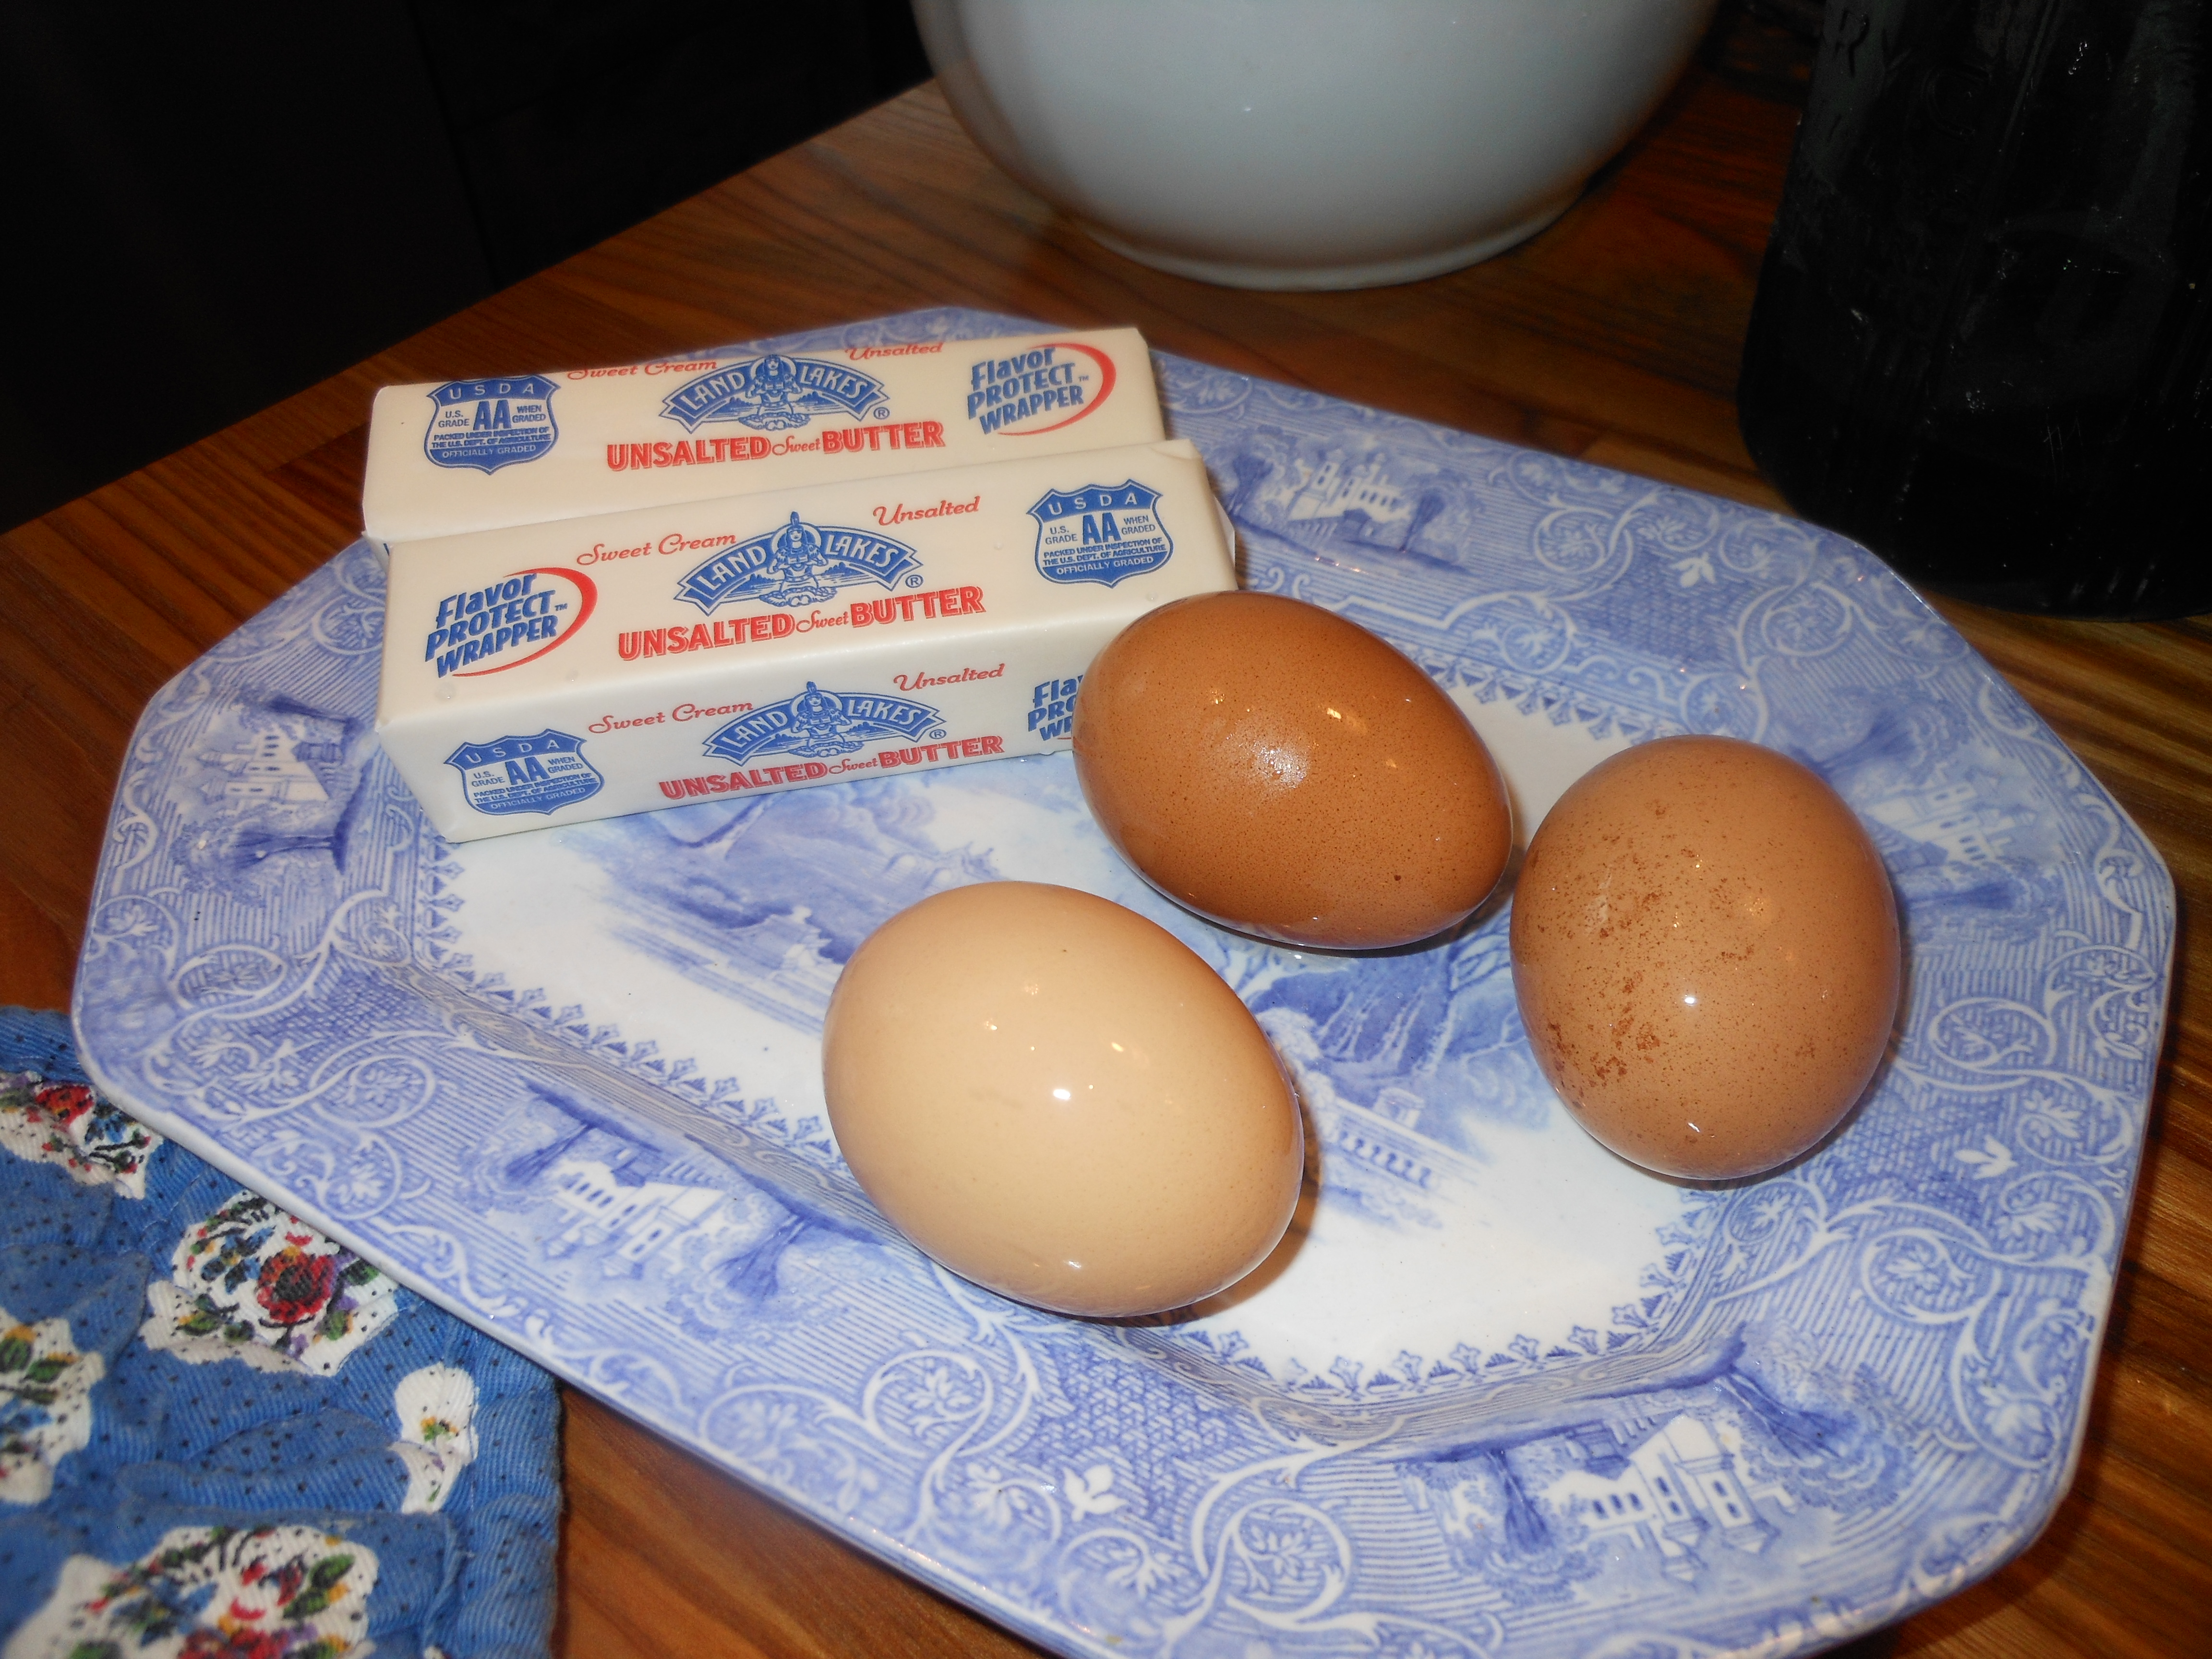
2 sticks unsalted butter ( softened) YIKES

3/4 cup light brown sugar packed

1/2 cup sugar ( regular granulated sugar)

3 large eggs ( room temperature)

1 cup buttermilk ( I used low-fat buttermilk)

1/2 cup fresh blueberries

Topping:

1/2 cup fresh blueberries

1/4 cup granulated sugar

1/2 teaspoon ground cinnamon

Directions:

Adjust oven rack to middle position and preheat oven to 350 degrees. Spray and lightly flour a 9 x 13 baking pan. ( I prefer Pam baking spray)

Whisk 2 cups flour, baking powder, and salt together in a medium size bowl. With electric mixer, beat butter and sugars on medium high-speed until fluffy. Add eggs one at a time, beating until each egg is just incorporated. Don’t overbeat. Reduce speed to medium and beat in 1/3 of the flour mixture, and beat in 1/2 of the buttermilk. Beat in another 1/3 of the flour and the remaining milk, and then the remaining flour mixture. Toss  blueberries with a tablespoon of flour just lightly dust them. Using a rubber spatula, gently fold in 1/2 of the blueberries. Spread batter into prepared dish.( see photo)

For the topping:

Scatter remaining 1/2 of the blueberries over the top of the batter. Stir sugar and cinnamon together in small bowl and sprinkle all over the top of the batter. Bake until cake tester or toothpick comes out clean in center of cake. I cooked for 45 minutes. It should take anywhere between 40 – 50 minutes. Cool in pan for about 1/2 hour, then turn it out of baking dish or cut out pieces. I turned it out, cut in 1/2 and froze 1/2 of it for the cold months. This is a delightful cake served for dessert, and so perfect for breakfast and a great afternoon snack with ice coffee .

I threw in a photo of me and my grandson, Riley who was out here at the time.
Raspberry Summer Crisp

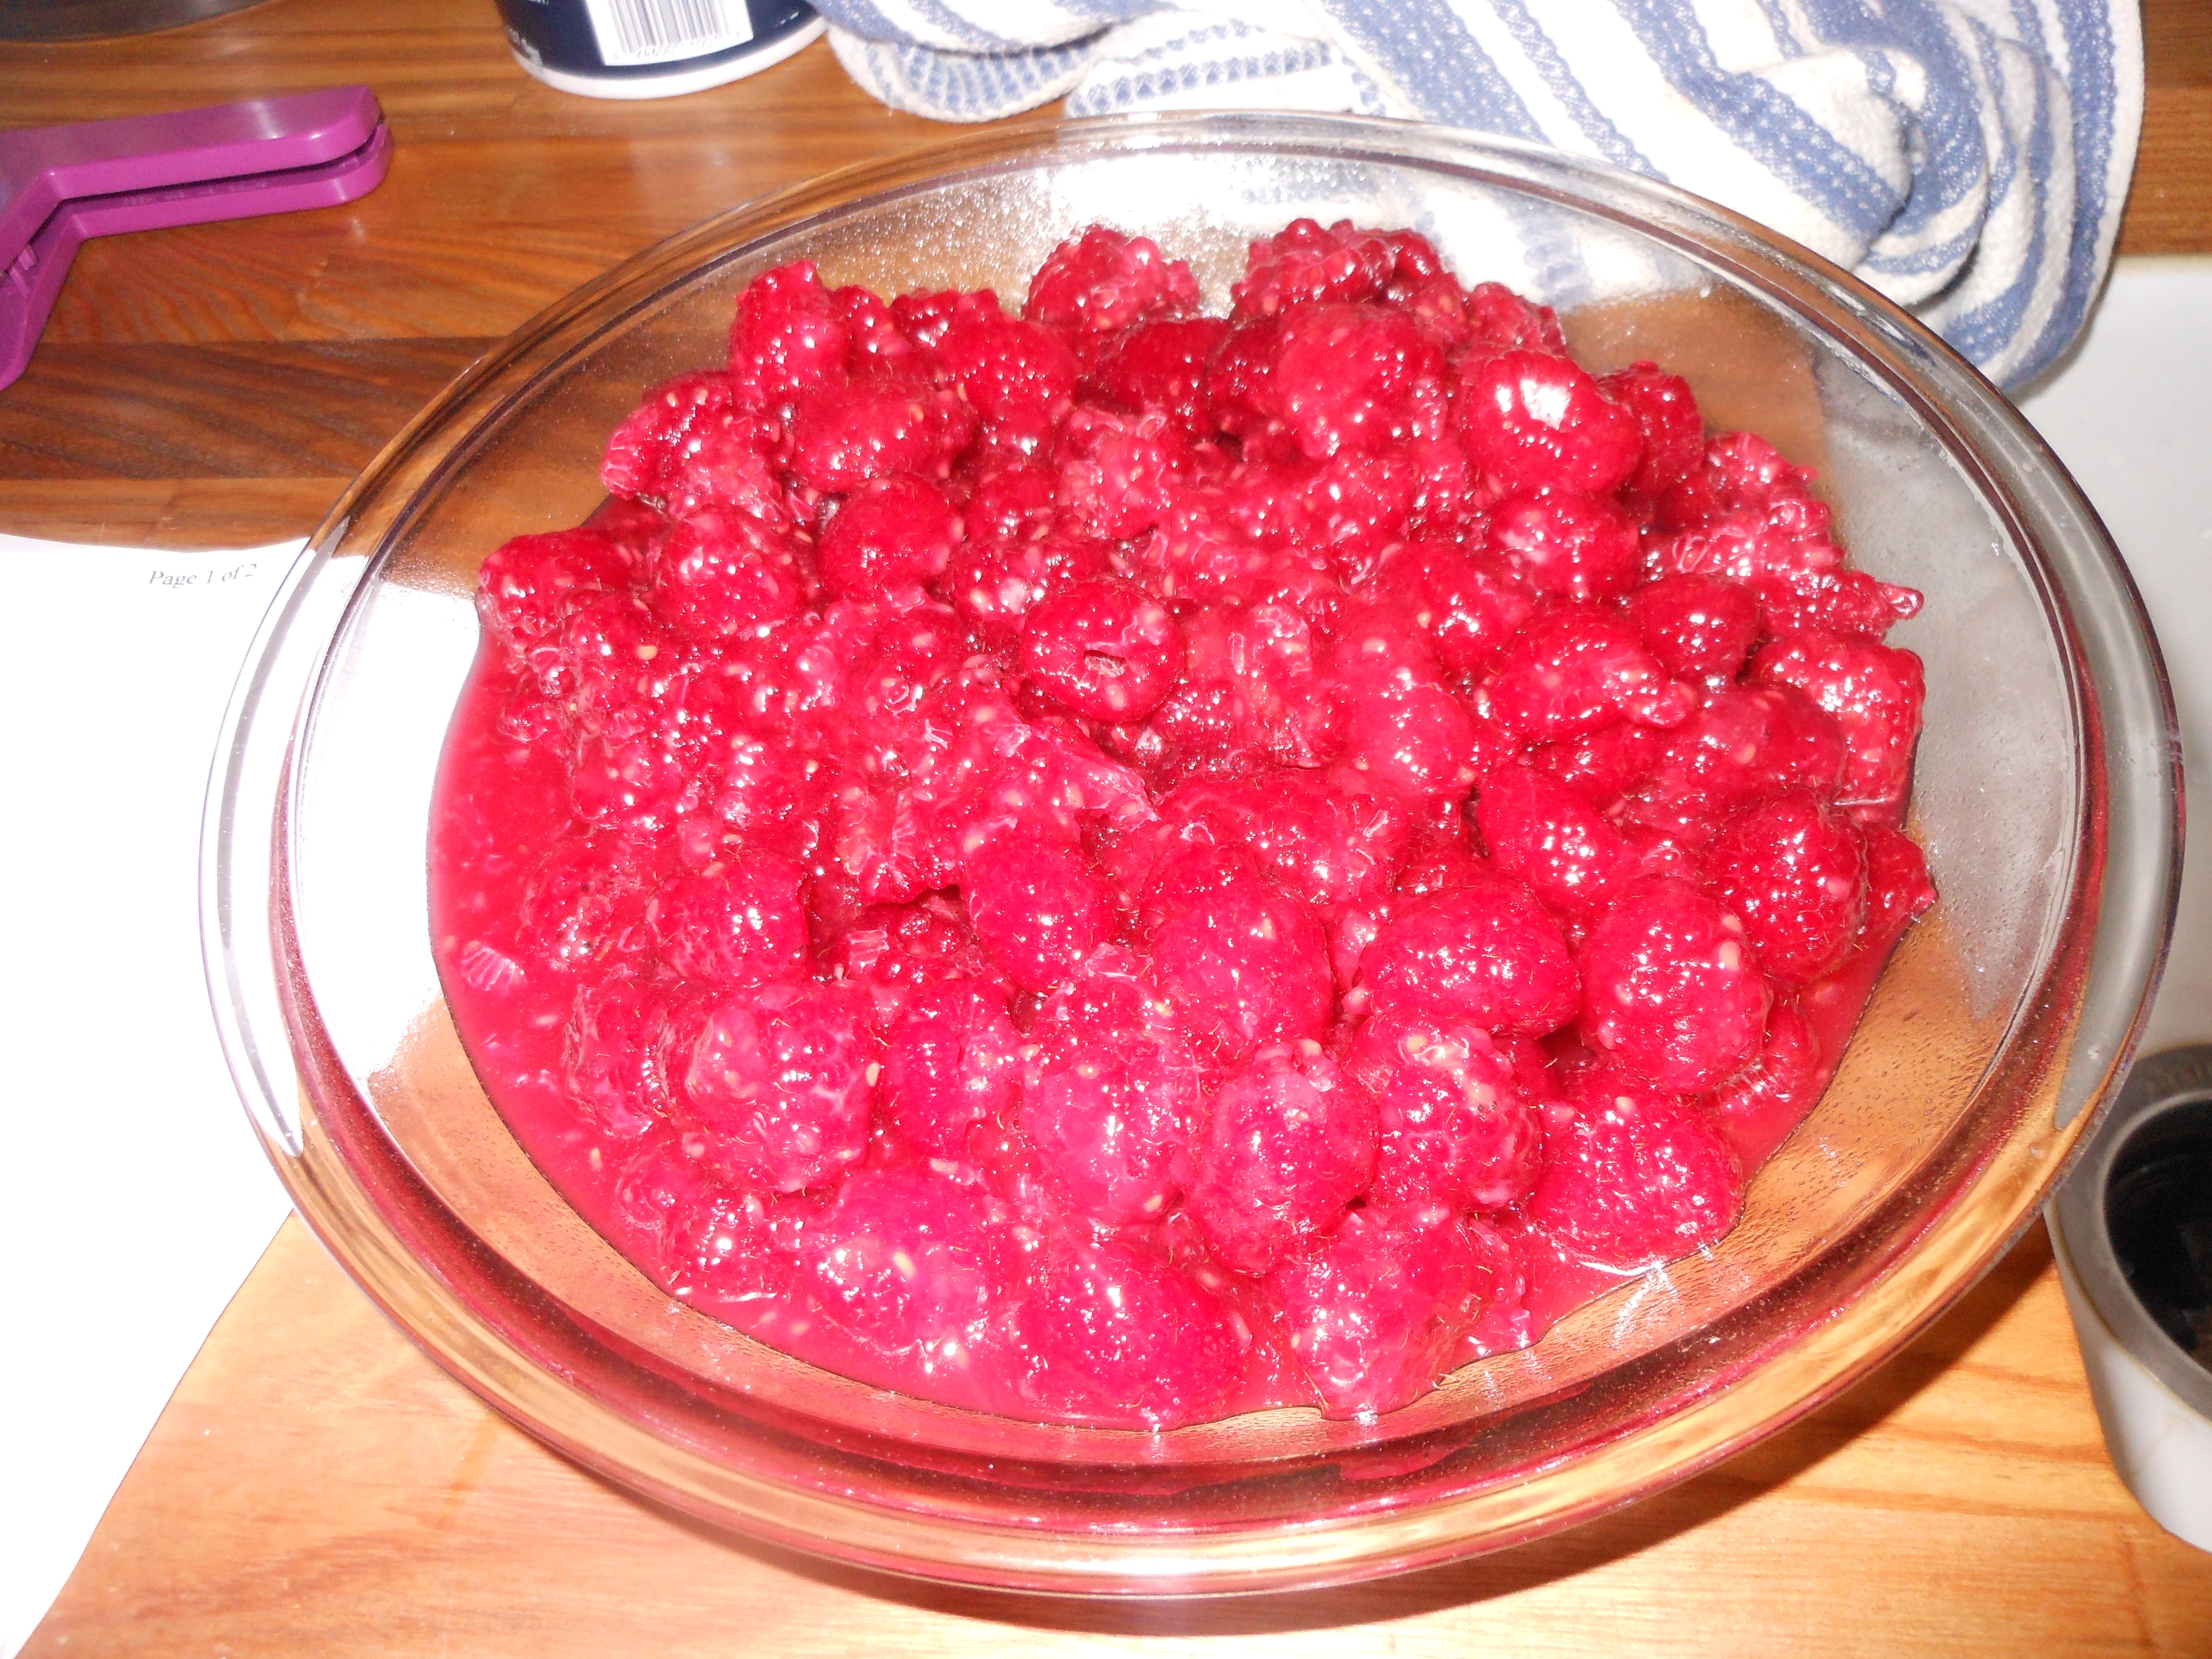
Fresh fruit and summer go together like nothing else and raspberries are one of my favorites. I know that there are a lot of crisps out there, and I have written about a few but this one really is quick and easy. Ingredients are usually on hand, just make sure you have cornstarch or arrowroot and if yours has been sitting around forever, dump it and buy a new fresh one. (check expriration dates on this stuff) This literally took 15 minutes to prepare; I cooked it and refrigerated it and will take it out the day I serve it and heat it up. Since that day will be tomorrow, it’s perfect. Just leave it out and make sure it’s room temperature before you re-heat it. I did the whole topping in the food processor which makes it super easy, and one less bowl to clean after. The next day arrived and I heated it up for 1/2 hour, popped in the warming drawer and served with vanilla ice cream. It was a definite hit with the crowd. Will make again and next time maybe in individual ramekins for a change .

Ingredients:

Filling:

4 (6 oz.) boxes of raspberries

1 heaping tablespoon cornstarch

2/3 cups sugar

1 teaspoon vanilla extract

Crumble Topping:

1 cup all-purpose flour

1/4 cup sugar

1/3 cups oats (not 1 minute oats)

1/4 cup brown sugar (I used dark because I had it, but it doesn’t really matter)

1/2 cup pecans, chopped (because I threw everything into the processor together anyway, as you’ll see below, I started with whole pecans)

dash of salt

3/4 stick unsalted butter, cut into small pieces

vanilla ice cream for serving

Directions:

Preheat oven to 350 degrees. In a medium mixing bowl, combine rinsed raspberries, corn starch, 2/3 cups sugar and vanilla. Put aside.

In food processor (or separate bowl if not using processor) combine flour, 1/4 cup sugar, brown sugar, oats, pecans, dash of salt, and butter. If you are using processor (and why wouldn’t you?), pulse until the mixture resembles coarse crumbs.

Add berry mixture to a 9 inch pie dish or a small baking dish. Sprinkle topping mixture all over the top of berries. I cooked for 20 minutes and will reheat it tomorrow when I serve it for dessert. I will serve it with vanilla ice cream.

Blackberry Clafouti (Blackberry Cake)–Simple and Easy to make

I made this cake because I love blackberries and I had all the ingredients in my house. If you like blackberries, this is a light cake which will be perfect for dessert and not too heavy at all.  Clafouti is actually french for a cake made with cherries. If it’s made with blackberries or other berries it is called a Flaugnarde, which sounds super fancy and difficult to make and this is anything but that so we’ll just call it Clafouti! We aren’t going to get too technical here and I hope I don’t offend the French chefs out there. This is pretty much the same as the cherry Clafouti which I plan on baking soon and will post that once I’ve cooked that, but we have to wait for the cherries to be super ripe.  This cake is so very easy to make, requires no fancy equipment, and you can whisk ingredients in one bowl. Just use a pie baking dish to bake in. I had a glass dish and am happy that I did, because I could see the blackberries in the cake. This cake would be a most amazing breakfast type of cake–not too thick, but sort of like a blackberry muffin flattened out. Blackberries are so plump and delicious right now, you gotta cook this as soon as possible.

*In order for the blackberries not to sink in cake, I made sure they were dry after rinsing and then I put in a bowl with some flour and coated the berries in flour before adding them , not too heavily floured just a dusting.  It came out perfectly. I have made it where I forgot to dust with flour and they did sink. It didn’t look as pretty but it tasted just fine.

Ingredients: 

1 stick unsalted butter

1 cup sugar plus 1/4 cup of sugar for top of cake

1 cup Self-Rising Flour  Presto), sifted

1 cup whole milk

2 cups blackberries, fresh or frozen (I used fresh)

* A little extra flour for dusting the blackberries before baking with them (see note)

Directions:

Preheat oven to 350 degrees. I sprayed the baking dish with baking spray but you can also butter it.

Rinse and pat dry the blackberries. Melt the butter in microwave. Pour 1 cup sugar and flour into a mixing bowl. Slowly whisk in the milk and mix well. Then pour in the melted butter and whisk it all together well.

Dust blackberries with a little bit of flour and mix well. Pour the batter into the prepared baking dish. Sprinkle blackberries over the top of the batter, distributing evenly.  Sprinkle 1/4 cup sugar over the top.

Bake in the oven at 350 degrees for about 1 hour or until golden.  Yum!

Ellen’s Challenge to Great Aunt Selma’s Banana Cake

g’morning-  i’d like to challenge Great Aunt Selma with  my MOTHER’S CHOCOLATE CHIP BANANA CAKE.  here’s my recipe, similar,  just a little different. (my secret is mixing the sour crm and bicarbonate (baking soda) together so they rise and that makes a fluffy, moist cake)

I received this after I published my Great Aunt’s recipe, I love that Ellen sent this to me and welcome any and all feedback, especially when you believe it to be so very good like Ellen obviously does! I am going to try this recipe as soon as I have some more rotten bananas to use. It certainly sounds great! Thanks so much Ellen for all your input and support!

preheat oven to 375

1 stick butter

2 cups all-purpose flour sifted

1/2 cup crisco oil

1 1/4 cup sugar

4 tbsp sour crm

1 tsp. baking soda

1/4 teasp salt

2 eggs

2 overripe bananas- mashed well

cup mini choc chips (if you flour chips lightly they will not sink to bottom)

1.  mix sour crm and baking soda together in a small bowl and set aside

2.  crm butter and sugar

3.  add sour crm mixture and rest of ingredients

4.  pour into buttered loaf pan

5.  bake 375 for 15 minutes

6.  REDUCE heat to 350 and bake for 50- 60  minutes (testing, last 10 minutes)

kisses, El

Great Aunt Selma’s Banana Coffee Cake – More Rotten Banana Tales/ Banana Bread

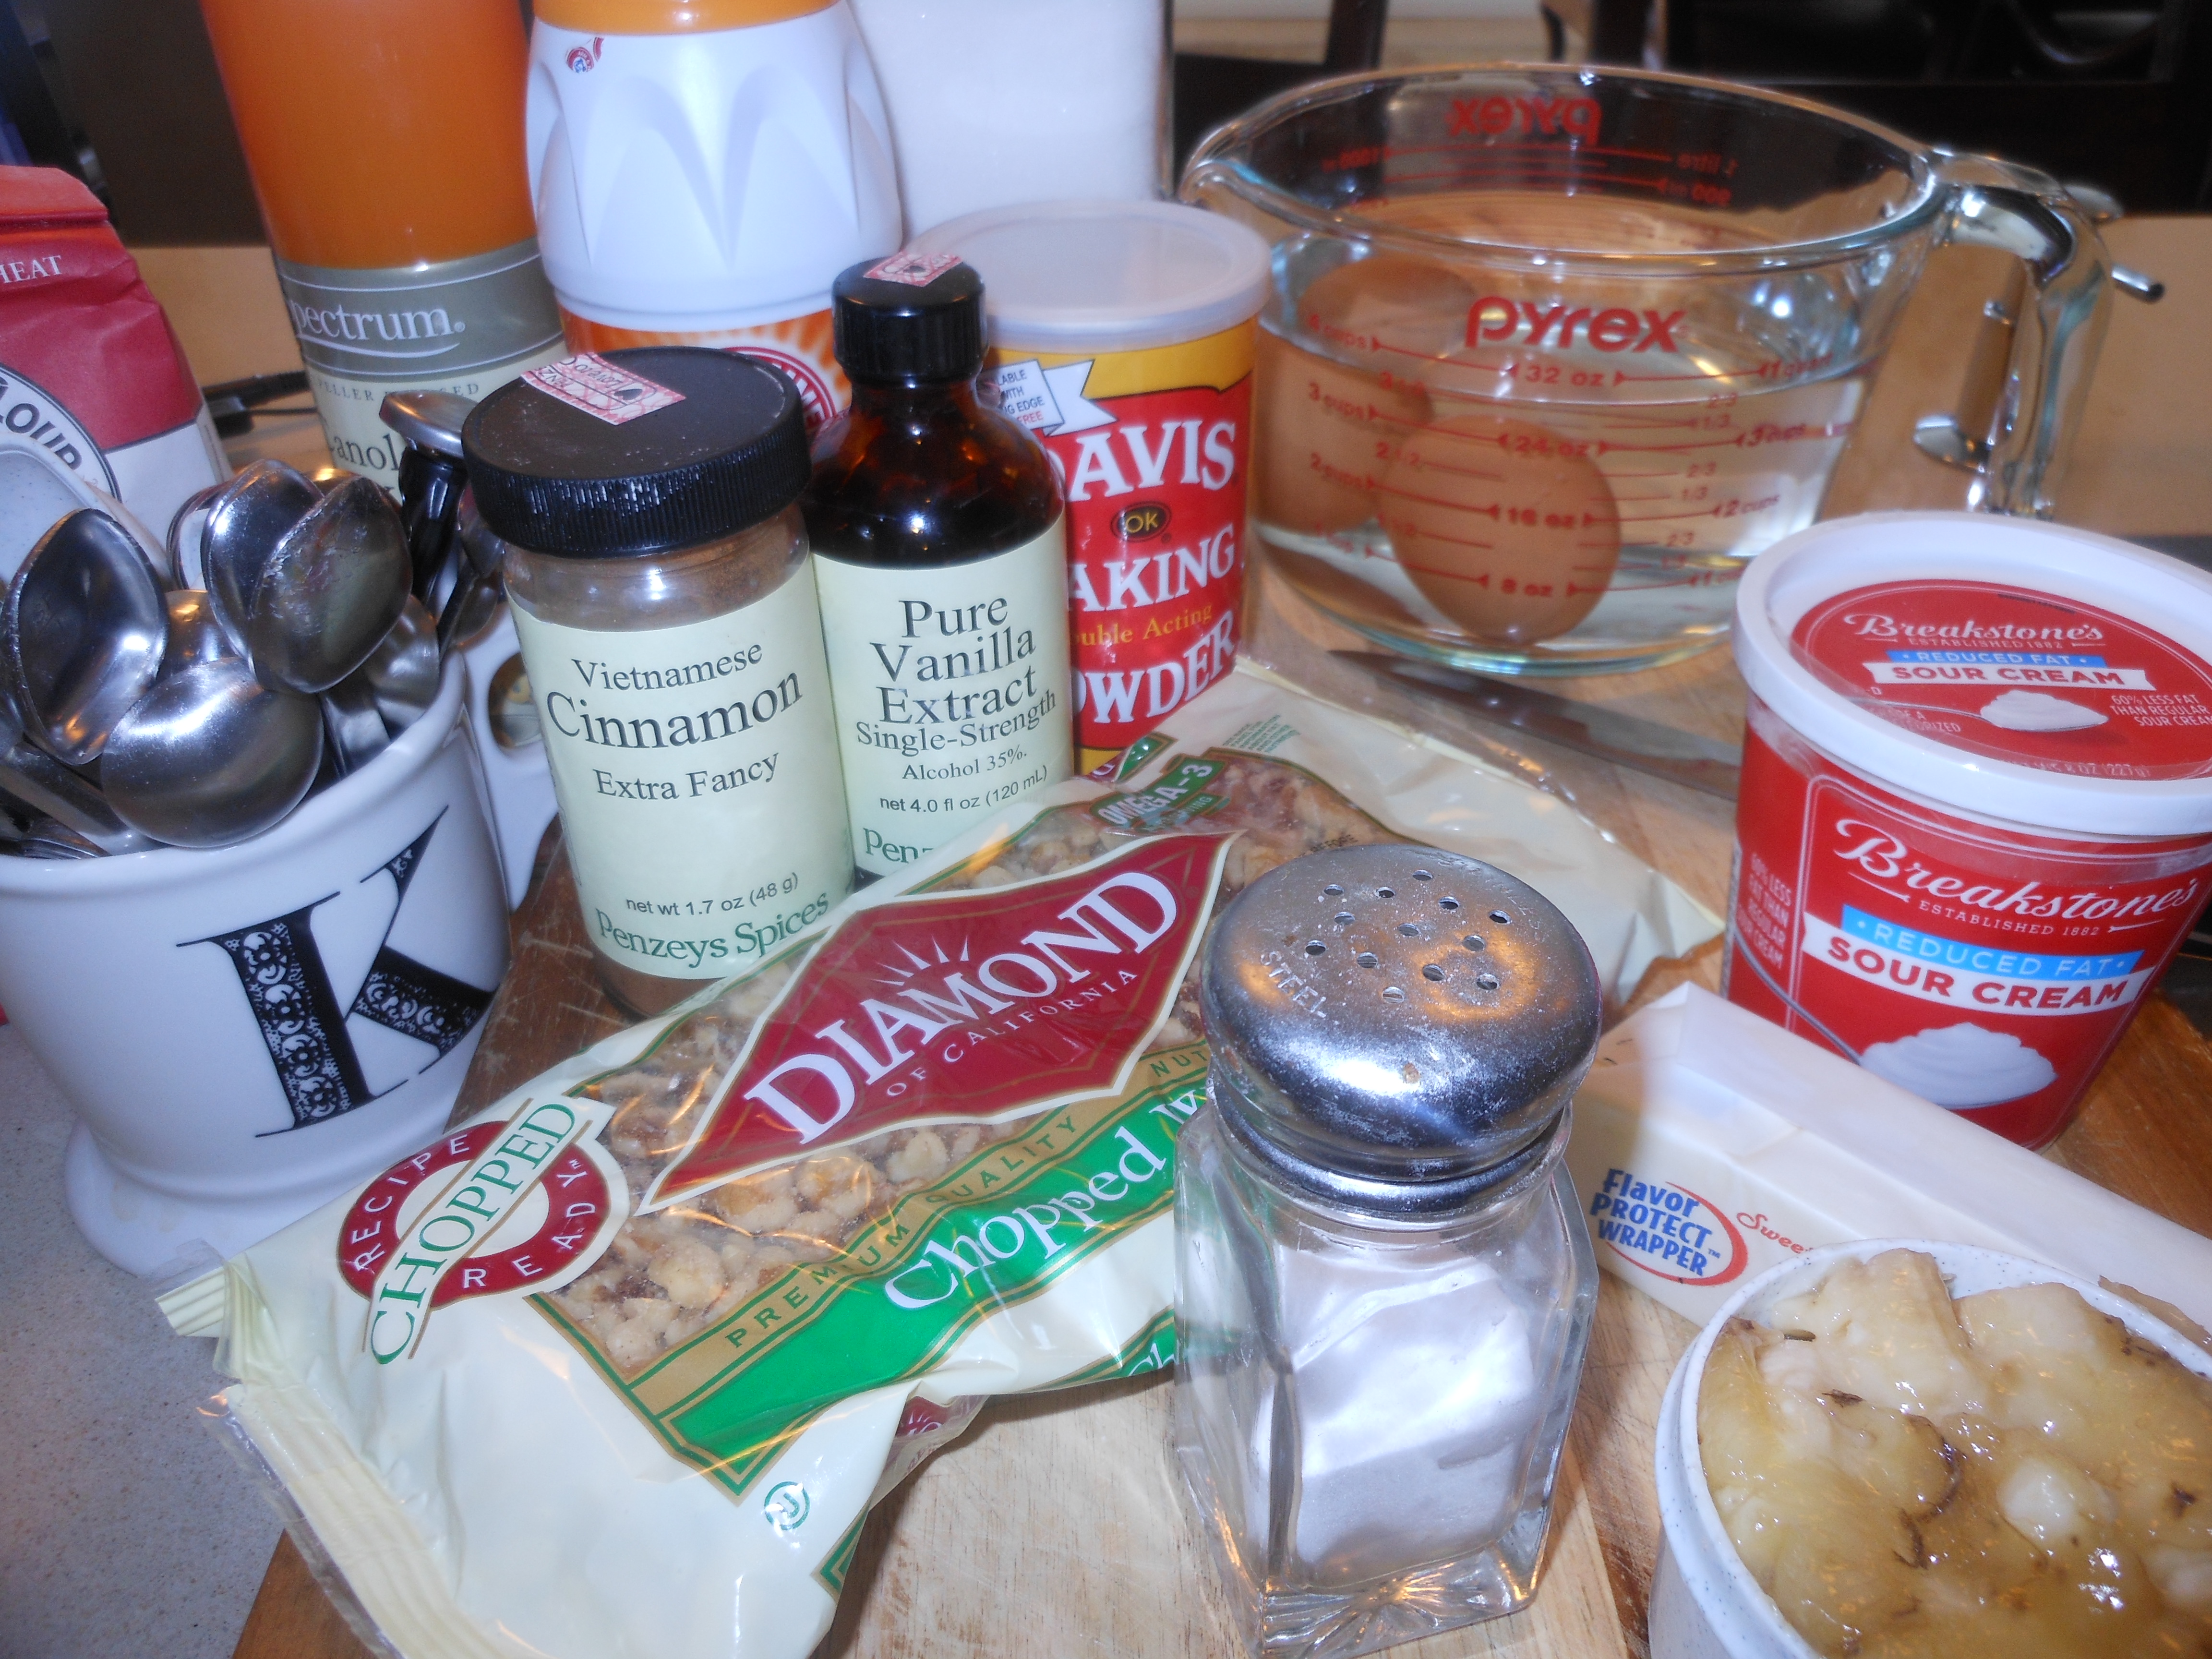
A while back my Mom (G’ma Millie) gave me a bunch of recipes, and since then I’ve had some time to sift through them. I came across this one on type-written paper, which in and of itself was sort of amazing from my Great Aunt Selma. Selma was my grandfather’s sister and known to be a  very good cook, Hungarian Czech background. I scanned in recipe so you can see what the original looks like, I have been trying to scan all of my old recipes in so that I don’t lose them.  So I figured I’d try out the recipe, because it was different from mine and contained sour cream. How bad can it be? And since there is always the matter of rotting bananas in the house, this is a perfect use for them.  I guess what to do with those rotten bananas isn’t exactly a new problem!

*a few little notes on this recipe. If you are using a loaf pan and you find that in the past your breads are uncooked in the center, and you don’t want to burn entire cake to get the middle cooked, use an 8 x 8 pan and treat it more like a coffee cake! or if you’ve used a glass loaf pan, and you’ve tested center with a long cake tester ( which is a must for loaf type breads) you can try turning heat down 10 degrees and cook for another 10 minutes, or just put in microwave for a quick 1 – 2 minute zap after you remove from oven. If you leave in the oven too long the outside will burn and the inside may still be raw, so this can work.

Ingredients:

1/2 cup butter or margarine softened ( if you haven’t taken out of fridge, put in microwave for a few seconds just to soften not melt)

1 cup sugar

2 eggs ( room temp. always best) or cheat and let eggs sit in warm water for 15 minutes while you get all the ingredients together

1/2 cup mashed ripe (very) bananas ( between 1 and 1 1/2 bananas)

1/2 teaspoon vanilla

1/2 cup Sour Cream ( Lite is fine , no fat-free)

2 cups sifted Flour

1 teaspoon baking powder

1 teaspoon baking soda

1/4 teaspoon salt

topping:

1 cup chopped nuts (walnuts, pecans, etc.)

1/4 cup sugar

1/2 teaspoon Cinnamon

Directions:

Preheat oven to 350 degrees

Using Electric Mixer cream butter, gradually add sugar, beat in 2 eggs one at a time, add mashed bananas, vanilla and sour cream. Sift together flour, baking soda, and baking powder. Fold the dry ingredients into cream mixture just to blend in a bowl. ( don’t overmix)

Grease a loaf pan or an 8 x 8 cake pan and sprinkle 1/2 of the topping mixture in bottom of greased pan ( I used loaf pan)  spoon in the batter, sprinkle remaining topping on top. Bake in 350 degree oven for about 45 minutes. Check with cake tester, after 40 minutes. Let cake cool at least 10 minutes in pan. I usually just let it sit for as long as possible, till completely cool. I bake in a loaf pan. This is like a banana bread. Use a long cake tester, which is an inexpensive wonderful tool for loaf type breads/cakes.

*see notes above

Thanks Aunt Selma. xoxoxoo

Julie’s Brownies for Passover

It’s so good to have friends that share their recipes. Whether it be for holidays or just to share. My friend Julie shared this with me and though I haven’t baked them yet I am pretty certain they will be a winner. Always on the lookout for Passover desserts, I’m excited to give this one a try. It’s also amazing that there are only 2 eggs in this recipe because it seems like every recipe has a whopping 6 eggs in it for this holiday. Just an aside here, my friend Julie has a baking company in Aspen, CO. named Aspen Jewels Bakery. If you live up here and don’t feel like baking you can contact her and she’ll bake for you!

Ingredients: 

1 stick butter, unsalted ( or margarine)

2 ounces unsweetened chocolate

1 cup sugar

2 eggs

1/2 teaspoon vanilla

3 tablespoons matzoh cake meal

1 tablespoon potato starch

1/4 teaspoon salt

* 1 cup walnuts (optional)

Directions:

Preheat oven to 35o degrees. Grease a 9 inch square baking pan. Melt butter and chocolate over double-boiler. (If no double boiler, place an oven proof bowl above pot of boiling water.)  After chocolate melts, set aside to cool. Stir in sugar, eggs, vanilla and beat well. Stir in matzo cake meal and potato starch,  and salt.  Bake for 40 minutes.

My Favorite Macaroons–Traditional Style for Passover

I am not sure why I only make these macaroons during Passover. They are definitely my favorites; they are very easy to make, look totally professional, and are the Passover cookie in my book. These can be made ahead of time and stored. I usually make a few days before the Seder because I dip them in melted chocolate (just the tops). You don’t have to dip, you can leave plain. I dip up to 1/2 the macaroon in the chocolate. They are sweet and crunchy on the outside, and moist and chewy on the inside. After Passover, if there are any left over, I freeze them. Cannot have them lying around. Of course you may make these any time of year…they are always welcome on the menu.

*When dipping, just turn macaroon upside down (with peaked part into the chocolate). I usually go just a bit more than the top (probably 1/2 the macaroon into the chocolate). Use as much or as little as you like.

*just a little note, silpat is awesome to use for this recipe instead of parchment paper. You must cool completely before trying to lift off the paper. Also before you dip into chocolate I like to cool down completely.

Ingredients:

3  large egg whites (When I bake, I always leave eggs out so that they are at room temp.)

1/2  cup sugar

1/4 teaspoon salt

1 package (14 oz.) sweetened, flaked coconut ( I like this Angel Flake Baker’s Brand, but they’re all fine)

*1 package semi-sweet chocolate chips (You can really use any semi-sweet chocolate to melt. It’s just easy with the chips.)

Directions:

Preheat oven to 350 degrees. Line a baking sheet with parchment paper (you can use non stick cooking spray, like Pam, but I just line with parchment, which works really well).

In a large bowl, whisk together egg whites, sugar and salt until frothy. With a fork, stir in coconut until moistened.

Using a level tablespoon (measuring ones are perfect), pack the mixture into the spoon, so all macaroons are equal size. Drop mixture onto prepared sheet (cookies will not spread). Bake until golden brown, about 25 – 30 minutes. Towards the end, check on them to be sure they don’t burn. I make a little peak with my fingers on the cookies before I bake them (this makes for easier dipping).

*To melt chocolate on stove top: I bring a small saucepan of water to a rolling boil, and on top of it put a small stainless (oven proof) bowl filled with the chocolate.( works like a double boiler if you don’t have one) When it completely melts, take off heat. Once macaroons are completely cool, you can dip the tops. Just make sure chocolate and macaroons are cooled off first. Just dip top of cookie in chocolate and place on a plate to cool. When I am all done, I refrigerate the macaroons to set the chocolate. You can leave in fridge until you are ready to serve and take out with enough time to bring to room temp. Before serving, I usually use a cool cookie sheet with parchment paper to cool off cookies once they’ve been dipped.

*should yield about 20 – 25 cookies. You can double if you’d like.

Cookies and Milk with Crispy Chocolate Chip Cookies (Very Crispy, Very Crunchy)

Bakers Sugar/ ultra fine sugar for a crispier cookieCookies and MilkCookies and MilkCaught Joel eating the batterCaught Joel eating the batterCrispy Chocolate Chip CookiesCookies and MilkCookies and MilkCaught Joel eating the batter

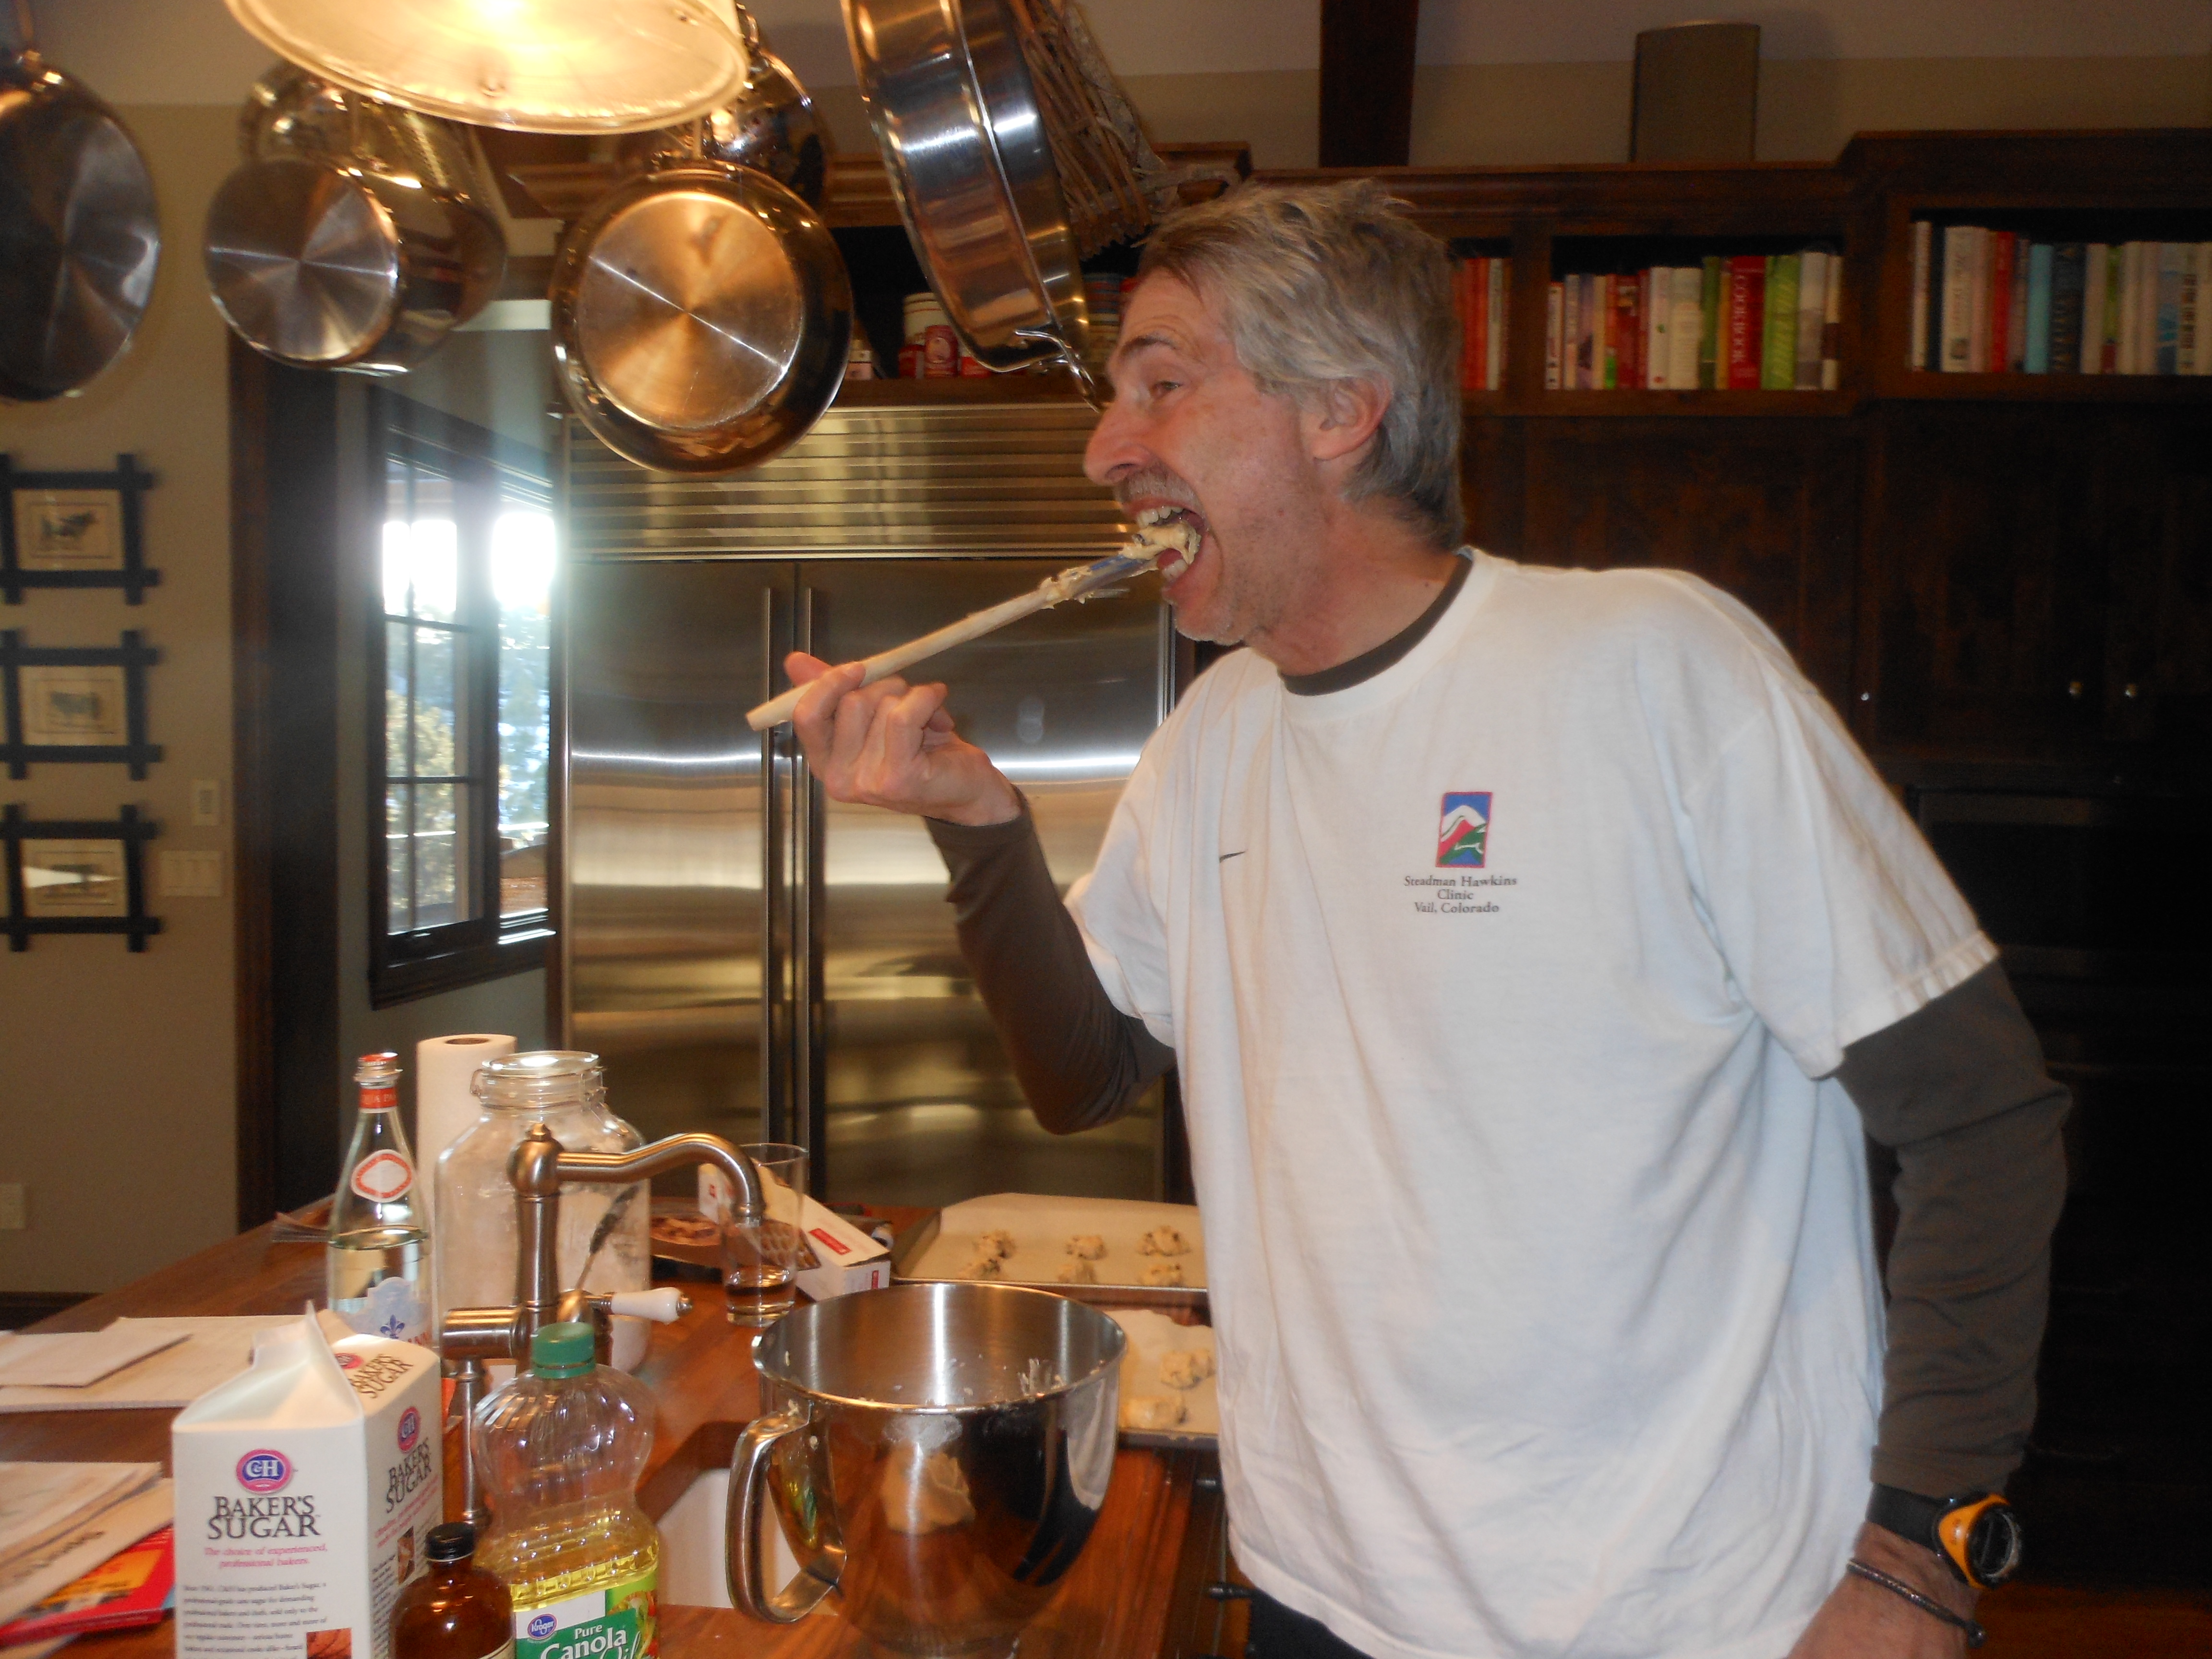
Caught Joel eating the batter

I just love a crispy chocolate chip cookie. Plain and simple. I don’t love the chewy ones nearly as much.  While perusing through all of my magazines and books, trying out new recipes, etc., I found this one. It’s similar to many I have but the few key ingredients like superfine sugar and vegetable oil make all the difference. The recipe was in The Food Network Magazine. This recipe produces a crispy cookie pretty simply. Nothing beats a comforting cold glass of milk with a dunked chocolate chip cookie. I’ll take it any day of the week. These cookies are great with tea and coffee, as well. You can freeze them and take them out as you want them. I cannot keep these cookies around because I will eat them all. I keep only a few out and freeze the rest in a big Ziploc freezer bag, they defrost very quickly. The use of vegetable oil in this recipe helps the batter spread, so the cookies come out extra thin and crispy. Superfine sugar makes for a fine, crumbly, crispy texture as well.

Ingredients:

1 1/2 cups all-purpose flour

1 teaspoon kosher salt

1 teaspoon baking soda

1 stick unsalted butter, softened (leave it out at room temp. or microwave for a few seconds to soften, not melt)

1/4 cup vegetable oil

1 cup superfine sugar

1/4 cup packed dark brown sugar

1 teaspoon vanilla extract

2 large eggs, at room temperature

1 1/2 cups semi-sweet chocolate chips

Directions:

Preheat oven to 350 degrees. Line 2 baking sheets with parchment paper. Whisk the flour, salt and baking soda in a medium bowl.

Beat the butter, vegetable oil, superfine sugar, and brown sugar in a bowl with a mixer on medium speed until creamy, about 5 minutes (use the paddle attachment). The mixture will look a bit separated at this point. Beat in 1 teaspoon water and the vanilla until smooth. Reduce the mixer speed to low and beat in the eggs, one at a time, until incorporated. (Do not overbeat.) Beat in the flour mixture until just combined. Stir in the chocolate chips by hand at the end.

Drop small tablespoonfuls of dough onto the prepared baking sheets, about 3 inches apart.  Rotate the baking sheets halfway through the baking process, I rotated the cookie sheet after 10 minutes, they baked between 12 and 15 minutes in my oven .  You want them to be crispy and brown, not just around the edges. You can see in photos they were flat and crispy with chips coming out of cookie, original recipe called for 20 minutes that would have been way too long in my oven. They came out perfectly but I did keep an eye on them. After you rotate them, just keep an eye on them.  If cookies spread into one another in the oven take a sharp knife and cut them apart while they are still warm  then when I lifted off cookie sheet they came apart.  When finished, remove the cookies from the oven and let cool completely on the baking sheets.

Pour a large cold glass of milk and knock yourself out! As you can see from the pictures, I caught Joel eating the batter, which tasted pretty amazing.

Applesauce and Raisin Cake – an Homage to the Bundt Queen

I always call my friend Susan the Queen of the Bundt Cake. It certainly seems to be her calling, as she is always coming up with new and delicious Bundt Cakes for all of us to try. I just hope I do her justice in trying to duplicate it. She made this cake for everyone on New Years, and I have been wanting to try it ever since.  I had to change one of the ingredients because I bought chunky applesauce instead of plain applesauce. Of course, if you’re so inclined you can make your own applesauce (I wasn’t so inclined today!).  The original recipe hails from The Silver Palate, and I have to say this is one cookbook you don’t want to be without. There are so very many wonderful recipes in it. Our kids are on their way out to Colorado so I woke up early, had all the ingredients ready, and had someone to bake it for. I hope it comes out as good as Susan’s cake did, because hers was delicious. It has a slightly spicy flavoring, and is just so darn good. Am very happy to report that this cake came out awesome! Super Delicious with the chunky applesauce. Very moist and delicious, cooked perfectly at 1 hour and 10 minutes. Thanks Suki and the Silver Palate!

Ingredients:

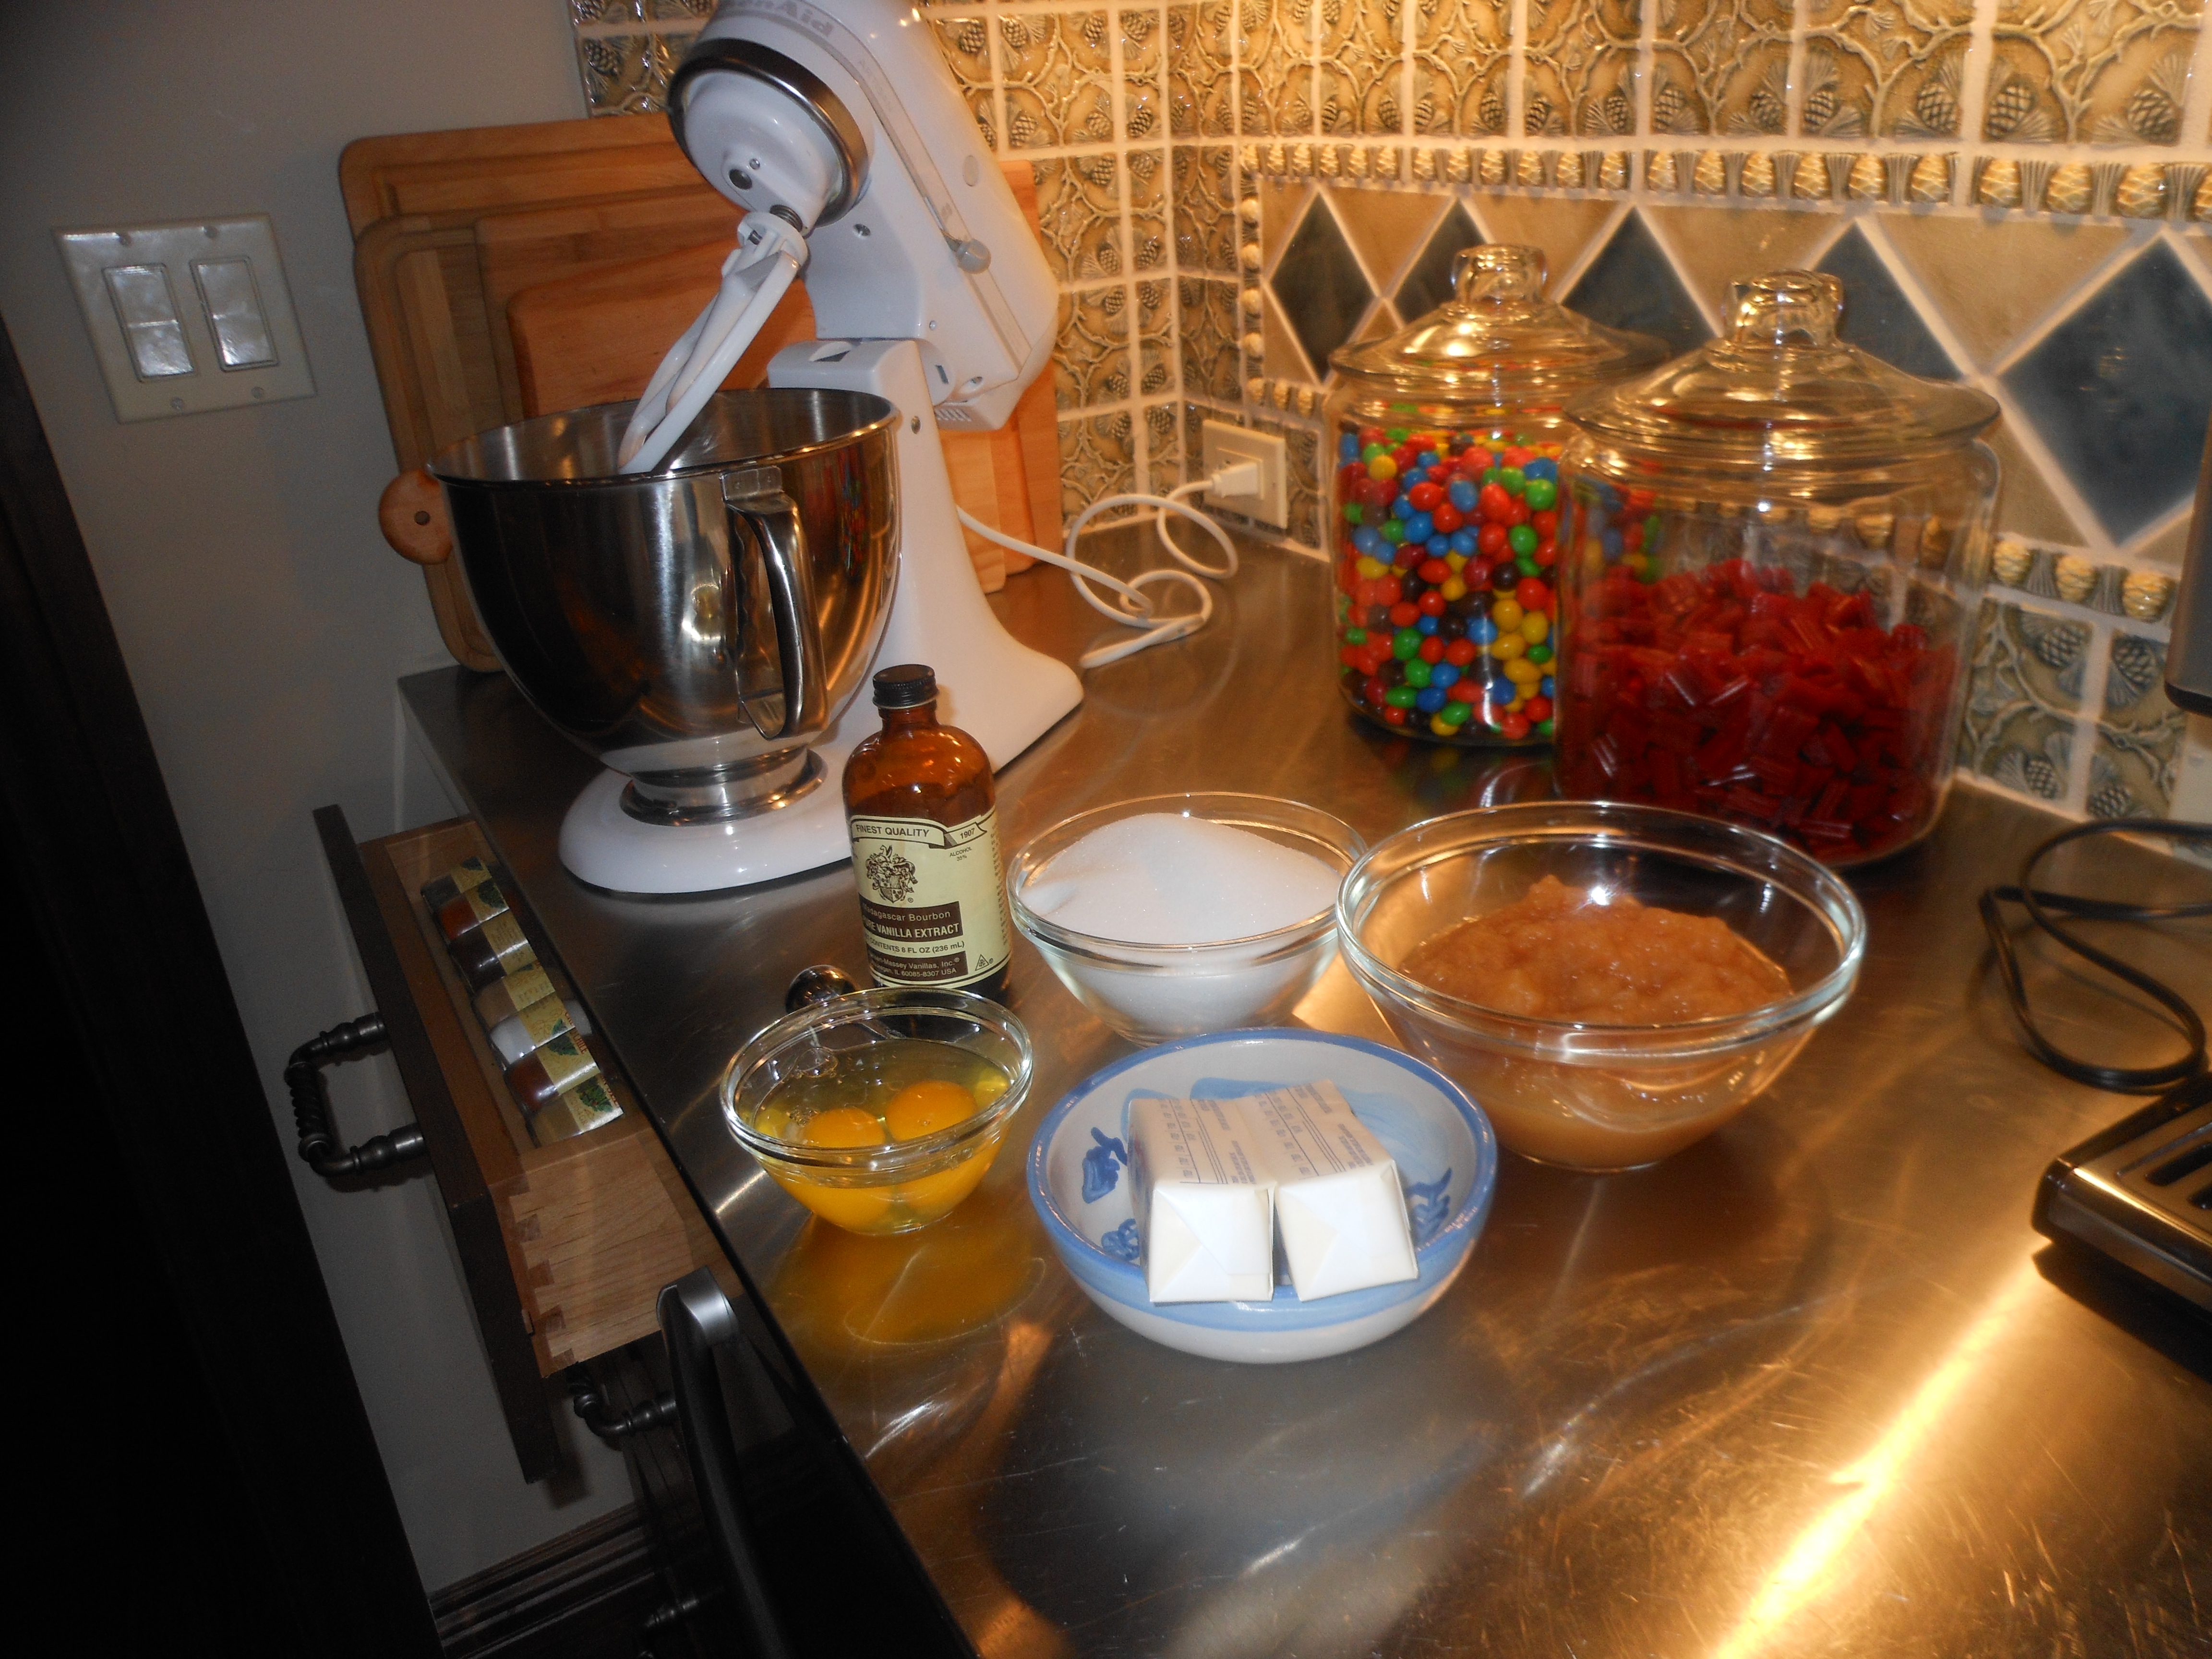
1 cup (2 sticks) unsalted butter, plus a little extra for greasing the pan (Butter should be at room temperature.  I woke up early and didn’t have time to let it sit so I just put it in microwave to soften for 15 seconds.)

*if baking for the Jewish Holidays and don’t want to use butter you can use margarine

3 cups all-purpose flour

2 cups sugar

2 eggs (at room temperature)

2 cups applesauce (I used Chunky because probably didn’t have reading glasses in market and grabbed it.)

1 teaspoon vanilla extract

1 teaspoon ground cinnamon

1/2 teaspoon ground nutmeg, or 1 teaspoon freshly grated

2 teaspoons baking soda

1 cup raisins

Lemon/Orange Icing ingredients:

1 cup confectioner’s sugar

1/2 teaspoon ground cinnamon

1 1/2 tablespoons fresh lemon juice

1 1/2 tablespoons fresh orange juice

Directions:

Preheat oven to 350 degrees.

In a mixing bowl (electric mixer), cream together the butter and sugar until light and fluffy. Add the eggs, one at a time, beating well after each addition. Stir in the applesauce and vanilla.

Sift the flour, cinnamon, nutmeg and baking soda together then add to applesauce mixture. Next, sprinkle in the raisins, and blend gently but thoroughly.

Pour the batter into the tube pan and set on a rack in the center of the oven. Bake until a cake tester inserted into the cake comes out clean. 1 hour and 10 – 15 minutes. I cooked it 1 hour and 10 minutes.

Cool in the pan for at least 15 minutes (I will leave it all day as I go out hiking, and turn it over when it is completely cool when I return.)  When it is completely cool, I will make the icing and drizzle over the top. A little trick is to poke little holes in the cake (on top, with cake tester or toothpick) and pour icing over the cake and it will go into cake and infuse some of the lemon/orange directly into cake.

Instructions for icing:

Sift the confectioner’s sugar and cinnamon into a small bowl.

Dribble in the juices, stirring constantly until the icing is smooth. Drizzle over completely cooled cake.

*should be enough icing for 1 Applesauce Raisin Cake

Happy Valentines Day Brownies – Chocolatey and Fudgey


This is a delicious easy to make Chocolate Fudgy Brownie. Perfect for Valentines Day , as it is such a Chocolatey Holiday. I have always had a  rather large sweet tooth and  Valentines Day always meant candy, chocolate, dessert of one kind or another and it was always up there with my other favorite , Halloween for pretty much the same reasons. How can you not like a holiday that has so much sweetness?  Make this brownie  anytime and  top with ice cream and chocolate sauce for an incredibly killer dessert. I personally cut them up into small pieces and don’t feel as guilty when I eat them. I came in today from being out all day and saw them on the cake stand and because I had cut them up so small, I indulged in two pieces and it just hit the spot!!! Make no mistake these are the real deal, and I never really understand why anyone would use a mix when this is so easy and all the ingredients are so readily available.  And you have bragging rights for Homemade. Just make sure you use an 8 x 8 baking dish, this really does make a difference. Enjoy and Happy V-Day!!!!

Ingredients:

1/2 cup unsalted butter, melted

3 ounces unsweetened chocolate, chopped ( when you buy the box, the chocolate comes in squares, each square is an ounce)

1/8 tsp. salt (regular table salt)

1 cup sugar

2 large eggs at room temperature, lightly beaten

1 tsp. vanilla extract

3/4 cup Cake flour (make sure you use Cake Flour not regular Flour)

1 cup semi- sweet chocolate chips

1/2 cup chopped nuts ( I used chopped pecans , but chopped walnuts are good as well)

*extra unsalted butter for greasing the pan, I admit to using butter but you can spray with baking spray. (Pam)

Directions:

Preheat oven to 350 degrees. Grease an 8 inch square baking dish with unsalted butter ( or spray with Baking Pam)  In a saucepan melt the stick of butter and then when it is melted add the chopped unsweetened chocolate on low heat. Stir often until all the chocolate has been melted. Add the sugar in and let cool for at least 10 minutes.  Once it has sufficiently cooled off , take out another bowl and add beaten eggs and vanilla, and mix well and stir in chocolate mixture. Blend in cake flour ,salt and mix, do not  over mix, just mix till blended. Then add in chocolate chips, and nuts if you’re using them.

Pour batter into greased baking dish and spread evenly. Tap the pan on countertop to get rid of any air bubbles, about 3 or 4 times ought to do it.

Bake the Brownies for 30 minutes ( it’s exactly how long I did)  insert a cake tester or toothpick and it should come out almost clean. Be careful not to over bake.

Remove from the oven and cool completely before slicing into squares.

I actually took out of oven and let it sit out covered almost all day, so by the time I cut into them they were completely cool. I used a knife and wet it, so it would cut cleanly.

So yummy!:) Served with an ice cold glass of milk, perfection.

Also can sprinkle a little sifted confectioners sugar on top of cooled brownies before serving if you’d like.