This is a most delicious delightful easy way to make fresh tomato sauce. Very light served over angel hair pasta and summertime easy. No fuss no muss. I like to make tomato sauce and let it sit for about 4 hours so that’s all the planning you really have to do. Very little prep with very few ingredients and you have a delicious dinner. Summer in a bowl. Enjoy!
Ingredients:
4 pints small cherry or grape tomatoes — you can use different colors or all the same color–halved
1/2 cup Good Olive Oil
6 cloves garlic minced — app. 2 Tablespoons
Fresh Basil — I used a small package from grocery store but probably 15

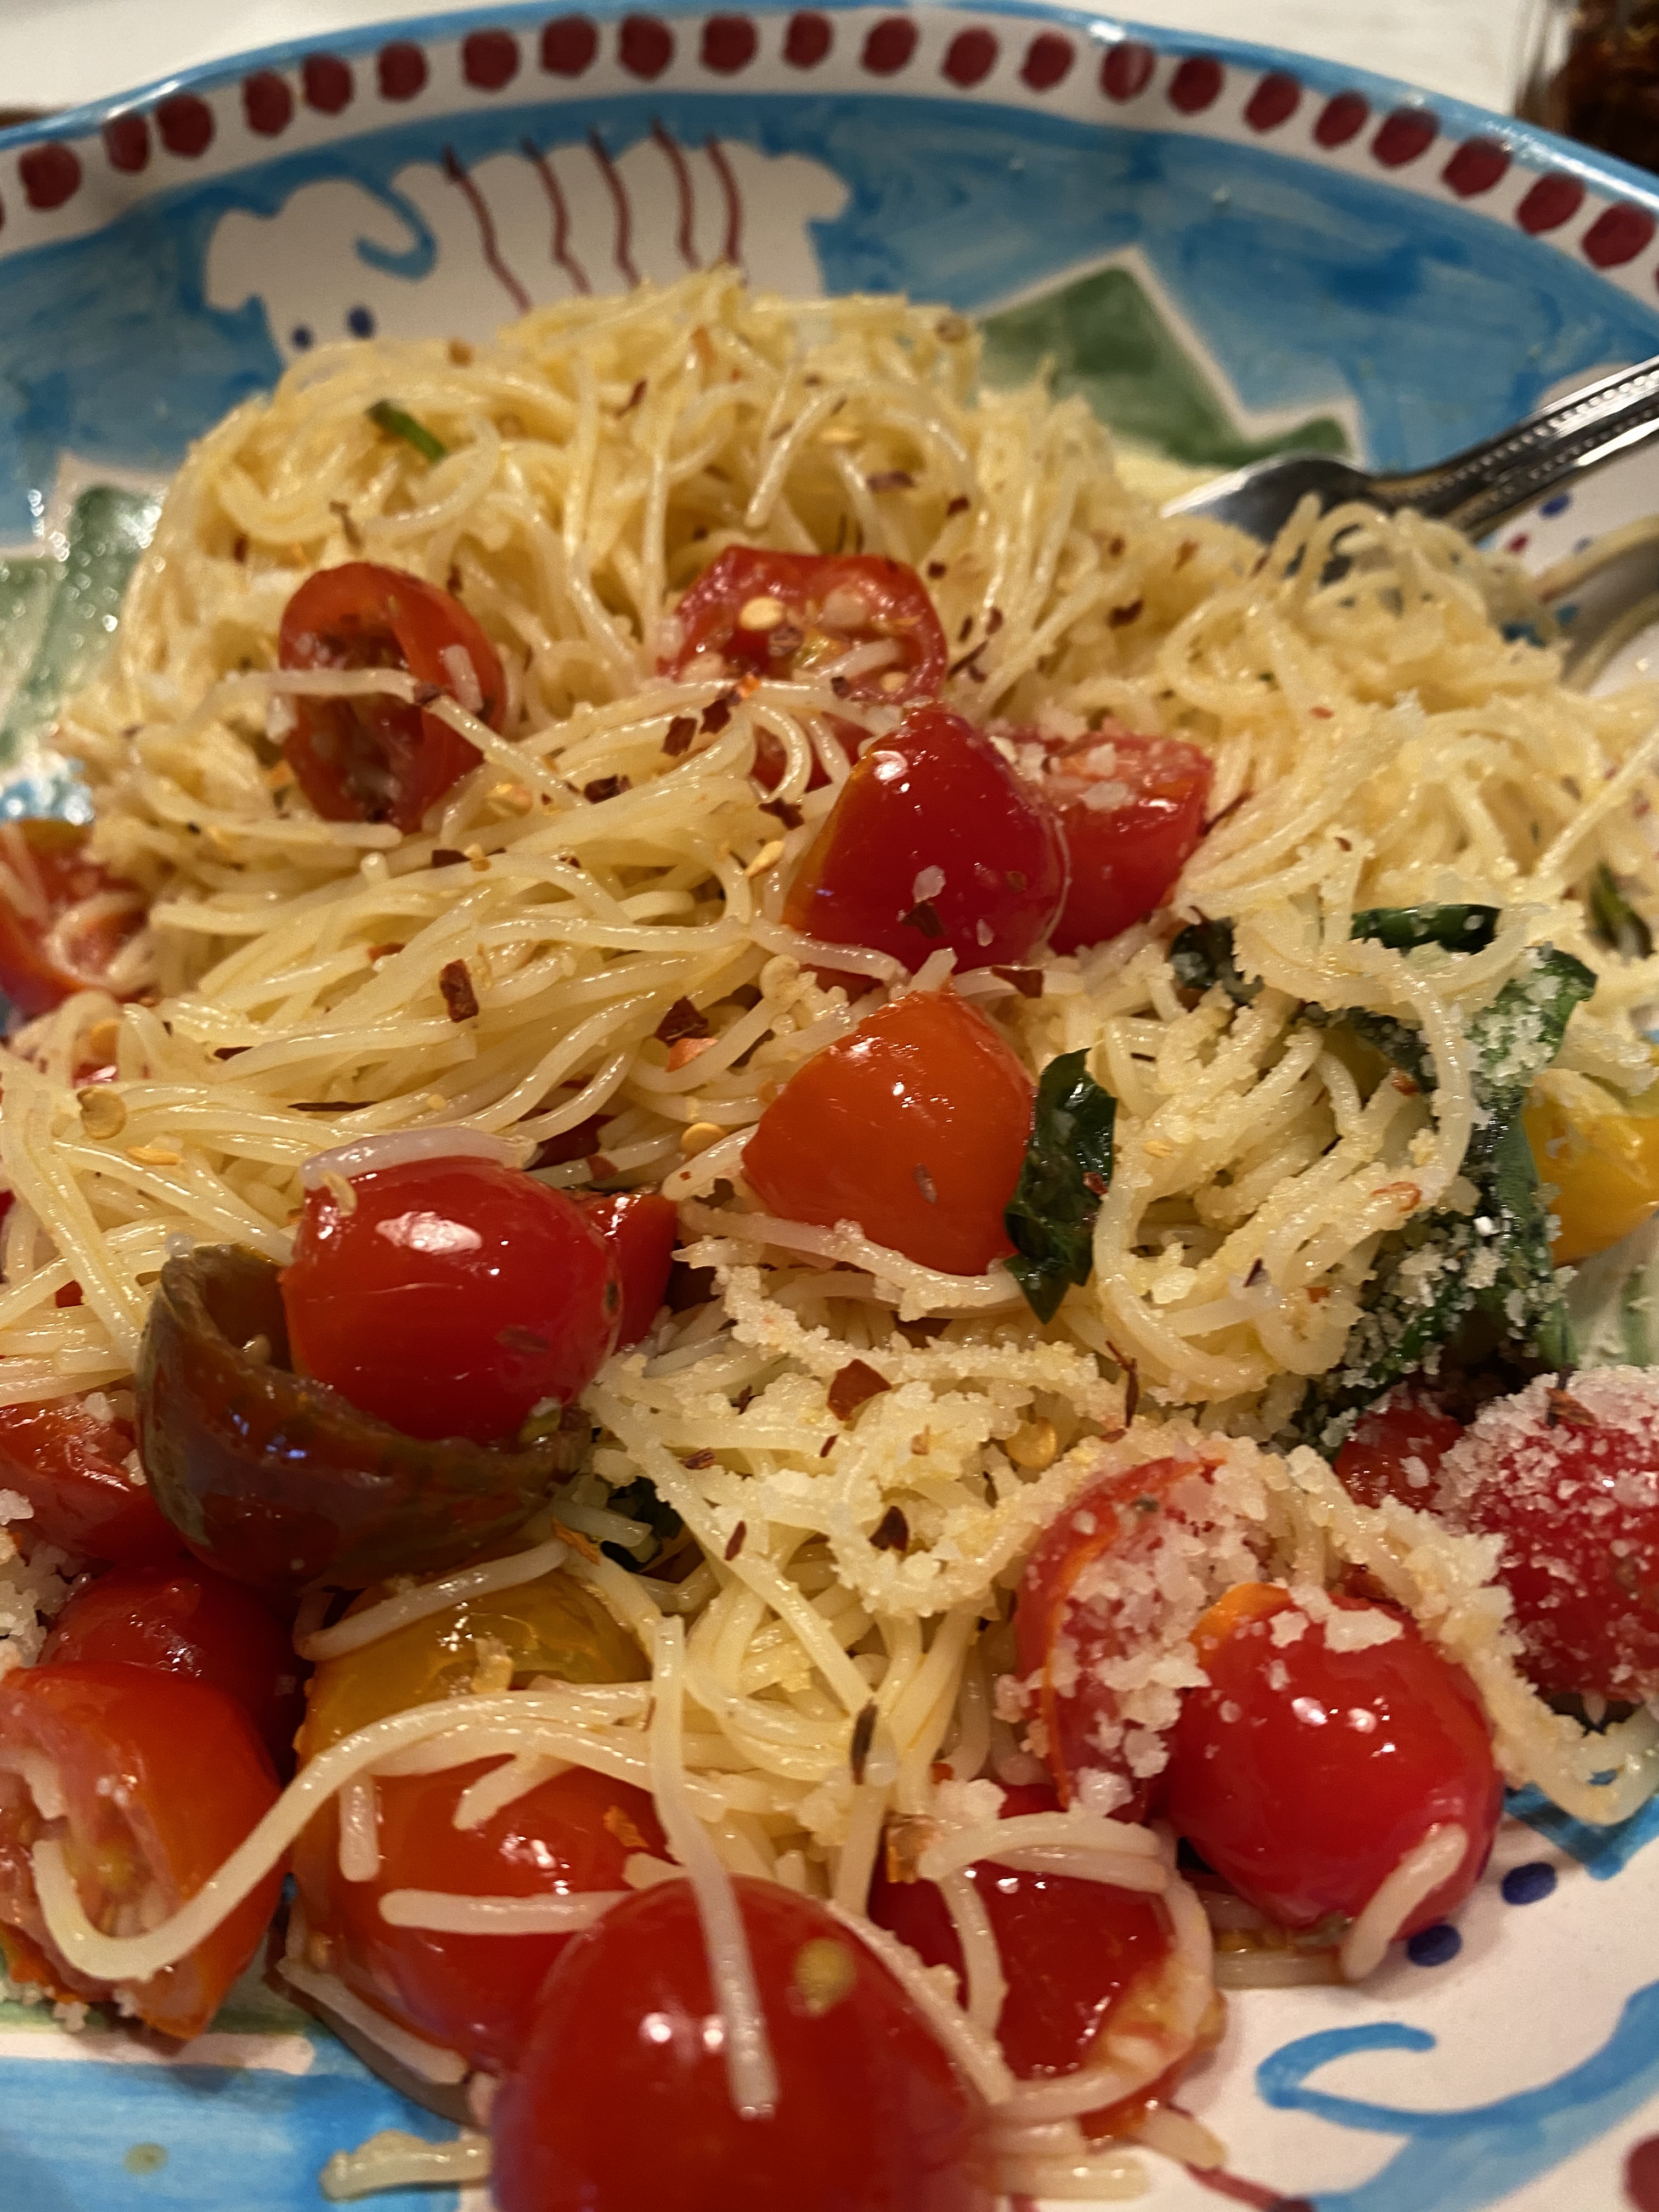 Basil leaves — this is approximate — I use a kitchen scissor and snip it up into small pieces– you can roughly chop as well
1/2 teaspoon crushed red pepper flakes — more or less depending on your own individual relationship with crushed red pepper flakes
1 teaspoon kosher salt — and more to taste if necessary
1/2 teaspoon freshly ground black pepper
1 pound angel hair pasta
Grated Parmesan cheese — for serving
Directions:
In a large bowl combine the tomatoes, 1/2 cup Olive Oil, garlic, basil, red pepper flakes, 1 teaspoon kosher salt and 1/2 teaspoon pepper. Cover with plastic wrap and let it sit out at room temperature for about 4 hours. After 4 hours taste for Salt and Pepper.
When you’re ready to serve, cook up pasta according to box directions for al dente and be careful because angel hair cooks up very fast. Drain the pasta well and add to the bowl with the tomatoes. If you’d like you can add more basil and if you’d like you can add cheese to the bowl . I like to add cheese at the table individually. Use tongs to mix and get oil all over the pasta you’ll need a rather large bowl.
Enjoy! and this recipe can easily be cut in 1/2 but we like cold pasta for lunch so it makes for great leftovers.