Author Archives: cookingwithcandi

Baked French Toast — all time best

DSCN4275

DSCN4288

DSCN4283

DSCN4274

DSCN4270

DSCN4302

DSCN4294I posted this originally back in October 2011 for Yom Kippur break fast. It is truly one of the best French toast recipes I’ve ever made.  I include it every year since my friend Ilene Stern gave it to me. I never have a single piece left. Delicious and decadent, perfect brunch and breakfast food. I almost always include it in my Mother’s Day Brunch as well. Once you’ve made this recipe there is no turning back, your whole family will love it and you’ll have to make it every time.

The only downside is that you must prepare and refrigerate the night before without cooking it, you cannot cook this dish till you’re ready to eat it, the bottom will get hard like a caramel candy would. So cook right before you’re going to serve. Enjoy!

*recipe as is should serve 6- 8 if you have more people make 2 trays!

Ingredients:

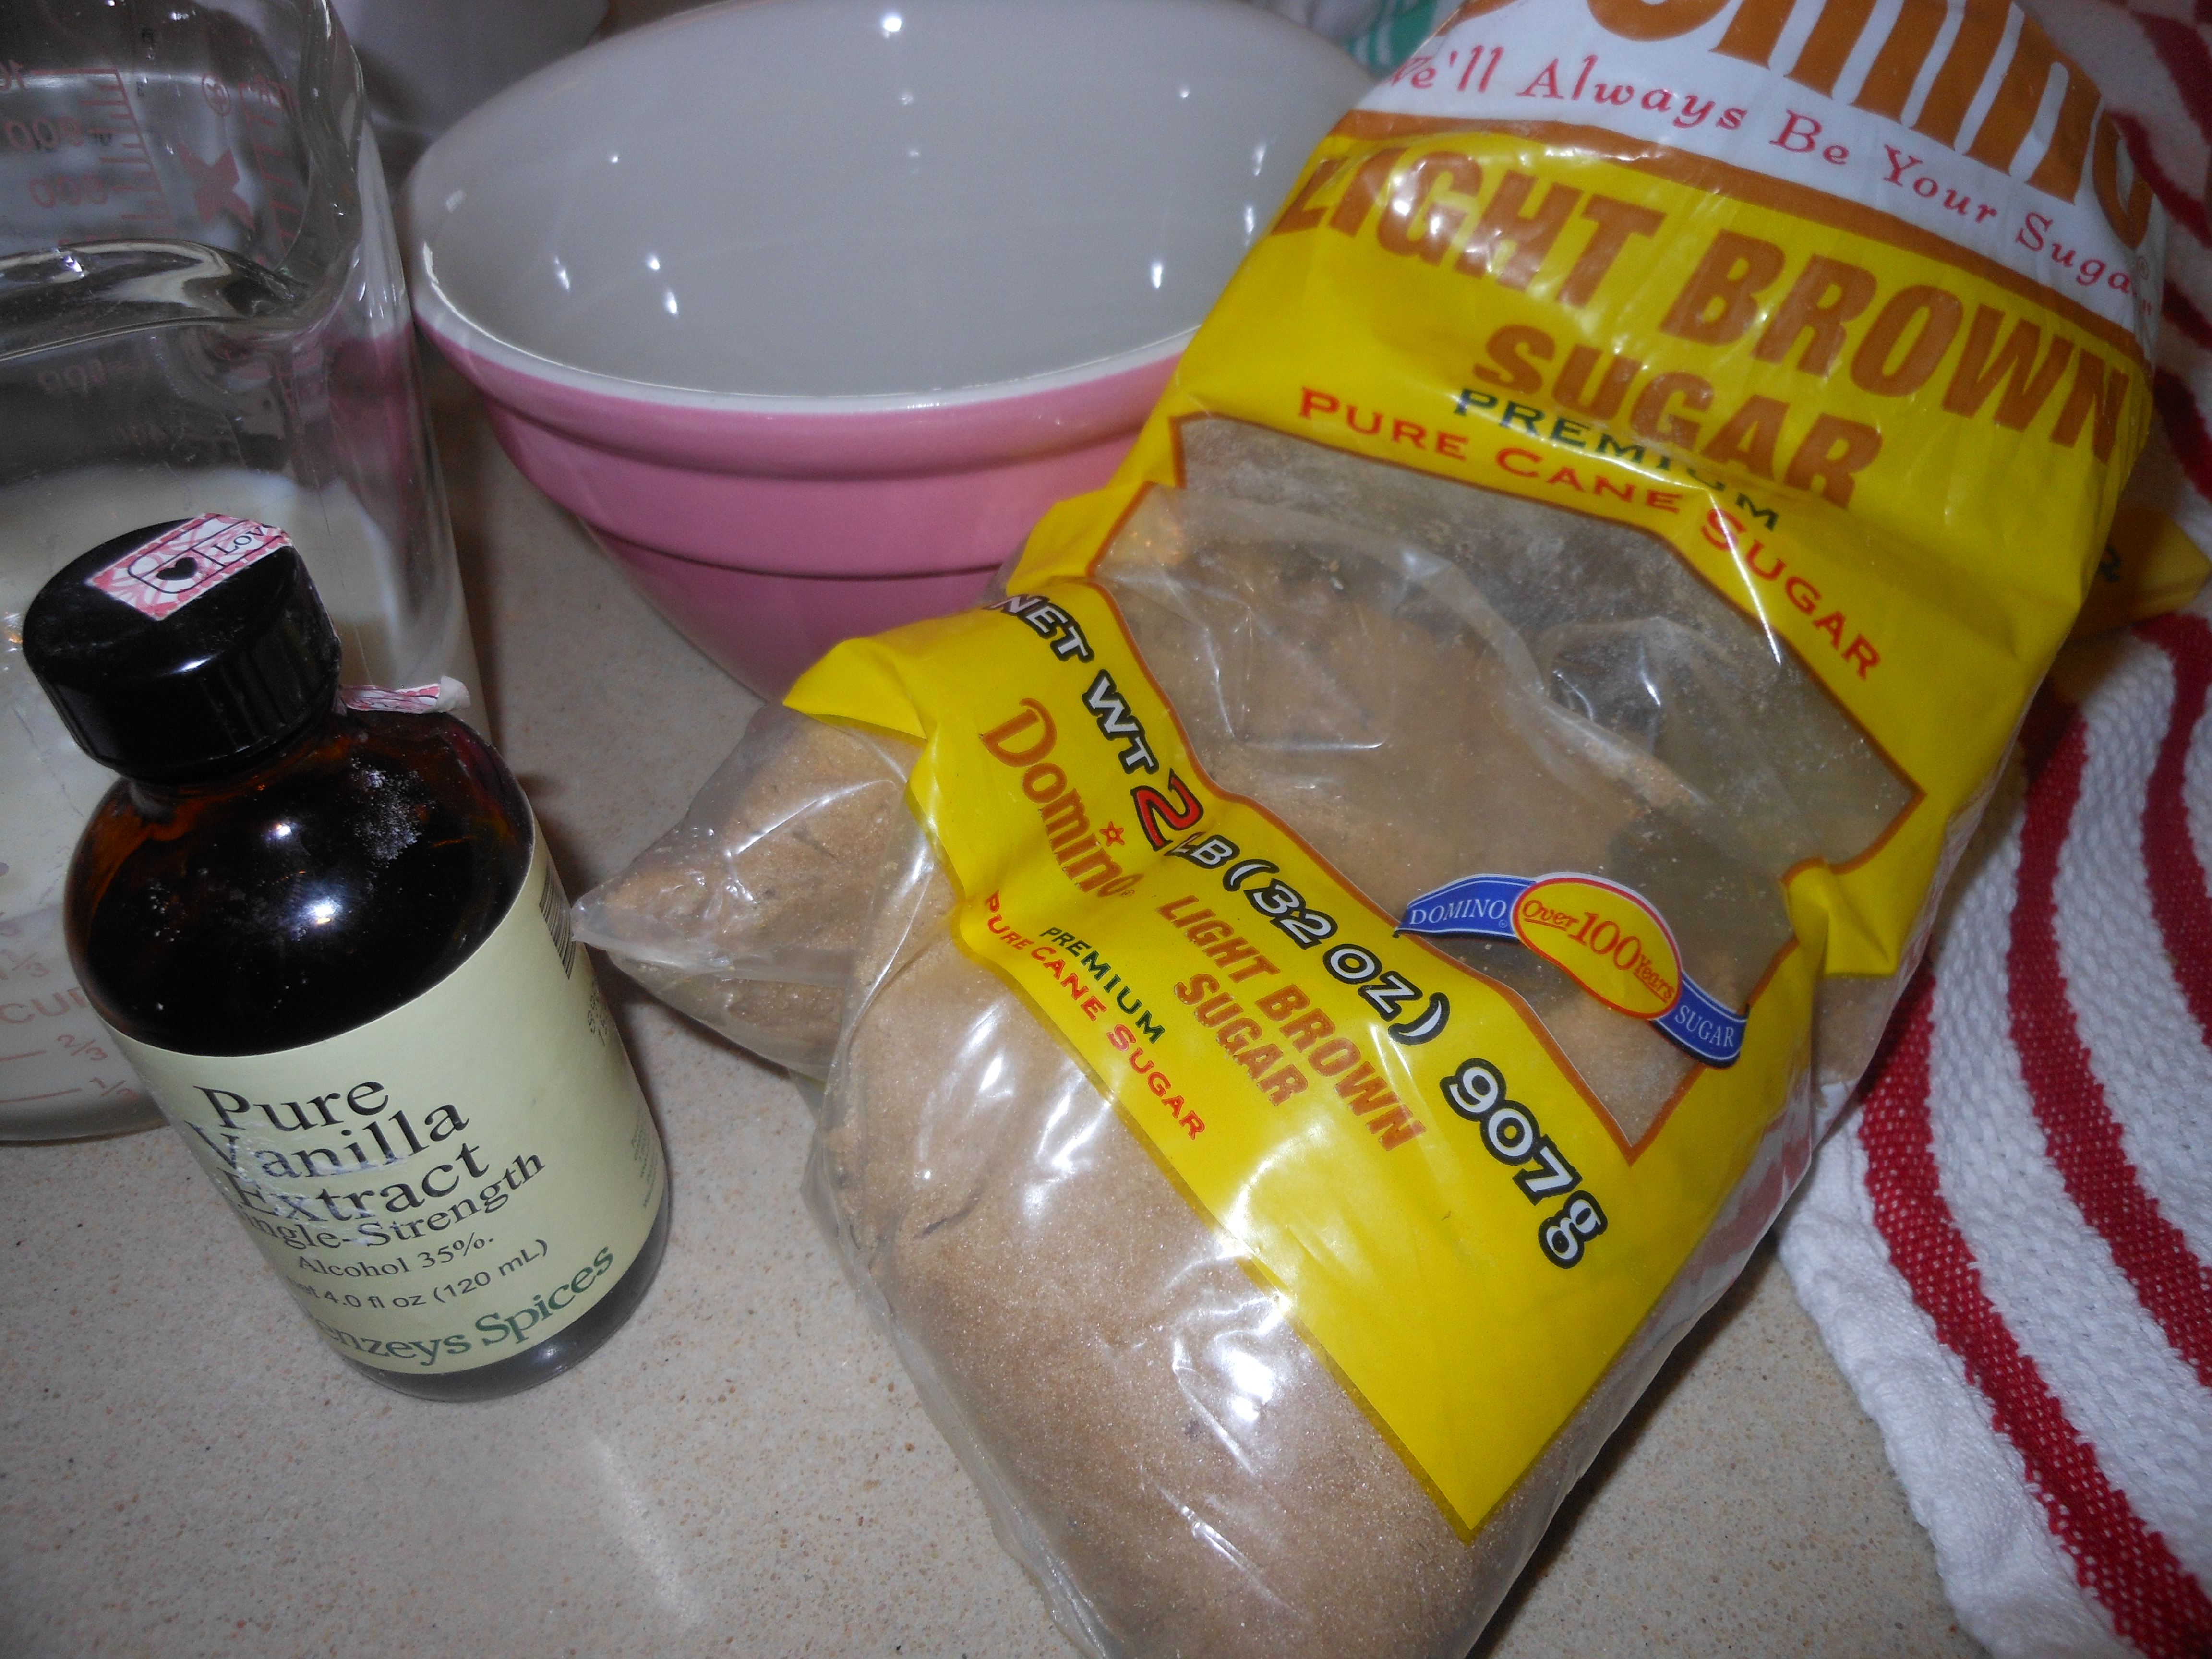
1 cup packed light brown sugar

1 stick unsalted butter

2 tbsp. corn syrup ( I use Karo Original light corn syrup)

5 eggs (room temperature please)

1 1/2 cups milk ( you can use low-fat, I use Skim Plus)

1 tbsp. vanilla

1 package of sliced cinnamon bread. ( Pepperidge Farm is fine) if you can get thick slices it’s great , but the thin kind will work just double stack them it will be fine) You probably will use 12 slices of bread per tray. You will have 6 stacks of 2 slices each, 12 slices total, or 6 thick slices of cinnamon bread. If you can’t find just cinnamon bread use raisin cinnamon bread it’s easier to find .

Directions:

Melt butter, add brown sugar and corn syrup and combine well. Spray a 9×13 baking dish, Pyrex works well here. Pour butter mixture into baking dish and arrange bread slices flat in the mixture ( you will double stack the thin sliced bread) Unless the bread is 1″thick you will be doubling the standard sliced bread. Squeeze the bread to fit–it should hold 12 slices ( 6 double stacks), 3 on each side of a 9×13 baking dish.

In a blender mix the eggs, milk and vanilla and pour over the bread slices, covering them completely. Cover and refrigerate overnight. The bread will absorb all the liquid by the morning, so if you need to travel with it will be fine.

Uncover and bake in a preheated 350 degree oven for 30 minutes. Once it’s out of the oven you can dust with powdered sugar, but not necessary. Serve right from the baking dish.

*if you let this sit out too long before serving, the bottom may get hard like a praline candy. It never ever lasts long enough for this to happen at my table.

Look at my original recipe post on October 5 2011. More Break Fast: the all-time best Baked French Toast, I swear.

Kasha Varnishkes–Jewish Comfort Food

This is truly traditional Jewish comfort food made with buckwheat grains and bowtie noodles. I love it and grew up eating it and  try to make it a few times a year. It is super easy and super tasty. If you’ve never made it why not start now. It’s a wonderful side dish to any meal and it can be vegetarian for all of those who need some extra vegetarian dishes on their tables.

Kasha comes in a box. There are different types of Kasha and almost all will work. I use medium or coarse granulation.  Wolff’s brand is really wonderful so look for it and for this recipe I follow the directions on the Wolff’s box of Kasha. I actually had to order it on Amazon this year since I couldn’t find it in Colorado.

If you’re looking for an easy side dish to put together now is the time to look at this great recipe. This is also our go to the night before Yom Kippur. It’s tradition and delicious and comforting all at the same time.

Ingredients:

1 package bowtie ( farfalle ) noodles (app. 3/4 lb.)

1 white/yellow onion thinly sliced or you can use chopped onions , entirely up to you.

app. 2 tablespoons vegetable oil  you may need a  little more and may want a bit more to drizzle at the end plus more — probably 1/4 cup in total

Kosher Salt and Freshly Ground Black Pepper–to taste

*1 small box button mushrooms sliced 8 ounce box — mushrooms are totally optional but sometimes I feel like they add a little something

1 cup kasha, medium or coarse granulation– I use Wolffs Kasha and follow instructions on the box which I have written below

1 egg for kasha as per instructions on the box

2 cups chicken or vegetable broth as per box instructions

Directions:

Cook the pasta according to directions on box for al dente.

Saute’ the onions in vegetable oil , salt and pepper until they just start to soften, about 5 minutes. I use a medium size frying pan large enough to add in the pasta, and make sure you have a tight fitting lid.

Add the mushrooms and sauté until they start to soften as well, a few more minutes , set aside. Place mushrooms and onions in a bowl and you’ll use same frying pan to cook kasha.

Coat the kasha in a slightly beaten egg. You’ll just place kasha in a bowl and put beaten egg on grains. This will help the grains not to stick to themselves while you are cooking them. Make sure the grains are completely coated with egg.  Put the kasha in the same frying pan, set over a fairly high heat. Flatten, stir, and break up the egg-coated kasha with a fork or wooden spoon for a few minutes till toasted and the egg has dried on the kasha and kernels are brown and mostly separate. Kasha instructions for cooking are usually on the box as well. Then I pour in the broth that I am using, a little margarine/butter is OK as well ( app. 2 Tbsp) bring to a boil, cover tightly, lower flame to simmer and cook for 10 minutes till kasha is fluffy–these are the directions on the box that I follow .

Add back in the mushrooms and onions and combine with chicken broth. Cook box of Bow Tie Pasta according to directions on box al dente.

Bring to a boil and cook over low heat covered tightly. Check on it after 10 minutes or so to make sure the kernels are tender and the liquid has absorbed. If not, cover and continue steaming for another few minutes till all liquid is absorbed.

Adjust seasoning with more salt and pepper if you’d like, mix in cooked pasta, and if you’d like drizzle a little more oil on it. I like to do it all in a large enough frying pan to hold pasta . You can always mix in pasta in a large bowl separately. I like it in frying pan on stove top till I serve it. You can always make ahead and heat up in oven at 350 degrees in a pyrex dish,  you’ll most likely need to add a little oil if you do so.

*Wolff’s Kasha has directions for cooking kasha on the box. It’s pretty much the same , I just add in the mushrooms and onions for more flavor.

*should serve 8 people

Happy New Year Brisket

Brisket can definitely be an intimidating thing to make. I once made it as a young cook, and it was perfectly inedible. Back then, I couldn’t believe how long it took to cook, but it does take very long. Now I usually make it in the slow cooker, which is awesome as well and that recipe is up on my blog as well.  Sometimes  I use my trusty Le Creuset, which worked out beautifully this time.  I just finished cooking it and froze it before I took pictures so I will post pics when it defrosts.  A lot of people have some pretty awesome brisket recipes and I welcome you to send me yours. This really couldn’t be any easier and it’s super tasty. This original recipe came from my friend, Michele (with a few comments from Karyn too.) I did change a few things to the original recipe, but not a lot and I thank Michele for the recipe.

INGREDIENTS:

4 lb. brisket (I didn’t need larger but you can adjust this recipe for whatever size brisket you use)

Lawry’s seasoned salt (I’ve never used this before today but I found out it doesn’t contain MSG, as I had previously thought)

2 large Spanish onions (Karyn uses Vidalia, which is also good), sliced thickly

2 cans of tomato sauce , I used the 16 oz. size. You can also use the 1 can of 28 oz. size. It depends on you and how much sauce you like.

2 tbsp. brown sugar (this is my addition. It doesn’t really change the flavor so much as cut the salt a bit)

DIRECTIONS:

Preheat oven to 350 degrees.

I sprinkled Lawry’s seasoned salt on both sides of the brisket (generously) then seared it in the Le Creuset pot with a little vegetable oil–probably about a tablespoon. (After the meat was seared, it shrunk to fit perfectly in my pot but I don’t think that a larger brisket would have fit.) Next, I added the tomato sauce and onions, covered the pot and put it in the oven. I cooked it for a total of 3 hours. I checked on it after each hour, which probably wasn’t even necessary. I then let it cool, off of the heat, for about an hour. Next, I sliced it with an electric knife, which came out beautifully. The meat was soft, but not falling apart at all. I then added the brown sugar to the gravy, put the brisket in a container with the gravy and froze it. I’ll take it out the night before I serve. Karyn pulses her gravy with an immersion blender. I didn’t do this but I think it makes for a good suggestion. In fact, I might still do it on Thursday. I’ll let you know. Thanks again Michele and Karyn!

Slow Cooked Brisket–Super Easy

Featured Image -- 8316I am always on the look-out for a brisket recipe and it seems like everyone is always asking me for a good brisket recipe. If you ask me brisket is the ultimate comfort food, it’s old fashioned pot roast slowly cooked with just a small amount of ingredients.  This is a great recipe for the Jewish New Year because you can cook it ahead of time . My friend Susan gave me this recipe for a slow cooker brisket and I actually made it the night before in the slow cooker .  I cut up the onions , seared the brisket and got it all together in about 1/2 hour and put it in the slow cooker by midnight! When I woke up in the morning the house smelled amazing and the brisket had cooked for a full 8 hours! I then took the whole insert with cover and refrigerated it till later that day when I would remove any and all congealed fat that had naturally gathered in the pot. I highly recommend doing it ahead of time so that you can remove any unwanted fat from the brisket. You can even do it a week ahead and freeze the brisket, or a few days ahead whichever works best for you. The recipe is from the website Kitchn and Susan had already made it so I knew it would be good. So easy and so good.

This is such a wonderful recipe I highly recommend for the Jewish Holidays or any time you’re in the mood for good comfort food.

I also recommend an electric knife as it is the best tool for slicing a brisket thinly and getting the most out of the meat. I love my electric knife and it is great for cutting all roasts. Ingredients are simple and you probably have most of them in the house already.

*If you are freezing it, you can slice up and then put it in the freezer. Take out of freezer and re-heat the way I did.

* a 4 lb. Brisket with side dishes should serve 6 people

www.kitchn.com original title Slow-Cooked Brisket and Onion

Ingredients:

3 1/2 to 4 lb. Brisket

1 tablespoon olive oil

app. 2 large onions, sliced into half moons (not too thinly)

Kosher Salt and Freshly Ground Black Pepper

6 cloves garlic , minced

2 cups beef broth

2 Tablespoons Worcestershire Sauce

1 Tablespoon Soy Sauce ( reduced sodium is fine here)

Directions:

Heat a deep sauté pan or cast iron skillet over medium heat with the 1 tablespoon olive oil. Add the onions and cook on medium-low to medium heat, stirring frequently for app. 20 minutes or until the onions have caramelized lightly. This means that the onions will lightly brown up and completely wilt.

Remove brisket from its packaging and pat it dry, season the meat with salt and pepper generously.  While the onions cook if you have another large skillet or sauté pan heat it up over medium-high heat and turn on your vent or fan. Sear the brisket until a golden brown crust appears on both sides of the meat. Remove and place in a slow-cooker insert fatty side up.  I would spray the insert with cooking spray first. If you don’t want to dirty  2 pans wait till the onions are cooked and then just add brisket to that pot to sear.

Sprinkle the minced garlic over the meat. Pile the sautéed onions on top and around the meat. Mix the broth, Worcestershire Sauce and soy sauce and pour into the slow-cooker insert.

Cover and cook in the slow cooker on LOW for 6-8 hours or until the brisket is very tender. I did 8 hours because it depends on the size and shape of your brisket. This brisket was about 4 lbs. and pretty thick in spots.

Now the thing about cooking ahead was that I could refrigerate it right in the insert . The next day I removed from refrigerator mid afternoon and scraped off the congealed fat.

To reheat: First I slice the brisket if I haven’t already done so. Heat the oven to 300 degrees. Transfer the brisket and all the juices to a baking dish and cover tightly with a lid or two layers of aluminum foil. Warm in the oven for at least an hour till brisket is completely warmed through. Of course the timing will depend greatly on the size and shape of the brisket; once it’s sliced it will re-heat faster which is why I always do so.

If you don’t have a slow cooker and don’t want to buy one you can cook in the oven instead. You’ll need a dutch oven ( Le Creuset type) with a lid. Or a baking dish covered  very tightly with foil. Follow instructions as above but cook in the oven at 325 degrees for about 4 hours for a 4 lb. brisket. You may need to cook longer depending on the size and shape of your brisket.

Cooking Time varies for how you prefer your brisket. If you want a more formal presentation you’ll probably stay within the 8 hours . If you like it shredded and more like pulled beef you may want to increase cooking time by another hour. We sliced it after 8 hours and then re-heated it and it was perfect! Sorry I didn’t take more pictures.

IMG_6380

Applesauce and Raisin Cake – an Homage to the Bundt Queen

I always call my friend Susan the Queen of the Bundt Cake. It certainly seems to be her calling, as she is always coming up with new and delicious Bundt Cakes for all of us to try. I just hope I do her justice in trying to duplicate it.  I had to change one of the ingredients because I bought chunky applesauce instead of plain applesauce. Of course, if you’re so inclined you can make your own applesauce (I wasn’t so inclined today!).  The original recipe hails from The Silver Palate, and I have to say this is one cookbook you don’t want to be without. There are so very many wonderful recipes in it.  This cake has  a slightly spicy flavoring, and is just so darn good. Am very happy to report that this cake came out awesome! Super Delicious with the chunky applesauce. Very moist and delicious, cooked perfectly at 1 hour and 10 minutes. Thanks Suki and the Silver Palate! Perfect cake for the Jewish Holidays and any time.

Ingredients:

1 cup (2 sticks) unsalted butter, plus a little extra for greasing the pan (Butter should be at room temperature.  I woke up early and didn’t have time to let it sit so I just put it in microwave to soften for 15 seconds.)

*if baking for the Jewish Holidays and don’t want to use butter you can use margarine

3 cups all-purpose flour

2 cups sugar

2 eggs (at room temperature)

2 cups applesauce (I used Chunky because probably didn’t have reading glasses in market and grabbed it.)

1 teaspoon vanilla extract

1 teaspoon ground cinnamon

1/2 teaspoon ground nutmeg, or 1 teaspoon freshly grated

2 teaspoons baking soda

1 cup raisins

Lemon/Orange Icing ingredients:

1 cup confectioner’s sugar

1/2 teaspoon ground cinnamon

1 1/2 tablespoons fresh lemon juice

1 1/2 tablespoons fresh orange juice

Directions:

Preheat oven to 350 degrees.

In a mixing bowl (electric mixer), cream together the butter and sugar until light and fluffy. Add the eggs, one at a time, beating well after each addition. Stir in the applesauce and vanilla.

Sift the flour, cinnamon, nutmeg and baking soda together then add to applesauce mixture. Next, sprinkle in the raisins, and blend gently but thoroughly.

Pour the batter into the tube pan and set on a rack in the center of the oven. Bake until a cake tester inserted into the cake comes out clean. 1 hour and 10 – 15 minutes. I cooked it 1 hour and 10 minutes.

Cool in the pan for at least 15 minutes (I will leave it all day as I go out hiking, and turn it over when it is completely cool when I return.)  When it is completely cool, I will make the icing and drizzle over the top. A little trick is to poke little holes in the cake (on top, with cake tester or toothpick) and pour icing over the cake and it will go into cake and infuse some of the lemon/orange directly into cake.

Instructions for icing:

Sift the confectioner’s sugar and cinnamon into a small bowl.

Dribble in the juices, stirring constantly until the icing is smooth. Drizzle over completely cooled cake.

*should be enough icing for 1 Applesauce Raisin Cake

Mushroom Barley – Side Dish

cookingwithcandioct7 003this is an old recipe of mine that I’ve played around with and have made over and over through the years.  It is so very delicious and is so perfect for Rosh Hashana and it makes a perfect side dish anytime of the year. It is not too difficult to make , takes a little playing around but pretty easy . I use Manischewitz egg noodles in a toasted barley shape (which is really a pasta)  you can use pearl barley which is available in almost every supermarket out there. i have to say this product worked very well. Not exactly Mushroom and Barley?? but barley shape pasta is the way we roll in our house.

Ingredients:

1/4 cup butter or margarine

1  3/4 cup Pearl Barley or any kind you can find ( I used Manischewitz egg noodles in a toasted barley shape) it doesn’t have to be toasted it can just be regular barley shape noodles. I love to use this product , it’s usually found in kosher section.

1 lb. fresh mushrooms sliced

1/2 spanish onion chopped

2 – 3 cups chicken stock

1 tablespoon vegetable oil

Kosher Salt

Freshly Ground Black Pepper

Directions:

i use a very little bit of vegetable oil ( maybe 1 tablespoon) and saute onions, then mushrooms till cooked down. i salt and pepper generously here. i remove the mushroom/onion mixture from saute pan, wipe the pan clean with a paper towel . melt butter or margarine in pan, brown the barley for about 4 – 5 minutes, move it around as you brown it. in the meantime transfer mushroom/ onion mixture to a 9 x 13 baking dish (spray with pam) when barley is browned place in dish with mushrooms and onions and mix well. add 2 cups of chicken broth. cover with aluminum foil, and bake in oven covered at 350 degrees for app. 45 minutes. remove from oven, and add a little broth, depending on how dry it is, i would say i added about 1/2 cup , you may need to add more, add the 1/2 cup and mix well and see if you need more, not too watery, keep it dryer. cover, and i put it back in oven for 10 to 15 minutes. taste for salt and pepper. and there it is. very delicious.

Chicken Marbella–perfect Holiday Chicken

This recipe is my “go to” chicken. I’ve made it almost every Passover since I found it, it is also a wonderful dinner party recipe and perfect for Rosh Hashana.  The original recipe is from the”Silver Palate” cookbook. It was many winters ago that I first had it at my friend Susan’s house.  It has been a staple on my holiday table ever since. Not to say that it is not a recipe for every other day of the year and week, because it’s perfect for anytime. There is also the Brisket recipe that I posted during Rosh Hashana which is on the website, as well as the Honey Roasted Chicken, and Meatballs which all work well for this holiday. I usually make the Chicken Marbella and the Meatballs as another main dish.

*I recently read that if you make this whole recipe and put it in a large plastic bag un-cooked, just raw chicken in the marinade into the freezer you can then make it ahead of time. Just take it out and de-frost the night before, I would probably take it out of freezer and into the fridge the day before and the next morning if it’s not defrosted fully let it completely de-frost out of fridge in the plastic bag. Then follow cooking directions. I just want to say that I haven’t tried this method but most certainly would to save time. The reviews of the freezing method said that the chicken had more flavor than the usual way, so give it a try and it’s always good to be able to cut down on the prep.

Enjoy!

*The key to this recipe is the overnight marination, which is essential to the moistness of the chicken.

Ingredients:

1/2 cup olive oil

1/2 cup red wine vinegar

1 cup pitted prunes

1/2 cup pitted Spanish green olives (no pimentos)( if you can’t find, just pick out pimentos)

1/2 cup capers with a bit of juice

6 bay leaves

1 head of garlic, peeled and finely pureed(chopped well)

1/4 cup dried oregano

Kosher salt and freshly ground black pepper, to taste (I start with 1 teaspoon kosher salt, and a few grinds of black pepper.)

4 chickens, cut into eighths (original recipe calls for chickens to be quartered but I find that you get more per person if you do it in eighths.) the chickens are about 2 1/2 lbs. apiece , so it’s about 10 lbs. of chicken . Sometimes I ask the butcher to cut the breasts in 1/2, if they are very large.

1 cup brown sugar

1 cup dry white wine

1/4 cup fresh flat-leaf parsley (finely chopped)

Directions:

Combine the olive oil, vinegar, prunes, olives, capers and their juice, bay leaves, garlic, oregano, and salt and pepper. ( You can combine in a large bowl, but I use a very large (jumbo) Ziploc bag.) Add the chicken, then stir or mix around to coat well. Refrigerate overnight.

Preheat oven to 350 degrees.

Take a large shallow baking pan (you may need 2), arrange the chicken in a single layer and spoon the marinade over it evenly. Then sprinkle the chicken pieces with the brown sugar and pour the white wine around them.

Bake, basting frequently with the pan juices until the thigh pieces yield a clear yellow juice (don’t want it pink). It takes anywhere between 50 to 60 minutes to cook. (Test thigh with a fork.)

When you are ready to serve, transfer the chicken with a slotted spoon to serving platter. Moisten with some of the pan juices and sprinkle generously with the parsley. You can pass the remaining juices in a gravy boat.

*should serve 10 or more

* this chicken is delicious cold or at room temperature. If you make ahead and it is in fridge, just remove from fridge, reheat it in the juices, then allow to come to room temperature.

Honey Roasted Chicken – Holiday Chicken

DSCN4234DSCN4234this recipe was actually given to me by my daughter, jennifer. she has made it numerous times. always to raves from the family. i am going to make it this year for rosh hashana and it is so perfect anytime.  it is a delicious chicken dish made with honey so it so appropriate for the jewish new year! sweet and savory as our new year should be! enjoy it.  pay attention to cooking directions as you will not be preheating oven!!!!!!

Ingredients:

1 stick butter or margarine

1/2 cup minced yellow onion

2 large cloves garlic, minced

1/4 cup Dijon Mustard

1/2 cup mild honey

1 teaspoon kosher salt

a rounded teaspoon curry powder

2 tablespoons peach or mango chutney ( available in most supermarkets)

small handful of dried currants or chopped dark raisins

2 roasting chickens  cut up in 8’s

Directions:

you will need 2 shallow baking sheets with 1 inch rims ( you may be able to get it on 1 large sheet)Spray baking sheets well with cooking spray.

to make sauce:

Melt butter/margarine in a heavy 2 quart saucepan over medium heat. while it is bubbling, saute onion and garlic until softened, about 3 – 5 minutes. add remaining ingredients except for chicken and stir until well combined. heat until warm throughout and set aside to cool slightly.

to prepeare chicken:

I would spray each baking sheet with pam cooking spray first

Rinse and pat chicken dry . (each piece) dip each piece in honey mixture, coating chicken completely. lay chicken pieces ( skin side up) on baking sheets. spoon any remaining sauce over chicken.

To Bake Chicken:

place chicken in a cold oven, turn heat to 400 degrees and bake for one hour. if you are using 2 baking sheets , roast in the upper and lower thirds of the oven and switch shelf positions 1/2 way through the cooking time.

to serve:

Transfer chicken to a warmed serving platter and serve . this chicken is good hot, at room temp. and cold out of fridge the next day.

*if you cannot find peach or mango chutney ( I found it at Whole Foods) Stonewall Kitchen Brand , you can use Peach Jam, Apricot Jam, etc. Probably Saucy Susan would work. Use your imagination and don’t kill yourself trying to find the chutney. I think the chutney would give it a bit more kick, and cut the sweet, but either one will be fine.

Happy Holiday and Have a Very Sweet New Year

Noodle Pudding with Apricot Nectar

I’ve tried so many noodle puddings, but keep coming back to the same old , same old. they’ve been passed down in so many different incarnations. i don’t even know what the original one is anymore. this is my most favorite. also a perfect break fast food for Yom Kippur. It can and should be made ahead of time, it will hold together better.

Ingredients:

1 lb. noodles ( i use extra wide egg noodles, you’ll need a bag and 1/4 app. just eyeball it)

1 cup sugar

6 eggs ( I use extra large and at room temp. just make sure they are not right out of fridge) they work much better when they are not right out of fridge in baking.

1 tbsp. vanilla

1 stick unsalted sweet butter(melted)

6 oz. cream cheese (softened at room temp)

1 1/2 cups milk ( I use skim plus) would not use regular skim milk

2 cups apricot nectar (available in most supermarkets)

Topping:

1/2 jar of apricot preserves –approximately

1 1/2 cup cornflake crumbs

2 tsp. cinnamon

1/2 cup sugar

1 stick butter melted

Directions:

Cook noodles and drain very well. Mix 6 beaten eggs with the tablespoon of vanilla in one bowl. in another bowl melt 1 stick sweet butter(unsalted)softened cream cheese, and milk. add the apricot nectar . mix all ingredients together and put in large pyrex type baking dish. mix topping ingredients together, put on top of noodle pudding. cook at 350 degrees for one hour.   i usually cook this ahead of time, cook for 1/2 hour and then freeze it till i am ready to use, take out of fridge bring to room temperature and bake it for another hour till brown on top and cooked through. noodle puddings are best if you let it sit a while (at least 15 minutes before serving) they hold together better that way. can be served at room temperature.

*serves about 12 – 15 people doubled

Recipes for Jewish New Year–Rosh Hashana

Finished Product Apple Cake

Finished Product Apple Cake

photo 1 (3)

Un-Stuffed Cabbage

DSCN2648DSCN4230DSCN2642DSCN4225DSCN4234photo (2)DSCN4230Summer is the most easy-going time of the year and then along comes the Jewish holidays right on the heels of Labor Day and just like that it is over. Kids are back to school and we’re cooking dinner again and preparing meals. Before you know it,  it’s Thanksgiving! Oh well here we go again, for those of you who have been reading my blog you may have made a lot of these recipes and welcome aboard to the new readers.  I am sort of a traditionalist when it comes to holidays and my family always looks forward to the same things. If I introduce a new recipe it’s always hold your breath time and what was wrong with the old one looks on everyone’s face.  Final decisions haven’t been made but I know that there are some things I’d never leave out. Here is a list of suggestions and by all means cruise through my blog and see if there is anything else to your liking. These are just a list of suggestions. I will be posting a few new ones this week, so be on the lookout. Rosh Hashana recipes are tagged Rosh Hashana if you are trying to look them up on my blog. I may sneak in a recipe or two this week if I can get in the time. So sad summer is over but it’s time to move on .

For those who celebrate have a very Happy Healthy New Year! Shanah Tovah!!

Homemade Chicken Soup with not so Homemade Matzo Balls ( even though this is for Passover we eat it a lot on Rosh Hashana)

Happy New Year Brisket

Unstuffed Cabbage–a great alternative to meatballs

Chicken Marbella

Honey Roasted Chicken

Old School Meatballs

A Noodle Pudding from Ellen

Another Noodle Pudding from Marcy *kosher non dairy

Noodle Pudding with Apricot Nectar–probably one of the all time best kugels ever

Noodle Pudding from Julie

Mushroom Barley

Kasha Varnishkes

Grandma Millie’s Cauliflower

Applesauce and Raisin Cake

Don’t let the Apples go Bad Cake

Julie’s Honey Cake

Plum Torte

My farewell to Norah Ephron- her Tzimmes