Colorado Kitchen

Dressed Salad

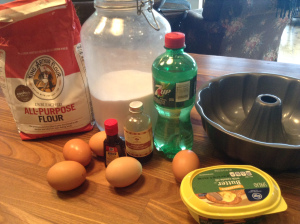
Ingredients

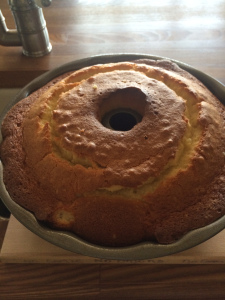
View from Deck

Joel’s Salad with lots of Parmesan Cheese–hey he ate it!

This Champagne Vinaigrette appeared on my blog back in 2012. It’s really perfect on any kind of greens and this is the salad that I made along with it. I love Kale but I don’t like feeling like I’m eating the front lawn. I like my kale very finely chopped and massaged with dressing. I use my food processor to chop the kale and I dress the salad ahead of eating it and let it sit for a while so that the kale can absorb as much of the dressing as possible. This salad was really delicious and I know this is almost impossible to believe but I got Joel to eat some of it! The way I did that was to add a lot of parmesan cheese to his plate and he ate it. I also threw in a picture of my kitchen and a picture of the view from one of our decks . Enjoy this dressing it is perfection in a bottle and good on almost anything you put it on. I will be making this salad again and again.
Champagne Vinaigrette:
1 tablespoon Dijon Mustard
1 teaspoon whole grain mustard (Maille makes a wonderful mustard)
1/3 cup Champagne Vinegar
1 tablespoon Rice Wine Vinegar
1 teaspoon Honey
3/4 cup extra virgin olive oil
kosher salt to taste app. 1/4 teaspoon to start
freshly ground black pepper , a few grinds of the mill to taste
Ingredients for the Salad:
1 bunch of Kale or a bag of washed and chopped kale , baby kale is great as well — if you can buy washed and chopped it saves lots of time
1/2 lb. of Brussels Sprouts, washed and cut thinly–now you can buy brussels already sliced which makes prep super fast and easy!!!
*this is optional but it adds pretty color and some more crunch. 1/2 small head radicchio, cored and thinly sliced
1/2 cup of Grated Parmesan or Shaved Parmesan
1/2 cup of dried fruit, I used dried craisins, but raisins, cherries, any of them will do
1/2 cup pignoli nuts, I roast them in the oven for about 4 minutes till they get toasty. ( in oven at 350 degrees for about 4 mins.)
*add any seasonal fruits or vegetables or protein you may like, this is just a basic salad idea.
Directions:
Using my blender I threw all vinaigrette ingredients except for the olive oil which I slowly streamed in through the top of blender until dressing emulsified. Taste for Salt and Pepper and you’re good to go.
Wash and Dry the Kale, remove the stems and ribs and just use the leaves. Even better you can buy triple washed kale already chopped. I still put that through my processor because it’s not chopped enough for me.
In the food processor I chopped up kale slowly, you don’t want to over chop the kale either. As soon as it starts to break down I stopped and removed it and added more. I do it in sections till it’s all chopped.
Slice Brussels very thinly into slices , they will fall apart as you slice and mix them into salad. Add Brussels to Kale with all other salad ingredients except for Parmesan Cheese. I added cheese when I was ready to serve to individual plates.

Raw Chopped Salad pre dressing


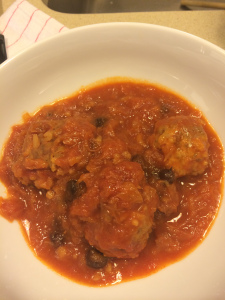


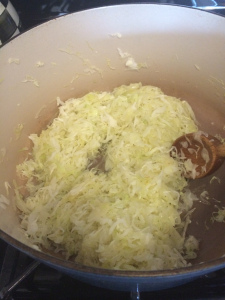
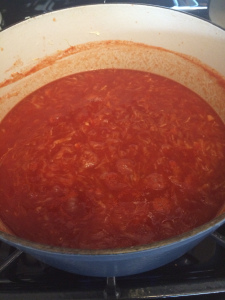
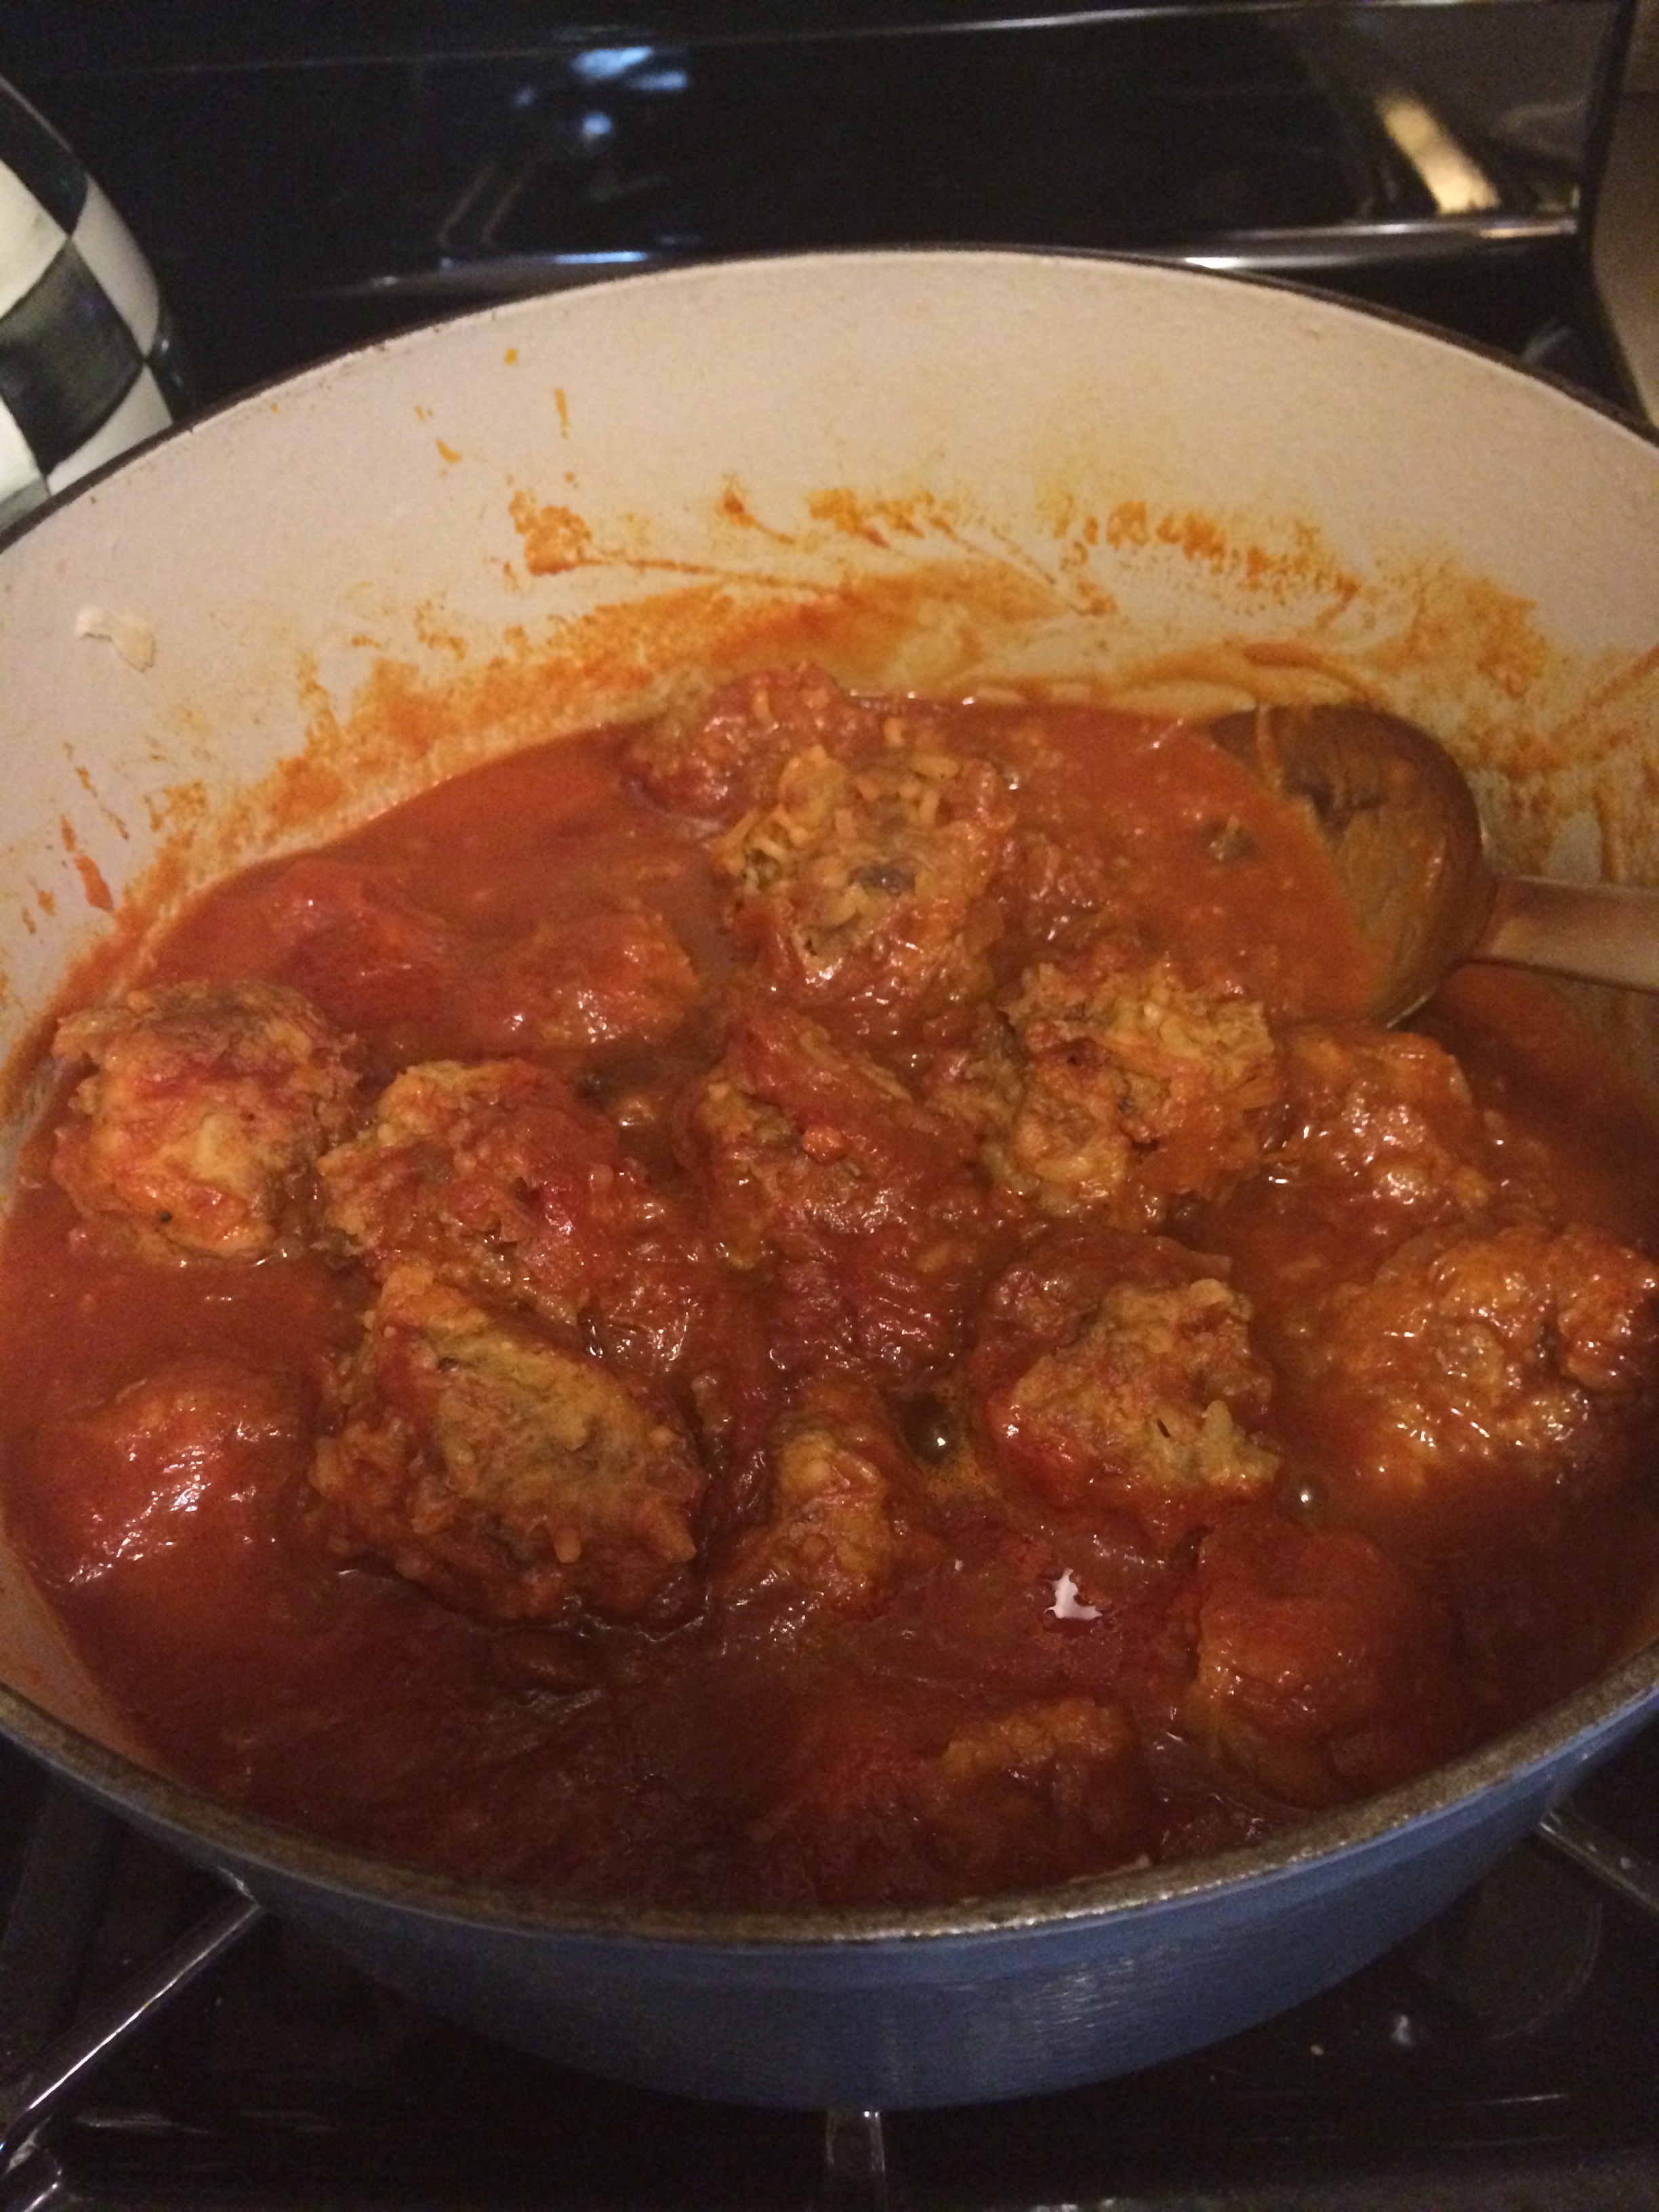
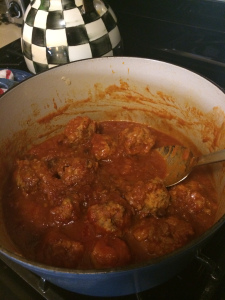 I love stuffed cabbage and my Grandmother made the most amazing stuffed cabbage ever . I love stuffed cabbage but do not feel like dealing with the actual stuffing of the cabbage, it is way too labor intensive for me. I have made several variations of this and found this one to my liking the best. You can play with the ingredients which is what I did . Original recipe is from Kosher by Design and it is perfect for Passover by just leaving out the rice and substituting matzoh meal in its place. Basically this is meatballs in a sweet and sour sauce with cabbage . I doubt very much that Joel would ever eat real “stuffed cabbage” but he liked this. The cabbage cooks down so much that you don’t even realize you’re eating cabbage. I also used 1/2 chicken ground meat and 1/2 beef ground meat , this is entirely up to…
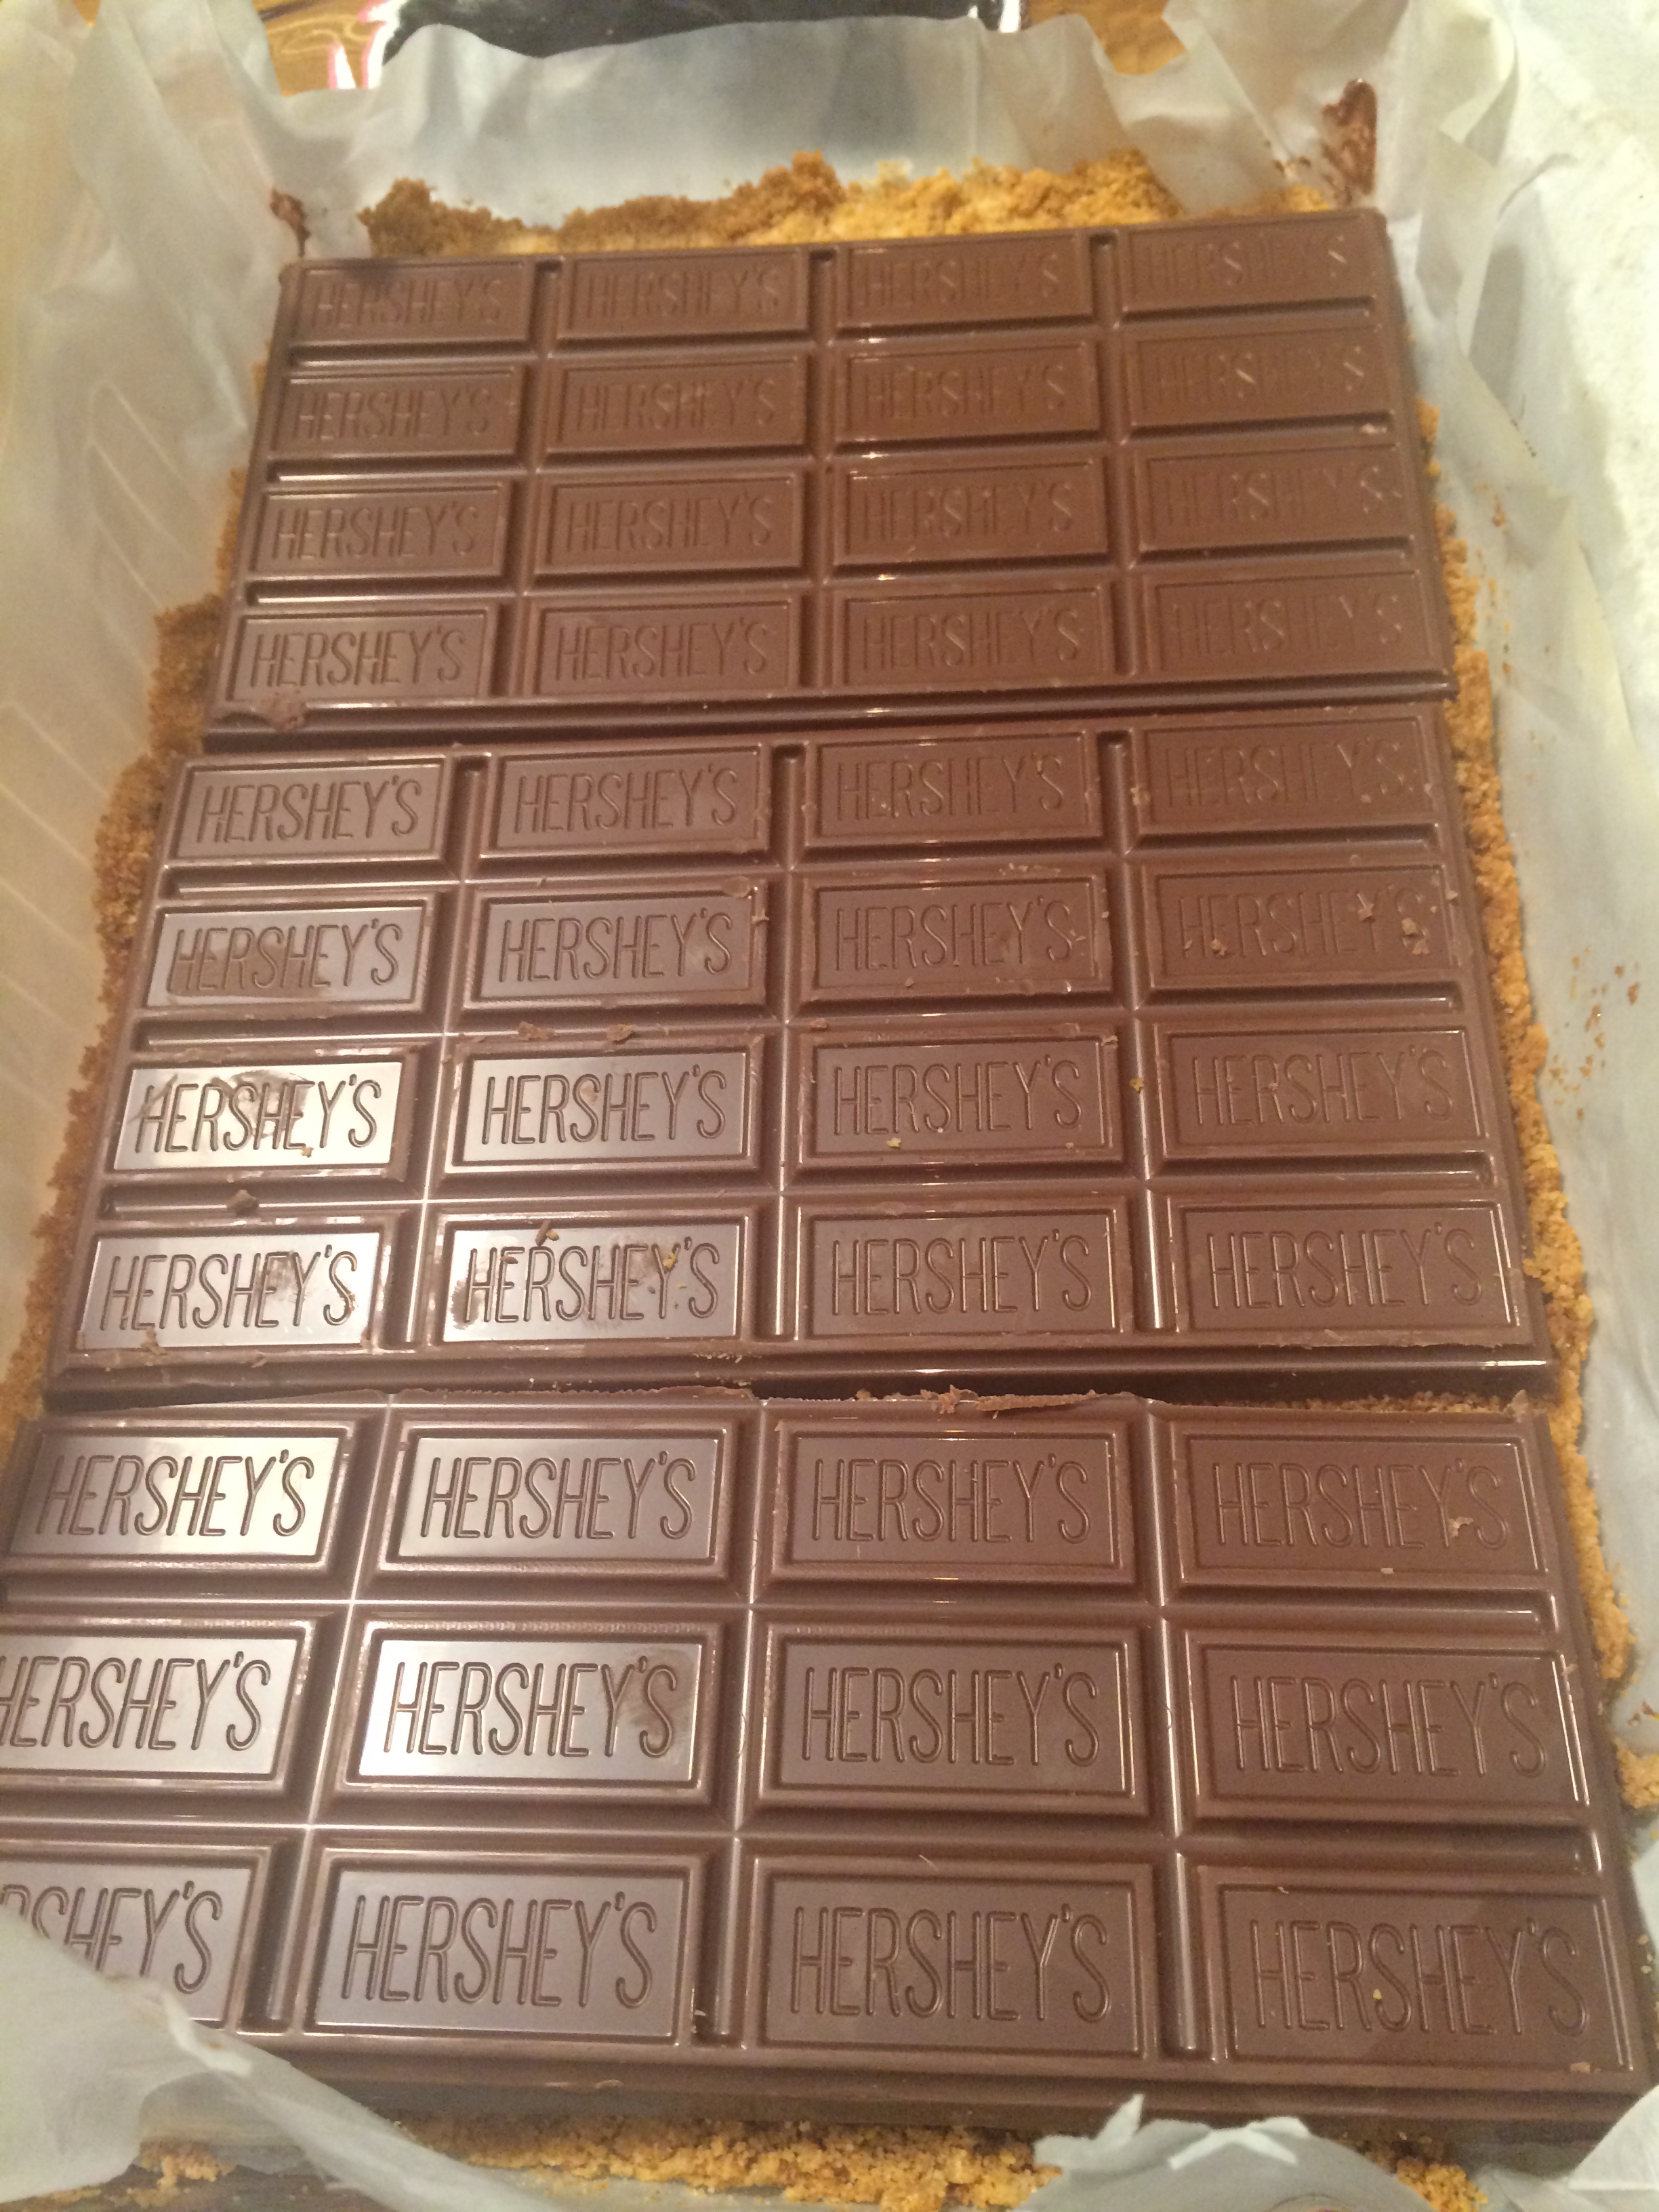
 It is super easy and not intimidating at all. I got the recipe from Jessica’s Seinfeld’s book The Can’t Cookbook even though I know how to cook.


 Completed Salad
 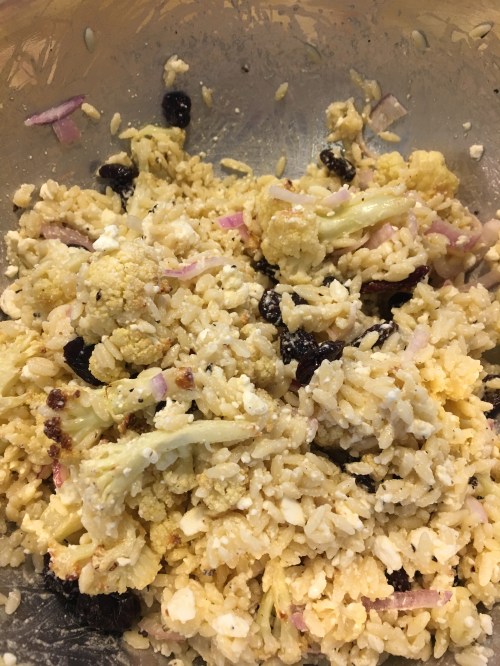 Before I added the spinach