Chocolate Bark Surprise

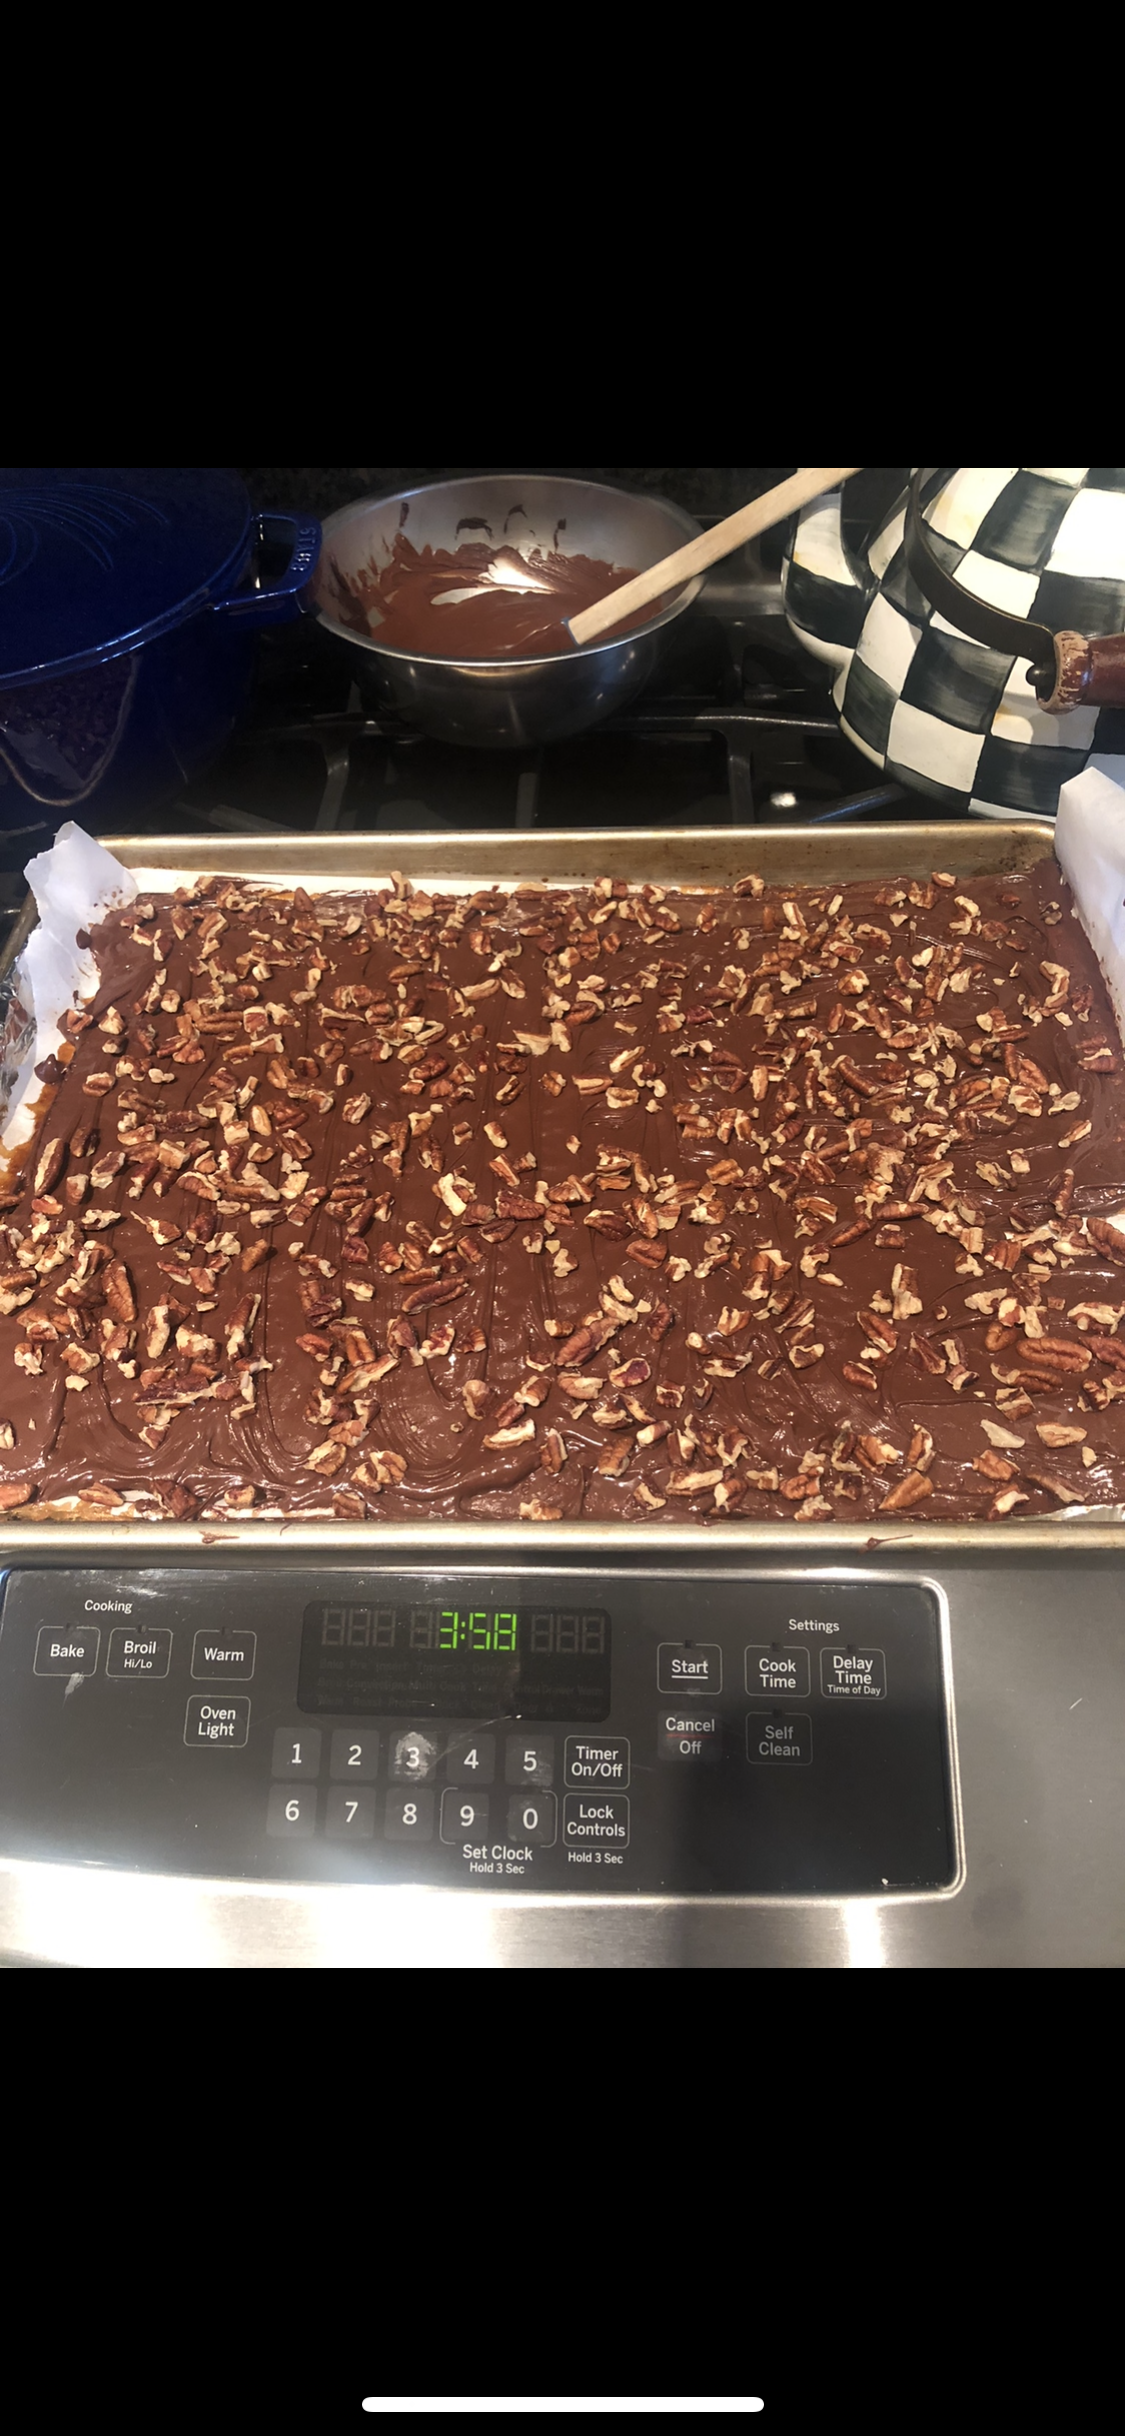
chocolate bark surprise before breaking it all up
Believe me when I say that I know how very difficult this Holiday is going to be for almost all of us. If you’re looking for something your kids can make with you this is one of the better recipes and fun to eat afterwards. I usually make this recipe on the holidays and it’s easy and delicious. If you have your kids or your grandkids and want to have a cooking project together this could be the one.
One of the most wonderful surprises to come out of my blog is the constant sharing of recipes, ideas, thoughts and sometimes even a little criticism. I love it all. Sharing has got to be the part I enjoy the most. I love sharing my family recipes with all of you. I especially love when you send me a recipe and I love it and I make it part of Cooking with Candi. As those of you who have gotten to know me and my blog you know this to be true. I try to always give credit where credit is due, sometimes I name the recipe after the person who passed it on to me. I rarely get to know the origin or provenance of these recipes but they’re way to good to keep “under wraps”. Thanks again to all my friends for their recipes and inspiration not to mention support with this “labor of love”. I write this blog so that you can all share the recipes that I have had come to know. Why keep it to myself? I love the feedback you all give me and nothing makes me happier than when I meet someone who started cooking and now enjoys it because of my recipes.
It’s hard to know the provenance of most recipes and I am doing this for fun not profit!
Speaking of sharing I got this wonderful recipe from At Home with Joy , thanks for sharing with us Joy. This recipe was so easy and so delicious, for those of you who love Candy and who doesn’t? Give it a try, please check out Joy’s blog you’ll be happy you did.
And this would be perfect on your Passover Table. It’s a really nice dessert served anytime but really perfect now.
Chocolate Bark Surprise
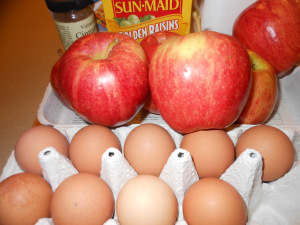
Ingredients:
1 9 oz. bag chocolate chips ( I used semi-sweet) this would have to be amazing with white chocolate chips as well
1/4 cup shelled pistachio nuts ( I used no salt but a little salt would probably be fine)
1/4 cup raw almonds
1/4 cup dried cranberries
1 Tablespoon shredded coconut
Directions:
Line a small sheet pan with parchment paper
Place chips in microwave safe bowl and heat for app. 2 1/2 minutes. Check frequently as microwaves can vary. 2 – 2 1/2 minutes was sufficient. Once the chocolate is smooth and creamy, add the rest of the ingredients into the bowl and stir until combined. Make certain your bowl is large enough to accommodate the chocolate and dry ingredients.
Stir until well combined, and immediately pour mixture onto parchment paper and using a spatula evenly smooth it around, it should be about 1/4″ thick.
Place pan in fridge and allow it to harden for at least an hour or until hardened.
Using your hands, break bark into pieces. The pieces will be uneven.
Store extra bark in freezer in an airtight container.
Enjoy!


 I
I