This is my go to recipe for the creamiest mashed potatoes around. I make them a few times a year and mostly on the holidays. Occasionally I’ll whip them up for dinner. They are rich and delicious and just the way mashed potatoes ought to be. I’d like to tell you that I don’t use butter and cream but I do. These are pretty easy to make, all I would say is to buy a good potato masher they come in pretty handy for a lot of other uses as well ( great for egg salad) . You can also use a hand mixer which would work out perfectly. I like to work with Yukon Gold Potatoes. This recipe is for 5 lbs. and feeds about 12- 15 people , just perfect for a holiday dinner. These are my Thanksgiving Mashed Potatoes. If you’re doing a small Thanksgiving Dinner I would cut this in half . Just cut all the ingredients in half.
Happy Thanksgiving everyone.
* see also Mashed Potato Casserole with Sour Cream and Chives for another way to go.
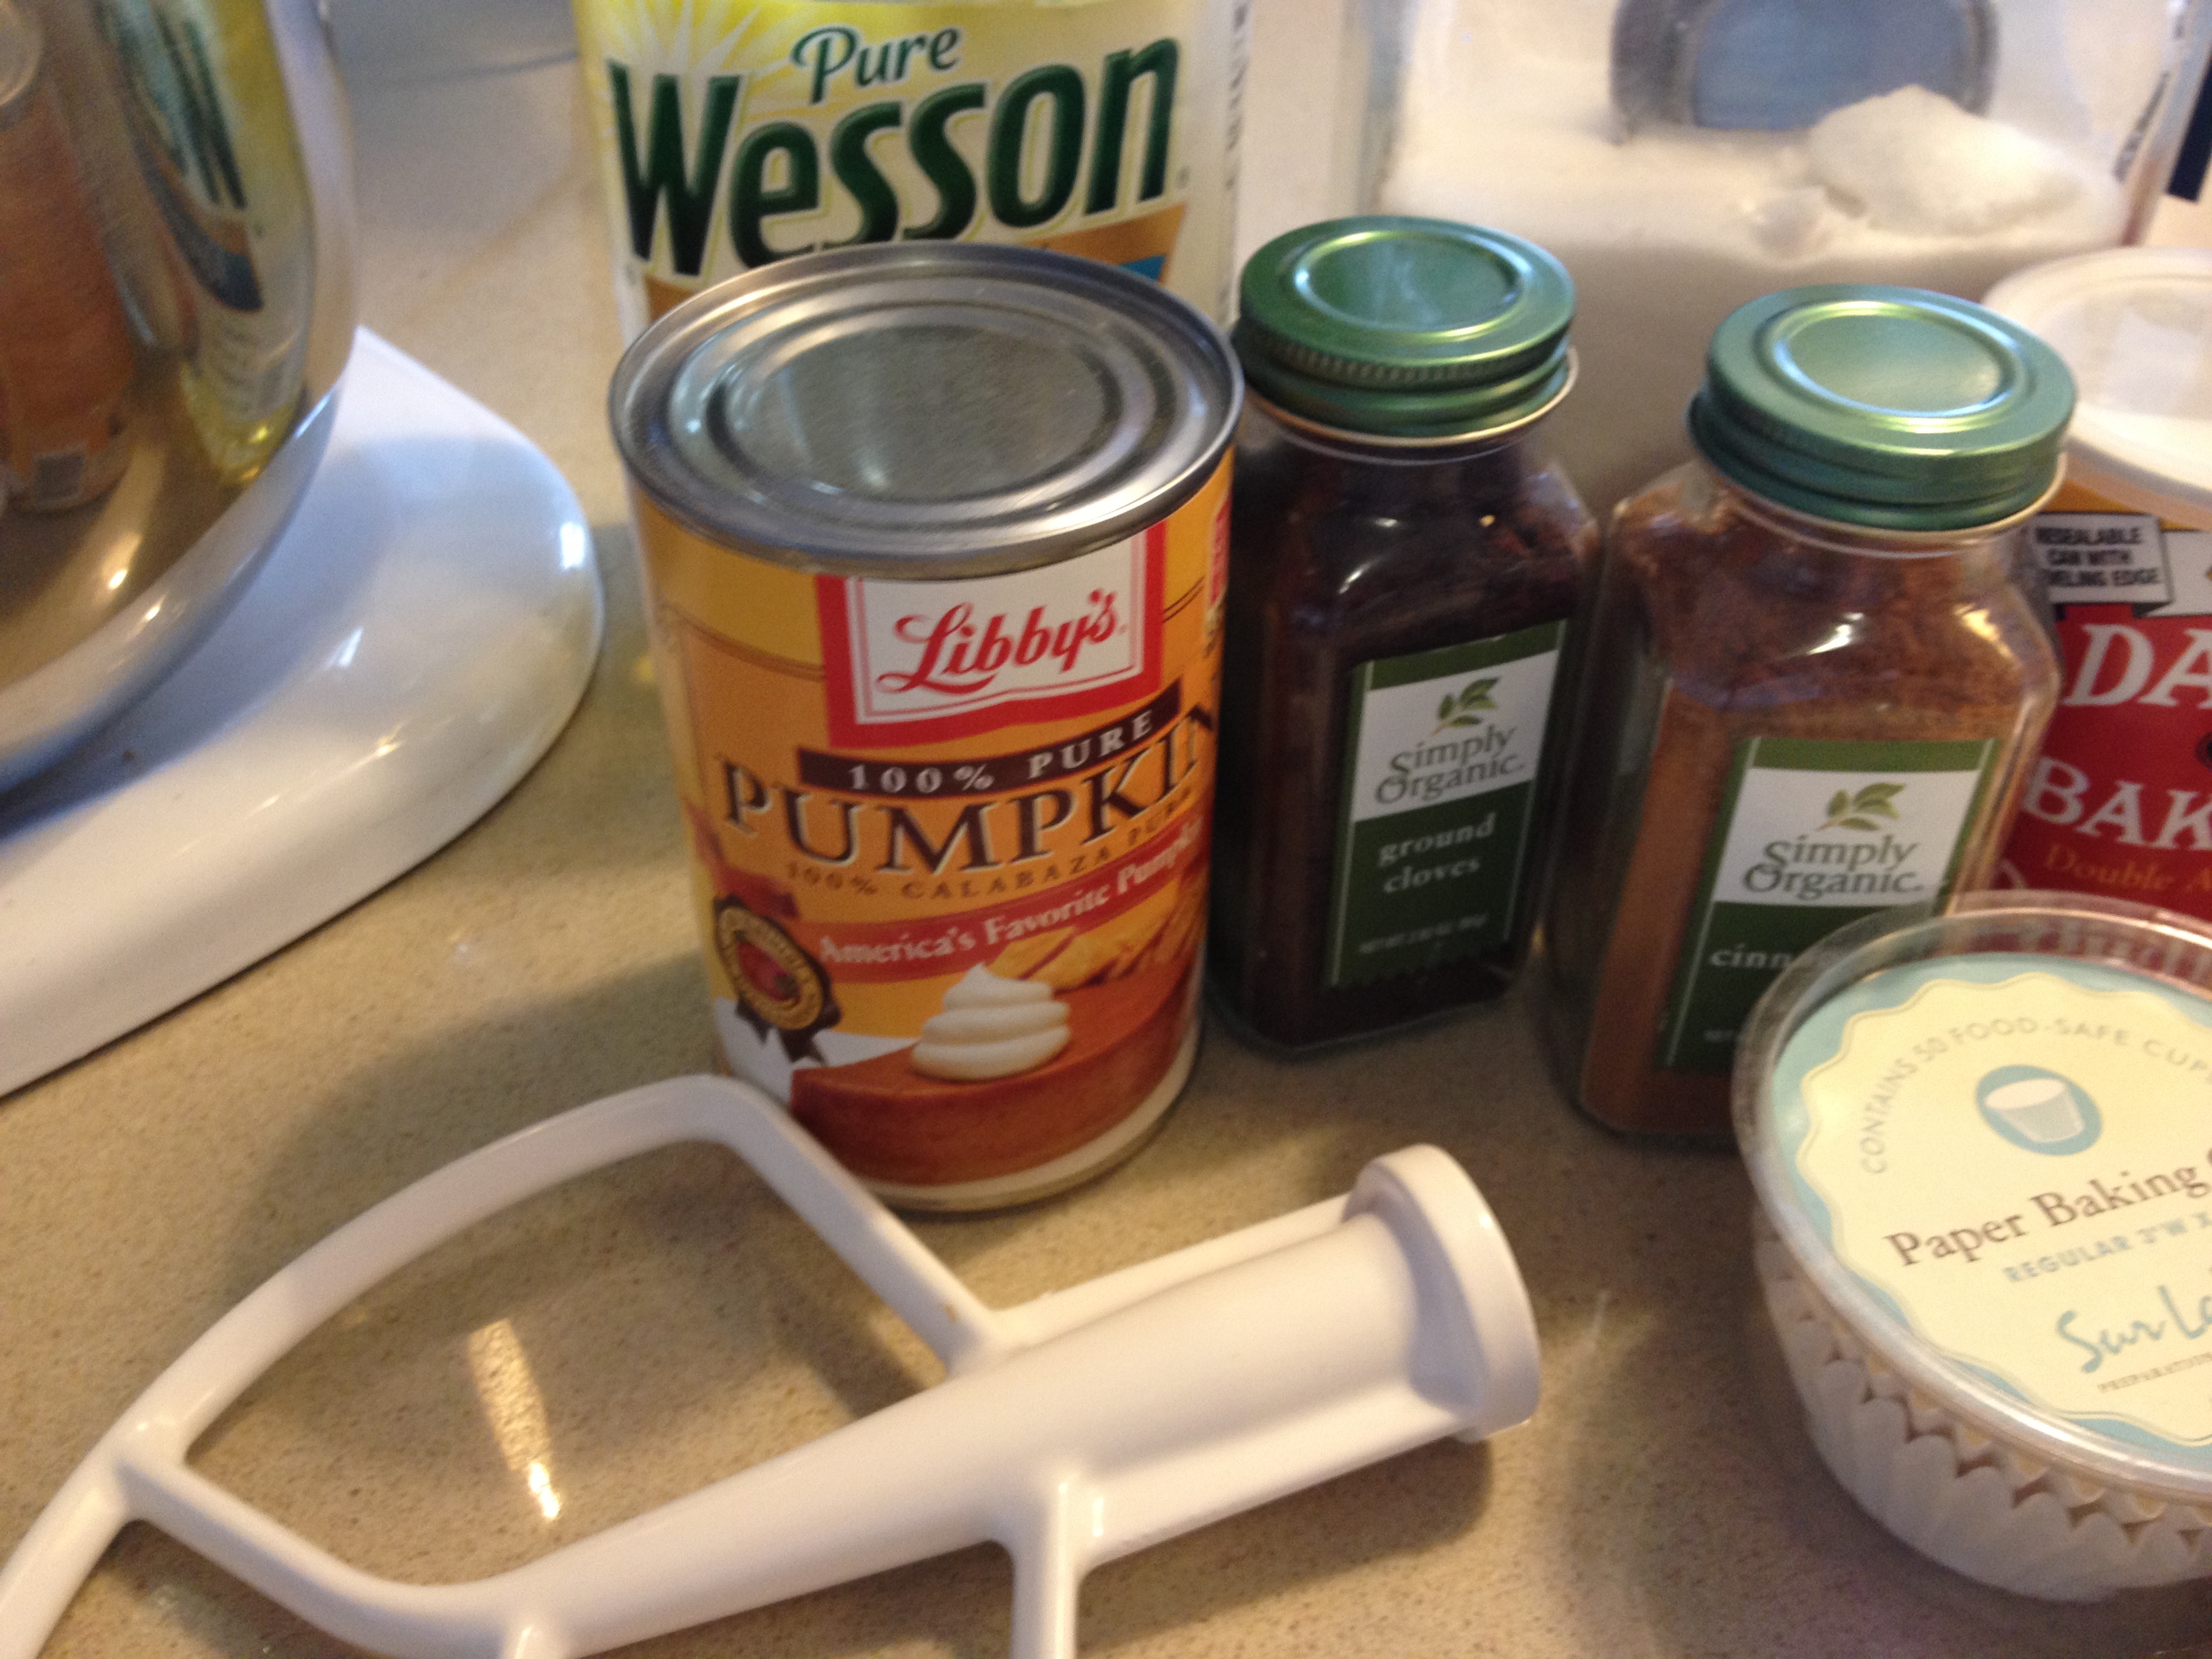
Ingredients:
5 pounds Yukon Gold Potatoes or Russet Potatoes
3/4 cup unsalted butter
1 8 oz. package of Cream Cheese, softened
1/2 to 3/4 cups half and half
1 /2 to 1 teaspoon Lawry’s Seasoned Salt ( more to taste) I used at least 1 teaspoon you’ll have to taste for yourself.
1/2 to 1 teaspoon crushed black pepper. ( more or less to taste)
Directions:
Peel and cut the potatoes into pieces that are generally the same size.
In a large enough pot to cook all of the potatoes fill pot with cold water to cover the potatoes. I bring to a boil and cook for about 30 – 35 minutes. When potatoes are cooked through, a fork should easily slide into the potatoes without resistance, potatoes should be soft but not falling apart.
Drain the potatoes in a colander. When the potatoes have finished draining, place them back into the dry pot and put the pot back on the stove. Mash the potatoes with masher over very low heat, allowing the steam to escape, before adding the other ingredients.
Turn off the stove and add 1 1/2 sticks of butter, an 8 oz. package of cream cheese and about 1/2 cup of half and half. Mash, mash and mash away.
Add about 1/2 teaspoon of Lawry’s Seasoning Salt and 1/2 teaspoon of pepper.
Stir well and place in a medium-sized baking dish and taste for salt and pepper. I ended up using at least a teaspoon of salt, and a bit more pepper. Place a few pats of butter over the top of the potatoes and place them in a 350 degree oven and heat until butter is melted and potatoes have warmed through.
* if making a day or two in advance–place potatoes in baking dish, leave covered in fridge. Take it out of the fridge about 2 – 3 hours before heating up to bring to room temperature. Place your butter pats on top and bake in a 350 degree oven for about 1/2 hour or so till completely warmed through.
*