
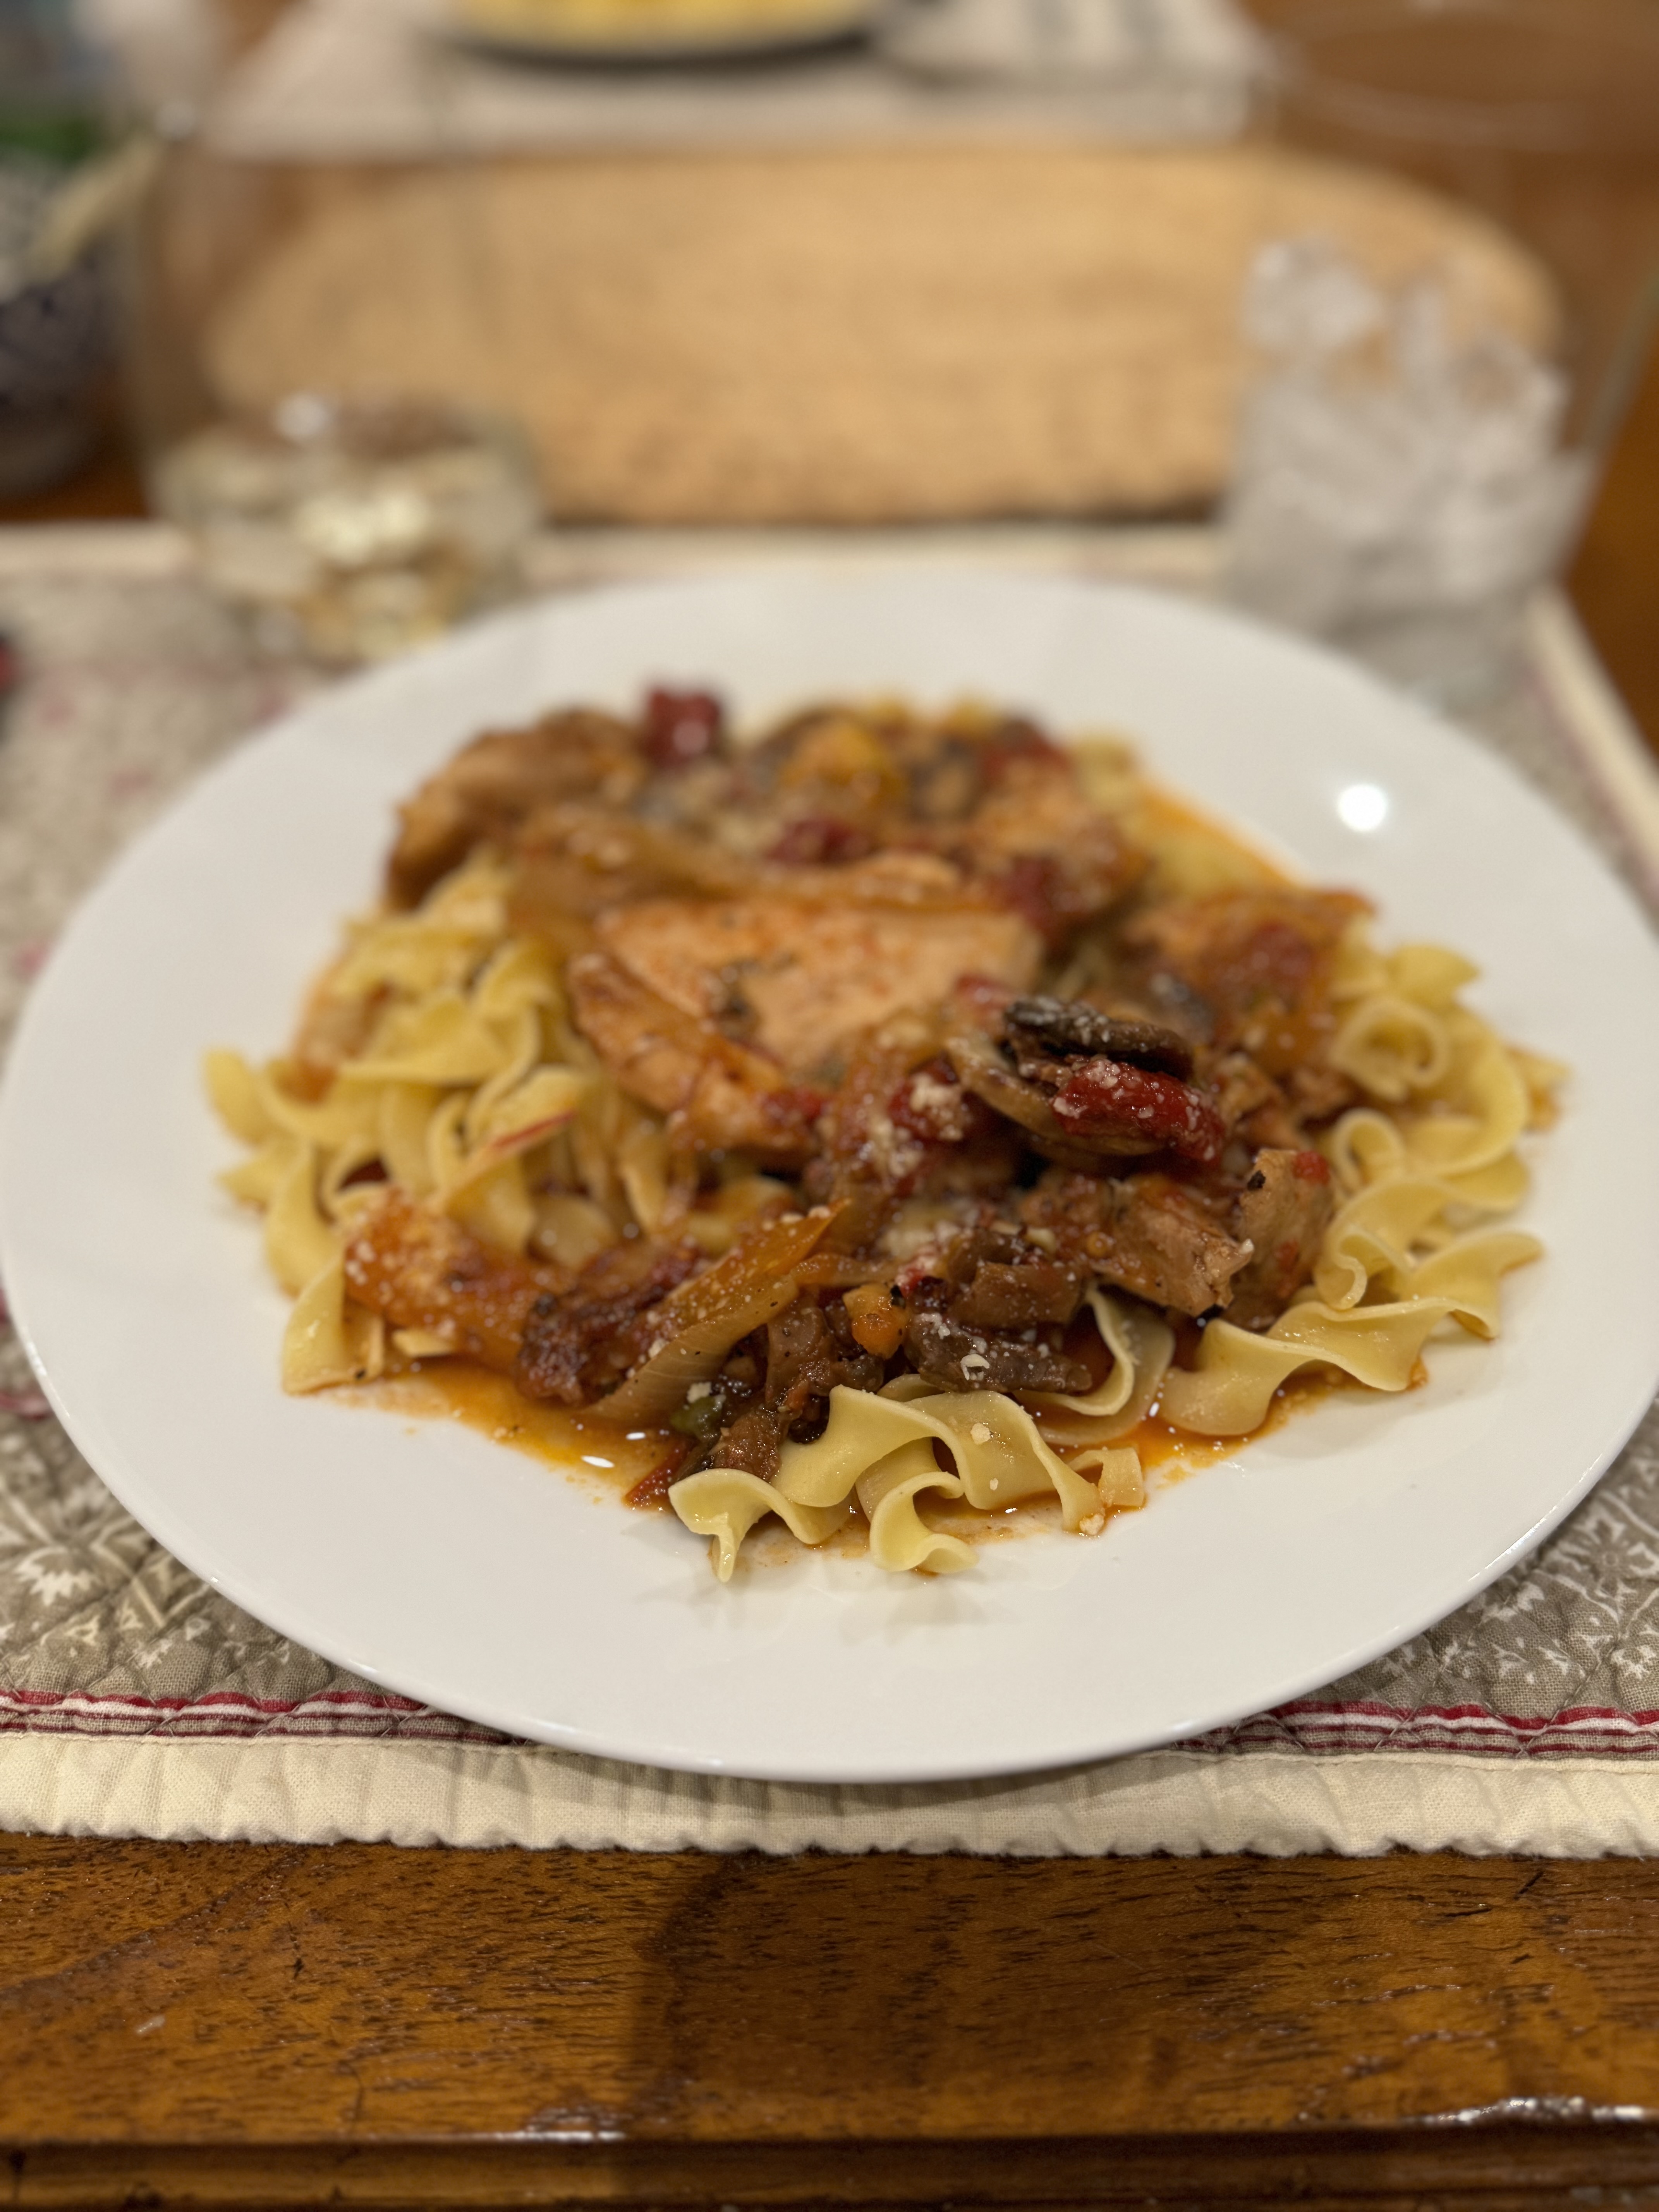
As I have posted another chicken cacciatore this recipe is made in the slow cooker and differs from the other one. Check both of them out– this one was a bit labor intensive but in the slow cooker by noon and cooked perfectly on low for 4 hours. It contains bacon and I wouldn’t omit it, you can substitute pancetta if you prefer and I would buy it in the container already chopped to make life easier. The bacon added that layer of flavor it really needed. The mushrooms, bacon and wine add a most perfect layer of flavor . I served over wide egg noodles but polenta would also be a wonderful option or just a hunk of crusty bread to soak up all the delicious juices. I made this on Sunday night and it was perfection on a plate. This recipe will be in rotation this winter as it is a most perfect recipe for the winter.
Big recommendation for this recipe which I got from The NY Times Slow Cooker Recipes. I did make a few changes to the original recipe but you may want to check out the original.
Ingredients:
1/2 lb. bacon , preferably thick cut sliced into 1/2 inch pieces
1 lb. cremini mushrooms, sliced
8 cloves garlic, minced
1 Tablespoon tomato paste
1/4 cup dry red wine — I had a Malbec on hand so it was perfect
1 large yellow onion -thinly sliced
1 red, yellow or orange bell pepper, thinly sliced
8 ounces jarred roasted red peppers, drained, app. 1 heaping cup
1 can crushed or diced canned tomatoes, 14 oz. can — I used crushed
2 Tablespoons drained capers
1 Tablespoon Balsamic Vinegar
1 teaspoon dried oregano
1 teaspoon red-pepper flakes
1 teaspoon garlic powder
2 -2 1/4 lbs. boneless skinless chicken thighs
Kosher Salt and Coarse Black Pepper
*Grated Parmesan for serving
Directions:
Fry the bacon in a 12 inch skillet over medium high heat until bacon is crisp and the fat is rendered, app. 8 minutes
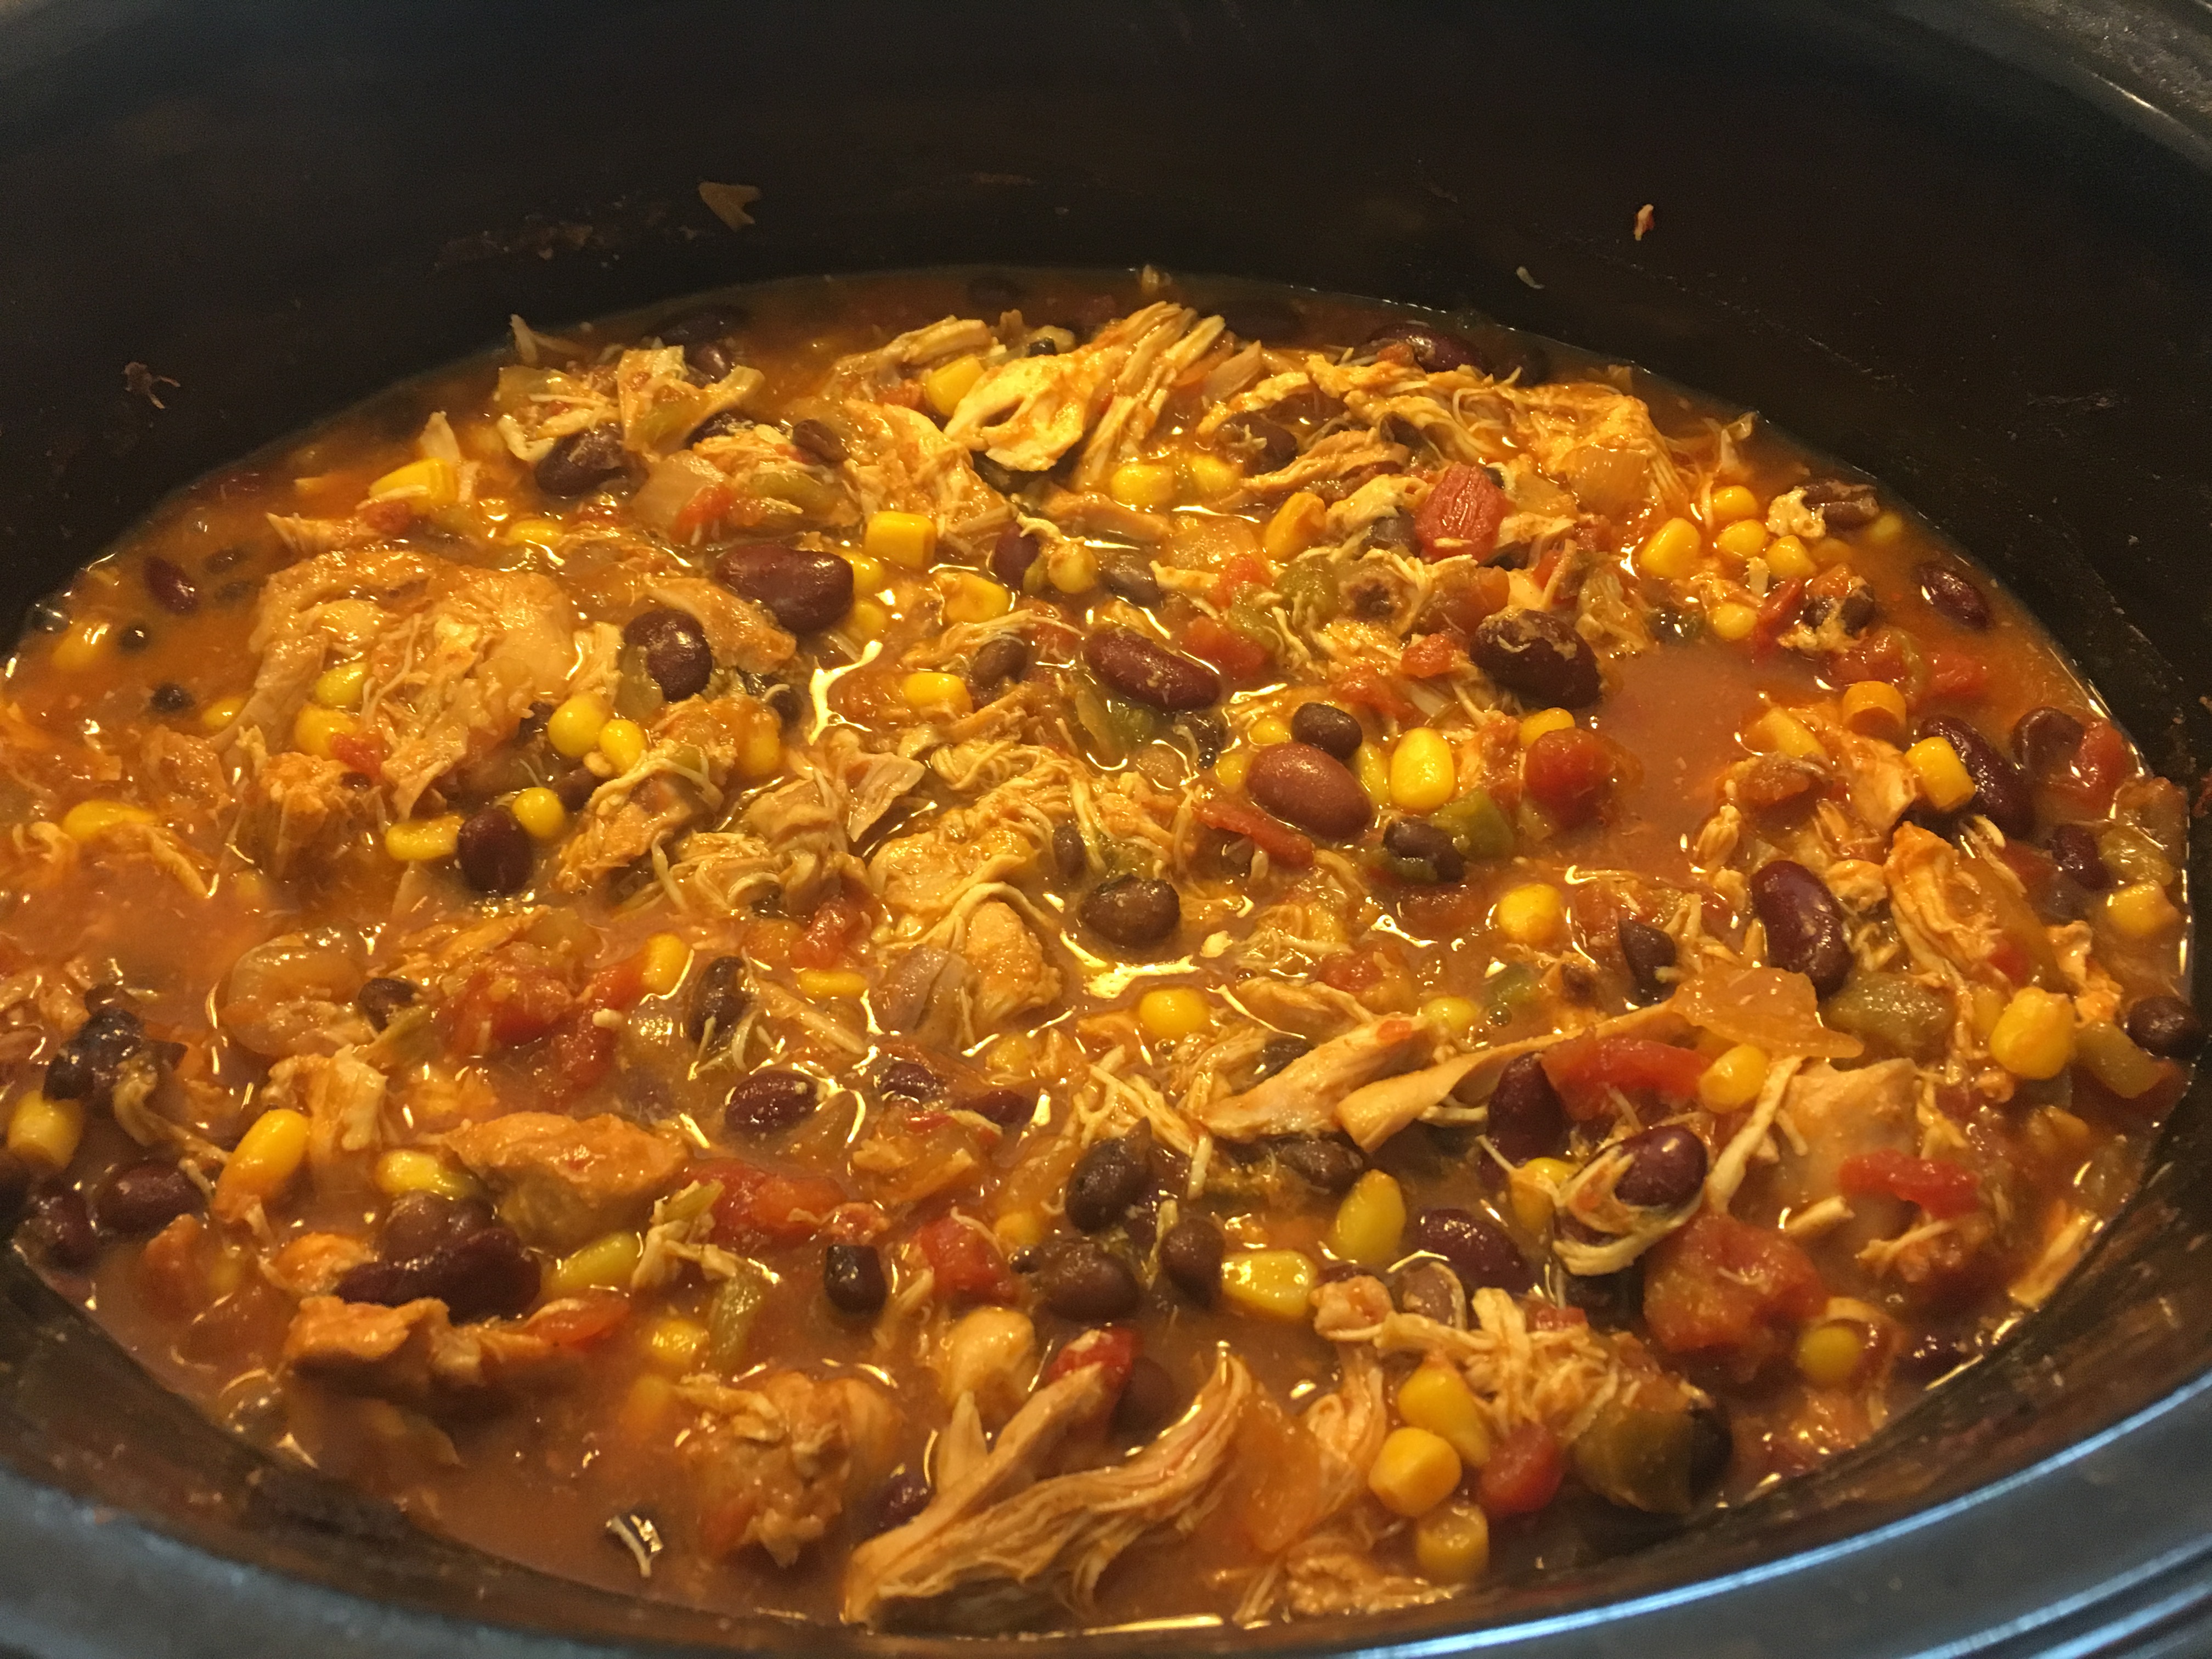
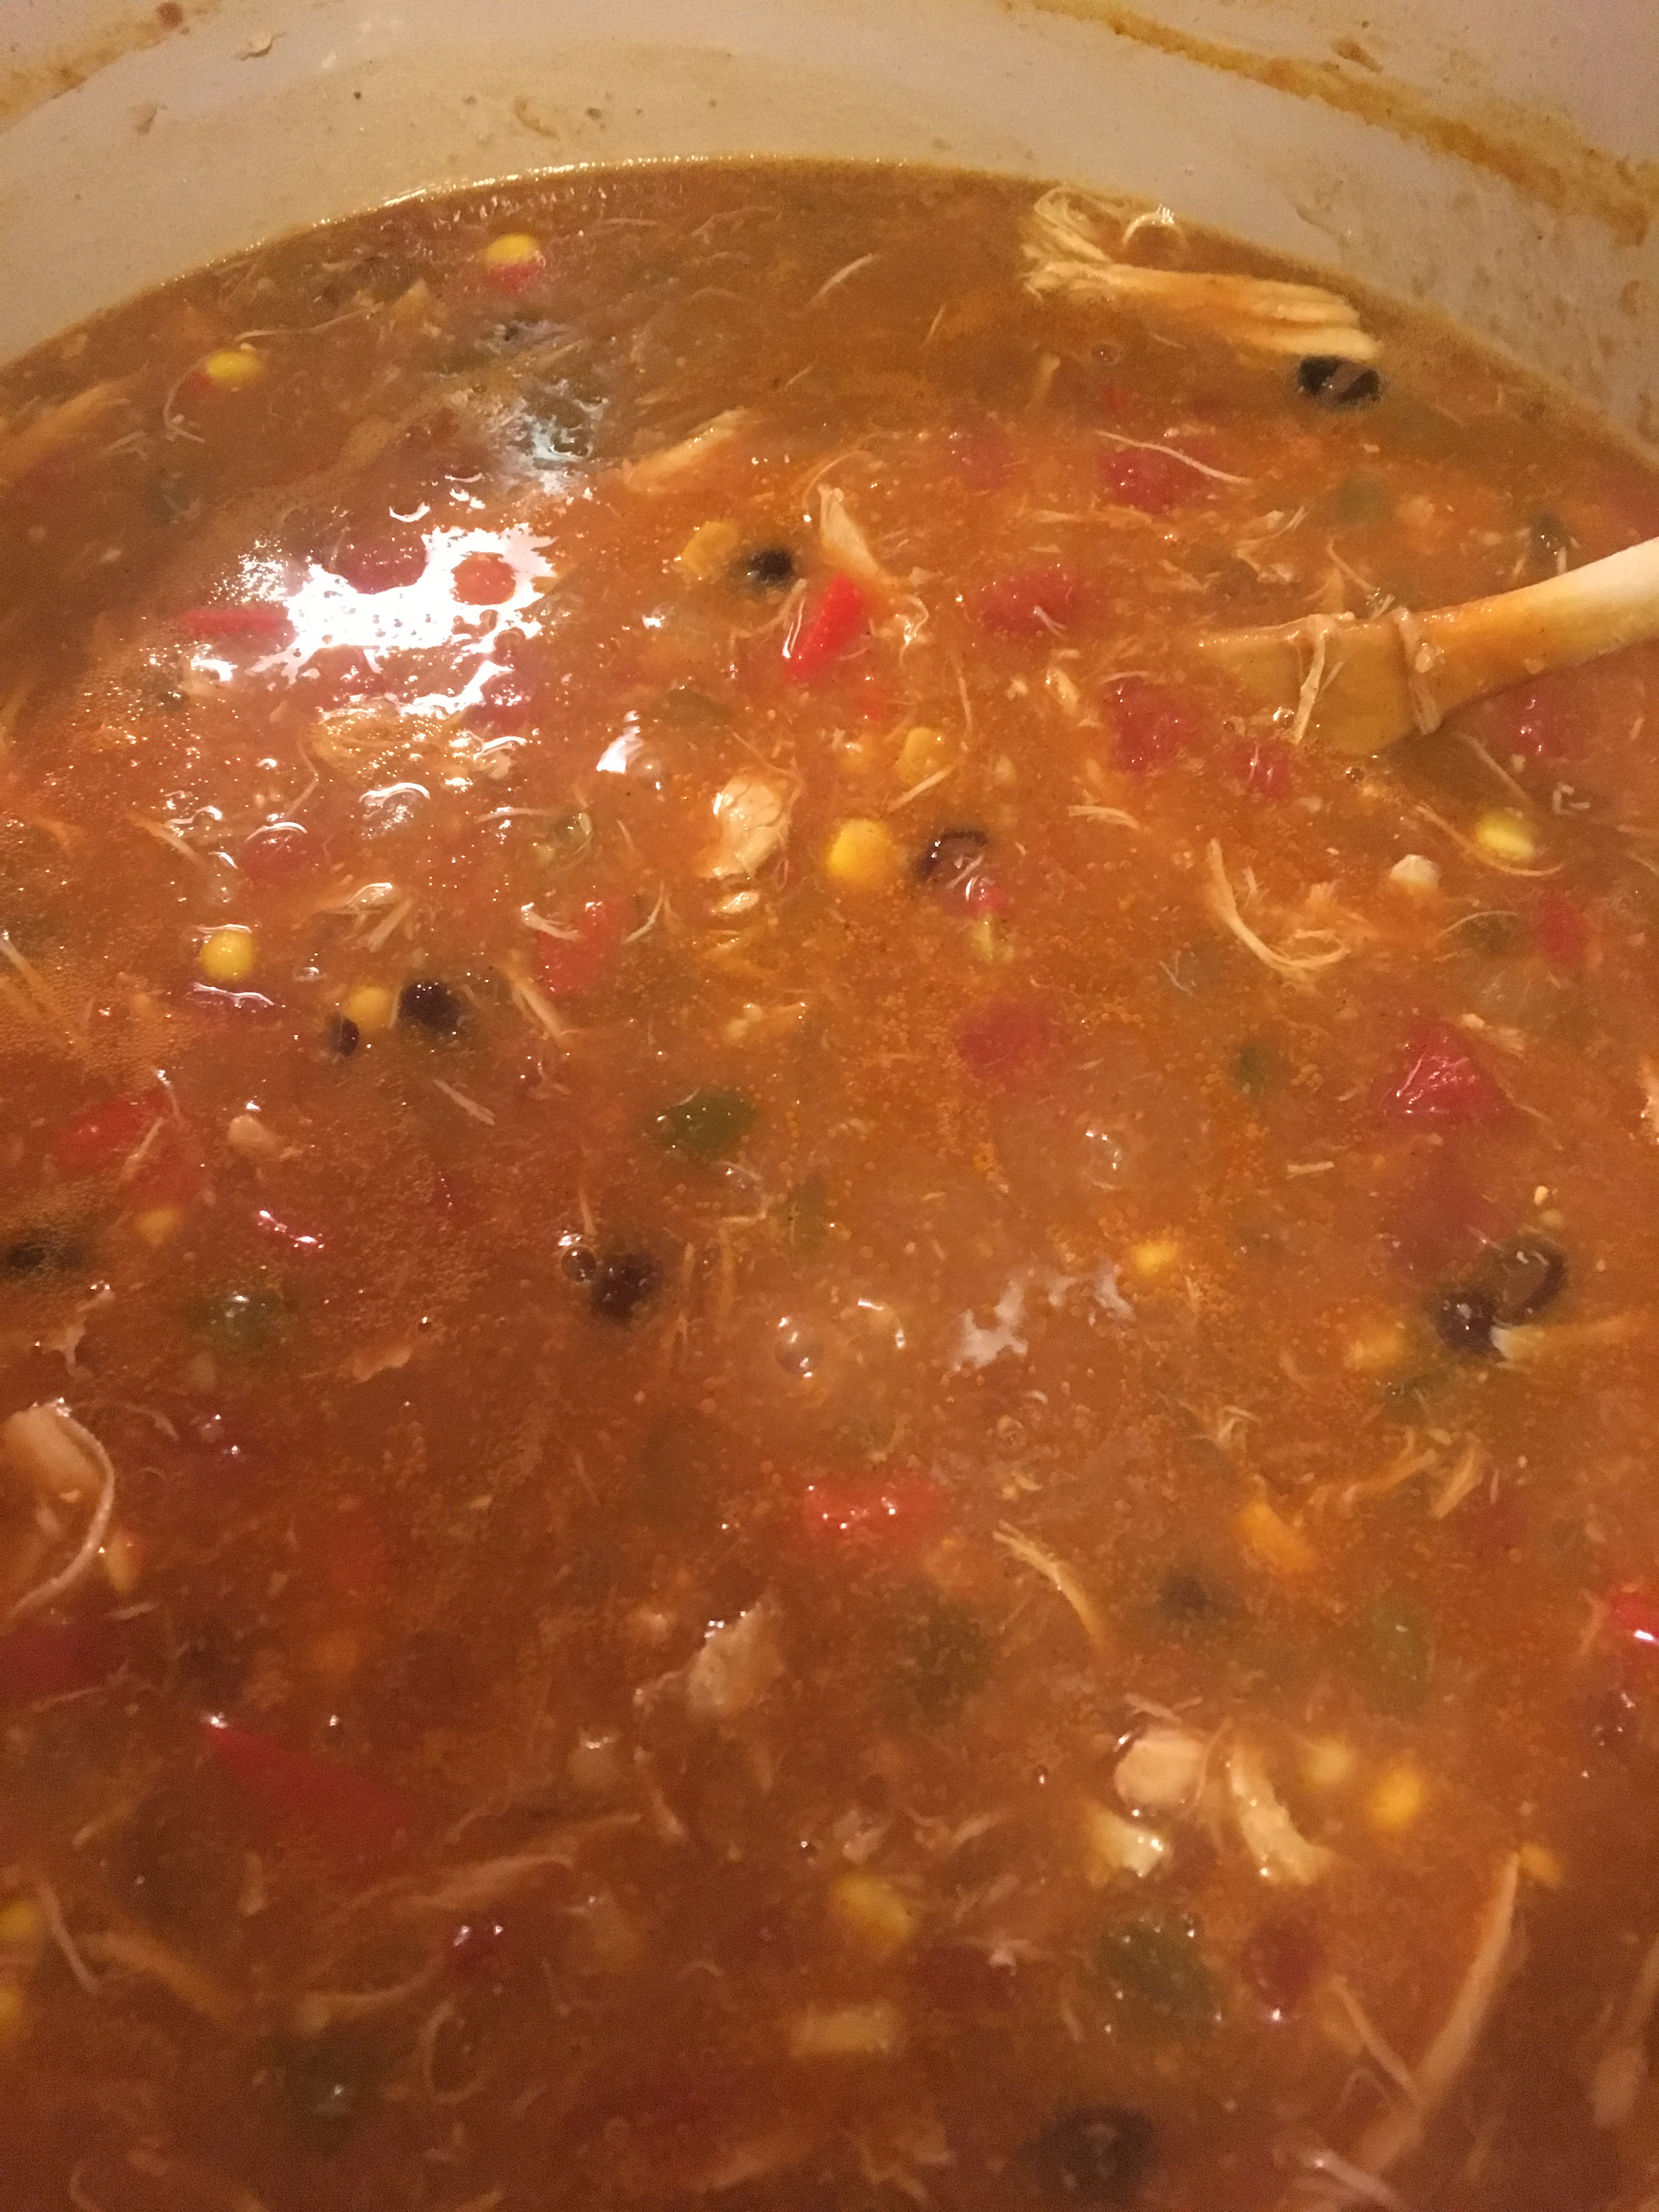
Using a slotted spoon remove the bacon and place in the slow cooker which I sprayed first with cooking spray. Add the mushrooms to the fat in the skillet and let them cook down over medium-high heat, stirring only a few times until mushrooms shrink down and releasing their liquid and starting to turn lightly brown, about 8-10 more minutes. Stir in the minced garlic and tomato paste. Pour in the red wine and let it come to a bubble, scraping up the browned bits from the bottom of the pan. Scrape the mixture after 10 minutes into the slow cooker.
Add the sliced onion, bell pepper, roasted peppers, can of tomatoes, capers, vinegar, oregano, red-pepper flakes and garlic powder to the slow cooker and stir to combine.
Add the chicken, season with 1 teaspoon kosher salt and a generous amount of black pepper– probably at least 1/4 teaspoon and maybe a touch more and stir to combine all ingredients and flavors.
Cook on low until the chicken is very tender and the flavors are blended, about 4 1/2 hours. And then you can leave slow cooker on warm for several hours.
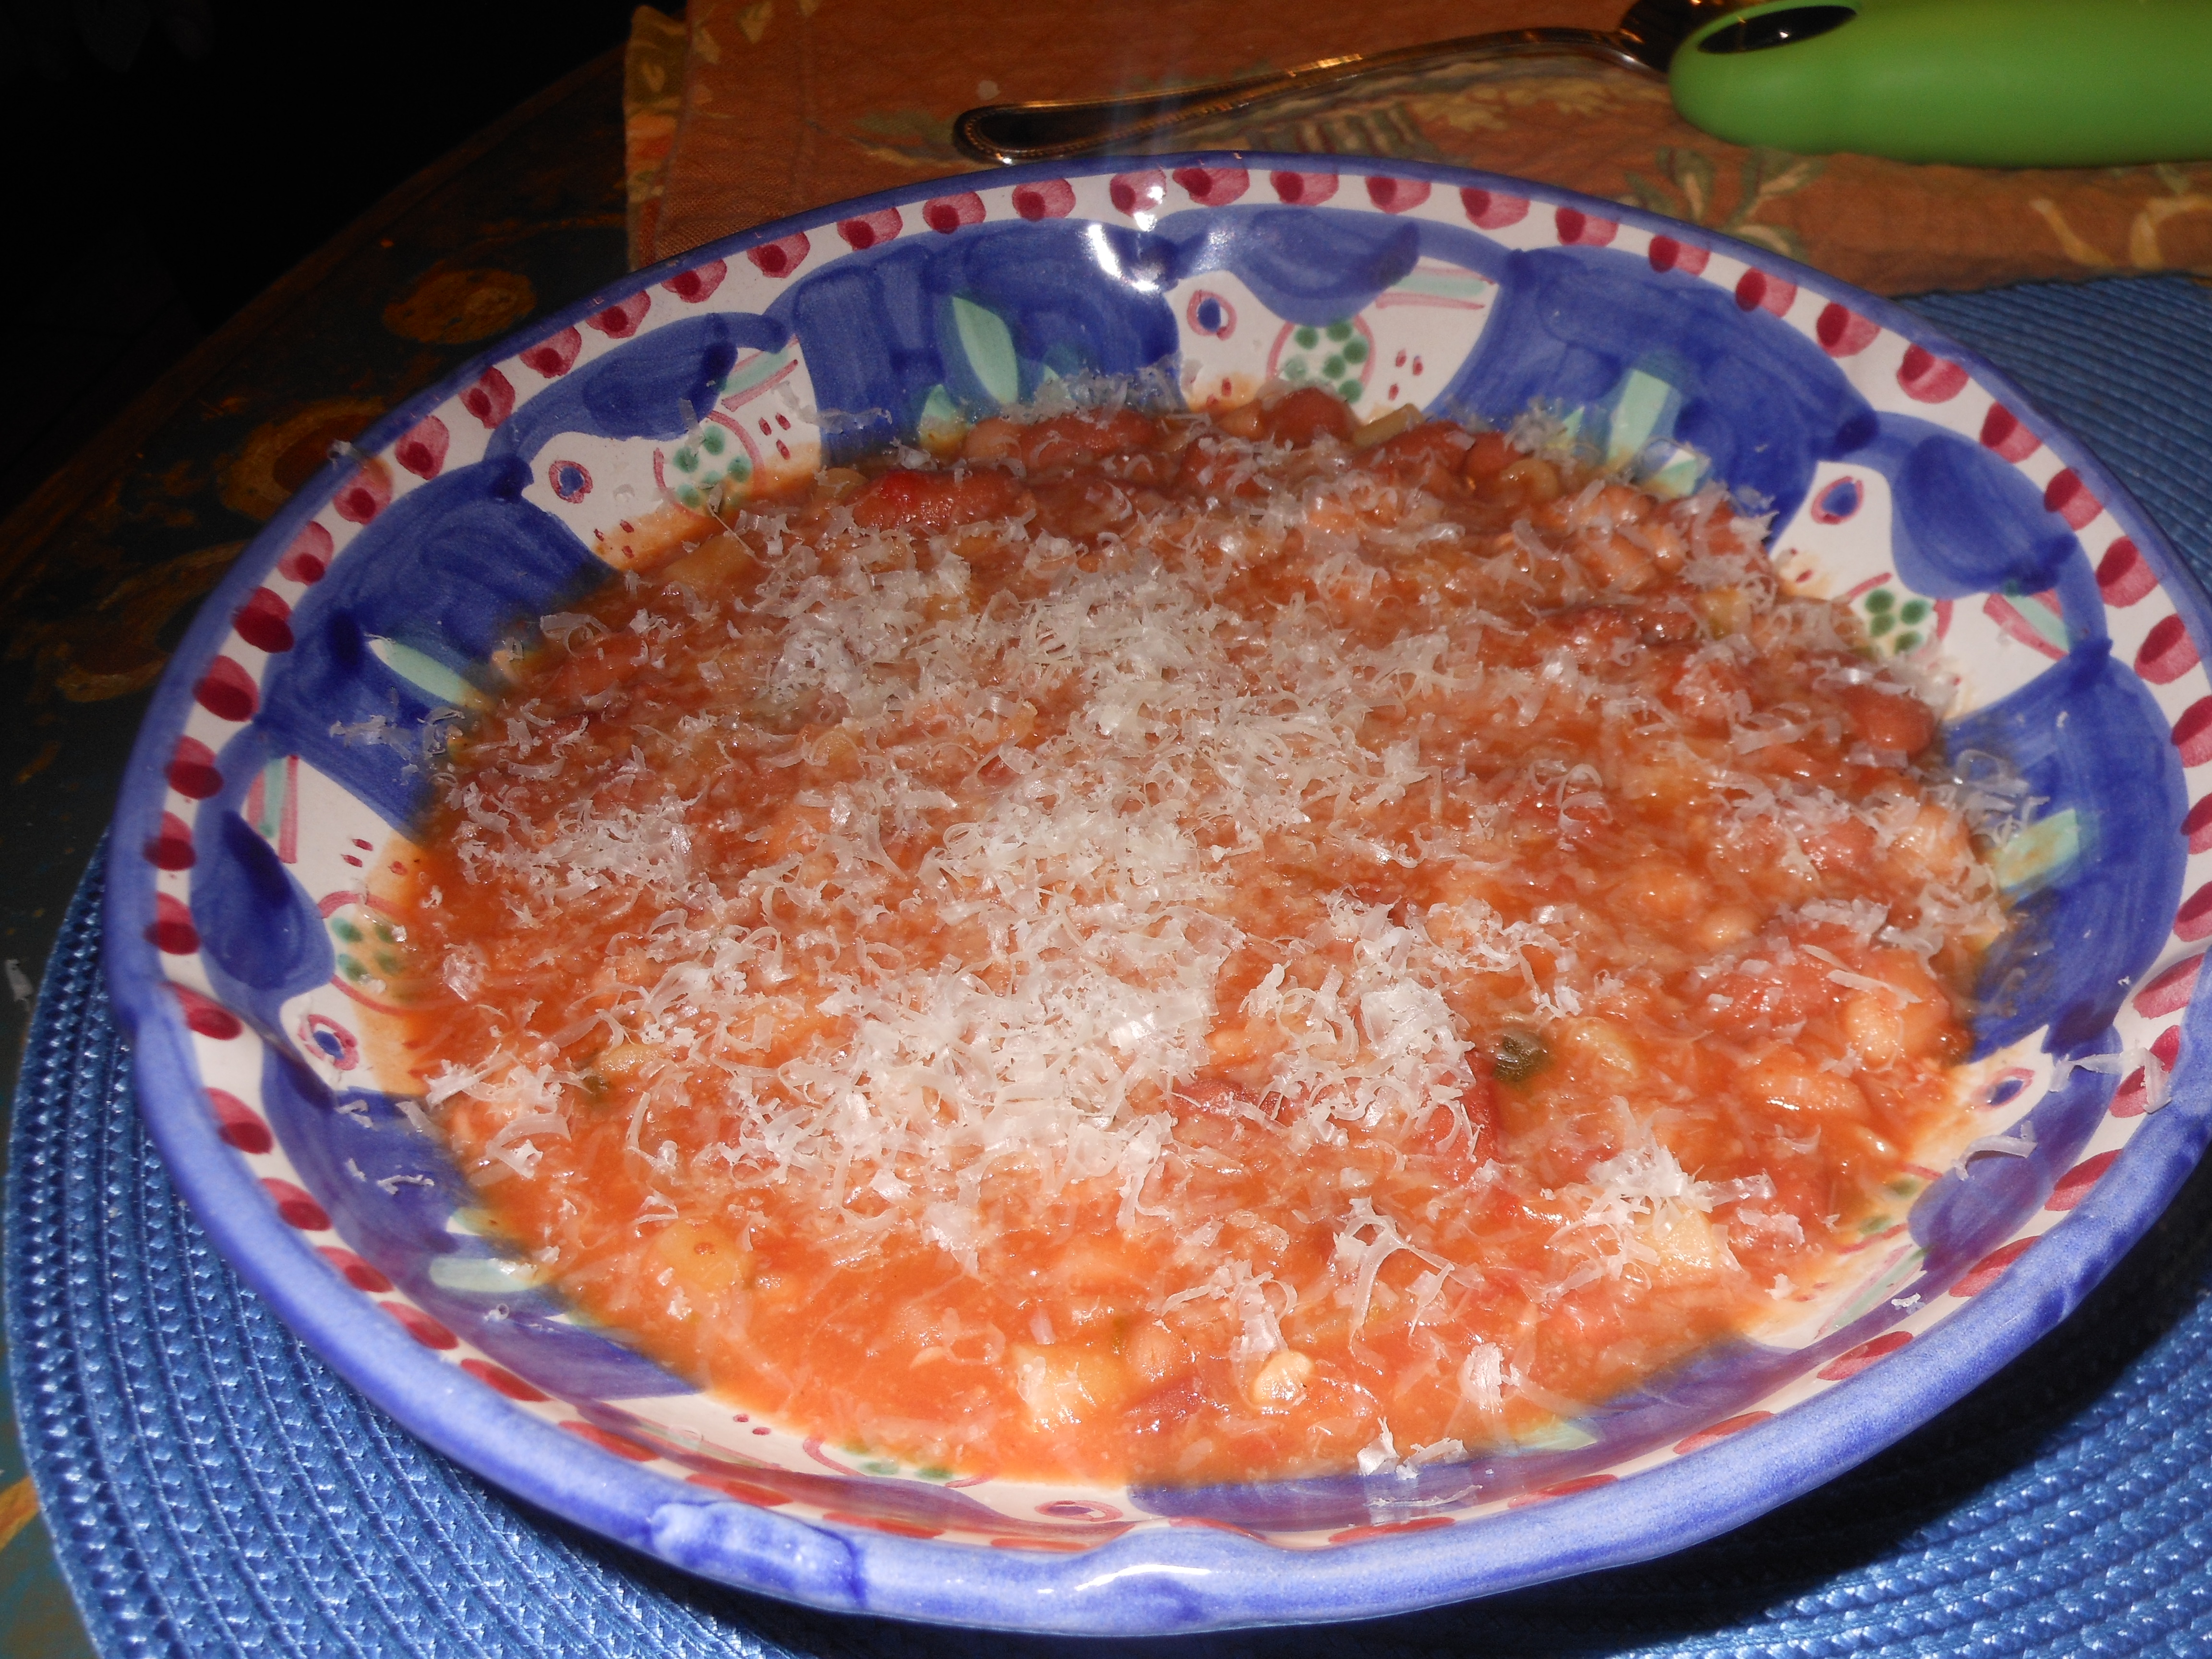
I broke up chicken with a wooden spoon into larger chunks at the end. Taste for salt and pepper — I didn’t add any salt or pepper because it tasted perfect.
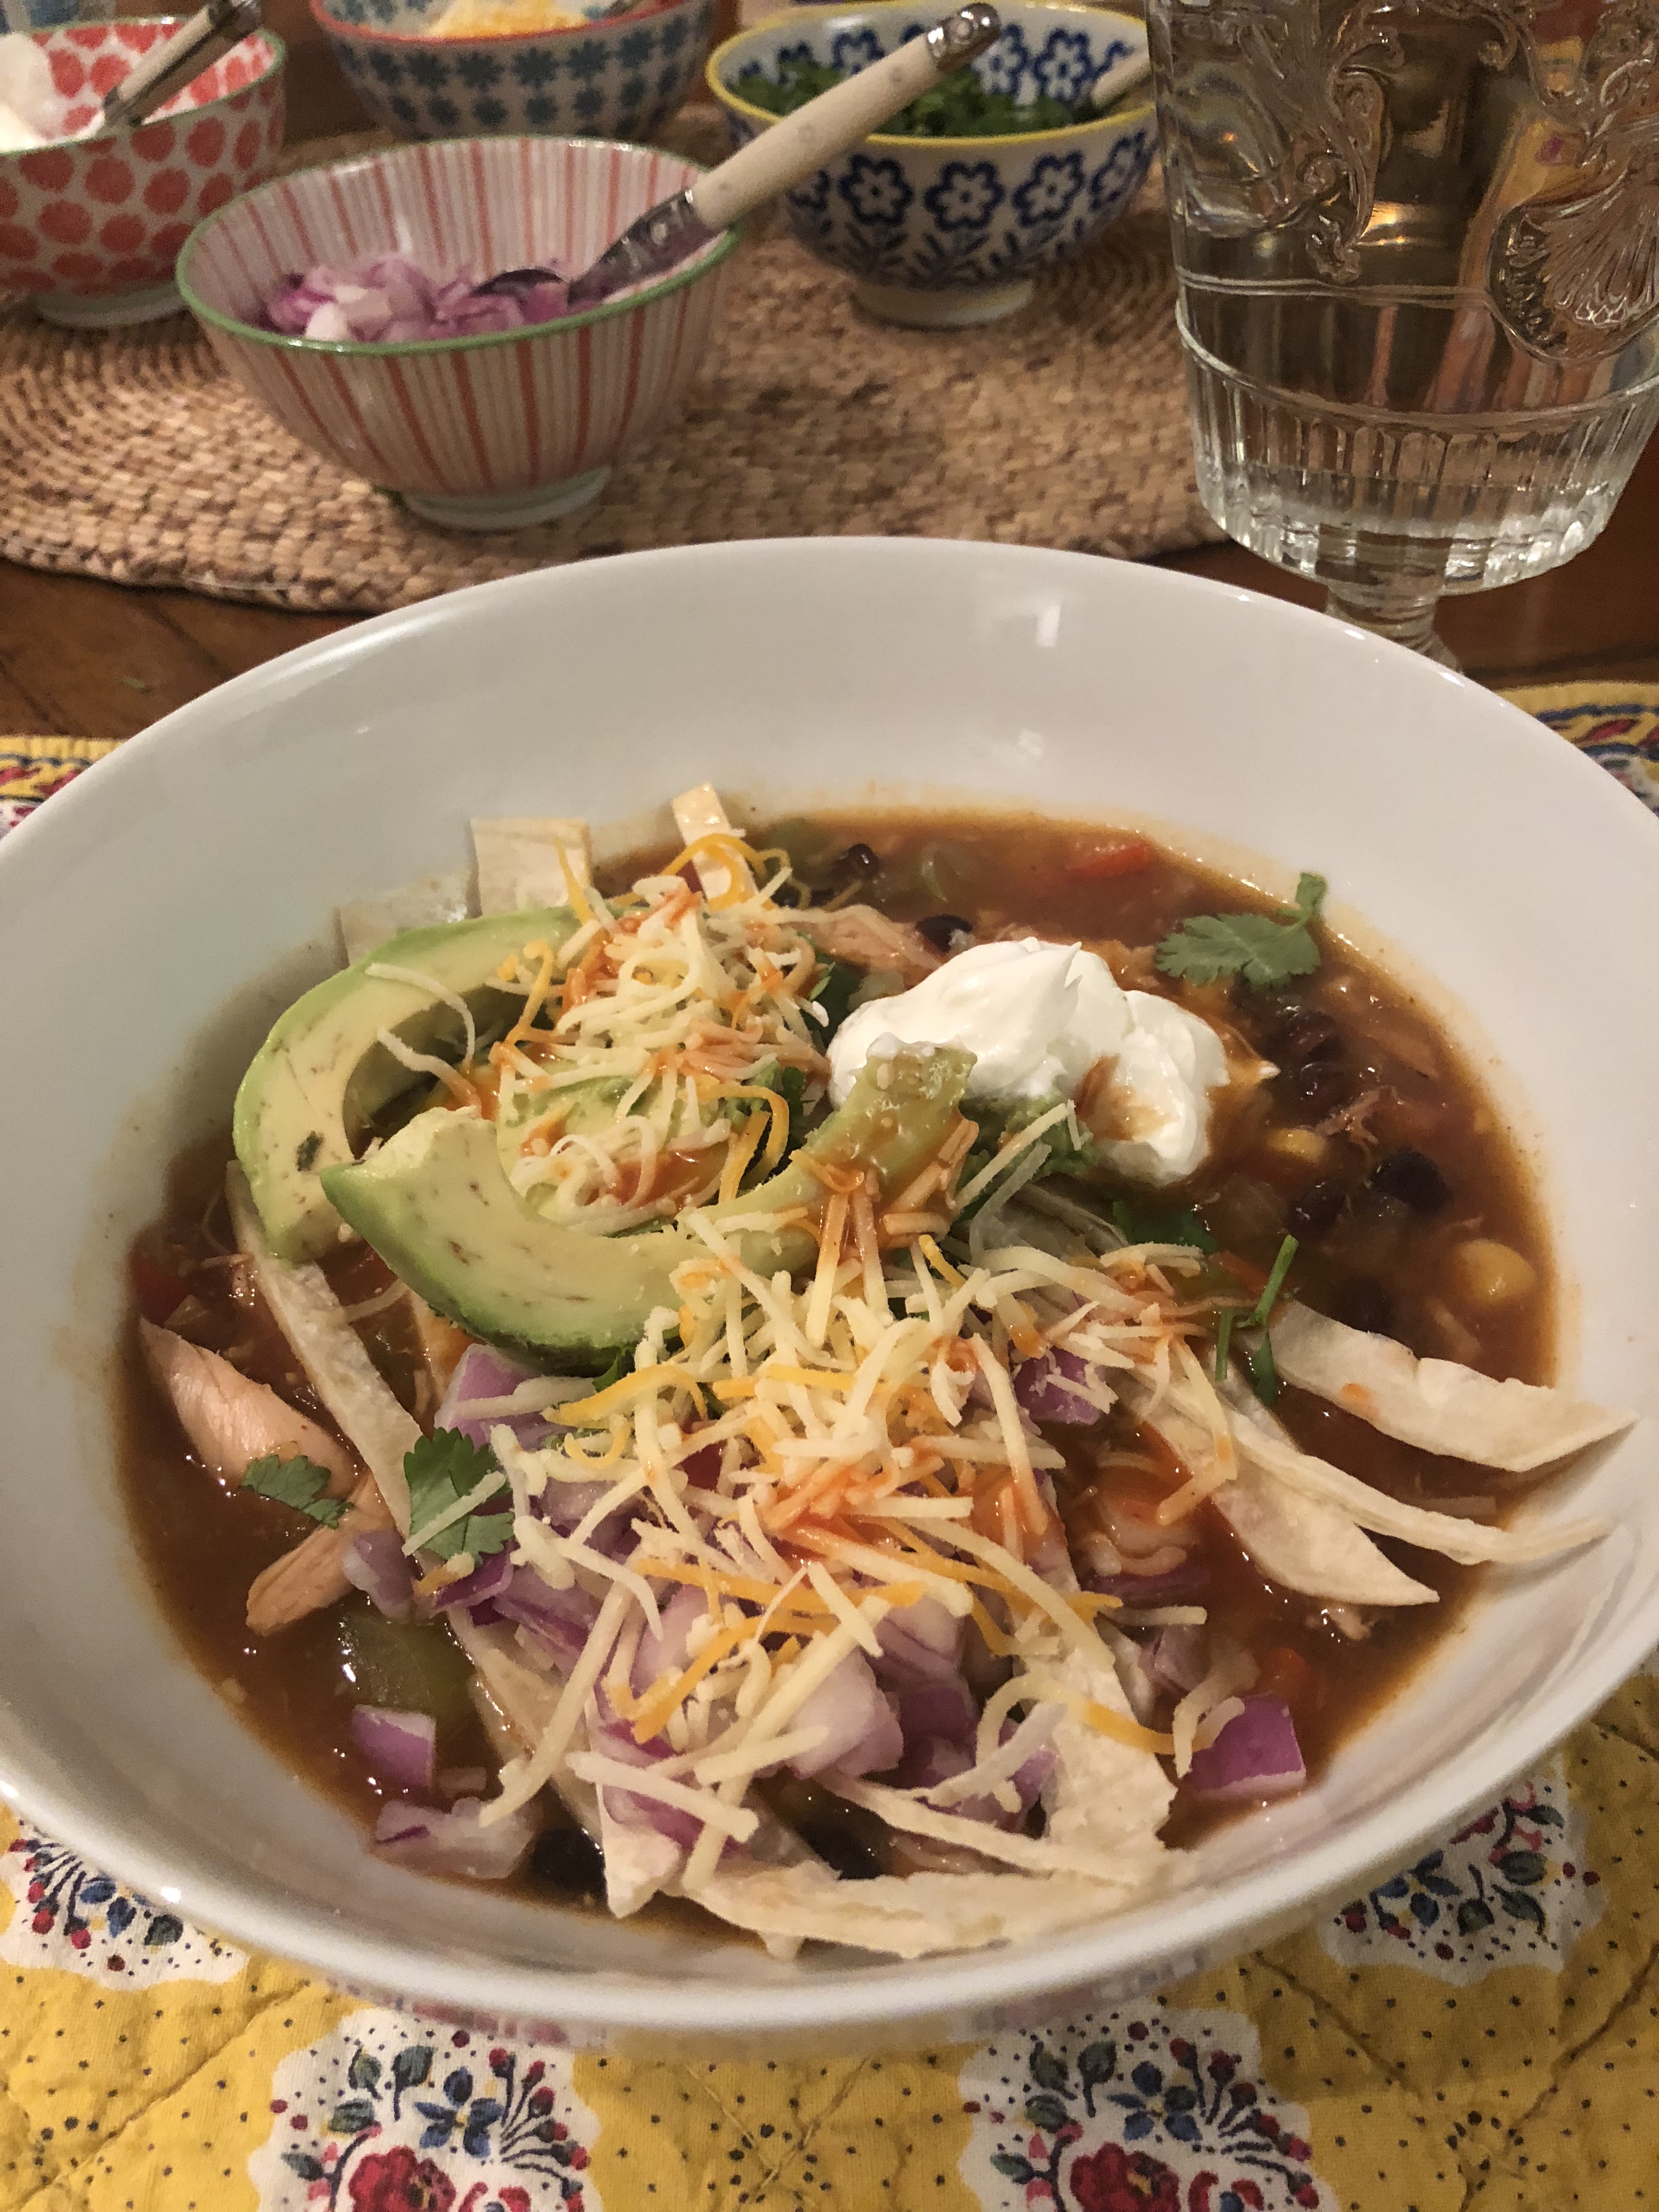
Serve over pasta or polenta or rice or alone with bread. However you’d like to serve it.
I topped with grated parmesan at the table.


 I
I 