It is most definitely soup season again. the chill in the air makes it the most perfect time of year to start making soup for dinner again. even if you live in a warmer climate this is a most wonderful meal. Paired with a salad and some crusty bread you have a very heartwarming meal.

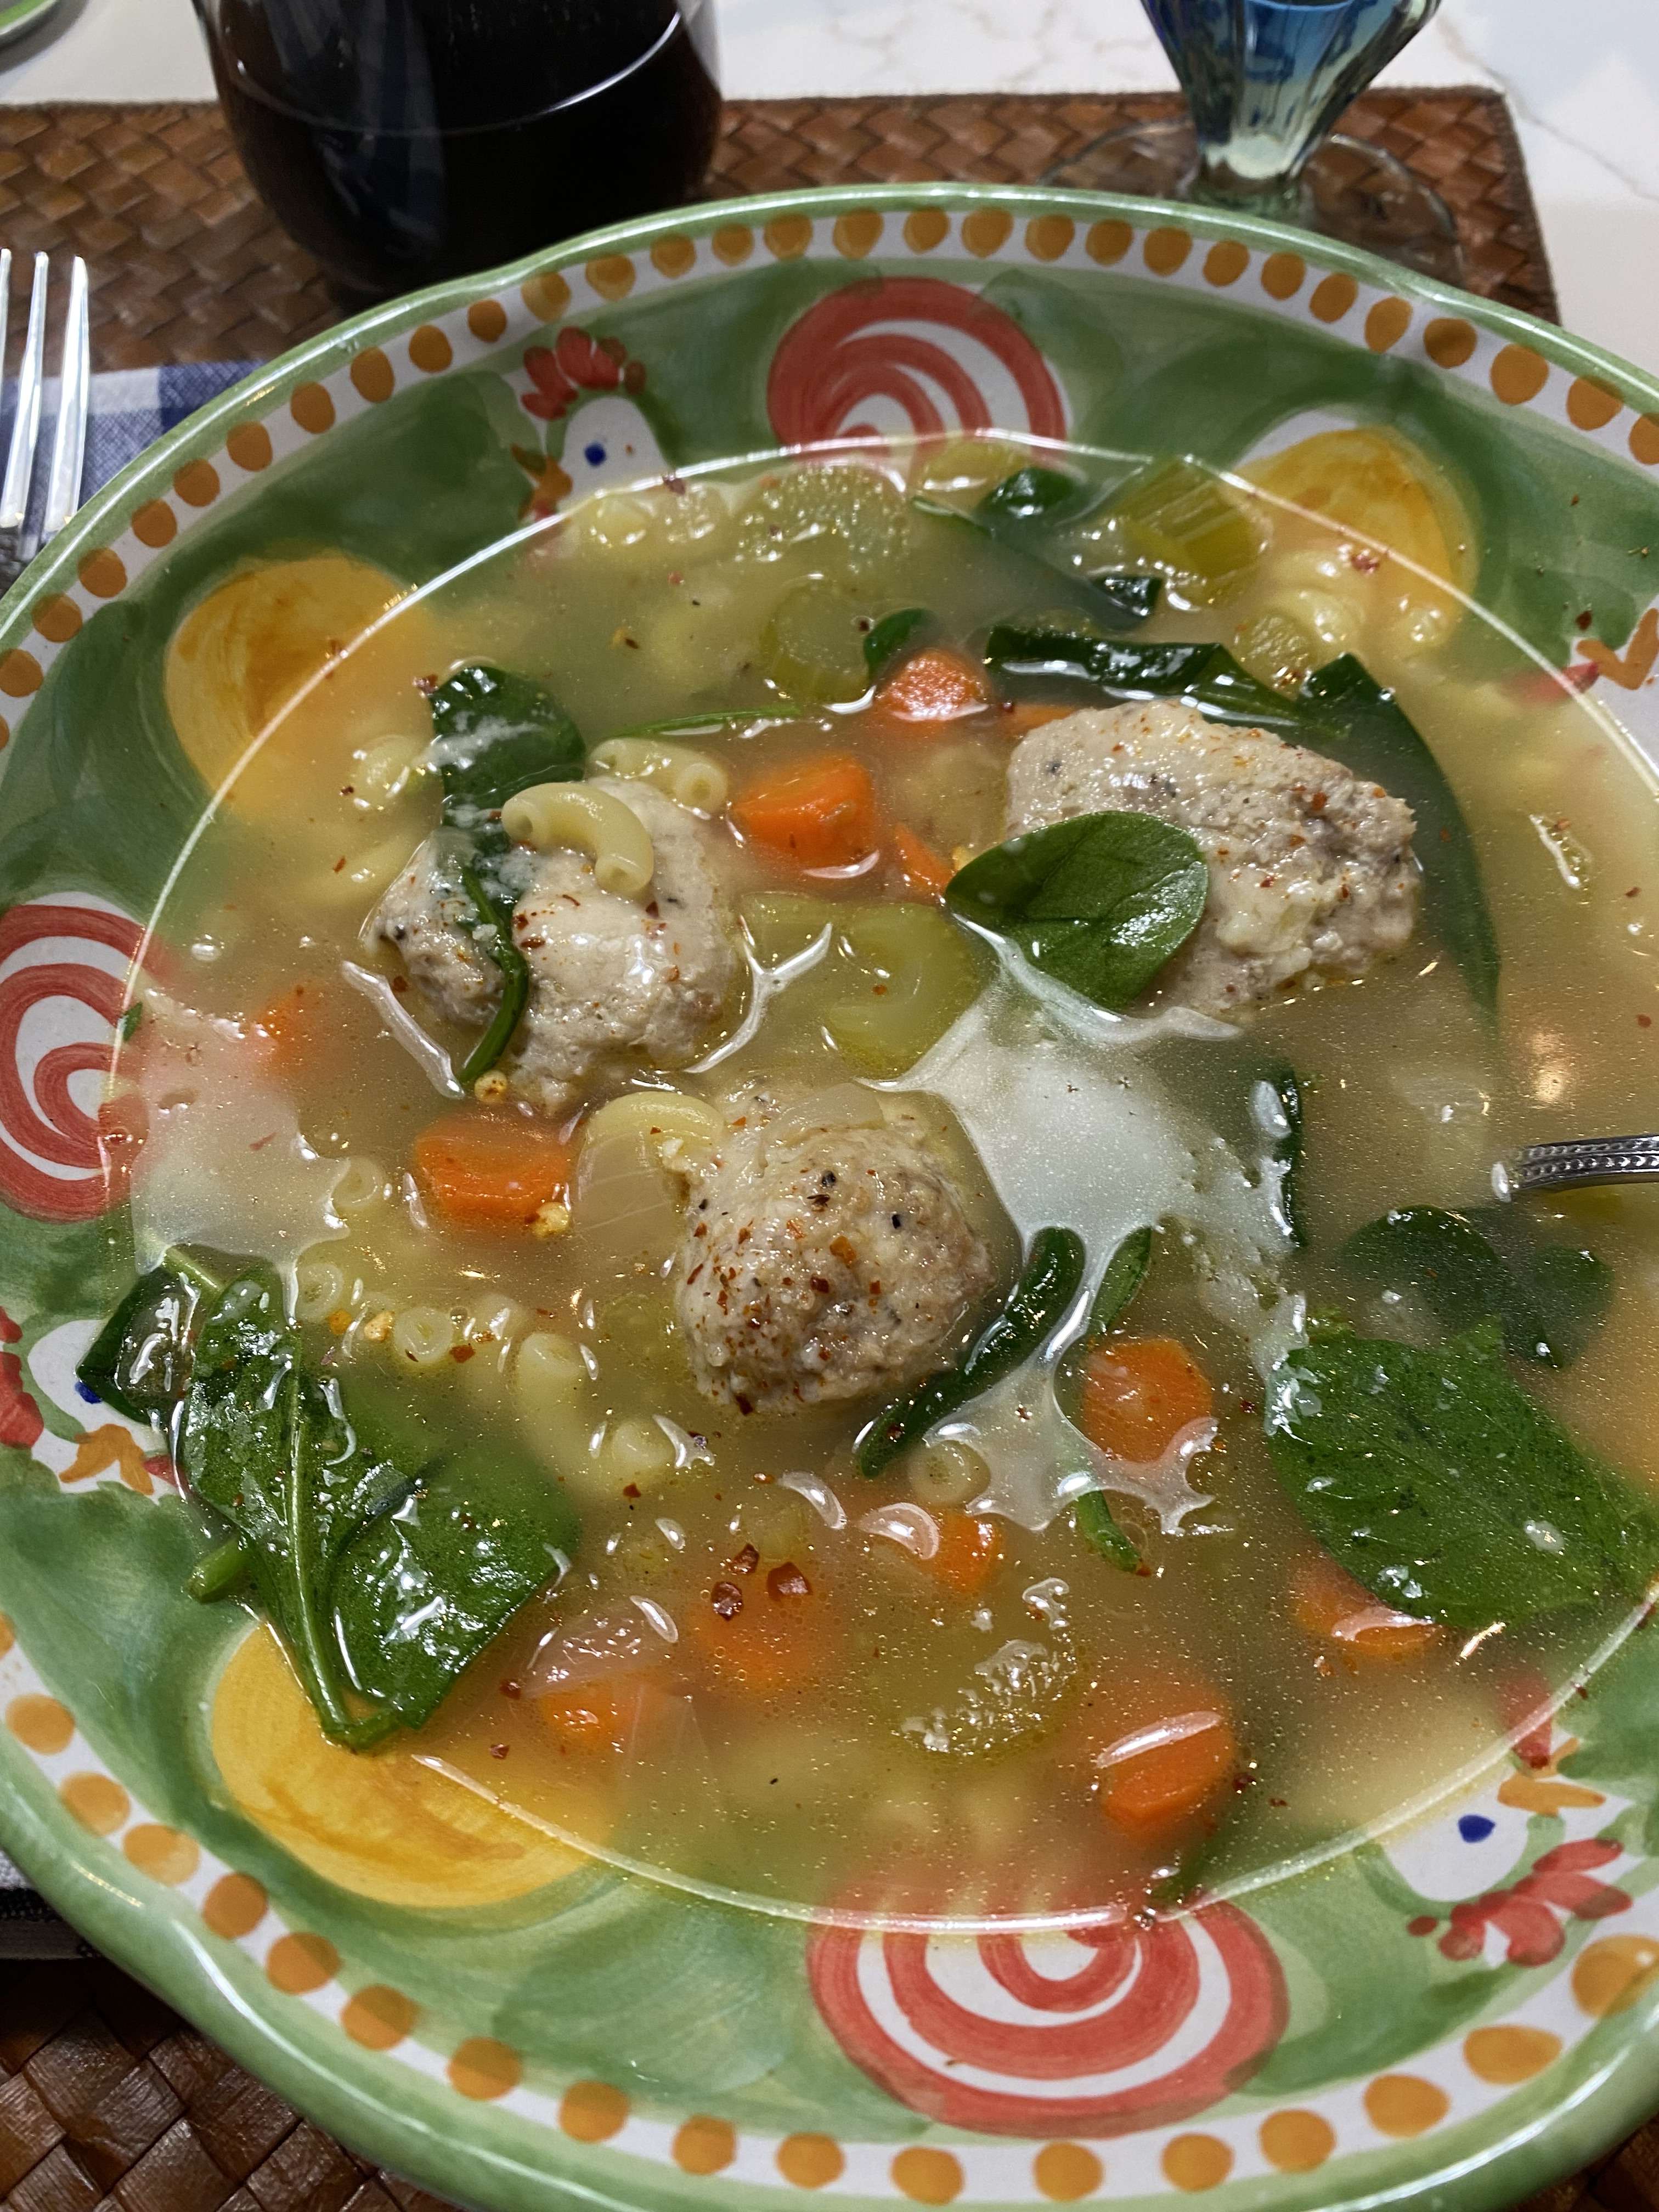
Italian Wedding Soup with Chicken Balls
This is one of my absolute favorite recipes. It is a soup , which is also a full meal. It is hearty and pretty healthy. It is one of my staples from September through April. It freezes well and you can just take it out of the freezer the night before, and you’ll have a wonderful meal the next evening. When you defrost it you will probably want to add broth/water to it. add a little at a time till you get the consisitency you like. Enjoy:)
Ingredients: chicken meatballs
1 lb. ground chicken–I prefer chicken to turkey but you can use turkey as well!
1/2 lb chicken sausage, casings removed–if you can’t find chicken sausage use pork sausage it’s delicious!
3 slices whole wheat bread for bread crumbs ( I put into food proccesor with steel blade for crumbs) I remove crusts it should be app. 1 cup of bread crumbs or if you’re feeling lazy try Panko
2 teaspoons minced garlic ( 2 – 3 cloves)
1/4 cup grated Pecorino Romano ( fresh is best) but whatever you have will do
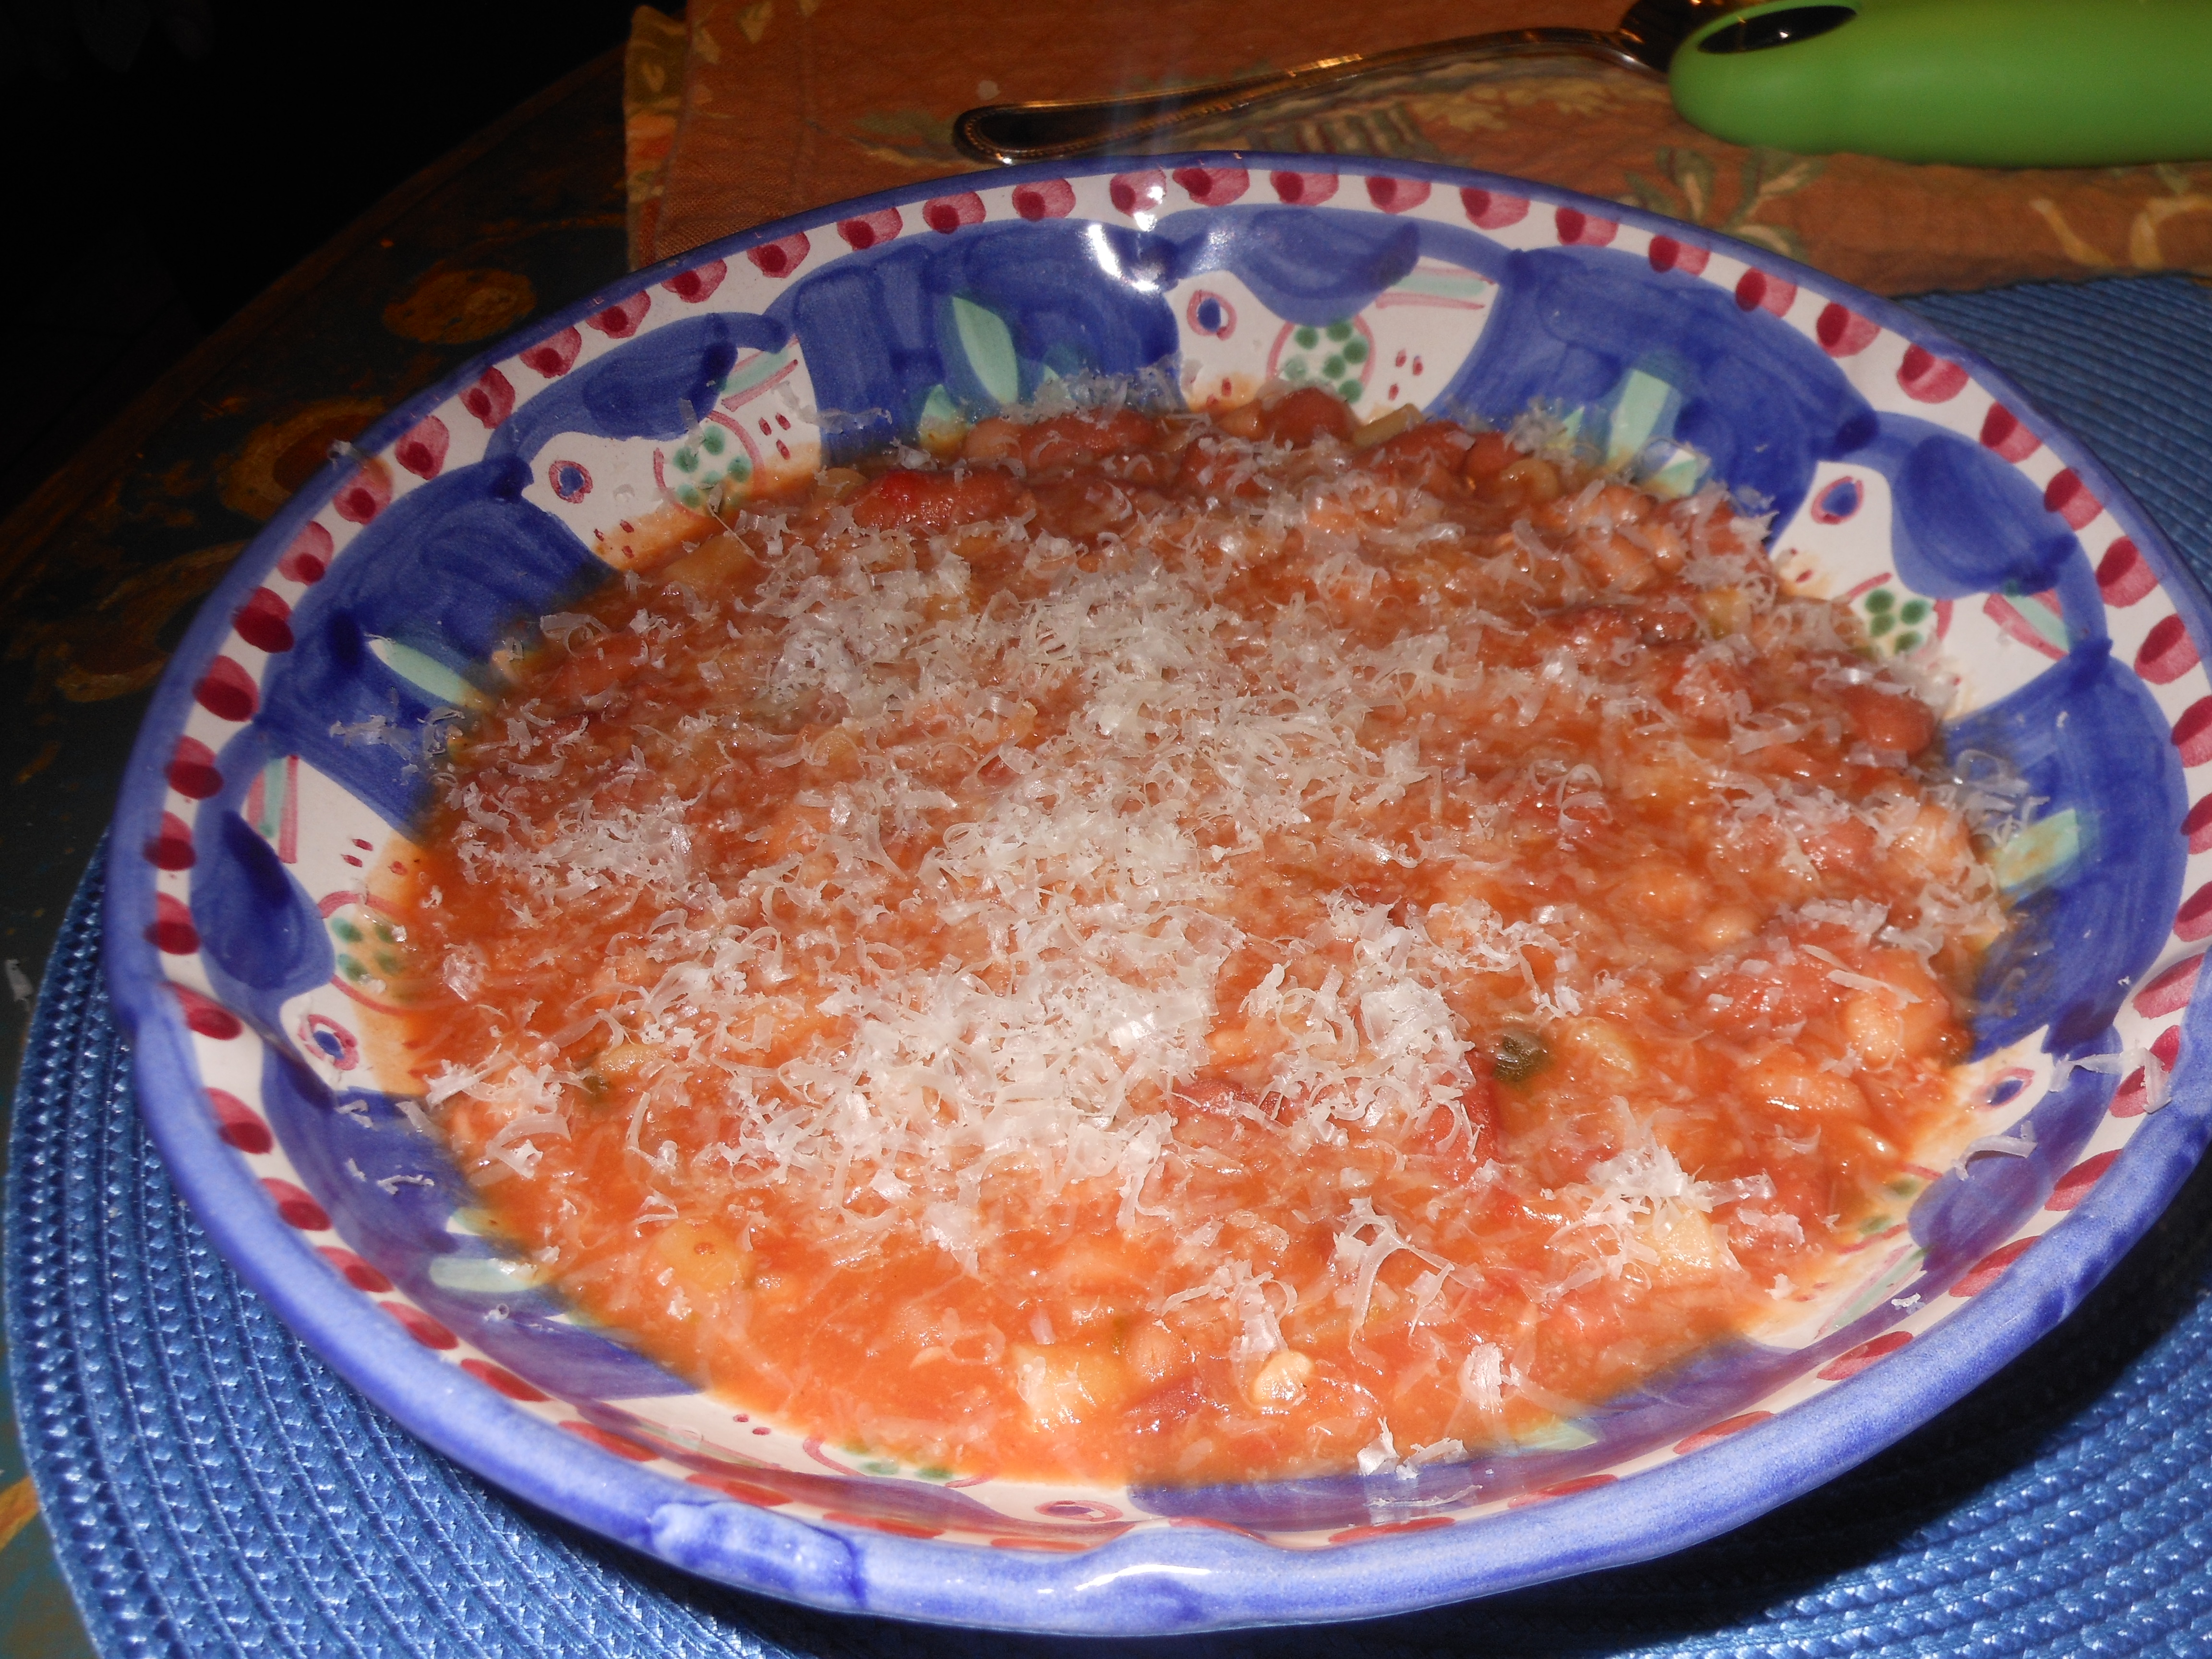
1/4 cup grated Parmesan ( again nothing beats fresh) but whatever you have will do here as well
3 tablespoons milk
1 extra large egg, lightly beaten
1 teaspoon kosher salt
1/2 teaspoon freshly ground black pepper
Soup Ingredients:
2 tablespoons olive oil
1 small -medium yellow onion minced
1 cup diced carrots ( 3 )
1 cup diced celery (2 stalks)
10 cups chicken stock
1/2 cup dry white wine( use whatever you have open)
1 cup small pasta tubetini, ditalini, stars, elbows etc.
5 ounces fresh spinach, washed and trimmed
*fresh dill ( I love the flavor) add at your own discretion about 1/4 cup minced fresh dill.
Directions:
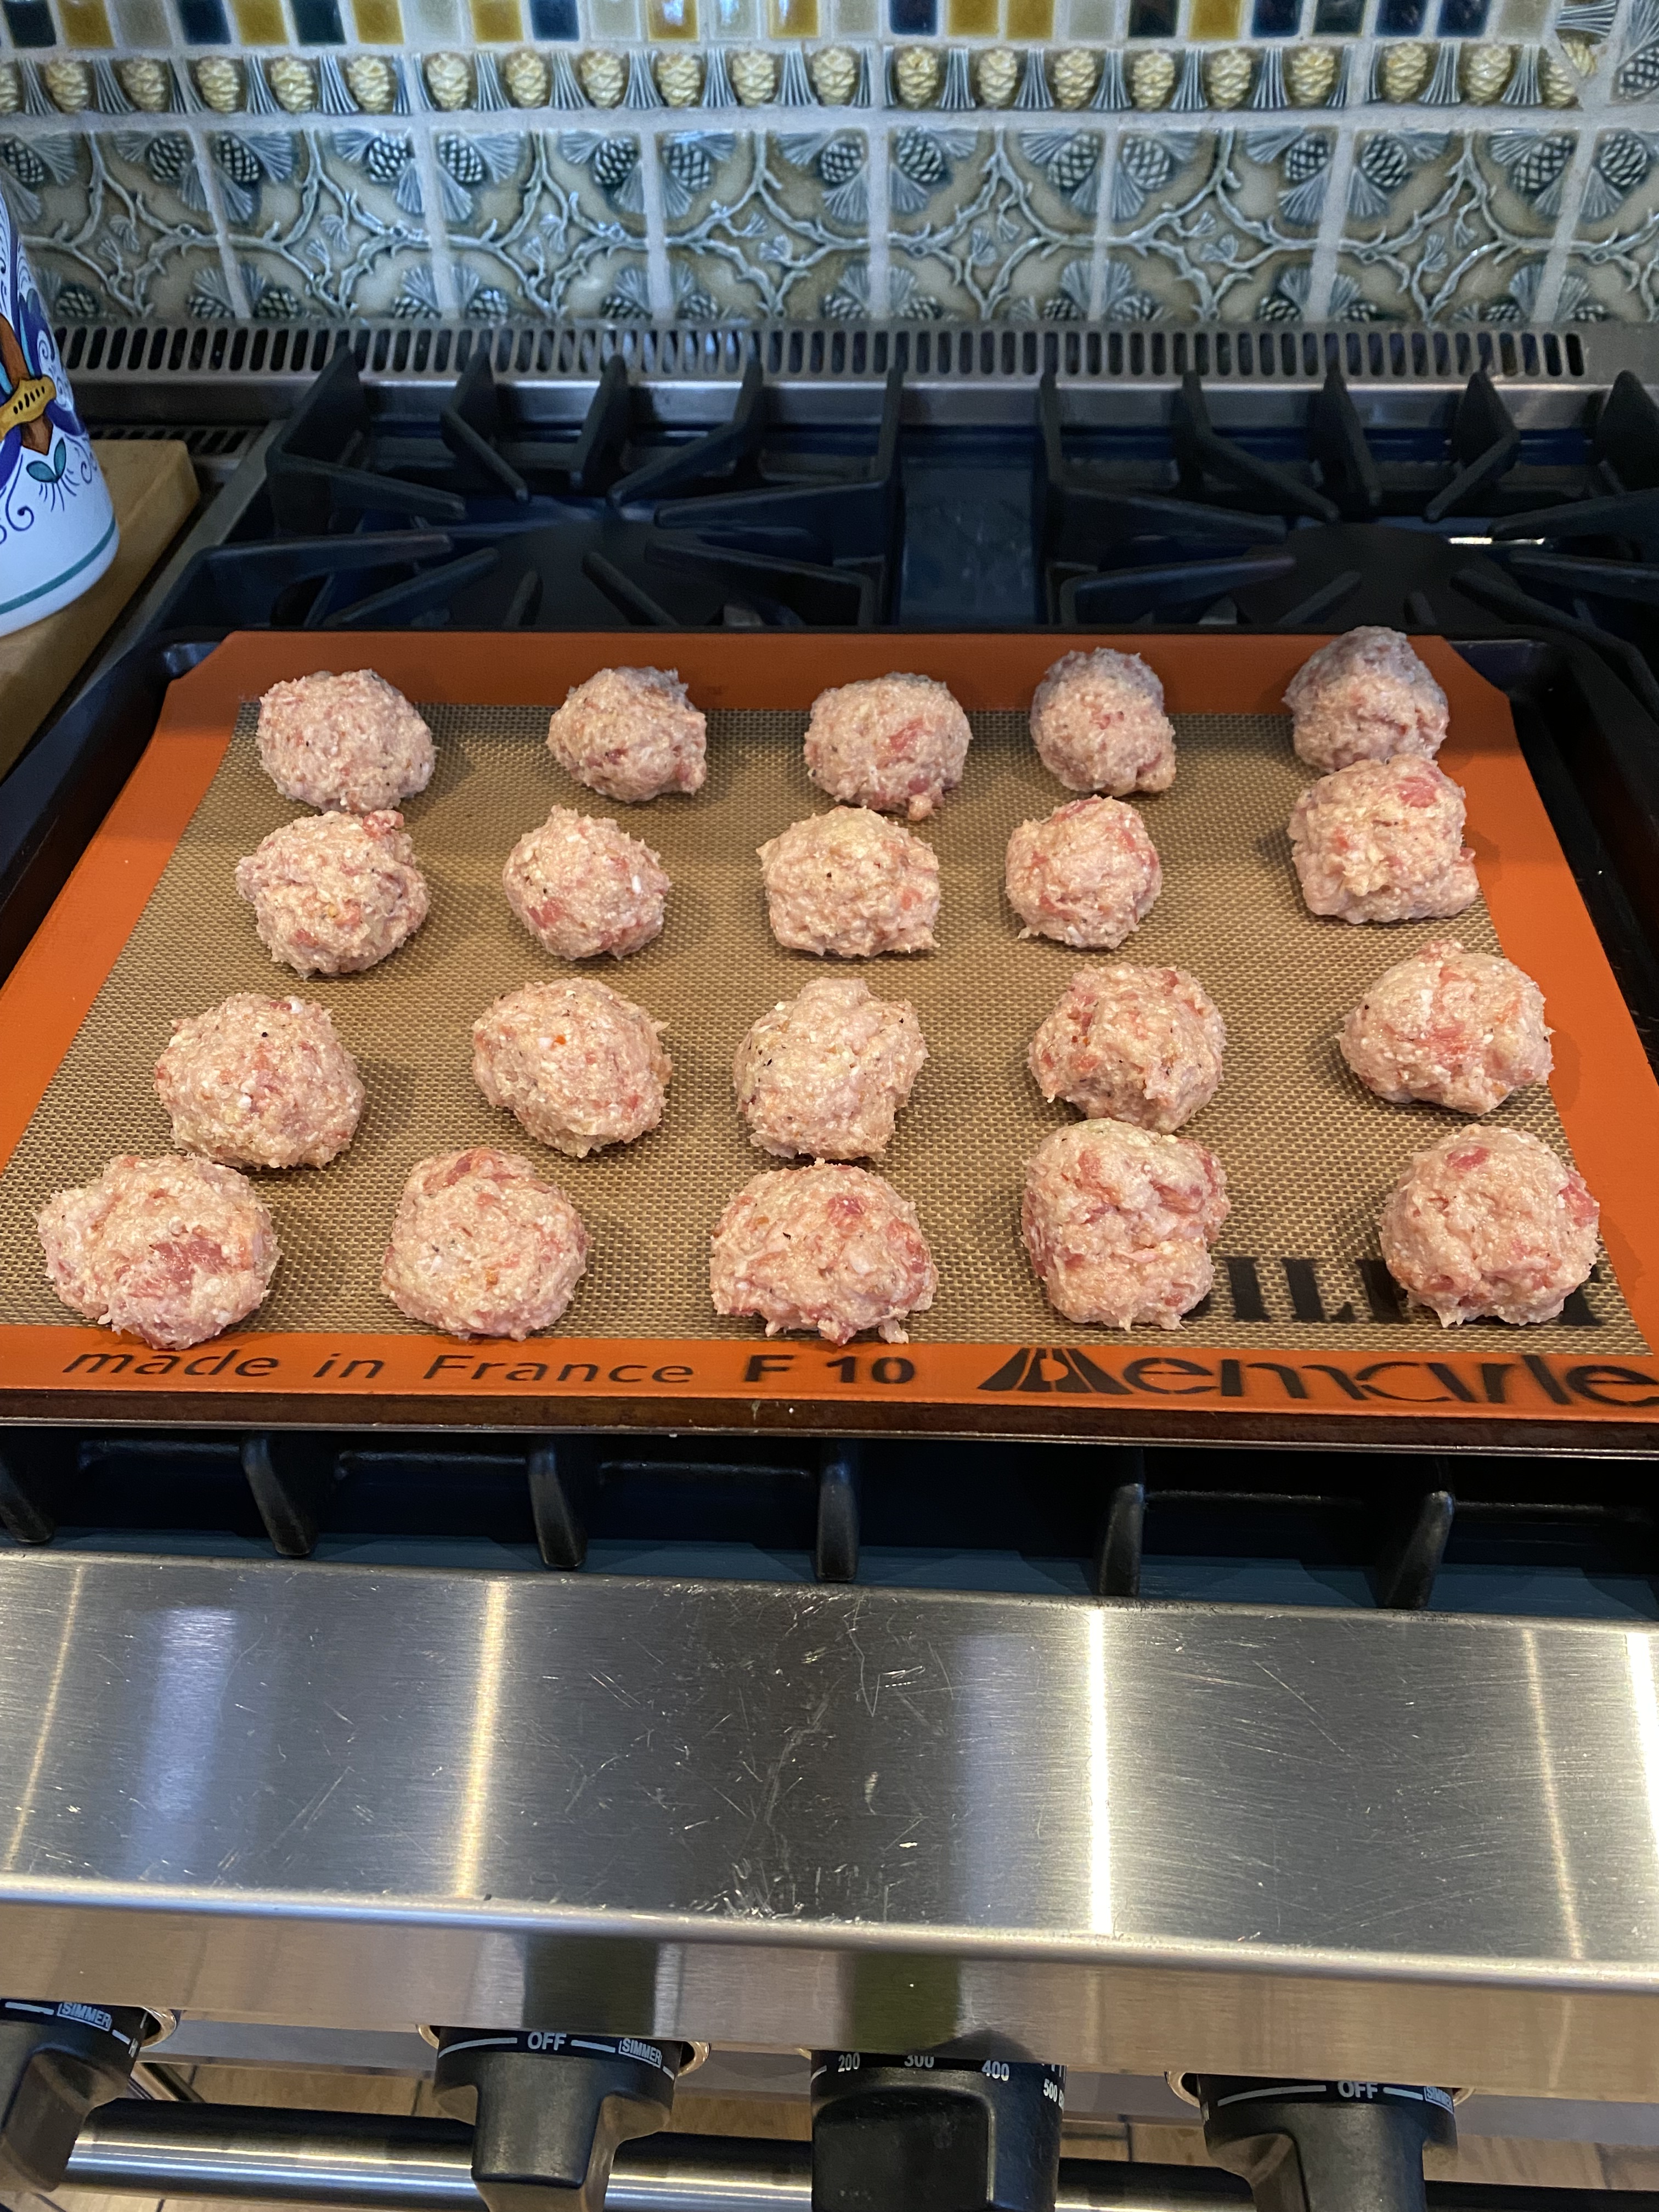
preheat the oven to 350 degrees put parchment paper on a cookie sheet.
for the meatballs, place the ground chicken, sausage,bread crumbs, garlic, Pecorino, Parmesan, milk, egg, salt and pepper all in a bowl and mix well with a fork. I use a teaspoon, and make 1 to 1 1/2 inch balls and drop onto parchment paper lined cookie sheet. you should have about 30 to 40 small balls. bake for 25 – 30 minutes, until cooked through and lightly browned. set them aside. (I made about 30 balls, they were a little larger this time out)
For the Soup:
heat the olive oil over medium – low heat in a large heavy bottomed soup pot ( Le Creuset type pot) Add the onion, carrots, and celery and saute until softened, about 10 minutes, don’t brown. Add the chicken stock and wine and bring to a boil, at this point I let soup cook a while to soften the vegetables, app. 1 hour. ( a low simmer) if you’re in a hurry you can probably do the whole soup in 1/2 hour , veggies will be soft enough to eat. if some of the liquid evaporates you can always add a little more broth.

chicken balls out of the ovenItalian Wedding Soup cooking
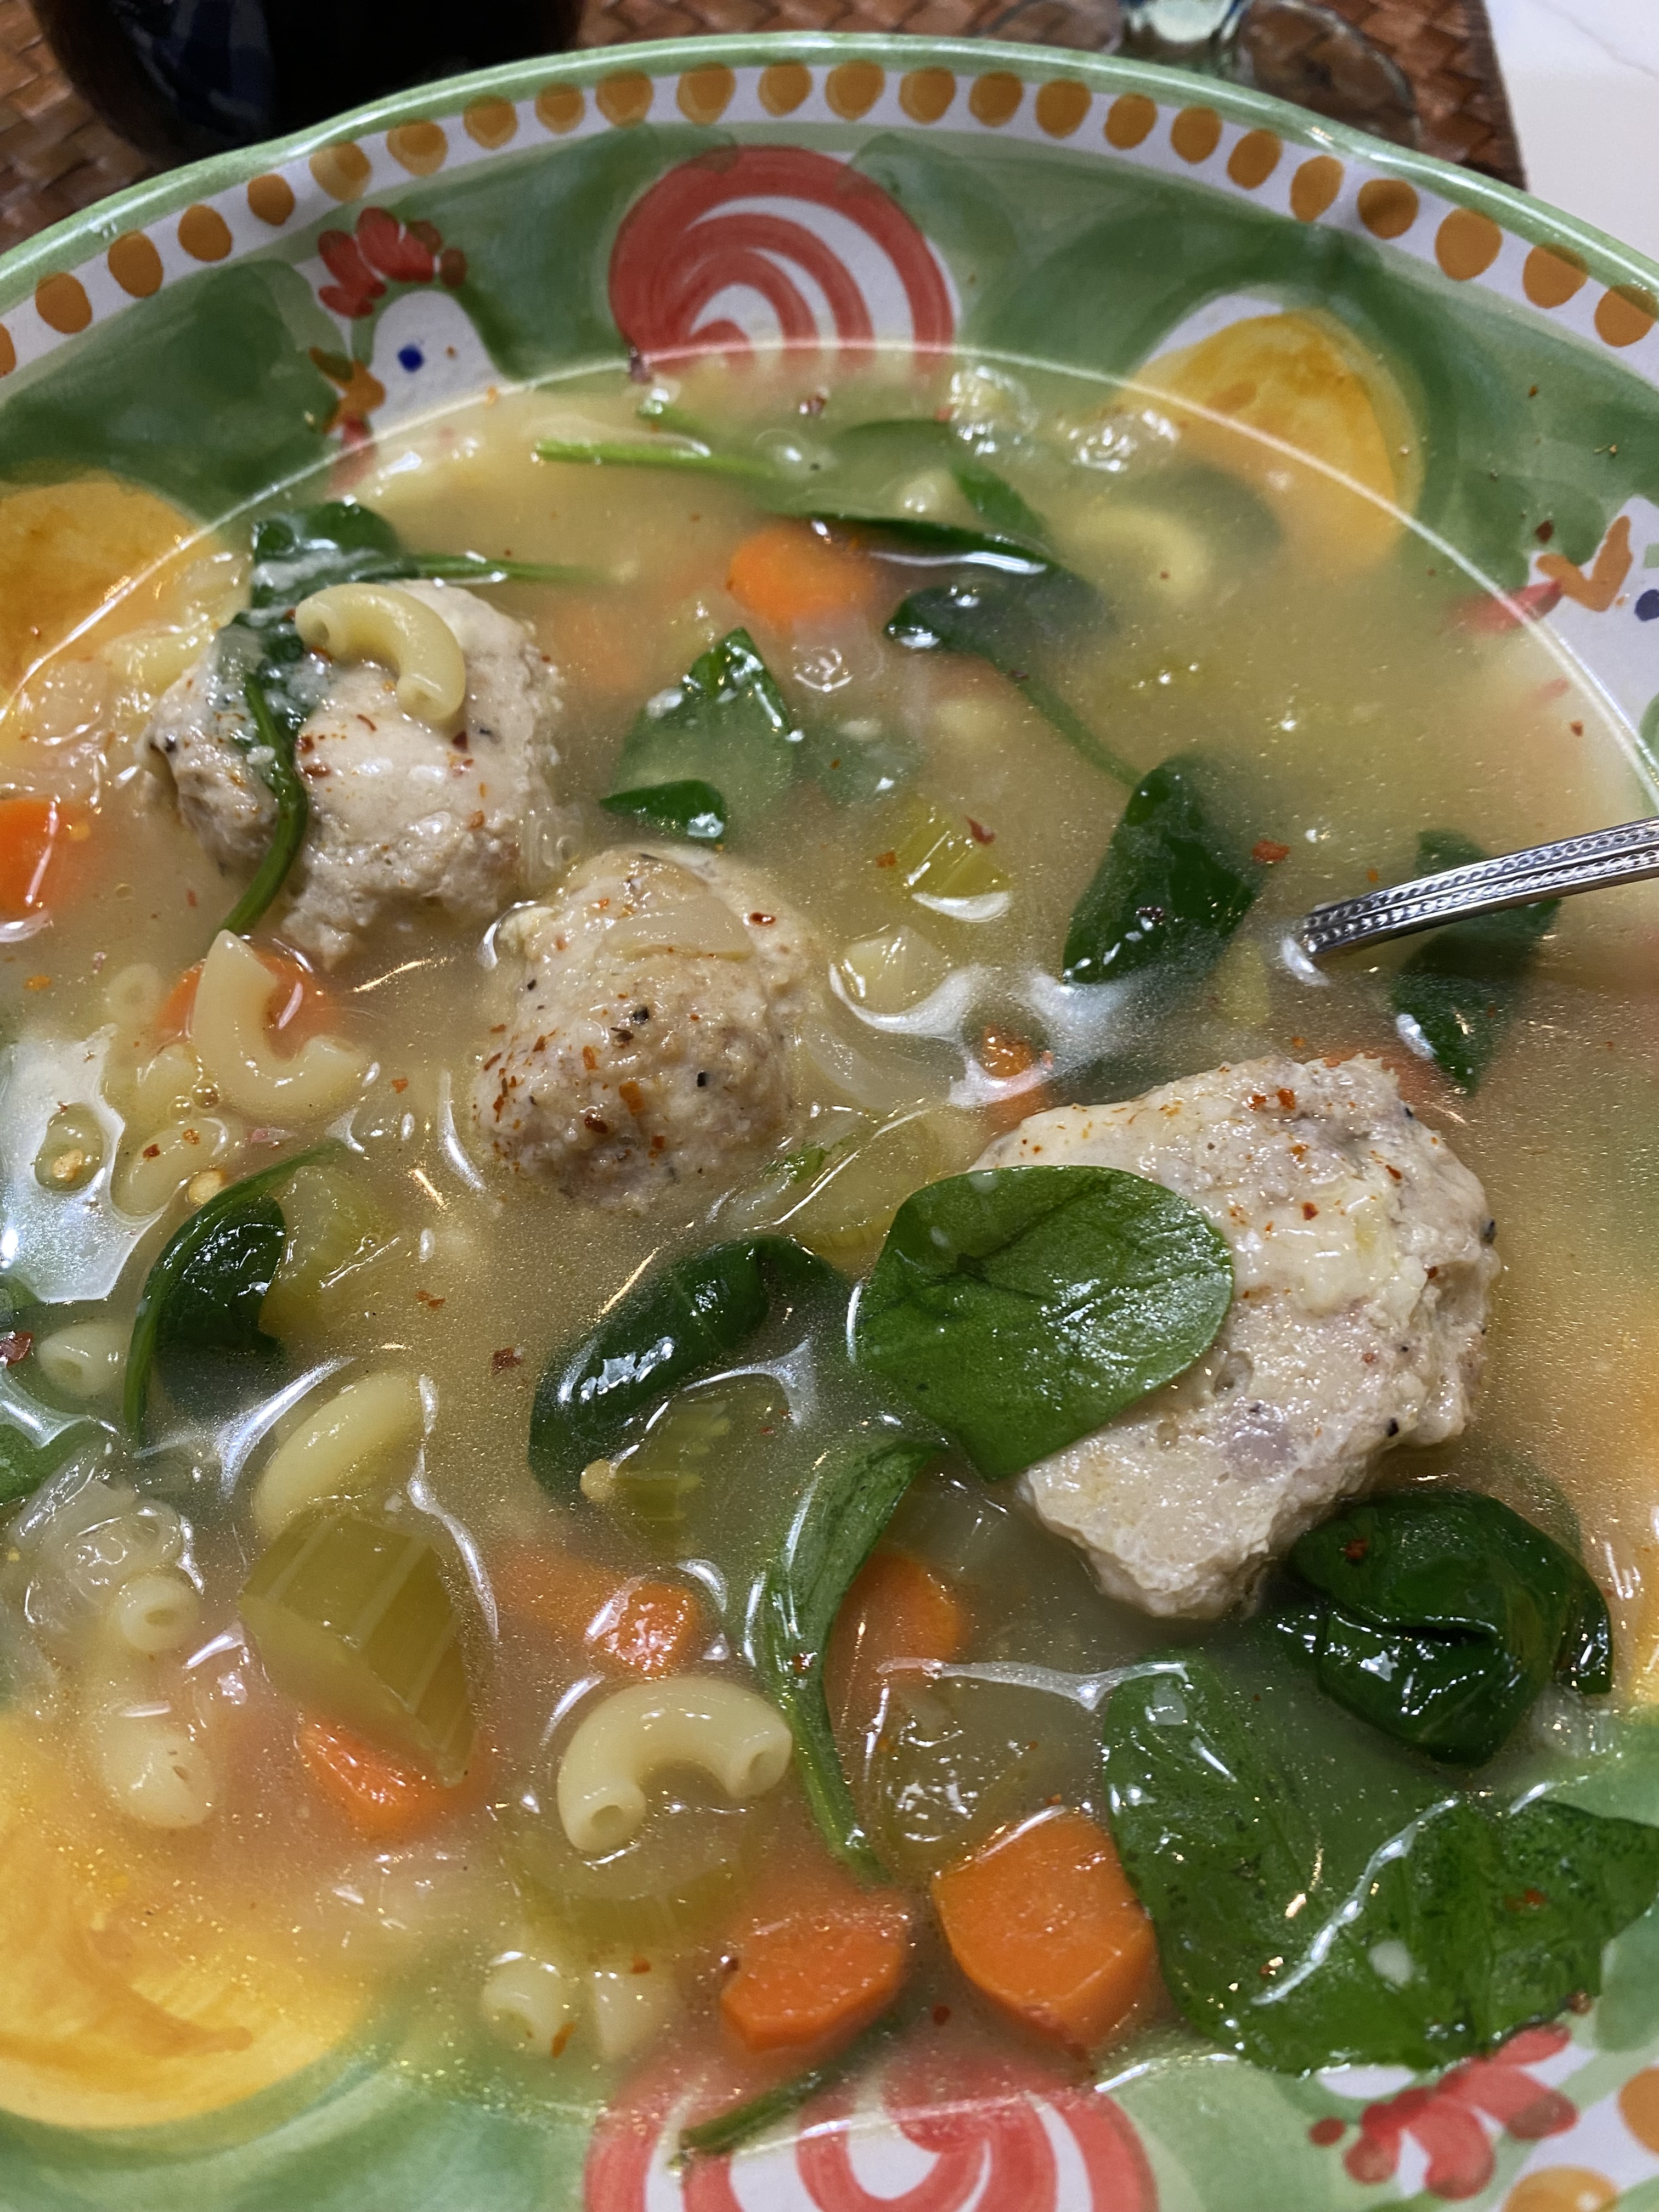
Add the pasta to the simmering broth and cook another 6 – 8 minutes, until the pasta is tender. Sometimes I just cook the pasta up in a separate little pot and pour the soup over the pasta when I plate it up, this helps with the freezing just the soup and meatballs and the pasta stays al dente. Add the meatballs and simmer for another minute or so. taste for salt and pepper. Stir in the fresh spinach and cook for another minute or so, the spinach will just wilt. Ladle into soup bowls and serve with freshly grated Parmesan cheese.

 I
I