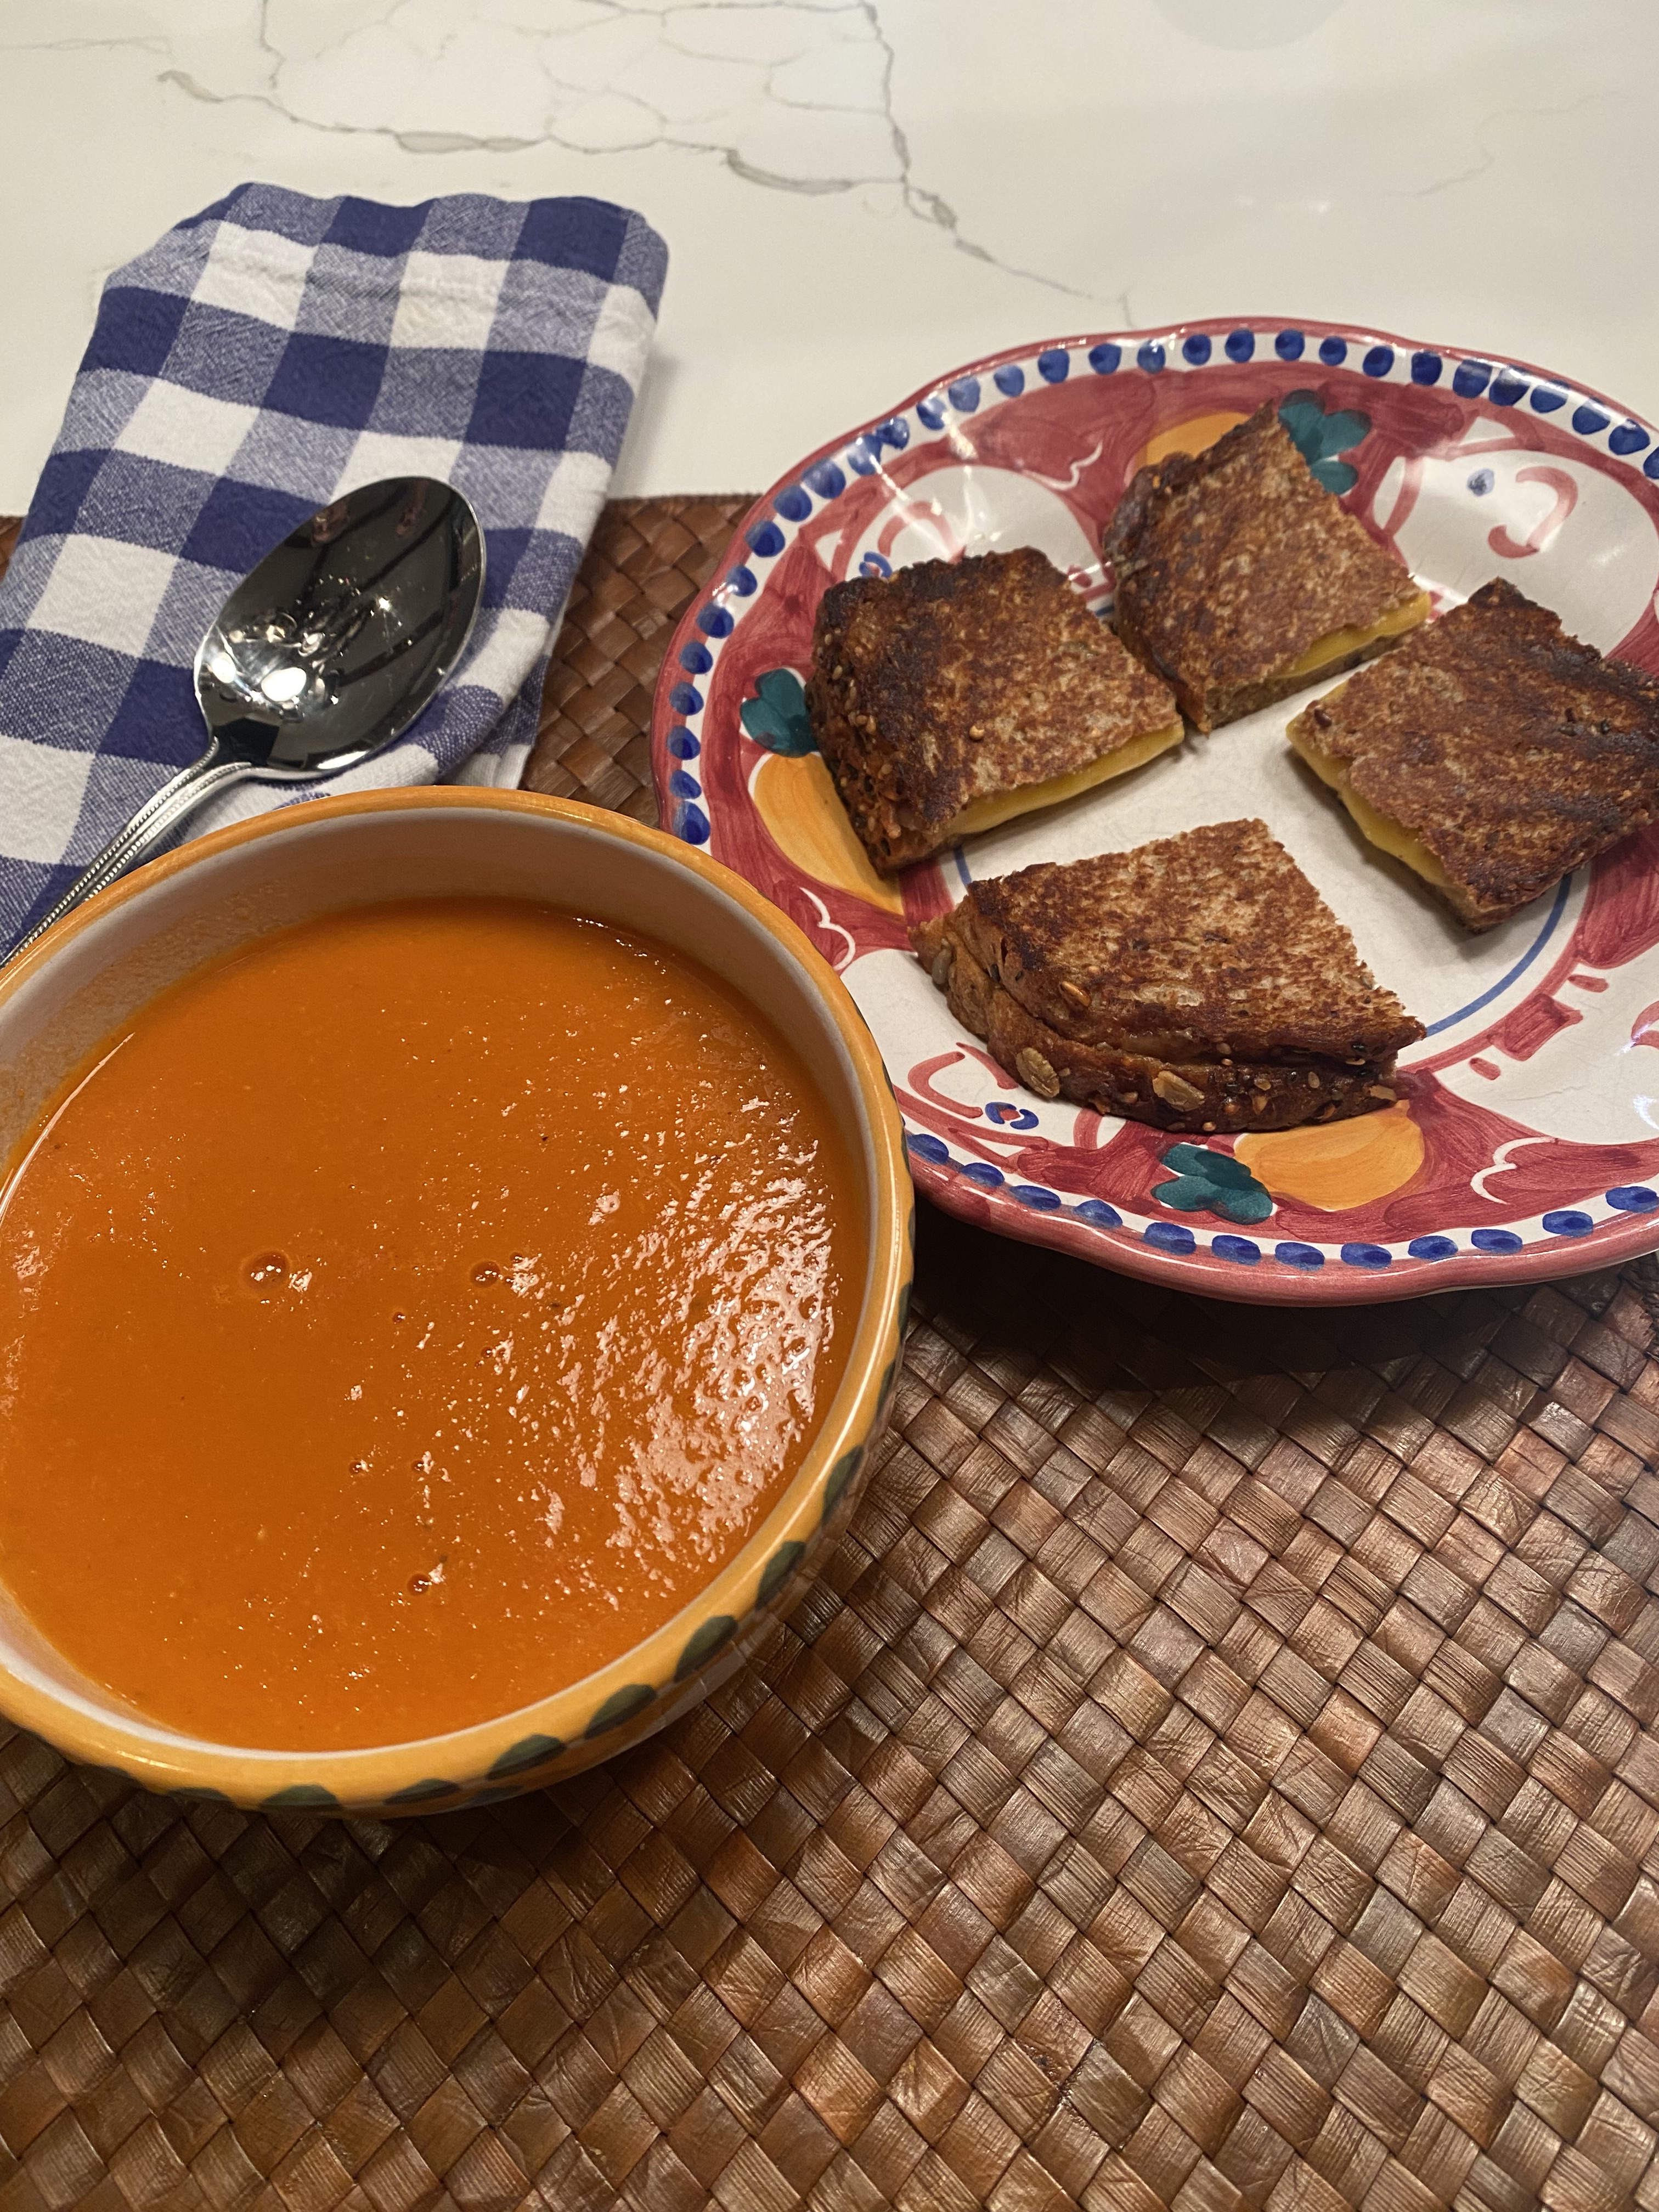
Parmesan Crisps with Tomato Soup
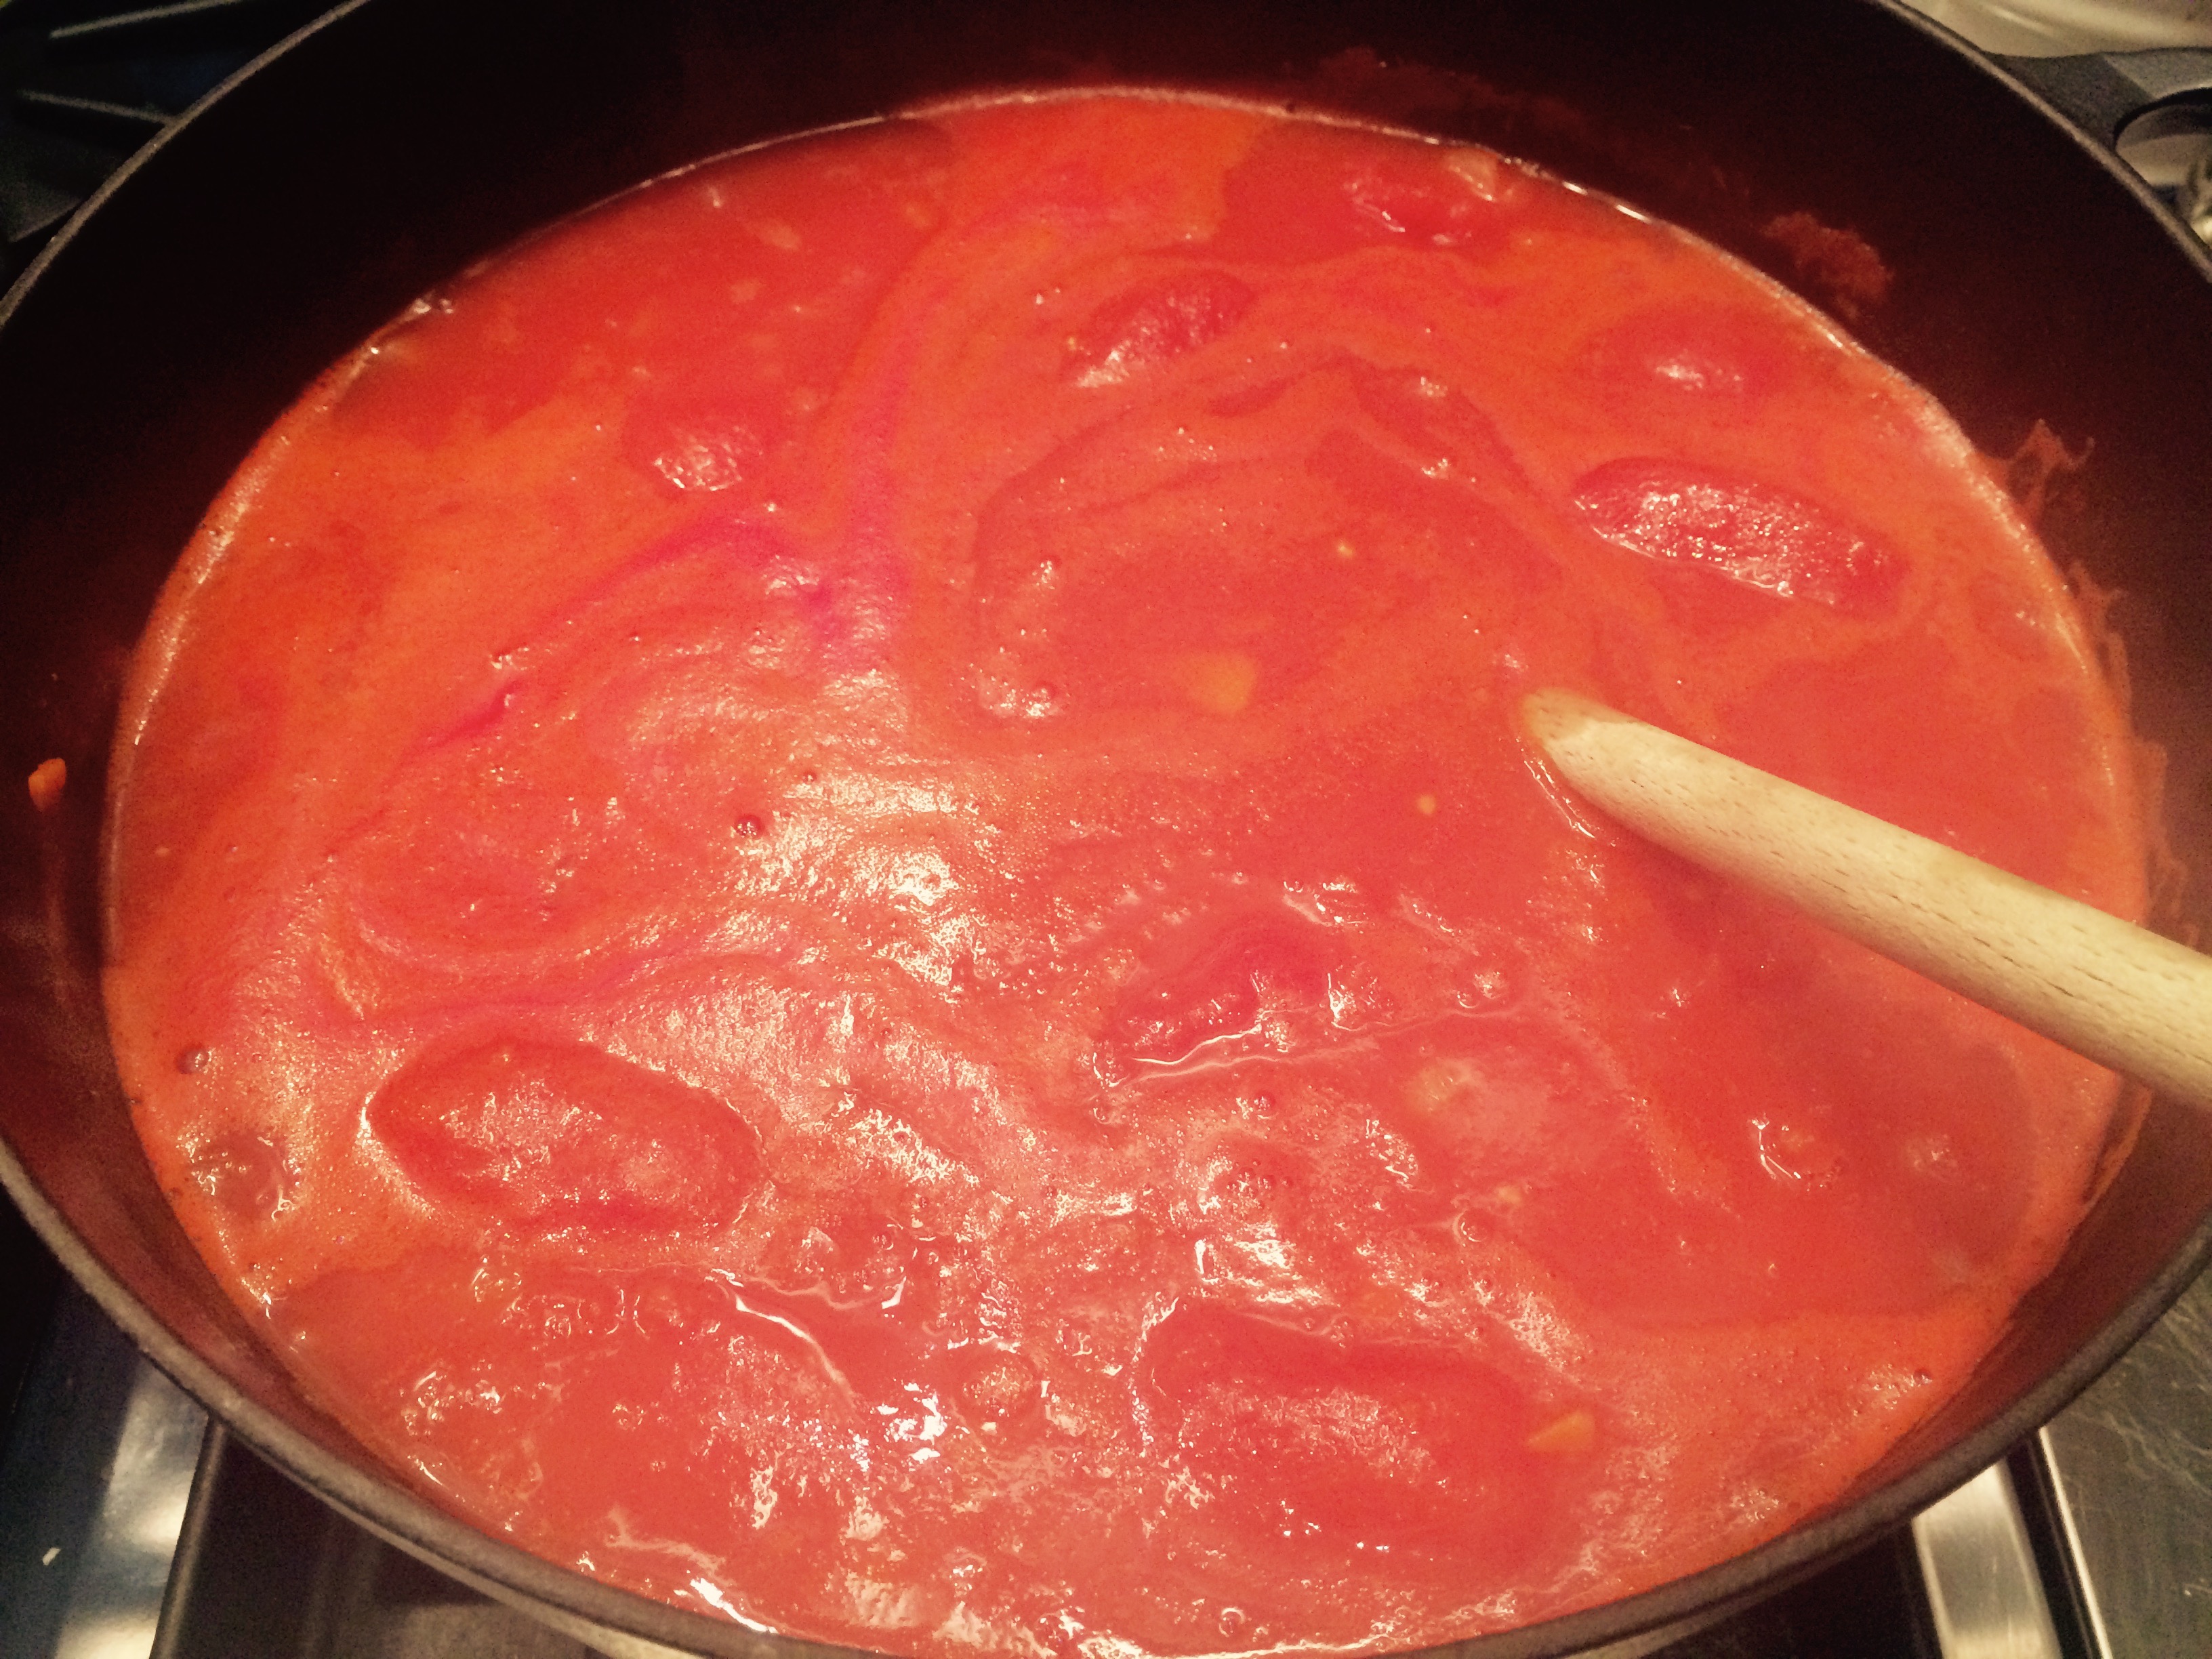
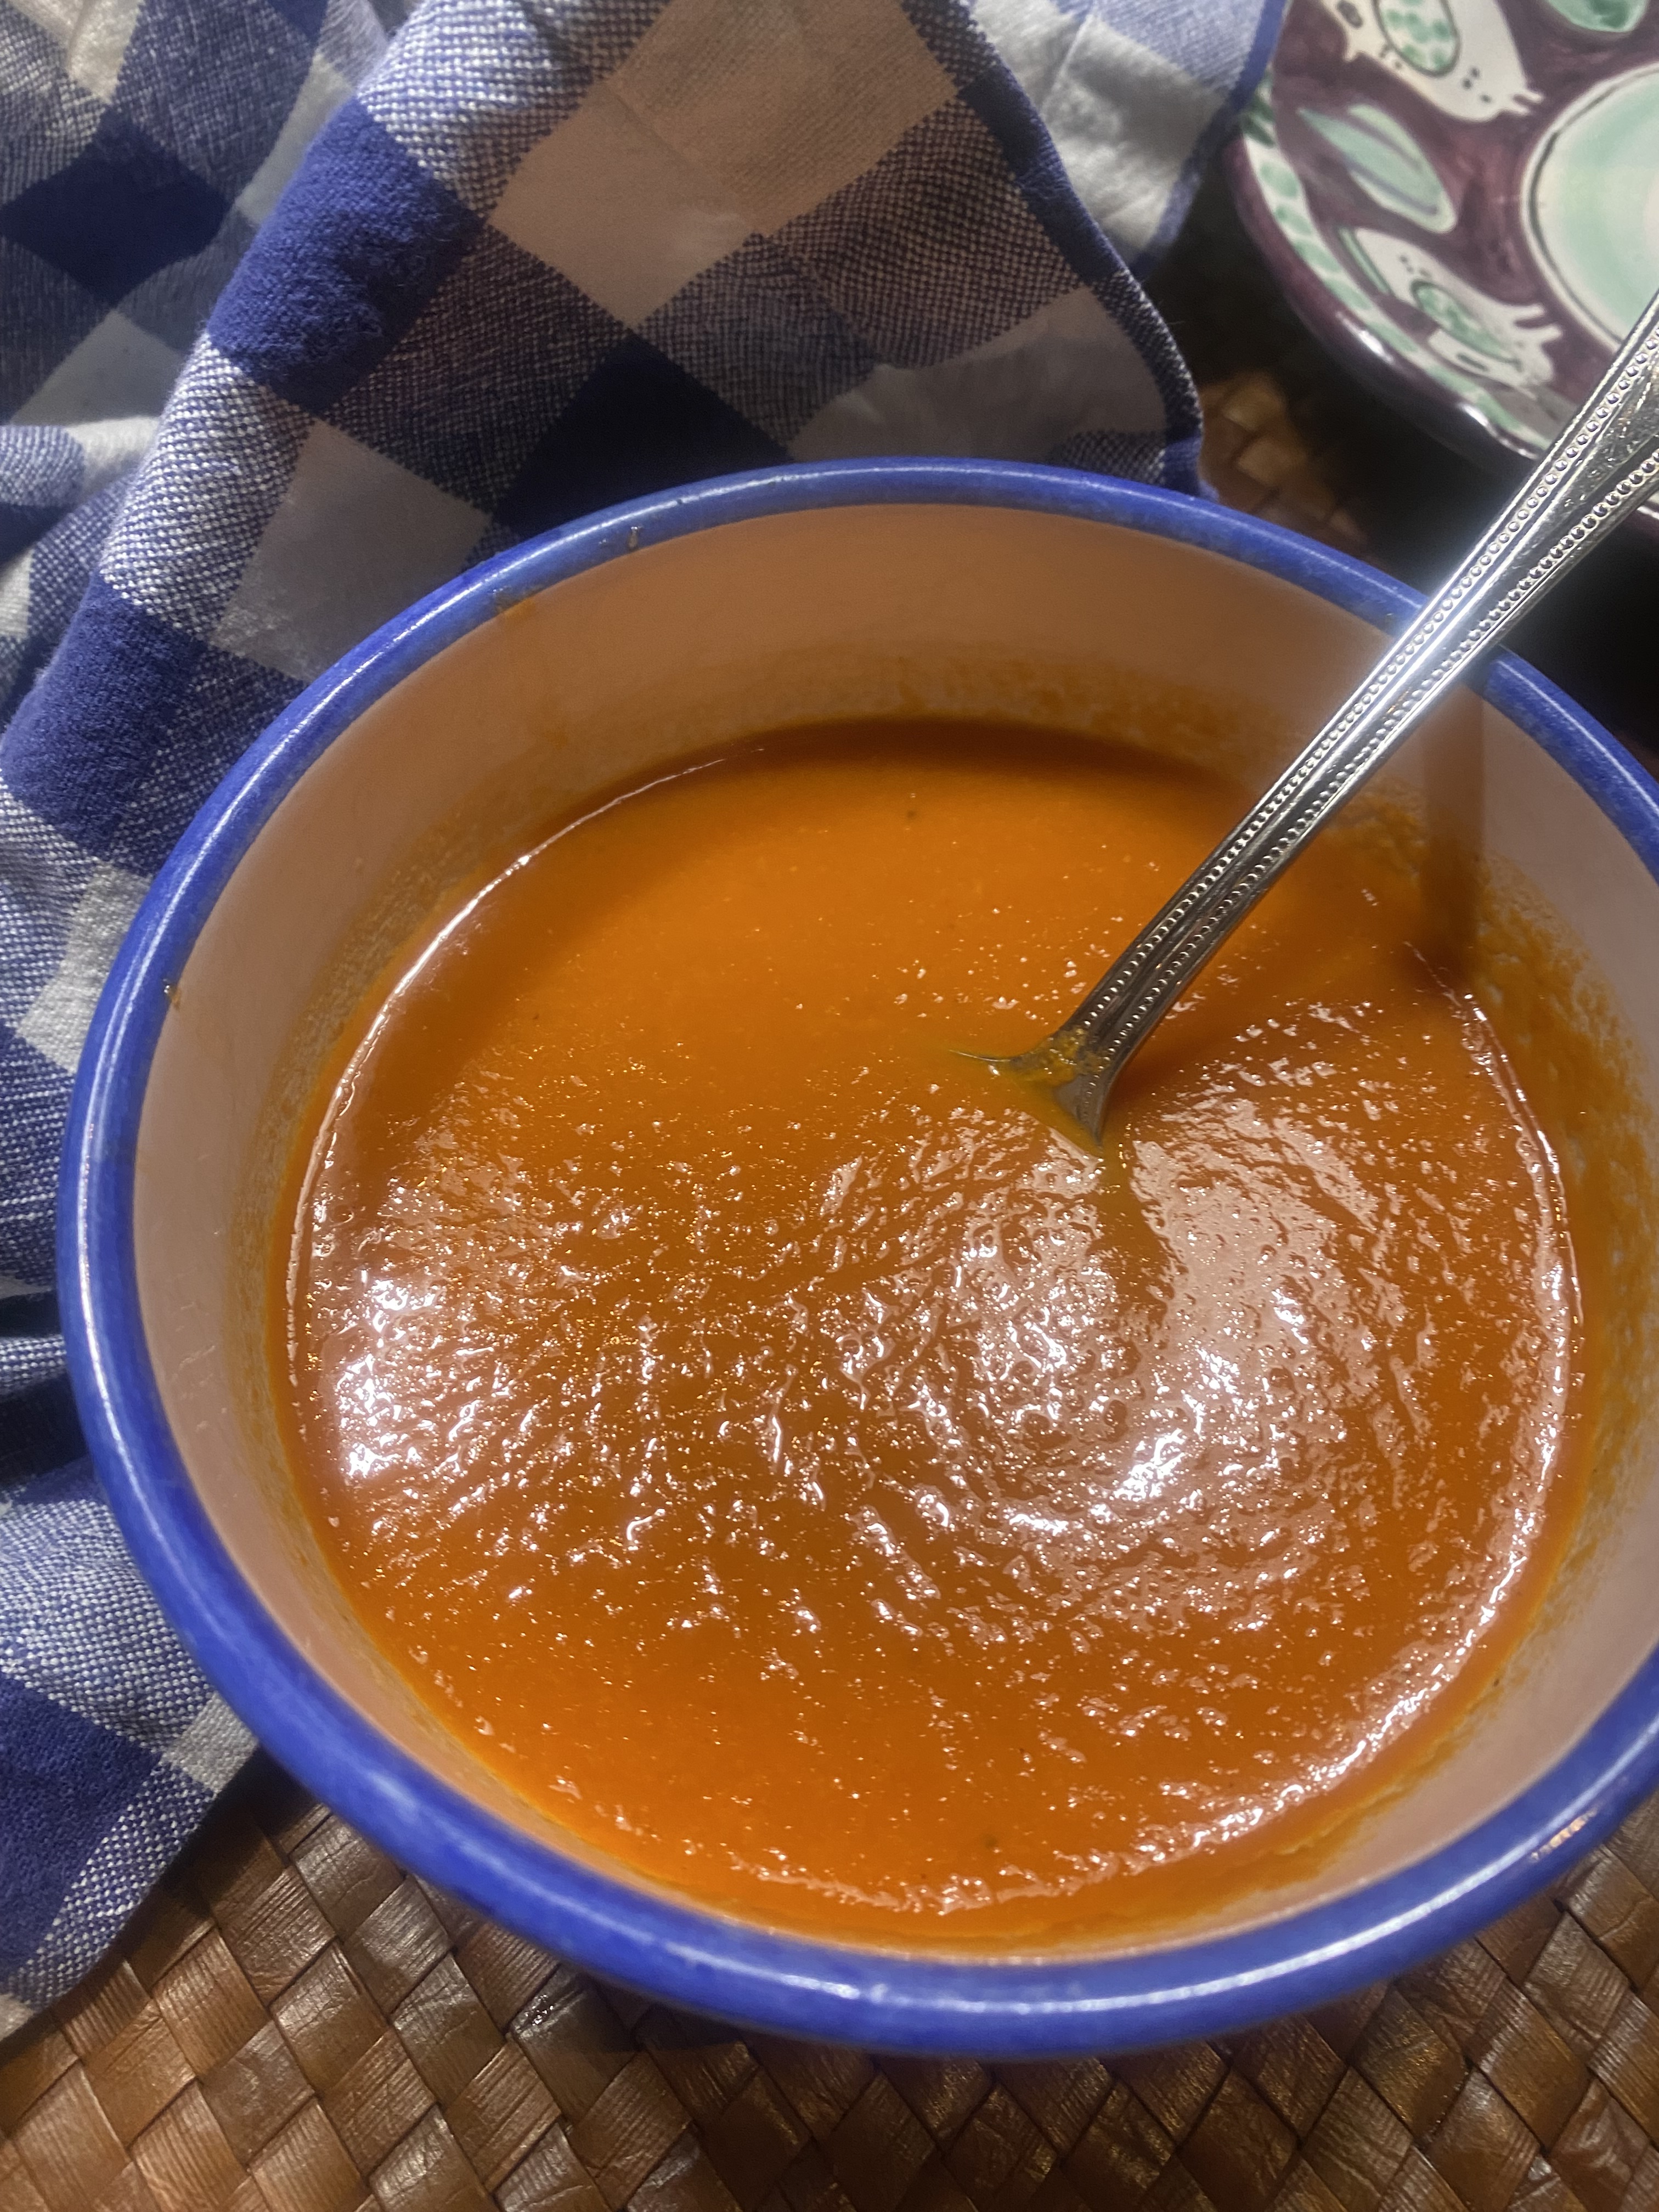
Soup at the beginning of the cooking process

Parmesan Crisps

Tube of Tomato Paste–I love the tubes

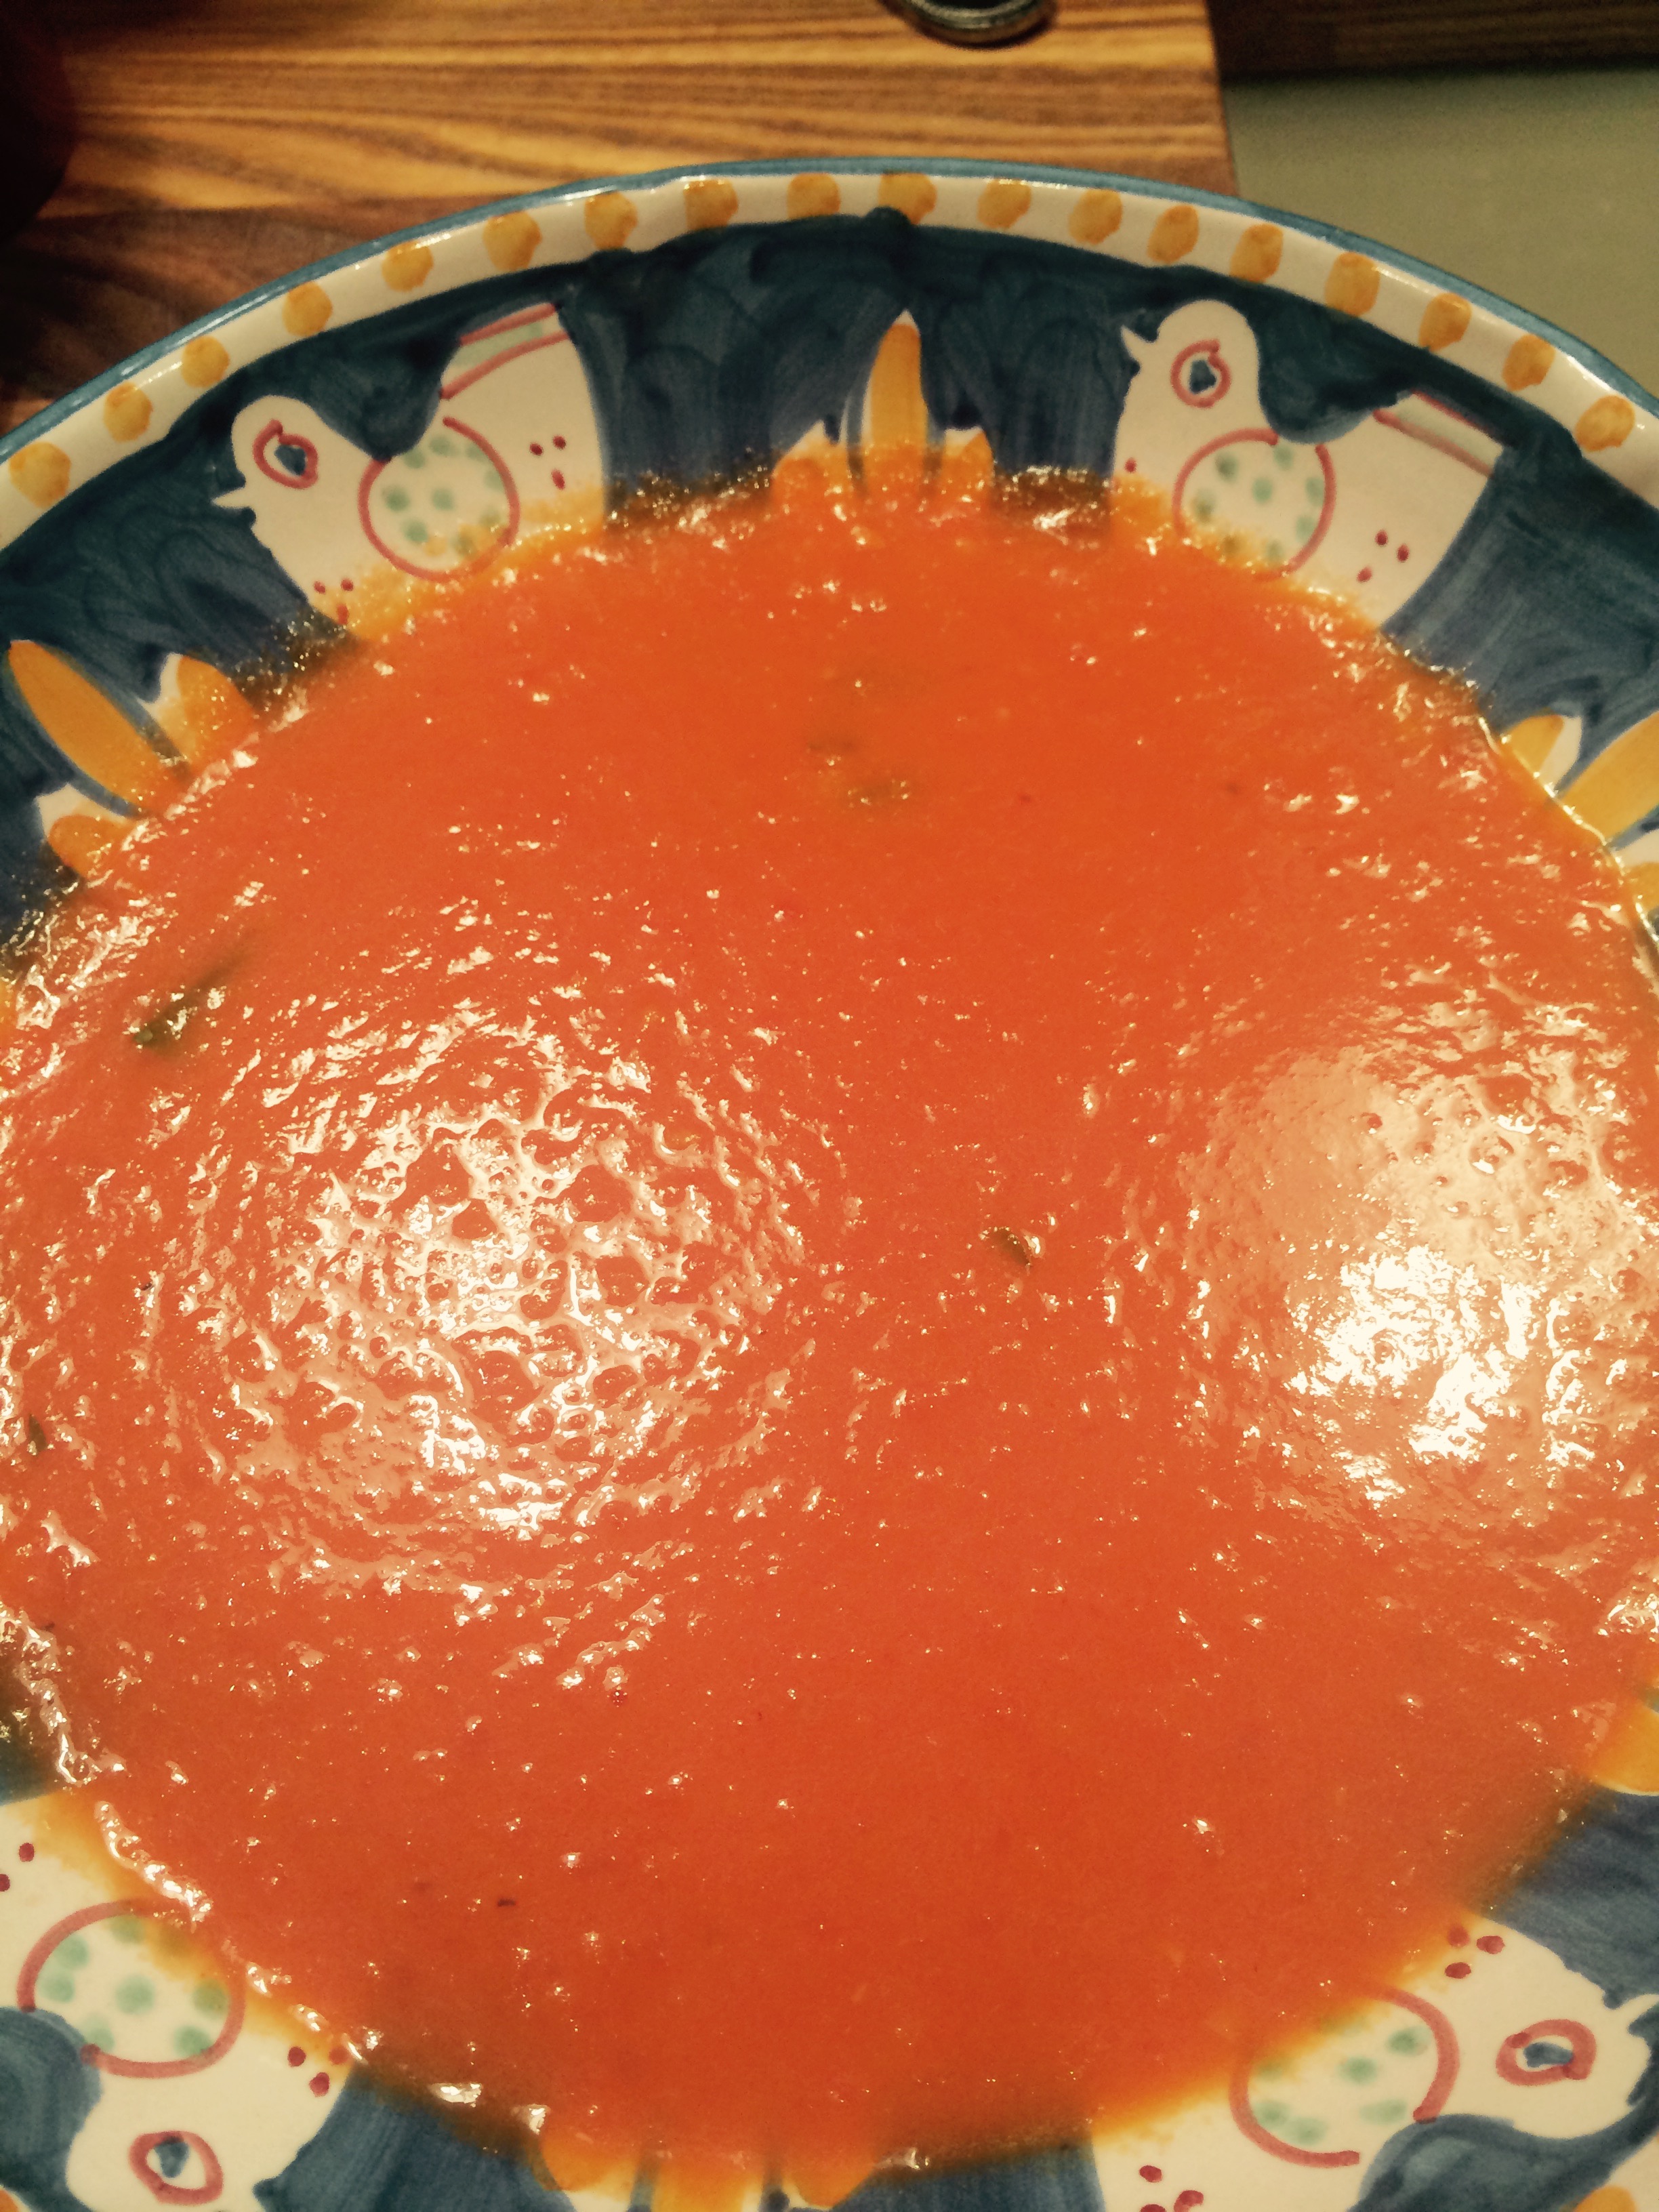

 One of our most favorite soups is Tomato Soup. I love the creaminess in this soup and the texture and tang of the tomatoes. I added parmesan crisps to the top which only add another layer of “deliciousness” to the soup. I did add 1/2 cup of heavy cream mostly because I had it in the house but also because over the whole recipe it’s just a little bit of richness that goes a very long way. I suppose you can omit it but I wouldn’t. We loved it just the way it was and I have 2 large containers that went into the freezer for another night’s meal. The parmesan crisps are super easy and all you’ll need is some grated parmesan. Croutons would work well as well. One of our most fav meals for lunch or dinner is a grilled cheese sandwich with tomato soup.
*you’ll need an immersion blender and a Dutch Oven type of pot with a tight fitting lid.
Enjoy!
Ingredients:
1 Tablespoon Unsalted Butter
1 whole onion, finely diced
1 Tablespoon Olive Oil
1 minced garlic clove
3 whole Large Carrots, Peeled and finely diced
2 Tablespoons Tomato Paste–the tubes make life so nice and easy
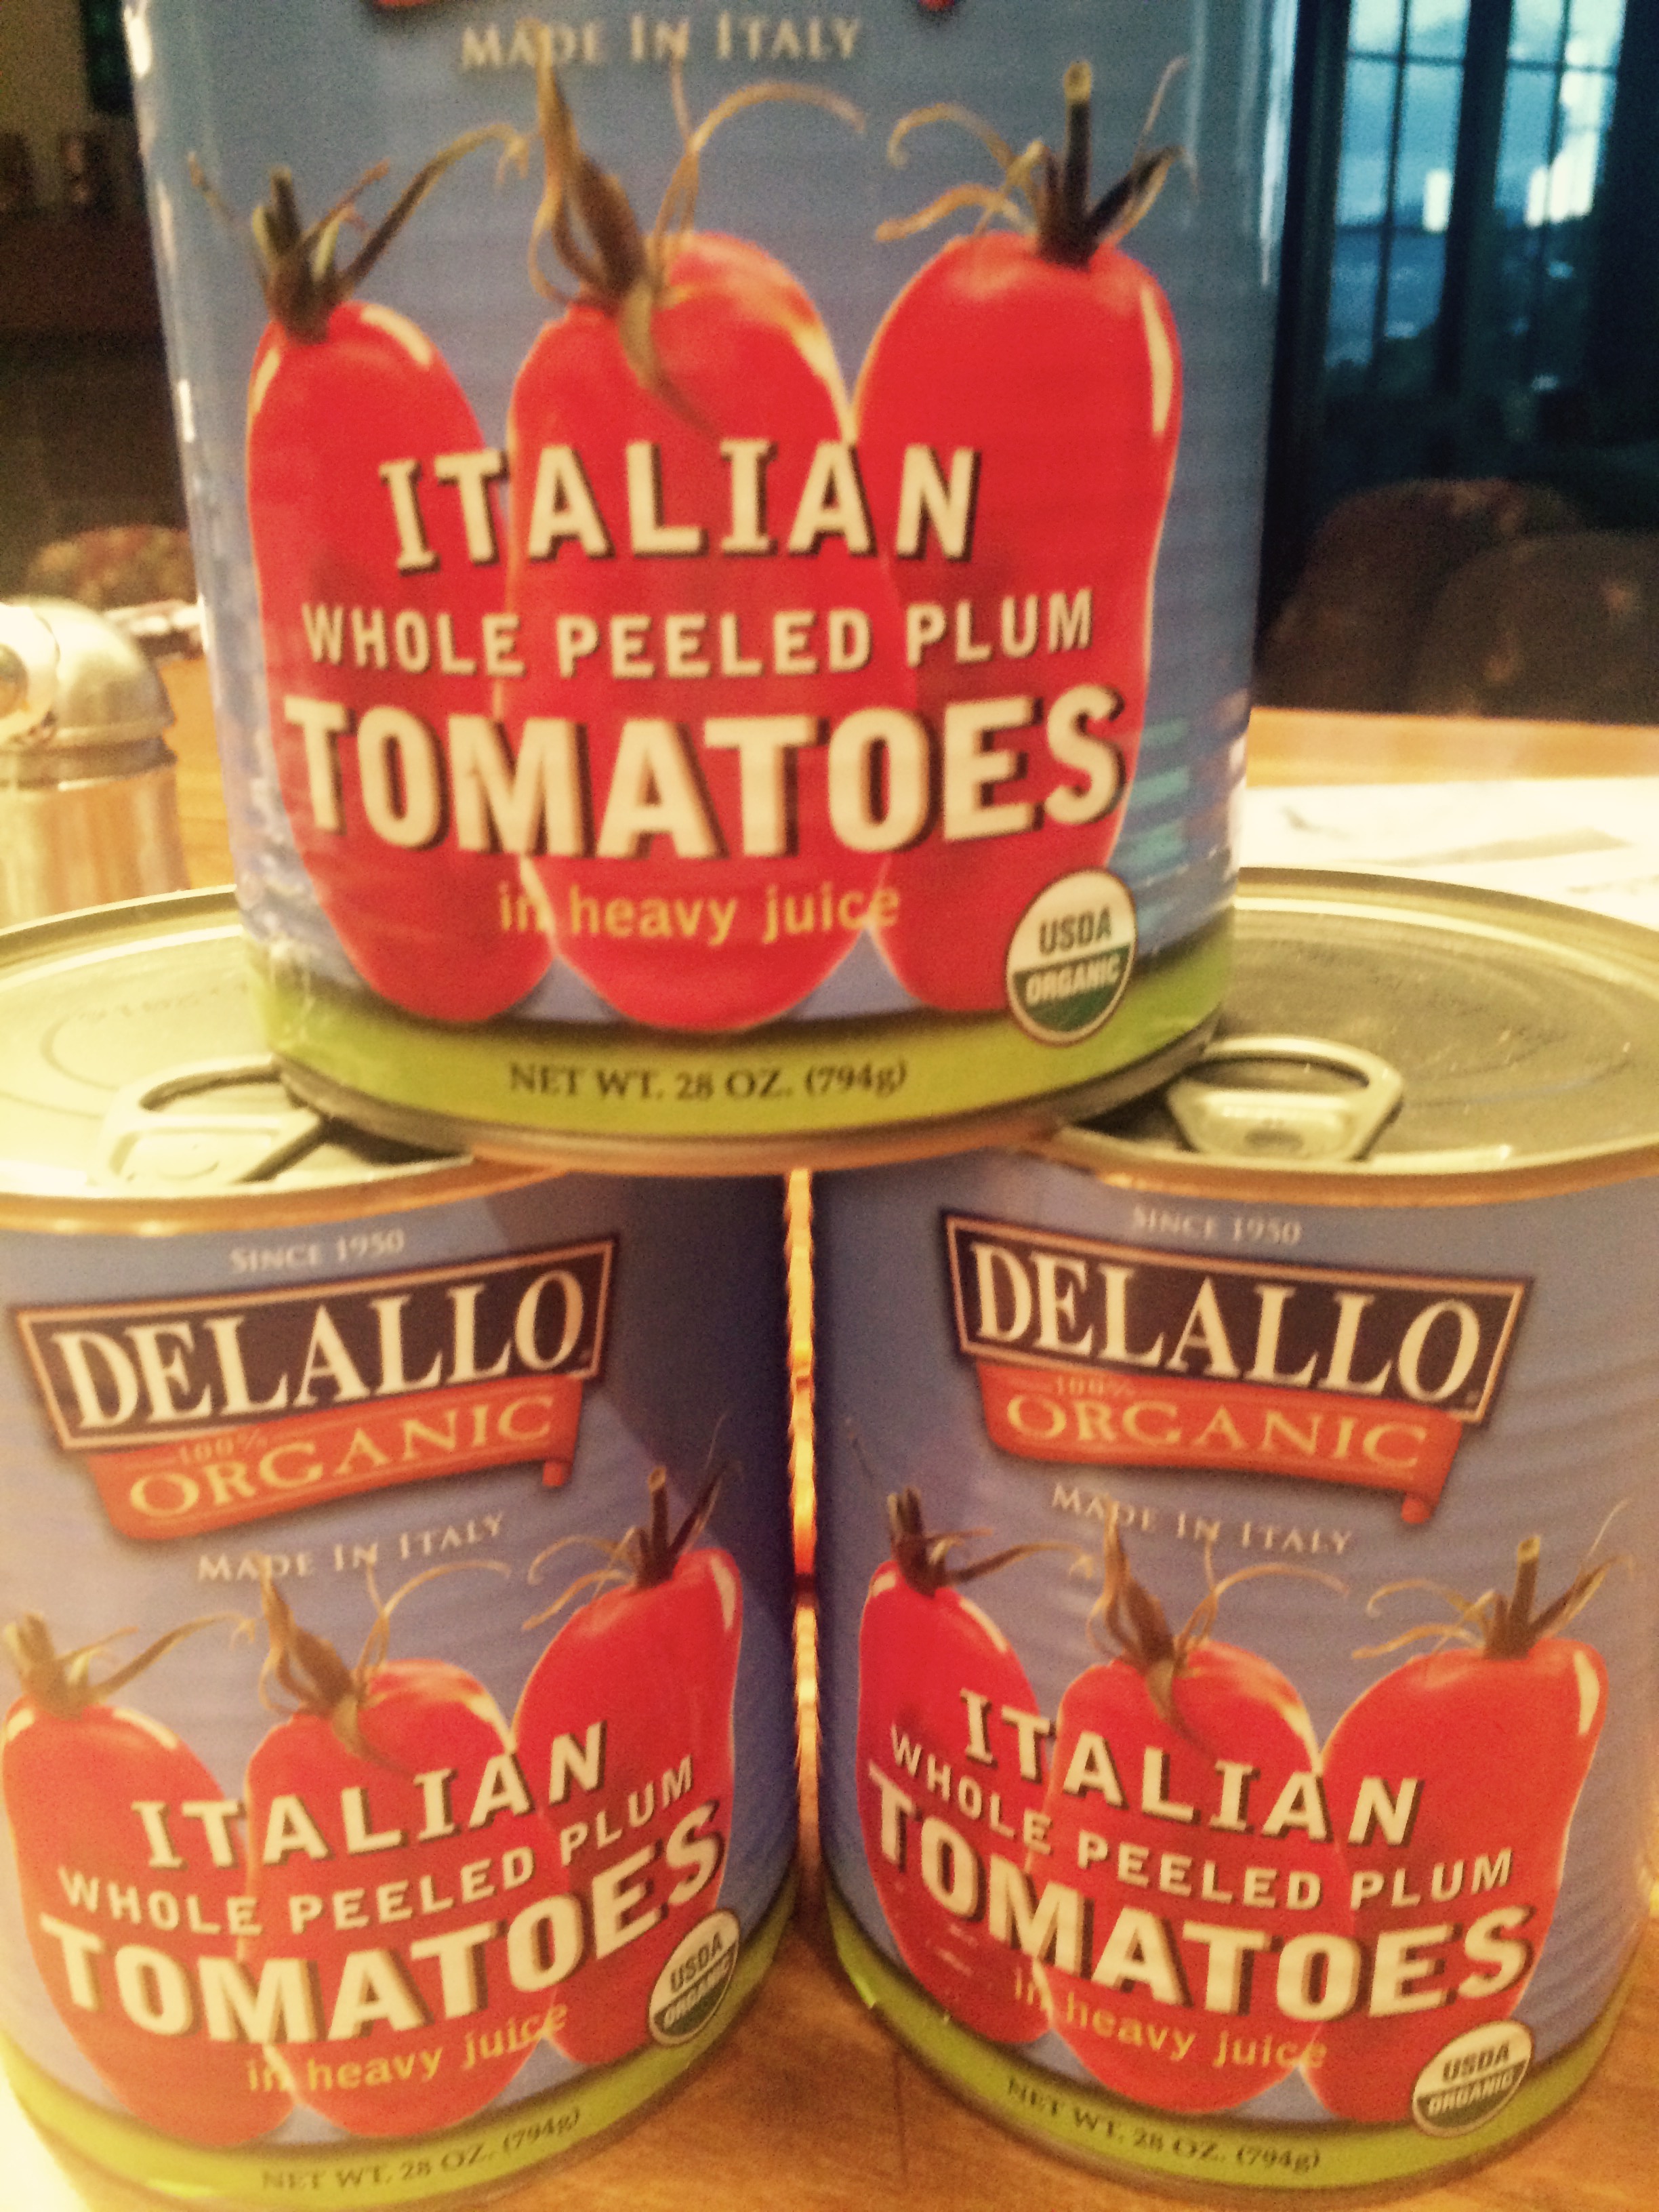
3 Cans Whole Tomatoes — 28 oz. each–Italian whole plum tomatoes with their juices
32 ounces , Vegetable or Chicken Broth
1 cup water
1/2 cups Heavy Cream
Kosher Salt and Freshly Ground Black Pepper to taste
2 Tablespoons Chopped Fresh Basil ( approximate amount) you can eyeball and you can use more for garnish if you’d like
Grated Parmesan if you want to make the Parmesan Crisps (recipe to follow soup recipe)
Directions:
In a large Dutch Oven kind of pot ( Le Creuset) , heat butter and olive oil over medium-high heat, then add onion, garlic and carrots. Stir and cook till vegetables soften but be careful not to burn the garlic and onions. This will take app. 5 minutes.
Add tomato paste and incorporate it into the vegetables with a wooden spoon. Cook for another 3 minutes or so.
Add canned tomatoes with their juice, broth and water. Stir together and bring to a boil, then reduce the heat, cover the pot, and simmer for at least 30 minutes. I had time so I allowed it to simmer for about an hour. The longer the better.
I then turned heat off and allowed to cool for a few minutes before using immersion blender. Be careful because hot soup can burn. I gave it a quick few minutes with the immersion blender , the tomatoes completely broke down because they had cooked so long. You can leave some texture in the tomatoes if you like chunkier pieces.
Add the cream, salt and pepper to taste, I used about 1 teaspoon of kosher salt and about 12 grinds on the pepper mill. You should taste for salt to your own particular taste. Add the basil and simmer for another 5 minutes or so. I then topped with parmesan crisps and they just kind of melted in to the soup which was just divine.
Parmesan Crisps:
Preheat oven to 400 degrees.
1 heaping Tablespoon of Grated Parmesan onto a silicone or parchment paper lined cookie sheet. Pat each teaspoon down a little, leave about 1/2″ apart. Cook for 3- 5 minutes till edges turn brown and crisps are golden. Allow to cool for a few minutes and lift off cookie sheet.