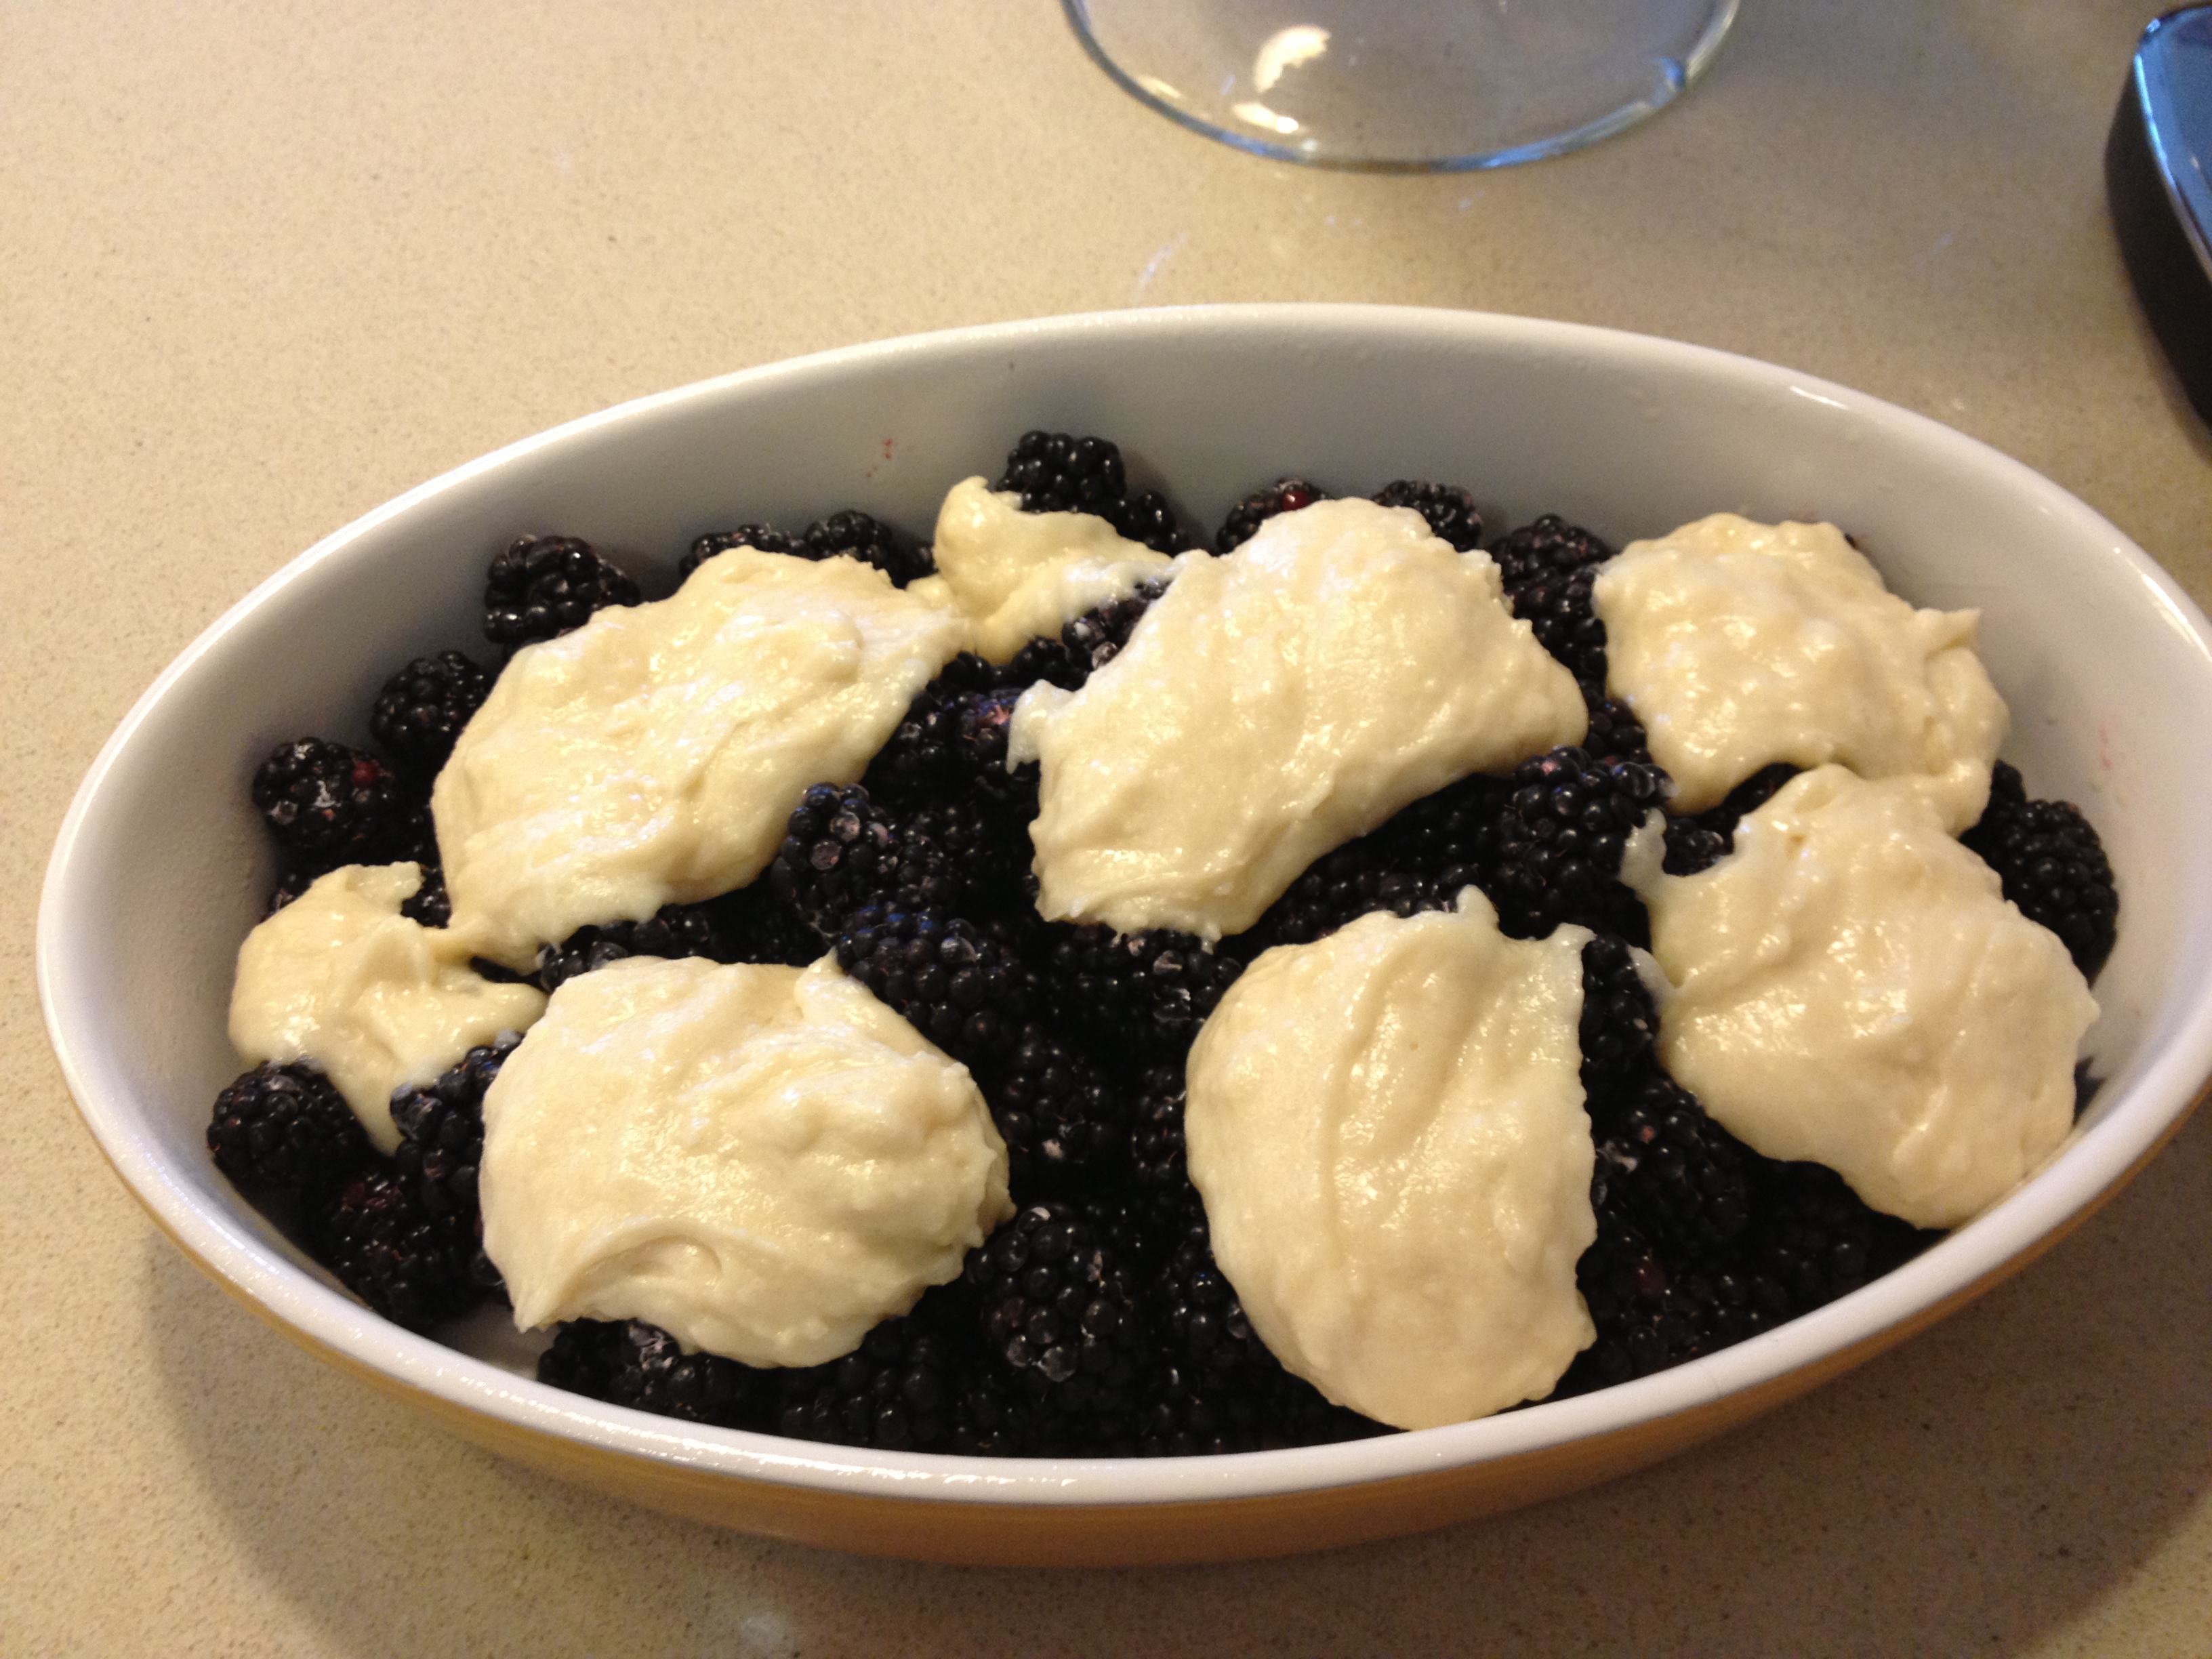
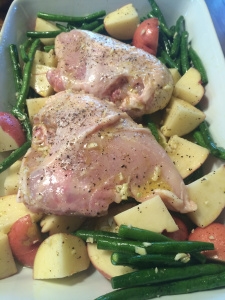
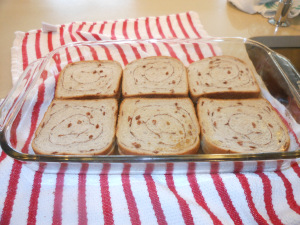
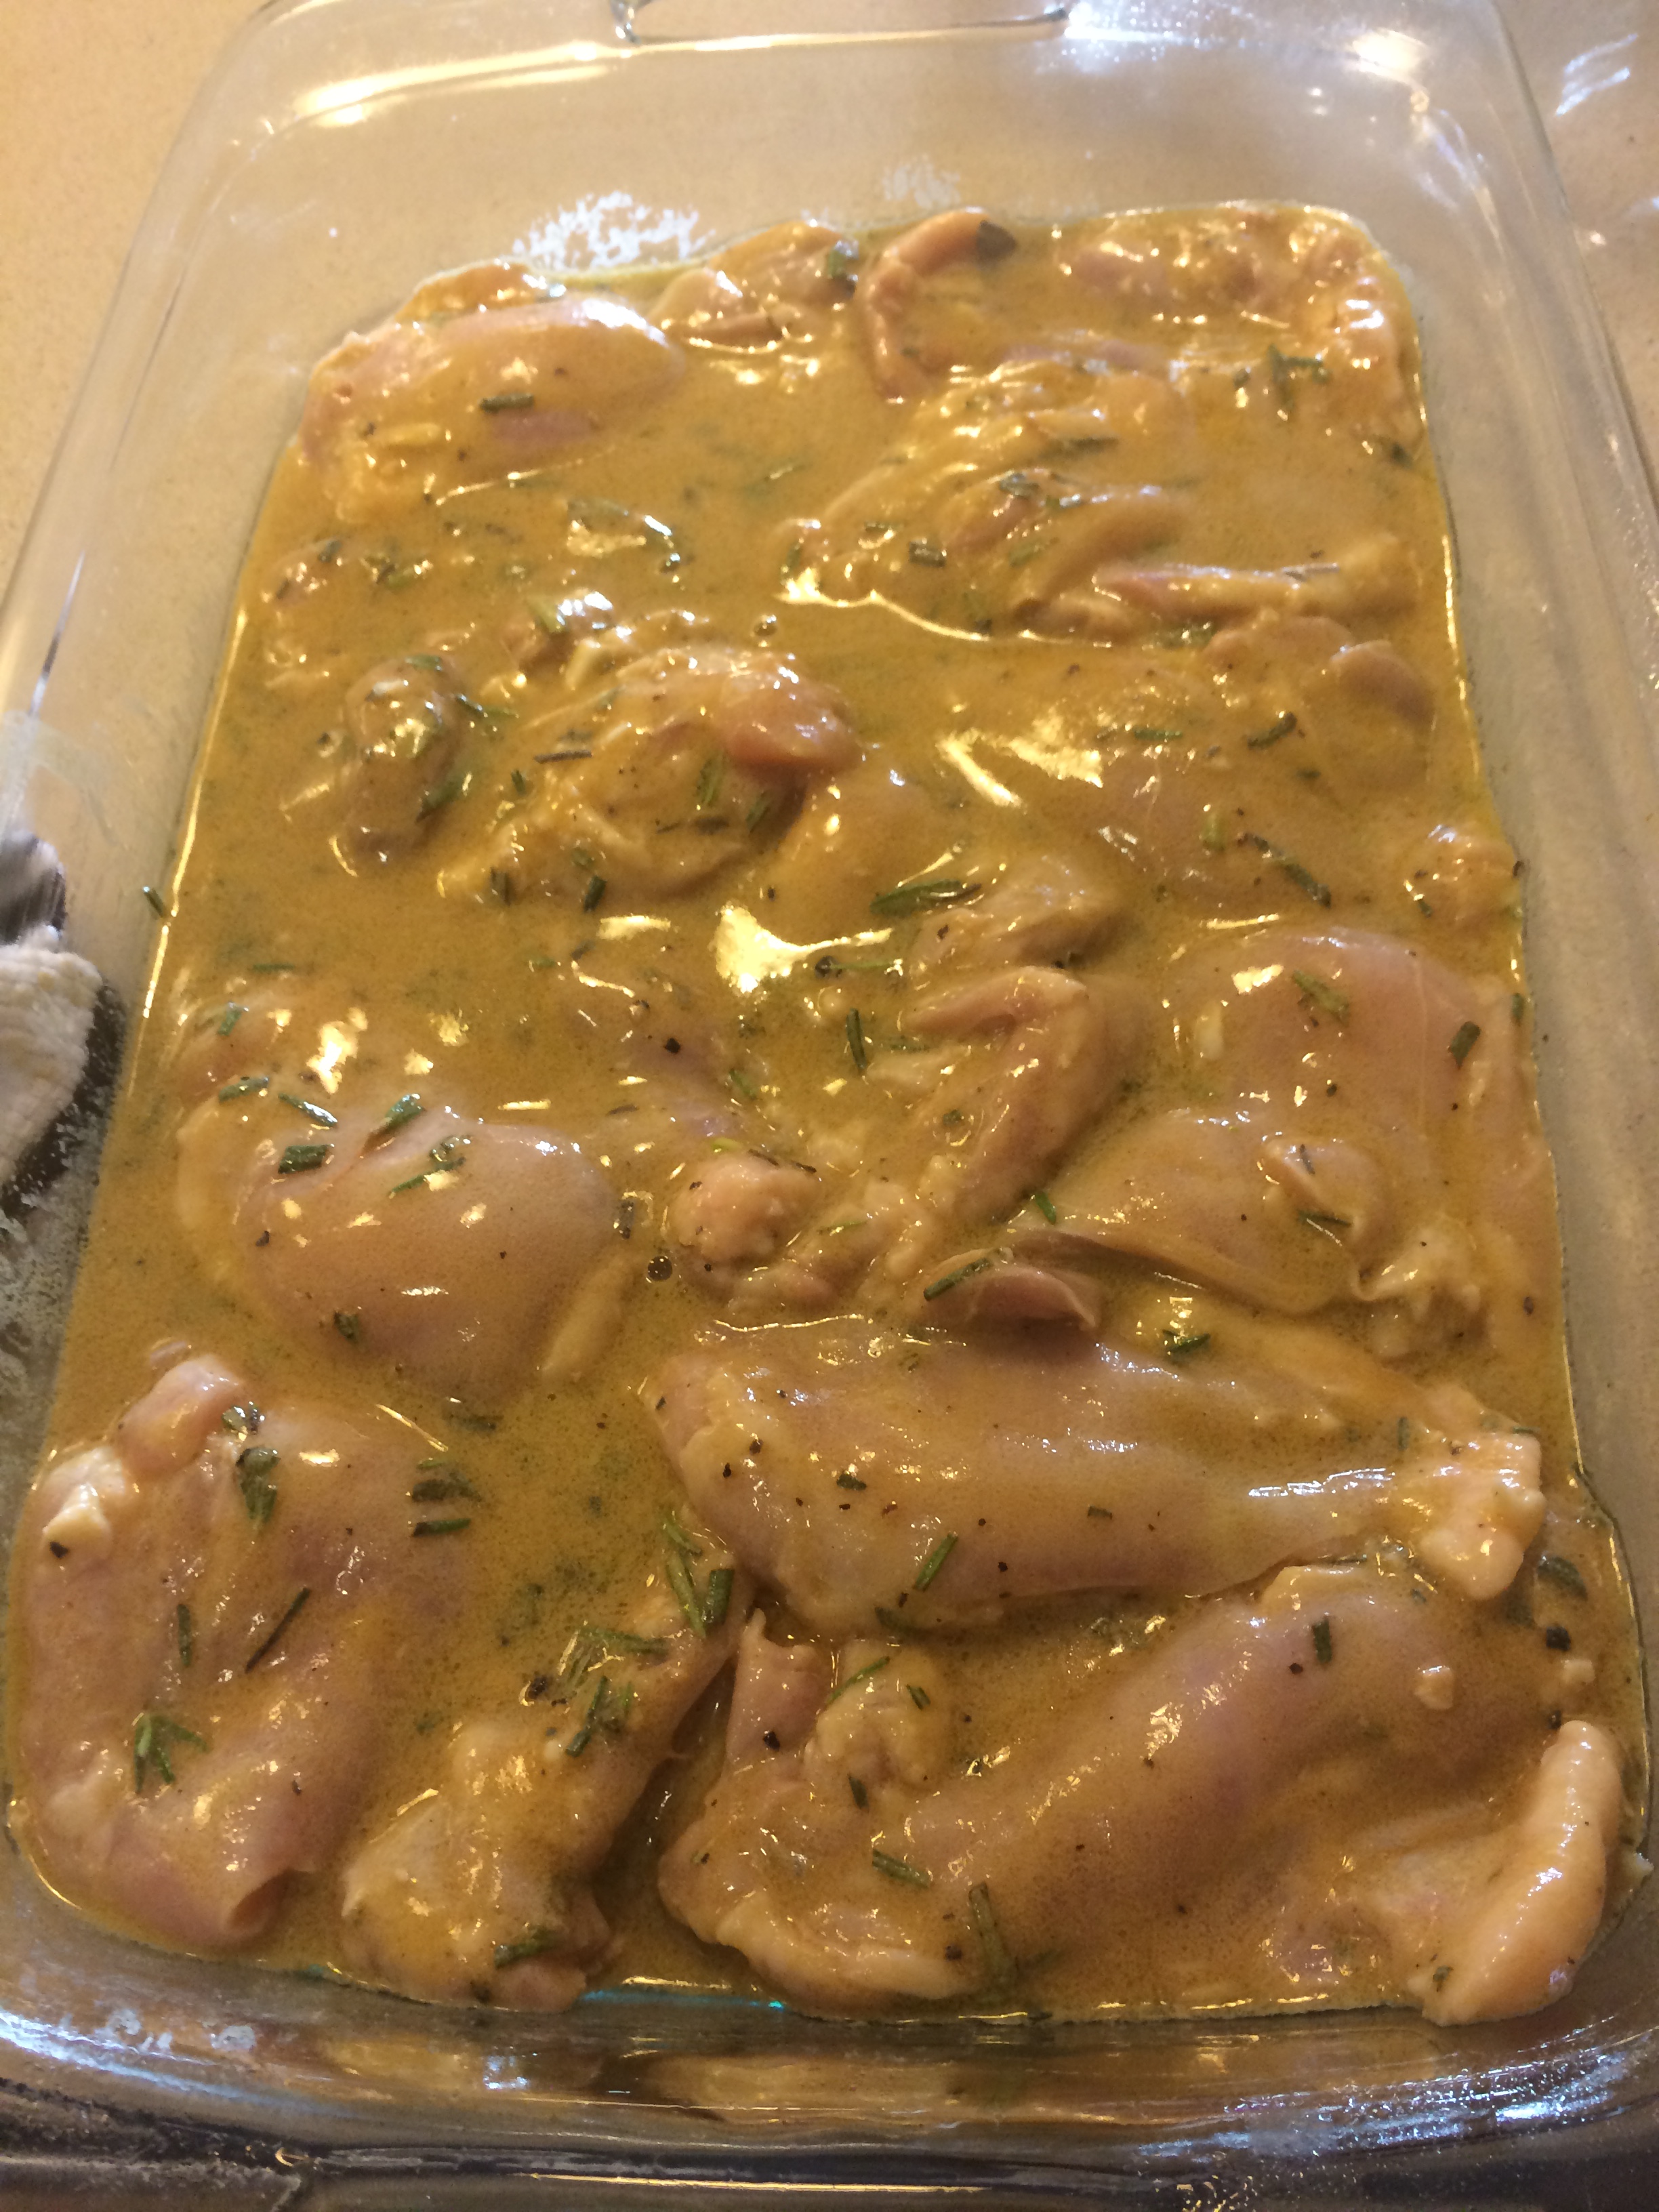
Chicken in Marinade for 1/2 hour

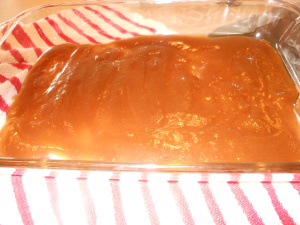
Chicken finished cooking

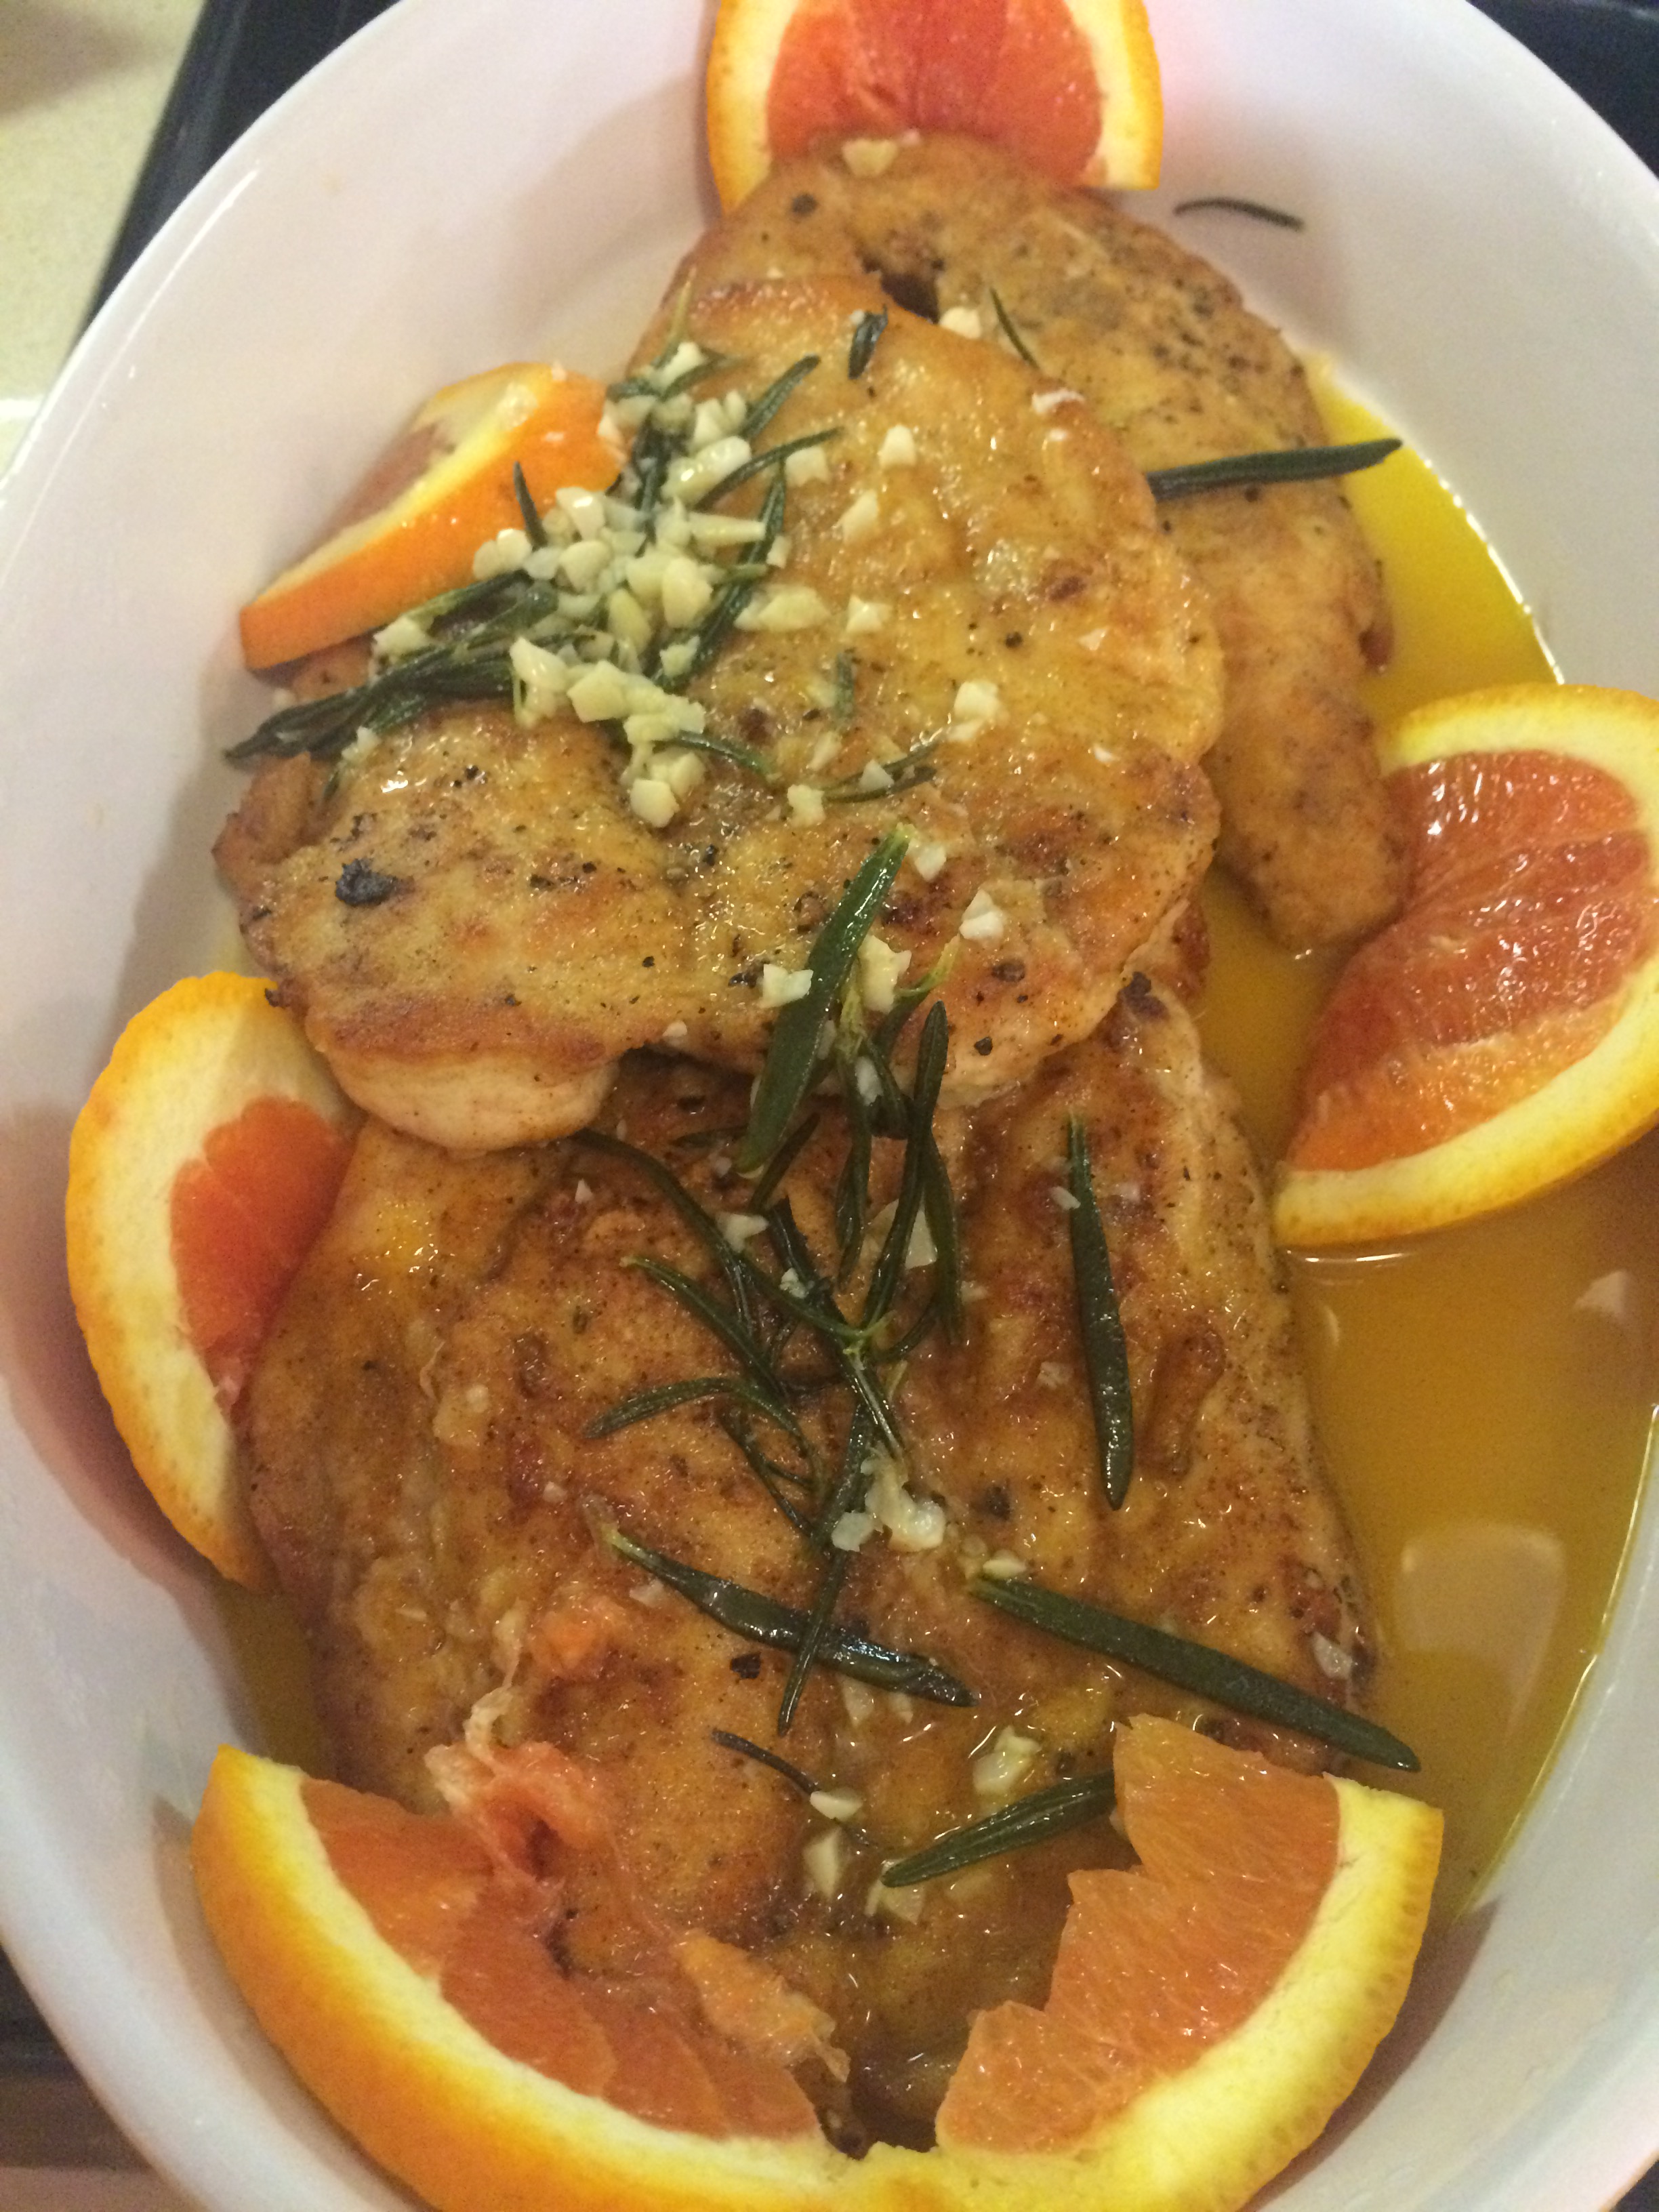
plated chicken
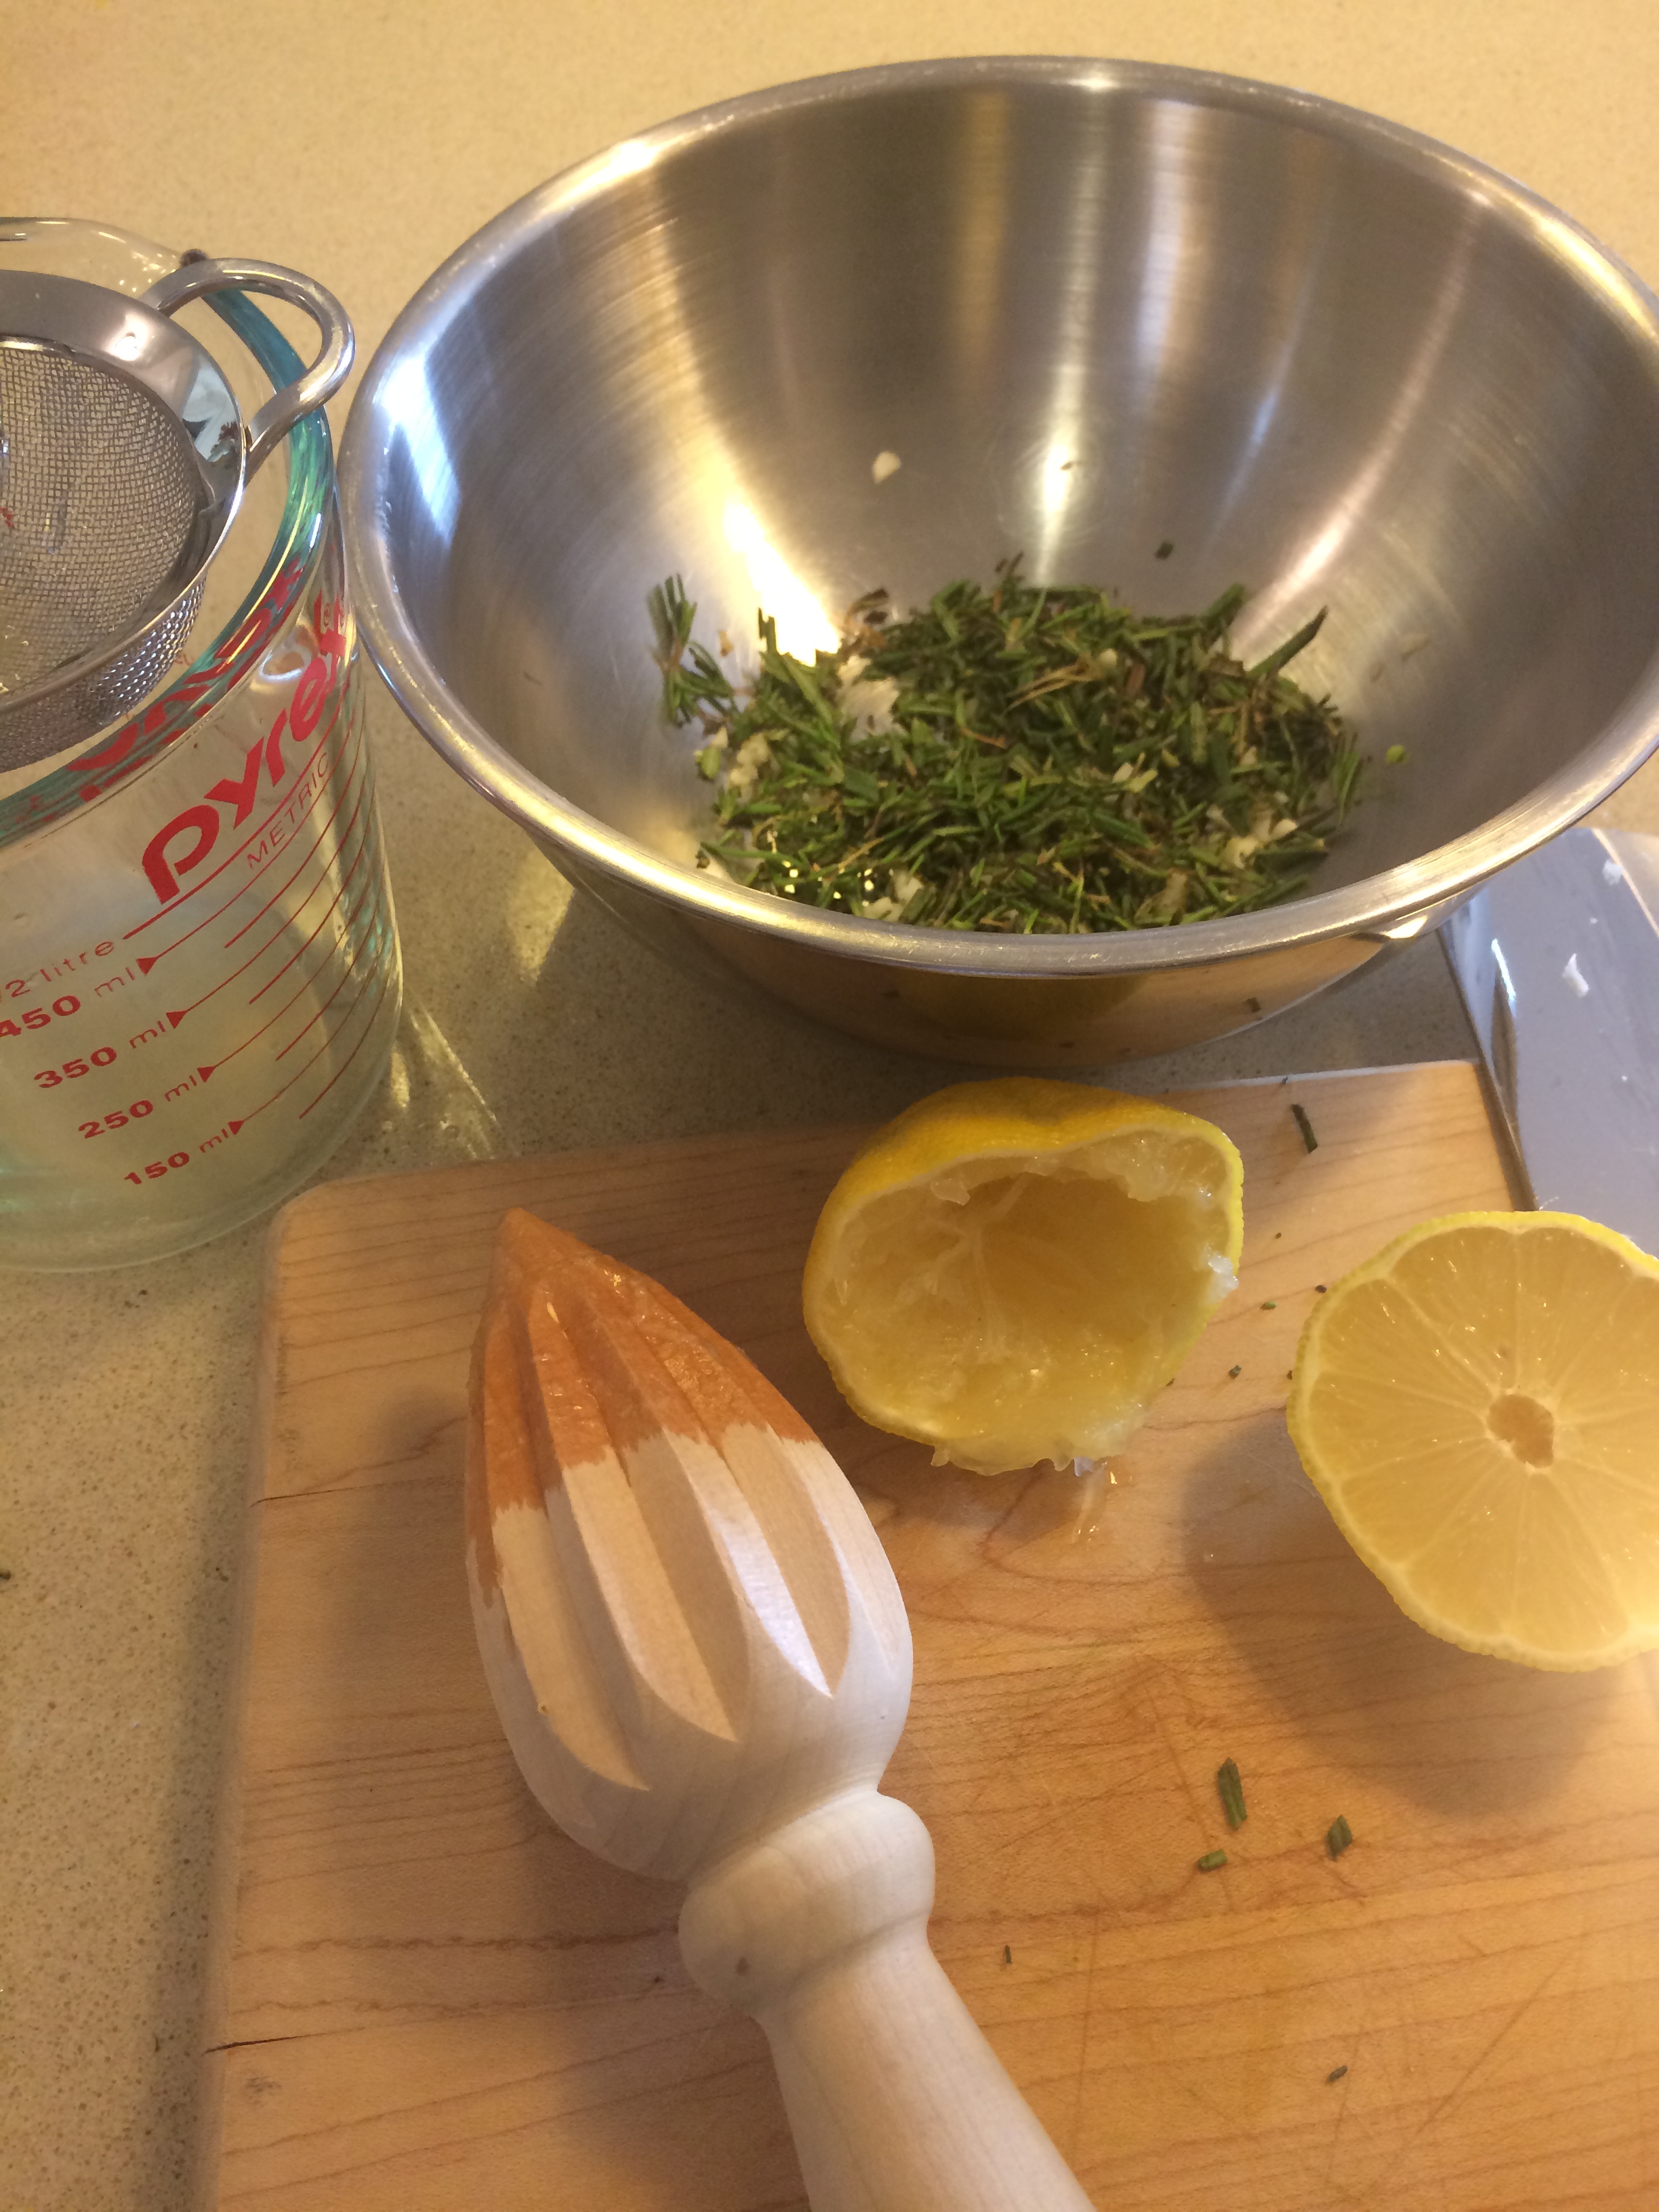
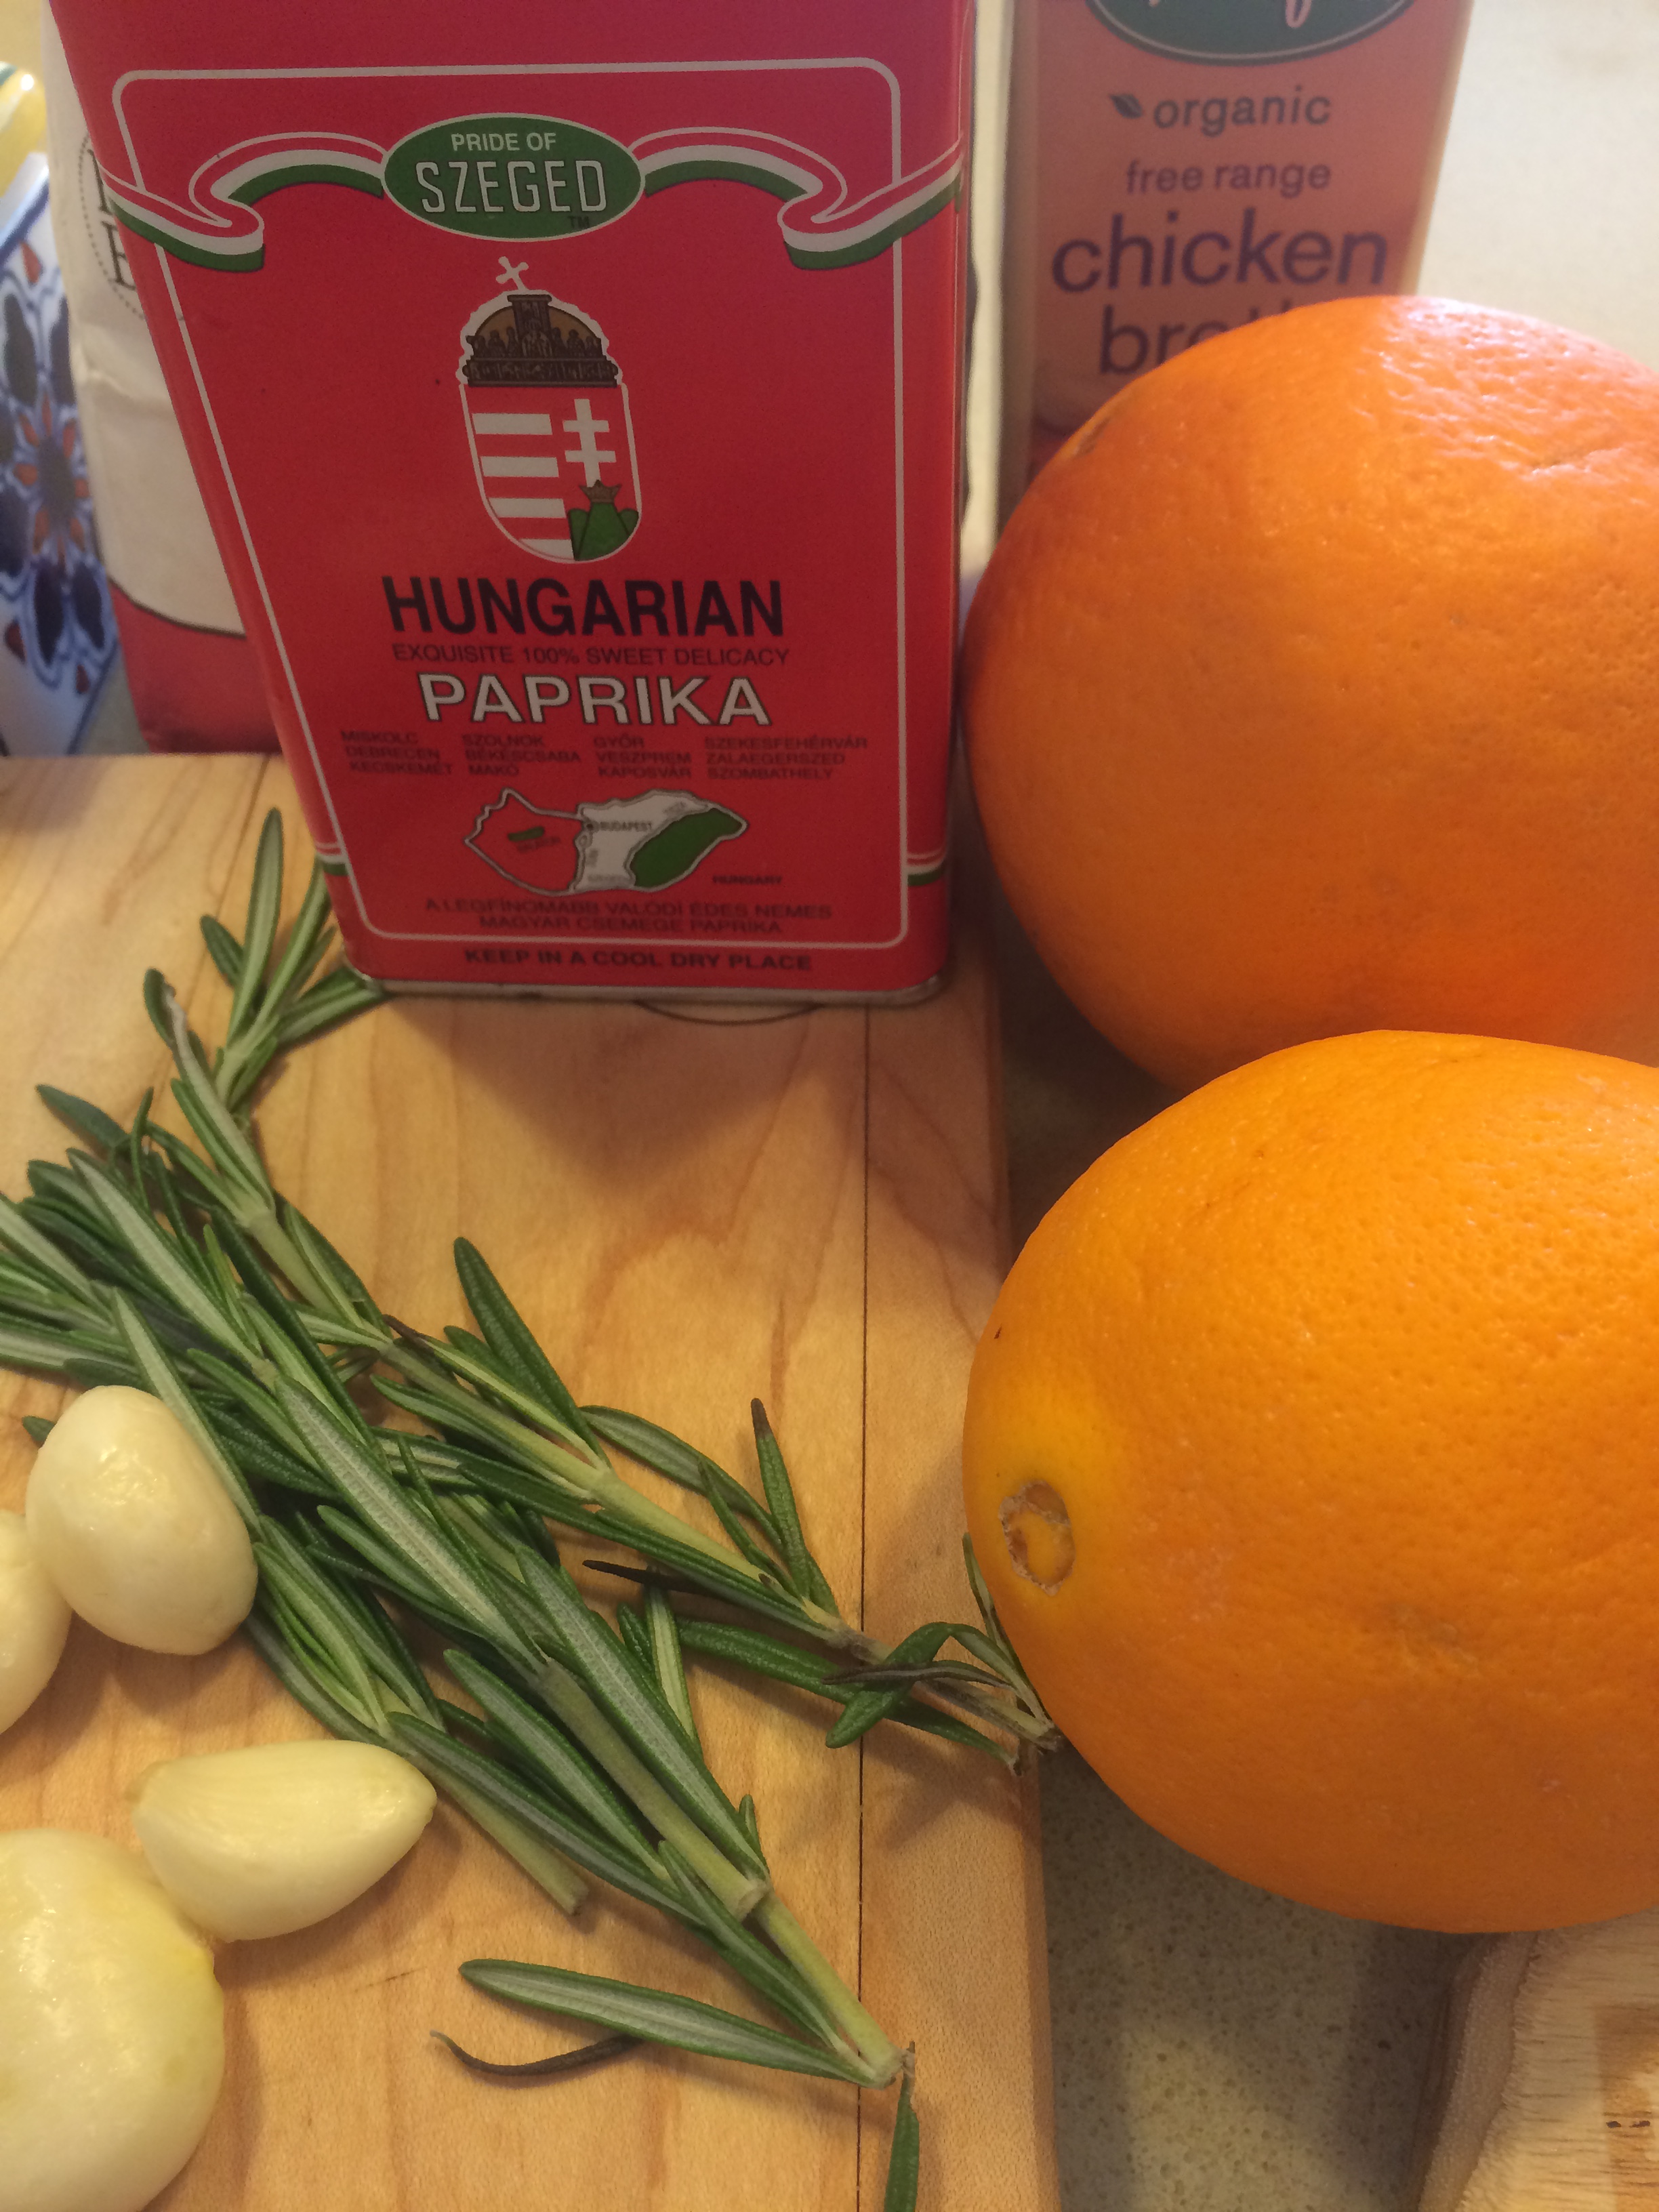
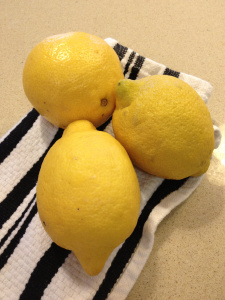
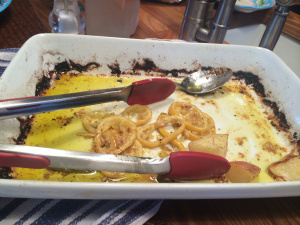
Lemon and chopped Rosemary
 I made this for dinner the other night and I have to say it was very delicious. I used boneless skinless chicken thighs, of course you can use any cut of chicken you’d like. All I needed was the chicken and the fresh rosemary. I had all the other ingredients on hand. You will need to marinate for about 1/2 hour and cooking time is about an hour, no need to marinate over night which is part of what I loved about this recipe. Balsamic Vinegar and Dijon Mustard and a few other easily obtainable ingredients make this a no fuss recipe. This recipe is for 8 boneless skinless thighs but feel free to double it up, I used about 10 thighs . It would be perfect on the grill as well. I used my oven and I have to say we both loved this recipe.
The chicken would also be wonderful on day 2 as a leftover in a salad!
Enjoy!
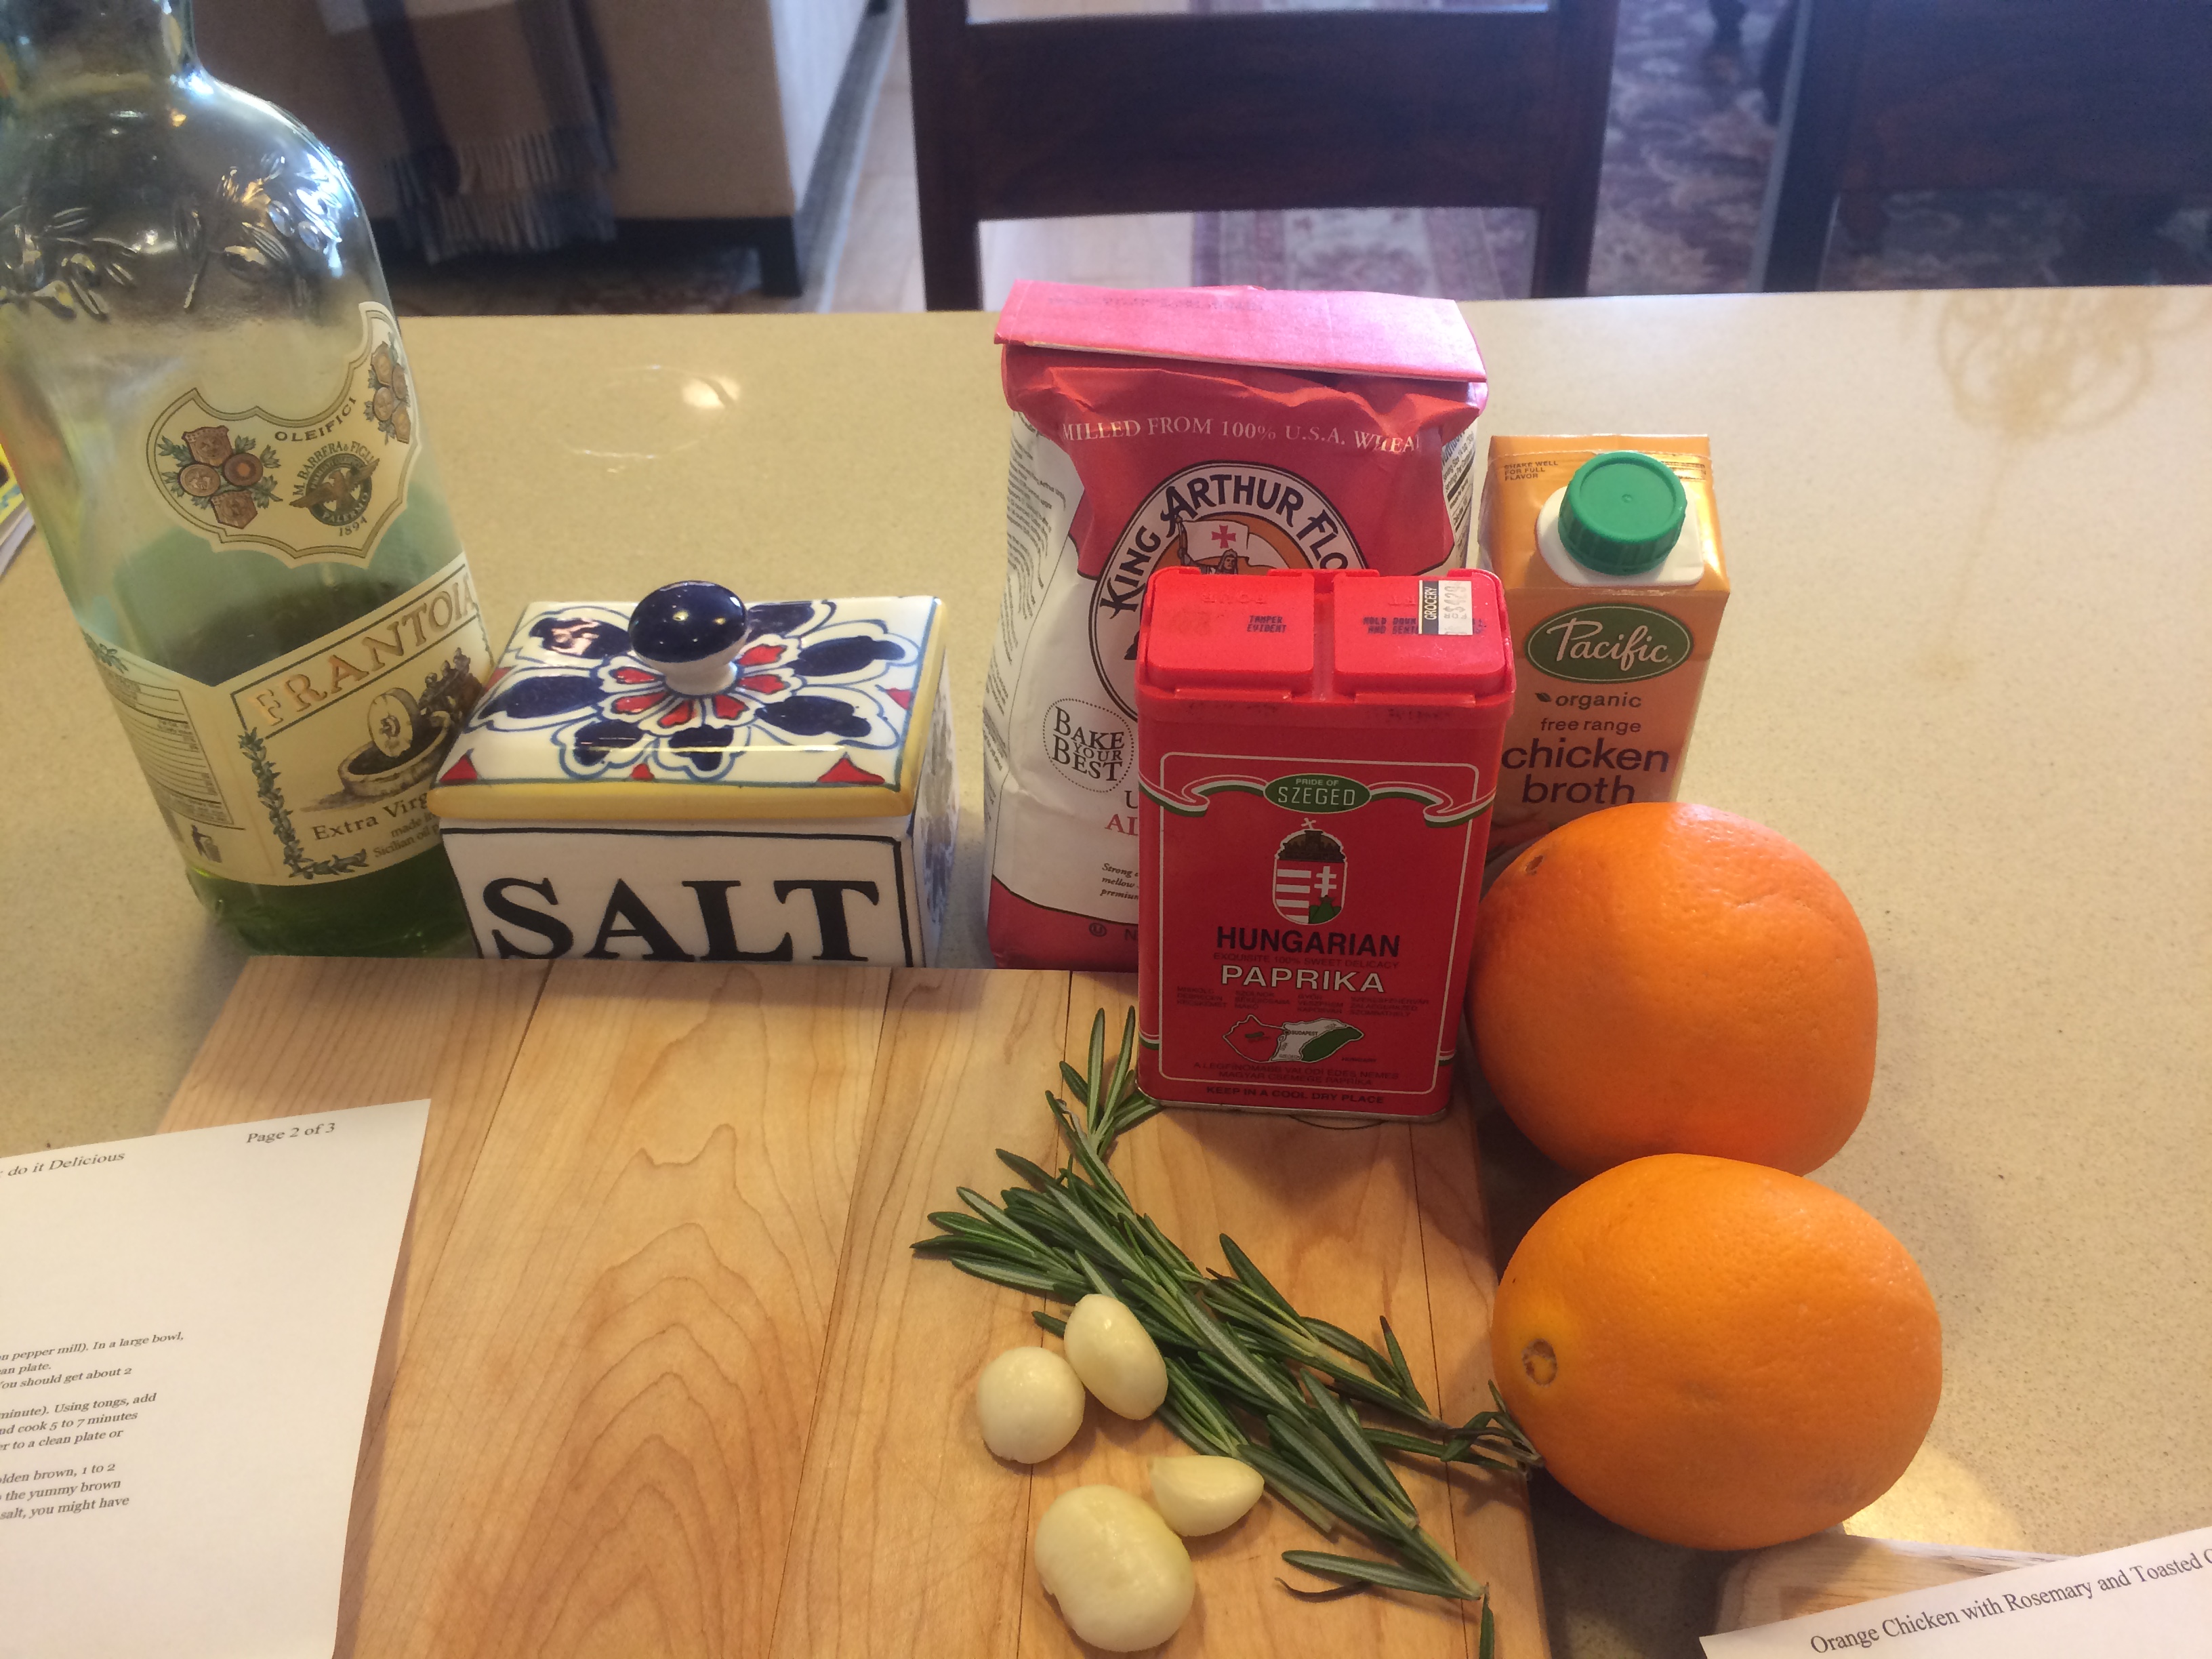
Ingredients:
8 boneless chicken thighs
1 Tbsp. Dijon Mustard ( make it heaping)
1/4 cup of Balsamic Vinegar
1/2 cup of Olive Oil
2 tbsp. fresh lemon juice ( I average lemon)
2 Tbsp. Fresh Rosemary chopped
1 garlic clove, minced
app. 1/4 tsp. of kosher salt, I just sprinkled lightly over the chicken and about 6 grinds on the pepper mill. If you’re doubling recipe you will obviously need more salt and pepper
Directions:
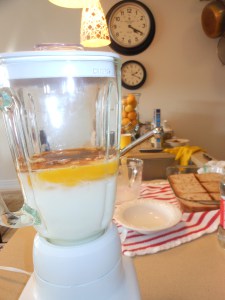
In a bowl, combine the mustard, vinegar, garlic, rosemary and lemon juice. Slowly add in the olive oil with the mixture while you whisk–to emulsify.
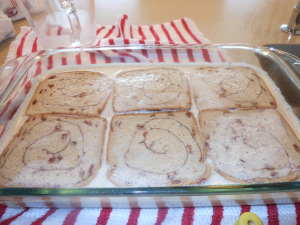
Place the chicken in a container or Pyrex (don’t use metal). I sprinkled about 1/4 teaspoon of kosher salt over the chicken tops. Pour the marinade over the chicken. I left it out for 1/2 hour and let it marinate, you can refrigerate it.
Preheat oven to 375 degrees
Transfer the chicken to a sprayed ( cooking spray ) baking dish and empty any remaining sauce on top of it.
Place in the oven and bake for 1 hour , or until the chicken is cooked through. It got a nice crust without drying out the chicken after one hour. Depending on your oven and the size of your chicken 1 hour should do it. If you’re working with breasts you’ll have to cut into chicken after 50 minutes to check for doneness depending on the size of your breasts. Haven’t tried it on the grill yet but I can’t imagine this would be anything but delicious, just don’t burn it up!!!!!!
")