Fresh Basil Pesto

photo 2 (6)

Chicken and Pesto on the Grill

photo 2 (8)

Pasta Pesto

The original recipe for this delicious pesto appeared back in May 2011 on Cooking with Candi.  Yummy Pesto was the title. This is the same recipe from my BFF Suki. I have tried many pesto sauces and this remains my absolute go to favorite. It is super easy and while the basil is abundant you should make it and freeze it. When you freeze the pesto in a container, pour a thin layer of olive oil over the top . I have it frozen for up to 3 months. I use it on chicken, pasta, and it’s wonderful as a spread. This recipe is good for 2 lbs. of pasta usually. So I use 1/2 and freeze the rest if it’s just the 2 of us.

Pesto Chicken on the Grill with Grilled Peppers and Roasted Sweet Potatoes
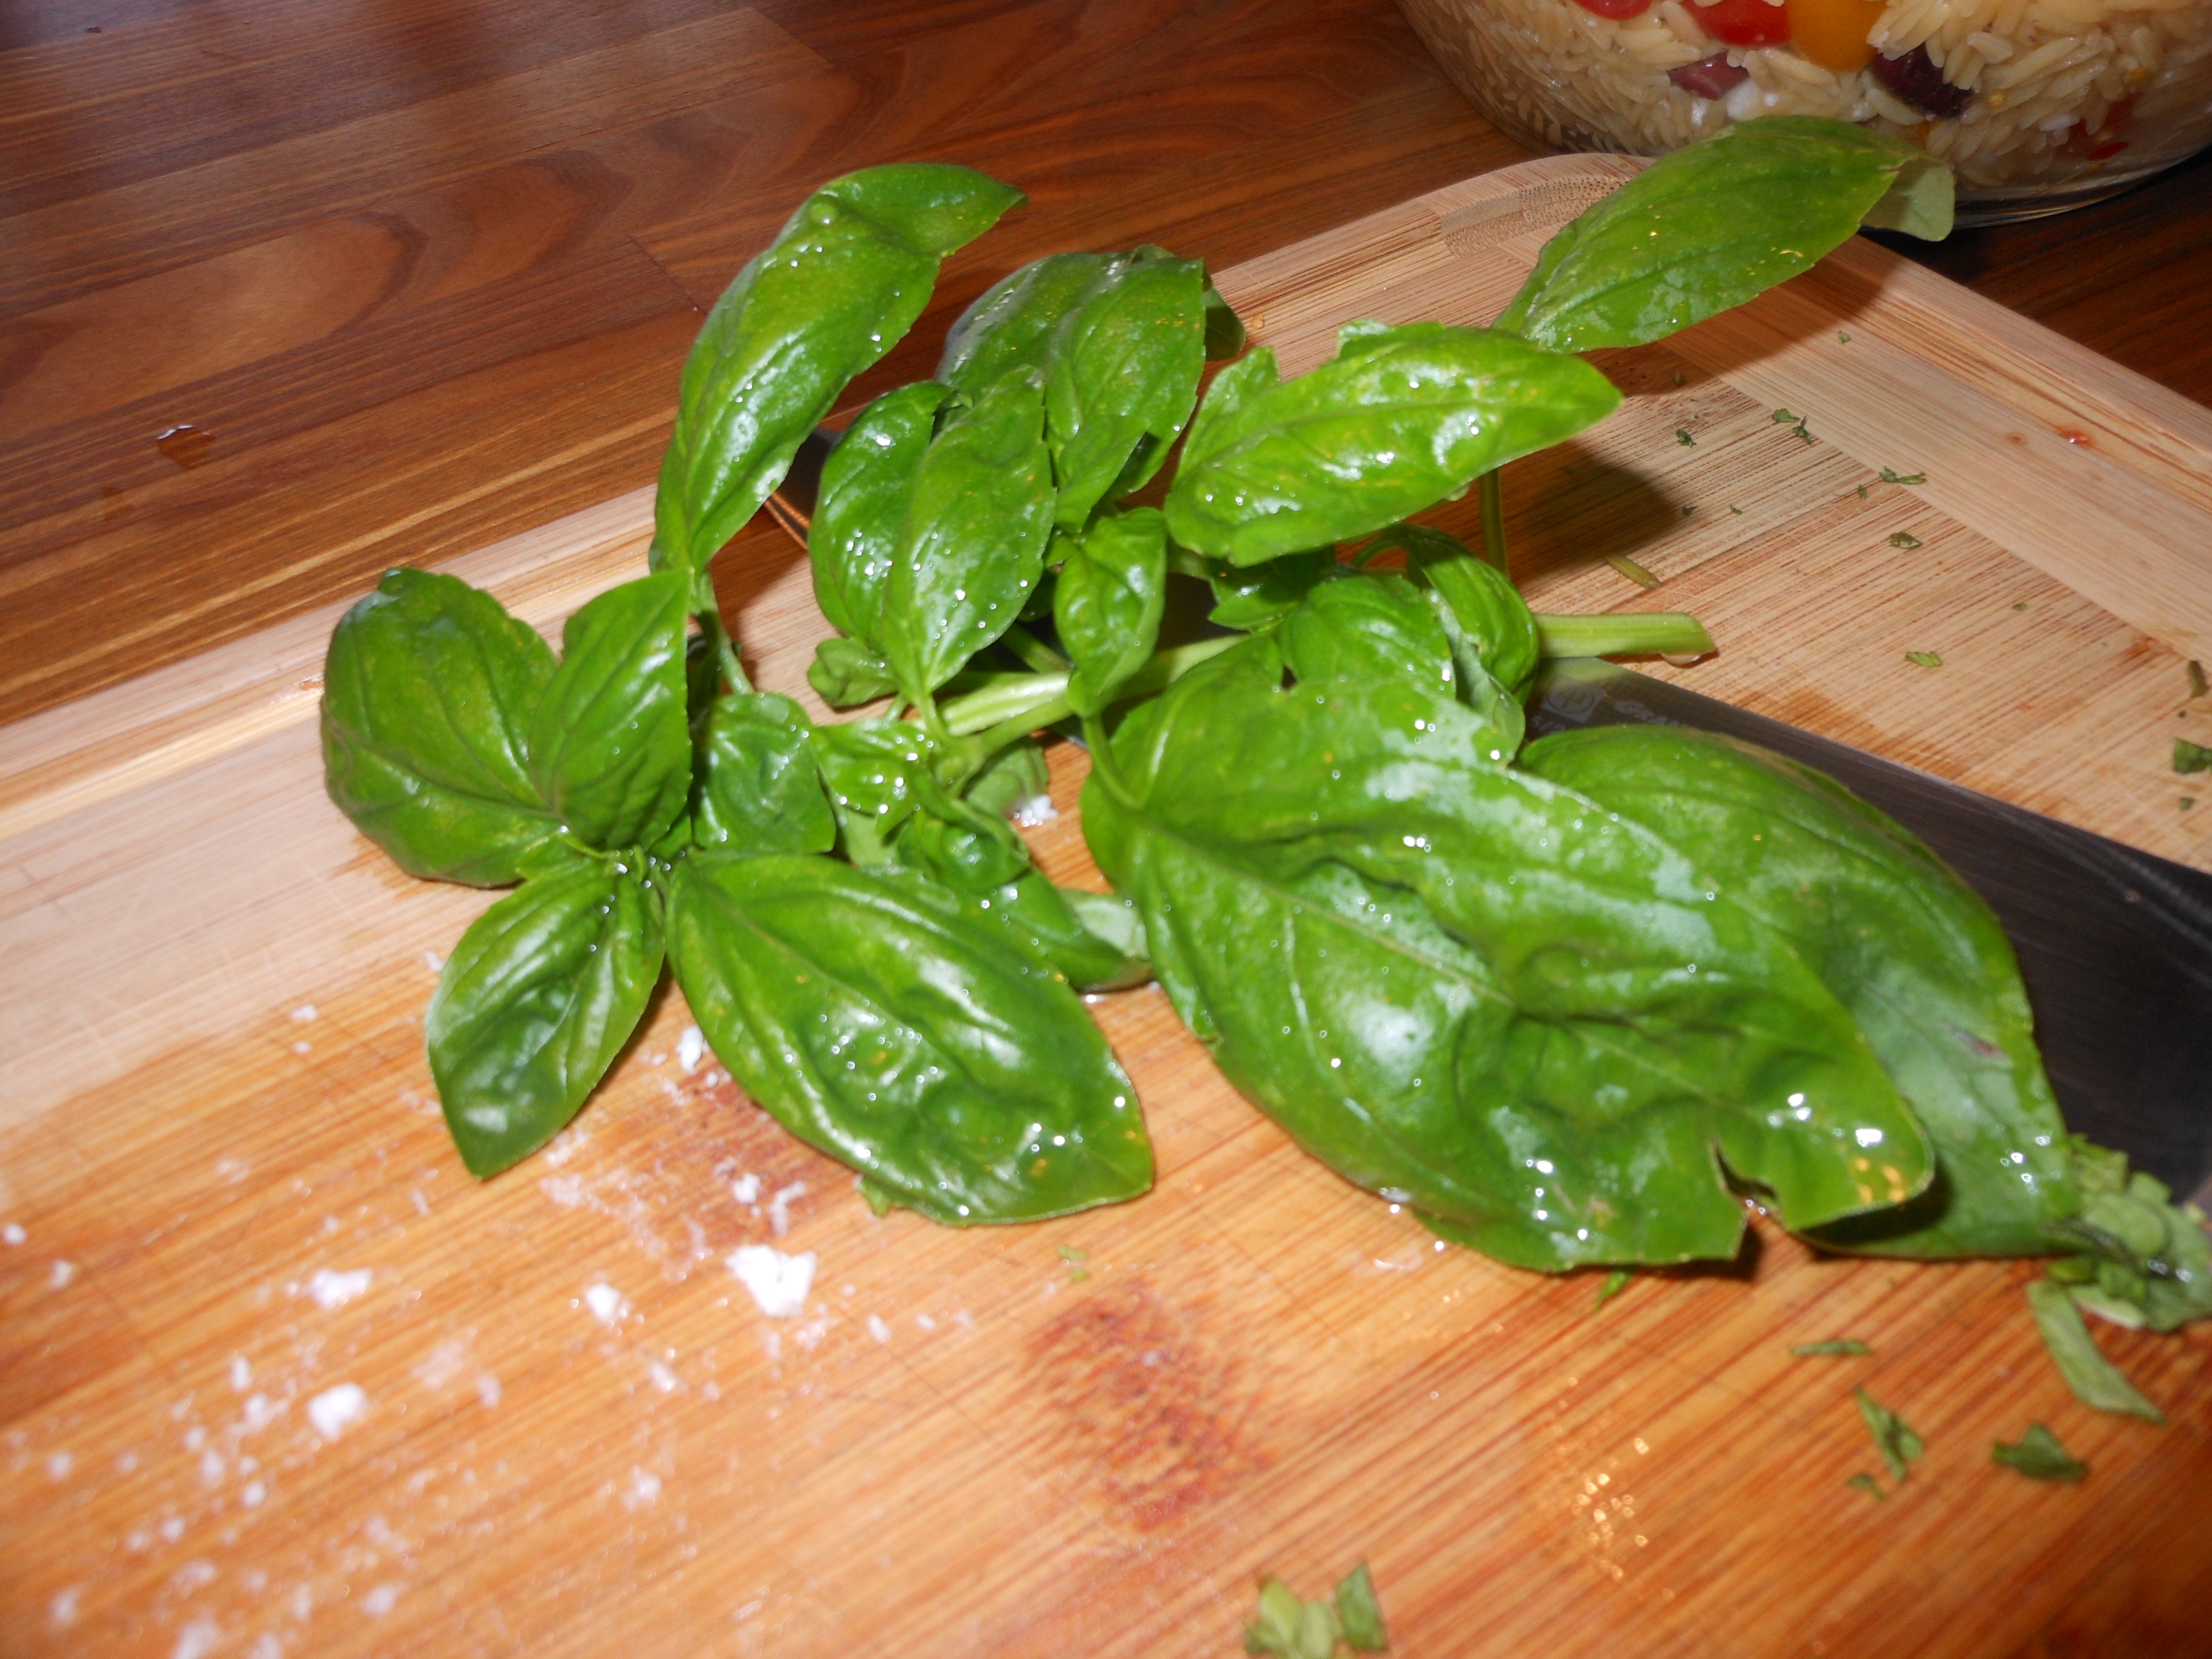
DSCN3588

Fresh Basil

If you are going to use on chicken , just brush on the chicken sprinkle a tiny bit of  kosher salt on it and  let it marinate for a few hours at least and it can be marinated  overnight in the refrigerator. Take it out of fridge and let it sit at room temp. before putting on the grill. That’s it!

*if you’re going to freeze the pesto for a later date–put into a container and add a thin layer of olive oil to the top. Then when you defrost it just mix the olive oil in this will keep it green .

*You’ll need a food processor

Ingredients:

2 cups fresh basil (washed)

1/2 cup romano cheese (grated)

1/2 cup parmesan cheese ( grated)

1/2 cup pignolli nuts or walnuts

1 cup extra virgin olive oil–use a good one

1 – 3 tablespoons of unsalted butter (it’s good if the butter is softened before adding) you can soften in microwave

4 cloves garlic – peeled and whole

freshly ground black pepper–to taste

*kosher salt to taste if you feel you need it after finished making pesto

Directions:

I put all ingredients except for olive oil in the food processor. Give it a few grinds using the blade attachment. Then I slowly add in the olive oil through the top of processor while it’s on. Beautiful green pesto! so easy. Taste for salt and pepper

Cook pasta and drain and add pesto. Done!

BBQ Sauce


I made this BBQ sauce and used it on chicken and ribs and it was so delicious. I put it into a bell jar and kept it in the refrigerator for a week. There are a lot of ingredients but it’s worth the effort. Nothing but good old fashioned ingredients. We like it spicy so this has a lot of kick because of the chipotles in adobe sauce, if you want it to be milder use only 1 chipotle or none.

Ingredients:

1 tablespoon vegetable oil

1/2 small yellow onion, finely chopped

2 cloves of garlic, also finely chopped

1 cup ketchup

1/2 cup Molasses

1/3 cup apple cider vinegar

1 Tbsp. Worcestershire Sauce

1/2 tsp. ground allspice

1/4 tsp. ground cloves

2 chipotles in adobo sauce,  roughly chopped–you can eliminate this if you don’t like it spicy or cut in 1/2

Directions:

Heat the oil in a medium saucepan over medium high heat. Add the onion and cook , stirring occasionally, until onion is nice and soft, depending on your stove top anywhere from 5-8 minutes. You just want them very soft and translucent not browned.

Add the garlic, and cook stirring till garlic looks softened , another few minutes. Add 1/2 cup water and the ketchup. I mixed the water and ketchup before adding.

Add the molasses, vinegar, Worcestershire Sauce, allspice, clove, chipotles and 1/2 tsp. kosher salt and bring all ingredients to a low boil. Reduce the heat, and bring to a slow simmer, stirring occasionally. It will start to thicken up in about 10 minutes or so. I let it cool a little bit and the put into the blender until it was smooth. Store the sauce in the refrigerator until you’re ready to use. This sauce can be made up to a week in advance.

Chicken:

This particular night I made BBQ chicken–dark meat. I used thighs and legs.

I dried off the chicken on some paper towels. Prepared my grill by spraying well with Pam Grill Spray or whatever you like to use, you can also oil the grates.

Separate about 3/4 of a cup of  sauce for basting . You don’t want to cross contaminate raw chicken with sauce that you may want to use . I place the remainder of bbq sauce in the refrigerator and put some in a bowl for serving.

Lightly season the chicken with a sprinkle of salt and pepper. Sear the chicken with no sauce on the grill , skin side down, until nice grill marks form, app. 5 minutes. Then flip over.

Reduce the grill to low. Cook the chicken covered, turning and basting with the BBQ sauce every 5 minutes or so, until the chicken is cooked through, about 25 minutes. Check doneness with a meat thermometer or cut into it.

Throw away any sauce that you used on un-cooked chicken.


Summer Salad–Farm Fresh Farro

photo 5 (4)photo 4 (65)photo 2 (69)photo 3 (4)

I am always on the search for some new vegetarian recipes to try out.  The inspiration for this salad came from some beautiful radishes from the farmers market and some fresh sugar snap peas. During the summer months with all the beautiful fresh vegetables available it’s super easy to throw together these salads. The fresh parmesan pieces give it the extra kick and salt it needs, use as much or as little as you like. I prefer pearled farro for this recipe.

*original recipe from Jessica Seinfeld website Do it Delicious

Ingredients:

1 cup pearled farro

1 cup sugar snap peas

4 large radishes

2 scallions

1/4 cup mint leaves loosely packed

1/4 cup parmesan pieces

3 tablespoons fresh lemon juice

2 tablespoons olive oil

1/2 teaspoon kosher salt

1/4 teaspoon freshly ground black pepper

Directions:

Follow directions on the box of farro or fill a saucepan to about an inch from the top. Bring to a boil, and add the farro and cook until tender but still chewy, about 10 minutes. Drain in a strainer and run under cold water to cool down. Drain out excess water and let sit while you prep the rest of the salad.

Wash the snap peas and radishes. Remove the stems from the snap peas, cut them crosswise into 1/2″ pieces and add to a medium bowl. Trim the stems off the radishes and remove the root ends. Slice the radishes in half , then slice crosswise into thin half moons. Add the radishes to the bowl. Trim the ends of the scallions, wash and then slice the white and light green parts of the scallions into small rounds. Add to the bowl. Tear the mint leaves and add to the bowl. Take the parmesan and crumble into the bowl, you can use your hands or a knife to crumble parmesan. Add the cooled farro to the bowl.

Add the lemon juice, olive oil, salt and pepper to the bowl. Taste for seasonings. Mix and allow to sit for a bit before serving. I made ahead and stored in fridge. I removed before serving for a while to bring to room temperature.


Farro Salad

I made this last night combining my recipe which is on my blog “Summer Salad-Farm Fresh Farro” and Charlie Bird’s Famous Farro Salad. My blog post was from a few years ago long before I ever saw Charlie Birds version.  Please feel free to add veggies at your own discretion. It’s a loose recipe but this is what I did. This would make a great addition to any BBQ and perfect for Fathers Day 2017.

Special thanks to Charlie Bird’s Farro Salad @nytimes cooking site by Melissa Clark

cooking@nytimes.com – one of the best cooking sites I know

Ingredients:

1 cup Farro

1 cup apple cider

2 cups of water

2 teaspoons kosher salt, and more to your own liking

2 bay leaves

8 Tablespoons extra -virgin olive oil

2 Tablespoons fresh lemon juice- I used 1 large lemon

app. 1/2 cup shaved Parmesan Cheese , I used a vegetable peeler but I do know you can buy Parmesan Cheese shaved this way ( time and mess saver)

app. 1/2 cup shelled Pistachios–I used salted pistachios and chopped them myself. You can use raw pistachios but they’re a tad tasteless.

app. 2 cups Arugula

app. 1 cup torn Basil Leaves

app. 1 cup Mint leaves-cut up into smaller pieces

2 large radishes sliced thinly or rough chopped

Directions:

Farro:

In a medium saucepan, bring farro,  apple cider, dash of kosher salt , 2 bay leaves and 2 cups of water to a simmer. Simmer until farro is tender and liquid evaporates, about 30 minutes. If farro is cooked but there is still water I put in a colander/strainer and leave it till it cools down. If on the other hand the water evaporates before the farro is done, you’ll have to add a little more water. You can always strain it so no worries–but don’t overcook. Let farro cool down and discard the 2 bay leaves.

Salad:

In a salad bowl (large enough to fold in arugula and mix) whisk together the olive oil and lemon juice, I use a wire whisk, it’s an amazing kitchen tool. Add the cooled down farro, parmesan cheese and chopped pistachio nuts, mix well.

This salad base will sit for a few hours at room temperature. I made it that afternoon for that evening and never put it in fridge. Salad is always best at room temperature so if you do refrigerate, just bring to room temperature before serving.

Just before serving, fold in the arugula, herbs, radishes and taste for salt. If not salty enough sprinkle a little flaky sea salt or kosher salt. You’ll thank me for this recipe.IMG_1779IMG_1780

Pasta with Tomato and Walnut Pesto

Tomato Pesto!!!! Basil is just a garnish and not even necessary in this wonderful pasta dish. Lovely for summer nights and perfect for the colder seasons as well. Pretty easy to prep, you’ll need a food processor for this one.

Easy obtainable ingredients.

Ingredients:

2/3 cups walnuts

2 pints cherry tomatoes, halved

2 tablespoons plus 1/3 cup olive oil

kosher salt

6 oil-packed anchovies, coarsely chopped

2 garlic cloves, coarsely chopped

1 teaspoon finely grated lemon zest

1/4 teaspoon crushed red pepper flakes

1/2 cup Parmesan, finely grated (about 1/2 cup), plus more for serving

1 teaspoon freshly ground black pepper

1 box spaghetti, use any type you prefer , I prefer a long spaghetti type of pasta

Fresh Basil for sprinkling garnish* optional

Directions:

Preheat the oven to 350 degrees.

Toast walnuts on a rimmed baking sheet, tossing once until slightly darkened, app. 10 minutes but check on them after 8 minutes–don’t want to burn the nuts. Set aside to cool.

Heat the broiler. Toss tomatoes with 2 Tbsp. of oil on a rimmed baking sheet; season with some salt. Broil tossing once .  I broiled until tomatoes started to blister and released some of their juices. App. 6-9 minutes. Let cool.

In the food processor fitted with metal blade pulse the anchovies, garlic, lemon zest, red pepper flakes and 1/2 cup Parmesan Cheese until finely ground. Add the walnuts and half of the tomatoes, then with motor running stream in 1/3 cup of olive oil; process until well combined. Season with salt and pepper to taste.

Cook pasta according to the box directions for al dente. Drain and reserve 1 cup of pasta water.

Transfer pasta to a large bowl add the pesto and add a splash of pasta water. Toss adding more cooking liquid as needed, until sauce coats pasta. Add basil if you’d like and remaining tomatoes.

Enjoy!

*Pesto can be made 1 day ahead. Keep in fridge.


Mocha Icebox Cake –can be gluten free

This is a most amazing dessert. It can be made in a large bowl like a trifle, which is what I did or for a more spectacular presentation in an 8″ springform pan. I made it in a large glass bowl and while I don’t have a lot of photos I can tell you that this was a big hit! I even froze the leftovers and they were outstanding. I made it with Tates gluten-free chocolate chip cookies because a friend of mine who was coming for dinner is gluten-free. If you’re looking for a gluten free dessert for a crowd this is it!

This was surprisingly easy to make and no baking makes it a perfect go to dessert. This was a crowd pleaser for sure.

You’ll need an electric mixer with the whisk attachment for this.

Ingredients:

2 cups heavy cream ( I didn’t say this was diet food)

12 ounces Italian Mascarpone Cheese

1/2 cup sugar

1/4 cup coffee liqueur, I used Kahlua

2 Tablespoons unsweetened cocoa powder

1 teaspoon instant espresso powder

1 teaspoon pure vanilla extract

3 packages chocolate chip cookies, I used Tates (gluten-free or regular) in the bowl I didn’t quite use the 3 packages but if you do it in a springform you’ll probably need them all.

Shaved semi sweet chocolate for garnish

Directions:

In the bowl of an electric mixer fitted with the whisk attachment, combine the heavy cream, mascarpone, sugar , Kahlua, cocoa powder, espresso powder, and vanilla. Mix on low speed to combine and then slowly increase speed until it forms firm peaks (this could take up to 6 minutes so don’t get nervous if it takes a while)

In a large glass bowl, I broke the cookie into pieces for the bottom of the bowl, covering the bottom as much as possible. Spread some of the mocha whipped cream evenly over the cookies ( you’ll want about 5 to 6 layers depending on the bowl) so eyeball the whip cream so you’ll have enough. Place another layer of cookies on top, lying cookies flat and touching one another. Follow by another layer of cream, continue layering cookies and cream until there are about 5 or 6 layers and you’ll want to end with a layer of cream. Smooth the top, cover with plastic wrap , and refrigerate overnight.

Right before serving I sprinkled the top with chocolate shavings. Serve cold.

I did freeze this in small plastic containers and then just defrosted it in refrigerator and took out of fridge for a little bit and it was perfectly delicious.

I scooped into dessert dishes, a little goes a long way with this because it’s pretty rich. Will probably serve 10-12 in small dessert dishes.

Springform Pan directions:

You’ll need an 8″ inch springform pan.

Directions are pretty much the same – 5 layers will do it. When you are ready to serve run a sharp knife around the outside of the cake and remove the sides of the pan. Sprinkle the top with the chocolate, cut in wedges, and serve cold.


OMG Apricot Bars

OMG Apricot Bars out of oven

OMG Apricot Bars pre cooked

These bars are nothing short of a-mazing! They are the most perfect, delicious treats–great to take on a hike, great for after a ride on your bike…ok, enough Dr. Seuss. Just go ahead and bake them–it is not difficult. I woke up early this morning and decided to bake them and one hour later, they were finished and out of the oven. They remind me of a yummy, soft granola bar. If you don’t like apricots, substitute cherries and cherry preserves, blueberries and blueberry preserves, etc. (I’m not sure if I would use fresh blueberries. Just stick with the dry version of the fruit and the matching preserves.) Thanks to Giada for the inspiration on this one!

INGREDIENTS:

Filling:

1 large jar of apricot preserves (I used an 18 oz jar of apricot/pineapple preserves because that’s what I had in the house. You can use a 13 oz jar of apricot preserves. I like it very gooey so I used a large jar of preserves.)

8 dried apricots, chopped up into small pieces

Crust:

1 3/4 cups all-purpose flour

1 cup light brown sugar, packed

1 teaspoon ground cinnamon

3/4 teaspoon baking powder

3/4 teaspoon kosher salt

1 teaspoon vanilla

1 3/4 cups old-fashioned oats (not the instant or 1-minute kind)

1 cup chopped walnuts

1 stick unsalted butter, melted

1 egg (room temperature), beaten

DIRECTIONS:

Preheat oven to 350 degrees. Make sure oven rack is in the center of the oven.

Line a 9×13 baking dish with parchment paper (see picture) on the bottom and the sides and then spray the paper with cooking spray (I use Pam).

In a bowl, mix together the jam and the dried apricots and set aside.

In a large, separate bowl, whisk together the flour, brown sugar, cinnamon, salt and baking soda. Stir in the oats and walnuts. Add the melted butter, egg and vanilla and mix very well. Using a utensil or your clean hands, lightly press half of the crush mixture into the bottom of the prepared pan. Using a knife or spatula, spread the apricot filling (use it all) over the first layer of crust. Cover the filling with the remaining crust mixture and gently press the crust mixture to flatten. Bake for about 35 minutes until light golden brown. Cool for at least one hour. Cut into bars. They will lift right out of pan with the paper and cleanup is a snap with parchment paper.

These will stay in an airtight container for at least three days. I will freeze them for the next time we want them, because they are too dangerous to have around.

* Yields about 24 bars

Summer Sangria on the Light Side


This is a light cool drink for when the weather turns warm. Sangria and Summer!  Perfect to make for a large crowd, easy as could be and light because it’s made with sugar-free Lemonade .  If you don’t want to use sugar-free just use regular lemonade, it’s no problem. I remember making Sangria and it was messy and required a lot of different ingredients plus a lot of sugar. My friend Carol has been making this for years and I have called upon her many times to re-create this Sangria. It can be made with white or red wine. It makes 2 quarts without ice, so that goes a long way . You can cut up whatever fruit you like , peaches are beautiful , oranges, apples, pears, strawberries whatever you like. I like to make the Sangria in the afternoon just so the fruit gets the full  flavor of the wine and marinates for at least a few hours. It’s not critical though. I think you’ll like this one. Again, thanks Carol so much for sharing and promise I won’t annoy you anymore now that I have it written down .


Ingredients: 

1 Bottle Wine Red or White ( I used Pinot Grigio but you can use whatever you like or have) I wouldn’t use a very expensive bottle for this.

1 Bottle Club Soda ( not the very large bottle ) 1 quart bottle

Fruit of your choice , peaches , pears, oranges, nectarines, apricots, apples ,etc. I slice into thin slices which are easy to eat . Slice them up and eyeball it. Whatever you like, I used peaches, apricots, apples and oranges .

1 packet Sugar Free Wylers or Crystal Light Lemonade , I use Yellow Lemonade for White Wine and Pink Lemonade for Red Wine , if you’re opposed to using sugar substitutes you can certainly use fresh lemonade.

You’ll need a 2 quart pitcher, I use a nice glass pitcher . It can be kept for a while in fridge in a plastic 2 quart container. Sometimes for a very large gathering I make an extra one and keep in refrigerator without the fruit, just as a back up.

Directions:

Cut up fruit into slices/pieces for Sangria. I take a 2 quart pitcher pour in the bottle of wine, put in the packet of Wylers or Crystal Light, add the Club soda almost up to the top of the container or pitcher leaving room for fruit, so you may not need whole bottle . Add fruit and Stir, I usually add the rest of the club soda after fruit goes in . Put in refrigerator and let flavors meld together for a few hours and get cold. Serve in glasses with ice, you can add additional fruit like raspberries at the time you serve. It’s delicious , refreshing, low in calories and did I mention super easy???

Lemon Cake with Blueberry Sauce–not so homemade

IMG_1633IMG_1457IMG_1455IMG_1453IMG_1451

Now this is something I don’t often do but sometimes it is just the right thing to do. I bought a boxed Lemon Cake, yes that’s right with all my recipes for delicious cakes from scratch I bought a Duncan Hines Lemon Deluxe Cake because I saw a recipe that called for it, then I decided to go in a completely different direction with this recipe! In any event why beat myself up for using a boxed cake mix????? It came out delicious and was pretty simply executed. By the way I cheated on the topping too, I used Cool Whip Light!

So go ahead cut step 1 and buy the box cake mix, and then the rest of it you’ll have to do on your own.

Sorry for the poor pictures , it really was light and refreshing!

Ingredients:

1 box Lemon Cake Mix ( I used Duncan Hines deluxe Lemon Cake Mix) and you’ll need vegetable oil, eggs and water .

Lemon Blueberry Sauce:

I used 2 pints of fresh blueberries

1 large lemon or 2 small lemons, zest and app. 1 Tbsp. of juice , you will need the zest of the 2 lemons or 1 large one.

1/4 cup sugar

2 tsp. corn starch

pinch of salt

1/2 tsp. vanilla extract

Whipped Cream Topping:

1/2 jar lemon curd

1 8 oz. container cool whip–yep I used Lite and it was perfectly delicious

Directions:

Prepare the lemon cake according to the package directions using a 9×13 baking dish.

Prepare the blueberry-lemon sauce. In a medium-sized saucepan, add blueberries, lemon zest, lemon juice, sugar, cornstarch, and salt. Stir to combine. Cook over medium heat, stirring occasionally , until the mixture starts to bubble and thicken ( it took about 5-7 minutes. Remove from the heat and stir in the vanilla extract. Set aside and allow to cool.

Remove the cake from the oven when it’s done and allow it to cool down for a little bit, app. 10 minutes. Once it cooled down I used the handle of a regular wooden spoon and I poked holes into the top of the cake that are about an inch apart. While the cake is still on the warm side, drizzle the blueberry lemon sauce on top of the cake. Spread the sauce into an even layer over the cake making sure that some of the sauce and the blueberries get down into the holes. Let the cake cool completely (about an hour) See photos.

Add the lemon curd and 1/2 cup of the cool whip to a medium bowl and whisk together until smooth. Add another 1/2 cup of the cool whip and whisk until smooth. Add the remaining cool whip to the bowl. Using a large spoon or spatula , gently fold the cool whip mixture into the lemon curd mixture. Spread the whipped lemon topping on top of the cake into an even layer. Place the cake in the refrigerator for at least an hour before serving. I kept it overnight. I took it out about 1/2 hour before serving.

Now this is easy.

Store covered in the refrigerator.

Yum! and beautiful.


Simple Balsamic Vinaigrette–Simple Staple

photo 2 (3)photo 5 photo 4 This is a quick go to salad dressing with no chopping, no dicing and no fussing. When I need a salad dressing quickly this is what I do. Recently I have been using Maille Mustards quite a lot , if you haven’t tried their products I would recommend checking them out.  Available in most supermarkets their products include a horseradish mustard and a particularly good honey mustard which I used on my Salmon this evening as well. Look for them or order on line at www.mybrands.com or for information go to www.maille.us . These ingredients should always be on hand in your pantry so you can whip up a delicious salad dressing at a moment’s notice without using bottled ones. Be in control of your own ingredients and the food you eat as much as possible. This will literally take you under 5 minutes to prepare and I can almost swear you’ll never use a bottled dressing again.

Ingredients:

2 tbsp. Dijon Mustard–as stated I used Maille’s Dijon

3 tbsp. balsamic vinegar

3 tbsp. olive oil

a splash of lemon juice ( I just squeezed 1/2 lemon)

Kosher Salt and Freshly Ground Black Pepper to taste

Directions:

I use a whisk, but a fork will do in a pinch. Mix Mustard, balsamic vinegar and lemon juice  Mix until well blended, then pour the olive oil in slowly until well blended. Add salt and pepper to your own taste. Perfect over any greens. Can be stored in a jar in fridge for at least 3 to 5 days.