Chicken Soup with Orzo and Veggies

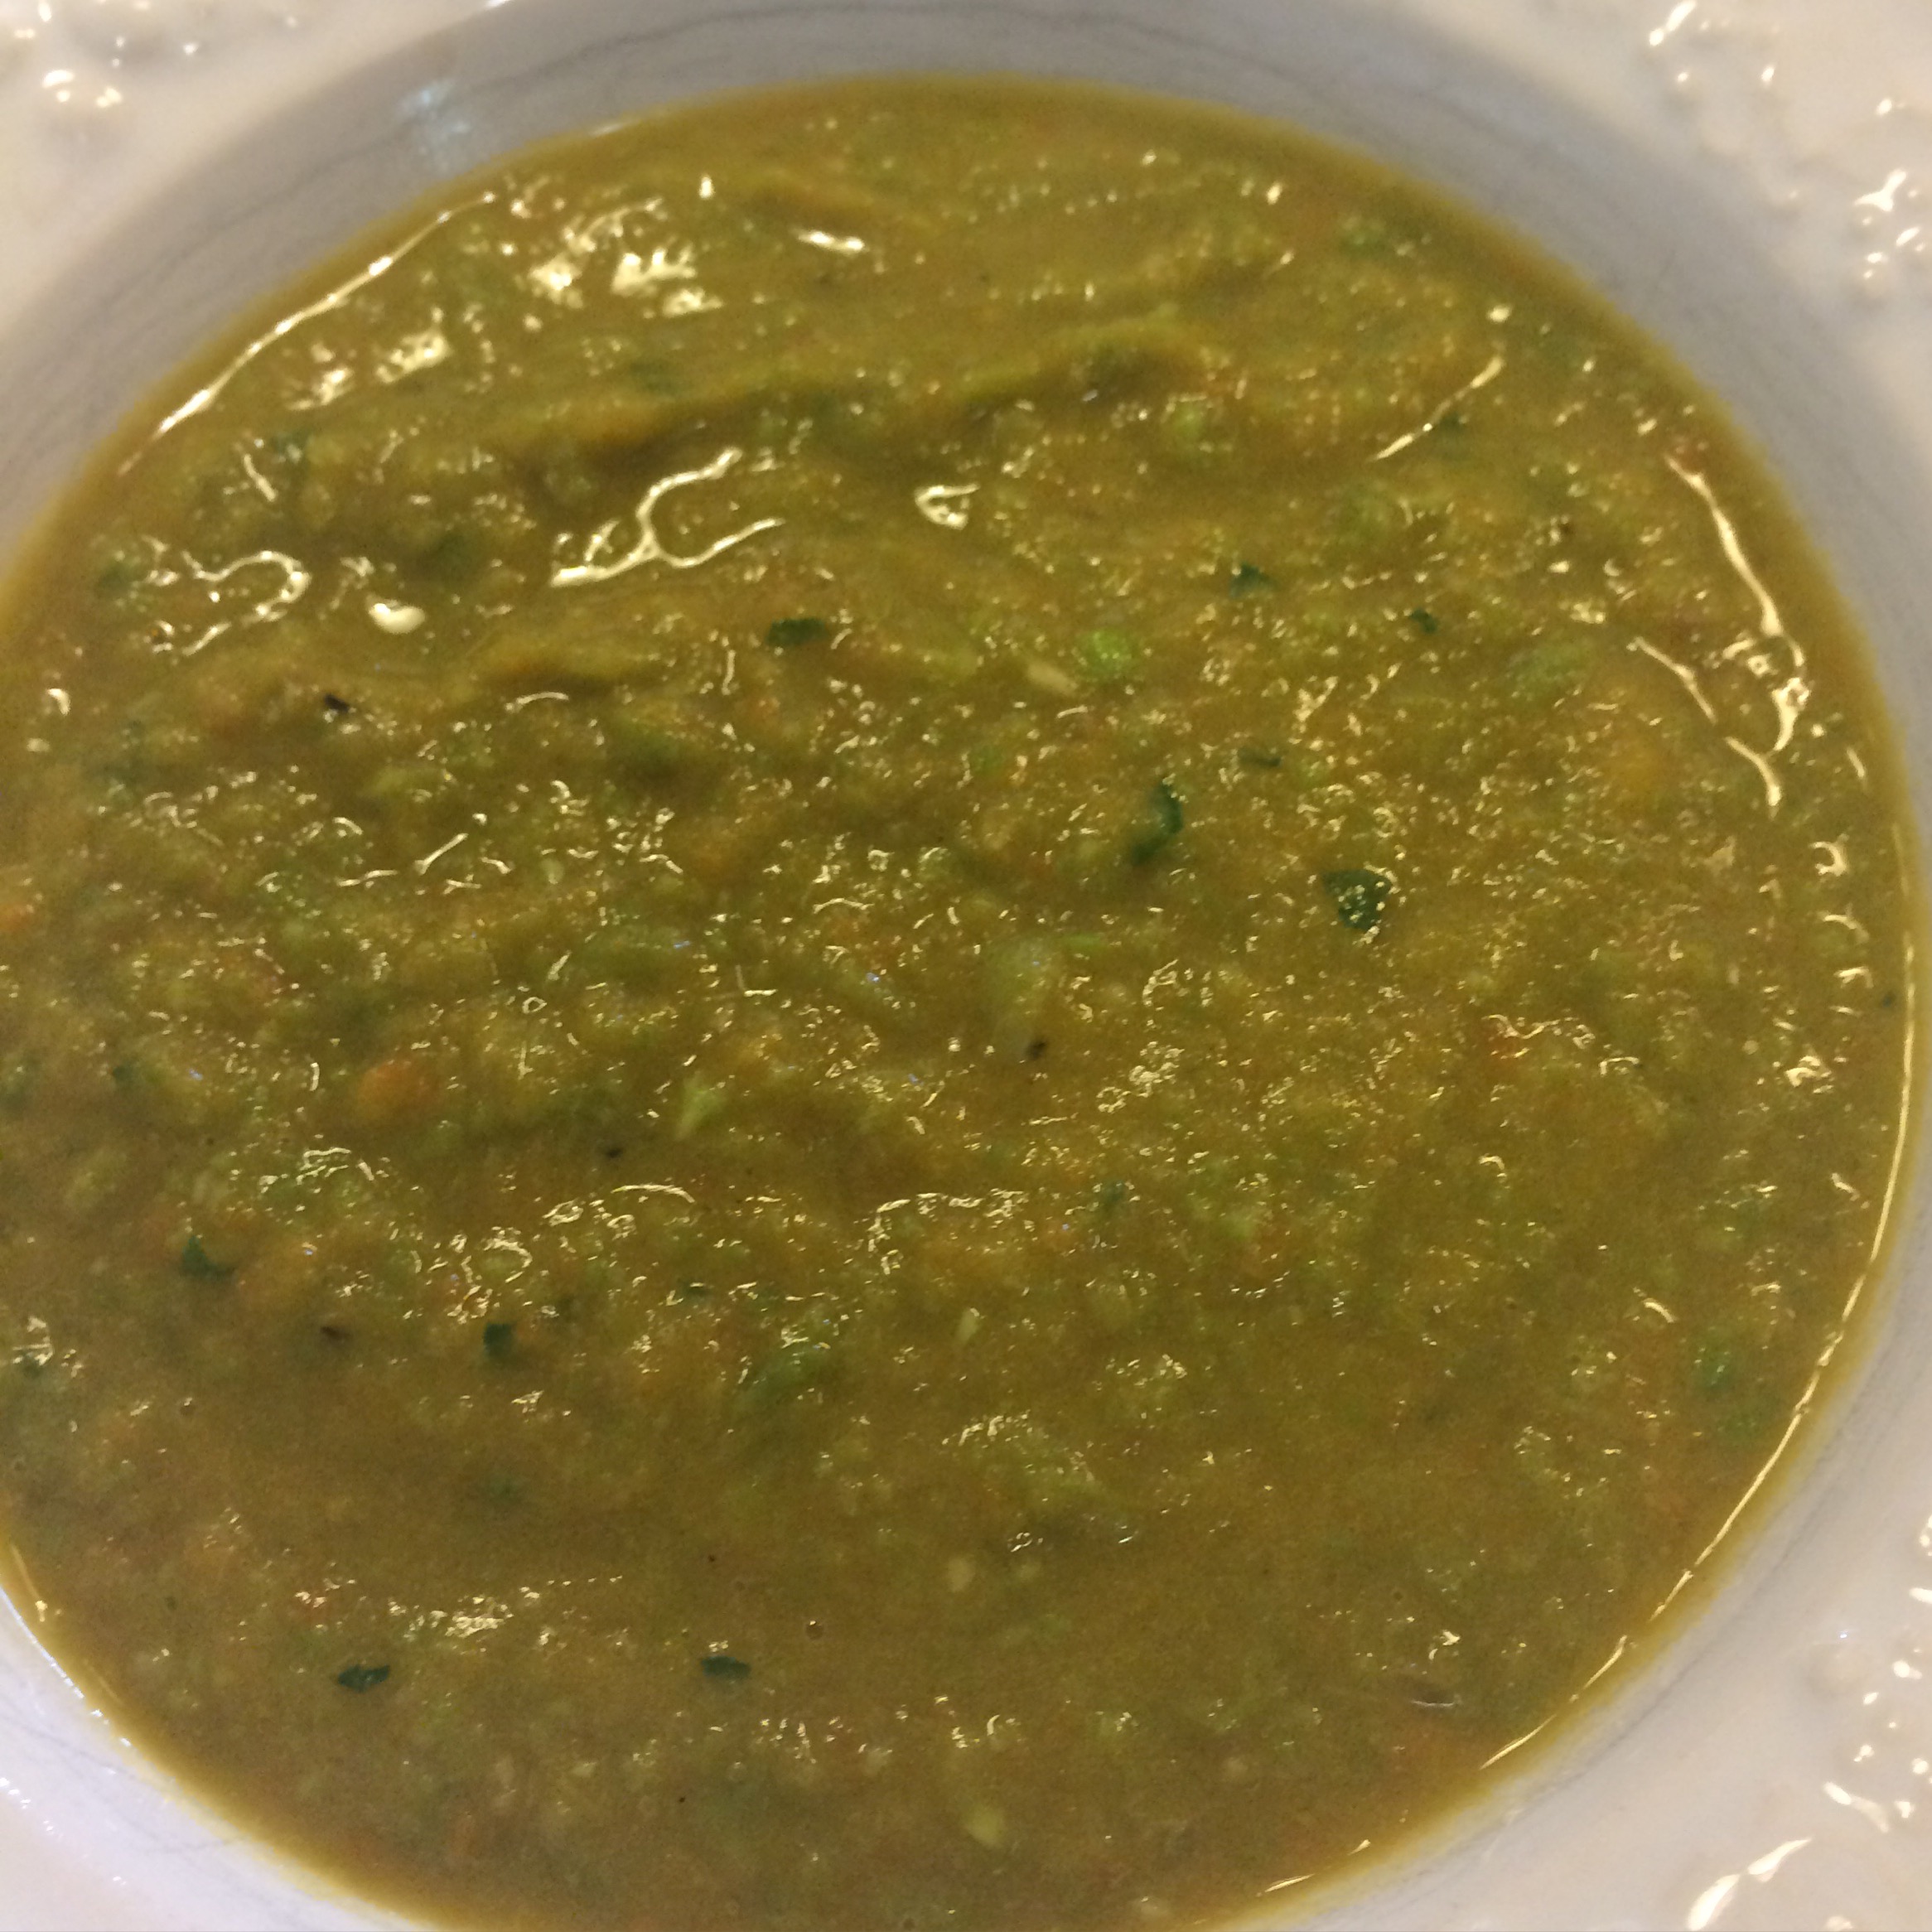
I made this beautiful delicious soup the other night for dinner. It was easy and I used lots of veggies that I had in the house. I used a Rotisserie Chicken and boxed chicken stock which made this easy and quick to assemble. Of course you can use home-made stock and roast a whole chicken yourself. I decided to make this at about 5 p.m. and it really was ready about an hour later. I like my soups to sit and simmer for a while so we didn’t eat it till 7 p.m. but honestly this soup could have been eaten an hour after it was assembled. Total chopping and cooking time is about an hour but like I said I let it simmer for almost 2 hours. Perfection in a bowl. You can obviously substitute with different types of vegetables in this soup. A loaf of crusty bread would be very nice alongside this soup.

This soup can be refrigerated overnight and you might need to add a little water to thin out the soup. You can also freeze for up to 3 months.

Many of you saw me post this on Instagram and Facebook–if not please follow me on Cooking with Candi on both–thanks

*should serve between 4 and 6 nicely as a meal


Ingredients:

2 Tbsp. extra-virgin olive oil

1 medium carrot, halved lengthwise and thinly cut crosswise–or just thinly cut rounds

1 small turnip, diced

1/2 small sweet onion, finely chopped

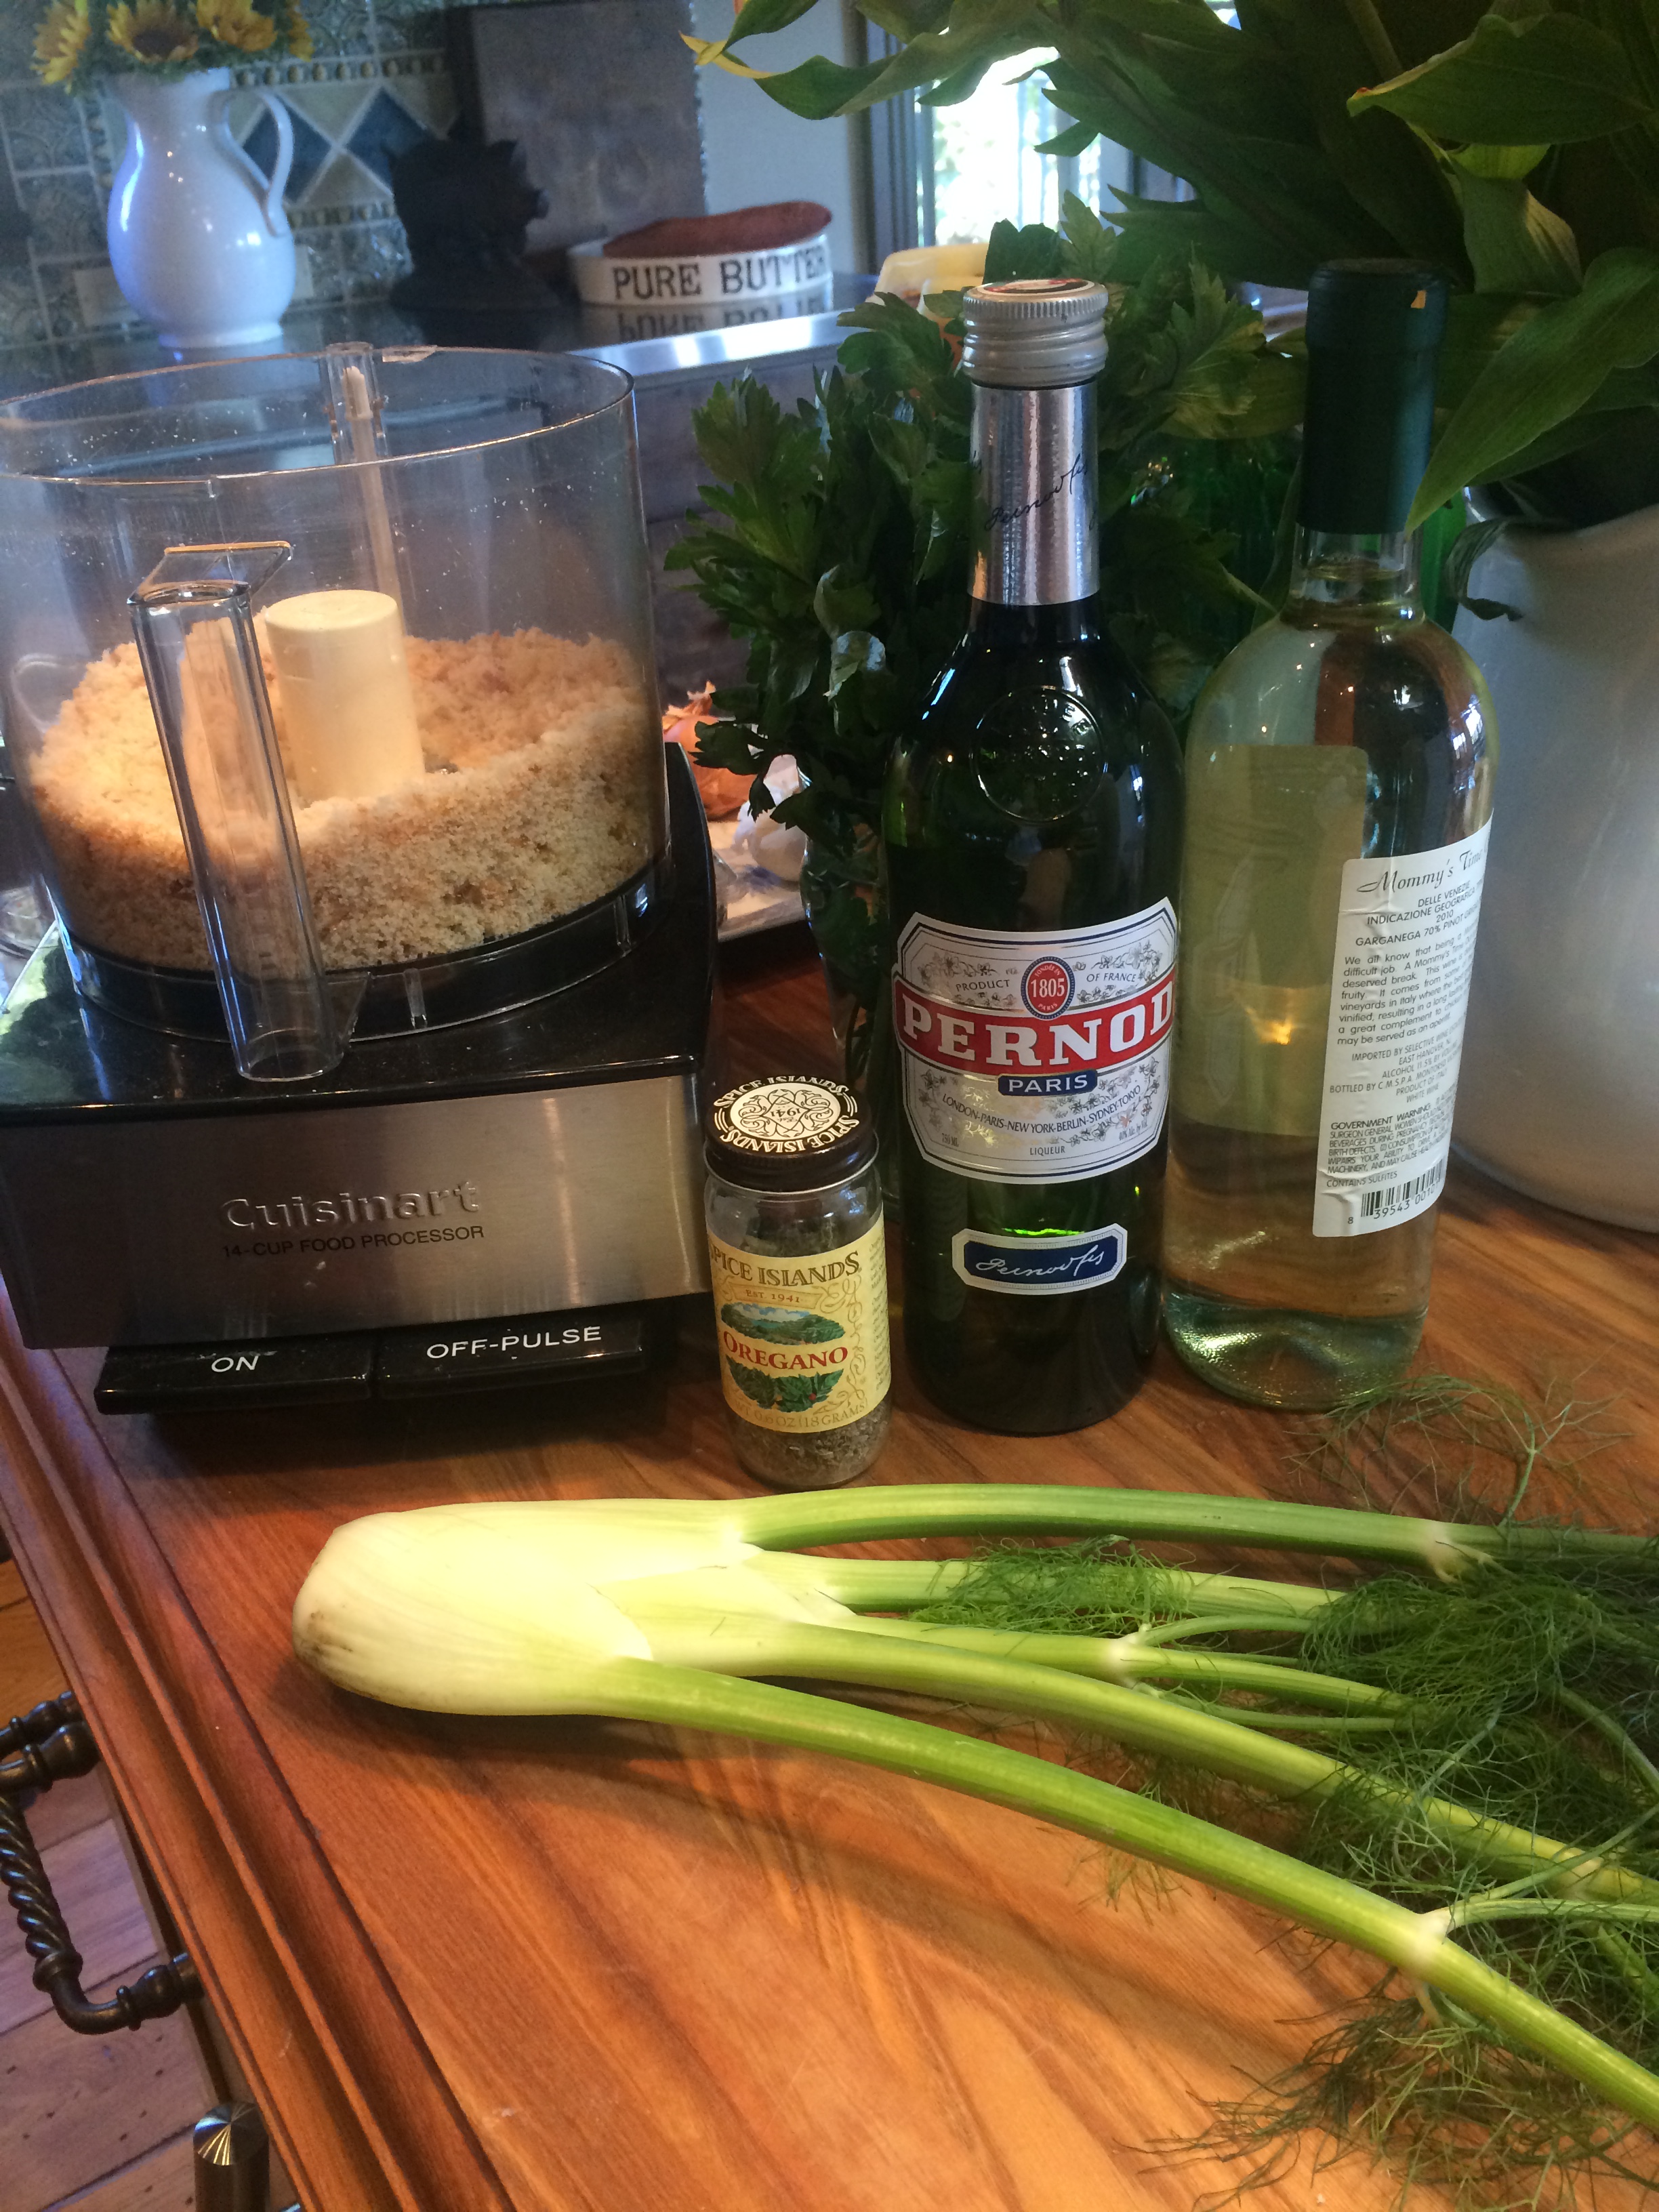
1 small fennel bulb, cored and thinly sliced or diced whichever you like , I sliced thinly

1 celery rib, thinly sliced

2 garlic cloves, minced

Kosher Salt and Freshly Ground Black Pepper (or used coarse ground black pepper)

app. 1/4 lb. green beans, cut into 1/4’s or use yellow beans

8 cups Chicken Stock

12 cherry or small type tomatoes , quartered

1/2 cup (app) of frozen green peas

1 cup orzo, cook according to box directions for al dente and drained

a handful of arugula for each bowl thinly sliced, I used baby arugula

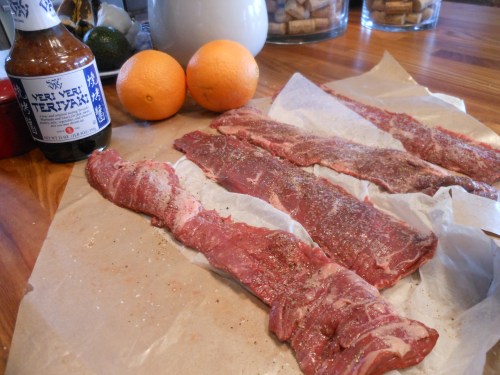
1 Rotisserie Chicken, remove skin and shred chicken off the bones

Directions:

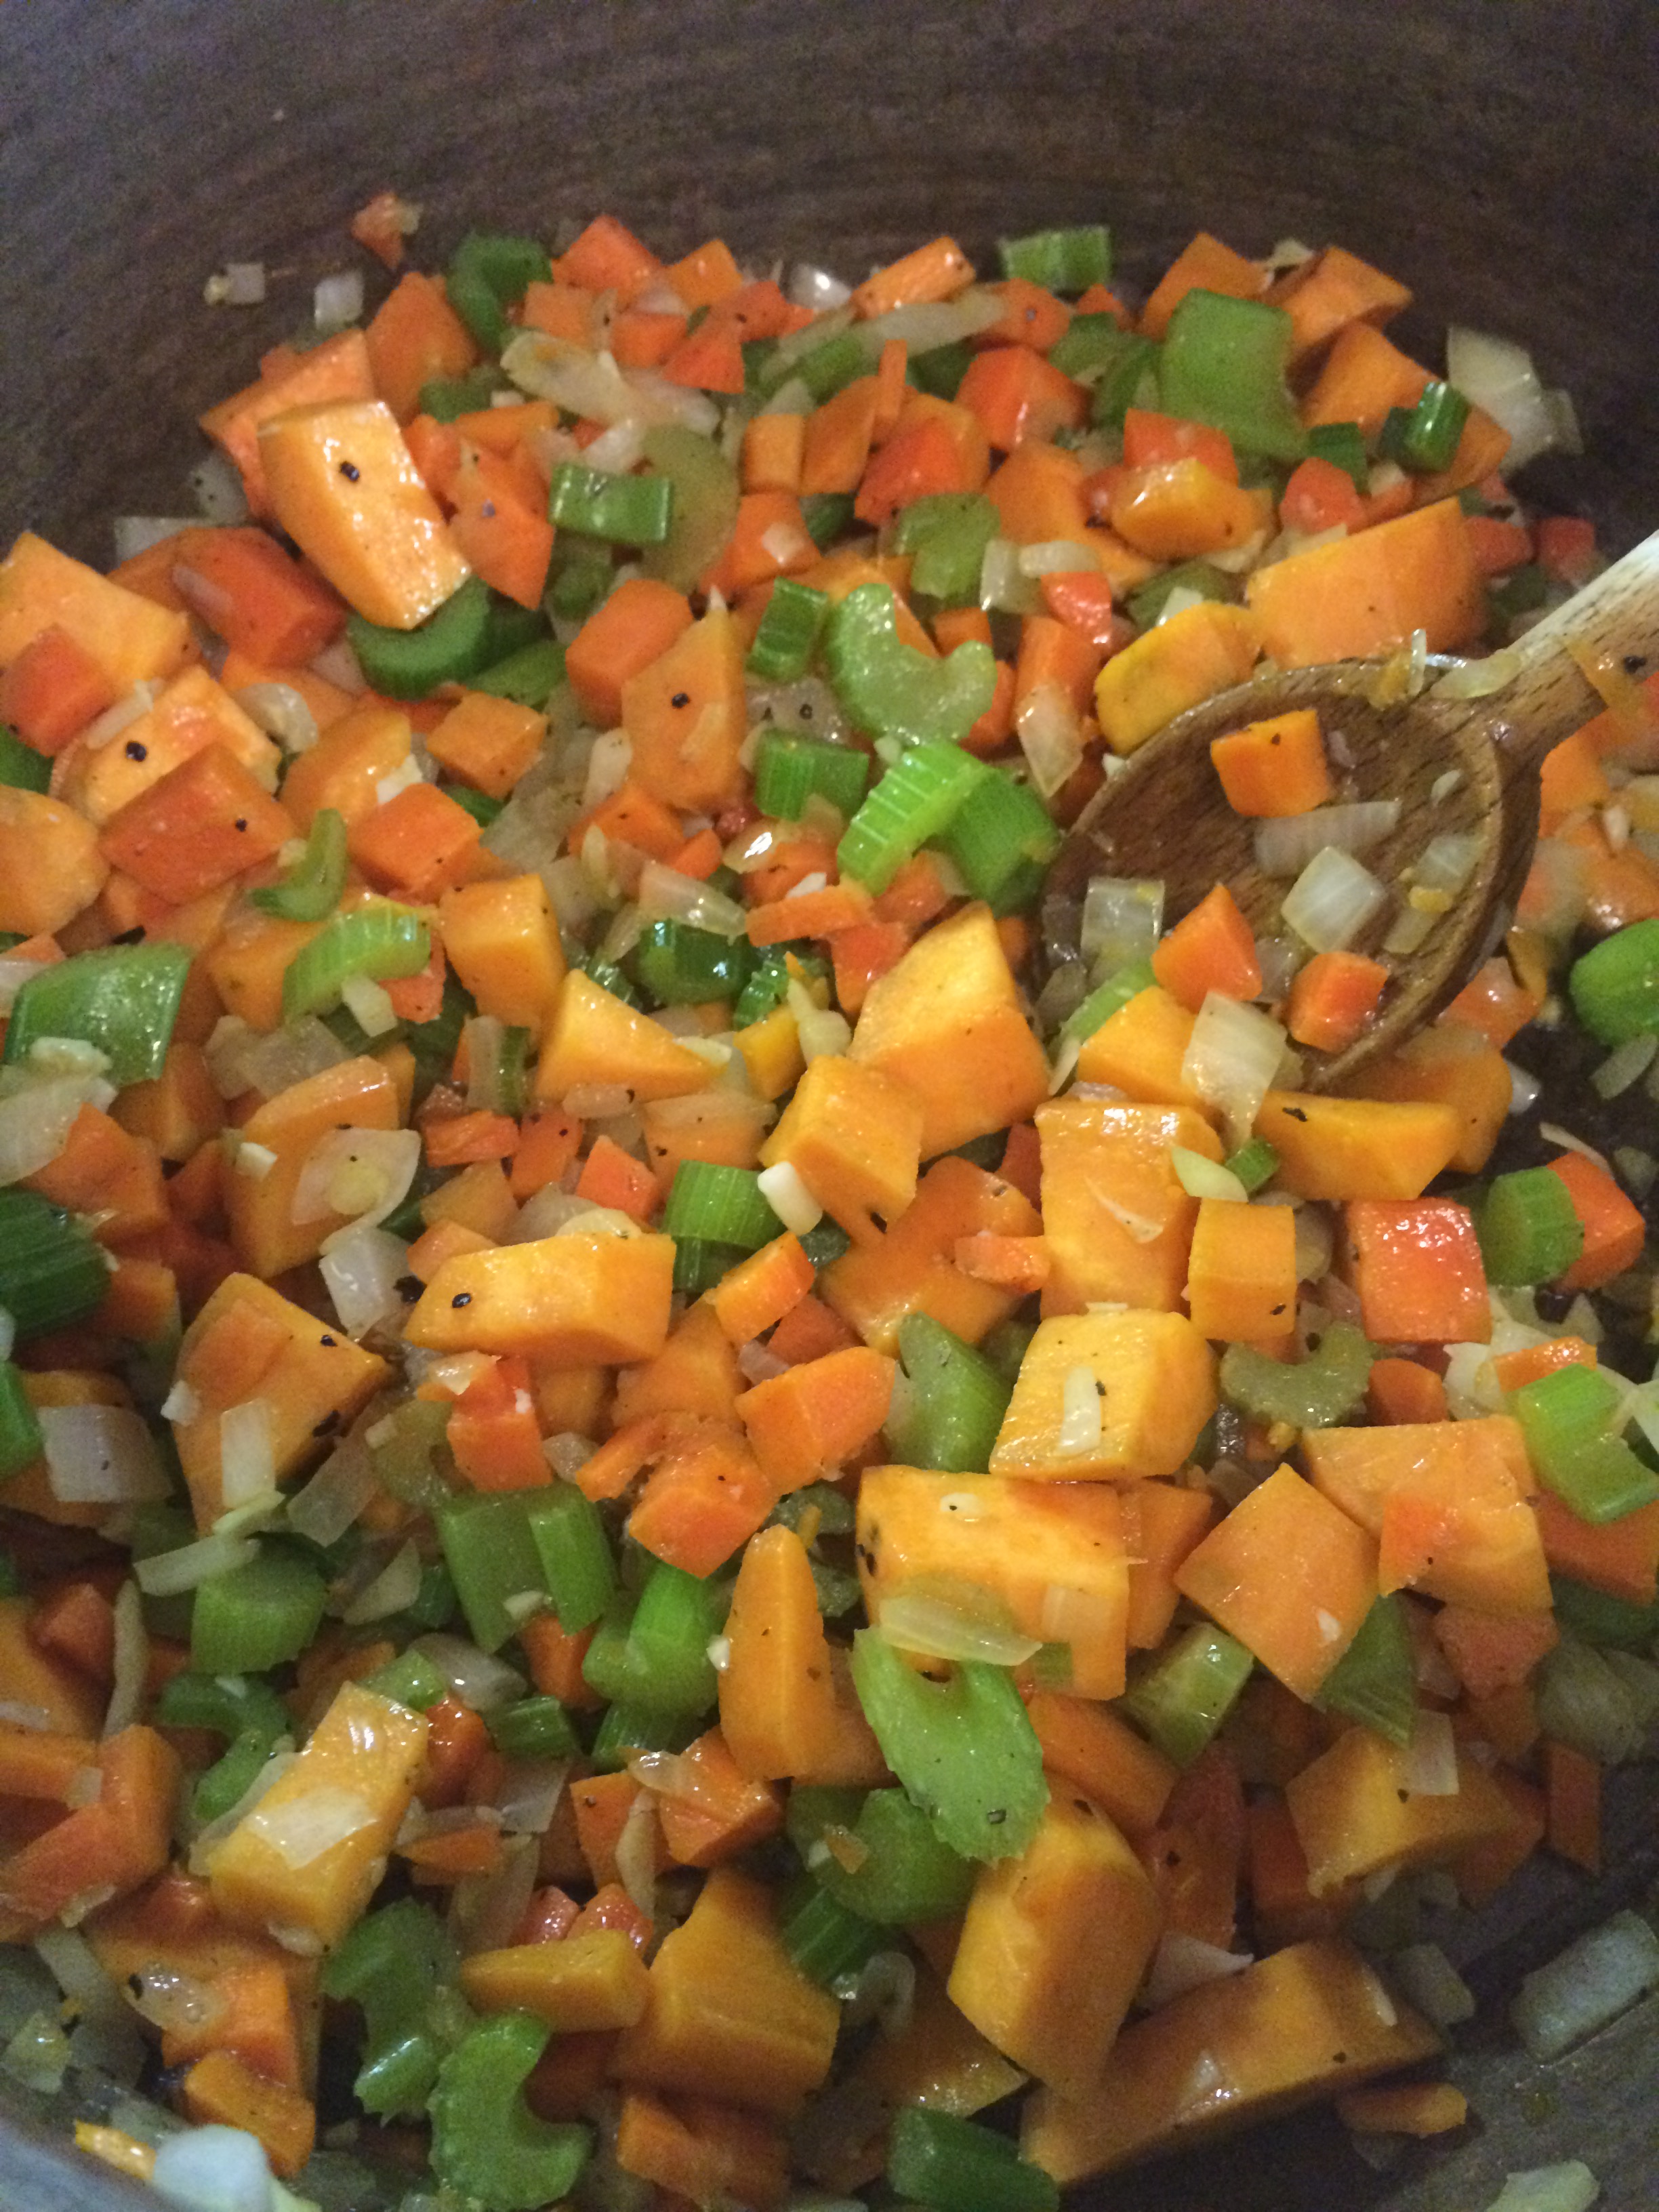
In a large heavy stock pot or enamel cast iron pot ( Le Creuset) heat the olive oil over moderate heat. Add the carrot and turnip, then add in the onion, fennel, celery , garlic and a generous pinch of kosher salt and cook, stirring vegetables occasionally , cook until veggies break down and get soft without burning, probably up to 10 minutes on a low flame.

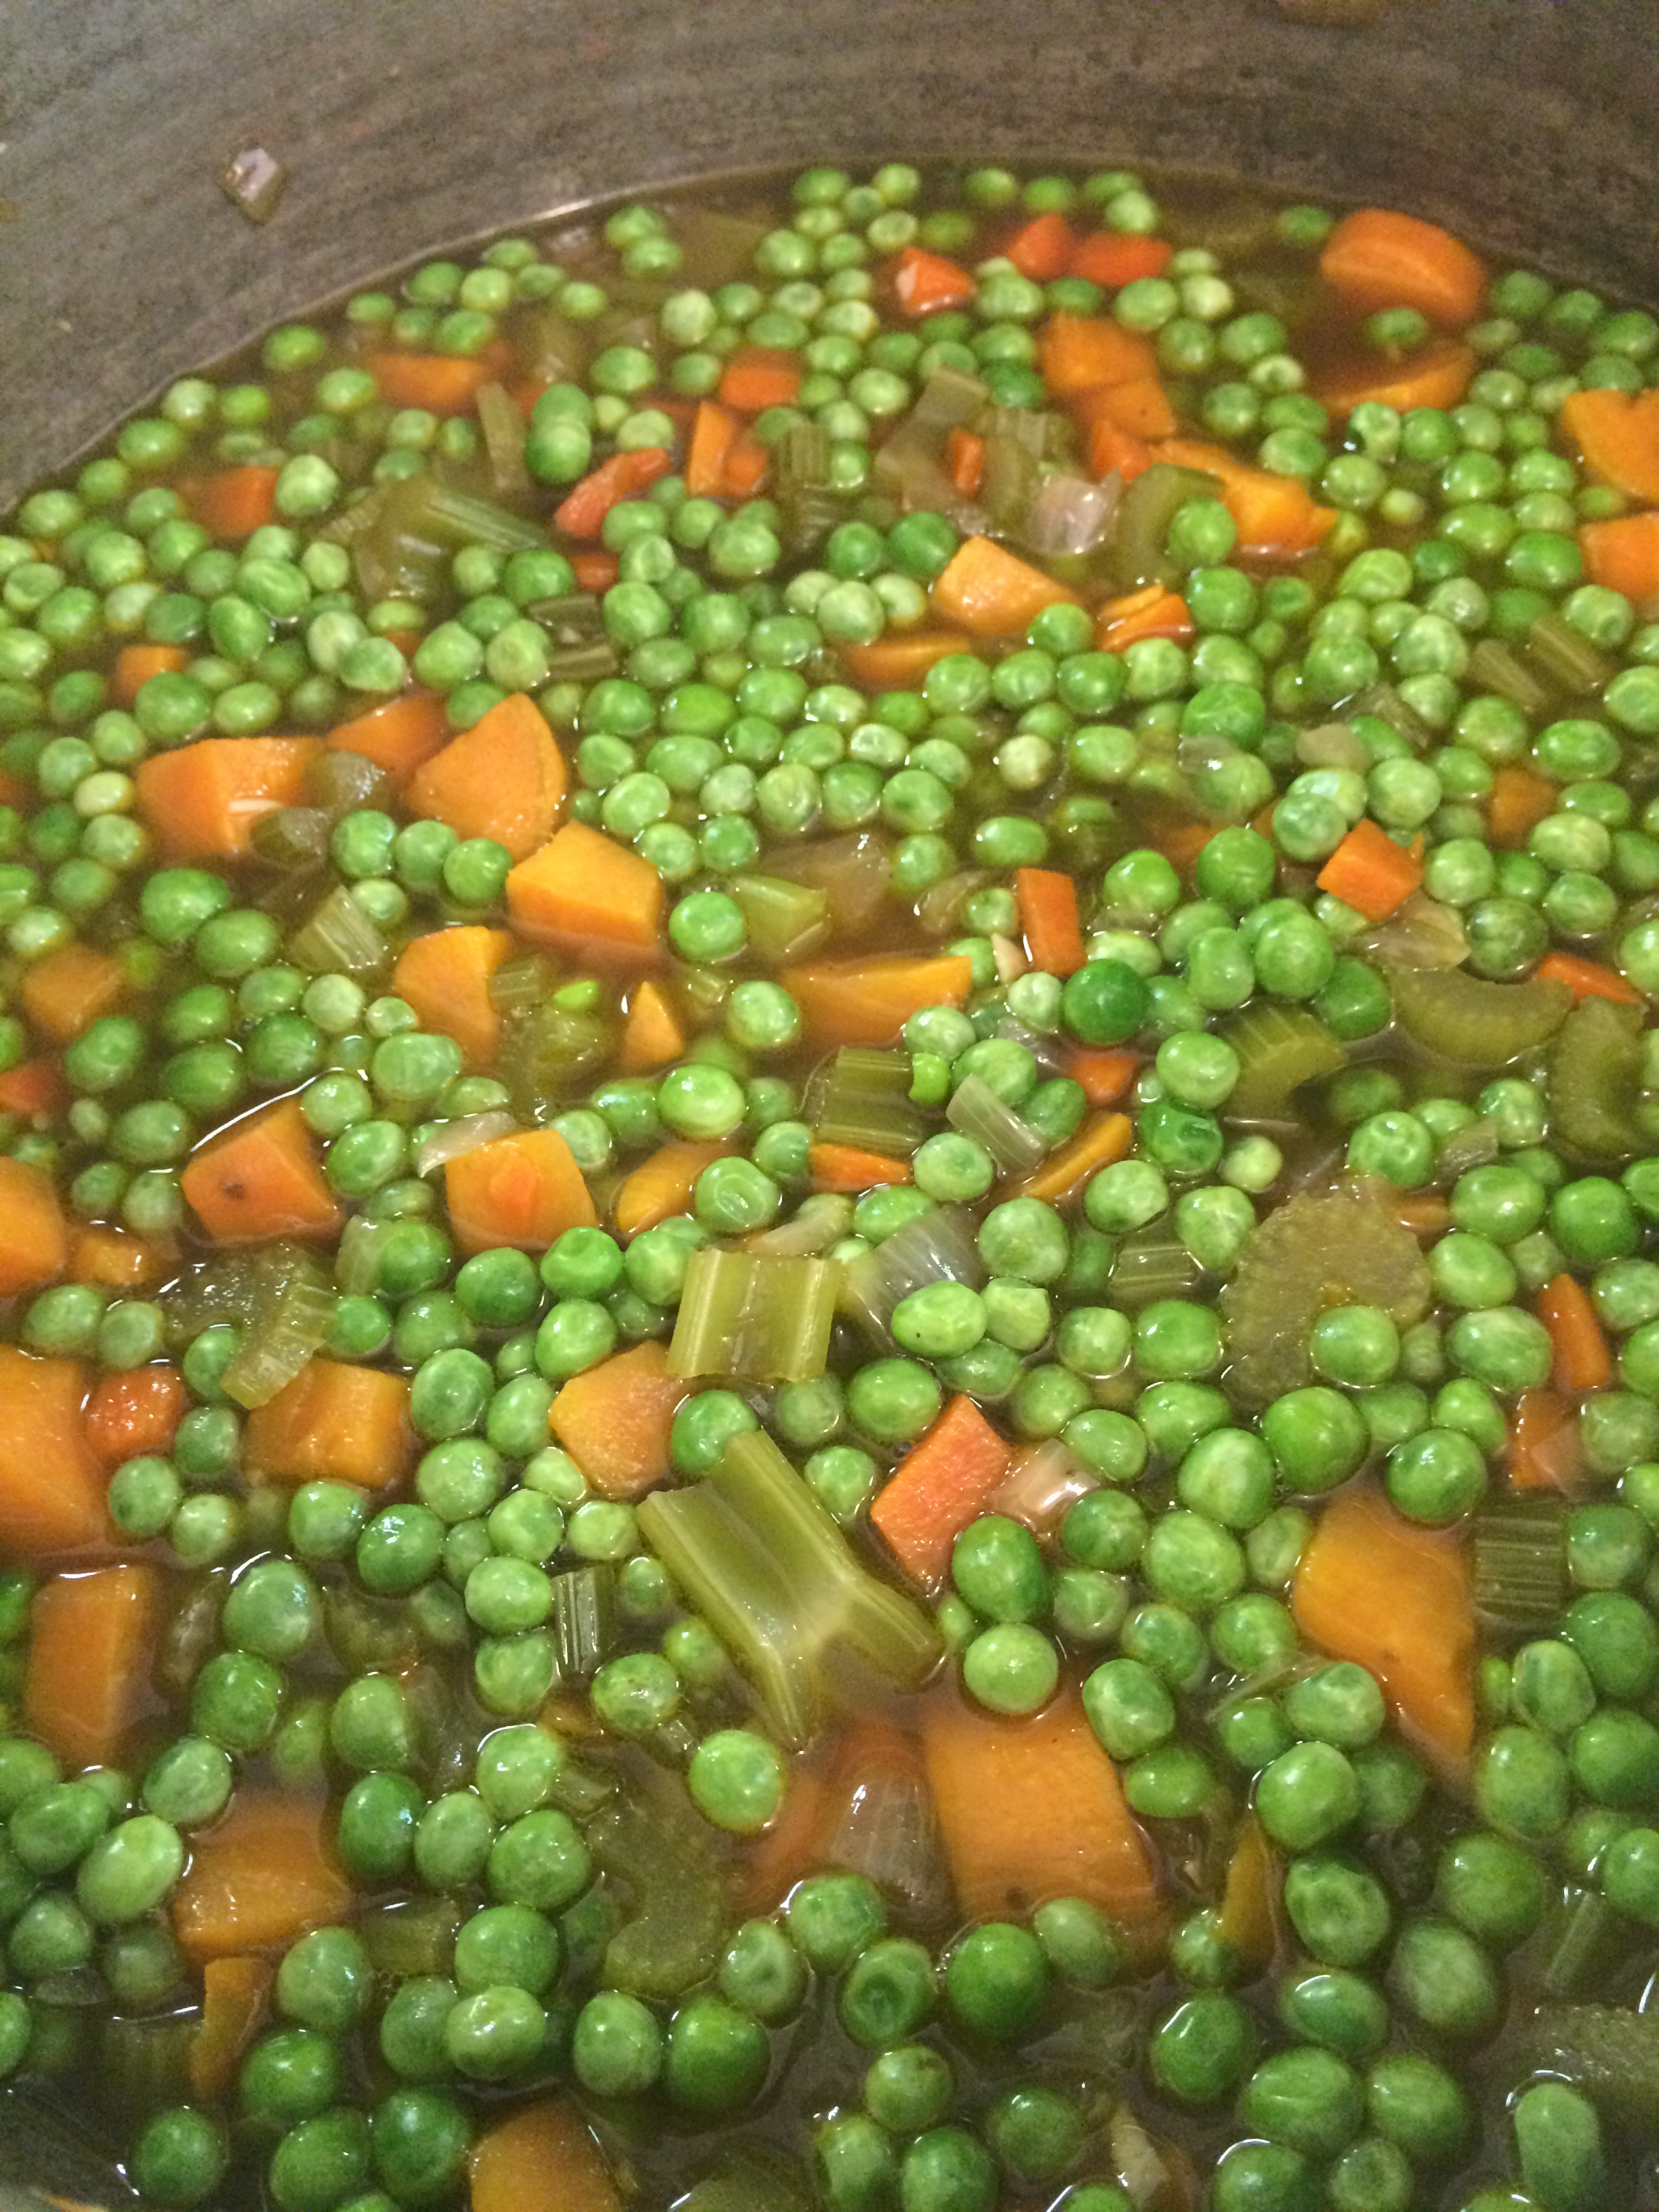
Stir in the green beans then add in the chicken stock and bring to a simmer. Add in the tomatoes and peas. Simmer the soup over moderately low heat, partially covered, until the vegetables are tender, at least 1/2 hour and up to 1 hour. I simmered for about an hour.

While soup is simmering taste for Salt and Pepper. Season to taste. Right before serving you can add chicken to pot and heat through.

When we were ready to eat I placed orzo and arugula into bowls and ladled hot soup over the arugula and orzo!

Afterwards I added orzo to the pot and froze soup for future use in airtight containers.

You can freeze in a good freezer for about 3 months. I figure it will be something to look forward to when we return to Colorado in the summer. When you re-heat the frozen soup you’ll need to add water/stock it’s your choice . I usually just add a little water at a time till the desired consistency is reached.

Passover ’17

It is almost here and the buzzing about “what I’m making” has already started. I try to put it to the back burner till about 2 weeks before the actual shopping and cooking. I have to admit to already picking up farfel, matzo, and matzo meal and a few other key ingredients.  The stores have had Passover ingredients for a few weeks already and I see a few of you sneaking peeks at my Passover Recipes already. No denying it, it’s time to at least start thinking about your menu or what you’re planning on bringing to the Seder you will be going to.

I am going to start posting all the recipes that I think you’ll be needing to look at in the next week or so.  You can also go to cookingwithcandi.com and put in the title of the recipe you are looking for,  you can also put in Passover to the search box and the Passover recipes should come up . I will try and make sure that all Passover recipes are tagged appropriately. Please do not hesitate to email me or contact me on cookingwithcandi.com , I do try and respond to all inquiries. Any suggestions?  I am always open to new and different recipes even if my family always wants the same old recipes. Tradition is what it’s all about.

Here are some of the recipes you might want to take a look at:

Let’s start at the beginning.

Homemade Chicken Soup with Not-So-Homemade Matzo Balls

Passover Popovers

Traditional Ashkenazi Charoset

Chicken Marbella-probably my go to Main Chicken Dish -it’s wonderful and spring like

Bree’s Slow Cooked Skirt Steaks

Slow Cooked Brisket-Super Easy

Happy New Year Brisket

Old School Meatballs (sweet and sour)

Un-Stuffed Cabbage

Apricot Honey-Mustard Chicken

Honey Roasted Chicken

Peach Farfel

Karyn’s Cranberry Apple Crisp for Passover

Chocolate Bark

Grandma Regina’s Farfel for Passover

Judy’s Apple Matzoh Kugel for Passover

Spinach Souffle for Passover-so very easy-Vegetarian/Dairy Side Dish

Chocolate Bark Surprise

Passover Cobbler

My Favorite Macaroons-Traditional Style for Passover


photo 1

photo 1 (65)

Passover Cobbler


Featured Image -- 8279


photo 5 (40)

Skirt Steak and Brody Birthday 004

Bree’s Slow Cooked Skirt Steaks- perfect for Passover because it frees up your oven

DSCN2703

Traditional Ashkenazi Charoset with Apples and Walnuts


DSCN2671

Peach Farfel -a must make dish


http://www.cookingwithcandi.com

cookingwithcandi.com

Green Pea Soup from Bergdorf Goodman – Happy St. Patricks Day

IMG_7457IMG_7459IMG_7455 IMG_7466 IMG_7469Let’s celebrate St. Patricks Day with this delicious green soup! The first time I had this soup was downstairs in BG and I thought to myself I must re-create this delicious light soup. Low and behold along came *The Bergdorf Goodman Cookbook which included this delicious recipe.   My two favorite items to order on the BG menu are the Gotham Salad and  the Green Pea Soup and they are both right there in this wonderful little cookbook. There are many other delightful recipes in the book as well which make it a worthwhile purchase. The shocking part of this delicious soup was the addition of a sweet potato and soy sauce. I didn’t see that coming, I would have made it without either of those two items. The soy sauce adds an intense layer of flavor and the potato gives it some real texture. Blend well. I used my high-speed blender for this .

*The Bergdorf Goodman Cookbook by Laura Silverman–available through Amazon or Bergdorf Goodman

Ingredients:

2 Tablespoons Olive Oil

1 1/2 cups yellow onion, chopped

1 cup chopped celery

1 cup chopped carrots

1 whole sweet potato, peeled and chopped

1 Tablespoon chopped garlic

1 teaspoon kosher salt

1/2 teaspoon ground black pepper, if you have white pepper use it but I didn’t so I used black

3 3/4 cups chicken stock

2 Tablespoons soy sauce

1 lb. fresh or frozen , thawed green peas. I used one whole bag of frozen green peas.

1/2 cup chopped fresh flat parsley

Directions:

Heat the olive oil in a large stockpot over medium-low heat and sauté the onion, celery, carrots, sweet potato, garlic, salt and pepper until the vegetables are tender but not brown. I let it cook down for about 1/2 hour.

Add the stock and soy sauce and bring to a boil. Stir in the peas and just blanch them for a minute.

Turn off the heat. Cool slightly, then add the parsley ( don’t omit the fresh parsley, please) Taste for Salt but I found it was just right with the 1 teaspoon.

In a blender or food processor, do it in batches ( I did it in 3) , puree all the ingredients until smooth. Serve warm!

Love the taste and enjoy all the healthy benefits!!!

*can be made vegan with vegetable stock

Sheet Pan Shrimp with Asparagus and Potatoes

IMG_4193

This dinner was just delicious.  I used under 8 size shrimp. What this means is that there were about 8 to a pound , so rather large and the cooking times were perfect for them. You will probably have to adjust your cooking time depending on the size of your shrimp. Obviously the larger shrimp took a little longer to cook. I will give you a range of time for anywhere from under 16 to under 8. Timing will vary depending on your oven and the size of the shrimp you use.  The potatoes and asparagus times will remain pretty much the same. I just love cooking on one sheet in the oven! This recipe is a keeper and one I will re-visit often and maybe use different veggies, since I am the only one who ate the asparagus anyway.

Ingredients:

1 pound large shrimp ( anywhere from 8 – 16 count) is perfect – thawed, peeled and de-veined and leave the tails on

Extra – Virgin Olive Oil

3 cloves of garlic-minced

1/4 tsp. crushed red pepper flakes if you hate the spice you can omit it

2 Lemons, 1 for zest and juice of, the other 1 thinly sliced

1 lb. Asparagus-trimmed

1 lb. Fingerling Potatoes–halved lengthwise

Kosher Salt and Freshly Ground Pepper–read directions for amounts

Directions:

Preheat oven to 400 degrees.

Spray a large rimmed baking sheet for easy clean up

Place the shrimp in a large mixing bowl and drizzle with 2 Tbsp. Olive Oil . Add in minced garlic and crushed red pepper flakes. Stir to coat and set aside.

In another mixing bowl , toss the sliced potatoes with 1 Tbsp. Olive Oil. Season generously with Kosher Salt and Freshly Ground Black Pepper. Transfer Potatoes to the baking sheet in a single layer. Roast potatoes for anywhere between 20 and 30 minutes, or until they are almost tender.

While potatoes are roasting, toss asparagus with 1/2 Tbsp.of Olive Oil and season with Salt and Pepper,  Set aside

Now add 1 Tablespoon Lemon Juice to bowl of shrimp and toss to coat. Season Shrimp pretty generously with kosher salt and freshly ground black pepper.

After 20 minutes or so remove potatoes from the oven and add asparagus and lemon slices to baking sheet. Continue to roast potatoes and asparagus for another 10 minutes,  potatoes should be tender by now , pierce a potatoe with a fork to check for tenderness. If potatoes still need time you can leave them in for a few more minutes. Using a slotted spoon add shrimp to baking sheet and put back in the oven. Roast for another 10 minutes or until shrimp are pink-opaque and firm to touch. My shrimp took about 12 more minutes, this time will depend on your shrimp. I checked after 5 minutes and using tongs turned them over and continued cooking for another 7 more minutes.

When I removed from oven I sprinkled with lemon zest. Perfection on a plate!

*one added tip– after my shrimp is peeled and de-veined and before I am about to cook I always wrap my shrimp in some paper towels to dry them off. It helps with the oil and spices sticking to shrimp.


Mediterranean Shrimp –Roasted with Feta

IMG_8507 IMG_8500IMG_8506IMG_8493 IMG_8497 IMG_8494 IMG_8498 IMG_8486 IMG_8487 IMG_8490Most outstanding shrimp recipe from Ina Garten. All the tastes of the Mediterranean in one dish. It’s roasted shrimp with feta, fennel, tomatoes, lemons, Pernod,  wine and other good things. This was really so very delicious we ate it 2 nights in a row. It doesn’t need rice or pasta but if you’re having 6 people you can stretch it by adding the starch.  I used 1 1/4 lbs.  of shrimp and we had dinner for 2 nights. It was the first time making recipe so I wanted to use the right amount of ingredients. You can easily cut this in half for two people. This recipe as is will generously serve 4.

There are a lot of ingredients and I had to buy a bottle of Pernod but don’t let this discourage you.  You’ll also need a 12″ heavy ovenproof skillet and there is a lot of prep but you’ll look like a pro when this dish comes out of the oven. It really wasn’t difficult and have your fish store prepare shrimp. (Peel and de-vein) if you’d like you can leave tails on but I didn’t and it was perfectly fine.

Ingredients:

4 tablespoons olive oil, divided into 2 tablespoons each

1 1/2 cups medium-diced fennel

3 cloves garlic, minced

1/4 cup dry white wine

1 14 1/2 oz. can diced tomatoes

2 teaspoons tomato paste

1 teaspoon dried oregano

1 Tablespoon Pernod ( available in most liquor stores)

1 teaspoon kosher salt

1/2 teaspoon freshly ground black pepper

1 1/2 lbs ( app. 16 per pound) peeled and de-veined shrimp ( I prefer Mexican White and can usually obtain them) Talk to your local Fish Store.

4 -5 ounces good feta cheese, coarsely crumbled

1 cup fresh bread crumbs , yes I made them myself in the food processor–just throw 3 slices of white bread into food processor with crusts on and chop! it’s so much better than store-bought, just saying.

3 Tablespoons minced fresh parsley

2 lemons–1 for zesting and juicing and 1 cut into wedges to serve with dish

Directions:

Prepare shrimp and set aside, I like to place clean shrimp on paper towels to dry them before cooking.

Pre-heat the oven to 400 degrees.

Spray 12″ skillet with cooking spray for easier clean-up. Heat 2 Tablespoons of olive oil over medium-low heat. Add the chopped fennel and sauté for about 10 minutes, until the fennel is softened. Add the garlic and cook for a quick minute. Add the wine and bring to a boil, scraping up any brown bits for about 2-3 minutes and the liquid is reduced by about half. Add the tomatoes with their liquid, tomato paste , oregano, Pernod, Salt and Pepper to the skillet. Simmer over medium-low heat , stirring occasionally, for about 15 minutes.

While the shrimp is cooking combine the bread crumbs, parsley, and lemon zest with the remaining 2 Tablespoons of Olive Oil and set aside.

Turn off the heat and arrange the shrimp (see photo) in one layer over the tomato mixture in the skillet. Scatter the feta evenly over the shrimp. Then sprinkle the bread crumb mixture over the shrimp.

Bake in 400 degree oven for app. 15 minutes, until the shrimp are cooked and the bread crumbs are golden brown. (you can cut into a shrimp and make sure it’s opaque at this time)

Remove from oven and squeeze the juice of 1 lemon (I used zested lemon) over the shrimp. Serve hot with the remaining lemon cut into wedges.

Tuna Ceviche

I struggled with the title for this recipe and finally decided to name it Ceviche because it is the interpretation of what this tuna really is. When a fish is denatured by a citrus juice, in this case lime juice it really is considered to be a ceviche which is very popular in Latin America. However the recipe that I got this from was titled Tuna Tartare. My resident “fish expert” wants it to be called Ceviche and he enjoyed it very much. This is the second time I made this recipe. The first was on New Years Eve and I made it with my friend, Susan. We made the amounts listed here, last night I made 1 box and cut the recipe by 2/3. You can play somewhat with ingredients, you might not want to use hot sauce or jalapeno and you can omit. I have to say I used both last night and would have liked it spicier. Next time I will add more hot sauce.

Also a little note after researching the topic of Tuna. The original recipe says to mix well so I did, but if you mix well with the fish in it you cause a lot of air to get into the fish and the fish will turn a browner color. It is just oxygenation of the fish and it is not harmful. So I recommend mixing the sauce well first and then add to the fish and stir gently and cover with plastic wrap and refrigerate for at least an hour to allow flavors to marinate. The change in color is not harmful as long as you are starting out with very fresh tuna . I used a box of sushi grade frozen tuna available in my Whole Foods Market. You can purchase from your local fish store as well. The frozen one was very easy to work with but comes in very small blocks. (see picture) and is rather pricey.

It takes about 1/2 hour to prep. and is worth the effort. This recipe will probably serve 6-8 and maybe a little more as an appetizer. I served alongside some delicious tortilla chips but any chips will do. The layering of all these flavors is spectacular. If you don’t want to use toasted sesame seeds you can omit.

*I would eat any left-overs within 24 hours.

Ingredients:

1 1/4 lb. sushi grade tuna (see photo of the tuna I used or ask your local fish merchant)

3/4 cup good olive oil

3 limes, zest grated

1/2 cup freshly squeezed lime juice ( use the limes you just zested) you may need more so have a few extra on hand. I used a juicer because it’s impossible to hand squeeze limes.

1 teaspoon wasabi powder

1 1/4 Tbsp. Soy Sauce

1 Tbsp. Hot Red Pepper Sauce–I used Cholula Hot Sauce

1 Tbsp. Kosher Salt

1/2 Tbsp. Freshly Ground Pepper

app. 6 minced scallions, white and green parts

1/2 -1 Minced Fresh Jalapeno Pepper, seeds removed–wear plastic gloves and leave a few seeds if you like spicier.

3 ripe Haas Avocados or any ones you can get

1 Tbsp. Toasted Sesame Seeds, optional if you don’t want the seeds.

Directions:

Follow directions on the box of sushi grade tuna for defrosting

if you’re not using fresh. Make sure fish is dry and cut the tuna into small dice pieces about 1/4″and place in a large bowl. In a separate bowl, combine the olive oil, lime zest, lime juice, wasabi, soy sauce, hot red pepper sauce, salt and pepper, use a whisk and whisk well then pour over the tuna , add the scallions and jalapeno and mix gently and quickly so as not to oxygenate tuna too much. Cut the avocados in half, remove the pit and peel. Cut the avocado into small chunks to your liking. Carefully mix the avocado into the tuna mixture. Add the toasted sesame seeds, if you are using and season to taste. Allow the mixture to sit in the refrigerator for at least an hour for the flavors to meld together.

Serve with tortilla chips of your liking and Enjoy!


Lemon Garlic Chicken with Mushrooms

IMG_0586

IMG_0589I had chicken breasts in the refrigerator ready to go and had to figure out what I was doing with them using ingredients that I had in the house.  I had lemons, garlic, even had fresh rosemary in the house. I really threw this together and the next time out I would use thin chicken cutlets or pound the ones I had thinner.   I used 1 package of cutlets for the 2 of us, which is usually around the 1 lb. mark. This recipe would be perfect for 1 lb. of chicken cutlets. Double up for 2 lbs.

As I said this was a very thrown together recipe. I tried to keep track of what I was doing so I could duplicate recipe. It is one of those recipes that you sort of wing as you go. We really enjoyed this chicken and I hope you will too.

Ingredients:

1 package of thin chicken cutlets or app. 4 chicken cutlets

2 Tbsp. olive oil

2 Tbsp. Grapeseed Oil, if no Grapeseed Oil use canola or sunflower

3 Tbsp. fresh lemon juice ( app. 1 average size lemon)

2 Tbsp. all-purpose flour, if you’re gluten-free use gluten-free flour such as rice flour, or corn flour and it will be just fine

2 cloves garlic, minced

1 Tsp. fresh rosemary, chopped

1 Tsp. Kosher Salt and more to taste

1/2 Tsp. Freshly Ground Black Pepper and more to taste

1/4 cup dry white wine

Directions:

Whisk together in a large bowl the olive oil, lemon juice, rosemary and 1 tsp. kosher salt and 1/2 tsp. freshly ground black pepper. Place chicken cutlets into bowl and place in the refrigerator for a 1/2 hour.

Remove chicken cutlets from marinade and place on a plate, discard the marinade. I sprinkled a little more kosher salt and pepper on the top side of chicken (shiny side) . Then dredge lightly in the flour, you should have more than enough flour with 2 Tbsp. but if you need more you can add it. Tap Breasts after you dredge to remove excess flour.

Turn oven on low or a warming drawer works well here , just to keep chicken warm after you cook it on stovetop.  Heat a large skillet over medium to high heat and add grapeseed oil. When oil is very hot, place one or two pieces of chicken in the pan–don’t crowd. Cook for a few minutes on each side, (try not to overcook or the chicken will be very dry) just until you see it browning up, this is why the thinner chicken works best here.  Transfer to a plate and blot the chicken with paper towel. Cook all the chicken. I placed chicken on a baking sheet and put in the oven/warming drawer while I cooked the mushrooms.

Turn burner down to medium high heat , add mushrooms to the pan and sprinkle with a little kosher salt and pepper. Let them sear for about a minute without touching them, then stir , scraping the bottom of the pan with a wooden spoon. When the mushrooms start to soften add the wine, chopped thyme, and you can taste for salt and pepper. Continue to stir the mushrooms until the wine has evaporated and mushrooms are tender and ready , app. 10 minutes. I removed chicken from oven , plated it up over basmati rice and added the mushrooms over the chicken. That’s it and it was delicious.

Chicken and Rigatoni in One Pot–One Pot Pasta

photo 2 photo 3 photo 4 (2) photo 5 (2) photo photo 2 (2) photo 1I must say that the first time I saw this recipe for one-pot pasta I was hesitant. I read up on it and found out that the actual recipe for this one-pot pasta hailed from Puglia. So for all of those “haters” out there I am just saying that I did do my homework here and found out that yes they do this in Italy and original recipe was from there. OK that’s enough of that. It doesn’t really matter where it’s from now does it? I have made 2 versions of this type of pasta and all I can say is yum. I will also add that you need to be a little bit more attentive during the cooking but the result was fabulous. We loved the creaminess and the pasta came out perfectly al dente.  You just don’t want to overcook it, taste for doneness and sit down and eat. It was delicious the next day cold out of fridge as well. Give this one a try you won’t be sorry. Joel was very happy with the clean-up detail as well because it was one pot! Whole thing took under an hour from start to finish. One pan, people!!! dry noodles, sauce ingredients, water, wine a few good things and you’ve got a delicious impressive dinner.

*I used my large Le Creuset pot. A large skillet would work fine here as well.

Ingredients:

2 Tablespoons extra-virgin olive oil

5 cloves of garlic, chopped

app. 1 – 1 1/2 lbs. of chicken breast, cut into small chunks. Just buy a regular package of chicken breasts and cut them up as I did ( see photos)

2 large roasted red peppers, sliced into thin slices ( straight out of the jar) see photos

6 cherry peppers, chopped and de-seeded , you can use hot if you like it spicy or just mild cherry peppers which is what I used (straight out of the jar) see photos

1 cup water, you will probably add about 1/2 cup more but you should start out with a cup

1 lb. rigatoni, I like the way the rigatoni works of course penne or another type of macaroni will work just fine

1 cup white wine, use what you have open as long as it’s not a sweet wine

1 28 oz. can of crushed tomatoes

1 cup Parmesan Cheese grated, more for serving

1/2 stick unsalted butter

1/4 cup heavy cream

2 teaspoons fresh basil torn, you’ll want to add a little more at the end of cooking as well.

1/2 teaspoon kosher salt or sea salt

Crushed red pepper flakes, optional. If you like the heat add a little bit during cooking and you can always add more at end. 1/4 teaspoon to start is good.

Directions:

In a large skillet type of pot, heat the olive oil over medium heat and add in the garlic and chicken . Saute the chicken until it is just browned on the outside but not cooked through.

Stir in the roasted red peppers and cherry peppers, and sauté for another minute or so. Add in the crushed tomatoes and wine. Add in the water and the raw pasta and bring to a low boil. If you need more water you’ll know at this point , add a bit more water (a little at a time) Continue to cook, stirring very often, until the pasta has cooked to al dente , it will take anywhere from 15- 20 minutes. Taste pasta and judge how much longer it needs.

When pasta is done to your liking, reduce heat to low and add in the butter, basil and salt. When the butter is completely melted into the past, add in the cream and the cheese. Let simmer on low for another ten minutes or so, stirring occasionally. Top with additional cheese, basil and red pepper flakes if you like.

Serve warm.

Cauliflower Fried Rice

My new obsession is cauliflower rice and I have to admit that since you can now find the cauliflower already chopped up and ready to use there is no excuse not to make this. I used to have to chop the cauliflower in my processor which was time consuming and I would have to dry it on towels as it was always slightly watery. Now it’s available in pre-prepared cauliflower rice packages and this is a “game changer”. Both Green Giant chopped cauliflower in a bag as well as at Trader Joe’s and Whole Foods. The pre-chopped bags come in 16 ounce size bags which is what I used for this recipe.  You can buy extra bags and keep them frozen!  It’s wildly popular so grab it while you can and get a few extra bags while you’re at it. Of course you can always chop your own if you don’t have access to any of these products.

This was so delicious I have added chicken and shrimp but you can certainly leave it vegetarian and add more vegetables or tofu.  There are so very many variations on this theme, feel free to go wild with it. It’s a low carb alternative to regular rice and a delicious healthy way to do so. I served it up in a large bowl and it was really a filling delicious dinner.

This is what I did and the next night I heated up left-over rice and topped with a fried egg!  Delicious!

Ingredients:

1 bag chopped cauliflower rice ( I found Green Giant brand and used it) I used a 16 oz. bag  you can use up to 24 oz. Or 1 medium head of cauliflower.

2 Tablespoons reduced sodium soy sauce- you may want to add more at the end , you’ll wait and taste

1 Tablespoon Sesame Oil

2 Tablespoons vegetable oil, plus a little bit for eggs as well. You can cut the oil down on eggs if you’d like. I felt like I needed the 2 tbsp. of oil for onions , etc. You can start 1 tbsp. and add as you need.

1/8 teaspoon ground ginger– you can use fresh if you prefer

2 large eggs-beaten

1 cup frozen peas and carrots –I had it in the house and how easy was this? you can use broccoli or corn or all.

1 onion diced

2 cloves garlic -minced

1/8 teaspoon freshly ground black pepper , about 6 grinds on the pepper mill will do

*pinch of crushed red pepper

*chicken, shrimp whatever protein you like . I used a thin chicken cutlet as it was just for me, if I were making for more people I would probably add about 1/2 lb. of cutlets diced up.

2 green onions (scallions) thinly sliced

*salt and pepper to taste — you may want to add a little but don’t add till the end and you’ve tasted it. I added a little sprinkling of salt and pepper.

Directions:

If you must make the cauliflower rice, take out the processor, pulse cauliflower in the large bowl of a food processor until it resembles rice, about 3 minutes, set aside. If you bought the bag–you’re ready.

In a small bowl, whisk together soy sauce, sesame oil, ginger and a little black pepper

Heat about 1/2 Tbsp. of vegetable oil in a medium skillet over low heat , add beaten eggs and cook until cooked through. I didn’t scramble , I made a large pancake. About 2-3 minutes per side, flipping once. Let cool completely before dicing into small pieces, set aside to cool.

Heat 1- 2 Tablespoons Vegetable Oil in a large skillet or wok over medium high heat. Add garlic and onion to the skillet and cook, stirring often, until onions become translucent, at least 5 minutes. I like my onions translucent for this recipe. Lower the heat and stir in peas and carrots (and any other veggies you’d like) and cook until vegetables are tender, about 5 minutes. I ended up using the 2 Tablespoons of oil, do what works best for you.

Right before the next part I threw in some torn up Kale pieces. The kale cooks down rather quickly . Then I added the next part. If you’d like to add kale .

Stir in the cauliflower, diced up eggs, green onions and soy sauce mixture. Cook, stirring constantly, until heated through and the cauliflower is tender, about 5 minutes . Taste for soy sauce and add if necessary. I didn’t add any salt because the soy sauce was salty enough. After the first five minutes of cooking I throw in the cooked protein that I am using and continue to heat it all up stirring as I go. If you ‘d like you can also add more soy sauce at this point. Just heat till hot and serve.

This is a very loose recipe so please feel free to experiment.


Roasted Cauliflower–Thyme, Garlic, Onion and Parmesan

IMG_0626

I am a big fan of cauliflower and will eat it almost any which way it is prepared but this way was pretty delicious. You can take out the parmesan out at the end if you so choose. I love the way the parmesan melts in and the flavor is wonderful, but if you want to exclude it you can do so. I roasted for almost an hour at 425 degrees, you can check on it after 40 minutes. The onion starts to caramelize nicely but it can get burnt so keep your eye on it. This makes for a pretty awesome side dish to go alongside almost anything.

P.S. I got Joel to taste it but he still doesn’t like it that much–just getting him to taste cauliflower was a milestone!

Ingredients:

1 whole head cauliflower

1/2 large yellow onion – I sliced in 1/2 and made 1/2 moon thin slices, you can slice it however you’d like

4-5 thyme sprigs –I left them whole

4 unpeeled garlic cloves — 4 nice size garlic cloves

4 Tablespoons Olive Oil

Kosher Salt –app. 1/2 Tsp. was enough especially if you’re using the Parmesan Cheese

Freshly Ground Black Pepper–app. 6 grinds on the mill was what I used –you can taste for Salt and Pepper

*optional but delicious addition 1/2 cup of Grated Parmesan

Directions:

Preheat oven to 425 degrees.

You’ll need a large rimmed baking sheet

Wash and dry head of cauliflower, cut up into florets. Slice up onion ( I only used 1/2 of the onion because I didn’t want it to overwhelm the flavor) you can add more if you’d like

I then took out a large bowl and tossed the cauliflower florets, thyme sprigs, unpeeled garlic, and olive oil together in a large bowl. I added app. 1/2 Tsp. Kosher Salt and Freshly Ground Black Pepper. I let it sit for a little bit while I prepped the rest of my meal.

I then spread out on large rimmed baking sheet and roasted for 1/2 hour, tossing occasionally. After 45 minutes I sprinkled with 1/2 cup of grated Parmesan, tossed to combine, and roasted for about another 12-15 minutes till cauliflower was slightly browned and tender. Perfection!