Basic Corn Salad

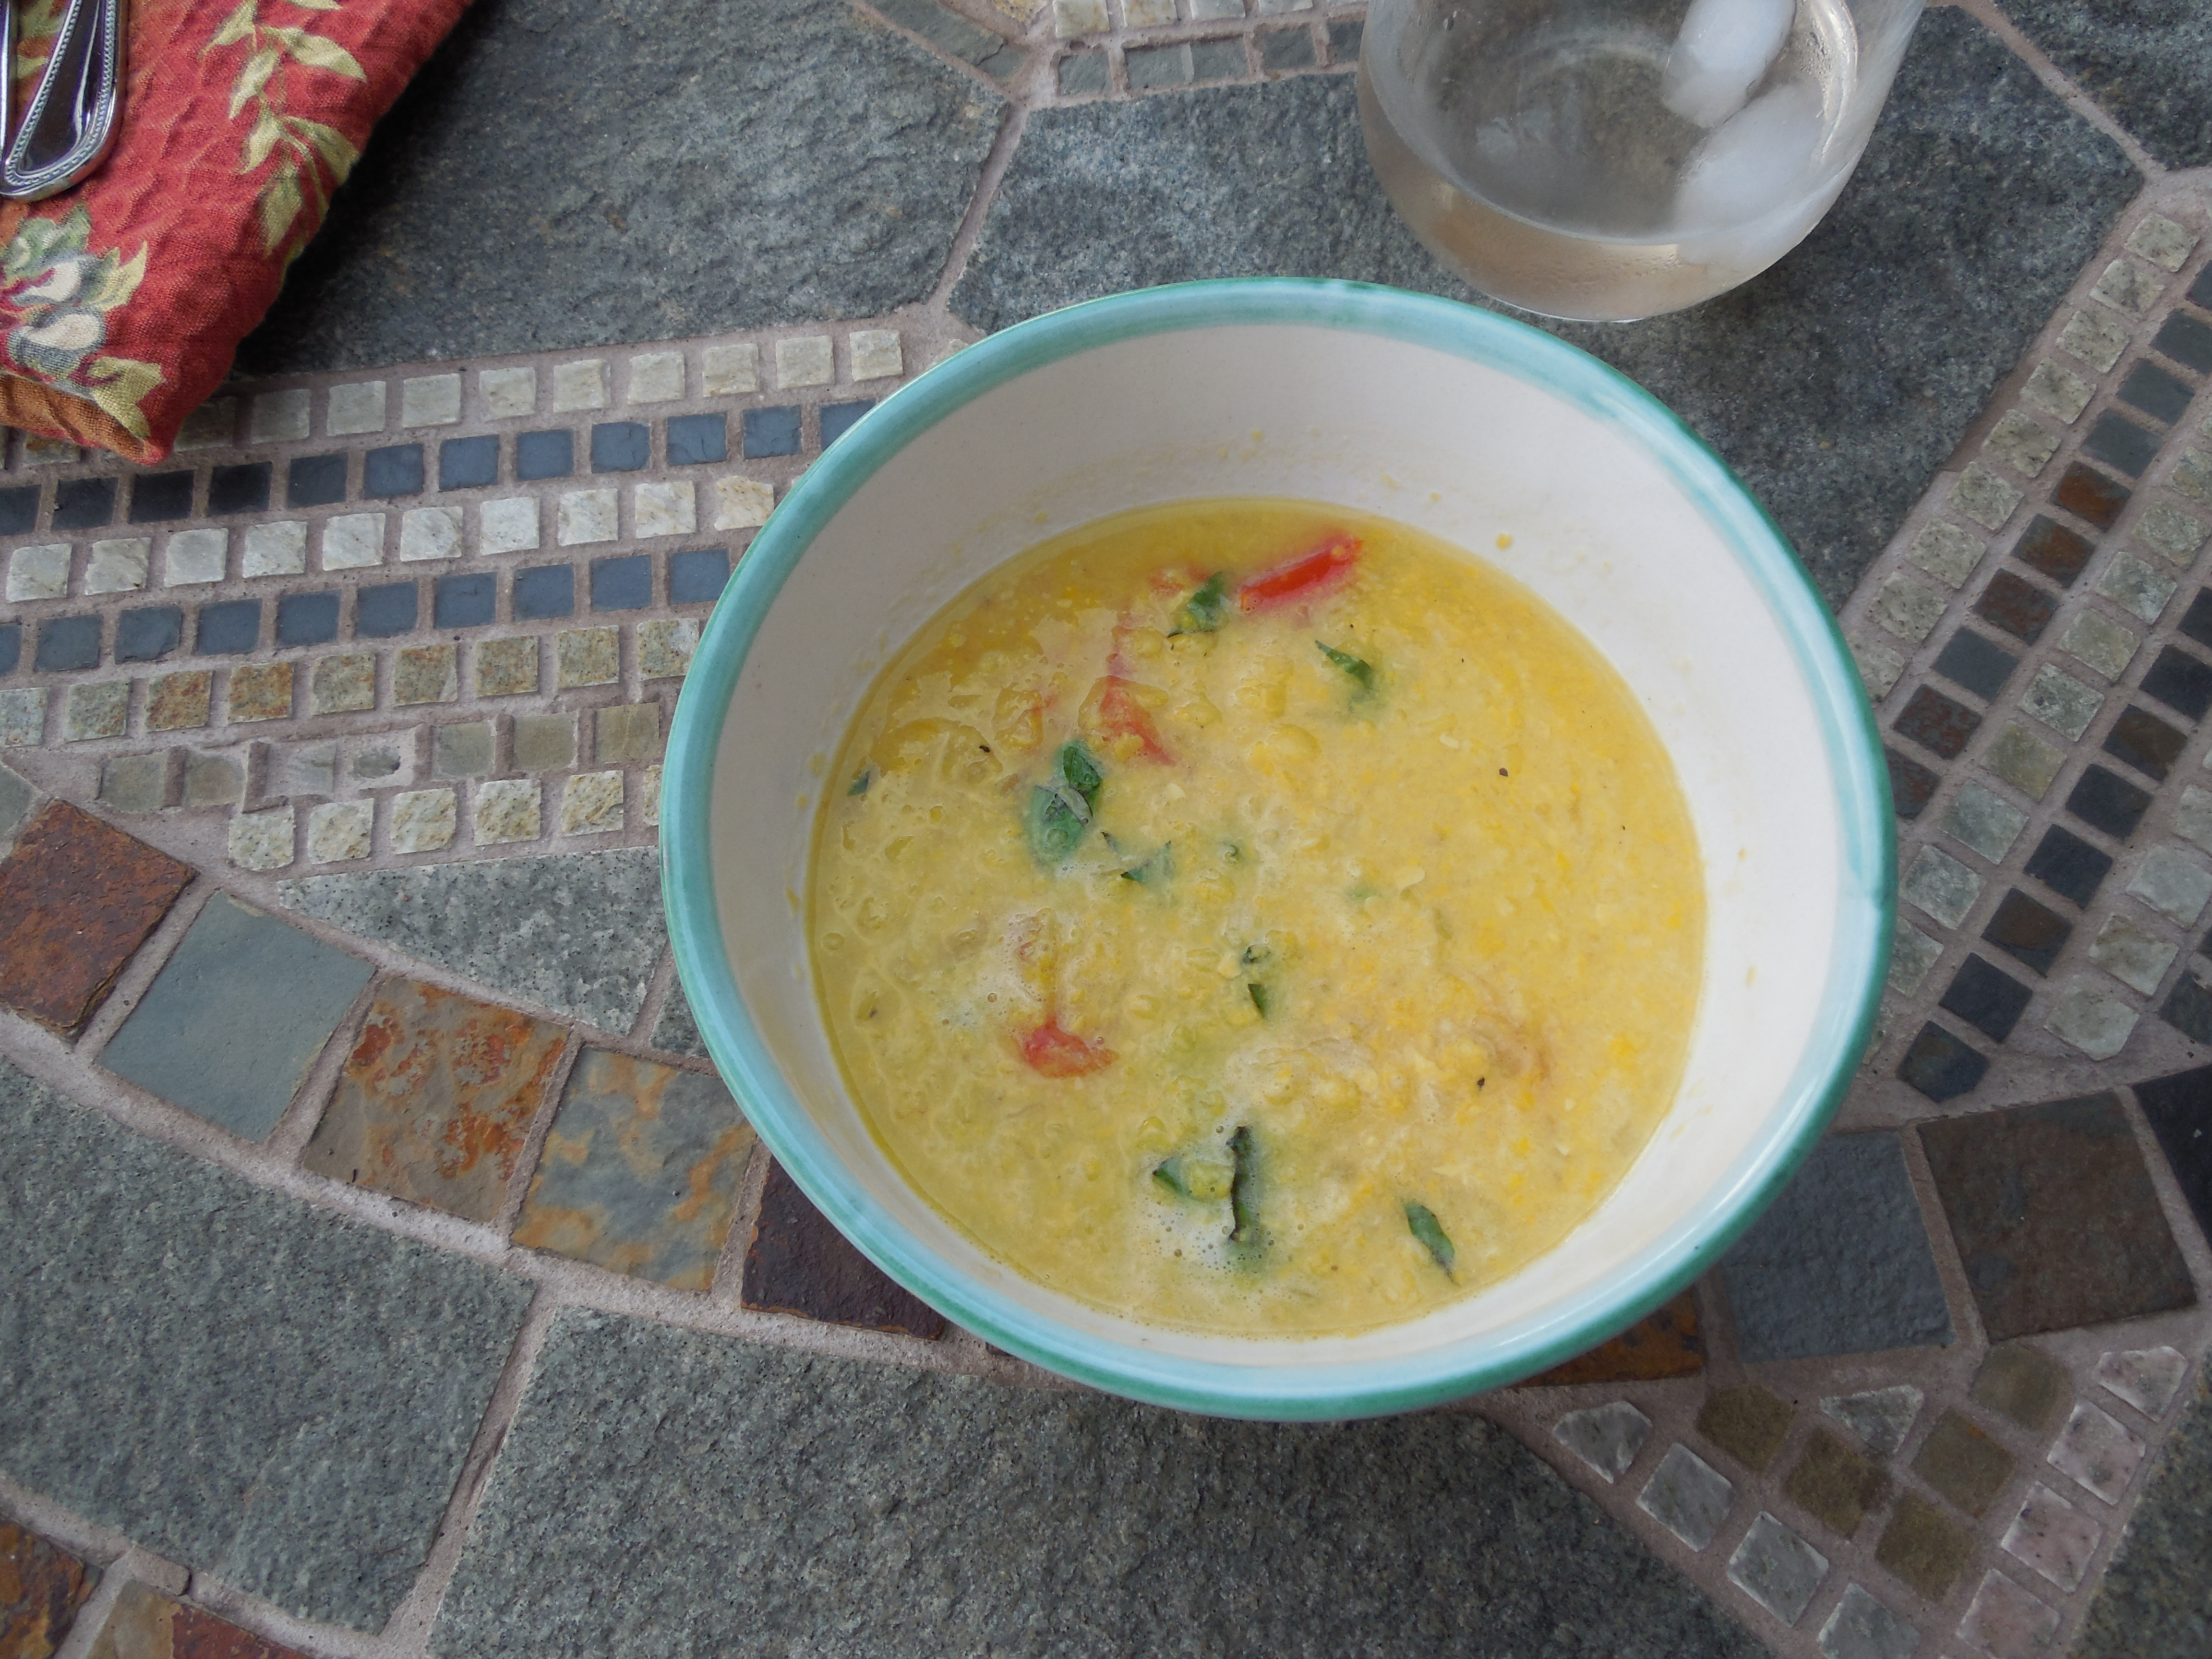
This is the time of the year when corn is at its sweetest and readily available all over. There are times I buy fresh corn but don’t feel like serving it on the cob, even though it is perfectly delicious this way. This corn salad is a suggestion for you as a side dish with very little ingredients and pretty much all corn. I like to serve as a side dish in the summer because it can be made ahead and served at room temperature.

Enjoy the rest of the summer and keep on Cooking with Candi.

Ingredients:

5-6 ears of corn , schucked

1/2 cup small diced red onion

3 Tablespoons cider vinegar

3 Tablespoons good olive oil

1/4 Teaspoon Kosher Salt – you can always add more salt after you finish and taste for salt

1/4 Teaspoon Freshly Ground Black Pepper the same applies for the pepper as for the salt

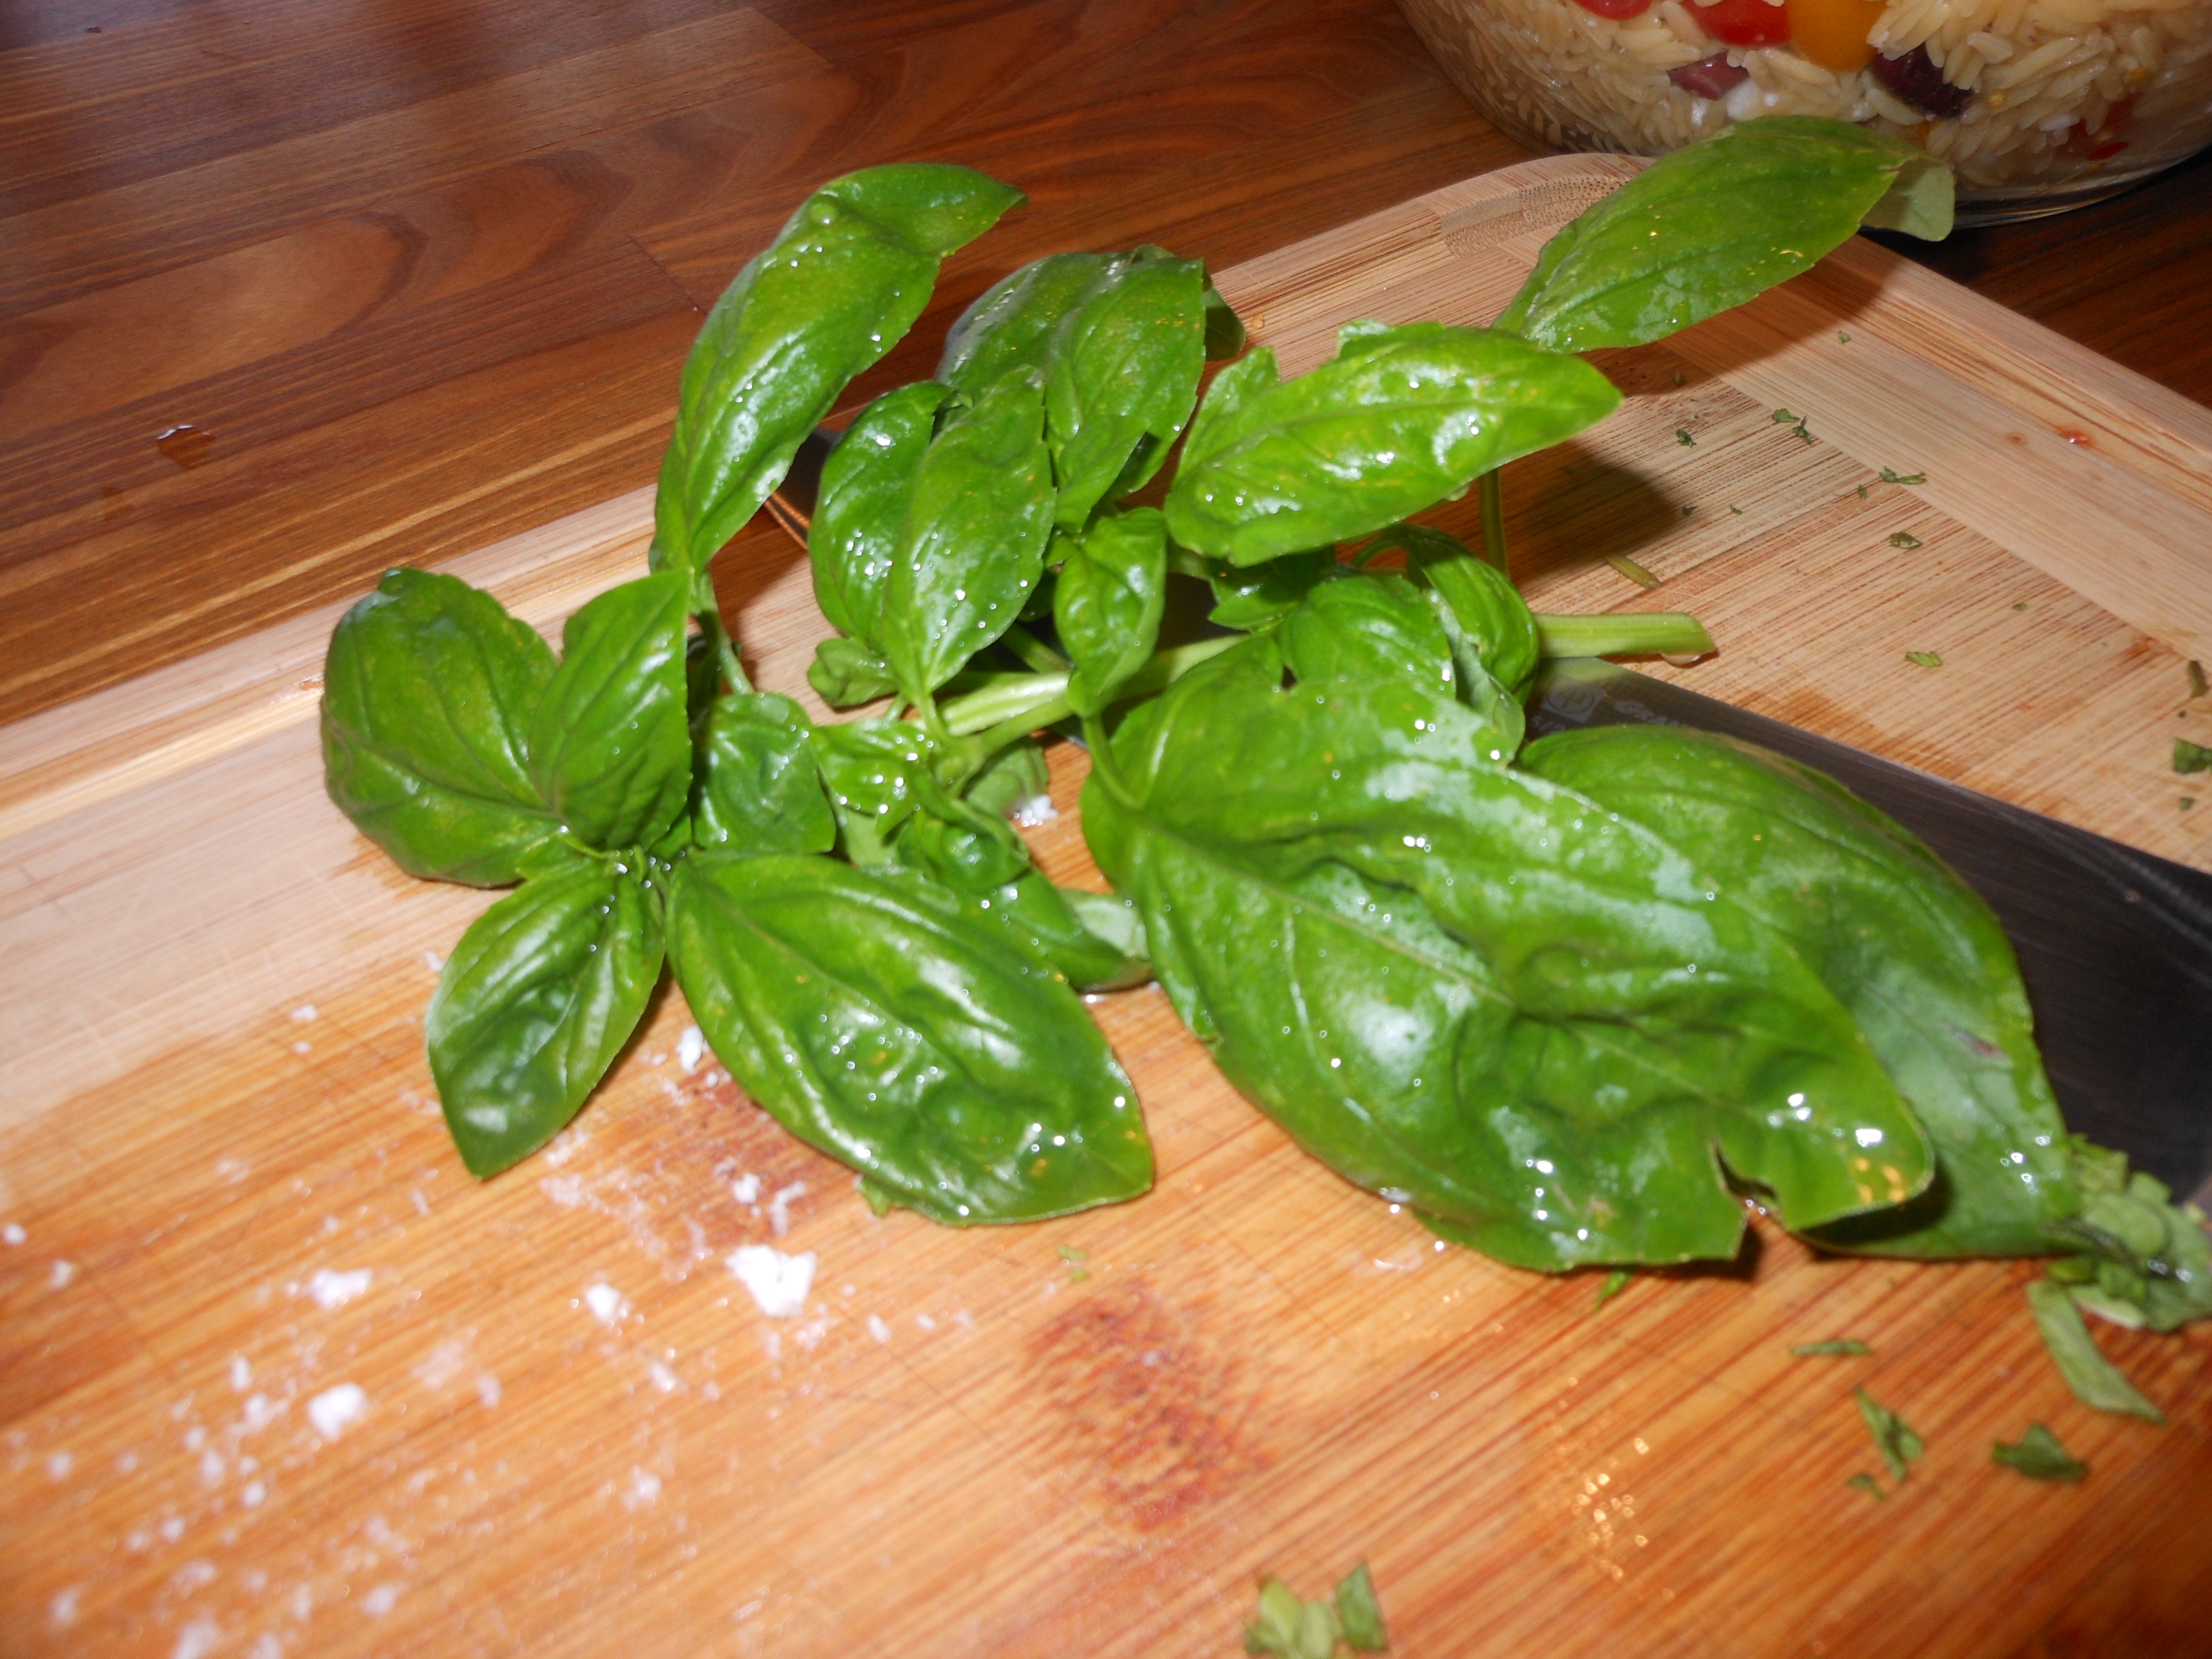
app. 1/2 cup cut up fresh basil leaves–use as much or as little as you like –it adds wonderful flavor

Directions:

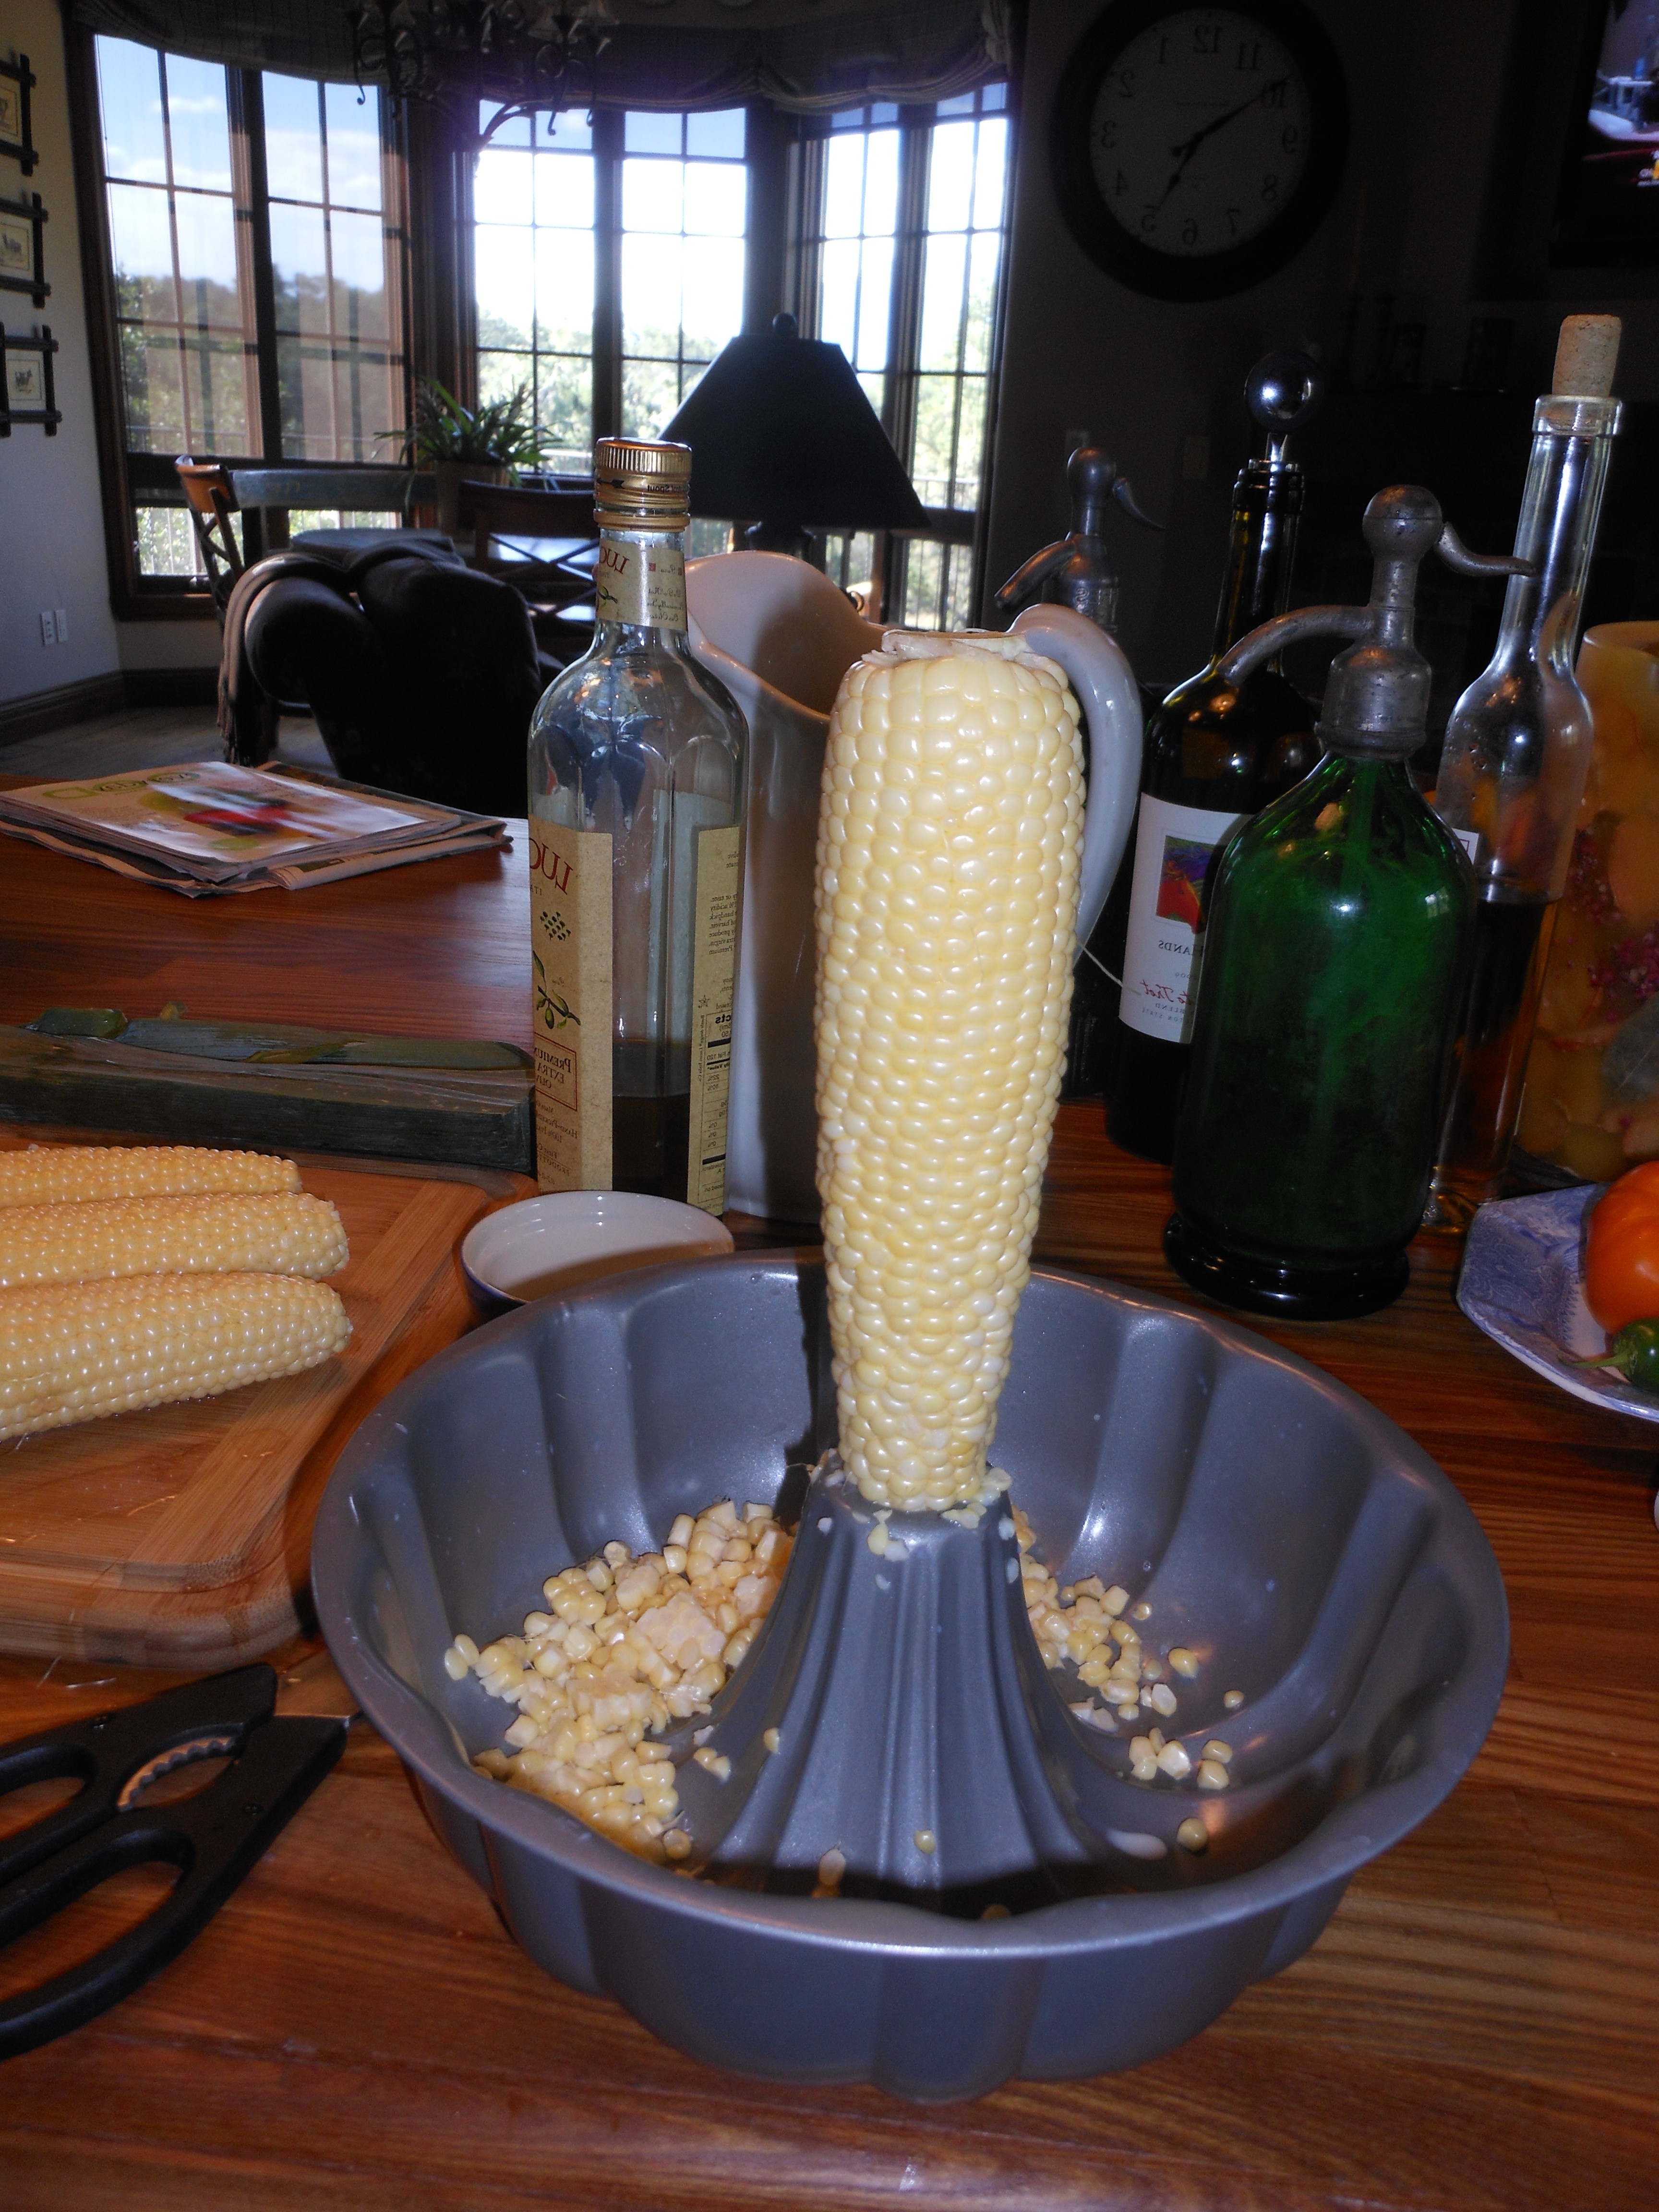
In a large pot of boiling water, cook the corn for app. 3 minutes (just to let go of the starchiness) Drain and immerse in ice water to stop the cooking and set the color. When the corn cools down , cut the kernels off the cob , cutting close to the cob to get the whole kernel. I use a bundt pan to catch all the kernels.

Toss the corn kernels in a large bowl with the red onions, vinegar, olive oil, salt and pepper. Just before serving, toss in the fresh basil. Taste for seasonings and serve cold or at room temperature.

How simple and easy is this?IMG_5739

Marinated Flank Steak

I was having some people over for dinner and I like Flank Steak because you cut it up into thin slices and everyone gets a little bit without feeling like they ate a ton of meat. It cooks up on the grill super fast– about 5 minutes on each side. And it is awesome when used in fajitas!!!

This is what I did. Here are some pics from that night.

Ingredients:

3 lb. Flank Steak

1/2 cup vegetable oil

1/3 cup soy sauce

1/4 cup red wine vinegar

2 Tablespoons Fresh Lemon Juice –app. 1 large lemon

1 1/2 Tablespoons Worcestershire sauce

1 Tablespoon Dijon Mustard

2 cloves garlic–minced

1/2 teaspoon ground black pepper

Directions:

in a medium sized bowl, mix all the above ingredients. Pour marinade over the steak, turning meat to coat thoroughly. Cover and refrigerate at least 6 hours but I did it overnight till dinner the next day.

Pre heat your grill and turn to medium high heat.

I like to oil the grates and spray with Pam spray. Place steaks on the grill and discard the marinade .

Grill depending on the thickness of your flank steak app. 5 minutes each side.

Enjoy!


Corn and Tomato Soup – no cream

DSCN0358DSCN0382DSCN0381The corn is so delicious right now that I had to make this soup. I was going to save this recipe for the Fall but I used the fresh Olathe corn at the market now and couldn’t wait to share. When the corn is not as fresh and sweet you can definitely use frozen . I used fresh tomatoes from the farmers market and fresh Olathe corn ( local in Colorado) but I happen to know Long Island has particularly good sweet local corn. So while the getting is good and you can get fresh vegetables please do so. Farm to Table here we go again.

I made this soup for dinner as an appetizer. I think it would be good cold but I prefer it warm.

Ingredients:

2 tablespoons extra-virgin olive oil

2 shallots , coarsely chopped or 1 large one

1 teaspoon kosher salt ( more to taste)

1/2 teaspoon freshly ground black pepper ( more to taste)

3 1/4 cups corn, or 1 lb. bag of frozen corn thawed it’s approximately 5 – 6 ears of fresh corn

3 cups low-sodium chicken broth or vegetable broth to keep it vegetarian

2 beautiful medium size tomatoes, seeded and chopped into 1/2 inch pieces*

1/4 cup fresh basil leaves, chopped or torn

Directions:

In a large dutch oven ( Le Creuset) type of pot, heat the olive oil over medium-high heat. Add the shallots, salt and pepper, cook stirring occasionally until shallots are soft, app. 5 minutes. While this is going on cook up the corn as follows.

Bring a pot of salted water to a boil and just cook corn till it turns yellow for 1-2 minutes, then I throw into an ice bath to stop the cooking. When corn is cooled down cut kernels off cobs.

Place the cooked shallots, corn and chicken stock into the blender.

Pour the corn mixture back into the pot. Bring the mixture to a low simmer , cook for about 15 minutes, stirring occasionally, just to heat through.  Remove the pan from the heat and stir in the tomatoes and basil, let it cook for another 10 minutes or so.  Taste for Salt and Pepper.

Ladle into soup bowls and serve!

*to seed the tomatoes, cut them in 1/2 horizontally and using a small dessert spoon, scoop out the seed and discard. The seeds make the soup too watery.

Fresh Basil Pesto

photo 2 (6)

Chicken and Pesto on the Grill

photo 2 (8)

Pasta Pesto

The original recipe for this delicious pesto appeared back in May 2011 on Cooking with Candi.  Yummy Pesto was the title. This is the same recipe from my BFF Suki. I have tried many pesto sauces and this remains my absolute go to favorite. It is super easy and while the basil is abundant you should make it and freeze it. When you freeze the pesto in a container, pour a thin layer of olive oil over the top . I have it frozen for up to 3 months. I use it on chicken, pasta, and it’s wonderful as a spread. This recipe is good for 2 lbs. of pasta usually. So I use 1/2 and freeze the rest if it’s just the 2 of us.

Pesto Chicken on the Grill with Grilled Peppers and Roasted Sweet Potatoes

DSCN3588

Fresh Basil

If you are going to use on chicken , just brush on the chicken sprinkle a tiny bit of  kosher salt on it and  let it marinate for at least a few hours and it can be marinated  overnight in the refrigerator. Take it out of fridge and let it sit at room temp. before putting on the grill. That’s it!

*You’ll need a food processor

Ingredients:

2 cups fresh basil (washed)

1/2 cup romano cheese (grated)

1/2 cup parmesan cheese ( grated)

1/2 cup pignolli nuts or walnuts

1 cup extra virgin olive oil–use a good one

1 – 3 tablespoons of unsalted butter (it’s good if the butter is softened before adding) you can soften in microwave

4 cloves garlic – peeled and whole

freshly ground black pepper–to taste

*kosher salt to taste if you feel you need it after finished making pesto

Directions:

I put all ingredients except for olive oil in the food processor. Give it a few grinds using the blade attachment. Then I slowly add in the olive oil through the top of processor while it’s on. Beautiful green pesto! so easy. Taste for salt and pepper

Cook pasta and drain and add pesto. Done!

Chicken Fajitas on the Grill

IMG_5599.JPG


IMG_5593.JPG Wow–Fajitas on the Grill and the best part is there were no pots and pans to clean up! Cooked in Aluminum Foil Packs right on the grill! They call them Hobo Packs.

Very quick prep and delicious ingredients. Feel free to substitute whatever peppers you would prefer. This is what I did.

Last night there were 4 of us so I used about 2 lbs. of chicken but kept everything else the same and it worked out just fine!

You’ll need heavy-duty aluminum foil for the grill.

Ingredients:

1 lb. chicken tenders–you can 1/2 them lengthwise into thin strips or leave them whole which is what I did. If you can’t find tenders use a cutlet and cut into thin strips.

1 medium red onion, halved and sliced 1/4 inch thick (approximately)

1 poblano chile or serrano chile whatever you can get. Stemmed and cut lengthwise into 1/2 inch strips. I used both .

1 Red Bell Pepper–cut into strips lengthwise

1 Yellow Bell Pepper –cut into strips lengthwise

*you can really use any peppers that you’d like–these are the ones I used Shishito Peppers would be wonderful as well.

1/4 cup extra-virgin olive oil

1 1/2 tsp. cumin seeds

Kosher Salt and Freshly Ground Black Pepper- you’ll need to be fairly generous with the salt –I used about 1 1/2 teaspoons of salt and a few grinds of the pepper mill.

4 -6 fresh oregano sprigs–at least 1 in each packet–I used 2 in each packet.

1 lime, thinly sliced crosswise

Warm flour or corn tortillas, sour cream , guacamole and salsa and some hot sauce for serving. I used small tortillas but any kind will work out nicely. This is a very easy Summer Meal.

Directions:

Cut up all the veggies, onions and chicken and light the grill, I had the grill turned up high , it should be medium to high. I put it to high to pre-heat and then lowered to a more medium – high, if you are unable to do this step just check on them after 12 minutes to make sure the bottom isn’t burning.

In a large bowl, toss the chicken, onion and all the peppers with the olive oil and cumin seeds. Season generously with salt and pepper and toss again.

Arrange 4 14 inch sheets of heavy duty foil on a work surface ( see pics) app. 14 inches don’t get the ruler out. Just eyeball it, it needs to fit a pile of veggies and chicken. Last night I increased the chicken so we had about 6 packs.

Pile the chicken and veggies evenly on one 1/2 of each foil sheet and top with the oregano and lime slices. Fold the foil over the ingredients and pinch the edges to seal.

Place the foil packets on the grill, close the lid and cook over moderately high heat until the chicken is cooked through, anywhere from 12 to 15 minutes.

Open the packets and serve with warm flour fajitas, sour cream , guacamole, salsa and hot sauce.

*Packets can be made a night ahead of time and kept in the refrigerator.

Enjoy!


BBQ Baked Beans

Perfect for a side dish for BBQ or indoor dining! I made these baked beans for a dinner party this summer and completely forgot to post the recipe . It’s not vegetarian friendly since I did use bacon and am afraid if you leave it out you would be leaving out an integral layer of flavor. These are sweet and delicious and you probably have most of the ingredients in your pantry. I love a well stocked pantry and always have canned beans, apple cider vinegar, ketchup, mustard, dark and light brown sugar and Worcestershire sauce. I used dark brown sugar but if you have light you can use. You’ll need thick-cut bacon and a medium yellow onion. I love when I use ingredients that I have in my house.

I saw this recipe on Valerie’s Home Cooking on The Food Network.

www.foodnetwork.com

Ingredients:

4 slices thick-cut bacon, roughly chopped

1 medium yellow onion, chopped

2 15 ounce cans Cannellini or Great Northern white beans

1/3 cup ketchup

1/3 cup dark brown sugar

1 teaspoon Dijon mustard

1 teaspoon apple cider vinegar

1 teaspoon Worcestershire Sauce

Kosher Salt and Freshly ground black pepper

Directions:

Preheat the oven to 350 degrees.

Put the bacon in a large cold skillet and cook over medium heat until the fat renders and the bacon is almost cooked to a crisp. About 10 minutes.

Add the onion and cook, stirring occasionally , until the onion is softened, another 10 minutes or so. Add 1 can of the beans with their liquid. Drain and rinse the second can of beans, then add them to the skillet.

Add the ketchup, mustard, brown sugar, vinegar, Worcestershire, 1/2 teaspoon salt and a few grinds of the pepper mill. You’ll taste for salt and pepper again at the end of cooking.

Bring to a low simmer, then transfer to a small baking dish. Bake uncovered until thick and bubbly, about an hour.Taste for salt and pepper.

I cooked in my small Le Creuset from start to finish and served in my pot right to the table. Either way is fine.

Serve Warm.


Farmers Market to Table Gazpacho

DSCN0375DSCN0378

Delicious fresh vegetables from the local farmers market went into this gazpacho. This time of year you must take advantage of the awesome selection of fruit and vegetables at your local farmers market. In Colorado there is so much local produce it would be a pity not to . I bought the tomatoes , cucumbers, peppers, garlic and red onion all from our local farmers market. Whole Foods also sells many local products which is so amazing.  It’s just quite wonderful to put food on your table from your own garden or at least from one within 100 miles of where you live. Farm to Table . Simply put it’s the best .

Ingredients:

1 cucumber or 2 – 3 Kirby size cukes, halved and seeded , but don’t peel . If not Kirby cukes you can use a hothouse cucumber. Go organic, because you are eating the peel.

2 yellow bell peppers, cored and seeded. Of course you can use red bell peppers, but not green.

4 tomatoes — Whole Foods and most grocery stores have beautiful produce this time of year so use the heirlooms if you can get them or any of the fresh tomatoes will do.

1 red onion

3 garlic cloves, minced or throw them into the food processor along with vegetables

3 cups Spicy V8 or use regular tomato juice

1/4 cup champagne vinegar or white wine vinegar

1/4 cup good olive oil

1/2 teaspoon kosher salt

1 teaspoon freshly ground black pepper

*1/2 to 1 whole jalapeno depending on how spicy you like it, remove seeds from jalapeno

* cilantro, chopped is a nice touch for garnish

*avocado cut up is also nice garnish

*shrimp is also a nice garnish

Directions:

I cut up cukes, tomatoes, bell peppers and red onions into app. 1 inch cubes. Put each vegetable separately into a food processor with steel blade and pulse until it is coarsely chopped. Do not make baby food, don’t over process.

After each vegetable is chopped up combine them in a large bowl and add the garlic ( if you haven’t already) , juice, vinegar, olive oil, salt and pepper. Mix well and chill before serving. It’s a good idea to chill for a while, the longer it sits the more the taste develops.

The second night I added shrimp and avocado.

20130809-090155.jpg

20130809-090221.jpg

Yellow Tomato Gazpacho

photo 4 (3)photo 4 (2)I had purchased the most beautiful yellow  tomatoes and figured I would make gazpacho. Gazpacho is by far one of my most favorite summer time soups.  This one is fairly smooth.  Before serving I added  avocado and served with tortilla chips for a wonderful most satisfying meal. This is also super easy and you’ll look like a pro if you just follow these easy directions. You’ll need a decent blender and a few easy to obtain ingredients and you have a wonderful additional to any meal or a nice light lunch. This time I used beautiful yellow tomatoes, you can use any color you’d like and you can use any kind of tomato from the small grape or cherry tomatoes to the larger ones.  The yellow tomatoes with the flecks of jalapeno made a strikingly beautiful soup.photo 2 (3) photo 2I have another recipe titled “Farm to Table Gazpacho” it’s more of a traditional gazpacho! I am going to re-post it as well.

Ingredients:

2 lbs. yellow tomatoes, I used regular sized tomatoes. You can use yellow or orange cherry tomatoes and get the same effect. I washed and dried tomatoes and cut into quarters or halves for easier blending. Heirlooms are amazingly delicious when in season which they are right now! My sister makes this recipe by parboiling the tomatoes, removing the skin and cutting core out of tomatoes. This is an other option. I opted for the easier method but both are delicious and work well.

1 garlic clove (average sized)–you can use 2 cloves if you like a bit more bite of garlic

1/4 cup extra-virgin olive oil

1 jalapeno, seeded and minced ( be careful handling jalapenos always, I use rubber gloves and be very careful not to get seeds on my hands) wash carefully after cutting up jalapenos, seriously. If you like more kick keep a few seeds from jalapenos. You can use Serrano Chiles also but I still think Jalapenos have the most bang for the buck.

app. 1 tsp. kosher salt and freshly ground black pepper to taste , you may need to add salt and pepper at the end

Diced avocado and tortilla chips for serving.

Directions:

In a blender, puree the halved tomatoes and garlic with 1/4 cup of water. While the machine is on I gradually add the olive oil until fully incorporated. Transfer to a bowl then stir in the jalapeno and season with salt and pepper. Refrigerate until chilled, at least an hour or so, better overnight.

When you’re ready to serve ladle the gazpacho into bowls and top with diced avocado. Serve with tortilla chips. If you leftover shrimp it is also delicious to add and makes it more of a meal!

Fresh Corn Salad

Corn Salad

best way to cut kernels off cob ( in a bundt pan)

This was one of original posts from August 2011. This is one of my most basic recipes and one of my most favorite in the summer months when the corn is fresh sweet and delicious. Simple and Healthy ingredients designed to enhance the flavor of the local corn not disguise it. And fresh tomatoes from the farm!

Those of you who have been following me for all these years probably have made this a million times. I have a lot of other corn recipes out there but this one is just simply wonderful. Simple being the key word here.

Ingredients:

5 ears of corn

1 small red onion diced – if you like less onion use less

3 Tablespoons good olive oil

3 Tablespoons cider vinegar

1/2 teaspoon kosher salt

1/2 teaspoon freshly ground black pepper

1/2 cup fresh basil leaves cut up

1 pint of red tomatoes — cherry or plum or heirloom– use whatever you can get fresh off the farm! I prefer small tomatoes and I cut in 1/2 or 1/4–

Directions:

Cook the Corn– in a large pot of boiling salted water, cook the corn for 3 minutes just to take the starch out. Drain and put in a large bowl of ice water ( use ice cubes) to stop the cooking–corn should turn bright yellow. Once the corn cools down–cut the kernels off the cob. I use a bundt pan which works out perfectly –it helps prevent the kernels from flying all over the place.

Add cut kernels to the red onion, tomatoes, olive oil , salt and pepper, and cider vinegar. Cut in some fresh basil and there you have it! A wonderful side dish on your table.

Serve at room temperature.

Banana and Blueberry “Ice Cream” not Ice Cream Frozen Dessert

photo 2

Hummingbirds at sunset in Colorado.

photo 5 (2)


photo 4 photo 3This was a delicious variation of the Banana non ice cream I already posted back on May 29, 2013.  I had bought a lot of bananas and had a giant tub of blueberries so without any milk I made this for my dessert and it tasted so creamy and delicious that it was hard to believe it was not real ice cream.  The natural creamy consistency of bananas makes this taste like real ice cream and yet it’s a delicious frozen treat that’s actually dairy-free.

The only thing is that you have to prep by freezing bananas overnight.

Perfect for little kids. No nuts, No milk, No nothing but fruit and a pinch of salt.

Go for it and you certainly can try and mix it up by using bananas and strawberries, raspberries, etc.

Ingredients:

4 firm ripe bananas, cut into chunks, frozen at least overnight

1 cup blueberries

pinch of kosher salt

Directions:

Remove bananas from freezer and let sit for a few minutes to just soften a bit. Mine were in freezer for a few days and had to soften before I could attempt to puree them, about 5 – 10 minutes.

I used my Cuisinart Food Processor for this.

I pureed the Bananas, Blueberries and salt , scraping down the sides as I went.

Puree till you get a creamy texture.

You can make ahead of time and freeze for about a week. Let it sit before serving because it’s best when it’s creamy.

Super Healthy and low in calories and no fat.

Perfect Summer Food and why not all year round?