Category Archives: vegetarian

Pasta e Fagioli ( Pasta and Bean Soup) Weekend Cooking

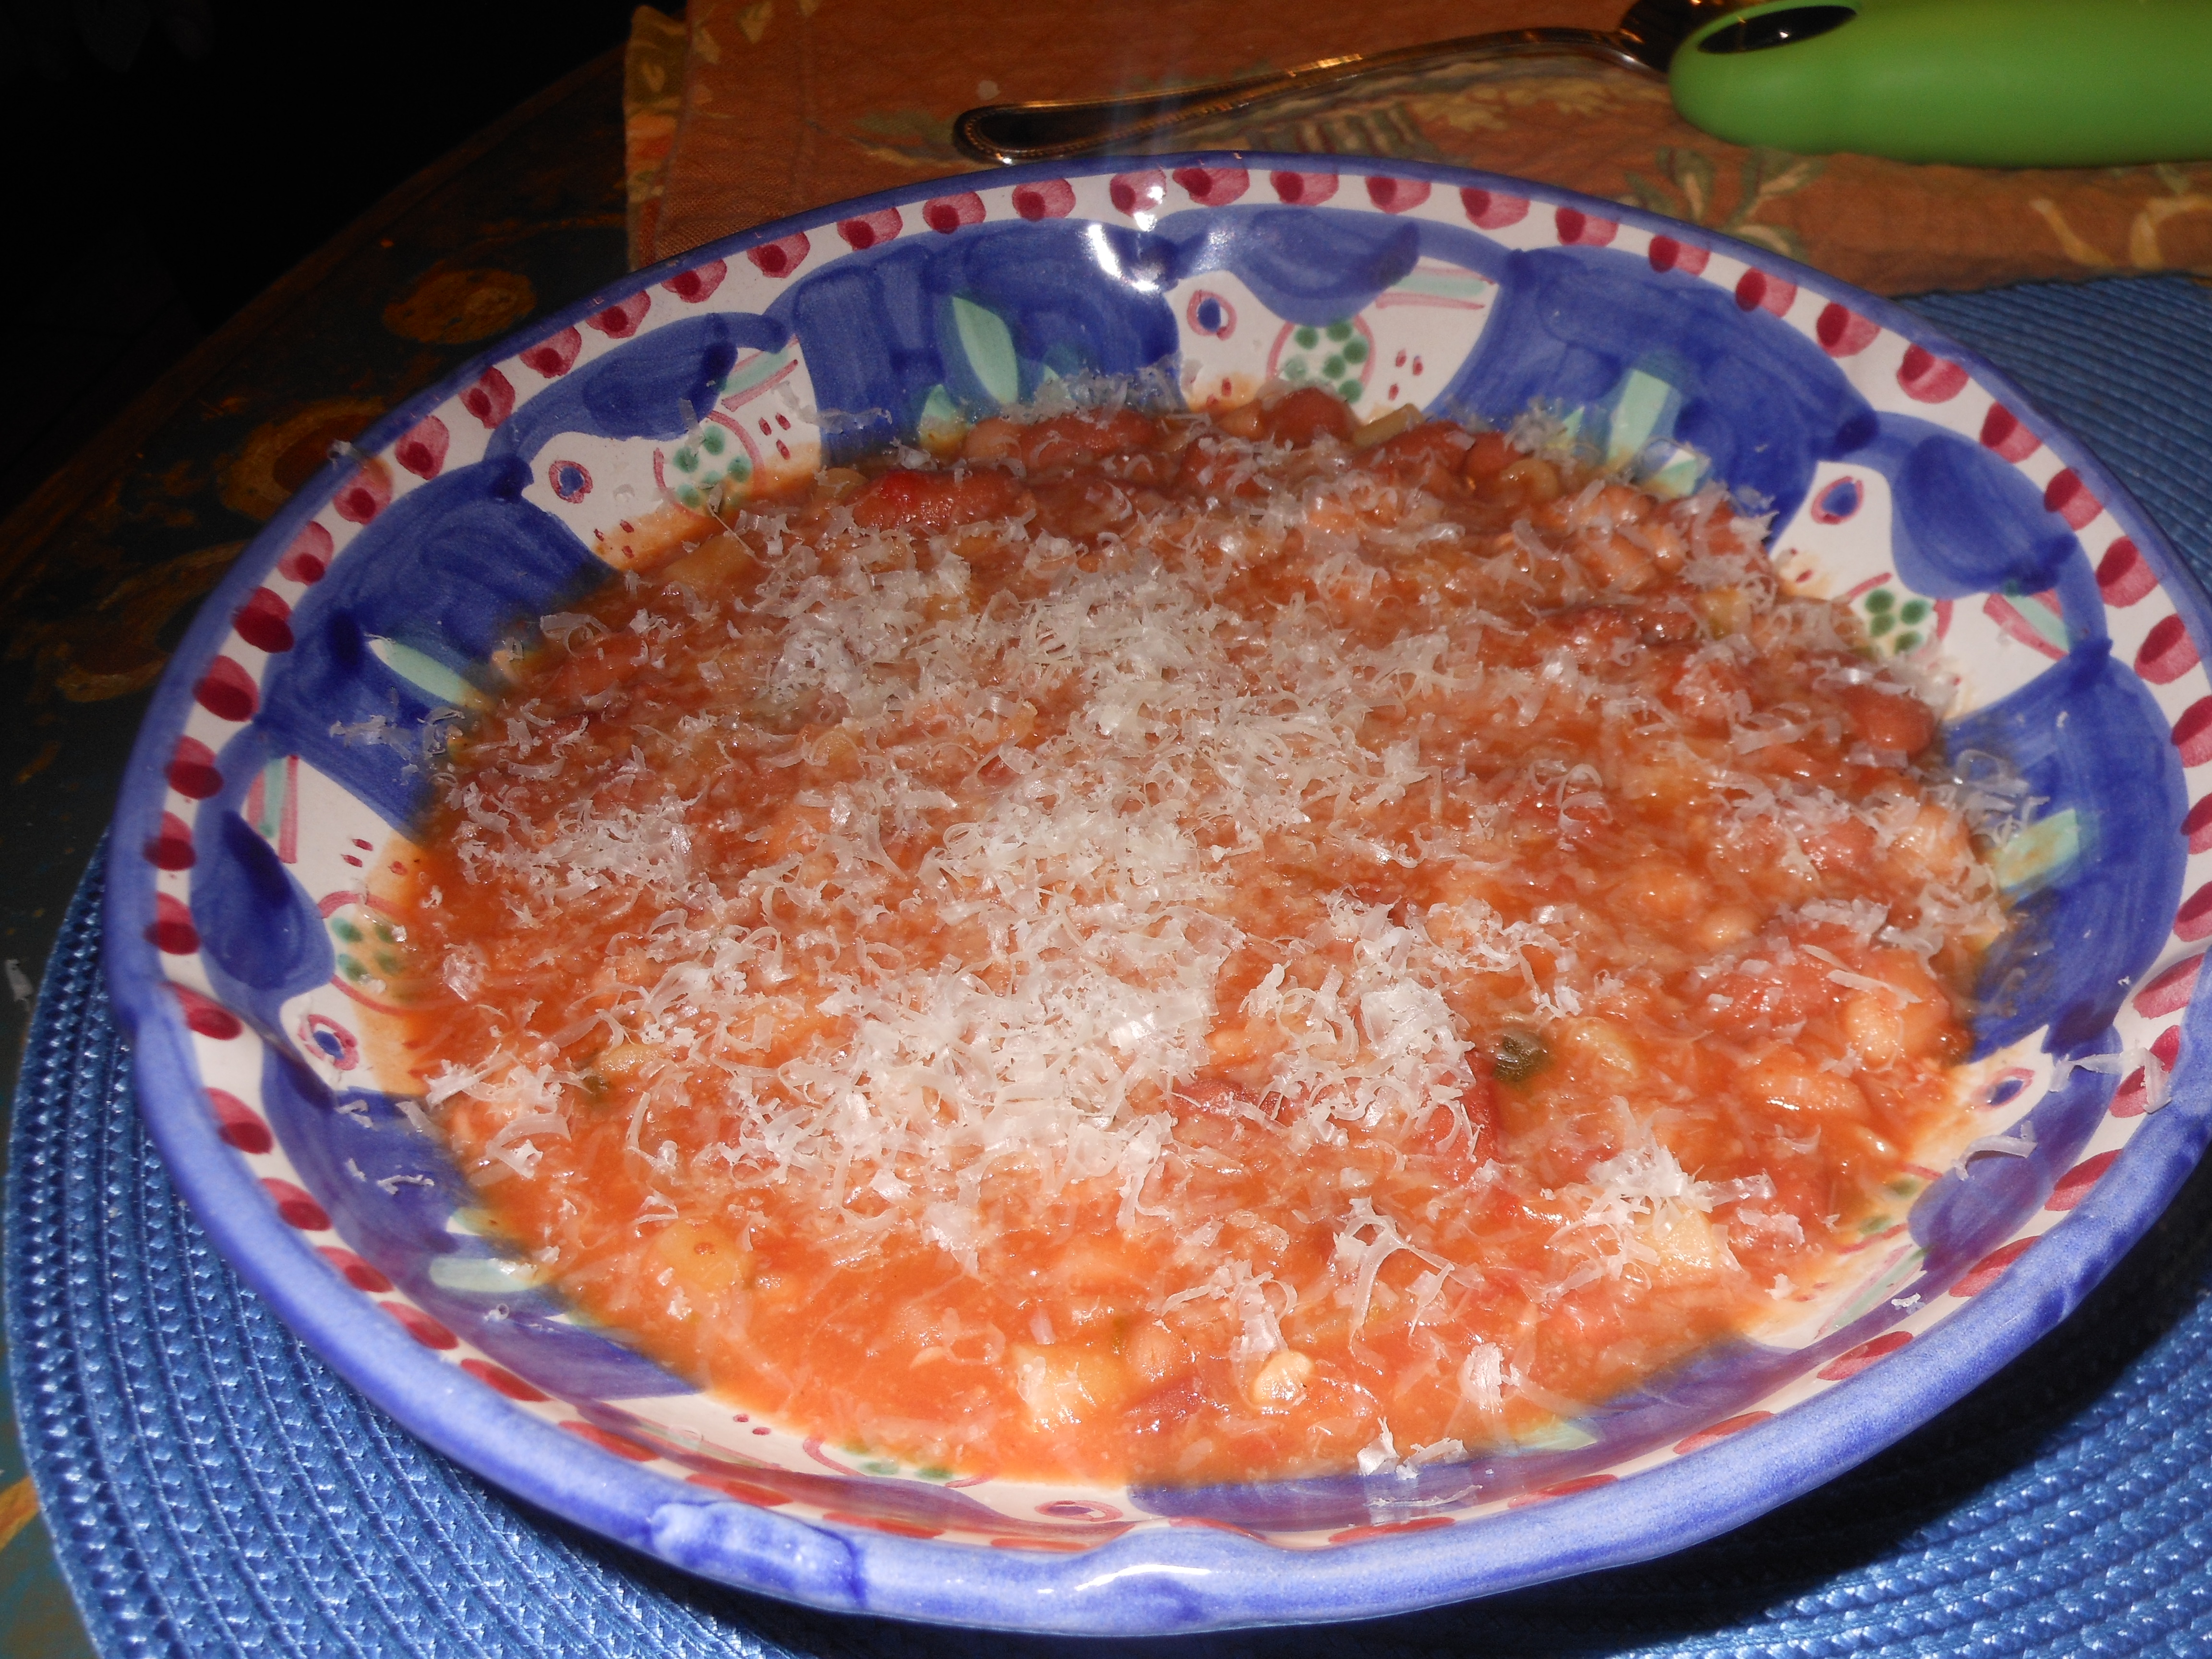
019 I have been making this soup forever and it’s a most perfect soup to make during the weekend when you have a little time to cook and gather ingredients. I make a big pot and freeze some for later and keep some in the fridge for lunch the next day. This is really just a tomato base soup with beans and pasta. How bad can that be? unless you hate beans and pasta that is. I usually have ingredients in the pantry and it is a wonderful warm experience, with a nice salad this is a perfect meal. I used to only make this with dry beans but in the name of time and taste I used canned beans and have now always made this with canned.  I must admit this makes it a whole lot easier  and honestly no one knows the difference! It is a wonderful hearty soup halfway between a soup and a pasta no matter how you do the beans!

Enjoy this amazingly delicious comforting soup and did I mention super easy????

Ingredients:

1 medium yellow onion, chopped

2 – 3 tablespoons olive oil

4 garlic cloves, minced

1 28 oz. can chopped tomatoes ( San Marzano)

10 – 12 fresh basil leaves

red pepper flakes

handful of italian parsley, chopped

2 cans rinsed and drained Cannellini Beans

5 cups water or chicken broth or vegetable broth to keep it vegetarian — water works just fine but you’ll have to check your salt and pepper if using broth especially boxed broth which contains salt. Your call– super easy recipe.

app. 1 cup pasta, elbows, tubetti, ditalini, or broken spaghetti

Kosher Salt — to taste

Freshly Ground Black Pepper

Directions:

In a large , heavy stockpot ( Le Creuset) saute onion in olive oil. When onion is golden and transparent, add garlic. Cook for a few more minutes. Add tomatoes and herbs. Add some kosher salt about 1/2 Tablespoon and some grinds of the pepper mill now and you’ll be tasting all along for salt and pepper

Add the beans and the 5 cups of water  and cook over medium heat for 15 minutes – until the beans begin to break down and the soup begins to thicken. Lower heat to a slow simmer, as low as you can.  Stir frequently to prevent it from sticking and burning bottom of the pot. Taste for salt and pepper again.  I always like it to simmer for a long time, an hour would probably do it, but if I have the time I let it sit for as long as I can.  Sometimes after it’s been simmering for a while ,  I turn off the heat and right before serving just bring to a boil and add pasta. Just be careful not to let it burn, stir frequently . If you need more liquid add water a little at a time, I showed a picture of my pot filler which is the greatest thing to have in a kitchen, makes it super easy to fill a pot.

Right before you’re ready to serve bring to a low boil and add the pasta and cook until pasta is al dente, about 5 – 10 minutes depending on type of pasta you’re using. I used ditalini.

Serve immediately in large soup bowls.

Guests can drizzle some good olive oil and grate some Parmesan Cheese over.  Should serve 8 – 10 depending on appetites. I froze remainder for another time.

Karyn’s Cranberry Crisp- Thanksgiving

Fully Cooked Cranberry Crisp

This recipe has been around pretty much my whole married life. If there is a turkey on the table, there is cranberry crisp next to it.  It originated from my bestie Karyn. We make it for Passover with matzoh farfel since we love it so much.  It’s so sweet and delicious that it could really be a dessert. We love it with our meal; love the sweet and savory thing. You can’t eat too much of it, it is so rich. It is also very dangerous to have in the fridge the next day, so try to give it to everyone who wants to take home leftovers. This tastes good either hot out of the oven or at room temperature and pretty darn good straight out of the fridge the next day! Some people may even want to make it as dessert and serve with vanilla ice cream, but the Kolen family likes it on the table with dinner.  We always serve it as a side dish and it is awesome however you serve it. Thanks again, Karyn. Truly one of the best recipes ever!

I suggest reading through the entire recipe before making it as you should always do with every recipe anyway!

Ingredients:

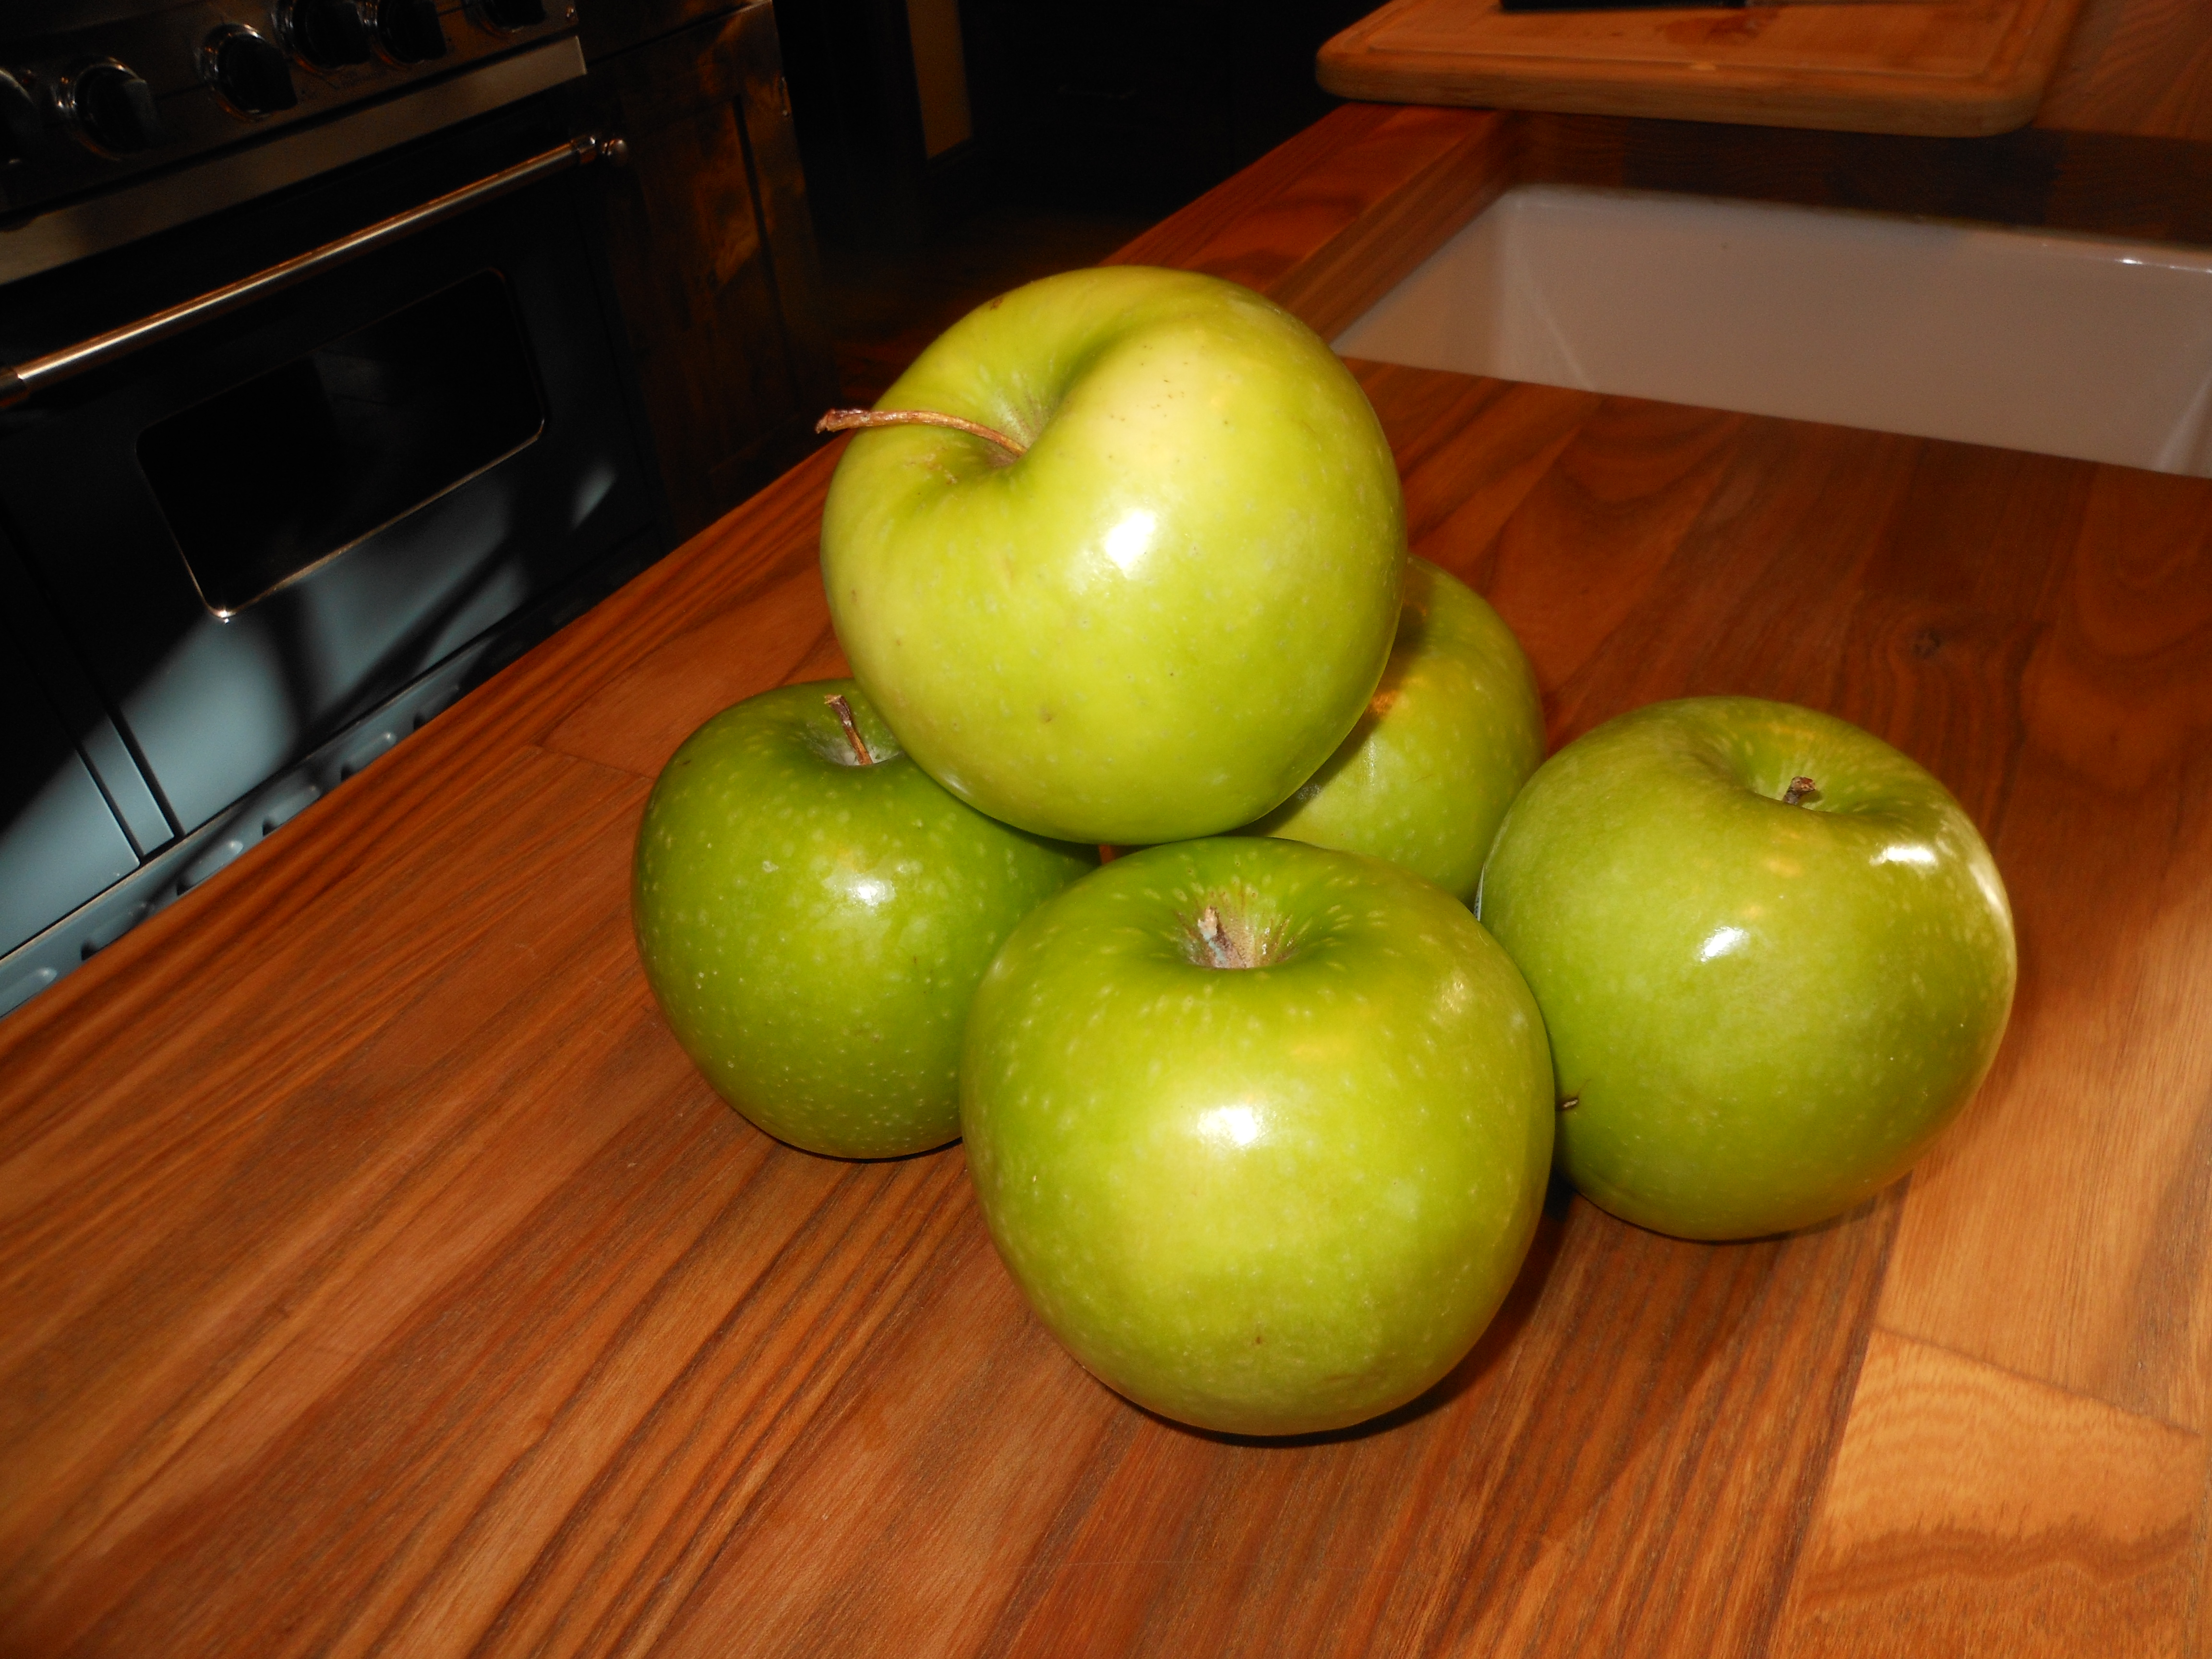
4 medium apples ( I use all different kinds)

1 can (1 lb.) whole cranberry sauce

1 tsp. cinnamon

1 cup uncooked quick rolled oats

1/2 cup flour

1 cup dark brown sugar, firmly packed

1/2 cup unsalted butter–melted

*for a larger crowd you can easily double this recipe — as is should serve 8 -12– make in a larger baking dish or split into two baking dishes

Directions:

Preheat oven to 350 degrees and spray 9×13 baking dish with Pam.

Peel apples, slice them, then arrange in baking dish. Sprinkle with cinnamon. Spoon cranberry sauce over the apples.

Separately, stir rolled oats, flour, and brown sugar together. Melt Butter and let it just cool for a few minutes then mix in with oats and brown sugar till nice and crumbly.  Sprinkle this over cranberry layer. Bake at 350 degrees until apples are cooked and top is lightly browned. The entire mixture will be bubbling and your house will smell divine. You will bake about 40 minutes to an hour. You can make ahead of time, and then on the day you need it, just heat it up until it bubbles.  I usually make this a few days ahead, because it’s that much less that I’ll have to do the day of. This can definitely be made ahead of time  so you can  make it way ahead and freeze it.  If you freeze it, take it out of freezer a day before you need it, and then heat it up the day of. (Make sure it’s completely defrosted and at room temperature before heating up)

When you re-heat , pre-heat oven to 350 degrees and cover with foil for first 1/2 hour and then remove foil for last 1/2 hour till it starts to bubble.

Enjoy!

Thanksgiving Corn Bread Pudding

This has to be one of my all time favorite side dishes for Thanksgiving. It really would be great any time of year but for some reason it only gets made for Thanksgiving. It’s super easy and super delicious. My friend Audrey gave this recipe to me many years ago, and it has become a staple on our thanksgiving table ever since. It just wouldn’t be Thanksgiving without it. It is a favorite in our family. Can be doubled easily, just make sure your baking dish is large enough.

Enjoy!

Ingredients:

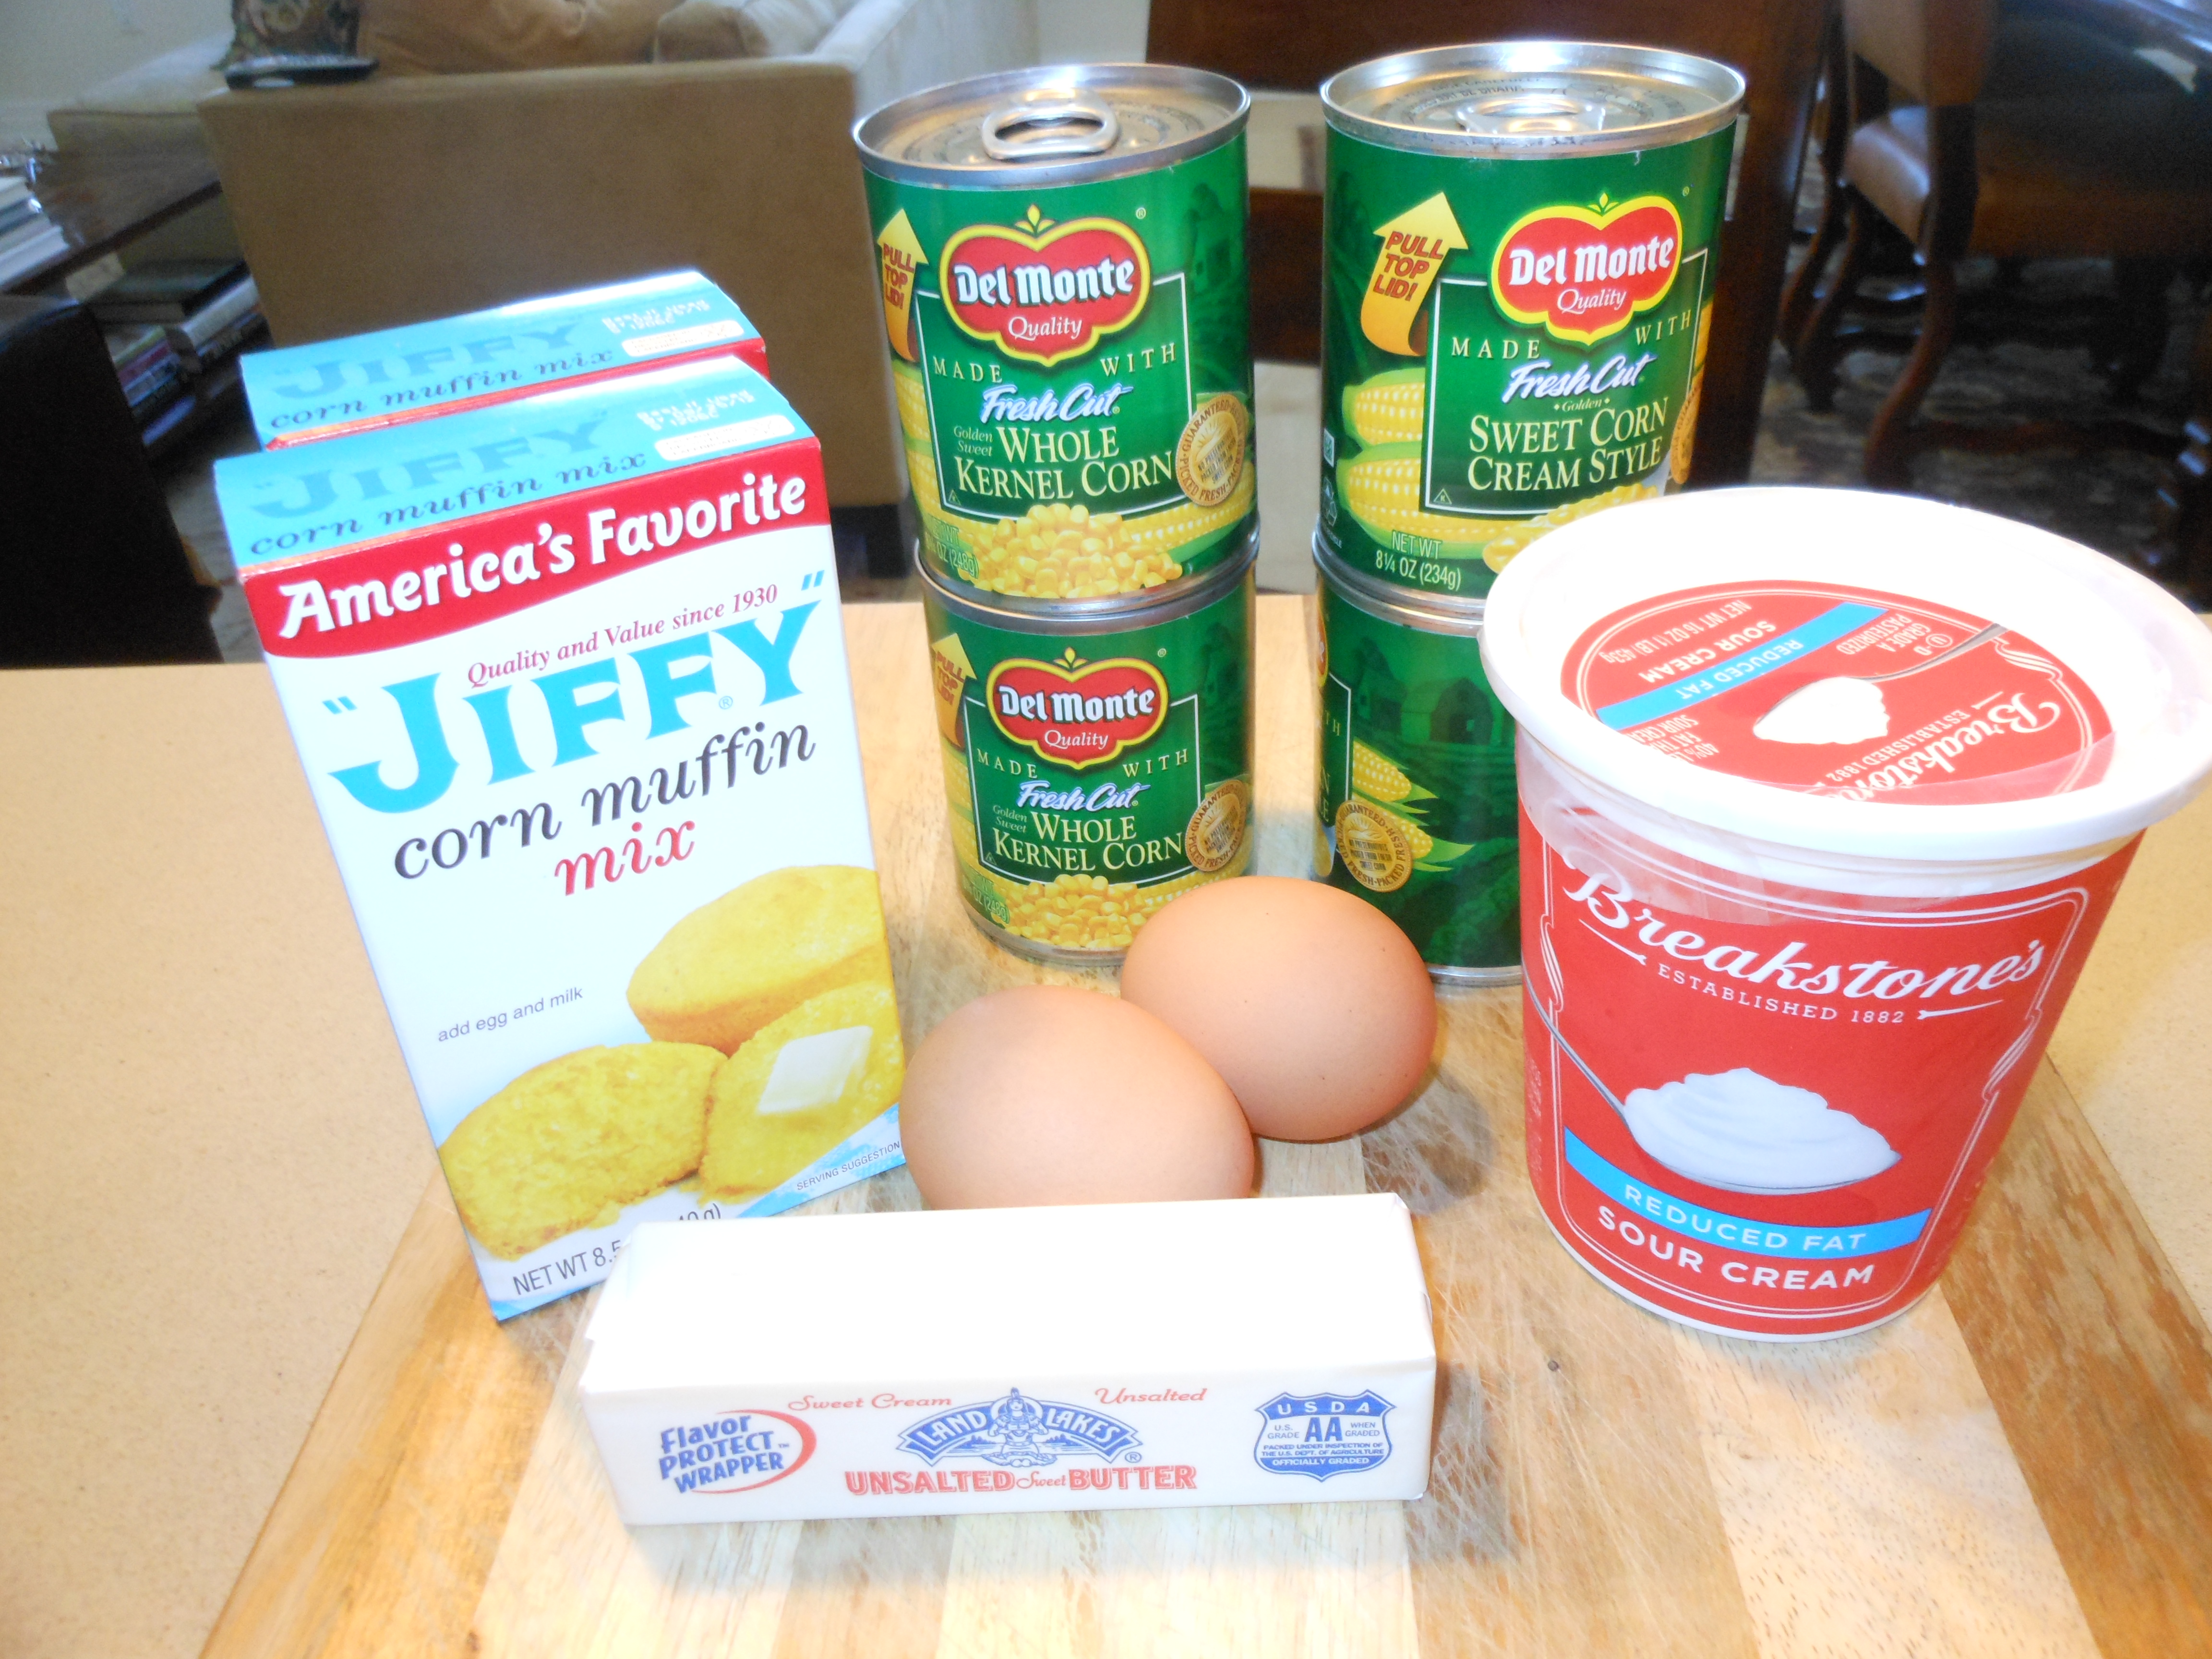
1/2 cup butter (unsalted) 1 stick

1 8 oz. sour cream (lite is OK  but not fat-free)

1 8 oz.  can sweet corn (drained)

1 8 oz. can creamed corn (not drained)

1 8 oz. pkg. corn muffin mix

2 eggs, lightly beaten

Directions:

Preheat oven to 350 degrees.

Melt butter, mix in beaten eggs, then add the rest of the ingredients.

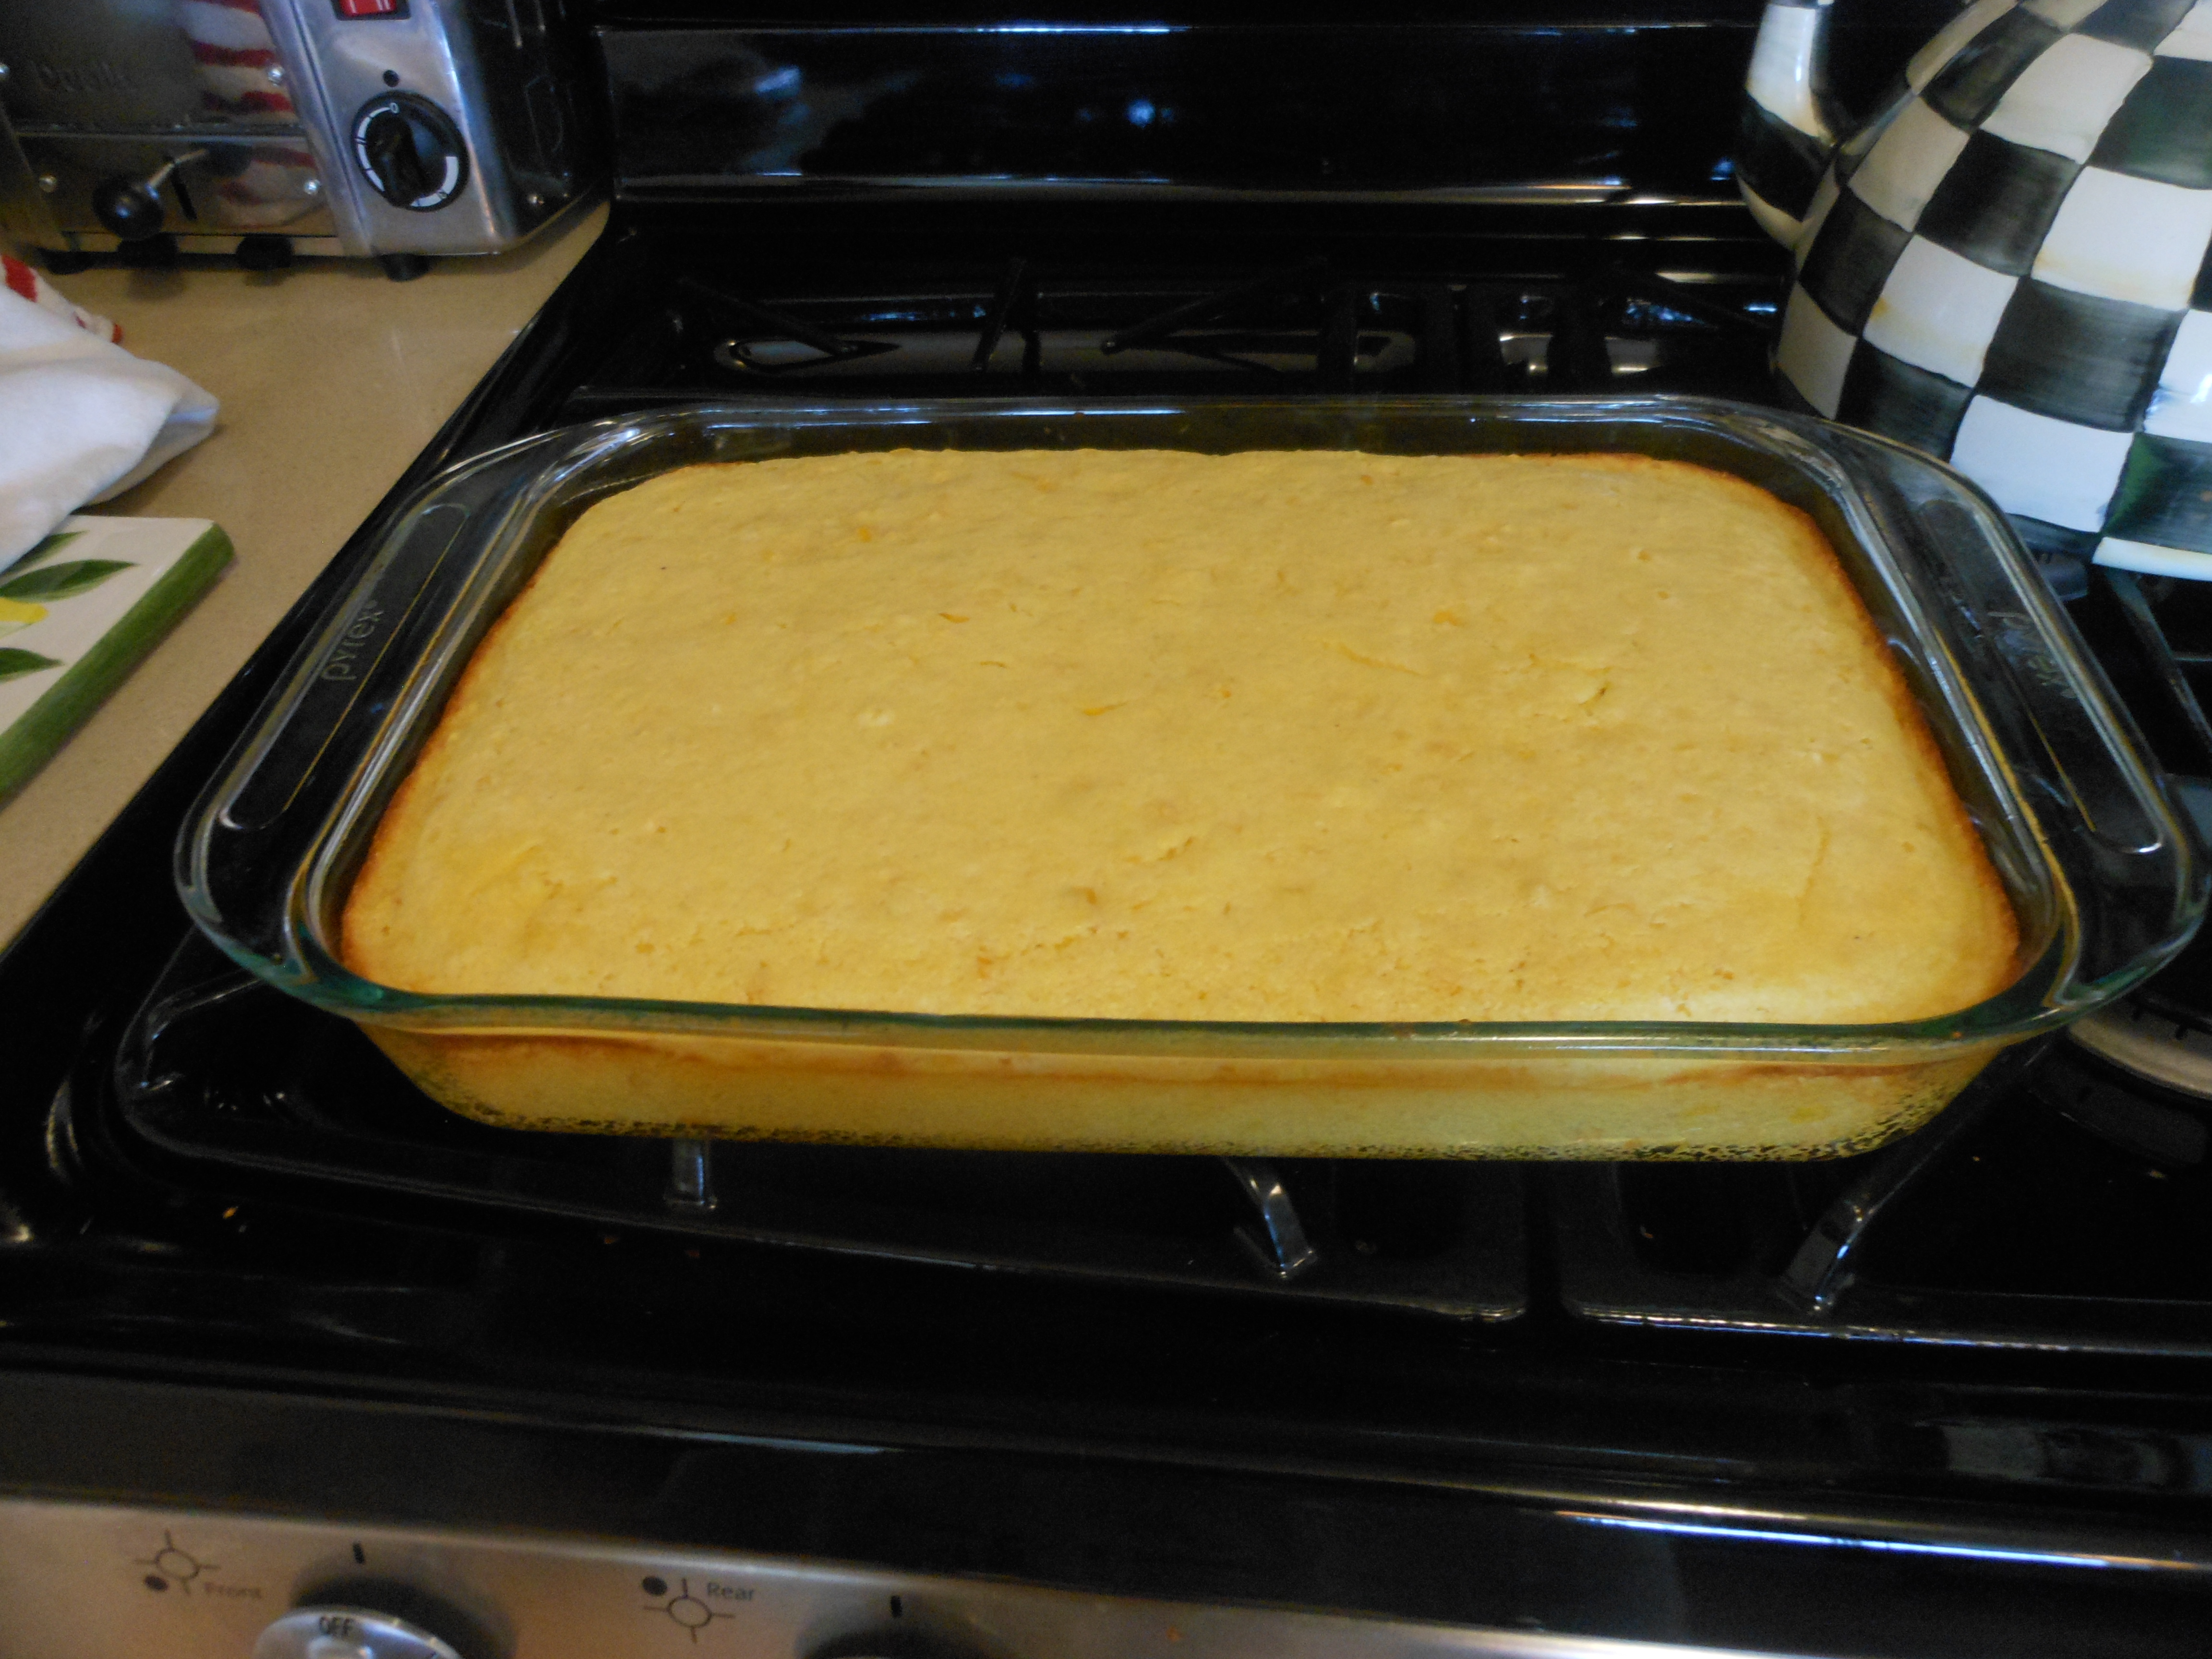
Pour into glass baking dish (Pyrex is good and I spray it first with a good cooking spray like Pam or Bakers Aid ) 9 x 12 works fine, it’s not a very deep pudding.

Bake at 350 degrees for 35 minutes.

Pumpkin Lentil Soup (can be vegetarian)

It’s Fall and that means it’s soup season and time to cook up some heart-warming soups! Pumpkin Lentil Soup is a delicious, hearty soup that you and your family will love. This is a lovely soup to lead with for Thanksgiving.

This soup can wind up on my Thanksgiving Table if I don’t make my Butternut Squash Soup.   It’s hard to get canned pumpkin any other time of year, so I take advantage of it now and pick up a few extra cans and try to make it throughout the winter. Warm, hearty and pretty healthy. And what’s a little butter between friends? You can freeze this ahead of time and take it out for Thanksgiving. For the holiday, it’s always between this and Butternut Squash Soup, and I like that they can both be vegetarian.

*this can be doubled but no need to double the butter (just add a little bit more) I like to use a little butter and a little Olive Oil

Ingredients:

1/2 cup butter (unsalted)– or you can use 1/4 cup unsalted butter and 1/4 cup Olive Oil

2 large onions (spanish) chopped

1/2 cup lentils (if you can find red lentils, buy them because they look beautiful for Thanksgiving and give the soup a lovely orangey color)

5 cups vegetable or chicken stock

1 1/2 cups canned pumpkin (make sure it’s not pumpkin pie filling)

1/8 teaspoon dried thyme

1/8 teaspoon marjoram

Kosher salt and freshly ground black pepper, to taste

Directions:

Melt butter in large stockpot (Le Creuset). Saute the onions until translucent and golden, then stir in the lentils and the stock. Add pumpkin and herbs and salt and pepper. Bring to a boil and then lower it and let it simmer for about 1 1/2 hours.

I use an immersion stick blender to puree it.  It becomes rich and creamy. Of course you can leave soup as is without pureeing it at all.  And another  is to not puree it all the way.  If soup is too thick use the broth as needed adding a little bit at a time to reach a good consistency.  If you’ve run out of broth you can always add water just always check seasonings after adding liquid.

*soup freezes just fine but you’ll need to add broth/water after you defrost and heat up

Pasta e Fagioli ( Pasta and Bean Soup) Weekend Cooking

019 I have been making this soup forever and it’s a most perfect soup to make during the weekend when you have a little time to cook and gather ingredients. I make a big pot and freeze some for later and keep some in the fridge for lunch the next day. This is really just a tomato base soup with beans and pasta. How bad can that be? unless you hate beans and pasta that is. I usually have ingredients in the pantry and it is a wonderful warm experience, with a nice salad this is a perfect meal. I used to only make this with dry beans but in the name of time and taste I used canned beans and have now always made this with canned.  I must admit this makes it a whole lot easier  and honestly no one knows the difference! It is a wonderful hearty soup halfway between a soup and a pasta no matter how you do the beans!

Enjoy this amazingly delicious comforting soup and did I mention super easy????

Ingredients:

1 medium yellow onion, chopped

2 – 3 tablespoons olive oil

4 garlic cloves, minced

1 28 oz. can chopped tomatoes ( San Marzano)

10 – 12 fresh basil leaves

red pepper flakes

handful of italian parsley, chopped

2 cans rinsed and drained Cannellini Beans

5 cups water or chicken broth or vegetable broth to keep it vegetarian — water works just fine but you’ll have to check your salt and pepper if using broth especially boxed broth which contains salt. Your call– super easy recipe.

app. 1 cup pasta, elbows, tubetti, ditalini, or broken spaghetti

Kosher Salt — to taste

Freshly Ground Black Pepper

Directions:

In a large , heavy stockpot ( Le Creuset) saute onion in olive oil. When onion is golden and transparent, add garlic. Cook for a few more minutes. Add tomatoes and herbs. Add some kosher salt about 1/2 Tablespoon and some grinds of the pepper mill now and you’ll be tasting all along for salt and pepper

Add the beans and the 5 cups of water  and cook over medium heat for 15 minutes – until the beans begin to break down and the soup begins to thicken. Lower heat to a slow simmer, as low as you can.  Stir frequently to prevent it from sticking and burning bottom of the pot. Taste for salt and pepper again.  I always like it to simmer for a long time, an hour would probably do it, but if I have the time I let it sit for as long as I can.  Sometimes after it’s been simmering for a while ,  I turn off the heat and right before serving just bring to a boil and add pasta — I actually like to make a small pot of pasta on the side in another pot and put into bowl and then ladle soup over the pasta. The pasta stays best this way and when I freeze it I just make a little more pasta again.

Be careful not to let it burn while it’s simmering , stir frequently . If you need more liquid add water a little at a time.

Right before you’re ready to serve bring to a low boil and add the pasta and cook until pasta is al dente, about 5 – 10 minutes depending on type of pasta you’re using. I used ditalini. Or make pasta separately which is what I would recommend , see notes in above paragraph on the pasta.

Serve immediately in large soup bowls.

Guests can drizzle some good olive oil and grate some Parmesan Cheese over.  Should serve 8 – 10 depending on appetites. I froze remainder for another time.

Creamy Butternut Squash Soup (no cream)

This is by far one of my most favorite recipes ever! Super Easy and Super Delicious ! If you’ve been following me since the early days you’ve probably made this recipe by now. It’s perfection in a bowl . I’ve simplified the recipe along the way so that now it is just the way Joel and I like it. it’s pretty easy as long as you buy the squash pre – cut (available in every supermarket, and corner produce store). I just made my first batch of the season, and the squash is sweet and delicious. It tastes so creamy you’ll swear there’s cream in it, but really, there is none.  I love a little freshly grated nutmeg in it too, but you can certainly just sprinkle in a very little bit of already grated nutmeg. I hope your family and friends enjoy this as much as my family does! It’s always on my table for Thanksgiving. A delightful way to start a dinner, or a delicious main dish served alongside  a beautiful salad and bread. This can easily be made vegetarian by substituting vegetable broth for chicken broth which is how I make it on Thanksgiving for Kerri (our daughter) who is a vegetarian.

*This can be made without cream so easily–but if you want a touch of richness you can add a little heavy cream into soup and mix in before serving or a Tbsp. of unsalted butter and swirl it in. Totally not necessary but just saying.

And clearly this recipe can be cut in 1/2 for a smaller group– I usually use 2 packages of squash for 6 servings.

*feel free to put croutons on top or sprinkle some pepitas on top . It’s delicious just the way it is!! and wonderful for lunch the next day and will freeze beautifully and may just need a little broth or water upon heating up.

Follow me on Instagram @cookingwithcandi

Ingredients:

4 pkgs. (approx. 4 lbs.) butternut squash (it’s doesn’t have to be exact)

3 tablespoons olive oil

1 large spanish onion, chopped

8 – 10 cups chicken or vegetable broth

*1 -2 tablespoons unsalted butter (for this serving size, I use 2 but it’s totally optional)

Kosher salt and freshly ground black pepper

*use whole nutmeg – you just grate a little in for flavor. I always tend to use whole, but grated will do. It’s just a touch of it–if I had to guess, I’d say 1/4 teaspoon to 1/2 teaspoon depending on your taste

*if you really want to top it off with a touch of cream you can . Just add a little heavy cream to the soup and blend it right in at the end. Honestly it’s not necessary but it def adds a a layer of richness!

Directions:

In a heavy Le Creuset (or any other ample size large pot), I heat 3 tablespoons of olive oil. When oil is heated, put in onion and about 1/2 tablespoon of kosher salt. Sweat out the onions until they are translucent (approx. 5 – 8 minutes). If you’re using the butter, add it now too. I then add all of the butternut squash and mix the onions, oil and butter as best I can all over the squash. Next, add enough broth to cover the squash (I used approx. 10 cups of chicken broth to cover). I keep the remaining half a box of broth in case I need it later. Return to a low boil, then bring to a simmer. I let it cook a very long time–at least an hour until soft–and then I turn off the heat and let it sit for a while. I like to make it early and let it sit for as long as possible, because the squash gets very soft. Then right before I am about to serve, I use an immersion blender and blend it into a beautiful smooth soup. If you need more broth, add it as you blend. This is also your salt, pepper and nutmeg moment. Season to taste and blend just until smooth. I leave it in the pot until I need it and then gently warm it up. This soup will keep in the fridge for a few days. It can be frozen as well. Upon defrosting you may need to add more broth. Sometimes I serve this soup with beautiful croutons if I can find them in specialty stores, but it is delicious and beautiful on its own, and very good for you! My family loves it , and I hope yours does too.

*should serve 10 – 12 as appetizer

Mushroom Barley (egg noodles)- Side Dish

cookingwithcandioct7 003this is an old recipe of mine that I’ve played around with and it makes a perfect side dish anytime of the year. not too difficult to make , takes a little playing around but pretty easy . I used Manischewitz egg noodles in a toasted barley shape this time. you can use pearl barley which is available in almost every supermarket out there. i have to say this product worked very well. Not exactly Mushroom and Barley?? but barley shape egg noodles

Great for Rosh Hashana and actually any other time for dinner as well. It’s delicious!

Ingredients:

1/4 cup butter or margarine

1  3/4 cup Pearl Barley or any kind you can find ( I used Manischewitz egg noodles in a toasted barley shape) it doesn’t have to be toasted it can just be regular barley shape noodles. I love to use this product , it’s usually found in kosher section.

1 lb. fresh mushrooms sliced

1/2 spanish onion chopped

2 – 3 cups chicken stock

1 tablespoon vegetable oil

Kosher Salt

Freshly Ground Black Pepper

Directions:

I use a very little bit of vegetable oil ( maybe 1 tablespoon) and saute onions, then mushrooms till cooked down. I salt and pepper generously here. I remove the mushroom/onion mixture from saute pan, wipe the pan clean with a paper towel . melt butter or margarine in pan, brown the barley/noodles for about 4 – 5 minutes, move it around as you brown it. in the meantime transfer mushroom/ onion mixture to a 9 x 13 baking dish (spray with pam) when barley/noodles is browned place in dish with mushrooms and onions and mix well. add 2 cups of chicken broth. cover with aluminum foil, and bake in oven covered at 350 degrees for app. 45 minutes. remove from oven, and add a little broth, depending on how dry it is, i would say i added about 1/2 cup , you may need to add more, add the 1/2 cup and mix well and see if you need more, not too watery, keep it dryer. cover, and i put it back in oven for 10 to 15 minutes. taste for salt and pepper. and there it is. very delicious.

Kasha Varnishkes–Jewish Comfort Food

This is truly traditional Jewish comfort food made with buckwheat grains and bowtie noodles. I love it and grew up eating it and  try to make it a few times a year. It is super easy and super tasty. If you’ve never made it why not start now. It’s a wonderful side dish to any meal and it can be vegetarian for all of those who need some extra vegetarian dishes on their tables just substitute vegetable broth for chicken broth.

Kasha comes in a box. There are different types of Kasha and almost all will work. I use medium or coarse granulation.  Wolff’s brand is really wonderful so look for it and for this recipe I follow the directions on the Wolff’s box of Kasha. 

If you’re looking for an easy side dish to put together now is the time to look at this great recipe. This is also our go to the night before Yom Kippur. It’s tradition and delicious and comforting all at the same time. 

Also perfect for Rosh Hashana. 

*Wolff’s Brand Kasha is always available on Amazon

Ingredients:

1 package bowtie ( farfalle ) noodles (app. 3/4 lb.)

1 white/yellow onion thinly sliced or you can use chopped onions , entirely up to you.

app. 2 tablespoons vegetable oil  you may need a  little more and may want a bit more to drizzle at the end plus more — probably 1/4 cup in total

Kosher Salt and Freshly Ground Black Pepper–to taste

*1 small box button mushrooms sliced 8 ounce box — mushrooms are totally optional but sometimes I feel like they add a little something

1 cup kasha, medium or coarse granulation– I use Wolffs Kasha and follow instructions on the box which I have written below

1 egg for kasha as per instructions on the box

2 cups chicken or vegetable broth as per box instructions

Directions:

Cook the pasta according to directions on box for al dente.

Saute’ the onions in vegetable oil , salt and pepper until they just start to soften, about 5 minutes. I use a medium size frying pan large enough to add in the pasta, and make sure you have a tight fitting lid.

Add the mushrooms and sauté until they start to soften as well, a few more minutes , set aside. Place mushrooms and onions in a bowl and you’ll use same frying pan to cook kasha.

Coat the kasha in a slightly beaten egg. You’ll just place kasha in a bowl and put beaten egg on grains. This will help the grains not to stick to themselves while you are cooking them. Make sure the grains are completely coated with egg.  Put the kasha in the same frying pan, set over a fairly high heat. Flatten, stir, and break up the egg-coated kasha with a fork or wooden spoon for a few minutes till toasted and the egg has dried on the kasha and kernels are brown and mostly separate. Kasha instructions for cooking are usually on the box as well. Then I pour in the broth that I am using, a little margarine/butter is OK as well ( app. 2 Tbsp) bring to a boil, cover tightly, lower flame to simmer and cook for 10 minutes till kasha is fluffy–these are the directions on the box that I follow .

Add back in the mushrooms and onions and combine with chicken broth. Cook box of Bow Tie Pasta according to directions on box al dente.

Bring to a boil and cook over low heat covered tightly. Check on it after 10 minutes or so to make sure the kernels are tender and the liquid has absorbed. If not, cover and continue steaming for another few minutes till all liquid is absorbed.

Adjust seasoning with more salt and pepper if you’d like, mix in cooked pasta, and if you’d like drizzle a little more oil on it. I like to do it all in a large enough frying pan to hold pasta . You can always mix in pasta in a large bowl separately. I like it in frying pan on stove top till I serve it. You can always make ahead and heat up in oven at 350 degrees in a pyrex dish,  you’ll most likely need to add a little oil if you do so.

*Wolff’s Kasha has directions for cooking kasha on the box. It’s pretty much the same , I just add in the mushrooms and onions for more flavor.

*should serve 8 people

Yellow Tomato Gazpacho

photo 4 (3)photo 4 (2)I had purchased the most beautiful yellow  tomatoes and figured I would make gazpacho. Gazpacho is by far one of my most favorite summer time soups.  This one is fairly smooth.  Before serving I added  avocado and served with tortilla chips for a wonderful most satisfying meal. This is also super easy and you’ll look like a pro if you just follow these easy directions. You’ll need a decent blender and a few easy to obtain ingredients and you have a wonderful additional to any meal or a nice light lunch. This time I used beautiful yellow tomatoes, you can use any color you’d like and you can use any kind of tomato from the small grape or cherry tomatoes to the larger ones.  The yellow tomatoes with the flecks of jalapeno made a strikingly beautiful soup.photo 2 (3) photo 2I have another recipe titled “Farm to Table Gazpacho” it’s more of a traditional gazpacho! I am going to re-post it as well.

Ingredients:

2 lbs. yellow tomatoes, I used regular sized tomatoes. You can use yellow or orange cherry tomatoes and get the same effect. I washed and dried tomatoes and cut into quarters or halves for easier blending. Heirlooms are amazingly delicious when in season which they are right now! My sister makes this recipe by parboiling the tomatoes, removing the skin and cutting core out of tomatoes. This is an other option. I opted for the easier method but both are delicious and work well.

1 garlic clove (average sized)–you can use 2 cloves if you like a bit more bite of garlic

1/4 cup extra-virgin olive oil

1 jalapeno, seeded and minced ( be careful handling jalapenos always, I use rubber gloves and be very careful not to get seeds on my hands) wash carefully after cutting up jalapenos, seriously. If you like more kick keep a few seeds from jalapenos. You can use Serrano Chiles also but I still think Jalapenos have the most bang for the buck.

app. 1 tsp. kosher salt and freshly ground black pepper to taste , you may need to add salt and pepper at the end

Diced avocado and tortilla chips for serving.

Directions:

In a blender, puree the halved tomatoes and garlic with 1/4 cup of water. While the machine is on I gradually add the olive oil until fully incorporated. Transfer to a bowl then stir in the jalapeno and season with salt and pepper. Refrigerate until chilled, at least an hour or so, better overnight.

When you’re ready to serve ladle the gazpacho into bowls and top with diced avocado. Serve with tortilla chips. If you leftover shrimp it is also delicious to add and makes it more of a meal!

Watermelon Cucumber Salad–Perfect Summer Salad

This is a most delicious salad and a departure from the usual fare of lettuces etc. Sweet and Savory and very refreshing . Simple to pull together and easy to make. Of course you can substitute or add other items if you’d like such as olives, arugula , basil etc. This is how I did it and we all totally enjoyed it!!! The salad is a rather loose recipe and can be adapted very easily to other ingredients and your own particular tastes.

It really is the perfect Summer Salad. The saltiness of the feta and the sweetness of the watermelon make for a perfect summer salad.

Ingredients:

1 small seedless watermelon, cut into 1″cubes or melon balls.

1 shallot finely chopped

1 chunk of Feta Cheese– I like to cut my feta cubed but crumbled could work as well. Feta is usually a greek style cheese made with sheep’s milk and goat’s milk. I prefer a block even though I know crumbled is more convenient. The block is usually sold in a brine and that will keep the feta moist and crumbles tend to be dryer. They all taste good though so buy what you prefer. I often buy Bulgarian Feta which is rather firm and cuts and crumbles easily. Look for it. Also French Feta sometimes–check out the assortment in the cheese section of your market. And of course Greek Feta is probably the most preferred. Salty and tangy the way feta should be. Cut or Crumble your choice.

4 Tbsp. Torn Fresh Mint — more for garnish –I love Mint but some people really don’t you can substitute Basil or nothing if you’d lke

2 Tablespoons Olive Oil

Kosher Salt and Freshly Ground Black Pepper

3 persian cucumbers — I buy the small ones and cut into small cubes

1/4 red onion sliced thinly

1/3 cup Pistachio Nuts — I chop them gently — obviously no shells –you can omit this all together if you don’t like them for a nut free salad


Vinaigrette:

4 Tablespoons Olive Oil

3 Tablespoons Red Wine Vinegar

3 small cloves Garlic–finely chopped

1 shallot, finely chopped

1 Teaspoon dried oregano

Kosher Salt and Freshly Ground Black Pepper

In a small bowl whisk together all the vinaigrette ingredients and season to taste with salt and pepper.

Directions:

Combine the watermelon,1 finely chopped shallot, and mint in a large bowl with the 2 Tablespoons of Olive Oil . Season with Salt and Pepper to taste and toss to combine. Transfer to fridge and let marinate for at least 1 hour and up to 3 hours.

Remove from fridge and add the cubed feta, cucumbers, red onion slices and pistachios. Toss to combine. I transferred to a serving platter , drizzled with the vinaigrette and served with extra pistachios and extra mint. 

You’ll want to use a slotted spoon for serving.