Category Archives: vegetables

Marshmallow Sweet Potatoes (gotta have ’em)

1/2 eaten Sweet Potatoes with Marshmallows

1/2 eaten Sweet Potatoes with Marshmallows

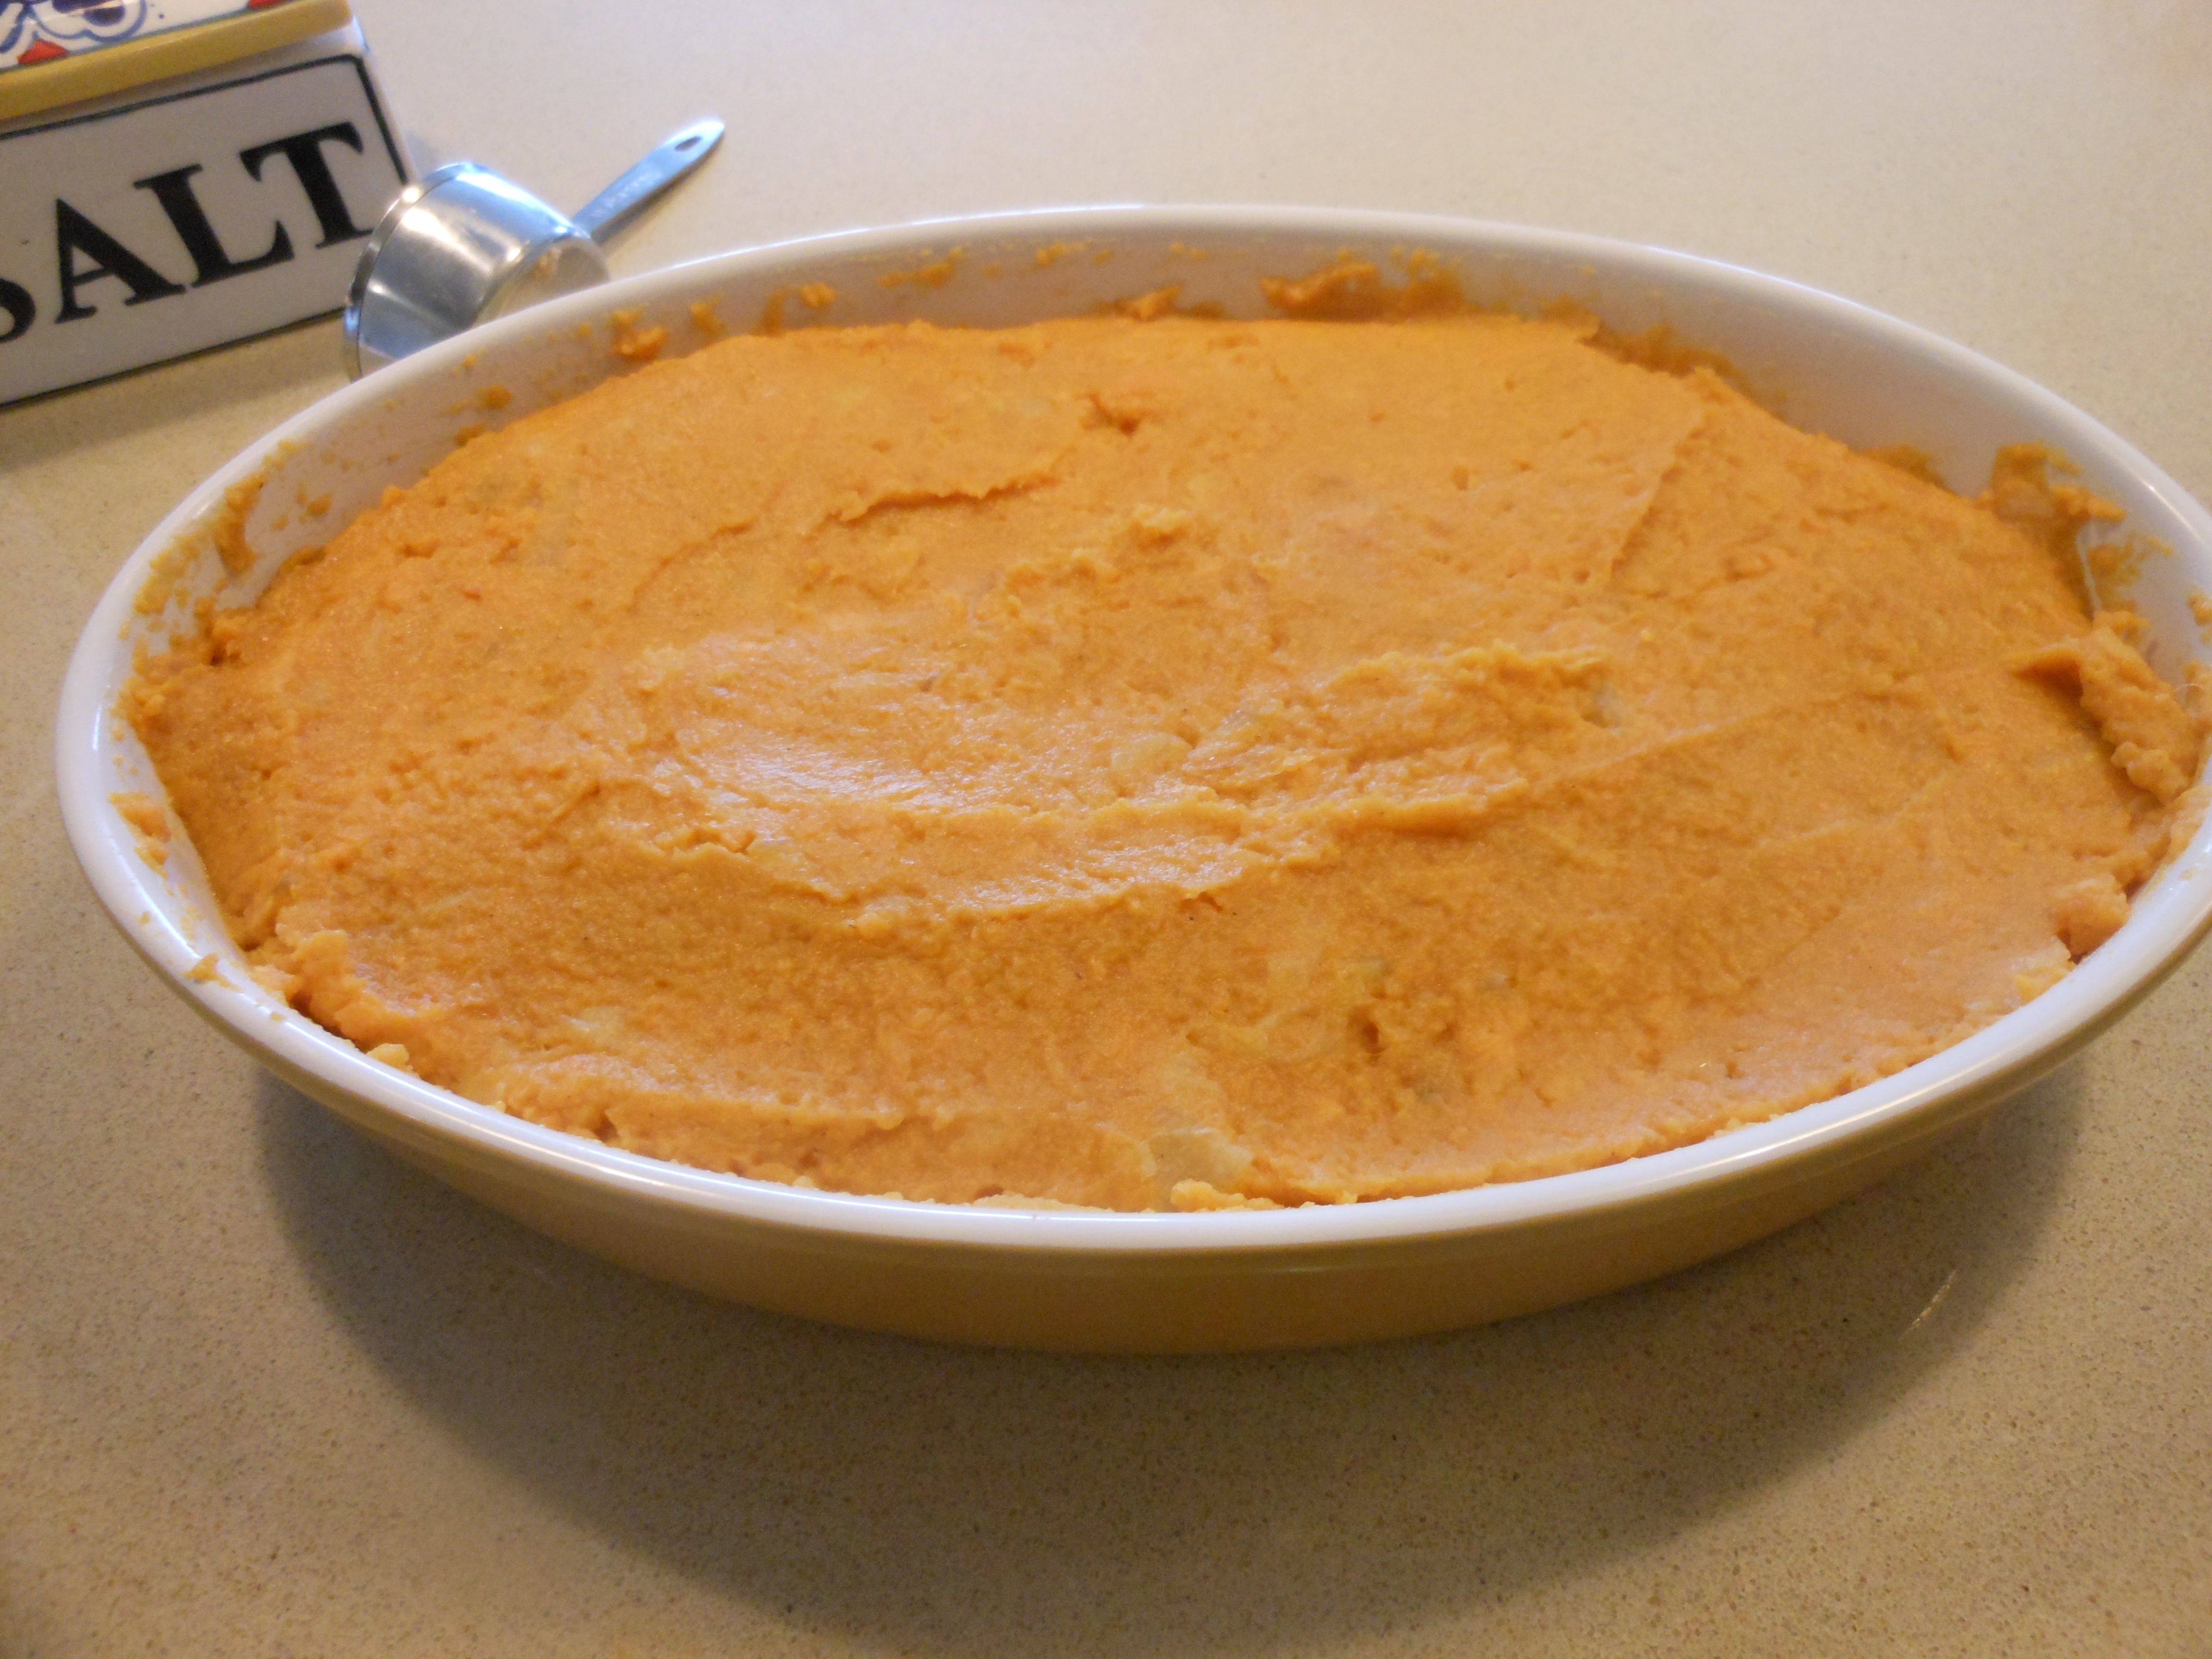
pre marshmallow topping

We always have to have a sweet potato dish with those darn marshmallows! This has a little twist which makes it a bit more interesting. It’s easy, tasty and unique, because I make it with both marshmallows and pecan halves on top. There are probably a million different recipes for mashed sweet potatoes, but this one goes on my table this year.

Ingredients:

3 lbs. sweet potatoes, peeled and cut into 2 inch chunks. Cook Sweet Potatoes (If you want to cheat with the canned ones, I won’t tell anyone, and what’s more is no one will know with all the other stuff in it.) Just drain them well.

1/2 cup whole milk (no skim please)

4 tablespoons unsalted butter (when I double I just add 2 tblsp. butter no need to add 8)

1 can (8 ounces) crushed pineapple, drained

1/4 cup brown sugar, packed

1 teaspoon pumpkin pie spice

1/4 teaspoon kosher salt

20 big marshmallows or mini marshmallows ( as many as you can fit on top)

*40 pecan halves to cover top (you can use only marshmallows if you want)

Directions:

Cover sweet potatoes with cold water in a large pot and bring to a boil. Reduce to a simmer and cook for about 15 minutes or until potatoes are knife tender. Drain and return to pot. Mash potatoes with a masher, then stir in milk, butter, pineapple, brown sugar, pumpkin pie spice and salt.

Transfer mixture to a 2 1/2 quart oval casserole dish, smooth out on top. If you want to make a checkerboard top, start at the top left, and alternate one marshmallow with 2 pecan halves until the entire casserole is covered. Bake at 350 degrees for about 30 minutes or until marshmallows are browned and puffed. If you don’t feel like doing the checkerboard, you can also sprinkle mini marshmallows on top, or some large ones. Whatever you like. This is pretty loose, but you gotta have marshmallows!

*one little tip when making a day ahead which is what I do. I assemble the sweet potatoes and I refrigerate as is till day of Thanksgiving. On Thanksgiving when I am ready to put in oven, I put in oven at 350 degrees for about 1/2 hour then add the marshmallows till they brown up. Also be careful with aluminum foil on top of cooked marshmallows because they tend to stick to the foil.

*this recipe serves about 8 – 10 as a side

Creamy Mashed Potatoes

photo 3 (7) photo 2 (9)This is my go to recipe for the creamiest mashed potatoes around. I make them a few times a year and mostly on the holidays. Occasionally I’ll whip them up for dinner. They are rich and delicious and just the way mashed potatoes ought to be. I’d like to tell you that I don’t use butter and cream but I do. These are pretty easy to make, all I would say is to buy a good potato masher they come in pretty handy for a lot of other uses as well ( great for egg salad) . You can also use a hand mixer which would work out perfectly.  I like to work with Yukon Gold Potatoes. This recipe is for 5 lbs. and feeds about 12- 15 people , just perfect for a holiday dinner. These are my Thanksgiving Mashed Potatoes. If you’re doing a small Thanksgiving Dinner I would cut this in half .  Just cut all the ingredients in half.

Happy Thanksgiving everyone.

* see also Mashed Potato Casserole with Sour Cream and Chives for another way to go.

Ingredients:

5 pounds Yukon Gold Potatoes or Russet Potatoes

3/4 cup unsalted butter

1 8 oz. package of Cream Cheese, softened

1/2 to 3/4 cups half and half

1 /2 to 1 teaspoon Lawry’s Seasoned Salt ( more to taste) I used at least 1 teaspoon you’ll have to taste for yourself.

1/2 to 1 teaspoon crushed black pepper. ( more or less to taste)

Directions:

Peel and cut the potatoes into pieces that are generally the same size.

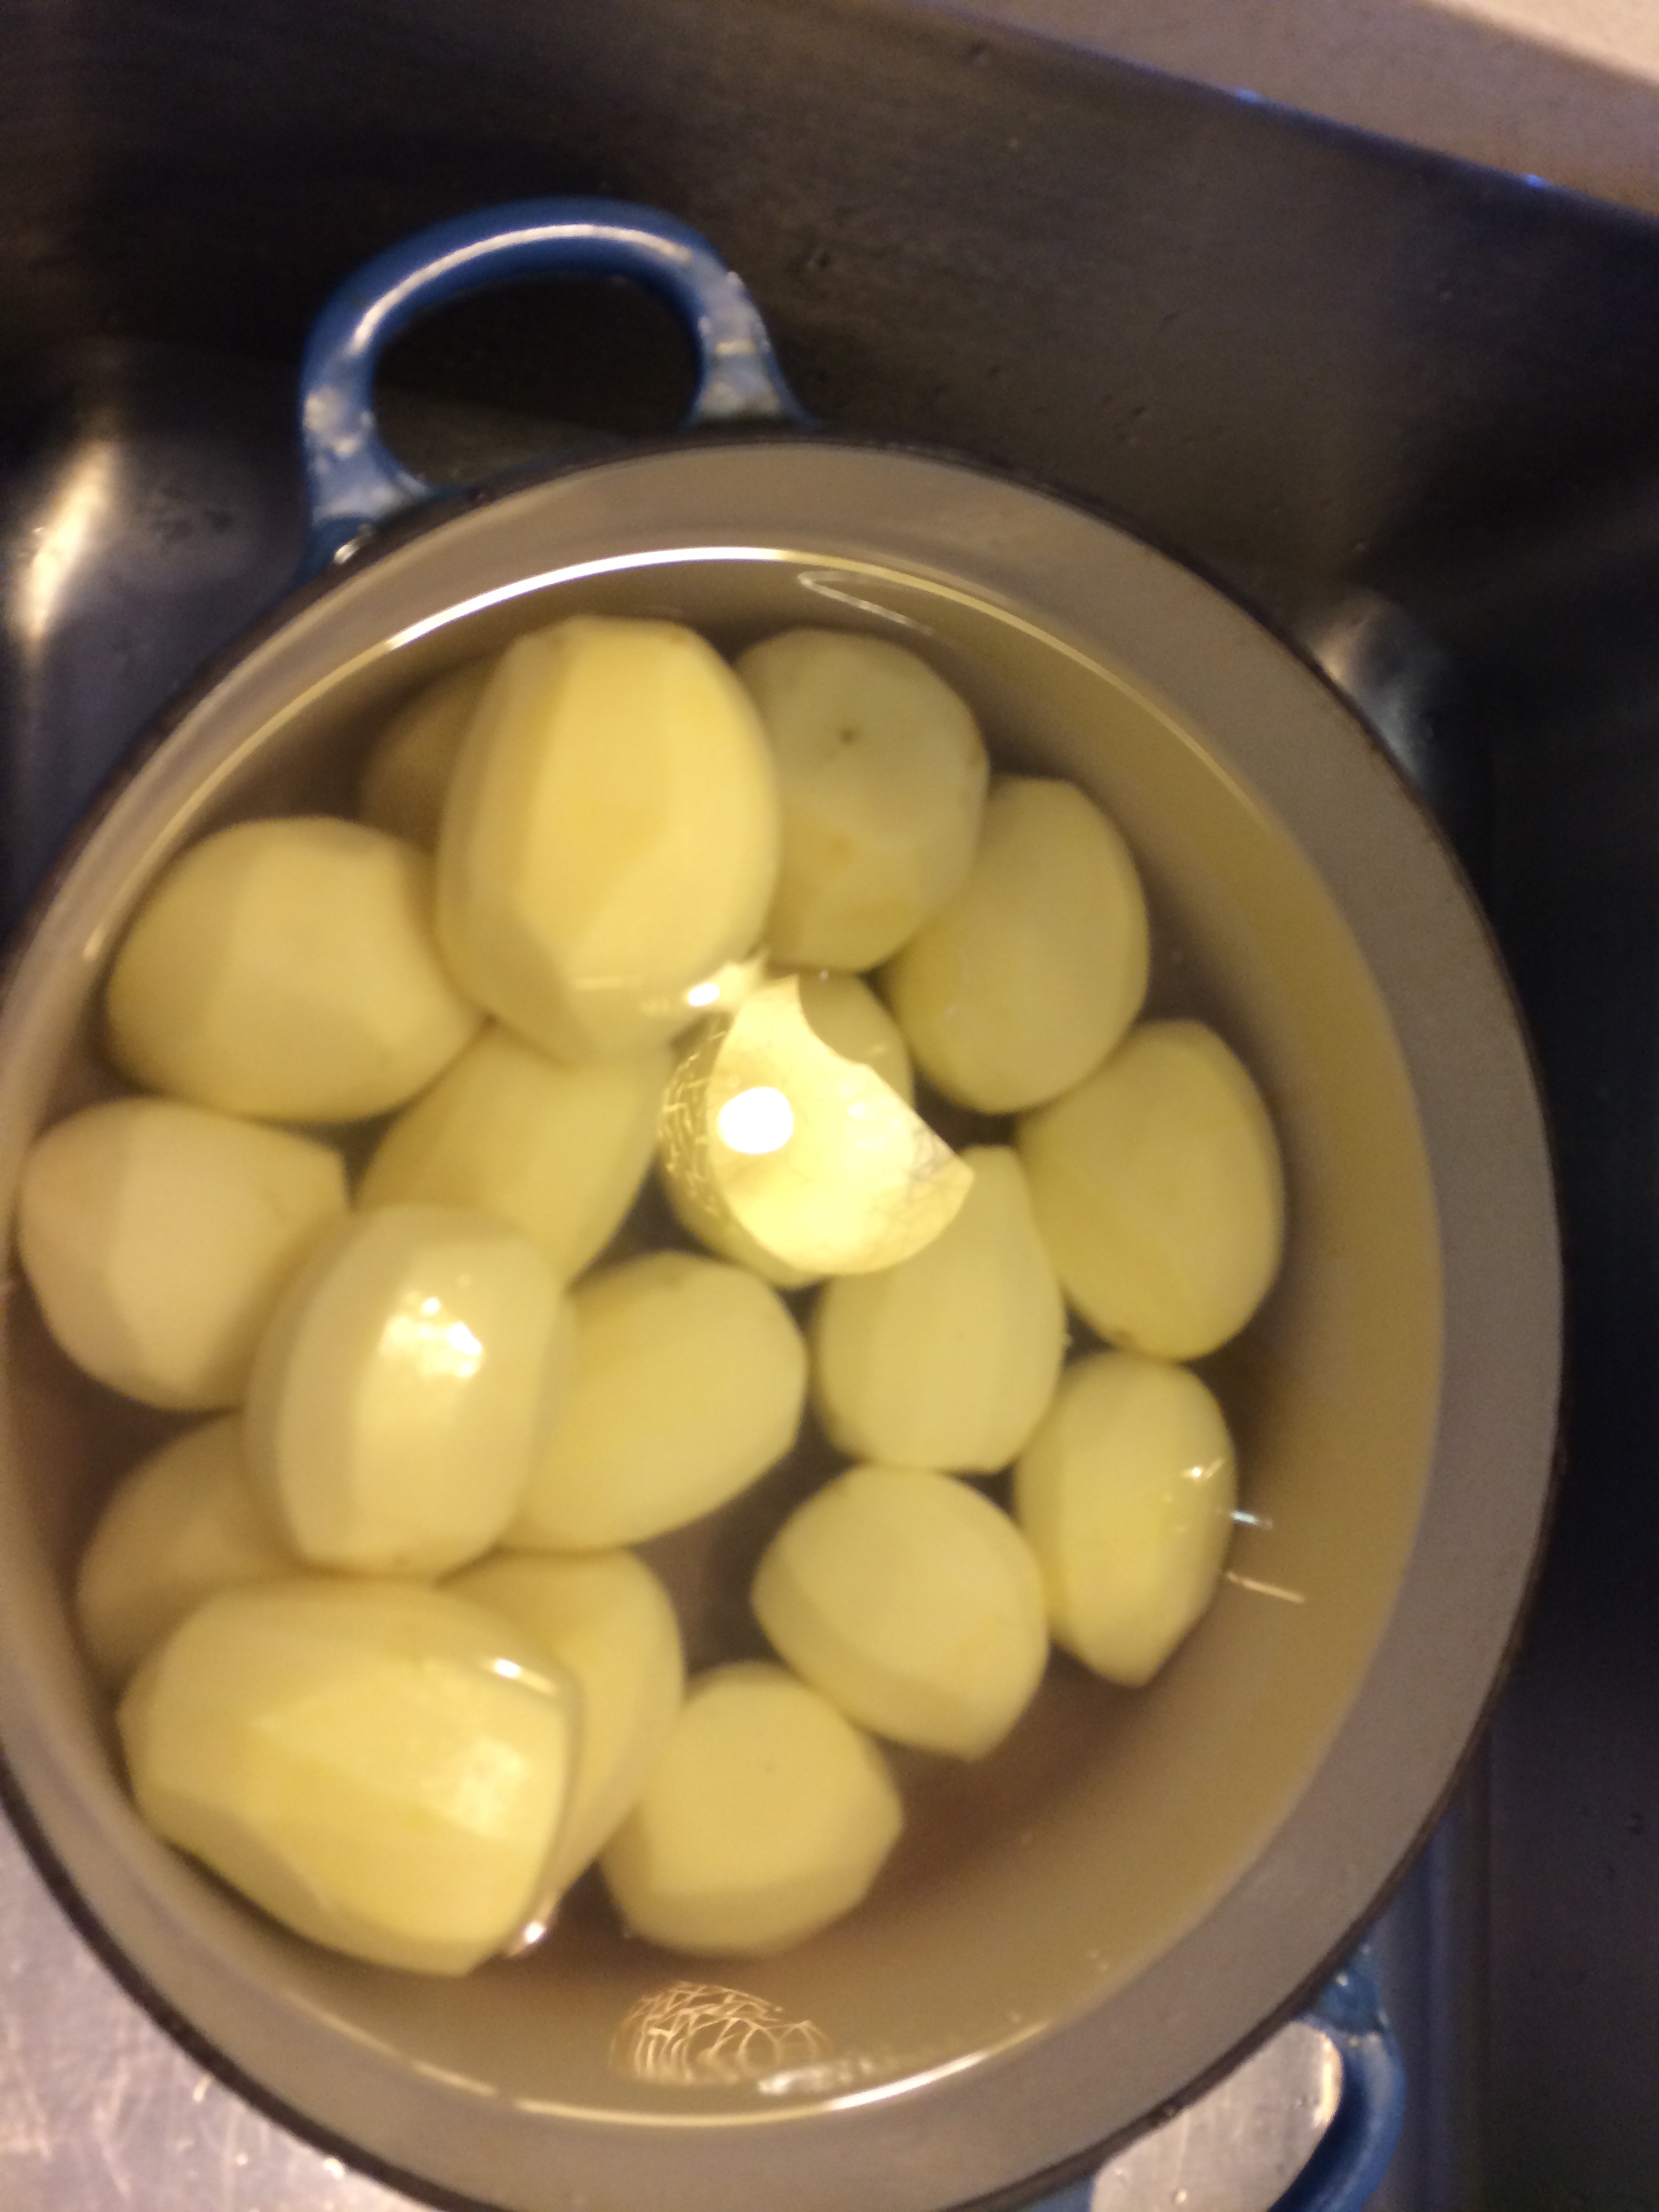
In a large enough pot to cook all of the potatoes fill pot with cold water to cover the potatoes. I bring to a boil and cook for about 30 – 35 minutes. When potatoes are cooked through, a fork should easily slide into the potatoes without resistance, potatoes should be soft but not falling apart.

Drain the potatoes in a colander. When the potatoes have finished draining, place them back into the dry pot and put the pot back on the stove. Mash the potatoes with masher over very low heat, allowing the steam to escape, before adding the other ingredients.

Turn off the stove and add 1 1/2 sticks of butter, an 8 oz. package of cream cheese and about 1/2 cup of half and half. Mash, mash and mash away.

Add about 1/2 teaspoon of Lawry’s Seasoning Salt and 1/2 teaspoon of pepper.

Stir well and place in a medium-sized baking dish and taste for salt and pepper. I ended up using at least a teaspoon of salt, and a bit more pepper.  Place a few pats of butter over the top of the potatoes and place them in a 350 degree oven and heat until butter is melted and potatoes have warmed through.

* if making a day or two in advance–place potatoes in baking dish,  leave covered in fridge. Take it out of the fridge about 2 – 3 hours before heating up to bring to room temperature. Place your butter pats on top and bake in a 350 degree oven for about 1/2 hour or so till completely warmed through.

*

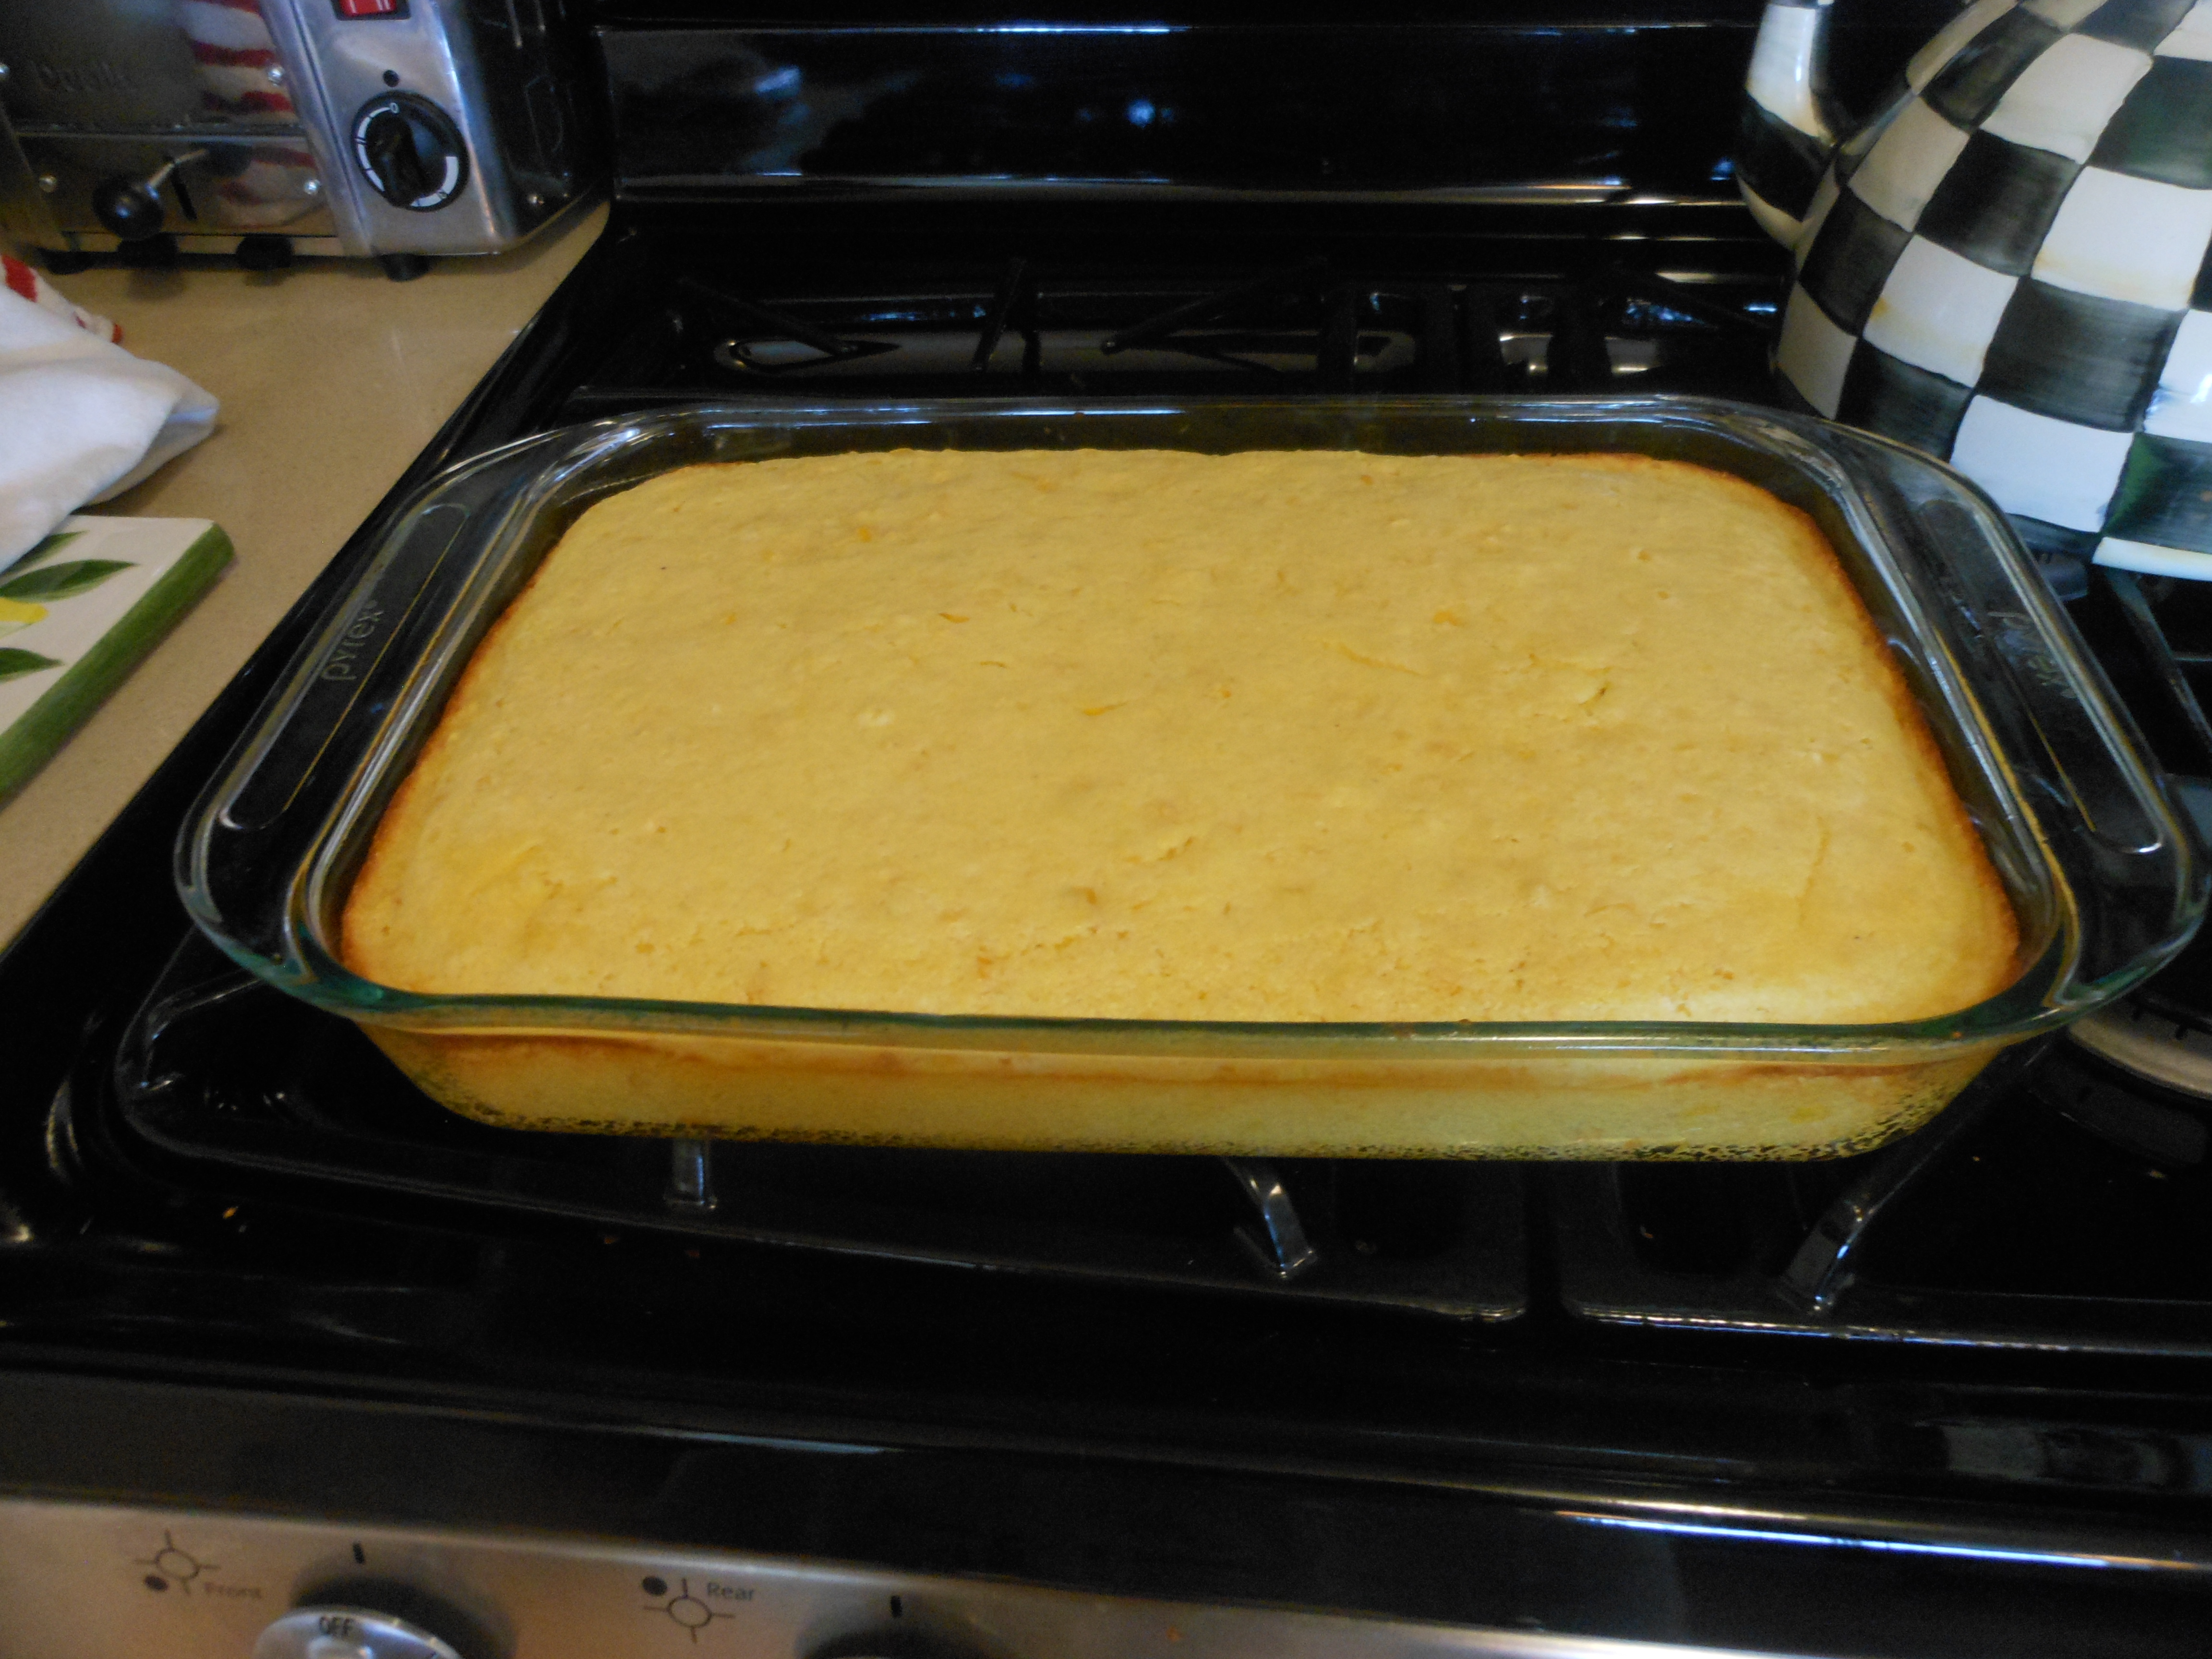
Thanksgiving Corn Bread Pudding

This has to be one of my all time favorite side dishes for Thanksgiving. It really would be great any time of year but for some reason it only gets made for Thanksgiving. It’s super easy and super delicious. My friend Audrey gave this recipe to me many years ago, and it has become a staple on our thanksgiving table ever since. It just wouldn’t be Thanksgiving without it. It is a favorite in our family. Can be doubled easily, just make sure your baking dish is large enough.

Enjoy!

This one is very special and a real winner! and super easy!

Ingredients:

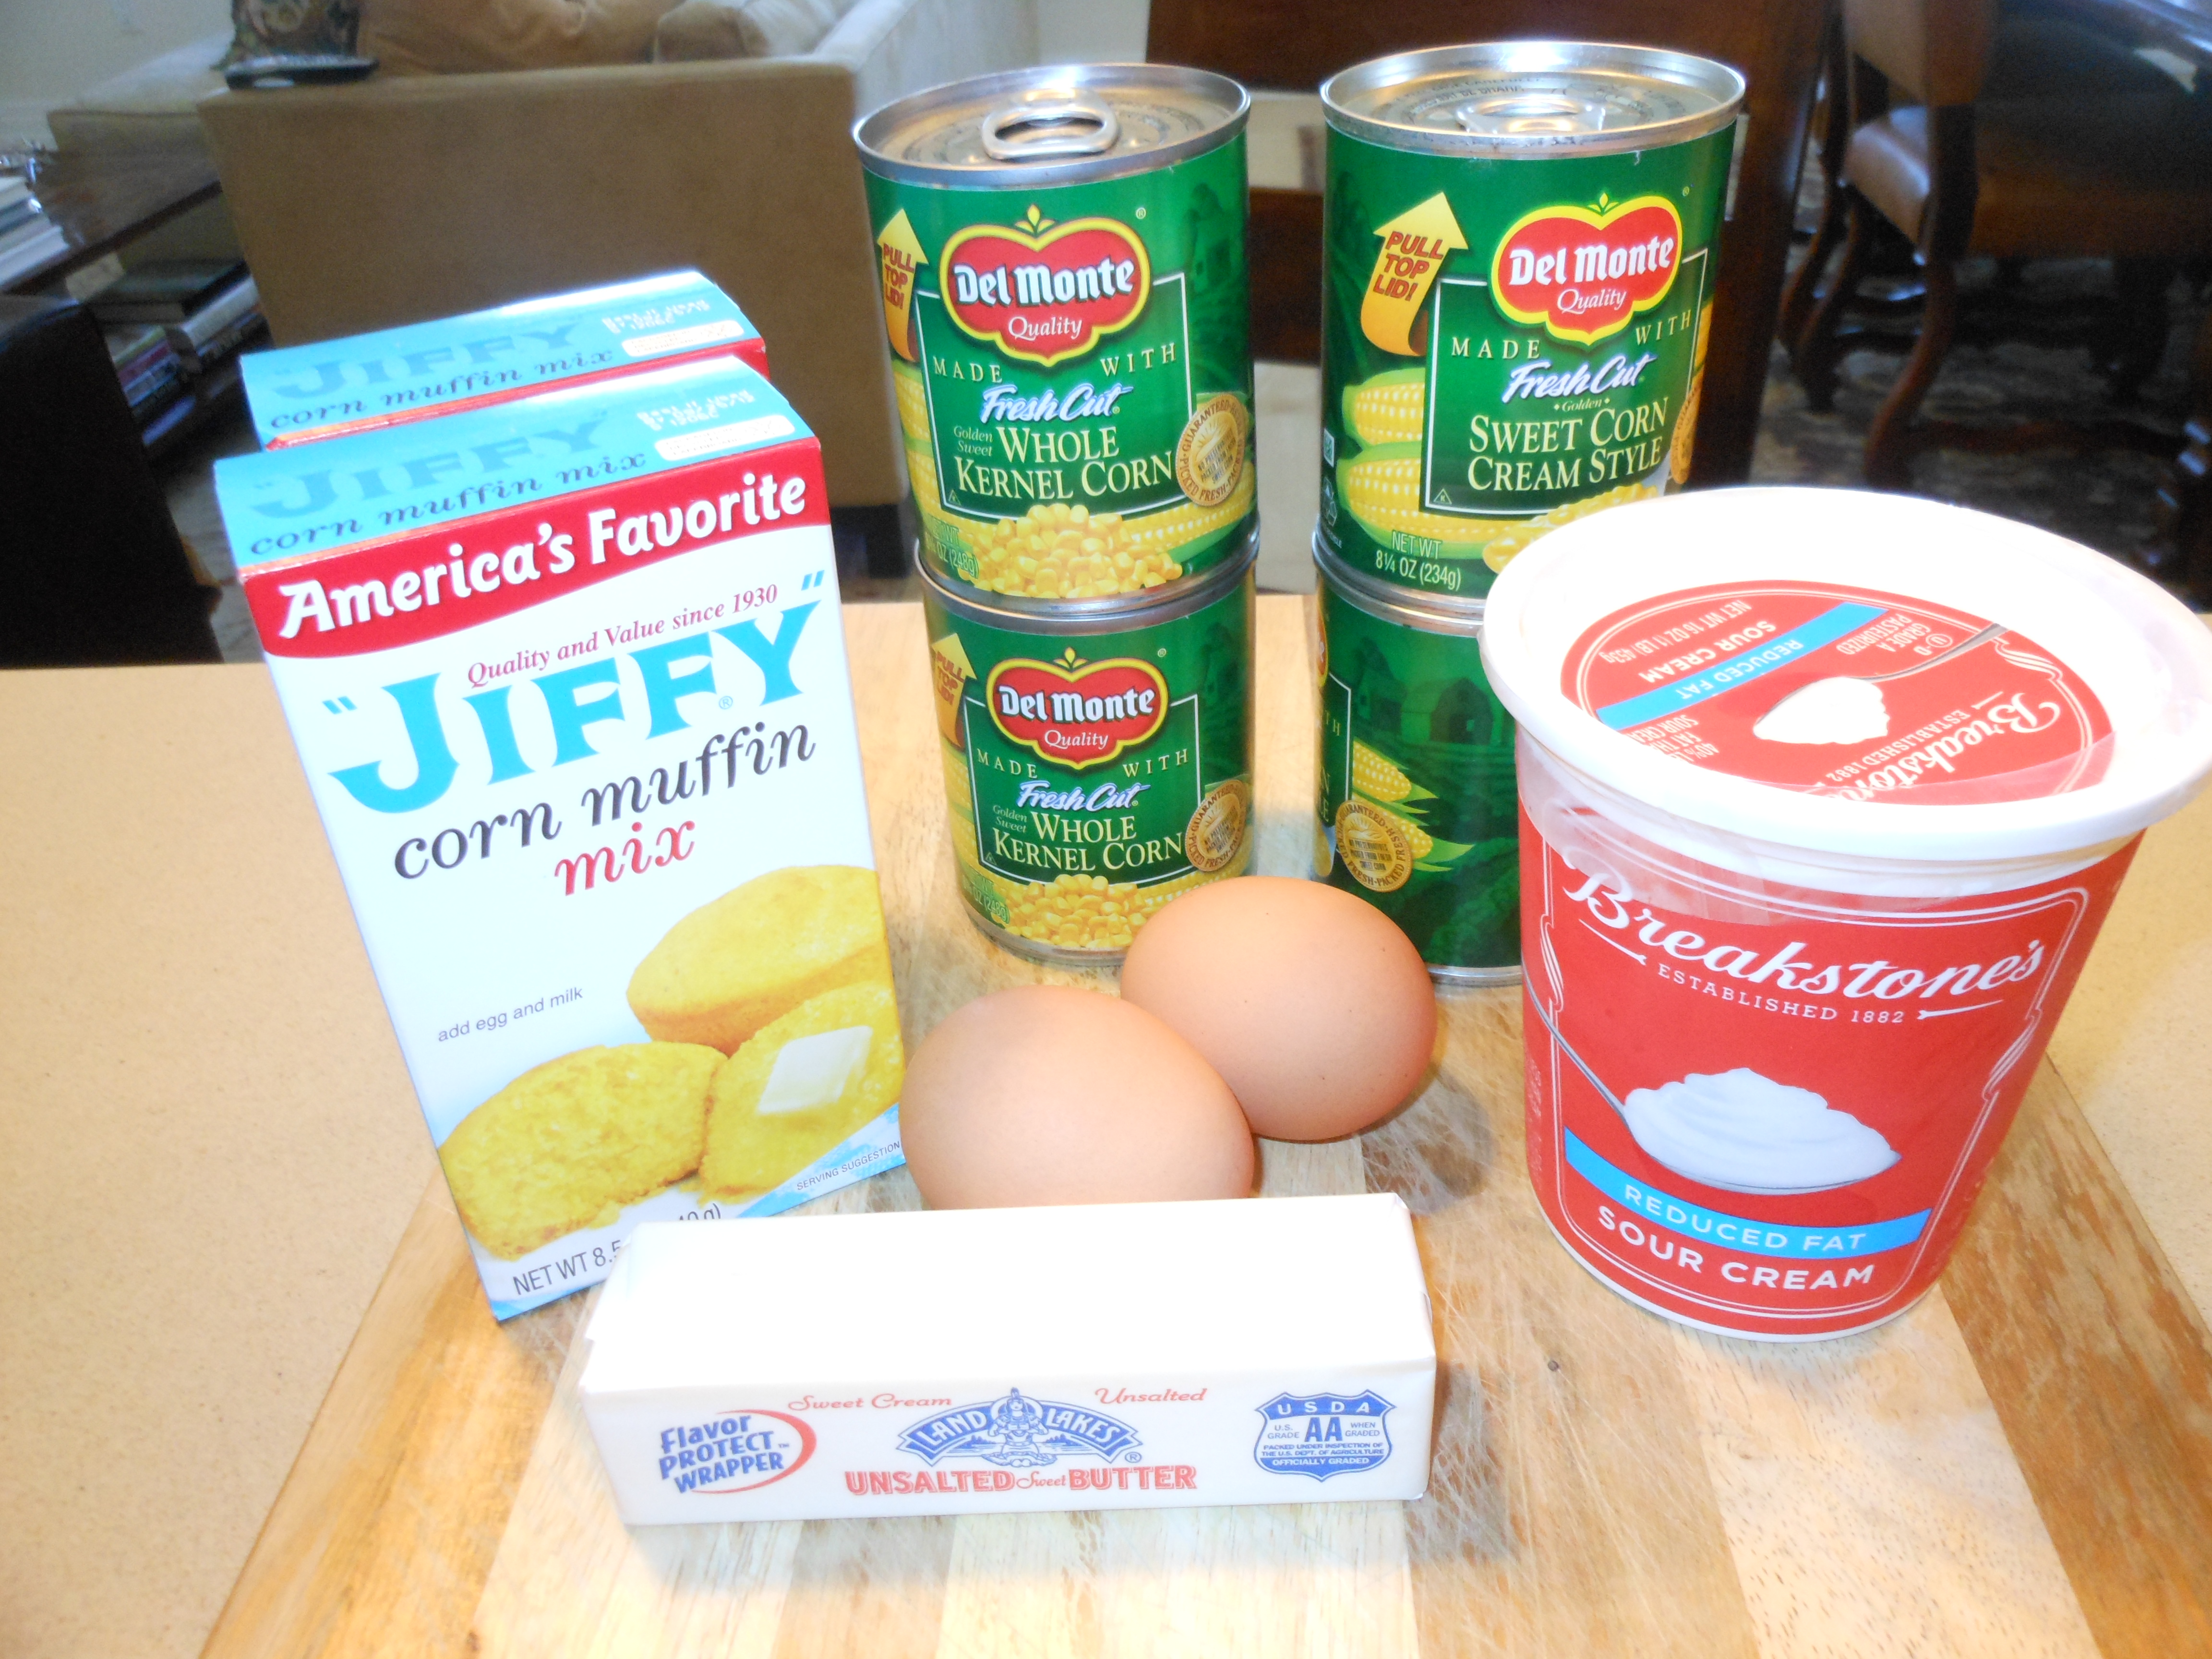
1/2 cup butter (unsalted) 1 stick

1 8 oz. sour cream (lite is OK  but not fat-free)

1 8 oz.  can sweet corn (drained)

1 8 oz. can creamed corn (not drained)

1 8 oz. pkg. corn muffin mix

2 eggs, lightly beaten

Directions:

Preheat oven to 350 degrees.

Melt butter, mix in beaten eggs, then add the rest of the ingredients.

Pour into glass baking dish (Pyrex is good and I spray it first with a good cooking spray like Pam or Bakers Aid ) 9 x 12 works fine, it’s not a very deep pudding.

Bake at 350 degrees for 35 minutes.

Pumpkin Lentil Soup (can be vegetarian)

It’s Fall and that means it’s soup season and time to cook up some heart-warming soups! Pumpkin Lentil Soup is a delicious, hearty soup that you and your family will love. This is a lovely soup to lead with for Thanksgiving.

This soup can wind up on my Thanksgiving Table if I don’t make my Butternut Squash Soup.   It’s hard to get canned pumpkin any other time of year, so I take advantage of it now and pick up a few extra cans and try to make it throughout the winter. Warm, hearty and pretty healthy. And what’s a little butter between friends? You can freeze this ahead of time and take it out for Thanksgiving. For the holiday, it’s always between this and Butternut Squash Soup, and I like that they can both be vegetarian.

*this can be doubled but no need to double the butter (just add a little bit more) I like to use a little butter and a little Olive Oil

Ingredients:

1/2 cup butter (unsalted)– or you can use 1/4 cup unsalted butter and 1/4 cup Olive Oil

2 large onions (spanish) chopped

1/2 cup lentils (if you can find red lentils, buy them because they look beautiful for Thanksgiving and give the soup a lovely orangey color)

5 cups vegetable or chicken stock

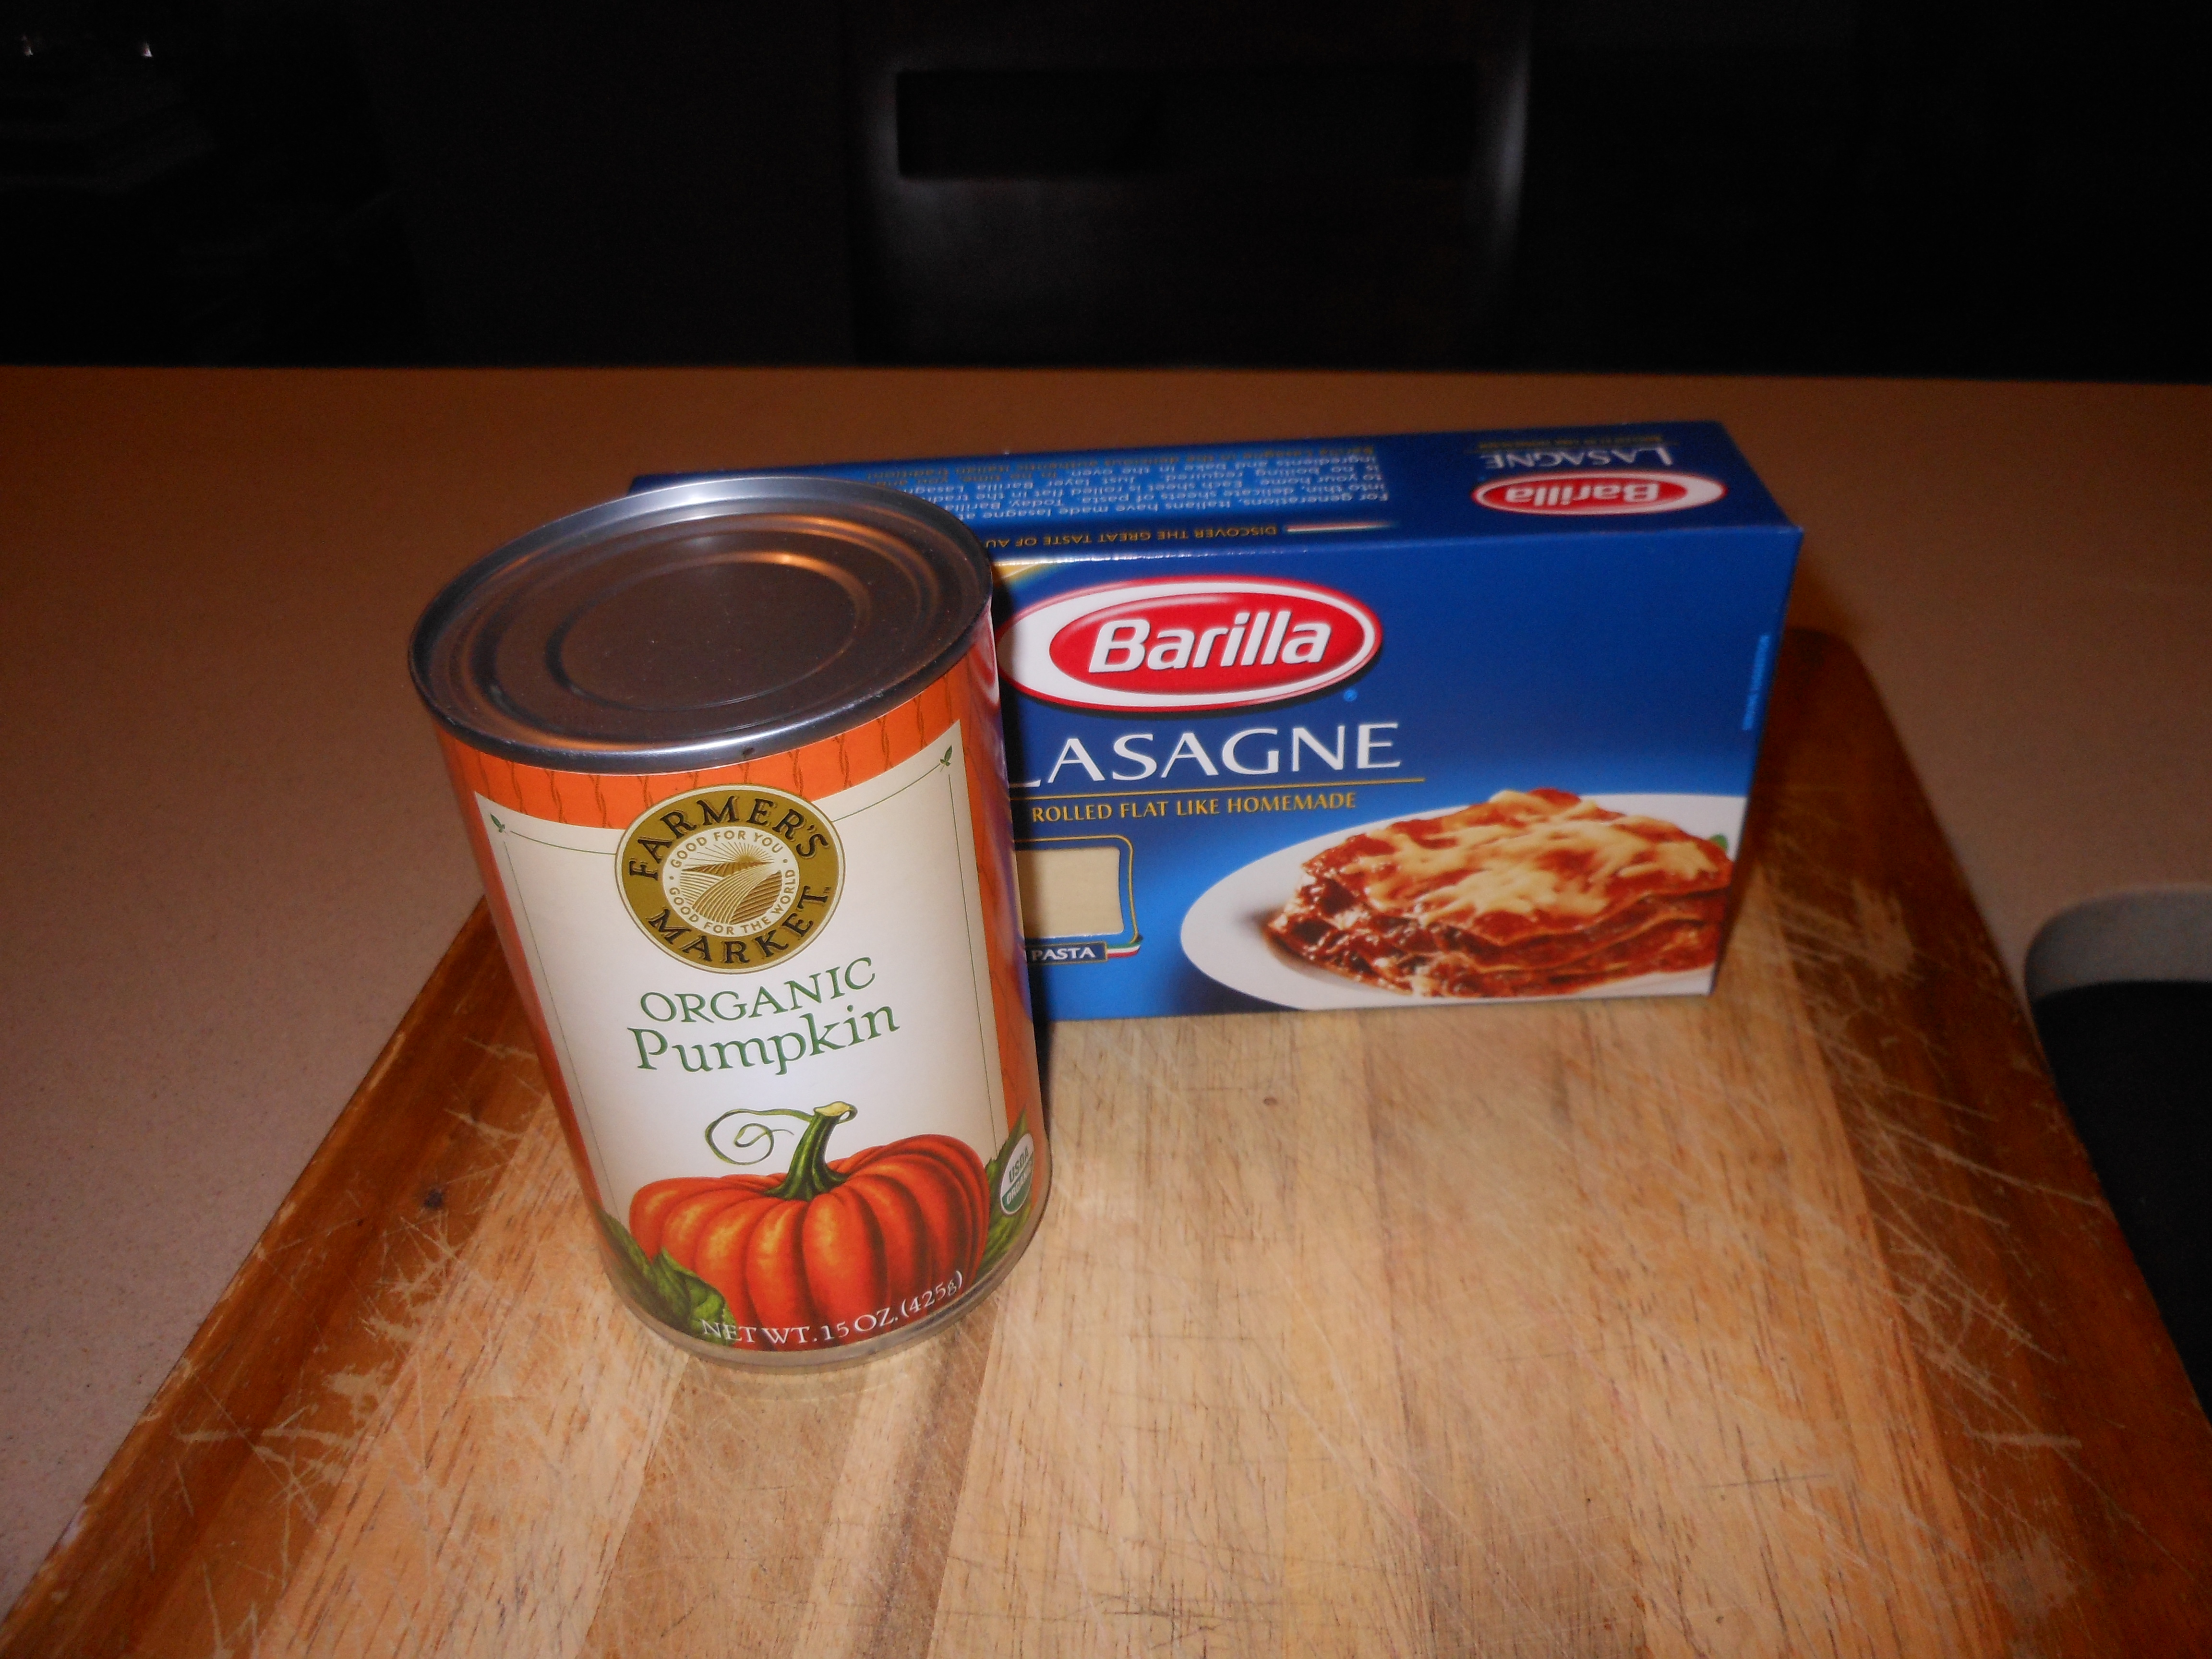
1 1/2 cups canned pumpkin (make sure it’s not pumpkin pie filling)

1/8 teaspoon dried thyme

1/8 teaspoon marjoram

Kosher salt and freshly ground black pepper, to taste

Directions:

Melt butter in large stockpot (Le Creuset). Saute the onions until translucent and golden, then stir in the lentils and the stock. Add pumpkin and herbs and salt and pepper. Bring to a boil and then lower it and let it simmer for about 1 1/2 hours.

I use an immersion stick blender to puree it.  It becomes rich and creamy. Of course you can leave soup as is without pureeing it at all.  And another  is to not puree it all the way.  If soup is too thick use the broth as needed adding a little bit at a time to reach a good consistency.  If you’ve run out of broth you can always add water just always check seasonings after adding liquid.

*soup freezes just fine but you’ll need to add broth/water after you defrost and heat up

img_4588
img_4585

Creamy Butternut Squash Soup (no cream)

This is by far one of my most favorite recipes ever! Super Easy and Super Delicious ! If you’ve been following me since the early days you’ve probably made this recipe by now. It’s perfection in a bowl . I’ve simplified the recipe along the way so that now it is just the way Joel and I like it. it’s pretty easy as long as you buy the squash pre – cut (available in every supermarket, and corner produce store). I just made my first batch of the season, and the squash is sweet and delicious. It tastes so creamy you’ll swear there’s cream in it, but really, there is none.  I love a little freshly grated nutmeg in it too, but you can certainly just sprinkle in a very little bit of already grated nutmeg. I hope your family and friends enjoy this as much as my family does! It’s always on my table for Thanksgiving. A delightful way to start a dinner, or a delicious main dish served alongside  a beautiful salad and bread. This can easily be made vegetarian by substituting vegetable broth for chicken broth which is how I make it on Thanksgiving for Kerri (our daughter) who is a vegetarian.

*This can be made without cream so easily–but if you want a touch of richness you can add a little heavy cream into soup and mix in before serving or a Tbsp. of unsalted butter and swirl it in. Totally not necessary but just saying.

And clearly this recipe can be cut in 1/2 for a smaller group– I usually use 2 packages of squash for 6 servings.

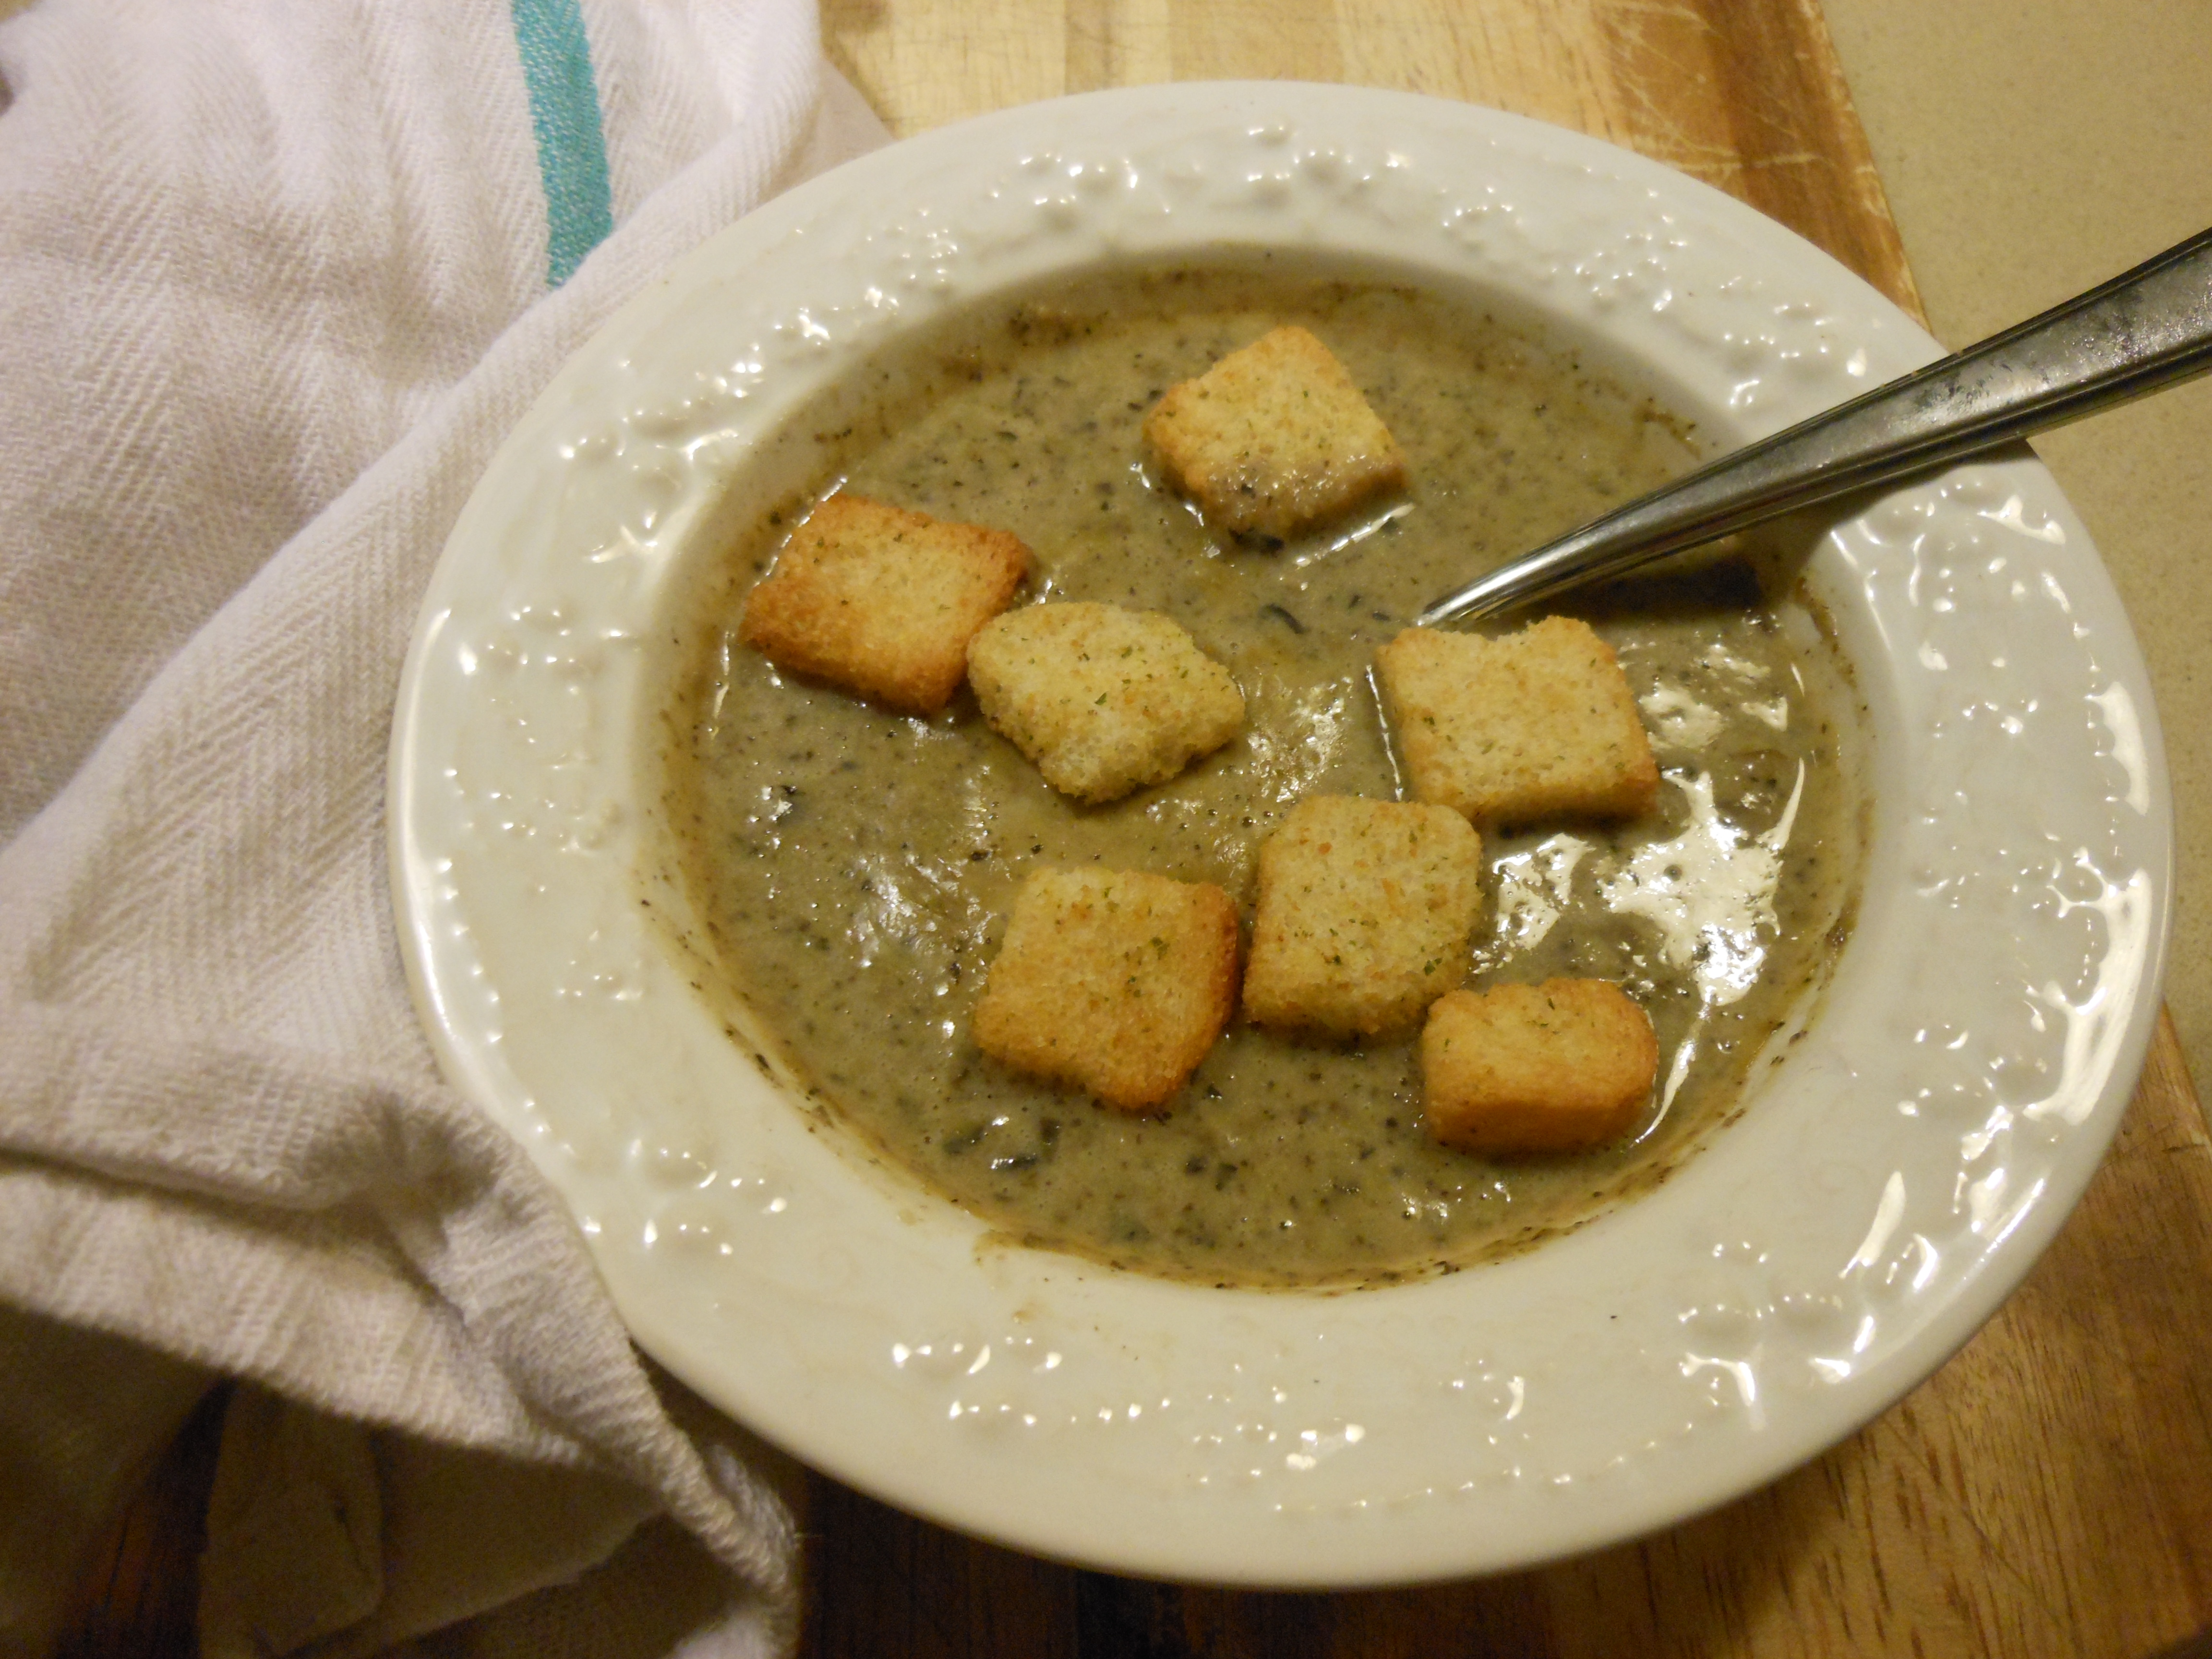
*feel free to put croutons on top or sprinkle some pepitas on top . It’s delicious just the way it is!! and wonderful for lunch the next day and will freeze beautifully and may just need a little broth or water upon heating up.

Follow me on Instagram @cookingwithcandi

Ingredients:

4 pkgs. (approx. 4 lbs.) butternut squash (it’s doesn’t have to be exact)

3 tablespoons olive oil

1 large spanish onion, chopped

8 – 10 cups chicken or vegetable broth

*1 -2 tablespoons unsalted butter (for this serving size, I use 2 but it’s totally optional)

Kosher salt and freshly ground black pepper

*use whole nutmeg – you just grate a little in for flavor. I always tend to use whole, but grated will do. It’s just a touch of it–if I had to guess, I’d say 1/4 teaspoon to 1/2 teaspoon depending on your taste

*if you really want to top it off with a touch of cream you can . Just add a little heavy cream to the soup and blend it right in at the end. Honestly it’s not necessary but it def adds a a layer of richness!

Directions:

In a heavy Le Creuset (or any other ample size large pot), I heat 3 tablespoons of olive oil. When oil is heated, put in onion and about 1/2 tablespoon of kosher salt. Sweat out the onions until they are translucent (approx. 5 – 8 minutes). If you’re using the butter, add it now too. I then add all of the butternut squash and mix the onions, oil and butter as best I can all over the squash. Next, add enough broth to cover the squash (I used approx. 10 cups of chicken broth to cover). I keep the remaining half a box of broth in case I need it later. Return to a low boil, then bring to a simmer. I let it cook a very long time–at least an hour until soft–and then I turn off the heat and let it sit for a while. I like to make it early and let it sit for as long as possible, because the squash gets very soft. Then right before I am about to serve, I use an immersion blender and blend it into a beautiful smooth soup. If you need more broth, add it as you blend. This is also your salt, pepper and nutmeg moment. Season to taste and blend just until smooth. I leave it in the pot until I need it and then gently warm it up. This soup will keep in the fridge for a few days. It can be frozen as well. Upon defrosting you may need to add more broth. Sometimes I serve this soup with beautiful croutons if I can find them in specialty stores, but it is delicious and beautiful on its own, and very good for you! My family loves it , and I hope yours does too.

*should serve 10 – 12 as appetizer

Kasha Varnishkes–Jewish Comfort Food

This is truly traditional Jewish comfort food made with buckwheat grains and bowtie noodles. I love it and grew up eating it and  try to make it a few times a year. It is super easy and super tasty. If you’ve never made it why not start now. It’s a wonderful side dish to any meal and it can be vegetarian for all of those who need some extra vegetarian dishes on their tables just substitute vegetable broth for chicken broth.

Kasha comes in a box. There are different types of Kasha and almost all will work. I use medium or coarse granulation.  Wolff’s brand is really wonderful so look for it and for this recipe I follow the directions on the Wolff’s box of Kasha. 

If you’re looking for an easy side dish to put together now is the time to look at this great recipe. This is also our go to the night before Yom Kippur. It’s tradition and delicious and comforting all at the same time. 

Also perfect for Rosh Hashana. 

*Wolff’s Brand Kasha is always available on Amazon

Ingredients:

1 package bowtie ( farfalle ) noodles (app. 3/4 lb.)

1 white/yellow onion thinly sliced or you can use chopped onions , entirely up to you.

app. 2 tablespoons vegetable oil  you may need a  little more and may want a bit more to drizzle at the end plus more — probably 1/4 cup in total

Kosher Salt and Freshly Ground Black Pepper–to taste

*1 small box button mushrooms sliced 8 ounce box — mushrooms are totally optional but sometimes I feel like they add a little something

1 cup kasha, medium or coarse granulation– I use Wolffs Kasha and follow instructions on the box which I have written below

1 egg for kasha as per instructions on the box

2 cups chicken or vegetable broth as per box instructions

Directions:

Cook the pasta according to directions on box for al dente.

Saute’ the onions in vegetable oil , salt and pepper until they just start to soften, about 5 minutes. I use a medium size frying pan large enough to add in the pasta, and make sure you have a tight fitting lid.

Add the mushrooms and sauté until they start to soften as well, a few more minutes , set aside. Place mushrooms and onions in a bowl and you’ll use same frying pan to cook kasha.

Coat the kasha in a slightly beaten egg. You’ll just place kasha in a bowl and put beaten egg on grains. This will help the grains not to stick to themselves while you are cooking them. Make sure the grains are completely coated with egg.  Put the kasha in the same frying pan, set over a fairly high heat. Flatten, stir, and break up the egg-coated kasha with a fork or wooden spoon for a few minutes till toasted and the egg has dried on the kasha and kernels are brown and mostly separate. Kasha instructions for cooking are usually on the box as well. Then I pour in the broth that I am using, a little margarine/butter is OK as well ( app. 2 Tbsp) bring to a boil, cover tightly, lower flame to simmer and cook for 10 minutes till kasha is fluffy–these are the directions on the box that I follow .

Add back in the mushrooms and onions and combine with chicken broth. Cook box of Bow Tie Pasta according to directions on box al dente.

Bring to a boil and cook over low heat covered tightly. Check on it after 10 minutes or so to make sure the kernels are tender and the liquid has absorbed. If not, cover and continue steaming for another few minutes till all liquid is absorbed.

Adjust seasoning with more salt and pepper if you’d like, mix in cooked pasta, and if you’d like drizzle a little more oil on it. I like to do it all in a large enough frying pan to hold pasta . You can always mix in pasta in a large bowl separately. I like it in frying pan on stove top till I serve it. You can always make ahead and heat up in oven at 350 degrees in a pyrex dish,  you’ll most likely need to add a little oil if you do so.

*Wolff’s Kasha has directions for cooking kasha on the box. It’s pretty much the same , I just add in the mushrooms and onions for more flavor.

*should serve 8 people

Middle Eastern Salad

This salad appeals to me on so many levels. Firstly I love Middle Eastern food , I love raw salads, I love the freshness that is going on in this salad and did I mention that it’s super easy with very obtainable ingredients.

I served with toasted pita bread cut into small triangles.

*this salad is obviously large — feel free to cut in half and play around with ingredients–it’s not an exact science

Ingredients:

5 scallions, white and green parts, thinly sliced

2 pints of small grape /cherry tomatoes or any tomatoes that you want to use. You can use up to 1 lb. of fresh cut up tomatoes

1 hothouse cucumber, halved lengthwise , seeded and 1/2 inch diced

1 can 12 to 16 oz. size of chickpeas, rinsed and drained

1/3 cup chopped fresh flat leaf parsley

1/3 cup chopped fresh mint leaves

1/3 cup cut up fresh basil leaves

1/2 cup freshly squeezed lemon juice — you may need up to 4 small lemons or 2 very large ones. I use my juicer for this.

1 Tbsp. minced fresh garlic — app. 3 cloves

Kosher Salt and Freshly Ground Black Pepper to taste– start with 2 teaspoons of kosher salt and 1 tsp. pepper– you’ll taste for additional salt and pepper at the end.

1/2 cup good olive oil

8 oz. good feta cheese, buy a chunk and dice it up or buy it already crumbled to make life easier

Toasted Pita Bread for serving

Directions:

Place the scallions, tomatoes, cucumber, drained chickpeas, parsley , mint, and basil in a large salad bowl and toss to combine.

In a small bowl whisk together the lemon juice, garlic, 2 tsp. kosher salt, 1 tsp freshly ground black pepper. Slowly whisk in the olive oil in a steady stream till it emulsifies. Pour the dressing over the salad tossing gently to coat all the vegetables. Add in the feta, sprinkle with salt and pepper *if necessary. Serve the salad alongside the toasted pita.

Yum!

Corn Salad with Feta

IMG_1397

This is a delicious and easy recipe which sometimes gets overlooked because I always make my Basic Fresh Corn Salad but this is a bit different because it has Feta Cheese and some thinly sliced radishes. I suggest you try both of these wonderful recipes — super easy and super delicious for summertime cooking at it’s finest.

You might want to check out my other wonderful corn salad which is titled Fresh Corn Salad it’s a little different and might be more to your liking. I like both just fine and I think you will too! There are so very many variations of corn salad out there and especially in the summer when the corn is so fresh and delicious.

Ingredients:

4 cups of fresh corn ( it’s so amazing in the summer) I actually used 6 ears of corn –boiled it for 3 mins and plunged into an ice bath to stop cooking. I did it the night before because it’s just easier that way

1/3 cup of fresh cilantro chopped–if you don’t like cilantro you can omit it, but it packs a  lots of flavor–just saying…..

3 Tablespoons Lime Juice –I used my juicer because this is a lot of squeezing. Or buy the fresh lime juice in those little green bottles. (see photo) but nothing beats fresh in my book

1- 2 teaspoons of kosher salt, I used 1 . Feta was plenty salty here. You might want to add more, you can taste as you go.

1/2 teaspoon freshly ground black pepper

2 Tablespoons Olive Oil–Extra Virgin is the way to go

1 cup thinly sliced radishes — they are amazing this time of year but if you hate them you can substitute with a little red onion or scallion. I love radishes and I love the pop of color and crunch they provide

1 cup cherry tomatoes–sliced in 1/2 or into 1/4’s

1/2 cup crumbled Feta— I used a 6oz. container

Directions:

Cut corn off cobs–I know it’s work but it’s worth it and mix the corn with all ingredients adding cheese last. Yum!!! refrigerate and take out before you’re eating and let sit at room temperature.  I put salad together early in the morning and refrigerated all day. You can make it and serve it right away  but it will be better after flavors marinate a bit.

Enjoy!

Orzo with Feta, Tomatoes and Mint

IMG_7873IMG_7872 IMG_7864 IMG_7863Totally delicious and fresh tasting that’s what this is. Looking for an easy,  fresh side dish?  This could be it. It’s very easy and took about 1/2 hour to make whole recipe and I served it alongside Mustard Glazed Salmon for dinner. Mint gives this dish the most wonderful layer of flavor, don’t leave it out.  Easy, quick and packed full of flavor, you can even add crushed red pepper for a little heat if you like.

Perfection!!!!

Ingredients:

1 pound orzo pasta

1/4 cup olive oil plus 1/8 cup olive oil

1 medium shallot, finely chopped

1 clove garlic, minced

1 pint cherry tomatoes, quartered

1 cup or more feta cheese use as much or as little as you like but at least 1 cup for that tang and bite. I used crumbled feta which makes it a little easier to work with. Block of Feta is fine and equally delicious, you’ll just have to cut it up.

1 cup or more arugula ( I used a little more) but use at least 1 cup

1/2 cup fresh mint , chopped ( don’t omit)

3 Tablespoons white balsamic vinegar

1 teaspoon kosher salt ( you may want to taste before adding this , I used 1 teaspoon )

1/4 teaspoon freshly ground black pepper ( you may want to taste before adding this as well, this is what I did)

Directions:

Prepare orzo according to box directions for al dente and make sure you add salt to water

While the pasta is cooking, heat 1/4 cup of the olive oil in a large sauté pan over medium-low heat. Add the shallots and garlic, and sauté until the shallots soften and the garlic is fragrant, about 3 minutes on a very low heat. Be careful not to burn! Add the cherry tomatoes, and then heat for another few minutes and then I put heat on the lowest setting and let tomatoes just sit on stove-top while orzo cooked. ( about 5 more minutes)

Add tomato mixture to a large bowl along with the feta, arugula, mint and balsamic vinegar.

Drain the orzo and allow to cool a little bit. Add it to the bowl, and drizzle app. 1/8 of a cup of olive oil. Toss well . Taste for Salt and Pepper, I added 1 teaspoon kosher salt and 1/4 teaspoon ground black pepper. Adjust seasoning to your taste.  I put it in refrigerator till we ate dinner, it can be served cold or warm, delicious either way.

Toss and Serve.

1/4 teaspoon freshly ground black pepper

Potatoes , Peppers and Onions

What a perfect side dish — goes with any meats and or fish. I served it alongside humble turkey burgers and hamburgers and it was really delicious! I used whatever color peppers I had in the house and I used Yukon gold potatoes because that’s what I had on  hand. Perfect with some sausage as well. Did I mention super easy???? and all on one pan in the oven.

Ingredients:

app. 2 lbs Potatoes — I happen to have on hand Yukon Gold Potatoes but Russet Potatoes work well as well– any potatoes will work out — cut potatoes into app. 1″ chunks

1 medium yellow onion– cut into 1″ chunks

2 peppers — any color you like — I had orange and yellow on hand– cut into 1 ” chunks

1/4 cup olive oil

Kosher Salt — app. 2 teaspoons

Freshly Ground Black Pepper– app. 1 teaspoon

Garlic Powder — 1 teaspoon — if you prefer fresh garlic — use 2 garlic cloves minced

Directions:

*important to cut chunks of vegetables fairly uniformly so they cook the same

Preheat oven to 450 degrees

In a large bowl toss potatoes, onion and peppers with oil, salt , pepper and garlic

 Spread mixture on a rimmed baking sheet — I spray my baking sheet with cooking spray for an easy cleanup –spread out so peppers onions and potatoes have room to cook — don’t overcrowd as they will just steam and not slow roast

Roast for about 40 minutes or until potatoes are tender and golden brown, I stirred halfway through cooking.

That’s it — super easy and super delicious.