Category Archives: Uncategorized

Chipotle Mashed Sweet Potatoes

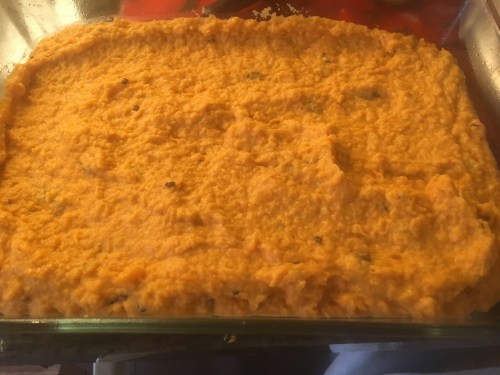
Sweet Potatoes are definitely not only for Thanksgiving! They are awesome all year round and make for a wonderful side dish during the Holiday Season. Christmas is right around the corner and this would be just perfect.  I like spicy but only added 1 Tablespoon minced Chipotle Chile into this. It has a slight kick but nothing crazy. These potatoes came about because I needed something that would travel well. Aunt Pammy’s Chipotle Sweet Potatoes are my usual “go to” but I needed to make something that would travel well. So this was born! Pretty easy and delicious — and no one said they were too spicy! Enjoy even if they are far from being diet food. It’s the Holiday — Enjoy!!!!

Ingredients:

4 pounds Sweet Potatoes or Yams

1 cup whole milk

1 cup heavy cream

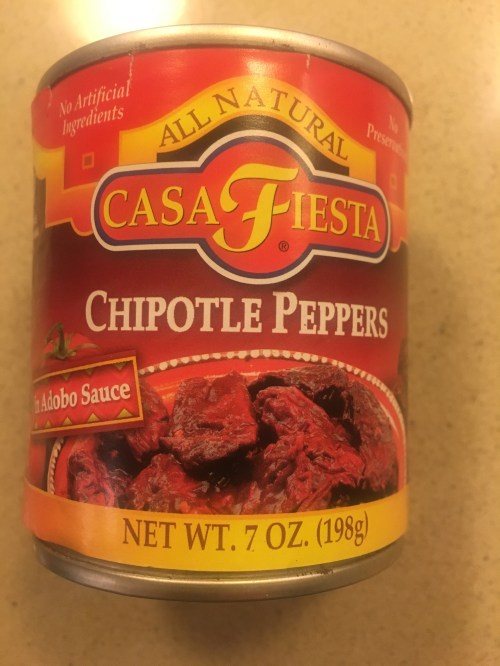
1 Tablespoon minced canned chipotle chiles in adobo sauce , with seeds (available in supermarket–Goya and Casa Fiesta–in aisle with most of the Mexican Food (see photo)

1 Tablespoon adobo sauce (from the can of chiles)

1/4 cup Grade A maple syrup

4 Tbsp. (1/2 stick) unsalted butter

Kosher Salt and Freshly Ground Black Pepper

Directions:

Preheat the oven to 350 degrees. I sprayed a sheet pan with cooking spray. Pierce each potato a few times with a small knife.

Place the sweet potatoes on the sprayed sheet pan ( or use aluminum foil) we don’t want bubbling sweet potatoes all over the oven!

Roast for 1 – 1 1/2 hours depending on the oven and the size of your sweet potatoes. They should be very tender inside when tested with a fork. When finished set them aside and allow them to cool off till you can handle them without getting burnt.

Leave the oven on .

When the potatoes are cool enough to handle, peel them, discard the skins and place the potatoes in the bowl of an electric mixer with paddle attachment.

Meanwhile place the milk, cream, chipotle chile and adobo sauce in a small saucepan. Bring to a boil, lower the heat and simmer for about 5 minutes. I whisked it a few times while it was cooking. Lower the heat once it comes to a boil and simmer for 5 minutes. ( it may look curdled)

With the mixer on low-speed, add the milk mixture to the sweet potatoes. Be careful if milk mixture is very hot. Add the maple syrup, butter and 1 Tbsp. Kosher Salt. Mix until the potatoes are coarsely pureed. Pour into a 9 x 12 oval or any baking dish you would like, just make sure that the baking dish is an oven to table type of dish. Bake for app. 30 minutes, until heated through, you may cook a little longer depending on your oven and the dish you used.  Taste for salt and pepper and you can always sprinkle a little more in at this point.img_3119img_3030
Serve Hot. ( although these were pretty good cold the next day) . They heated up in microwave rather well also.

*if you want to prepare ahead. Prepare the sweet potato mixture , place into the baking dish and cover and refrigerate for up to 3 days. Bake at 350 degrees for about 45 minutes, until hot.

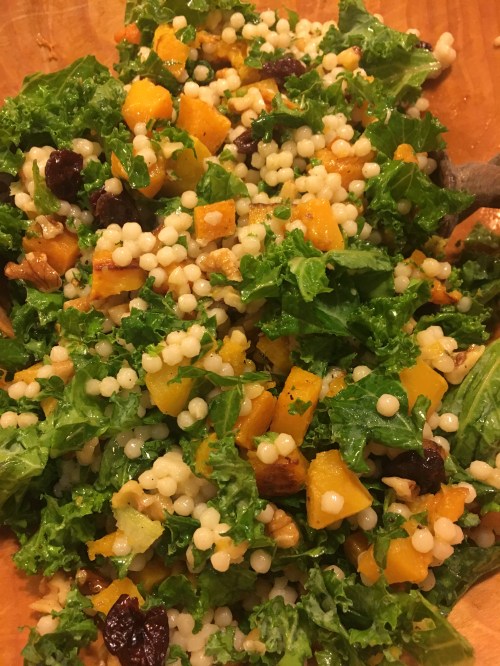


Couscous and Butternut Squash Salad with Kale or Arugula –Perfect Autumn Salad

This salad always makes me think of the Fall and the Winter.  I suppose it’s due to the butternut squash . This salad would really be delicious anytime of the year and if you added a protein it would make a delicious dinner salad. I made this salad the other evening and it was just perfection on a plate. Beautiful to look at and delicious to eat. Fairly Healthy and you can keep it vegan without any dairy or add cheese for a delicious vegetarian salad .  It takes a bit of prep work but you can prep a few hours ahead and be done with it prior to the meal which is always a good thing in my book.

I prepped butternut squash and couscous and used baby arugula this time. I dressed the salad and let it sit , Kale is better when it’s soft and broken down so if you’re using Kale I suggest chopping it.  I love Kale but don’t want to feel like I’m eating my front lawn. It is delicious with kale or arugula or really any greens you prefer.

If you like a heavier dressed salad I would definitely double up the recipe.

Of course you can add any protein you would like but sometimes it’s nice to just go meatless especially after such a heavy eating food weekend like we just had with Thanksgiving.


This is what I did. Enjoy!

Ingredients:

1 lb . butternut squash – 1 package of pre-cut squash and then I cut into small 1/2 inch cubes

2 Tablespoons olive oil

Kosher Salt and Freshly Ground Black Pepper – to taste

1 cup dry Pearl Couscous , cook in water according to package directions

app. 2 cups chopped Kale Leaves or Arugula is also a great choice if you’re not a kale fan or really 2 cups of any kind of greens you like.

1/3 cup dried cherries–you can use craisins, raisins, cranberries whatever dried fruit you like

1/3 cup chopped walnuts

*app. 2 oz. crumbled goat or feta cheese if you’d like

Orange Vinaigrette Dressing:

2 Tbsp. Apple Cider Vinegar

2 Tbsp. Extra Virgin Olive Oil

2 Tbsp. Freshly-Squeezed Orange Juice –this is a must

pinch of salt and black pepper, to taste

Directions:

To make the salad:

Pre-heat oven to 425 degrees and cut butternut squash into 1/2 inch cubes.

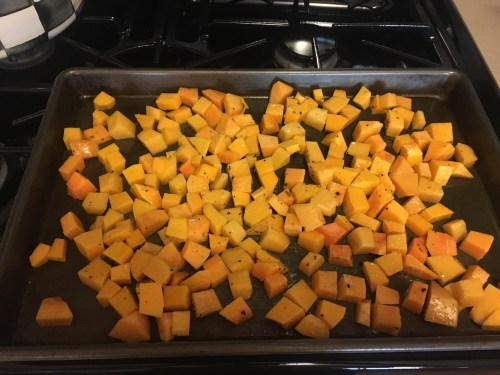
Spread the butternut squash out in an even layer on a baking sheet that’s been sprayed with cooking spray add 2 Tbsp. Olive Oil to squash to coat, sprinkle a little kosher salt and freshly ground black pepper to the squash .  Bake for 15 minutes then flip squash over (as best you can) Bake for an additional 10-15 minutes or until the squash is tender and slightly browned around the edges. Remove from oven and transfer back to the large mixing bowl. Depending on your oven the squash could take a little longer to cook, you just want it soft enough that it’s cooked through and a little browned up.

To make the vinaigrette:

Whisk all ingredients, (orange juice, olive oil, apple cider vinegar and pinch of salt and pepper to taste. I used all of the vinaigrette and it was very lightly dressed and rather tasty. If you prefer more dressing on the side , double the recipe.

Add cooked couscous, kale, cherries, walnuts, goat cheese* and vinaigrette,  toss to combine. Taste for Salt and Pepper after all combined.img_2936img_2933img_2929img_2928

Serve Warm, or refrigerate and this will keep for app. 3 days in fridge.

It’s a very light salad dressing so the kale absorbs it and it will keep nicely in fridge.


Easy Skillet Lasagna

This was truly one of the most epic meals! The whole meal in under an hour, and yes that’s lasagna folks. While I love a real lasagna I didn’t have the time to put the whole thing together and deal with it. Once you have the ingredients the prep time is minimal and you aren’t using store bought sauce , this is with sauce you make and I can’t say enough about the way it tasted! This can be done a few different ways and I invite you to play around with the ingredients and spices to your own liking. All I can say is Wow!  Delicious! Joel was very happy with our Sunday night dinner, I should have taken a picture of the big smile he had on his face when he saw this on his plate.  All in one pot is truly a great way to cook, no fuss, no muss and no having to deal with cooking lasagna noodles!!!!!! Yeah!

This can easily be made with ricotta cheese and spinach or any veggies you like. I would even try it with cut up eggplant!

*You’ll need a large oven proof skillet with lid

Ingredients:

1 to 1/2 Tablespoon Olive Oil–I used 1 1/2 you can start with 1 and add more to onions if you need it

1/2 lb. ground beef ( I used 80/20)

3 Italian sausage links, casings removed ( I used Hot Italian Sausage) use what you like , you can use turkey or chicken sausage as well

1 onion, diced

1 14.5 oz. can diced tomatoes

1 8oz.can tomato sauce

*Italian seasonings , if you have Italian seasonings in a jar that’s great if not use a little dried oregano and dried basil. Italian Seasonings is available in the spice department of all food stores.

*1/2 teaspoon crushed red pepper

App. 1/4 tsp. Kosher Salt and more to taste

2-3 garlic cloves, minced

app. 10 lasagna noodles, broken into 1/4’s, if it breaks up differently don’t worry it’s a very loose recipe! 8 ounces Farfalle Pasta also works if you don’t feel like using the lasagna noodles. Un-cooked Noodles!!!!!

8 oz. mozzarella balls ( fresh) I used the small ones this time. Use whatever cheese you like but these worked out beautifully.  You can always use shredded mozzarella, or just cut a large ball of mozzarella into small pieces ( as much or as little as you’d like) if using shredded mozzarella, you’ll need about 1 cup

2 cups water

Freshly grated Parmesan Cheese for serving

*you can also use 1 cup Ricotta Cheese for a very cheesy version, I would use this if I was making it with spinach and going veggie.

Directions:

Heat olive oil in a large skillet over medium-high heat. Add onions and cook till translucent, add garlic towards the end of onion process. Add ground beef to the onions, stirring occasionally till browned. I removed with slotted spoon and set aside in a bowl. I then cooked up the sausage making sure to crumble the sausage as it cooked.  I then removed sausage to bowl with meat , onions, and garlic and drained all excess fat from pan.

Pre-heat oven to Broil

Return meat to pan, add tomato sauce, diced tomatoes, spices, add 1/4 tsp. kosher salt to taste, if you need more add it. Add in the meat mixture and stir, bring to a simmer and add in broken lasagna pieces and 2 cups of water. Bring to a boil; cover, reduce heat and simmer until pasta is cooked through, about 13- 15 minutes for al dente. I stirred it gently a few times just to make certain that the noodles cooked through and didn’t stick together.

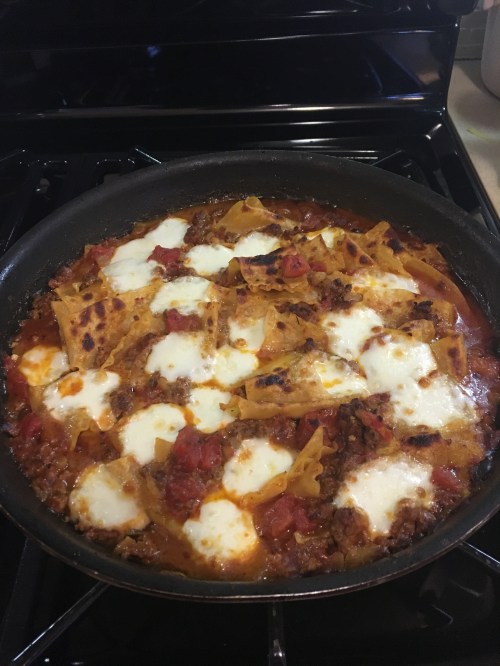
Remove from the heat . I placed my Mozzarella on top and placed in oven under broiler for about 5 mins. Check on it because you don’t want it to blacken. All ovens are different, in mine it needed about 6 minutes to just start browning without burning, but you don’t want to burn this up so set timer and keep an eye on it!

Remove from the oven and let it sit out for a few minutes. Plate it up and let everyone add their own parmesan cheese! Enjoy! you will.

IMG_1101

Plated up and ready to eat

IMG_1097

Finished Product


IMG_1096

adding mozzarella before placing under broiler


IMG_1093

placing un-cooked noodles into sauce


This would serve 4. It’s tough to double because you would need a super large pan.

This makes for an amazing leftover!


A noodle pudding from Ellen – Cottage Cheese and Craisons

Here’s a late addition to the Holiday Menu–but you might want to check it out. Happy Healthy Holiday and an easy fast to all of those who observe.

cookingwithcandi's avatarCooking with Candi

Always on the hunt for new ways to invent the wheel, I sent out a plea for help to some friends for some new recipes for noodle pudding. Now mind you they are never new but sometimes people come at it from a different angle. This one sounds delicious, and simple. It contains milk , if you’re looking for a good one to serve with meat that isn’t dairy check out Marcy’s noodle pudding. Again, enjoy and Happy Healthy New Year. This will help sweeten your New Year for sure and according to Ellen it stays on the table for dessert. Thanks to Ellen for her support and input. This one will be perfect for Breakfast Table at Yom Kippur.

Ingredients:

1 1/2 cups sugar

1/2 lb butter ( melted)

8 eggs ( room temp. best always) beaten

1 lb. medium size egg noodles

1 cup craisins

1 lb. small curd…

View original post 87 more words

Mushroom Barley – Side Dish

cookingwithcandioct7 003this is an old recipe of mine that I’ve played around with and have made over and over through the years.  It is so very delicious and is so perfect for Rosh Hashana and it makes a perfect side dish anytime of the year. It is not too difficult to make , takes a little playing around but pretty easy . I use Manischewitz egg noodles in a toasted barley shape (which is really a pasta)  you can use pearl barley which is available in almost every supermarket out there. i have to say this product worked very well. Not exactly Mushroom and Barley?? but barley shape pasta is the way we roll in our house.

Ingredients:

1/4 cup butter or margarine

1  3/4 cup Pearl Barley or any kind you can find ( I used Manischewitz egg noodles in a toasted barley shape) it doesn’t have to be toasted it can just be regular barley shape noodles. I love to use this product , it’s usually found in kosher section.

1 lb. fresh mushrooms sliced

1/2 spanish onion chopped

2 – 3 cups chicken stock

1 tablespoon vegetable oil

Kosher Salt

Freshly Ground Black Pepper

Directions:

i use a very little bit of vegetable oil ( maybe 1 tablespoon) and saute onions, then mushrooms till cooked down. i salt and pepper generously here. i remove the mushroom/onion mixture from saute pan, wipe the pan clean with a paper towel . melt butter or margarine in pan, brown the barley for about 4 – 5 minutes, move it around as you brown it. in the meantime transfer mushroom/ onion mixture to a 9 x 13 baking dish (spray with pam) when barley is browned place in dish with mushrooms and onions and mix well. add 2 cups of chicken broth. cover with aluminum foil, and bake in oven covered at 350 degrees for app. 45 minutes. remove from oven, and add a little broth, depending on how dry it is, i would say i added about 1/2 cup , you may need to add more, add the 1/2 cup and mix well and see if you need more, not too watery, keep it dryer. cover, and i put it back in oven for 10 to 15 minutes. taste for salt and pepper. and there it is. very delicious.

Recipes for Jewish New Year–Rosh Hashana

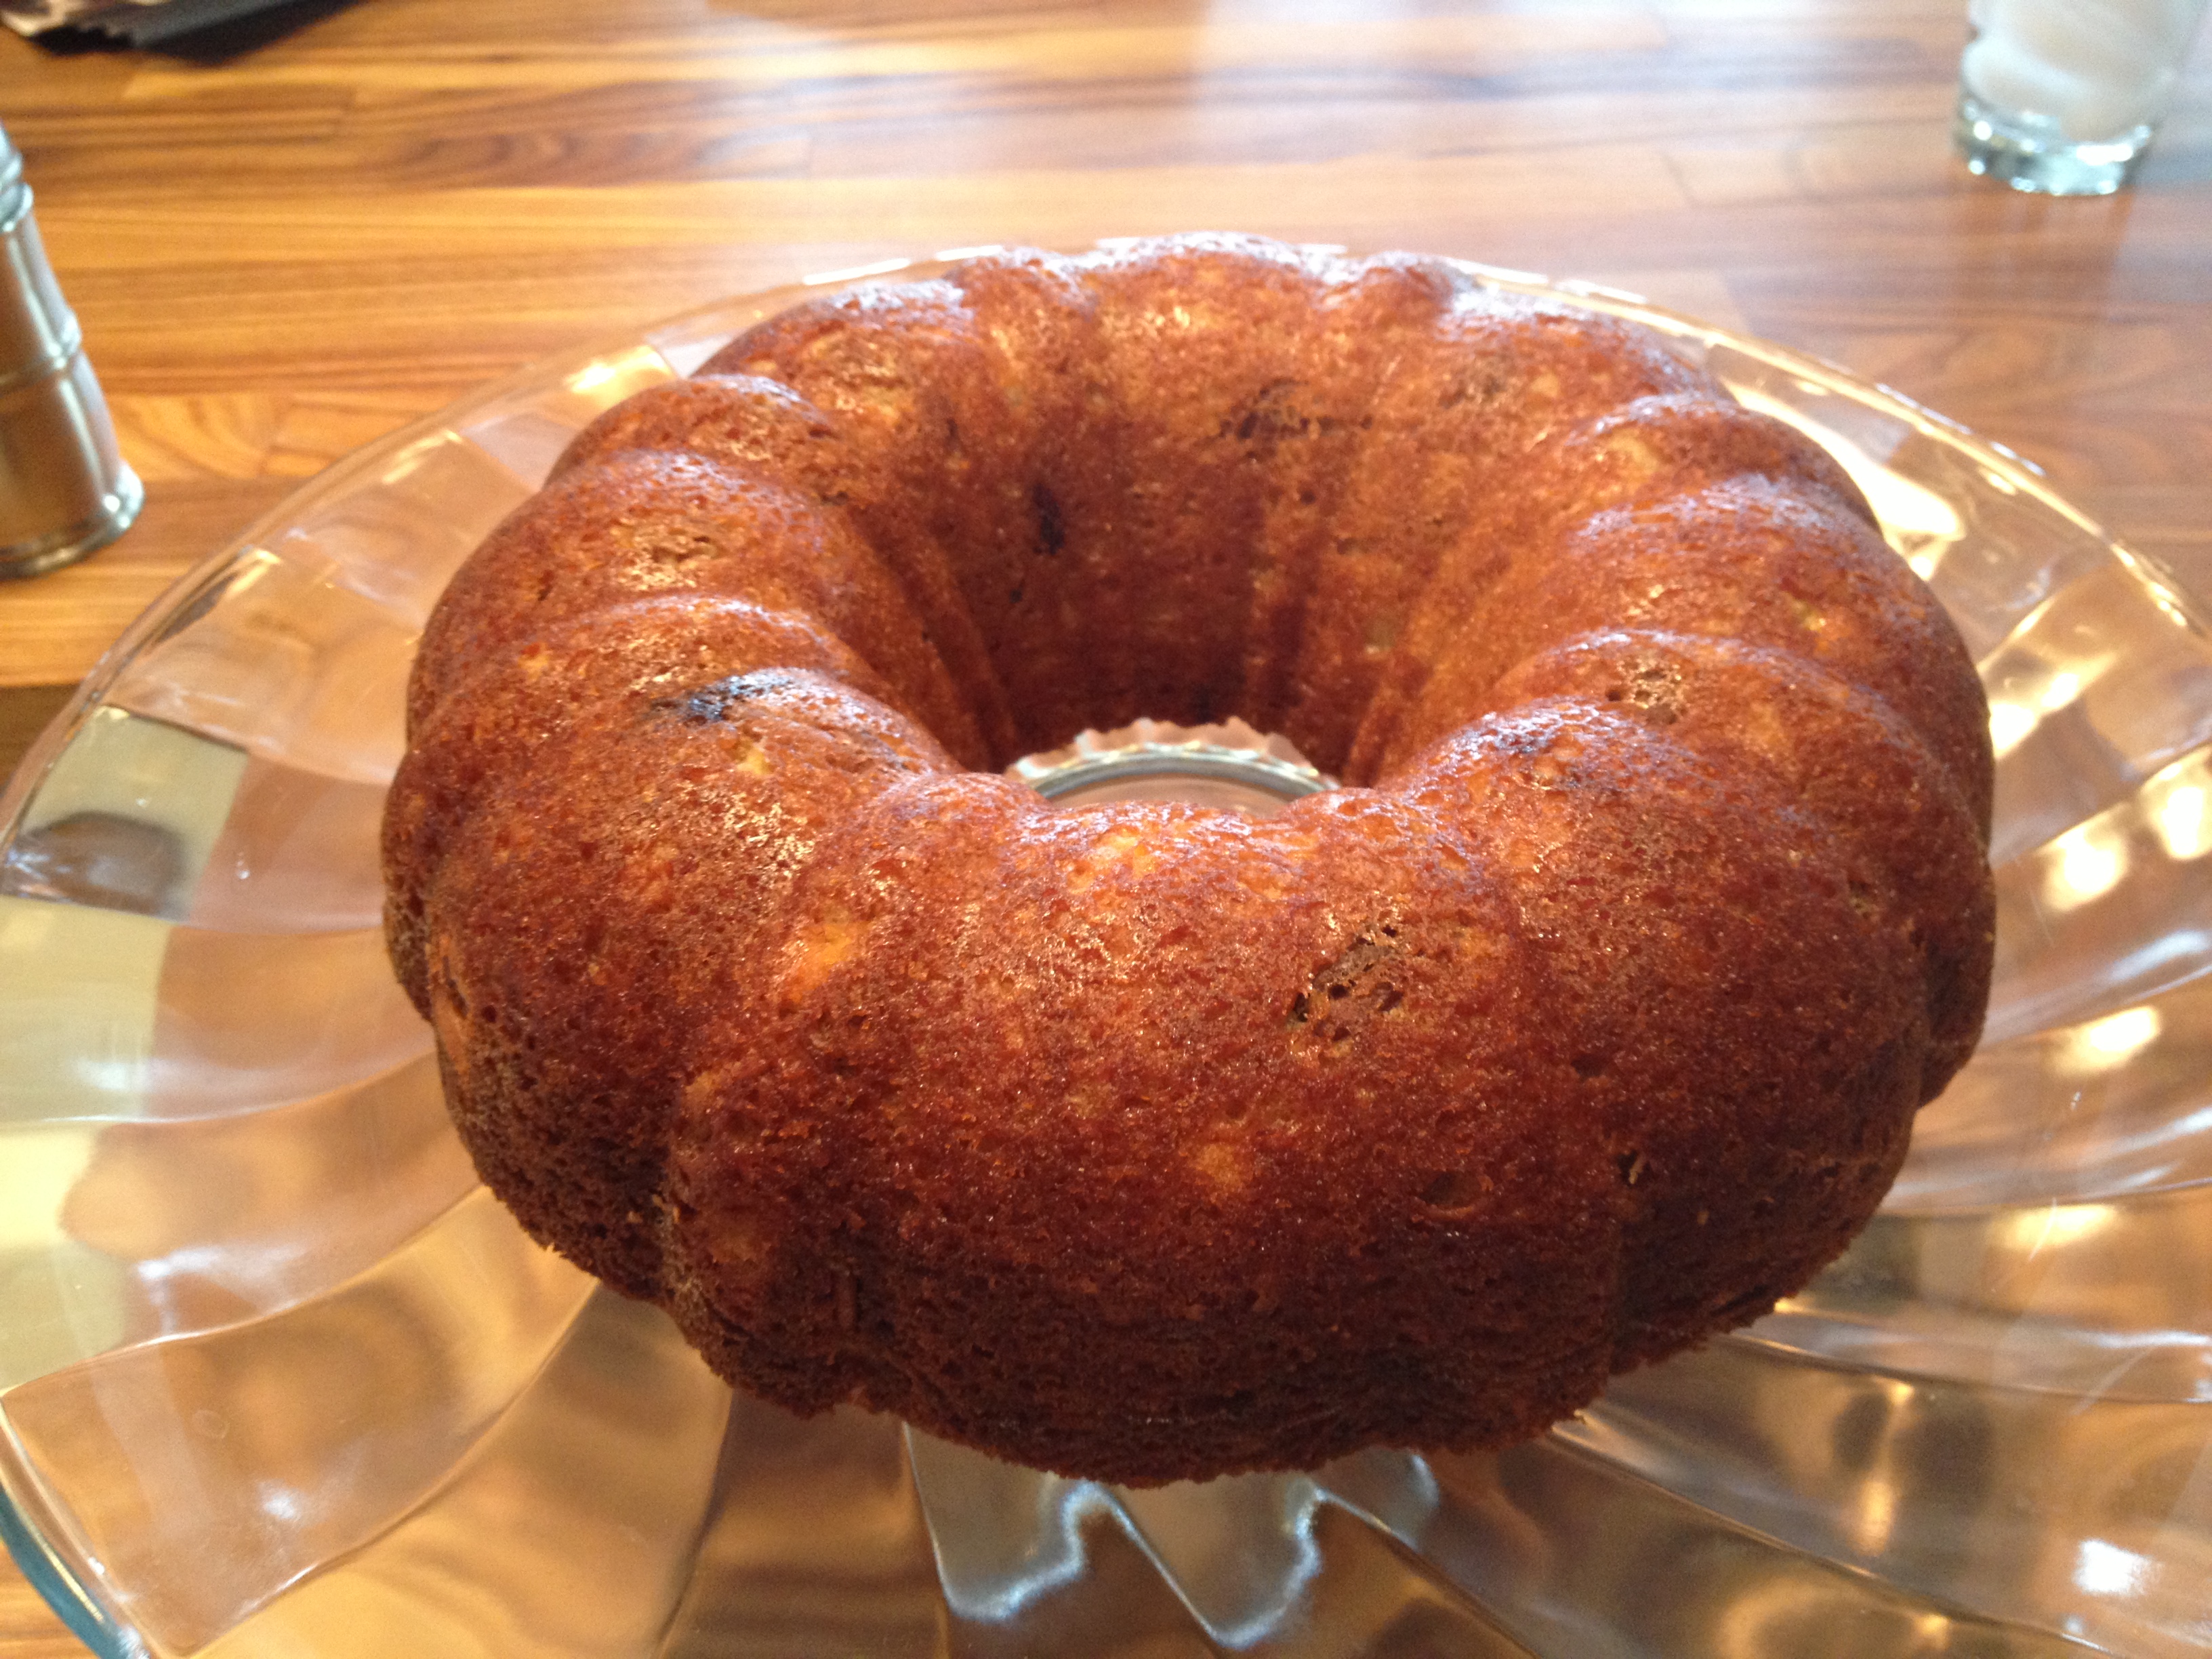
Finished Product Apple Cake

Finished Product Apple Cake

photo 1 (3)

Un-Stuffed Cabbage

DSCN2648DSCN4230DSCN2642DSCN4225DSCN4234photo (2)DSCN4230Summer is the most easy-going time of the year and then along comes the Jewish holidays right on the heels of Labor Day and just like that it is over. Kids are back to school and we’re cooking dinner again and preparing meals. Before you know it,  it’s Thanksgiving! Oh well here we go again, for those of you who have been reading my blog you may have made a lot of these recipes and welcome aboard to the new readers.  I am sort of a traditionalist when it comes to holidays and my family always looks forward to the same things. If I introduce a new recipe it’s always hold your breath time and what was wrong with the old one looks on everyone’s face.  Final decisions haven’t been made but I know that there are some things I’d never leave out. Here is a list of suggestions and by all means cruise through my blog and see if there is anything else to your liking. These are just a list of suggestions. I will be posting a few new ones this week, so be on the lookout. Rosh Hashana recipes are tagged Rosh Hashana if you are trying to look them up on my blog. I may sneak in a recipe or two this week if I can get in the time. So sad summer is over but it’s time to move on .

For those who celebrate have a very Happy Healthy New Year! Shanah Tovah!!

Homemade Chicken Soup with not so Homemade Matzo Balls ( even though this is for Passover we eat it a lot on Rosh Hashana)

Happy New Year Brisket

Unstuffed Cabbage–a great alternative to meatballs

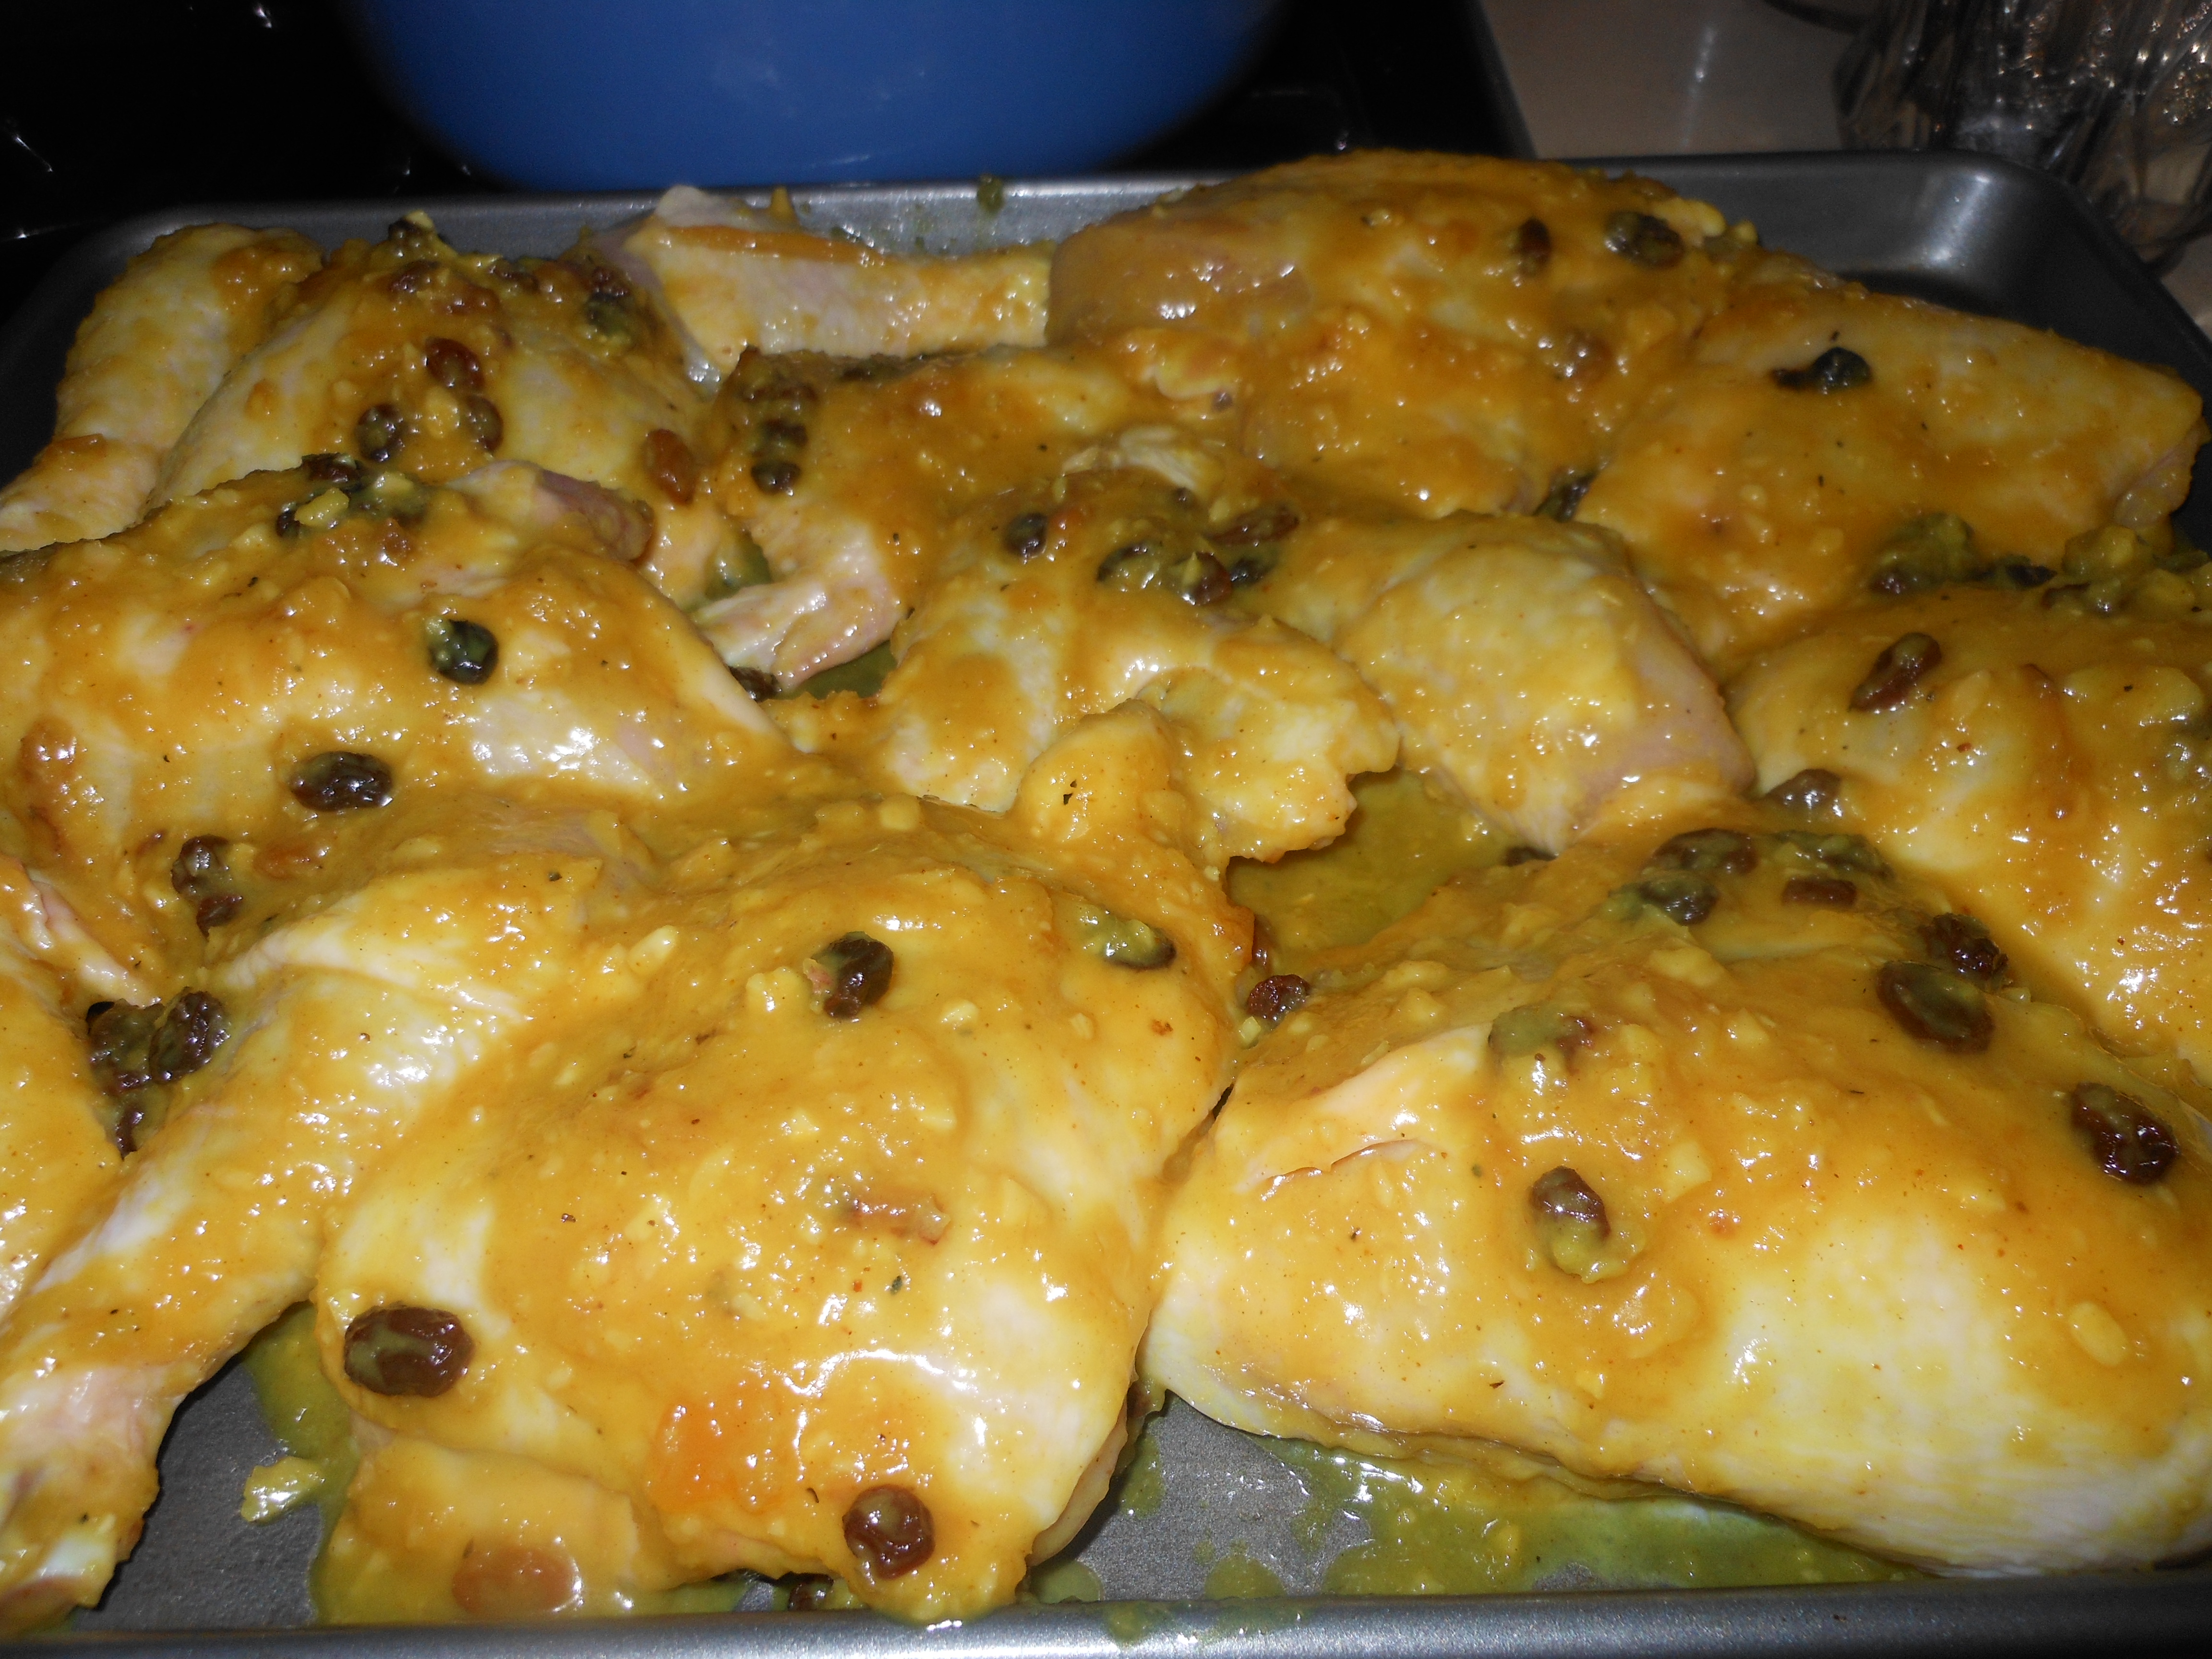
Chicken Marbella

Honey Roasted Chicken

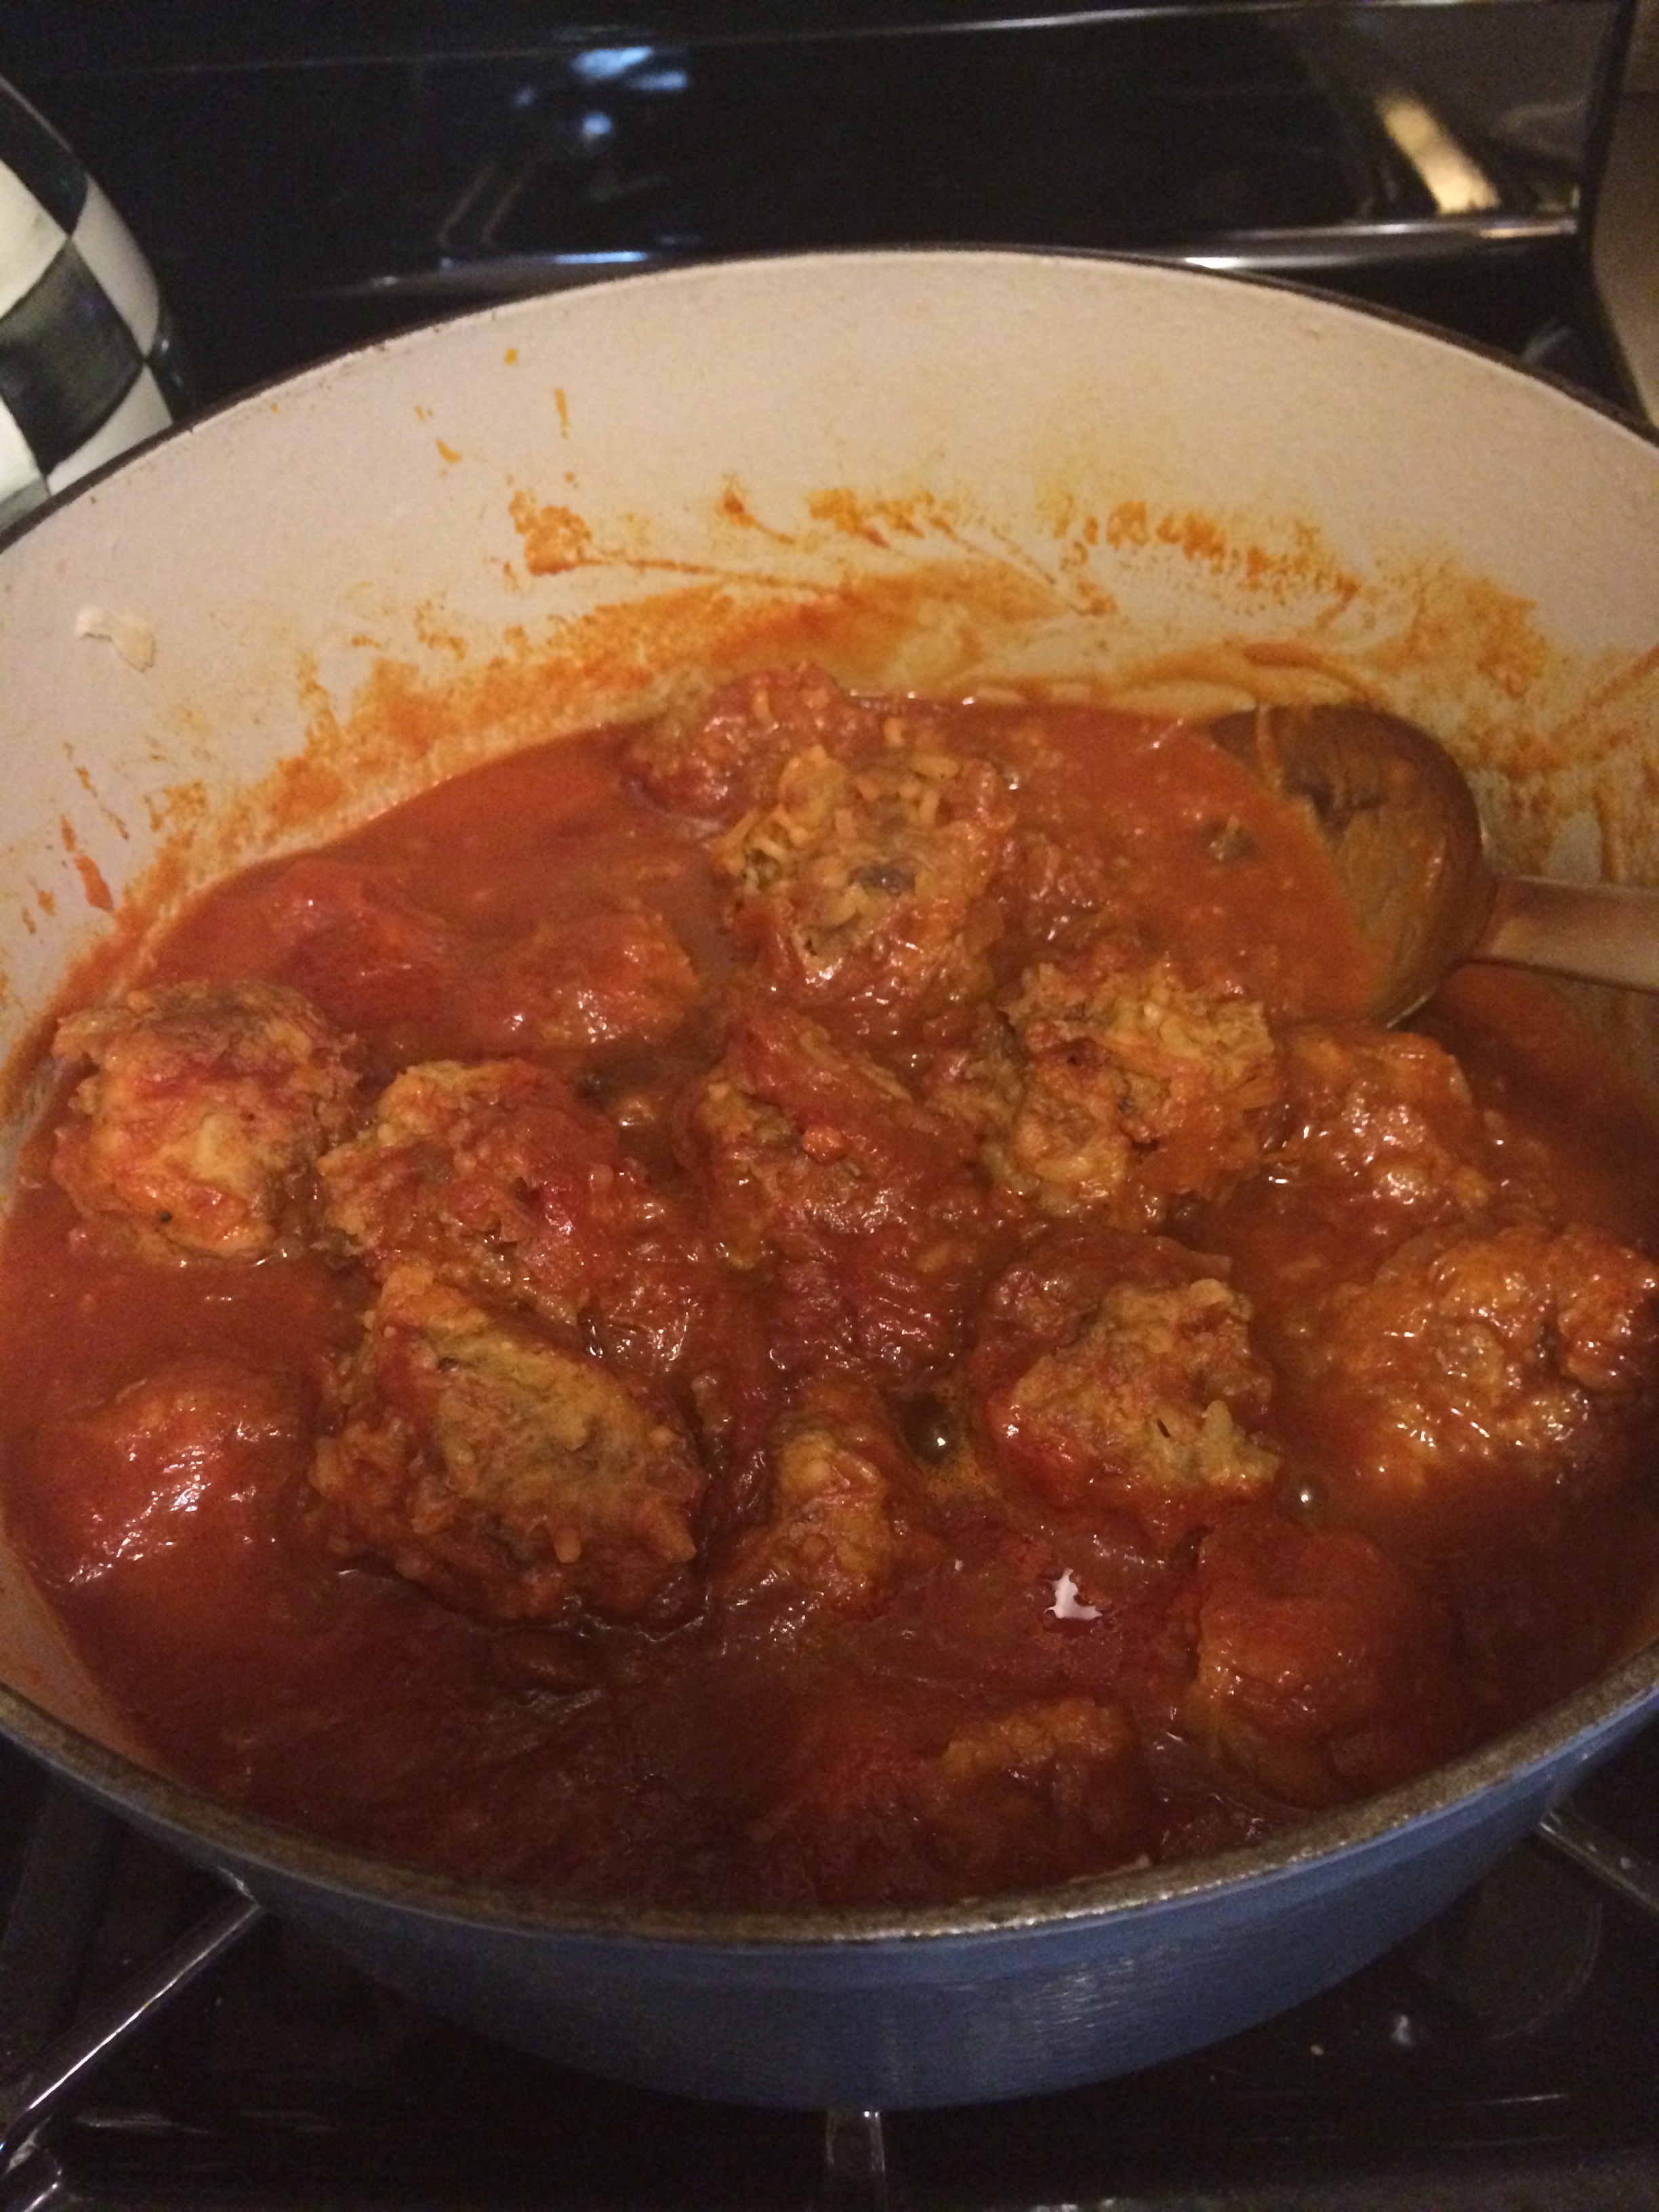
Old School Meatballs

A Noodle Pudding from Ellen

Another Noodle Pudding from Marcy *kosher non dairy

Noodle Pudding with Apricot Nectar–probably one of the all time best kugels ever

Noodle Pudding from Julie

Mushroom Barley

Kasha Varnishkes

Grandma Millie’s Cauliflower

Applesauce and Raisin Cake

Don’t let the Apples go Bad Cake

Julie’s Honey Cake

Plum Torte

My farewell to Norah Ephron- her Tzimmes

Plum torte | Search Results | Cooking with Candi

https://cookingwithcandi.com/?s=Plum+torte&submit=Search

BBQ Baked Beans

Perfect for a side dish for BBQ or indoor dining! I made these baked beans for a dinner party this summer and completely forgot to post the recipe . It’s not vegetarian friendly since I did use bacon and am afraid if you leave it out you would be leaving out an integral layer of flavor. These are sweet and delicious and you probably have most of the ingredients in your pantry. I love a well stocked pantry and always have canned beans, apple cider vinegar, ketchup, mustard, dark and light brown sugar and Worcestershire sauce. I used dark brown sugar but if you have light you can use. You’ll need thick-cut bacon and a medium yellow onion. I love when I use ingredients that I have in my house.

I saw this recipe on Valerie’s Home Cooking on The Food Network.

www.foodnetwork.com

Ingredients:

4 slices thick-cut bacon, roughly chopped

1 medium yellow onion, chopped

2 15 ounce cans Cannellini or Great Northern white beans

1/3 cup ketchup

1/3 cup dark brown sugar

1 teaspoon Dijon mustard

1 teaspoon apple cider vinegar

1 teaspoon Worcestershire Sauce

Kosher Salt and Freshly ground black pepper

Directions:

Preheat the oven to 350 degrees.

Put the bacon in a large cold skillet and cook over medium heat until the fat renders and the bacon is almost cooked to a crisp. About 10 minutes.

Add the onion and cook, stirring occasionally , until the onion is softened, another 10 minutes or so. Add 1 can of the beans with their liquid. Drain and rinse the second can of beans, then add them to the skillet.

Add the ketchup, mustard, brown sugar, vinegar, Worcestershire, 1/2 teaspoon salt and a few grinds of the pepper mill. You’ll taste for salt and pepper again at the end of cooking.

Bring to a low simmer, then transfer to a small baking dish. Bake uncovered until thick and bubbly, about an hour.Taste for salt and pepper.

I cooked in my small Le Creuset from start to finish and served in my pot right to the table. Either way is fine.

Serve Warm.


BBQ Sauce


I made this BBQ sauce and used it on chicken and ribs and it was so delicious. I put it into a bell jar and kept it in the refrigerator for a week. There are a lot of ingredients but it’s worth the effort. Nothing but good old fashioned ingredients. We like it spicy so this has a lot of kick because of the chipotles in adobe sauce, if you want it to be milder use only 1 chipotle or none.

Ingredients:

1 tablespoon vegetable oil

1/2 small yellow onion, finely chopped

2 cloves of garlic, also finely chopped

1 cup ketchup

1/2 cup Molasses

1/3 cup apple cider vinegar

1 Tbsp. Worcestershire Sauce

1/2 tsp. ground allspice

1/4 tsp. ground cloves

2 chipotles in adobo sauce,  roughly chopped–you can eliminate this if you don’t like it spicy or cut in 1/2

Directions:

Heat the oil in a medium saucepan over medium high heat. Add the onion and cook , stirring occasionally, until onion is nice and soft, depending on your stove top anywhere from 5-8 minutes. You just want them very soft and translucent not browned.

Add the garlic, and cook stirring till garlic looks softened , another few minutes. Add 1/2 cup water and the ketchup. I mixed the water and ketchup before adding.

Add the molasses, vinegar, Worcestershire Sauce, allspice, clove, chipotles and 1/2 tsp. kosher salt and bring all ingredients to a low boil. Reduce the heat, and bring to a slow simmer, stirring occasionally. It will start to thicken up in about 10 minutes or so. I let it cool a little bit and the put into the blender until it was smooth. Store the sauce in the refrigerator until you’re ready to use. This sauce can be made up to a week in advance.

Chicken:

This particular night I made BBQ chicken–dark meat. I used thighs and legs.

I dried off the chicken on some paper towels. Prepared my grill by spraying well with Pam Grill Spray or whatever you like to use, you can also oil the grates.

Separate about 3/4 of a cup of  sauce for basting . You don’t want to cross contaminate raw chicken with sauce that you may want to use . I place the remainder of bbq sauce in the refrigerator and put some in a bowl for serving.

Lightly season the chicken with a sprinkle of salt and pepper. Sear the chicken with no sauce on the grill , skin side down, until nice grill marks form, app. 5 minutes. Then flip over.

Reduce the grill to low. Cook the chicken covered, turning and basting with the BBQ sauce every 5 minutes or so, until the chicken is cooked through, about 25 minutes. Check doneness with a meat thermometer or cut into it.

Throw away any sauce that you used on un-cooked chicken.


Pasta with Tomato and Walnut Pesto

Tomato Pesto!!!! Basil is just a garnish and not even necessary in this wonderful pasta dish. Lovely for summer nights and perfect for the colder seasons as well. Pretty easy to prep, you’ll need a food processor for this one.

Easy obtainable ingredients.

Ingredients:

2/3 cups walnuts

2 pints cherry tomatoes, halved

2 tablespoons plus 1/3 cup olive oil

kosher salt

6 oil-packed anchovies, coarsely chopped

2 garlic cloves, coarsely chopped

1 teaspoon finely grated lemon zest

1/4 teaspoon crushed red pepper flakes

1/2 cup Parmesan, finely grated (about 1/2 cup), plus more for serving

1 teaspoon freshly ground black pepper

1 box spaghetti, use any type you prefer , I prefer a long spaghetti type of pasta

Fresh Basil for sprinkling garnish* optional

Directions:

Preheat the oven to 350 degrees.

Toast walnuts on a rimmed baking sheet, tossing once until slightly darkened, app. 10 minutes but check on them after 8 minutes–don’t want to burn the nuts. Set aside to cool.

Heat the broiler. Toss tomatoes with 2 Tbsp. of oil on a rimmed baking sheet; season with some salt. Broil tossing once .  I broiled until tomatoes started to blister and released some of their juices. App. 6-9 minutes. Let cool.

In the food processor fitted with metal blade pulse the anchovies, garlic, lemon zest, red pepper flakes and 1/2 cup Parmesan Cheese until finely ground. Add the walnuts and half of the tomatoes, then with motor running stream in 1/3 cup of olive oil; process until well combined. Season with salt and pepper to taste.

Cook pasta according to the box directions for al dente. Drain and reserve 1 cup of pasta water.

Transfer pasta to a large bowl add the pesto and add a splash of pasta water. Toss adding more cooking liquid as needed, until sauce coats pasta. Add basil if you’d like and remaining tomatoes.

Enjoy!

*Pesto can be made 1 day ahead. Keep in fridge.