


 T

Search Cooking with Candi
Cooking with Candi Archives
Recipe categories
-
Join 2,723 other subscribers
Category Archives: Holiday
Happy New Year Brisket
 Brisket can definitely be an intimidating thing to make. I once made it as a young cook, and it was perfectly inedible. Back then, I couldn’t believe how long it took to cook, but it does take very long. Now I usually make it in the slow cooker which is an awesome way to go but this time I used my trusty Le Creuset, which worked out beautifully. A lot of people have some pretty awesome brisket recipes and I welcome you to send me yours. This really couldn’t be any easier and it’s super tasty. This original recipe came from my friend, Michele (with a few comments from Karyn too.) I did change a few things to the original recipe, but not a lot and I thank Michele for the recipe.
INGREDIENTS:
4 lb. brisket (I didn’t need larger but you can adjust this recipe for whatever size brisket you use)
Lawry’s seasoned salt available in the spice aisle
2 large Spanish onions (Karyn uses Vidalia, which is also good), sliced thickly
2 cans of tomato sauce , I used the 16 oz. size. You can also use the 1 can of 28 oz. size. It depends on you and how much sauce you like.
2 tbsp. brown sugar (this is my addition. It doesn’t really change the flavor so much as cut the salt a bit)
DIRECTIONS:
Preheat oven to 350 degrees.
I sprinkled Lawry’s seasoned salt on both sides of the brisket (generously) then seared it in the Le Creuset pot with a little vegetable oil–probably about a tablespoon. (After the meat was seared, it shrunk to fit perfectly in my pot but I don’t think that a larger brisket would have fit.) Next, I added the tomato sauce and onions, covered the pot and put it in the oven. I cooked it for a total of 3 hours. I checked on it after each hour, which probably wasn’t even necessary. I then let it cool, off of the heat, for about an hour. Next, I sliced it with an electric knife, which came out beautifully. The meat was soft, but not falling apart at all. I then added the brown sugar to the gravy, put the brisket in a container with the gravy and froze it. I’ll take it out the night before I serve. Karyn pulses her gravy with an immersion blender. I didn’t do this but I think it makes for a good suggestion. In fact, I might still do it next time I make this recipe. I’ll let you know. Thanks again Michele and Karyn!
Posted in Holiday, Holiday Recipes, meat
Tagged brisket, Brisket in the oven Happy New Year, jewish cooking, jewish new year, Rosh Hashana
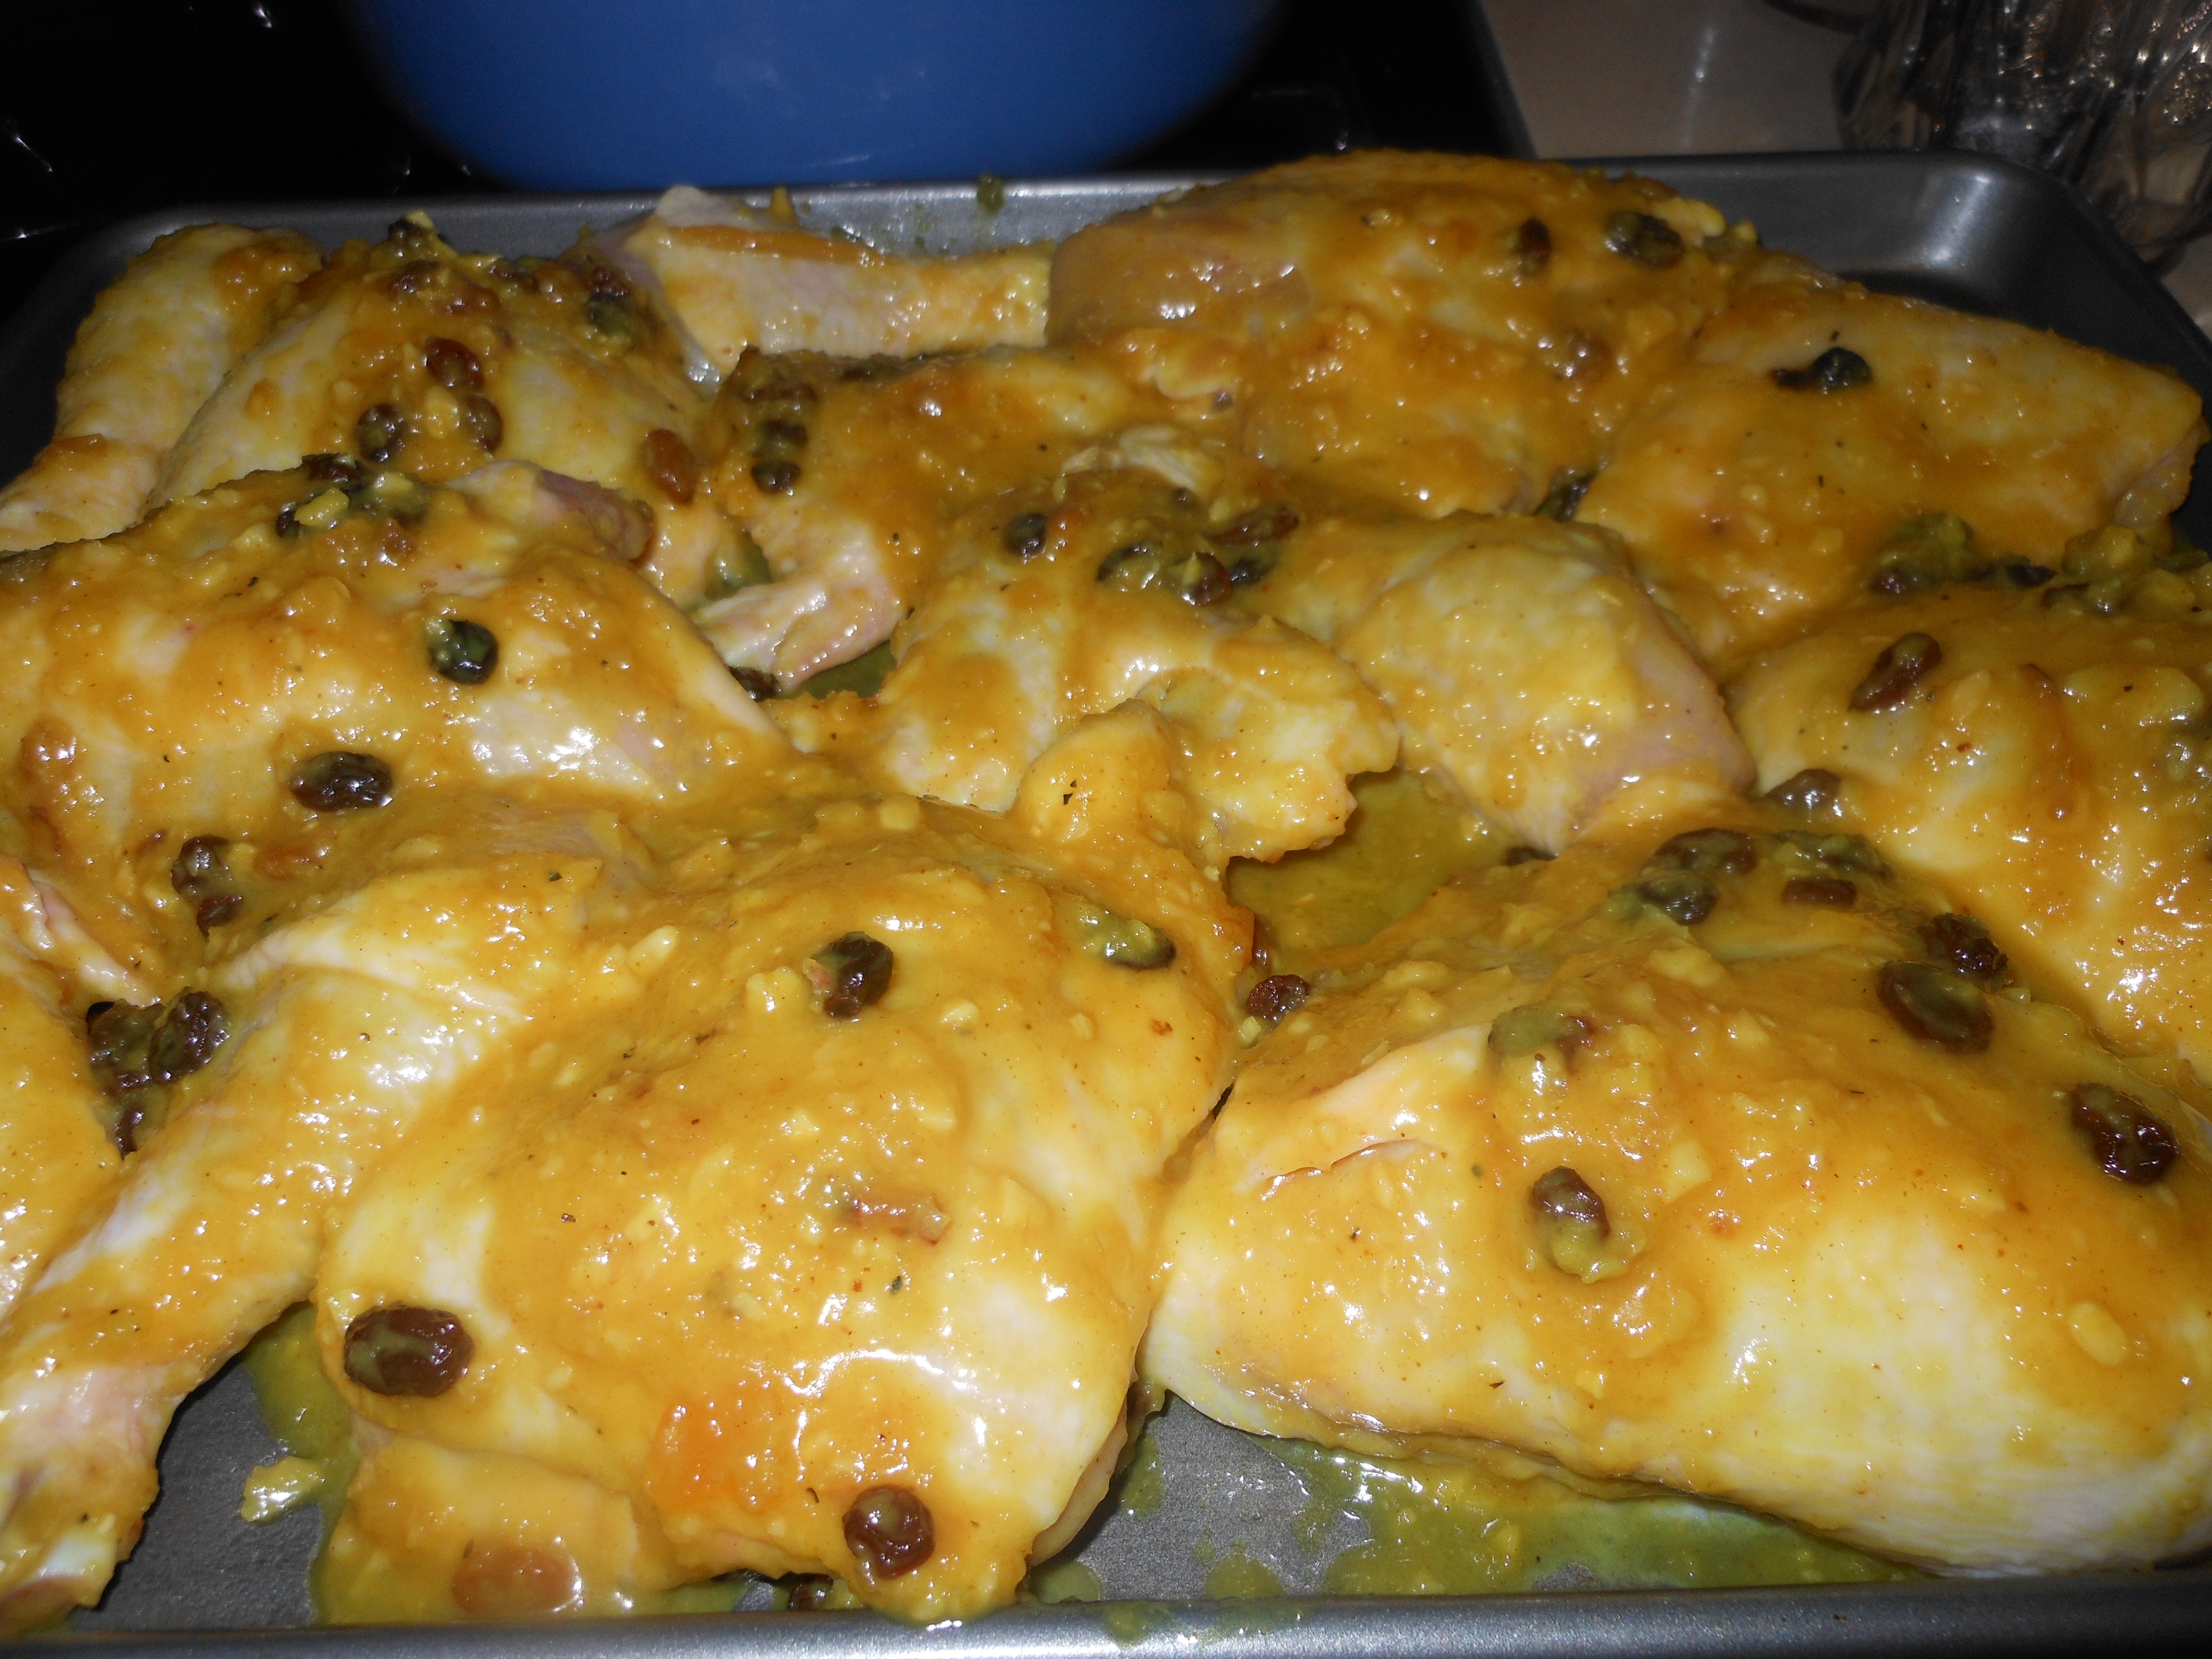
Honey Roasted Chicken – Holiday Chicken

 This recipe was actually given to me by my daughter Jennifer. She has made it numerous times. always to raves from the family. It is a delicious chicken dish made with honey so it so appropriate for the jewish new year! sweet and savory as our new year should be! enjoy it. Remember to pay attention to cooking directions as you will not be preheating oven!!!!!!
Obviously this recipe can be cut in 1/2 for a smaller group.
Ingredients:
1 stick butter or margarine
1/2 cup minced yellow onion
2 large cloves garlic, minced
1/4 cup Dijon Mustard
1/2 cup mild honey
1 teaspoon kosher salt
a rounded teaspoon curry powder
2 tablespoons peach or mango chutney ( available in most supermarkets)
small handful of dried currants or chopped dark raisins
2 roasting chickens cut up in 8’s or you can cut recipe in 1/2 and use 1 chicken and 1 roasting pan
Directions:
you will need 2 shallow baking sheets with 1 inch rims ( you may be able to get it on 1 large sheet)Spray baking sheets well with cooking spray.
to make sauce:
Melt butter/margarine in a heavy 2 quart saucepan over medium heat. while it is bubbling, saute onion and garlic until softened, about 3 – 5 minutes. add remaining ingredients except for chicken and stir until well combined. heat until warm throughout and set aside to cool slightly.
to prepeare chicken:
I would spray each baking sheet with pam cooking spray first
Rinse and pat chicken dry . (each piece) dip each piece in honey mixture, coating chicken completely. lay chicken pieces ( skin side up) on baking sheets. spoon any remaining sauce over chicken.
To Bake Chicken:
place chicken in a cold oven, turn heat to 400 degrees and bake for one hour. if you are using 2 baking sheets , roast in the upper and lower thirds of the oven and switch shelf positions 1/2 way through the cooking time.
to serve:
Transfer chicken to a warmed serving platter and serve . this chicken is good hot, at room temp. and cold out of fridge the next day.
*if you cannot find peach or mango chutney ( I found it at Whole Foods) Stonewall Kitchen Brand , you can use Peach Jam, Apricot Jam, etc. Probably Saucy Susan would work. Use your imagination and don’t kill yourself trying to find the chutney. I think the chutney would give it a bit more kick, and cut the sweet, but either one will be fine.
Happy Holiday from my Kitchen to Yours
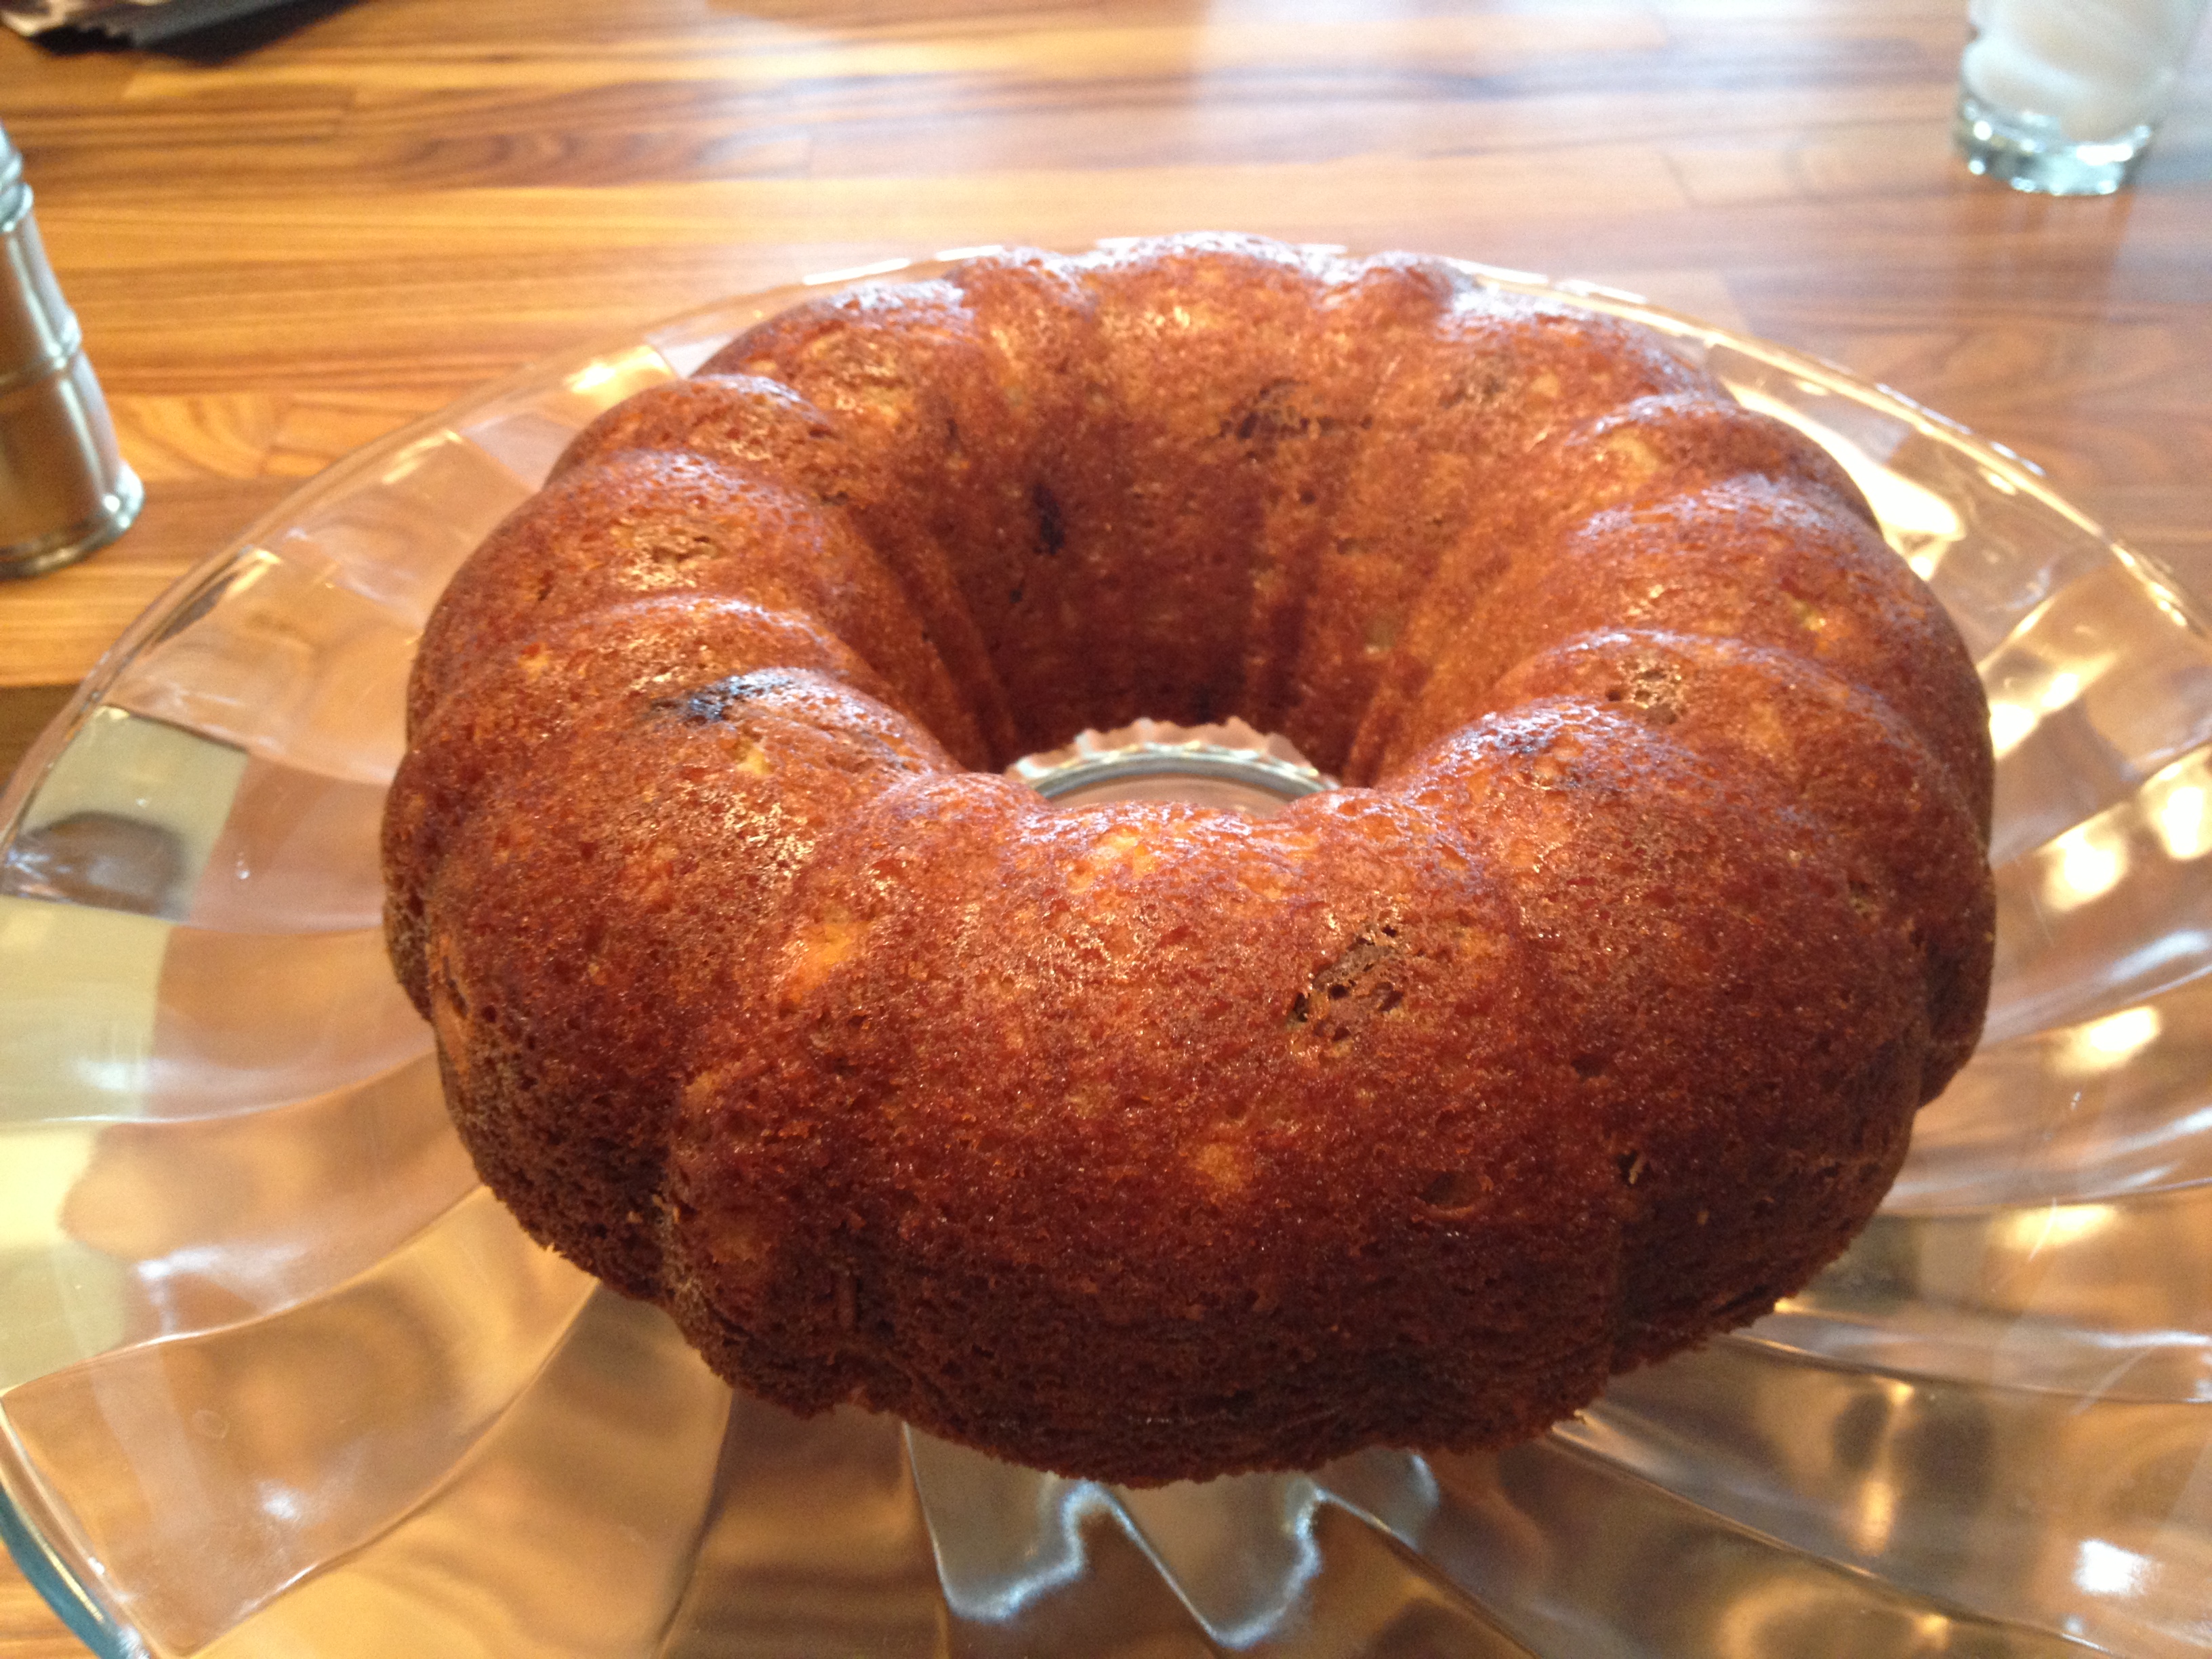
Don’t Let the Apples Go Bad Cake


 Apples are the kind of fruit we eat all year round. They are always in the fridge and if they don’t get eaten, I feel guilty that they’re just sitting there and going to go bad. I saw this recipe on Smitten Kitchen and decided to make it. I would make it and freeze it, so if you’re interested in doing so this cake freezes well. You’ll need a tube pan. You don’t need an electric mixer, so it’s pretty easy on the special equipment. Use those leftover apples–don’t let them go bad. No butter in this recipe, lots of sugar though. My house smelled divine.
I also love this recipe for the Jewish Holidays which are just around the corner…..just saying.
*you can see in photos that I use a melon baller to get the pits out of the middle of the apple. I prefer this technique over the corer thing which never really works for me. The melon baller works perfectly: first cut apple in half, then scoop out just the pits.
Thanks to Smitten Kitchen again for a wonderful recipe.
www.smittenkitchen
Ingredients:
6 apples (I used what I had in the house: a combo of Granny Smith and Honey Crisp. Good old Macintosh will work, too.)
1 tablespoon cinnamon
5 tablespoons sugar
2 3/4 cups flour, sifted
1 tablespoon baking powder
1 teaspoon salt
1 cup vegetable oil
2 cups sugar
1/4 cup orange juice (try to use fresh but if not, Tropicana will do)
2 1/2 teaspoons vanilla
4 eggs
1 cup walnuts, chopped (this is optional; I didn’t use them this time out)
Directions:
Preheat oven to 350 degrees. Grease a tube pan. Peel, core, and chop apples into chunks. Toss with cinnamon and sugar and set aside (I sprayed with a baking spray. There’s no need to add any butter here.)
Stir together flour, baking powder, and salt in a large bowl. In a separate bowl, whisk together oil, orange juice, sugar and vanilla. This mixture will be rather thick. Mix wet ingredients into the dry ones, then add eggs, one at a time. Scrape down the bowl to make sure all ingredients are incorporated. Use a rubber spatula to get it all out of the bowl.
Pour 1/2 the batter into prepared tube pan. Spread 1/2 the apples over this. Pour the remaining batter over the apples and arrange the remaining apples on top. Use your eye to halve batter and apples (don’t worry if it’s not perfectly halved.) Bake for about 90 minutes, or until a cake tester (or toothpick) comes out clean. I would check cake after 1 hour 20 minutes. I baked for the full 90 minutes; it’s a rather thick cake.
Posted in Baked Goods, dessert, Holiday, Holiday Recipes
Tagged bake a cake, Don't let the apples go bad, What to do with Apples
Recipes for Jewish New Year–Rosh Hashana 2019

Finished Product Apple Cake
Un-Stuffed Cabbage


 Summer is the most easy-going time of the year and then along comes the Jewish holidays right on the heels of the end of Summer and just like that it is over. Before you know it it’s September 29th and the Holiday is upon us. Oh well here we go again, for those of you who have been reading my blog you may have made a lot of these recipes. For all of you newbies a warm welcome aboard. I am sort of a traditionalist when it comes to holidays and my family always looks forward to the same things. If I introduce a new recipe it’s always hold your breath time and what was wrong with the old one looks on everyone’s face. Final decisions haven’t been made but I know that there are some things I’d never leave out. Here is a list of suggestions and by all means cruise through my blog and see if there is anything else to your liking. These are just a list of suggestions. I will try and post some new recipes so be on the lookout. Rosh Hashana recipes are tagged Rosh Hashana if you are trying to look them up on my blog. I may sneak in a recipe or two if I can get in the time. So sad summer is over but it’s time to move on .
Rosh Hashana starts in the evening of Sunday , September 29
I am always open to suggestions and inquiries and general help. You can DM me on Instagram/Facebook or email me at cmk55@sopris.net
For those who celebrate have a very Happy Healthy New Year!
Homemade Chicken Soup with not so Homemade Matzo Balls ( even though this is for Passover we eat it a lot on Rosh Hashana)
Happy New Year Brisket
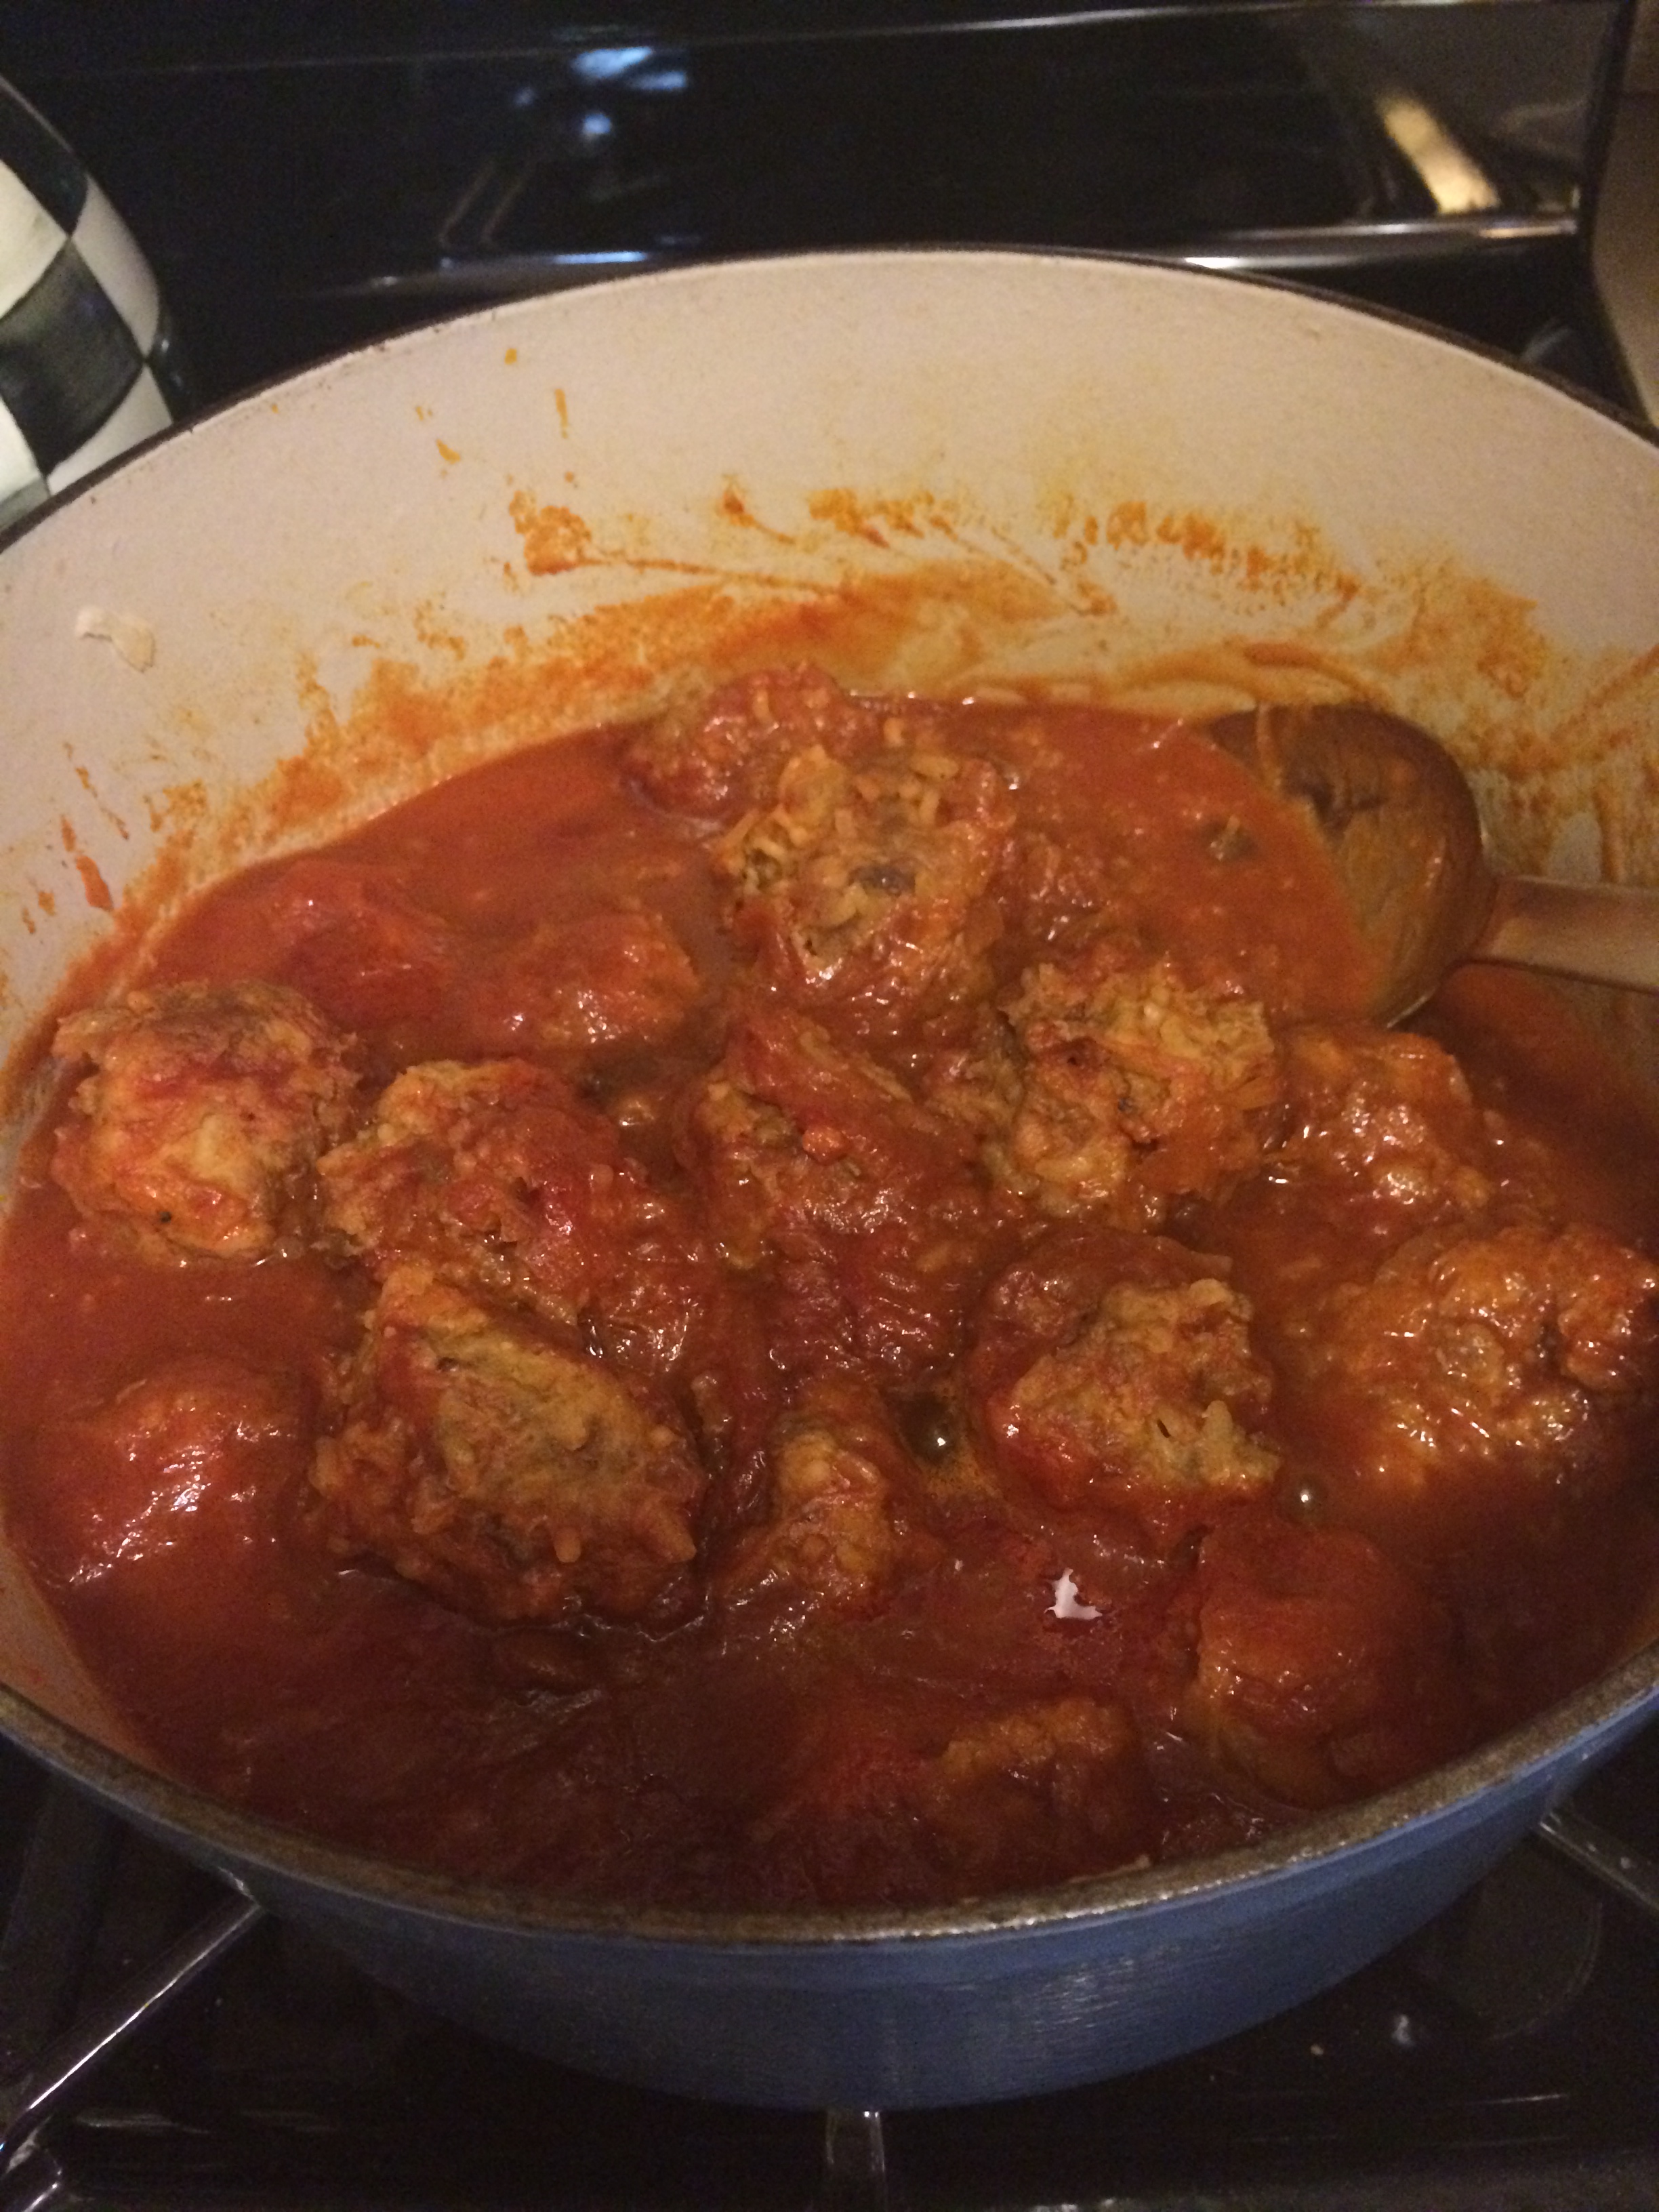
Unstuffed Cabbage–a great alternative to meatballs
Chicken Marbella
Honey Roasted Chicken
Old School Meatballs
A Noodle Pudding from Ellen
Another Noodle Pudding from Marcy *kosher non dairy
Noodle Pudding with Apricot Nectar–probably one of the all time best kugels ever
Noodle Pudding from Julie
Mushroom Barley
Kasha Varnishkes
Grandma Millie’s Cauliflower
Applesauce and Raisin Cake
Don’t let the Apples go Bad Cake
Julie’s Honey Cake
Plum Torte
My farewell to Norah Ephron- her Tzimmes
Posted in Holiday, Holiday Recipes, jewish holiday
Tagged jewish new year, Rosh Hashana, Rosh Hashana 2019
Chocolate Bark Surprise

Chocolate Bark Surprise

chocolate bark surprise before breaking it all up
Believe me when I say that I know how very difficult this Holiday is going to be for almost all of us. If you’re looking for something your kids can make with you this is one of the better recipes and fun to eat afterwards. I usually make this recipe on the holidays and it’s easy and delicious. If you have your kids or your grandkids and want to have a cooking project together this could be the one.
One of the most wonderful surprises to come out of my blog is the constant sharing of recipes, ideas, thoughts and sometimes even a little criticism. I love it all. Sharing has got to be the part I enjoy the most. I love sharing my family recipes with all of you. I especially love when you send me a recipe and I love it and I make it part of Cooking with Candi. As those of you who have gotten to know me and my blog you know this to be true. I try to always give credit where credit is due, sometimes I name the recipe after the person who passed it on to me. I rarely get to know the origin or provenance of these recipes but they’re way to good to keep “under wraps”. Thanks again to all my friends for their recipes and inspiration not to mention support with this “labor of love”. I write this blog so that you can all share the recipes that I have had come to know. Why keep it to myself? I love the feedback you all give me and nothing makes me happier than when I meet someone who started cooking and now enjoys it because of my recipes.
It’s hard to know the provenance of most recipes and I am doing this for fun not profit!
Speaking of sharing I got this wonderful recipe from At Home with Joy , thanks for sharing with us Joy. This recipe was so easy and so delicious, for those of you who love Candy and who doesn’t? Give it a try, please check out Joy’s blog you’ll be happy you did.
And this would be perfect on your Passover Table. It’s a really nice dessert served anytime but really perfect now.
Chocolate Bark Surprise
Ingredients:
1 9 oz. bag chocolate chips ( I used semi-sweet) this would have to be amazing with white chocolate chips as well
1/4 cup shelled pistachio nuts ( I used no salt but a little salt would probably be fine)
1/4 cup raw almonds
1/4 cup dried cranberries
1 Tablespoon shredded coconut
Directions:
Line a small sheet pan with parchment paper
Place chips in microwave safe bowl and heat for app. 2 1/2 minutes. Check frequently as microwaves can vary. 2 – 2 1/2 minutes was sufficient. Once the chocolate is smooth and creamy, add the rest of the ingredients into the bowl and stir until combined. Make certain your bowl is large enough to accommodate the chocolate and dry ingredients.
Stir until well combined, and immediately pour mixture onto parchment paper and using a spatula evenly smooth it around, it should be about 1/4″ thick.
Place pan in fridge and allow it to harden for at least an hour or until hardened.
Using your hands, break bark into pieces. The pieces will be uneven.
Store extra bark in freezer in an airtight container.
Enjoy!
Posted in Candy, Holiday, Holiday Recipes, Passover Recipes
Tagged at home with joy, Candy, chocolate bark surprise, sharing
Homemade Chicken Soup with Not-So-Homemade Matzo Balls


 I always make my own chicken soup. It is delicious broth. I usually make a few batches and freeze them because it’s a great thing to have frozen in quart containers as stock and will last for up to six months frozen. When the holidays come—whether Rosh Hashanah or Passover—I always make my chicken soup with matzo balls. I make the soup a day ahead and skim whatever fat is on there before adding my matzo balls. Keep reading for my “secret matzo ball recipe”.
INGREDIENTS: CHICKEN STOCK:
1 5lb. organic roasting chicken (I throw away the insides)
1 package of chicken wings (this was suggested to me a long time ago by my BFF Karyn and she was oh so right. It adds some fat, which translates into a lot of flavor and you will skim off the fat the next day. Thanks, Karyn…yes, I remembered!)
1 large, yellow Spanish onion; unpeeled and quartered
A big bunch of dill
4 celery stalks with leaves, cut into thirds
4 carrots, unpeeled and halved
Bunch of flat-leaf parsley (Use this only if you want. This time, I didn’t have it so I used only the dill.)
A bunch of thyme (if you wish)
1 head of garlic, cut in half cross-wise (skin and all)
2 tbsp. kosher salt
2 tsp. whole black peppercorns
DIRECTIONS FOR SOUP:
I place the chicken, chicken wings, onion, carrots, celery, whatever herbs I’m using, garlic, salt and pepper in as large a pot as I can find (usually about a 16-20 qt. stockpot.) Add cold water to cover chicken by at least 2 inches above the chicken but not to the top of the pot because it will boil over (very messy). Bring to a boil and then simmer, uncovered, for about 3 hours. I skim the soup skum (sounds lovely) off for the first half hour or so—after that, you shouldn’t have much more. I remove the chicken from the broth after an hour or so, because it is cooked and it will taste like a rubber chicken if you plan on eating it. Sometimes, I like to shred it and return it to the soup. If you are not using the chicken (what a waste of good chicken), just leave it in. It will fall apart in there. I leave the wings and discard them at the end of the 3 hours. Next, I strain all of the soup, discard all remnants, fill my containers and put in the fridge. The next day (or the day of the holiday), I usually skim off the fat that has risen to the top and make my matzo balls (recipe below).
MATZO BALLS:
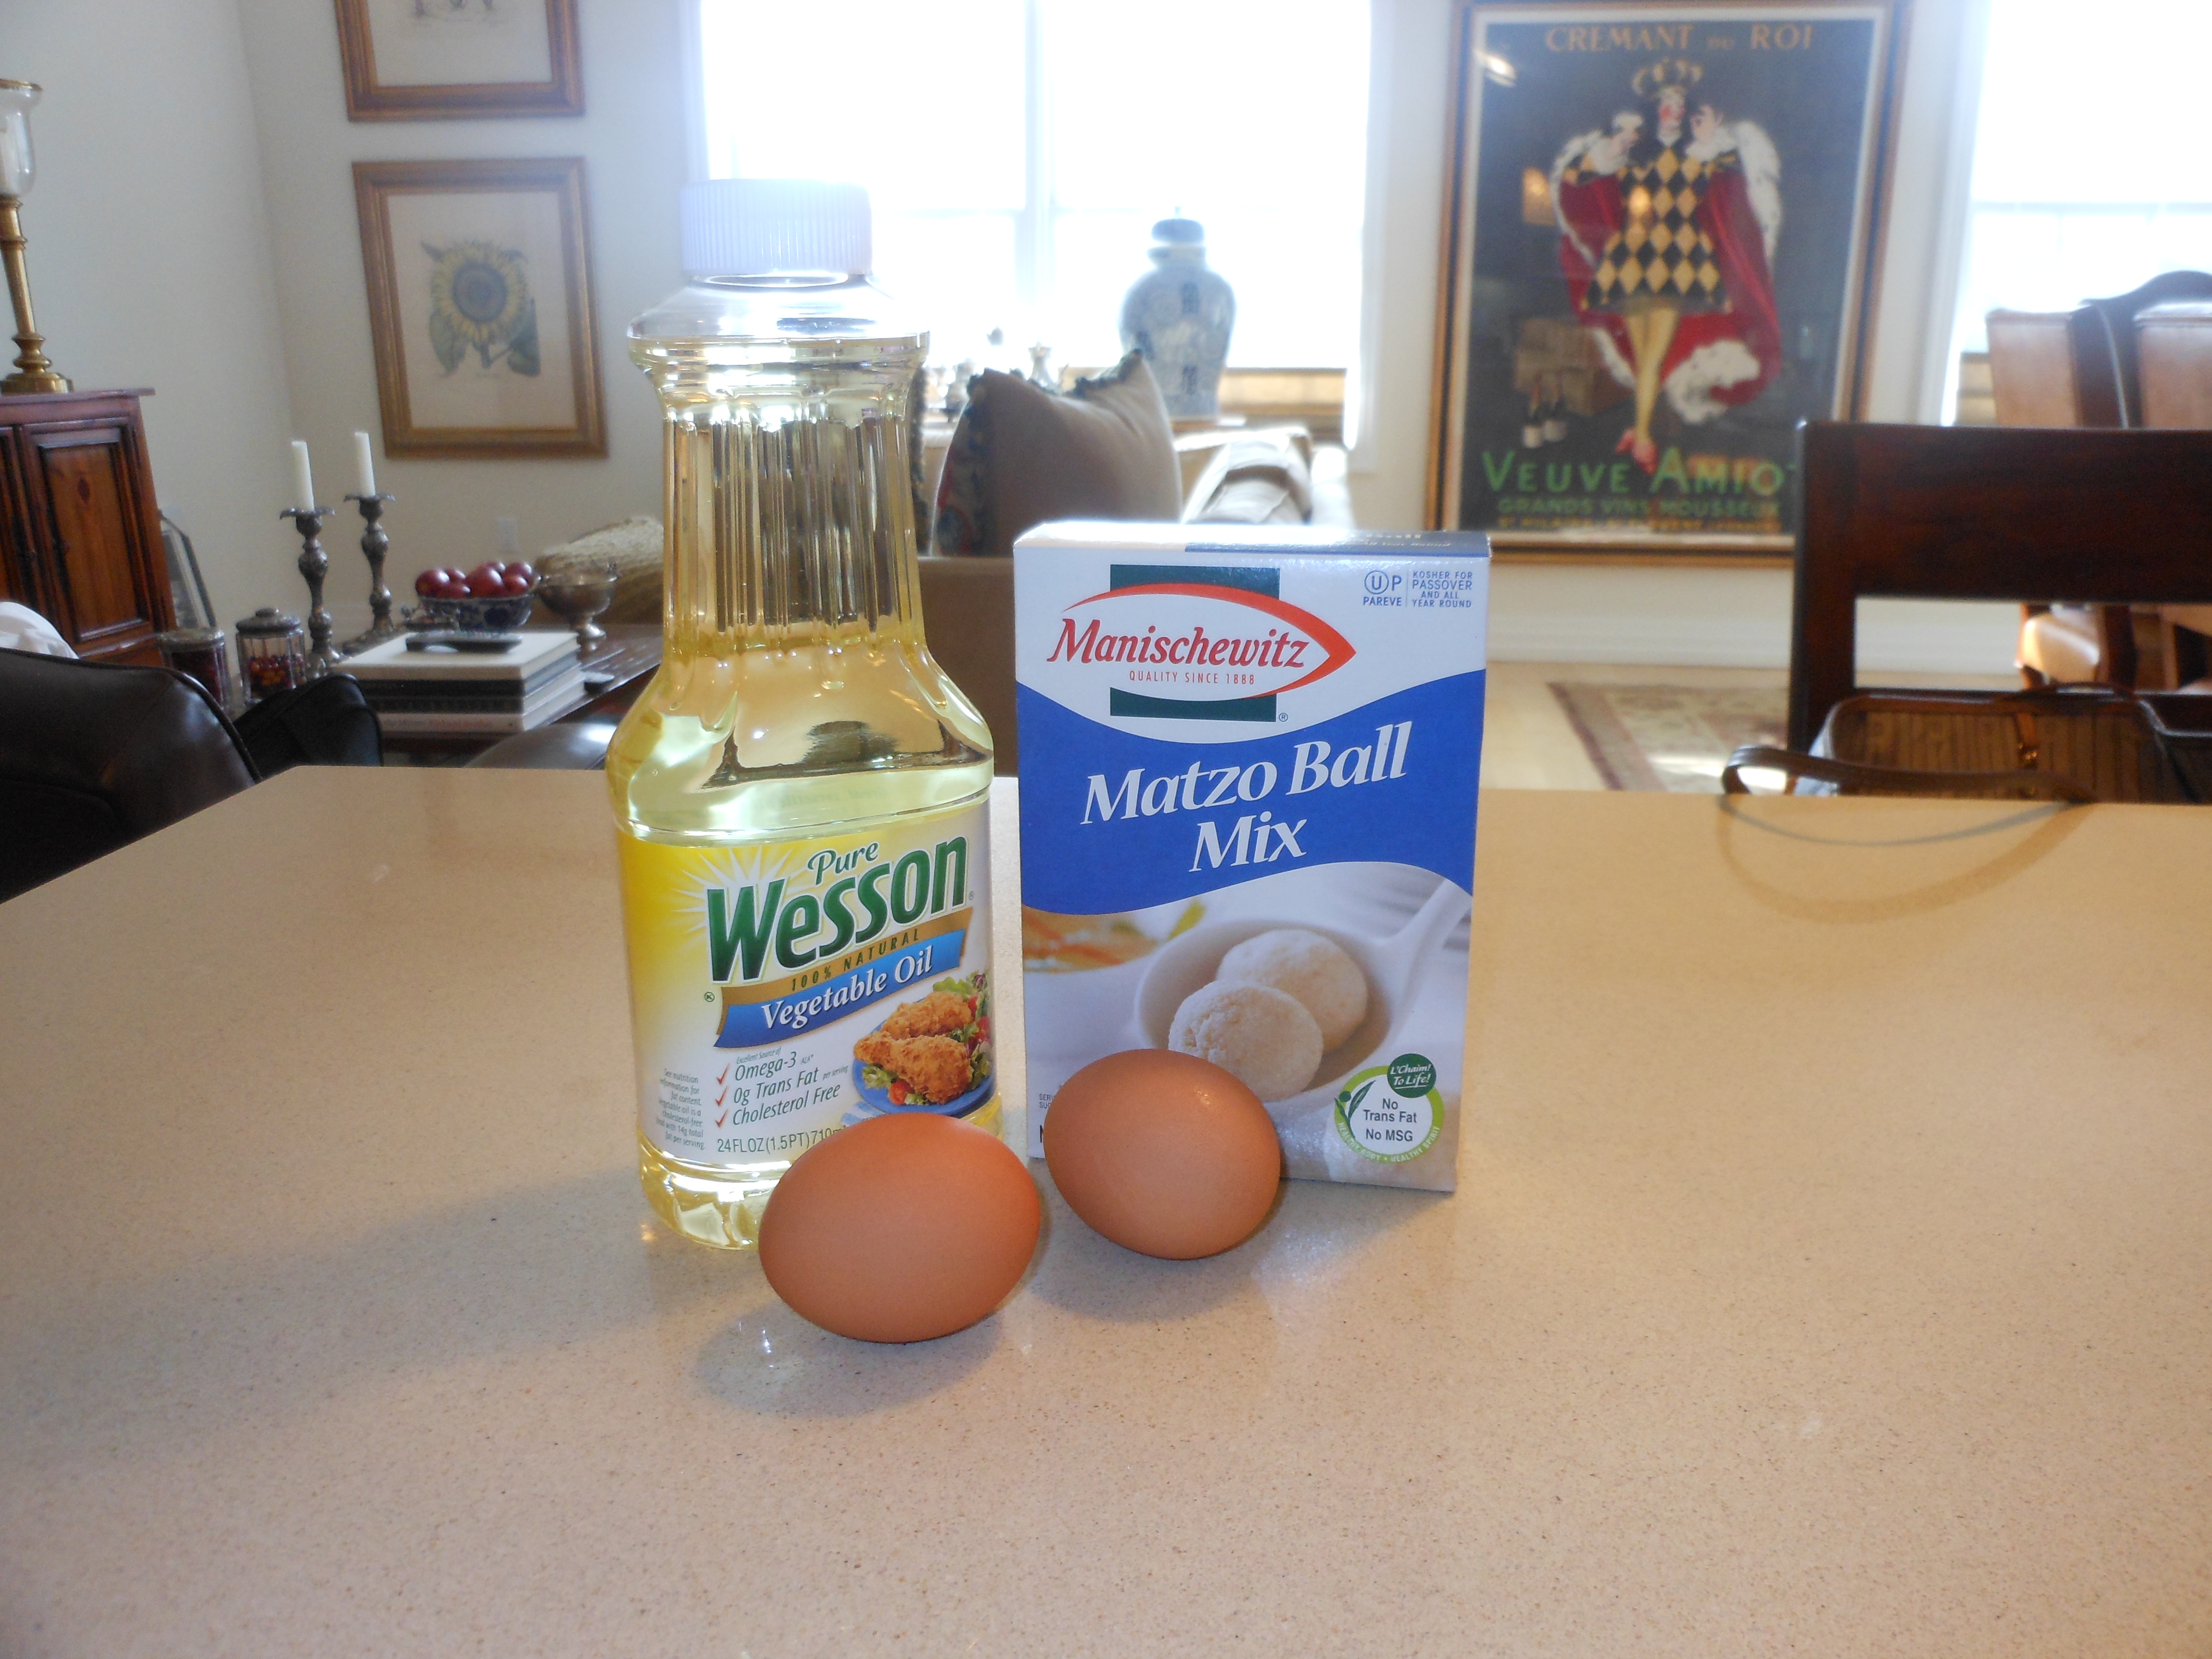
This has always been my secret, but now it’s out. Okay, I own it. After years of making matzo balls from scratch, my mother (yes, my mother, the cook) turned me on to Manischewitz boxed matzo ball mix! It just wasn’t worth it. My balls weren’t as consistent as I would have liked, whereas these are always perfection! Light and fluffy and everyone always loves them. No sinkers here!
I follow the directions on the box carefully. They sell just the mix box. You will need vegetable oil and 2 eggs per box. I do add a little piece of dill inside each ball, but that’s it! Now my secret is out. Sometimes this is really the only way to go. It saves time and ingredients and is really good. No MSG or trans-fats either! So make the soup, cheat with the balls, and enjoy. There is no substitute for homemade chicken soup, though.
*You can also add thin soup noodles to this recipe, if you like. (obviously not on Passover)
Pumpkin Walnut Bread (no butter)
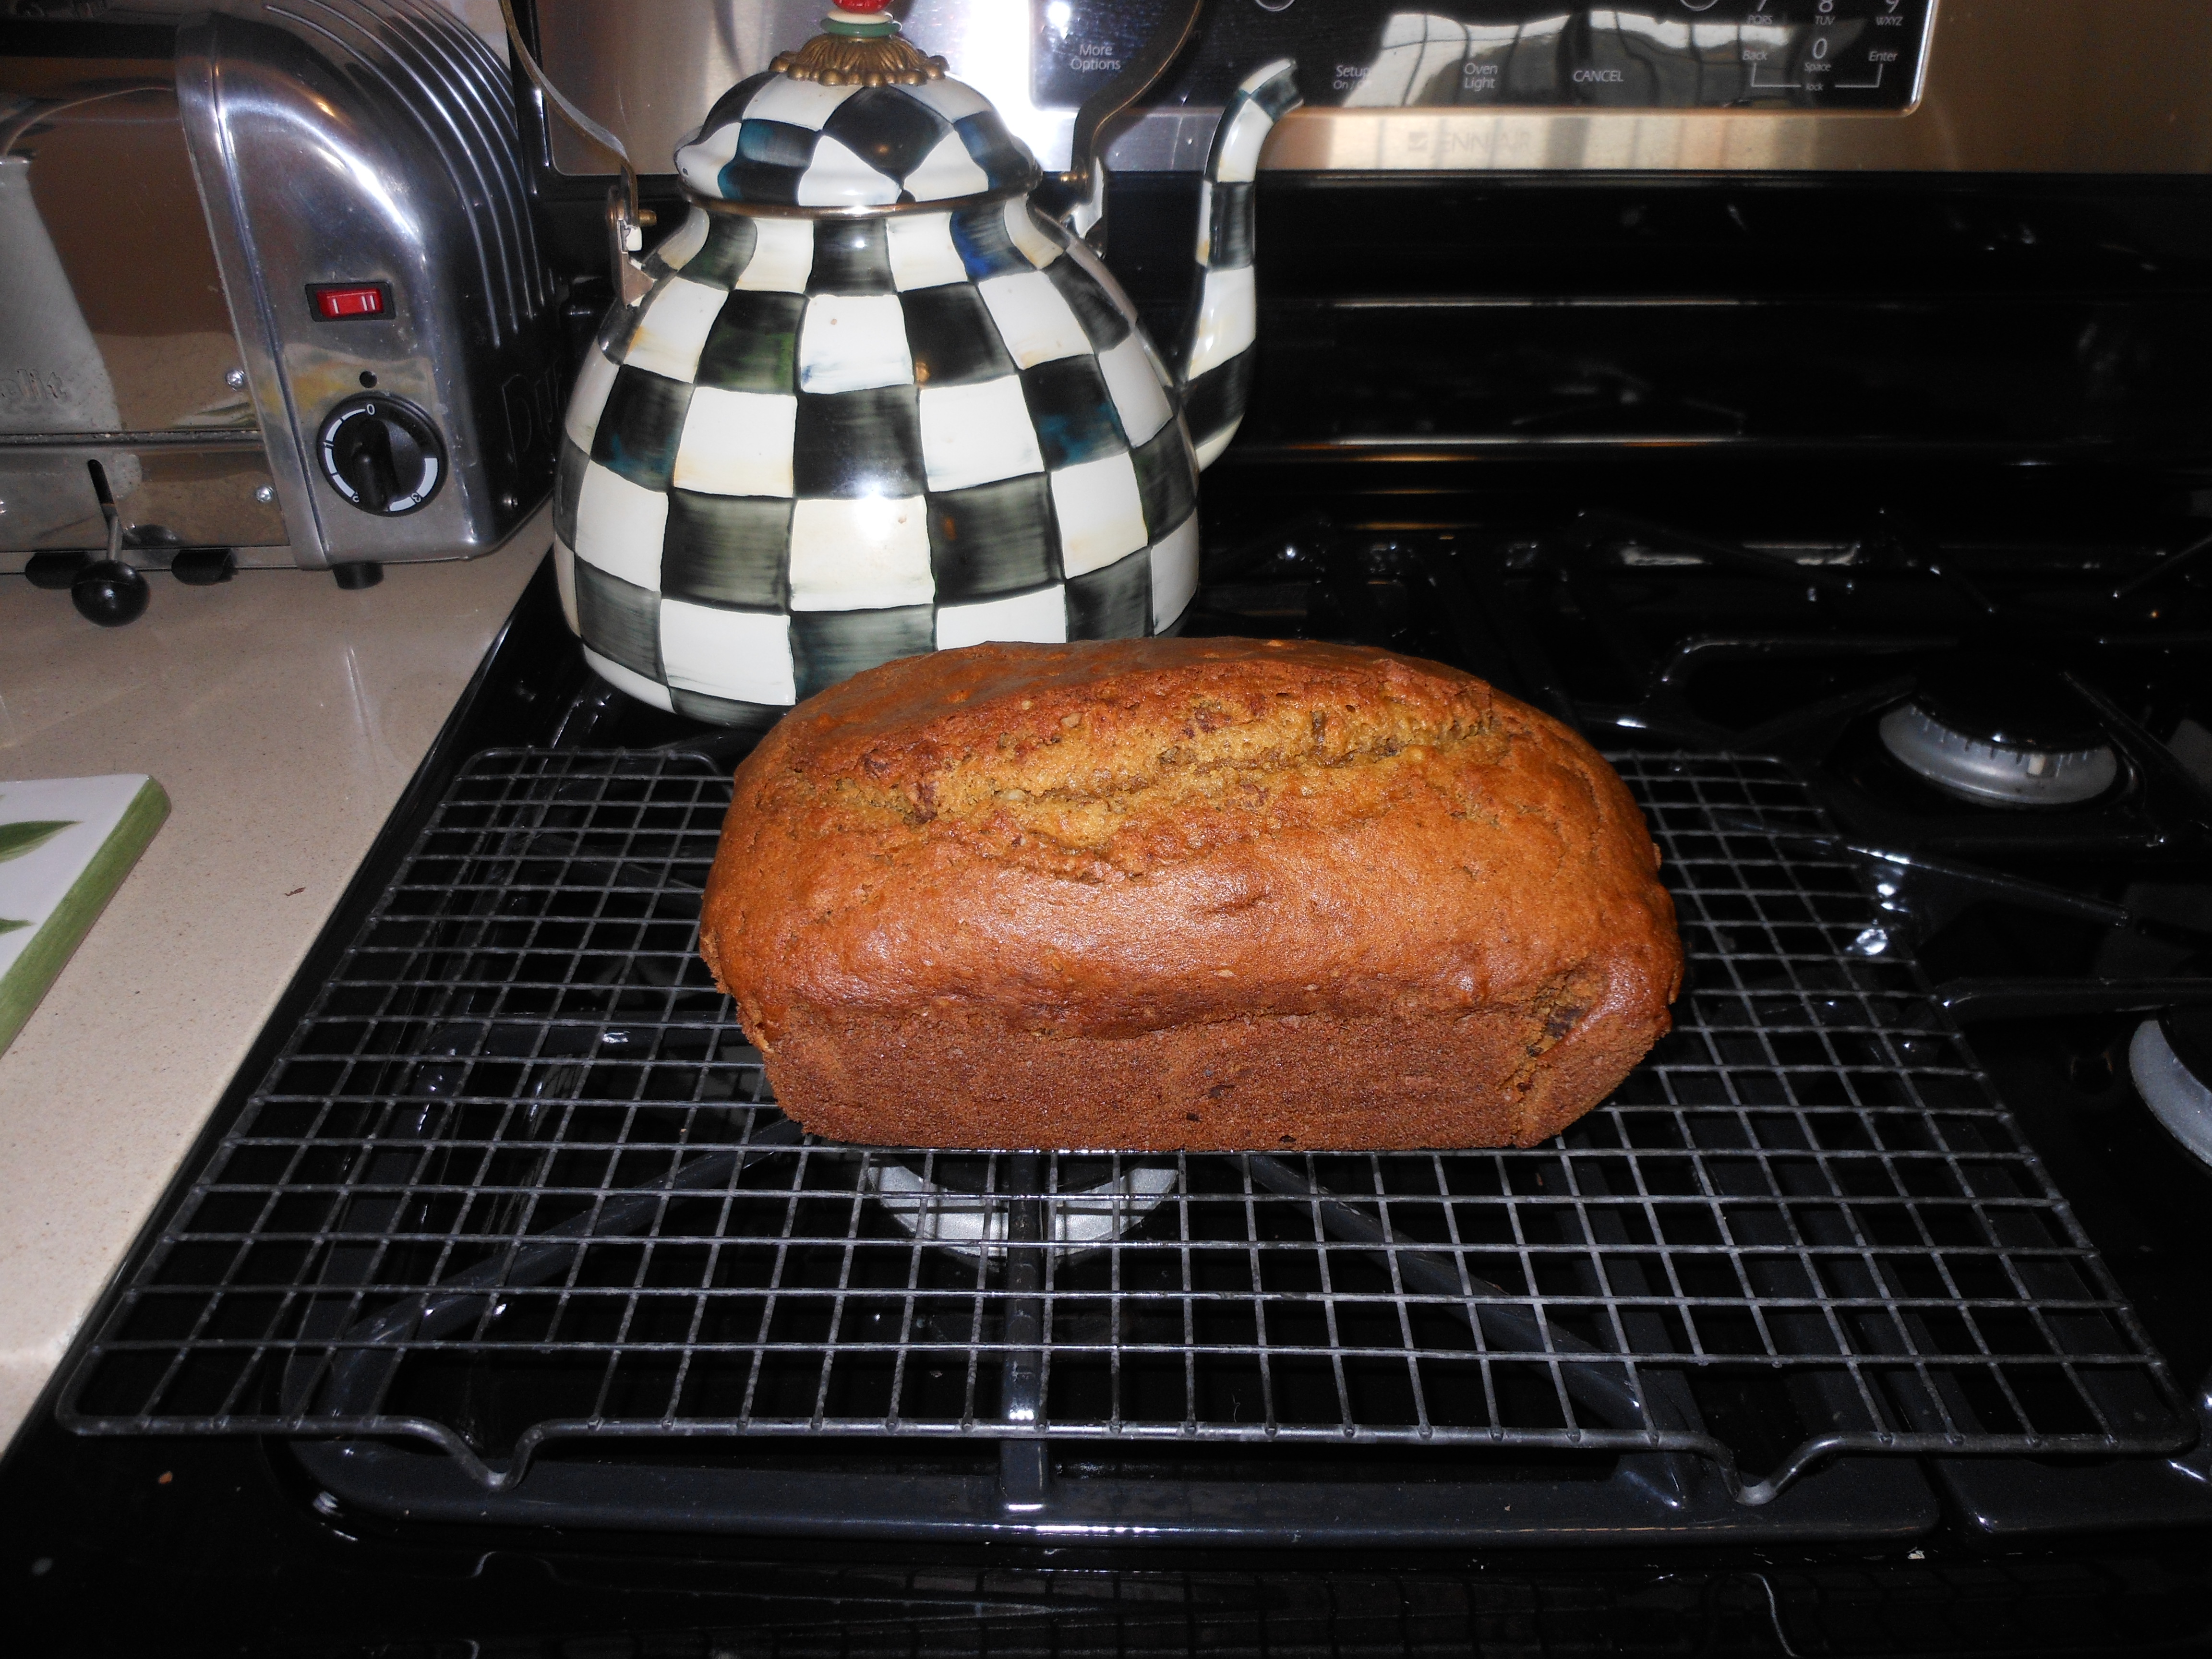

 I just love pumpkin and I can’t stop posting about it. Pumpkin Season is here. I love baking this bread because the smell in the house is beyond. I usually serve pumpkin bread and a banana bread in my bread basket on Thanksgiving. It’s hard to believe that there is no butter in this moist, delicious bread. I make both of these way ahead of time, because they freeze so well. You can even double the recipe if you have two loaf pans, and eat one now and tuck one away for another day like Thanksgiving. It’s a nice thing to bring to someone’s house as a gift as well if you’re so inspired. Also, this bread is loaded with aromatic spices. This recipe will make one perfect loaf.
It is also a lovely gift to bring to someone’s house .
*this bread freezes beautifully for up to 8 weeks. Double wrap it in plastic and put in a resealable plastic freezer bag, and put the date on it. Defrost, still wrapped in the plastic to avoid condensation on the bread, at least 2 hours before serving. I take out of freezer the night before I’ll be using it.
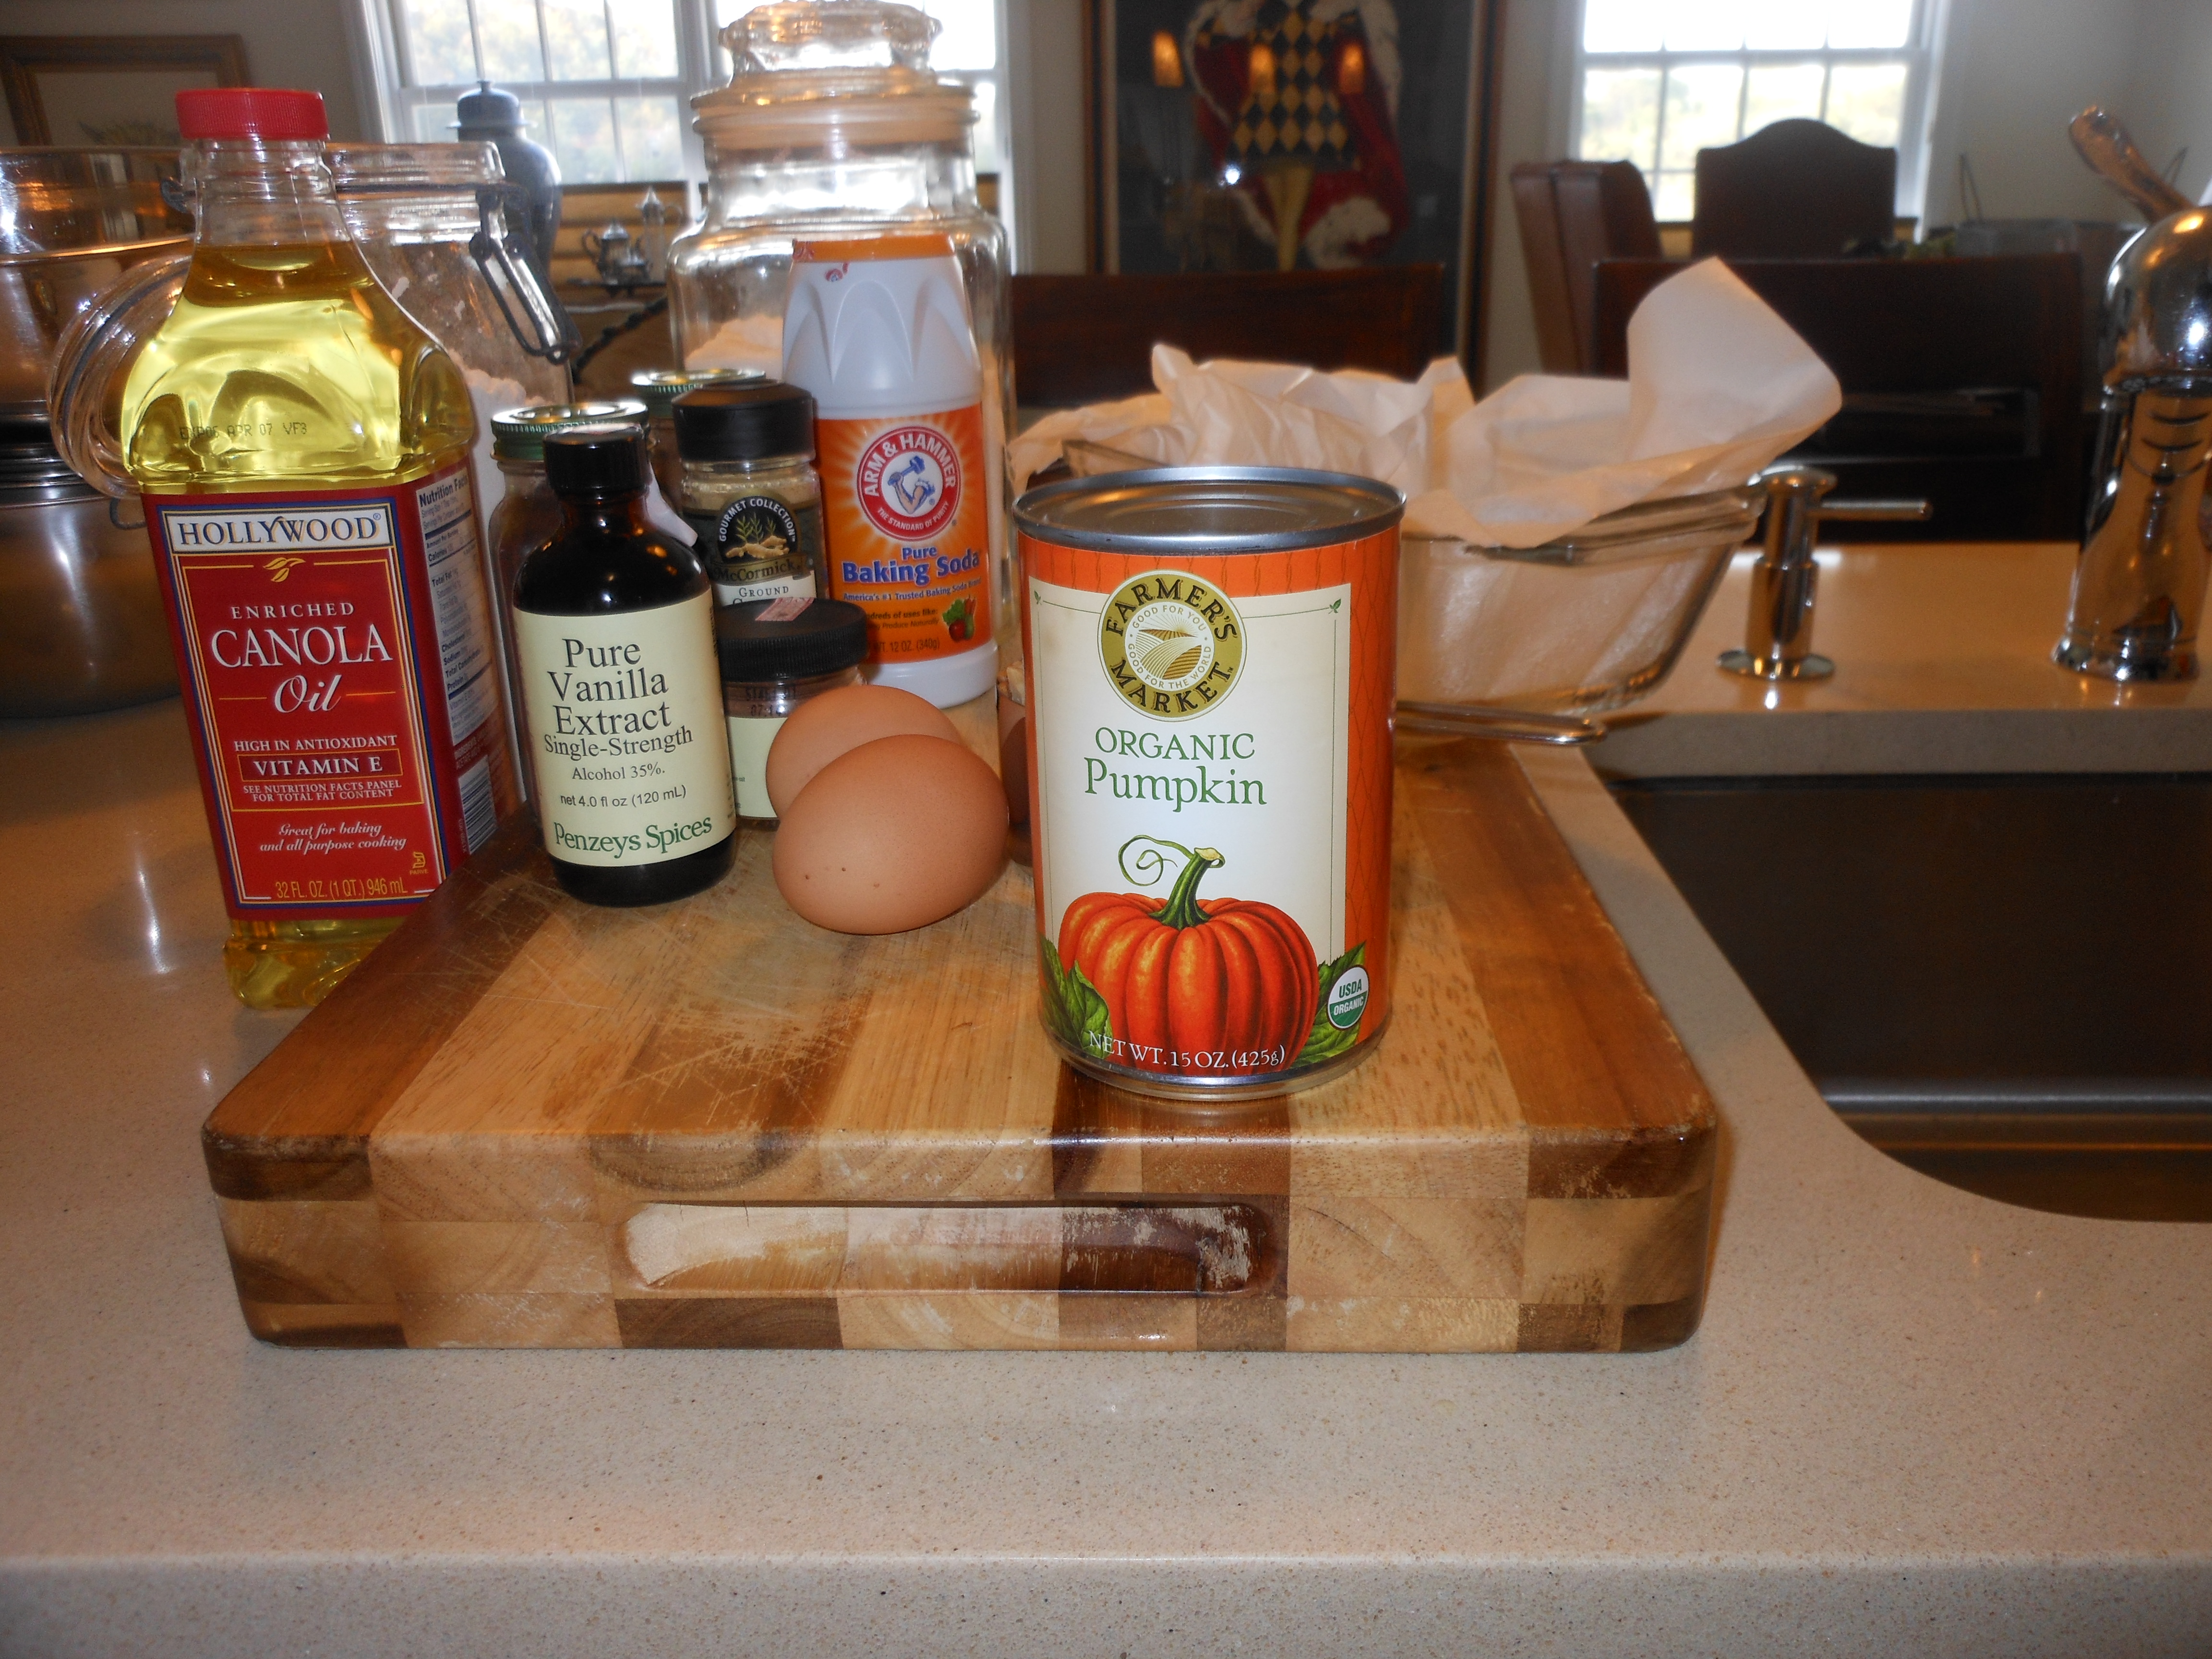
Ingredients:
2 cups all-purpose flour (I sift)
3/4 teaspoon baking soda
1/2 teaspoon ground cinnamon
1/4 teaspoon allspice
1/4 teaspoon ground cloves
1/4 teaspoon ground ginger
1/4 teaspoon salt
2 large eggs, room temperature
1/3 cup water
1 1/2 cups sugar
1 cup canned pumpkin (not pumpkin pie filling)
1/2 cup canola oil
1 teaspoon pure vanilla extract
1 cup chopped walnuts (obviously this is optional)
You will need a 9 x 5 inch loaf pan, parchment paper, large bowl, medium bowl, whisk, silicone or rubber spatula.
Directions:
Preheat the oven to 350 degrees and position oven rack in the center of oven.
Lightly coat the loaf pan with melted butter and dust with flour, or spray with Pam. I line my loaf with a piece of parchment paper that extends one inch beyond the edge of the pan (this makes it easy to life the bread out. It is optional , just make sure you grease pan in one way or another first. If you’re not comfortable working with parchment paper, skip it. I like it but it can be tricky in a loaf pan. Just grease well, or give it a good spray.)
In a large bowl, sift the flour. Then, whisk together the flour, baking soda, cinnamon, allspice, cloves, ginger, and salt until thoroughly blended. In a medium bowl, whisk together the eggs and the water. Add the sugar and blend well. Add the pumpkin puree, vegetable oil, and vanilla extract and blend well. Add the pumpkin moisture to the dry ingredients and whisk until well blended and smooth. Add the walnuts and stir until they are well distributed. Use a spatula to scrape the batter into the prepared loaf pan.
Bake for 55 – 65 minutes, until the bread is firm to the touch and a toothpick or cake tester comes out clean from the center of loaf. I let it cool for about 10 minutes, then I turn it out onto a rack to cool completely. I don’t freeze it until it is completely cool.
Thanksgiving Corn Bread Pudding
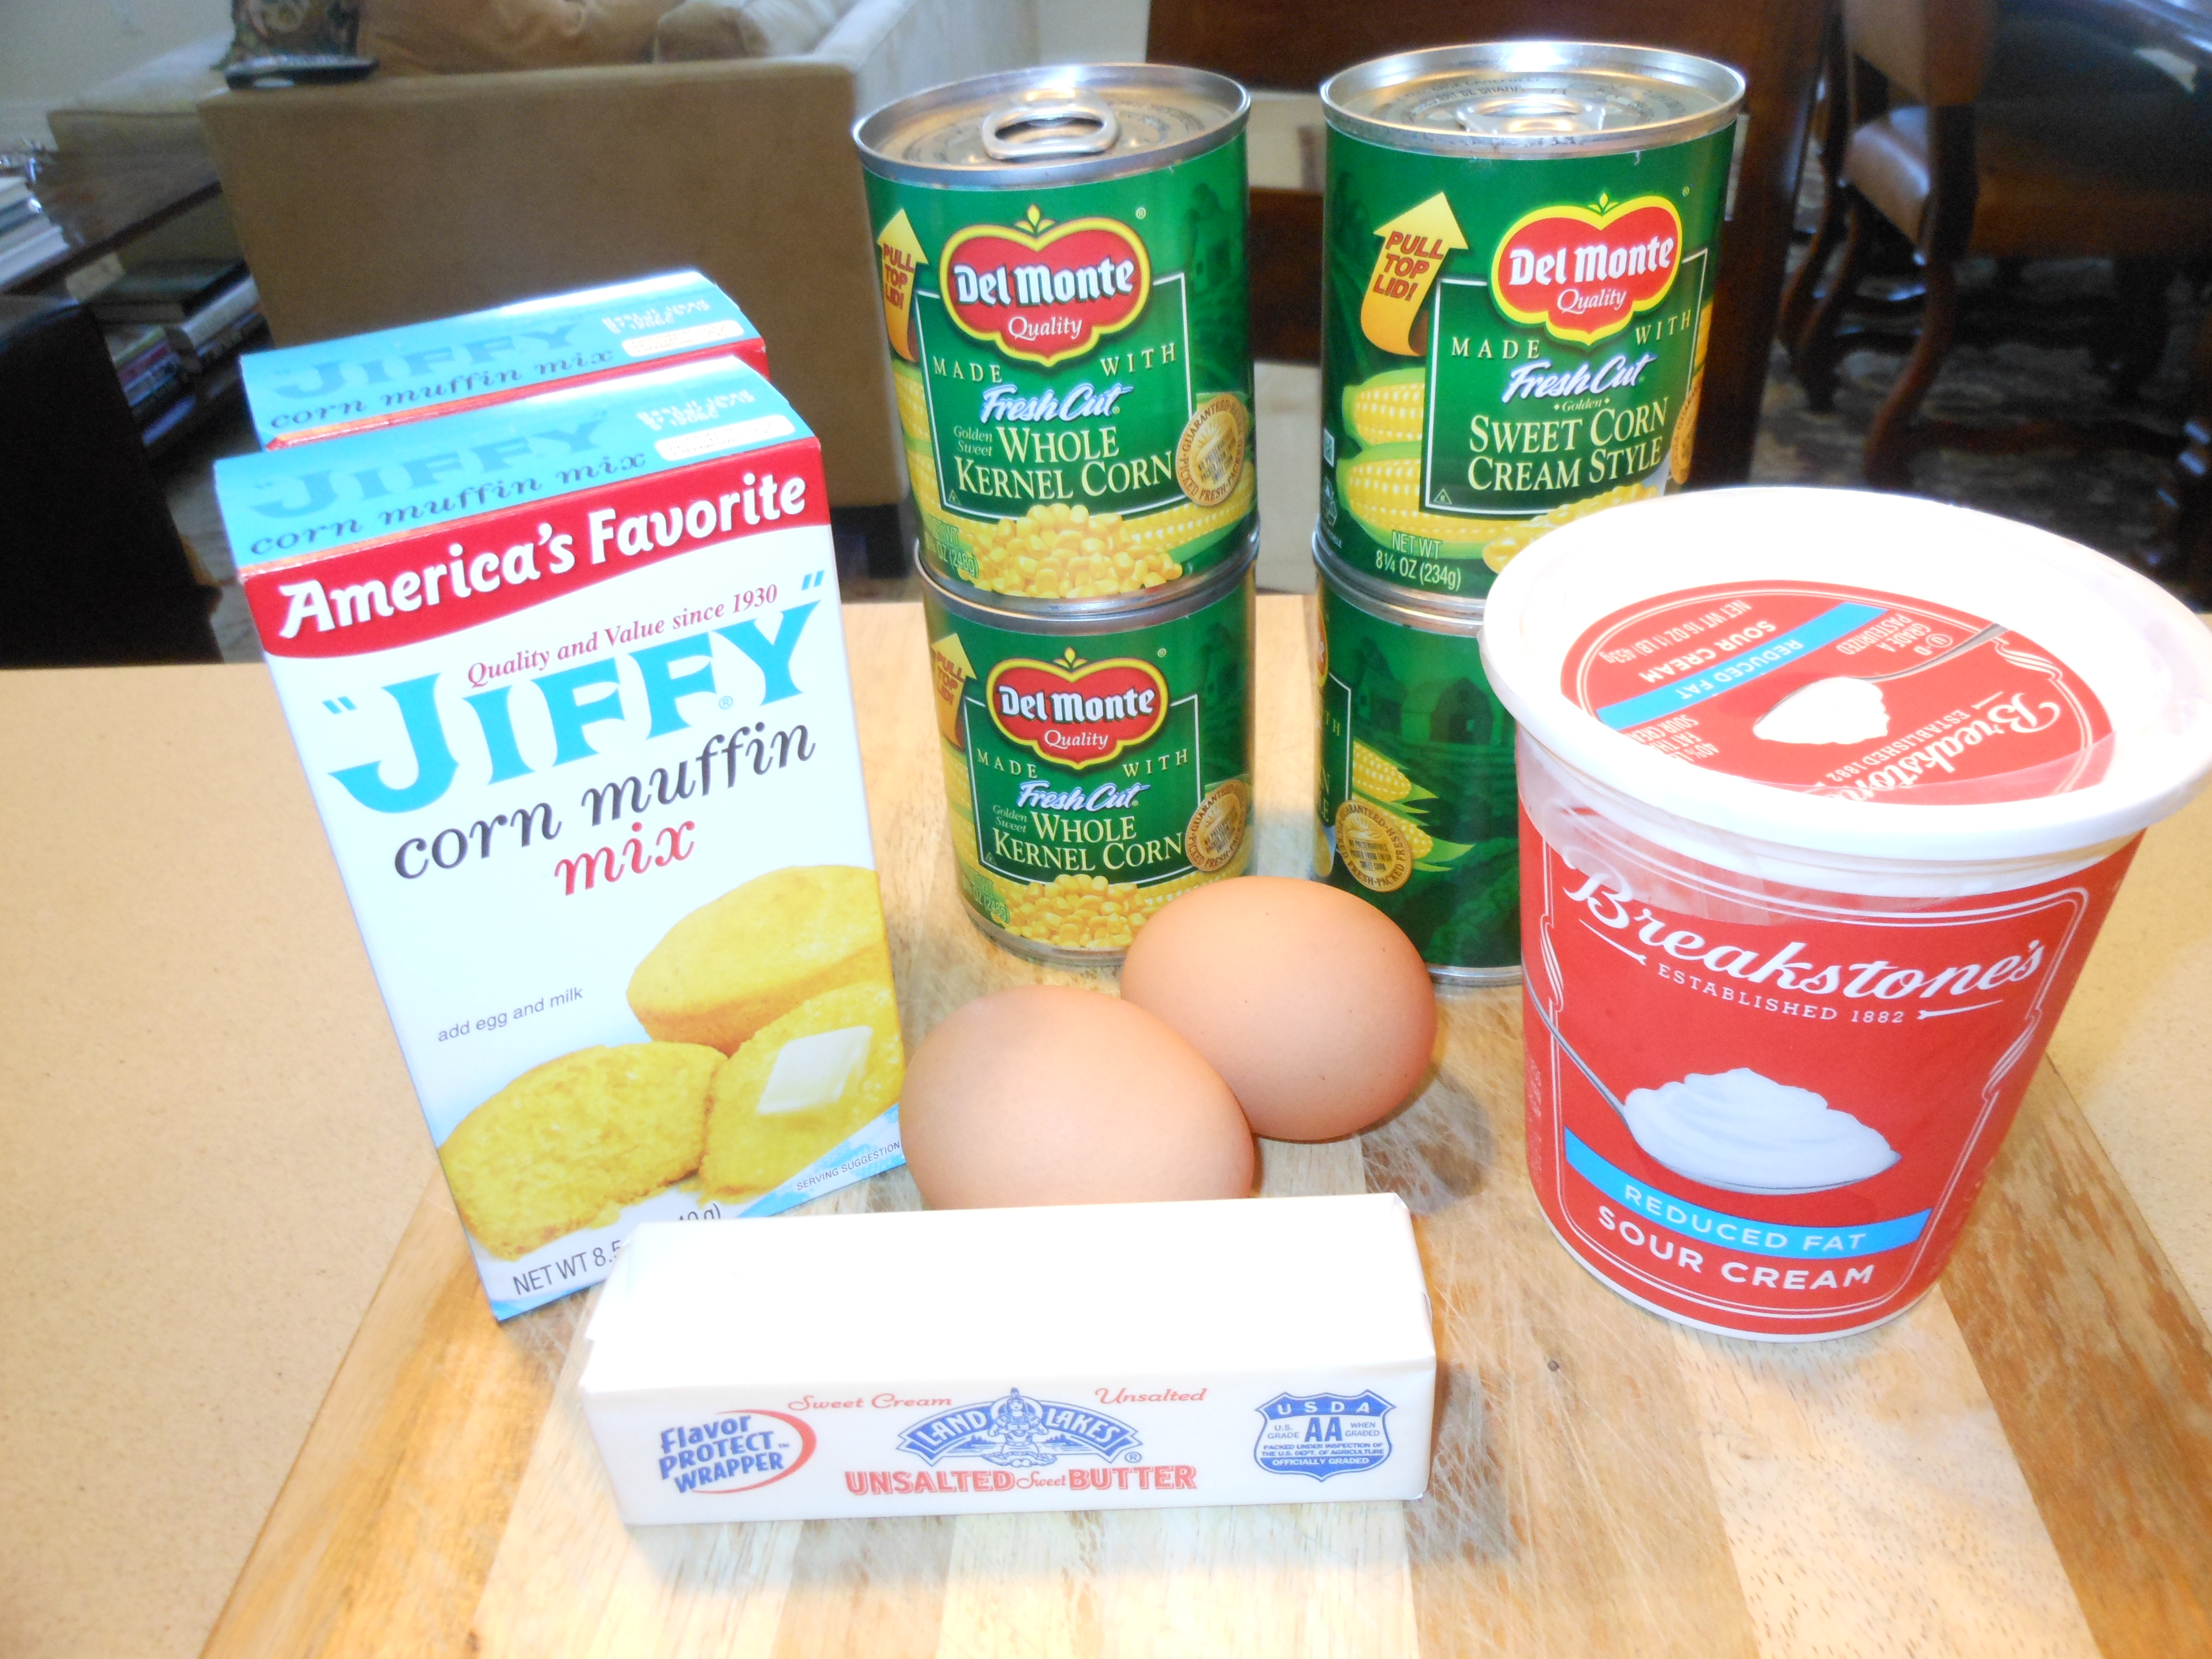
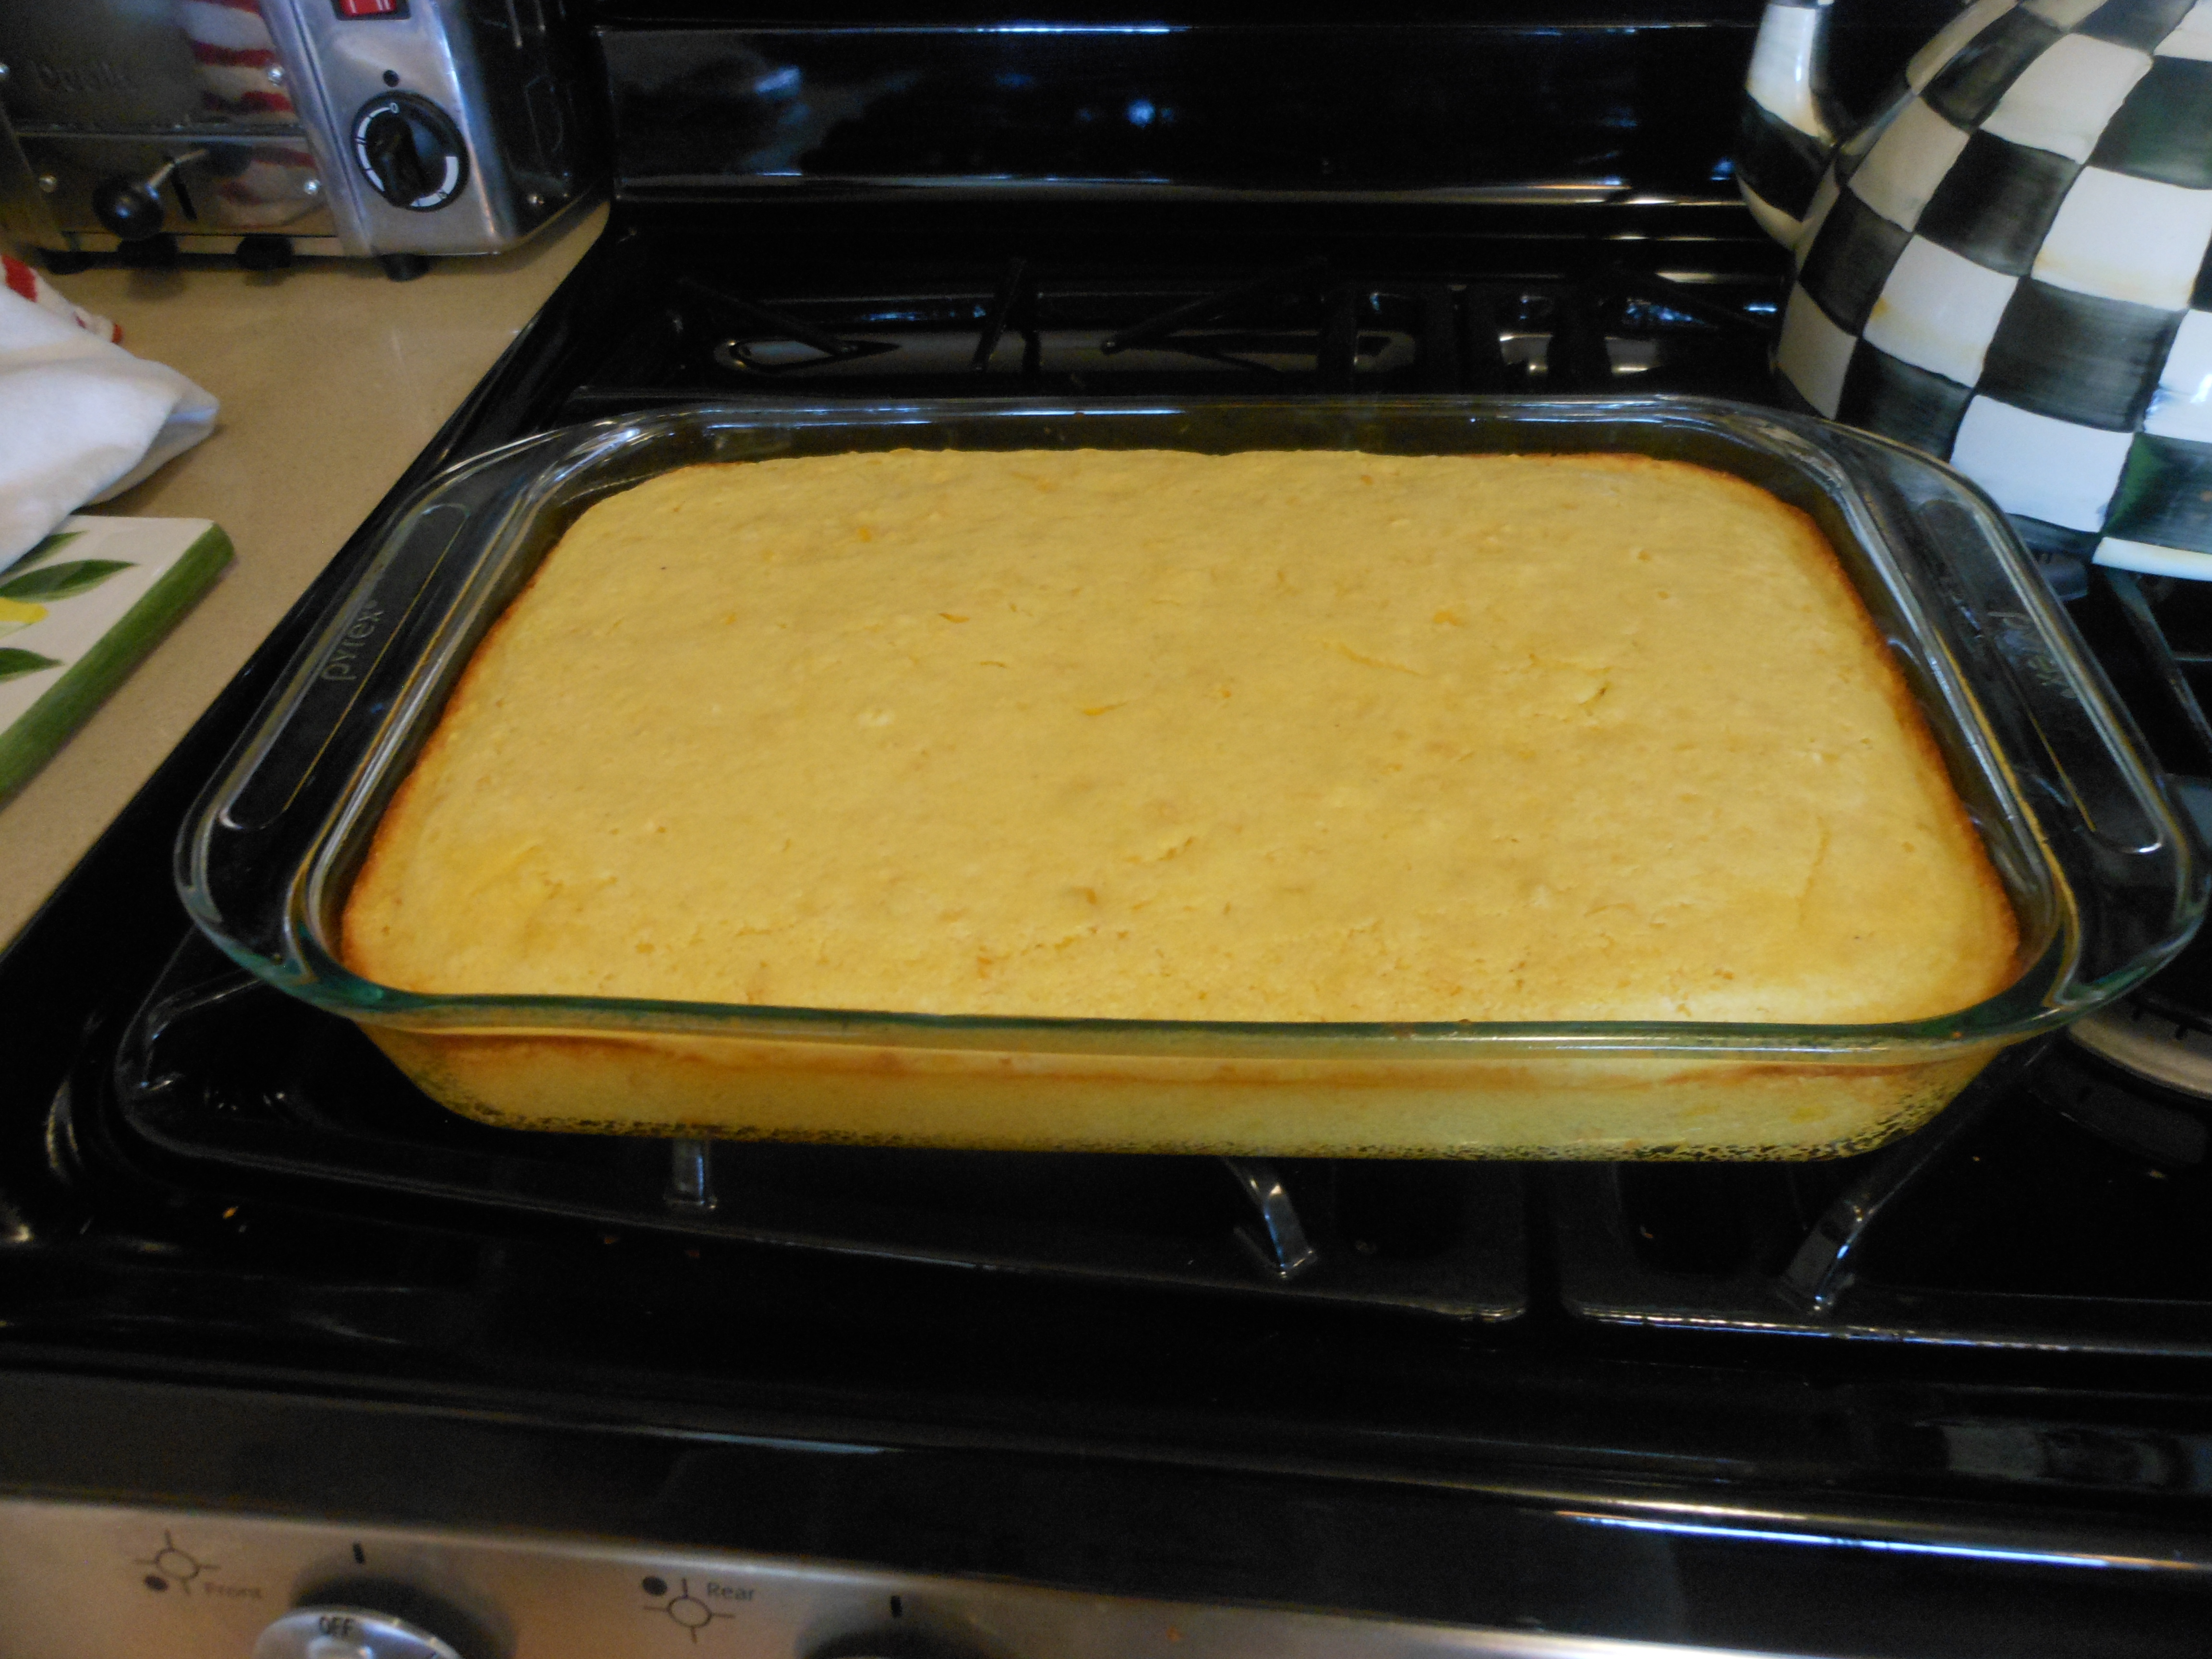 My friend Audrey gave this recipe to me many years ago, and it has become a staple on our thanksgiving table ever since. It just wouldn’t be Thanksgiving without it. It is a favorite in our family. Can be doubled easily, just make sure your baking dish is large enough.
Enjoy!
Ingredients:
1/2 cup butter (unsalted) 1 stick
1 8 oz. sour cream (lite is OK but not fat-free)
1 8 oz. can sweet corn (drained)
1 8 oz. can creamed corn
1 8 oz. pkg. corn muffin mix
2 eggs, lightly beaten
Directions:
Preheat oven to 350 degrees.
Melt butter, mix in beaten eggs, then add the rest of the ingredients.
Pour into glass baking dish (Pyrex is good and I spray it first.) 9 x 12 works fine, it’s not a very deep pudding.
Bake at 350 degrees for 35 minutes.
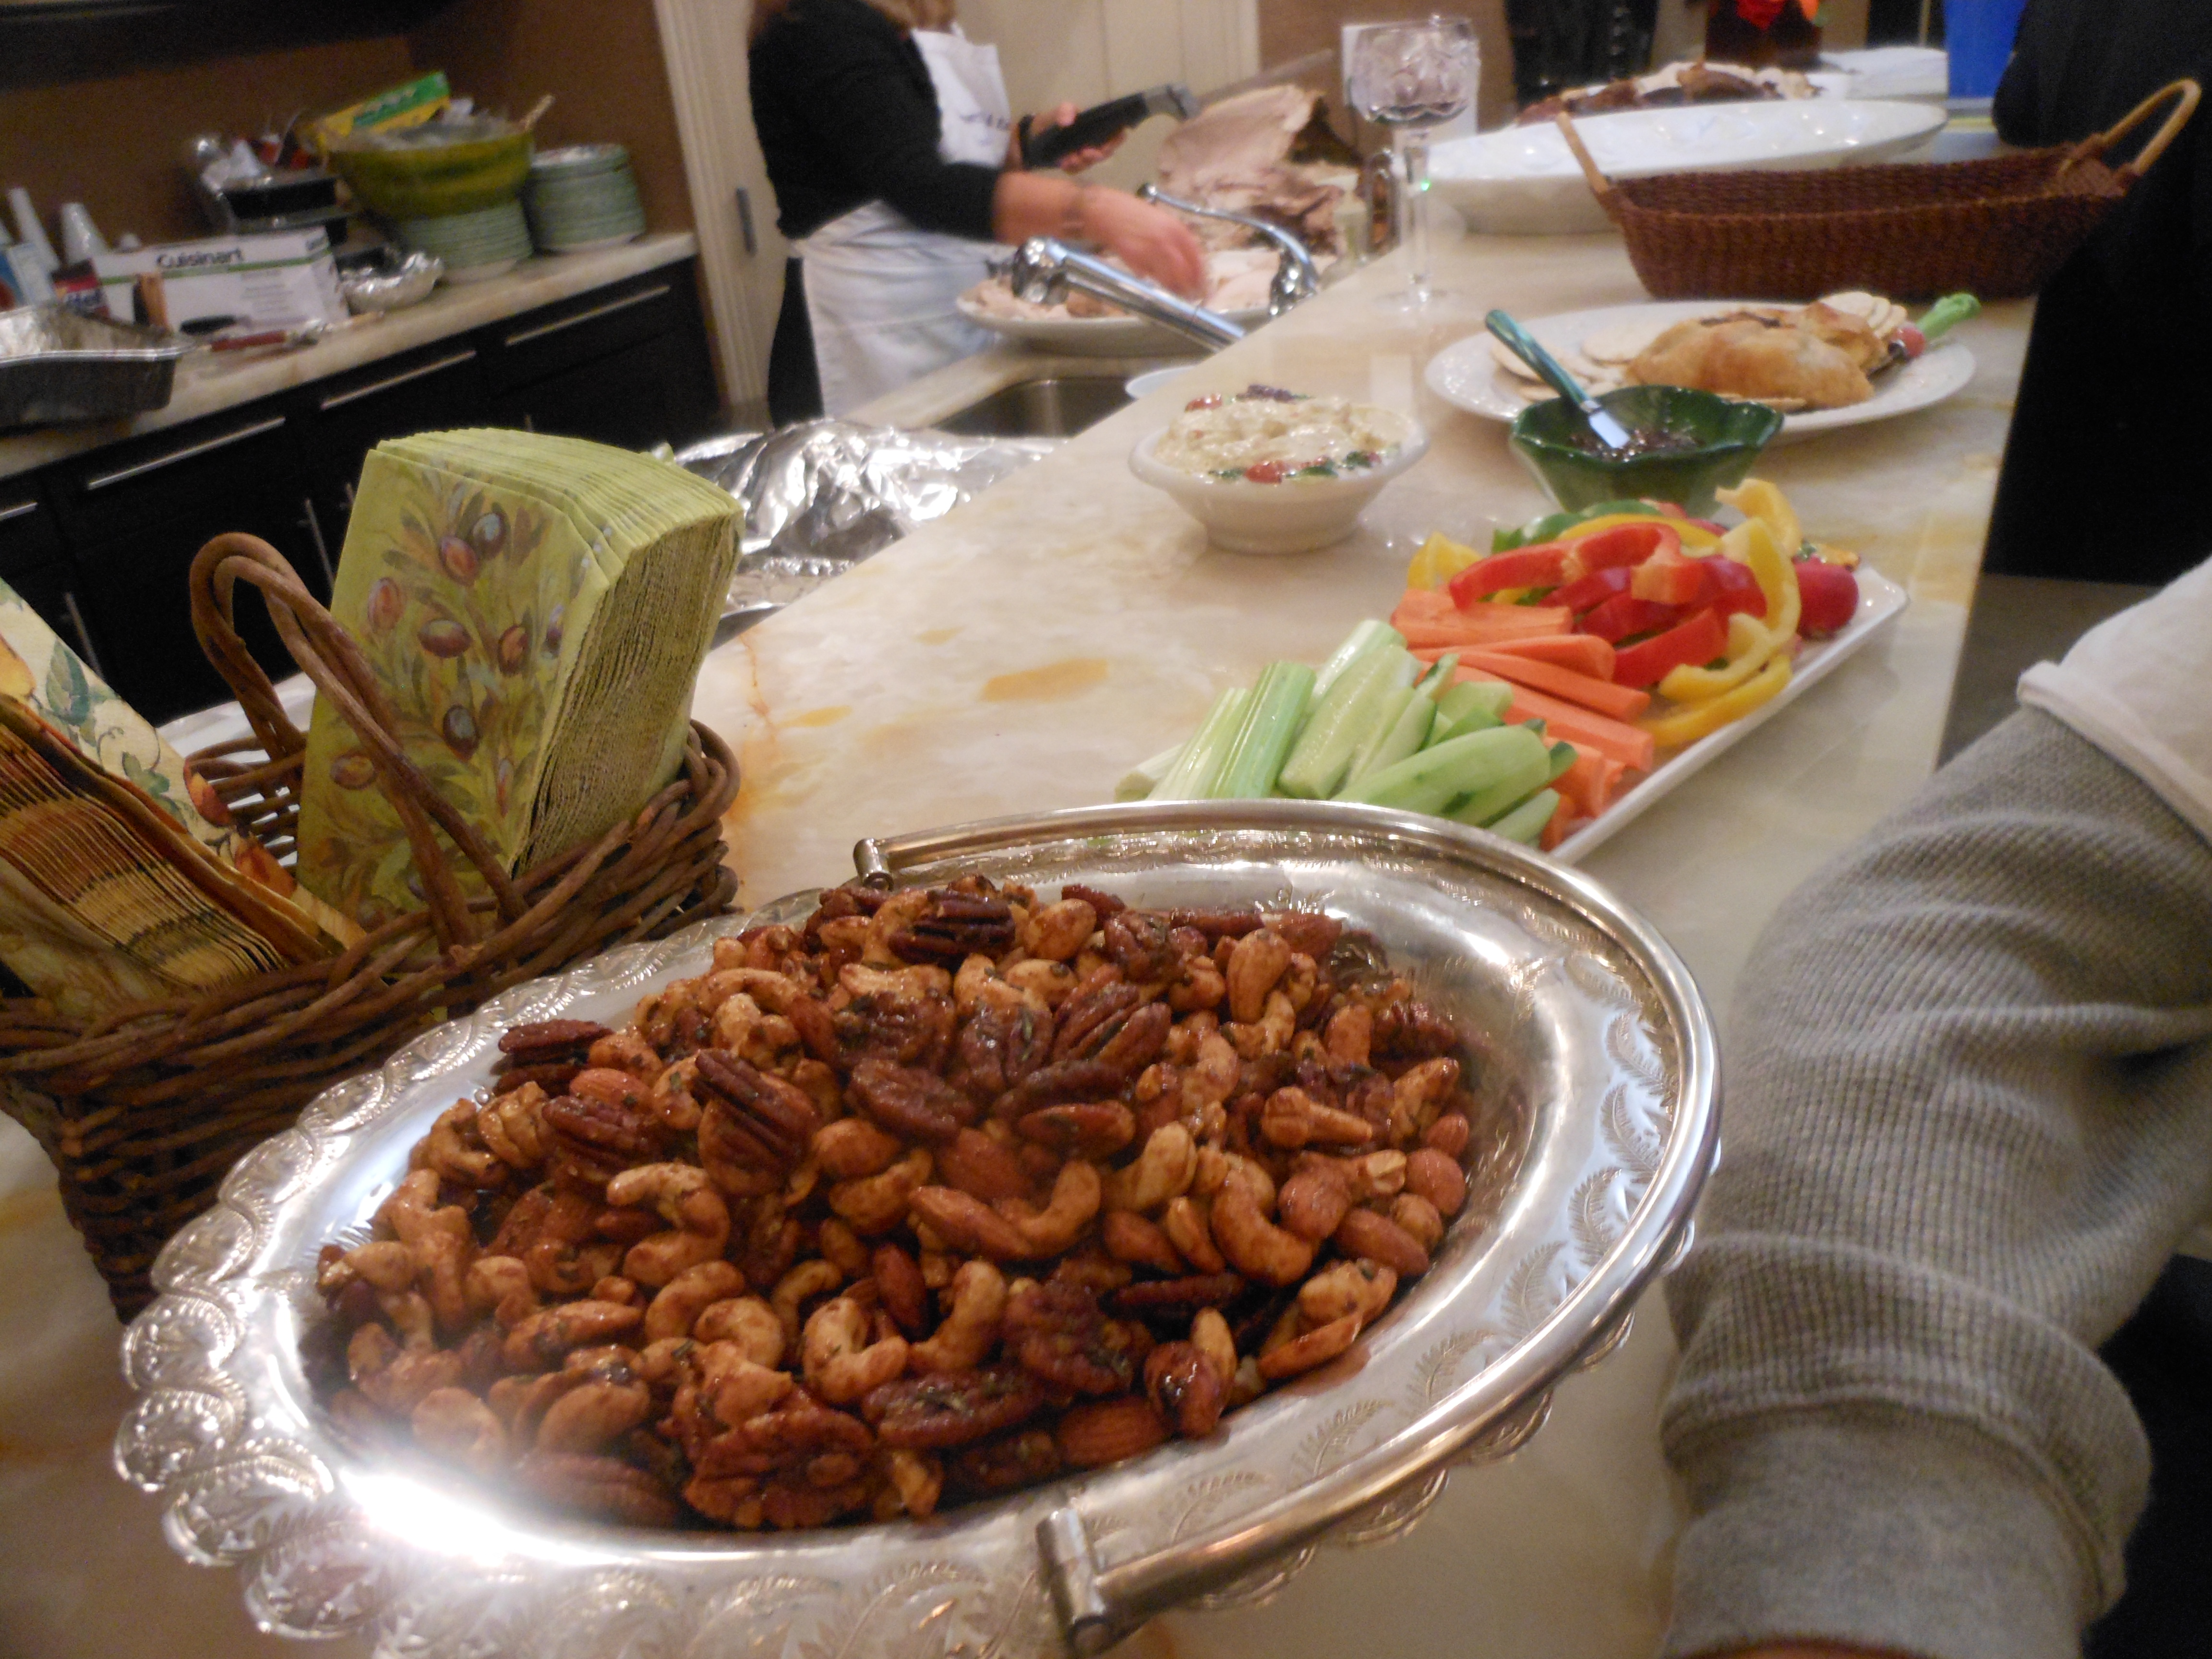
Sweet and Spicy Nuts – Perfect for Thanksgiving
My inspiration for this recipe came from Barefoot Contessa. These are my go-to nuts for Thanksgiving. Just a little something to nosh on before the big meal. These last for a while so you can make ahead and keep them in a baggie or an air tight container. These nuts make the perfect appetizers, no one who eats nuts can resist. I also like mine with a little “kick”, you can manage the heat on these with more or less cayenne pepper or chipotle powder.
And they make a lovely edible gift to bring to dinner if you’re arriving as a guest. ( check for nut allergies first though)
Enjoy and Happy Thanksgiving from our house to yours.
Ingredients:
vegetable oil
7 cups of nuts (you can break it up any way you want. You can do 7 cups of roasted mixed unsalted nuts or any other combination as long as they equal 7 cups. if you can’t find unsalted nuts you can use salted but be sure to adjust the salt on this recipe as per direction below)
1/3 cup pure maple syrup
1/4 cup light brown sugar, lightly packed
3 tablespoons orange juice (fresh or container. fresh is always best (and one orange will do the trick,) but honestly no biggie.)
2 teaspoons ground chipotle powder–I use 2 teaspoons but if you really like them mild use a little less. You can also use cayenne pepper and sometimes I use a little of both.
4 tablespoons minced fresh rosemary leaves (divide 2 tablespoons for now and 2 tablespoons for later)
4 teaspoons Kosher salt (also divided 2 for now and 2 for later. don’t add second 2 teaspoons of salt if you bought salted nuts)
Preheat oven to 350
Brush a sheet pan (prefer one with sides) generously with vegetable oil (use a brush, love the silicone brushes)
First, combine nuts, 2 tablespoons of vegetable oil, maple syrup, brown sugar, orange juice, and chipotle powder in a large bowl (I prefer a large metal bowl). Toss to coat the nuts evenly.
Add 2 tablespoons of the minced rosemary and 2 teaspoons of the kosher salt and give it a good toss (a large metal spoon works the best b/c it can get a little sticky with a wooden spoon.)
Spread nuts in a single layer on sheet pan.
Roast nuts for 25 minutes, stirring twice. You will want to take them out of the oven to stir them b/c they may slide off the tray. Use a metal spatula. Roast for the rest of the 25 minutes until nuts are glazed .
Remove from the oven, and sprinkle with remaining 2 teaspoons of kosher salt (only if they were unsalted) and add the remaining 2 tablespoons of rosemary.
Toss well and set aside at room temp.
While they are cooling, stir them up a few times b/c they may stick together.
Taste for seasoning. They really don’t achieve full flavor until they fully cool. So you won’t know how spicy they are until they sit for a while. I’ve made these a million times and can tell you that this amount of chipotle has kick, but not psycho hot.
Serve warm, or let them cool. Put them in a container and serve whenever you like. They stay good for a long time.
*just a note: you can adjust salt, rosemary, and chipotle to your liking. I have recipe for Union Square Nuts and they don’t have chipotle and are also delish but I prefer these b/c I love the heat of the chipotle!
Enjoy!

