Category Archives: Holiday Recipes

Kasha Varnishkes–Jewish Comfort Food

This is truly traditional Jewish comfort food made with buckwheat grains and bowtie noodles. I love it and grew up eating it and  try to make it a few times a year. It is super easy and super tasty. If you’ve never made it why not start now. It’s a wonderful side dish to any meal and it can be vegetarian for all of those who need some extra vegetarian dishes on their tables just substitute vegetable broth for chicken broth.

Kasha comes in a box. There are different types of Kasha and almost all will work. I use medium or coarse granulation.  Wolff’s brand is really wonderful so look for it and for this recipe I follow the directions on the Wolff’s box of Kasha. 

If you’re looking for an easy side dish to put together now is the time to look at this great recipe. This is also our go to the night before Yom Kippur. It’s tradition and delicious and comforting all at the same time. 

Also perfect for Rosh Hashana. 

*Wolff’s Brand Kasha is always available on Amazon

Ingredients:

1 package bowtie ( farfalle ) noodles (app. 3/4 lb.)

1 white/yellow onion thinly sliced or you can use chopped onions , entirely up to you.

app. 2 tablespoons vegetable oil  you may need a  little more and may want a bit more to drizzle at the end plus more — probably 1/4 cup in total

Kosher Salt and Freshly Ground Black Pepper–to taste

*1 small box button mushrooms sliced 8 ounce box — mushrooms are totally optional but sometimes I feel like they add a little something

1 cup kasha, medium or coarse granulation– I use Wolffs Kasha and follow instructions on the box which I have written below

1 egg for kasha as per instructions on the box

2 cups chicken or vegetable broth as per box instructions

Directions:

Cook the pasta according to directions on box for al dente.

Saute’ the onions in vegetable oil , salt and pepper until they just start to soften, about 5 minutes. I use a medium size frying pan large enough to add in the pasta, and make sure you have a tight fitting lid.

Add the mushrooms and sauté until they start to soften as well, a few more minutes , set aside. Place mushrooms and onions in a bowl and you’ll use same frying pan to cook kasha.

Coat the kasha in a slightly beaten egg. You’ll just place kasha in a bowl and put beaten egg on grains. This will help the grains not to stick to themselves while you are cooking them. Make sure the grains are completely coated with egg.  Put the kasha in the same frying pan, set over a fairly high heat. Flatten, stir, and break up the egg-coated kasha with a fork or wooden spoon for a few minutes till toasted and the egg has dried on the kasha and kernels are brown and mostly separate. Kasha instructions for cooking are usually on the box as well. Then I pour in the broth that I am using, a little margarine/butter is OK as well ( app. 2 Tbsp) bring to a boil, cover tightly, lower flame to simmer and cook for 10 minutes till kasha is fluffy–these are the directions on the box that I follow .

Add back in the mushrooms and onions and combine with chicken broth. Cook box of Bow Tie Pasta according to directions on box al dente.

Bring to a boil and cook over low heat covered tightly. Check on it after 10 minutes or so to make sure the kernels are tender and the liquid has absorbed. If not, cover and continue steaming for another few minutes till all liquid is absorbed.

Adjust seasoning with more salt and pepper if you’d like, mix in cooked pasta, and if you’d like drizzle a little more oil on it. I like to do it all in a large enough frying pan to hold pasta . You can always mix in pasta in a large bowl separately. I like it in frying pan on stove top till I serve it. You can always make ahead and heat up in oven at 350 degrees in a pyrex dish,  you’ll most likely need to add a little oil if you do so.

*Wolff’s Kasha has directions for cooking kasha on the box. It’s pretty much the same , I just add in the mushrooms and onions for more flavor.

*should serve 8 people

Happy New Year Brisket is

Brisket can definitely be an intimidating thing to make. I once made it as a young cook, and it was perfectly inedible. Back then, I couldn’t believe how long it took to cook, but it does take very long. Now I usually make it in the slow cooker which is an awesome way to go but this time I used my trusty Le Creuset, which worked out beautifully. A lot of people have some pretty awesome brisket recipes and I welcome you to send me yours. This really couldn’t be any easier and it’s super tasty. This original recipe came from my friend, Michele (with a few comments from Karyn too.) I did change a few things to the original recipe, but not a lot and I thank Michele for the recipe.

INGREDIENTS:

4 lb. brisket (I didn’t need larger but you can adjust this recipe for whatever size brisket you use)

Lawry’s seasoned salt available in the spice aisle

2 large Spanish onions (Karyn uses Vidalia, which is also good), sliced thickly

2 cans of tomato sauce , I used the 16 oz. size. You can also use the 1 can of 28 oz. size. It depends on you and how much sauce you like.

2 tbsp. brown sugar (this is my addition. It doesn’t really change the flavor so much as cut the salt a bit)

DIRECTIONS:

Preheat oven to 350 degrees.

I sprinkled Lawry’s seasoned salt on both sides of the brisket (generously) then seared it in the Le Creuset pot with a little vegetable oil–probably about a tablespoon. (After the meat was seared, it shrunk to fit perfectly in my pot but I don’t think that a larger brisket would have fit.) Next, I added the tomato sauce and onions, covered the pot and put it in the oven. I cooked it for a total of 3 hours. I checked on it after each hour, which probably wasn’t even necessary. I then let it cool, off of the heat, for about an hour. Next, I sliced it with an electric knife, which came out beautifully. The meat was soft, but not falling apart at all. I then added the brown sugar to the gravy, put the brisket in a container with the gravy and froze it. I’ll take it out the night before I serve. Karyn pulses her gravy with an immersion blender. I didn’t do this but I think it makes for a good suggestion. In fact, I might still do it next time I make this recipe.  I’ll let you know. Thanks again Michele and Karyn!

Passover Popovers

Super easy , super light and delicious. Give this one a try. These are delicious during Passover with some preserves for Breakfast as well as with your Seder Meal. Enjoy and Happy Passover Cooking from my kitchen to yours. I used a muffin tin and it worked out perfectly. Bake these light airy treats for your Seder to rave reviews. One per person is perfect , this recipe yielded 9 popovers. photo20130321-113701.jpg photo

Ingredients:

1 cup cake meal

4 eggs — always work with room temperature eggs unless otherwise stated for best results

1 tsp. salt

1 Tbsp. sugar

1 cup water

1/2 cup peanut oil

Directions:

Preheat oven to 400 degrees.

Mix the cake meal, salt and sugar in a bowl.

Bring oil and water to a boil, add cake meal mixture and remove from stove.

Beat in one egg at a time and mix a lot. It will be thick.

Allow to stand for 15 minutes.

Drop into a well-greased muffin or popover tin using a tablespoon to 3/4 full. I spray with cooking spray . I used a Canola Oil baking spray, or lightly grease pan with canola oil.

Bake at 400 degrees for 35 minutes till medium golden brown. I placed pan in the center of the oven .

Warm before serving if desired.


Traditional Ashkenazi Charoset–Apple/Walnut

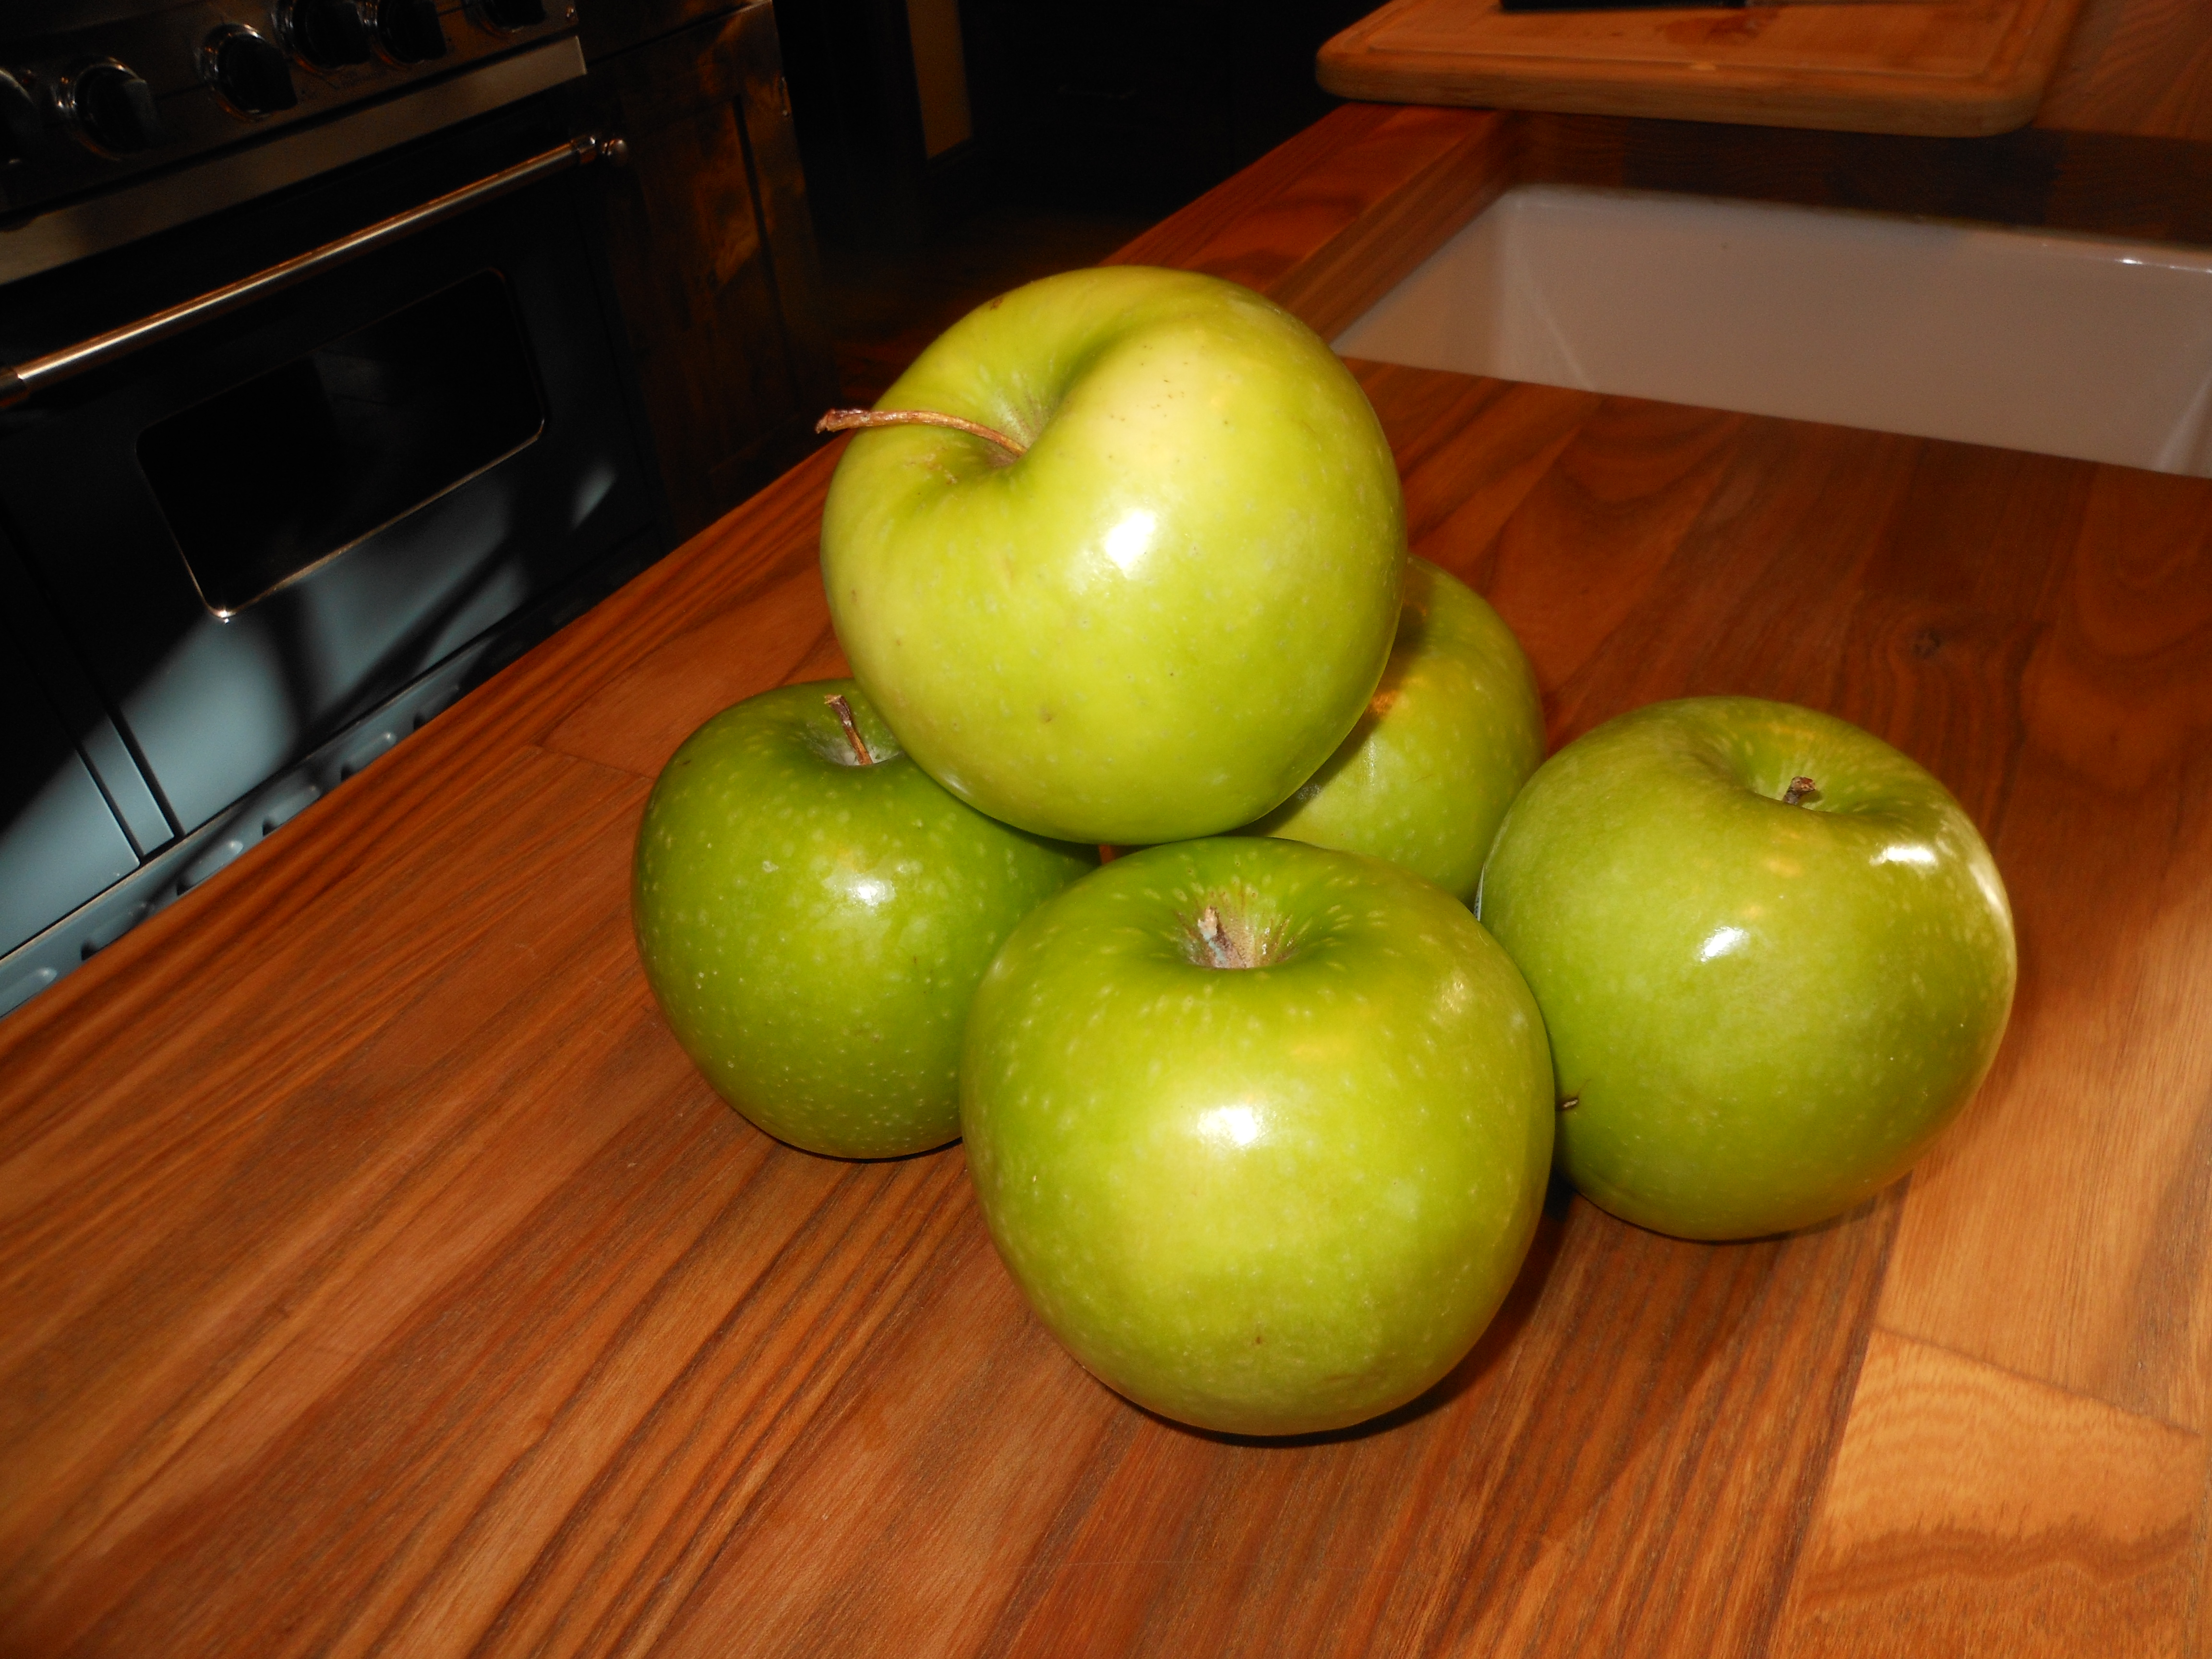
DSCN2703This is my easiest Charoset to make — all in the food processor.   It’s traditional in the sense that it’s an Ashkenazi (Eastern European) recipe. I add a little brown sugar instead of white sugar and it gives it just a bit more character. Remember, while a reminder of the mortar used in making bricks for Pharaoh, charoset is really just a sweet condiment of apples and wine! And we love it on Matzoh!

Have a Sweet Passover !

Ingredients:

3 medium Fuji apples (or any other kind you like), peeled, cored and finely diced (use processor to make your life simpler) I usually use whatever is in the house, but on Passover I go through so many apples, so buy what you like (I always like Granny Smith because they are nice and tart)

1 1/2 cups walnuts, chopped (buy them pre-chopped)

1/2 cup sweet red wine such as Manischewitz Extra Heavy Malaga or just Concord Grape is fine

*20 pitted dates, chopped; or 1/2 cup golden raisins (optional)

1 1/2 teaspoons ground cinnamon

1 tablespoon packed brown sugar

*for a bit of extra added flavor you can add 1/2 teaspoon of powdered ginger (optional)

Directions:

After chopping apples, stir all ingredients in a large bowl. Keep in refrigerator ’til ready to serve. Serve at room temperature. You can also pulse everything together in processor, just be very careful not to over-process. I often do this to save time. You don’t want it too fine, so just go gently with the processor if you go that route. I do it in the processor, and I know exactly how I like it to come out, so go easy with the chopping.  If it’s a little dry or too thick, you can always add more wine. I find this always tastes better after it sits and allows the wine  to really soak and ripen for 24 hours. Before serving, check for consistency and add a little more wine, if necessary.

Honey Roasted Chicken – Holiday Chicken

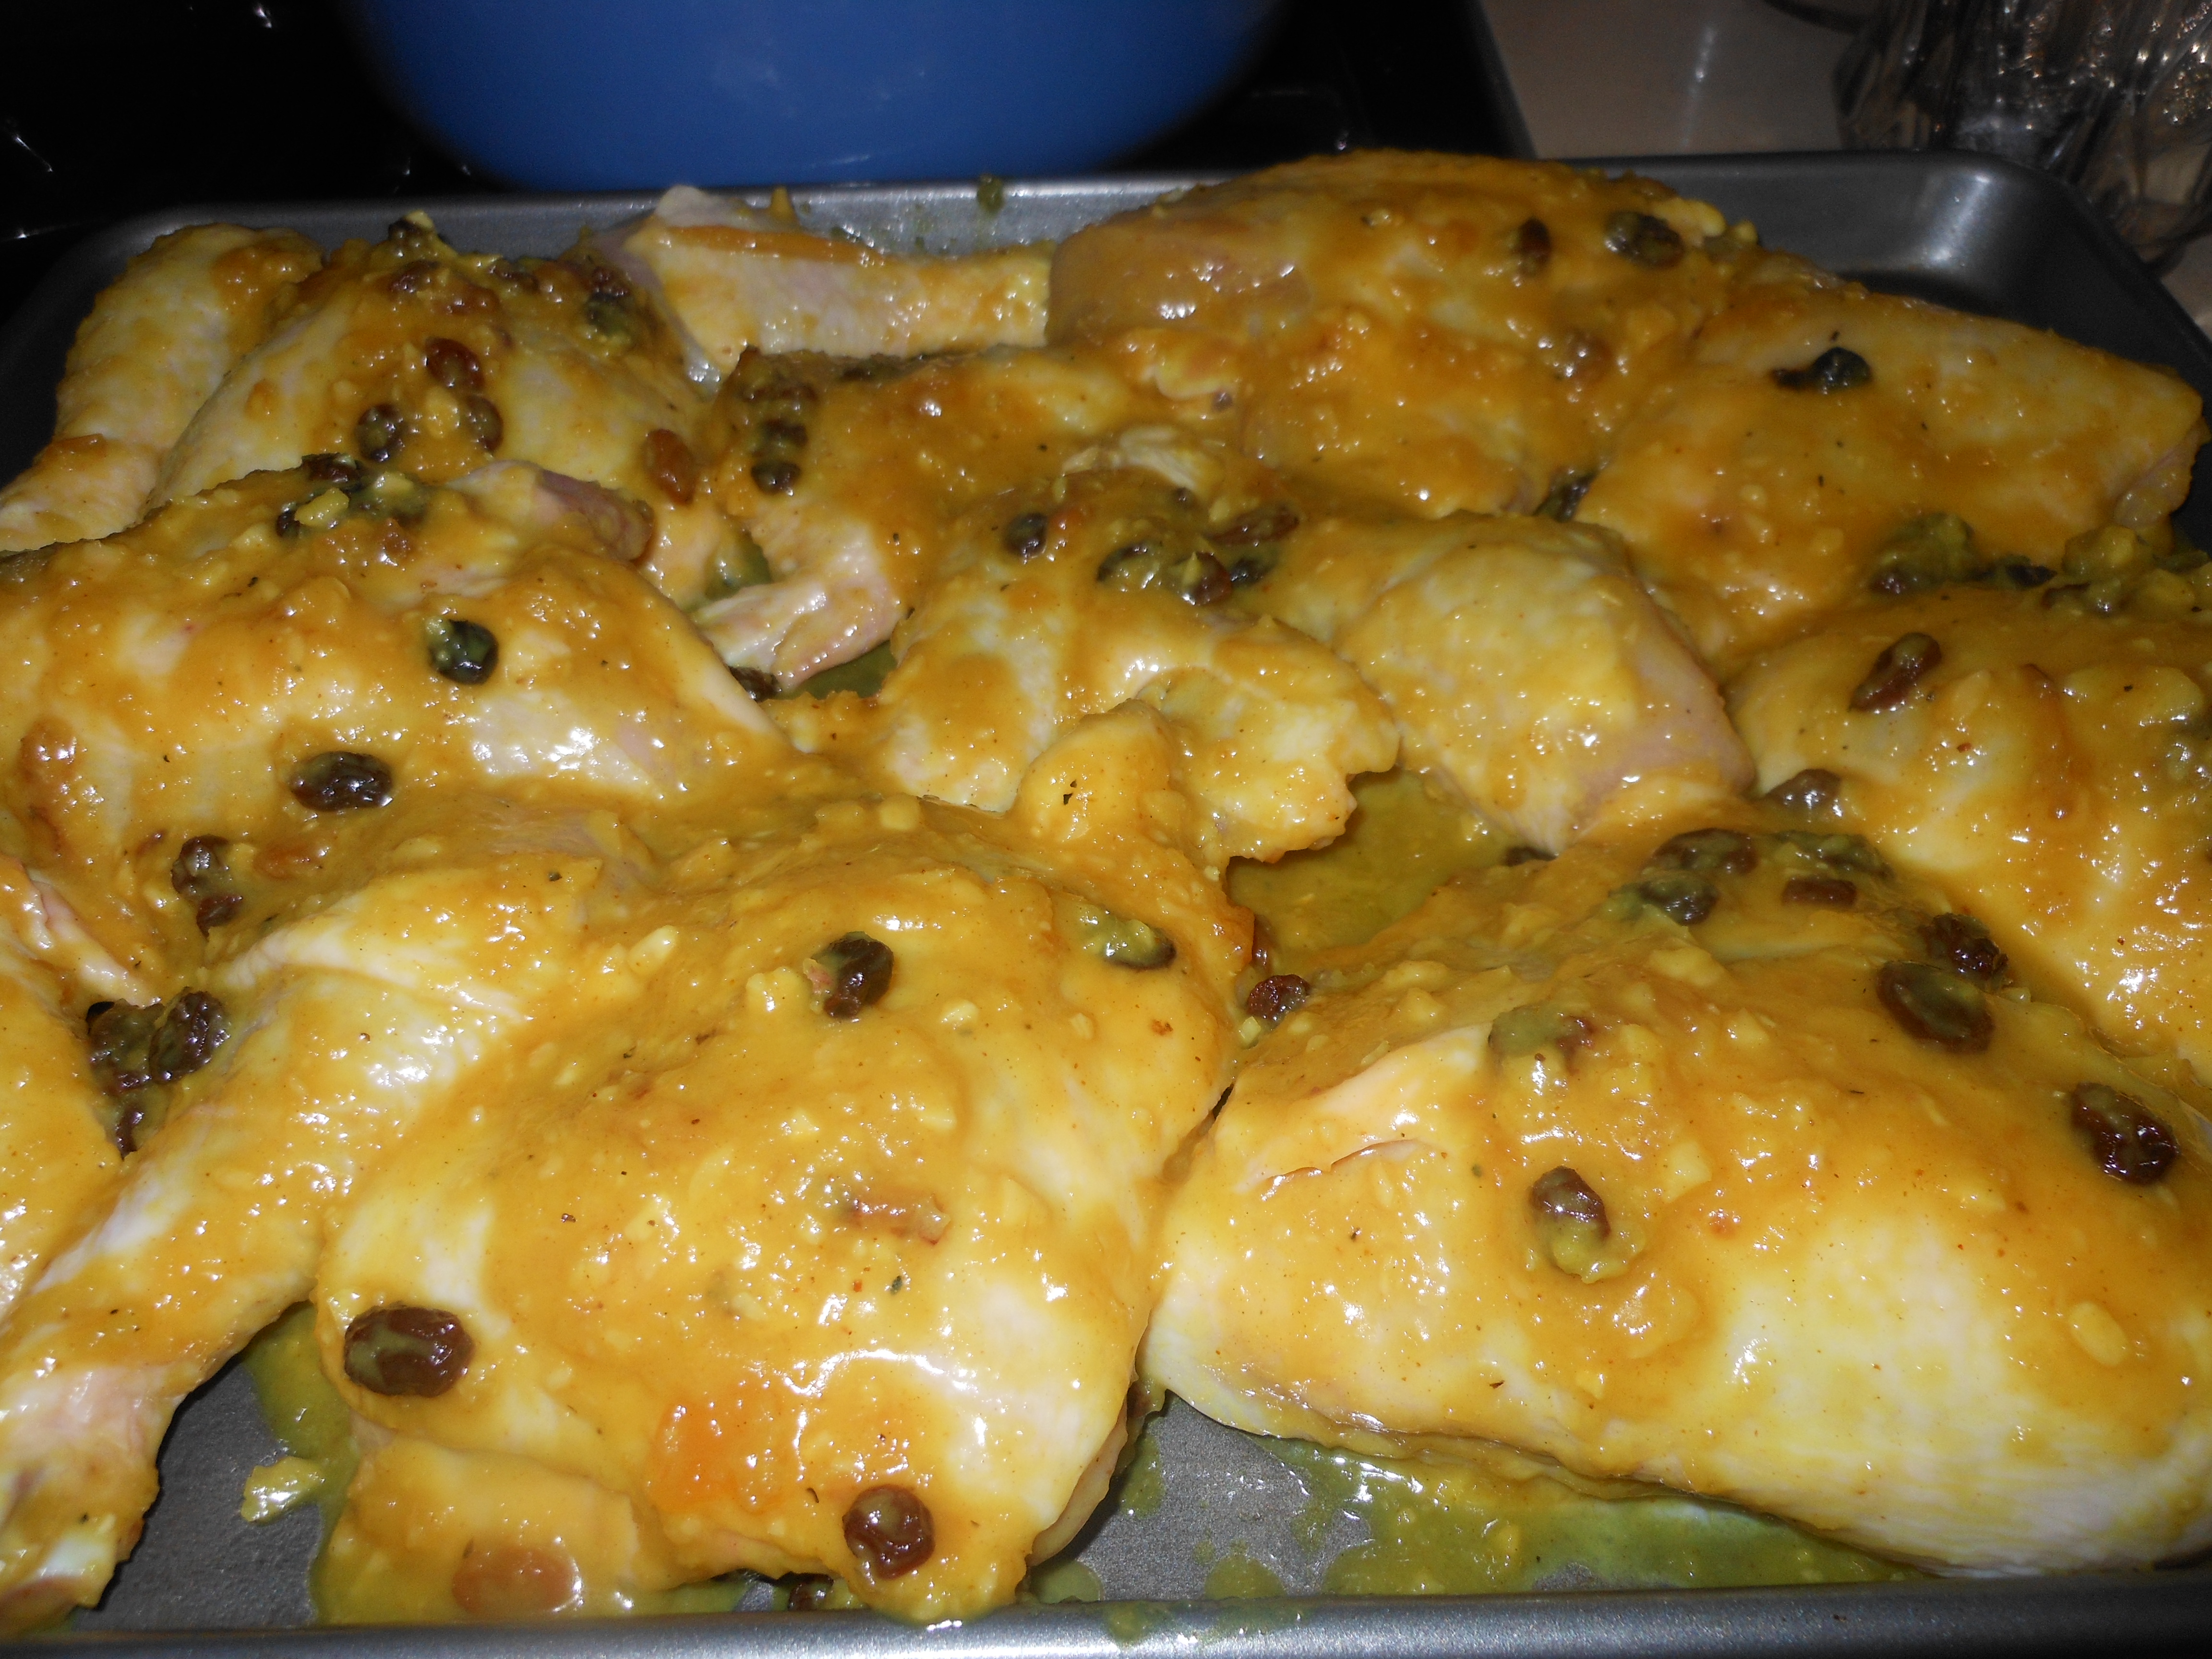
DSCN4234DSCN4234This recipe was actually given to me by my daughter Jennifer.  She has made it numerous times. always to raves from the family.  It is a delicious chicken dish and it perfect for the Jewish new year and for Passover. It’s sweet and savory and has a wonderful blend of flavors.

Remember to pay attention to cooking directions as you will not be preheating oven!!!!!!

Obviously this recipe can be cut in 1/2 for a smaller group.

Ingredients:

1 stick butter or margarine

1/2 cup minced yellow onion

2 large cloves garlic, minced

1/4 cup Dijon Mustard

1/2 cup mild honey

1 teaspoon kosher salt

a rounded teaspoon curry powder

2 tablespoons peach or mango chutney ( available in most supermarkets)

small handful of dried currants or chopped dark raisins

2 roasting chickens  cut up in 8’s or you can cut recipe in 1/2 and use 1 chicken and 1 roasting pan

Directions:

you will need 2 shallow baking sheets with 1 inch rims ( you may be able to get it on 1 large sheet)Spray baking sheets well with cooking spray.

to make sauce:

Melt butter/margarine in a heavy 2 quart saucepan over medium heat. while it is bubbling, saute onion and garlic until softened, about 3 – 5 minutes. add remaining ingredients except for chicken and stir until well combined. heat until warm throughout and set aside to cool slightly.

to prepeare chicken:

I would spray each baking sheet with pam cooking spray first

Rinse and pat chicken dry . (each piece) dip each piece in honey mixture, coating chicken completely. lay chicken pieces ( skin side up) on baking sheets. spoon any remaining sauce over chicken.

To Bake Chicken:

place chicken in a cold oven, turn heat to 400 degrees and bake for one hour. if you are using 2 baking sheets , roast in the upper and lower thirds of the oven and switch shelf positions 1/2 way through the cooking time.

to serve:

Transfer chicken to a warmed serving platter and serve . this chicken is good hot, at room temp. and cold out of fridge the next day.

*if you cannot find peach or mango chutney ( I found it at Whole Foods) Stonewall Kitchen Brand , you can use Peach Jam, Apricot Jam, etc. Probably Saucy Susan would work. Use your imagination and don’t kill yourself trying to find the chutney. I think the chutney would give it a bit more kick, and cut the sweet, but either one will be fine.

Happy Holiday from my Kitchen to Yours

Peach Farfel for Passover – crowd favorite

 
This is most definitely a “must have” Passover recipe.  It has been a winning no no recipe ever since my friend Audrey gave it to me many years ago. This one is probably one of the most favorite Passover staples. Recipes are funny in that -they tend to spread out to a wide group of people and people start passing them down to their people and so forth and so on and before you know it no one remembers where the original recipe came from , they just remember that it was on their Passover table and they can’t imagine a Seder dinner without it.  Enjoy this one; it is sweet and makes for a delicious side dish with poultry or beef. This has always been a crowd pleaser. I know, the amount of eggs is obscene on this holiday! This one has 7 eggs in it!!!!!

Make this part of your Passover tradition, you’ll be happy you did.

Follow me on Instagram @cookingwithcandi and please DM me or email me any questions or comments — I look forward to hearing from all of you. Happy Cooking from my kitchen to yours .

  • as I said I have never froze this particular recipe but I would cook 1/2 way so it’s in a more solid form and then wrap well and freeze. If you’re lucky enough to have an extra freezer and can freeze in the original baking dish even better.

Ingredients:

1 box matzoh farfel (I think it’s in a canister now) you will need 16 ounces of the farfel

2 15 oz. cans sliced peaches

7 eggs

2 cups sugar

1 tsp. salt

2 sticks margarine, melted

2 tsp. vanilla

4 cups hot water

Directions:

Preheat oven to 350 degrees.

Place dry farfel in a bowl, then pour hot water over it. Let stand until absorbed.

In a separate bowl, combine eggs, syrup from peaches, salt, sugar, margarine, and vanilla. Add farfel and combine well. In a well sprayed 9 x 12 baking dish, pour 1/2 the mixture, then arrange a layer of peaches on top. Add remaining mixture on top, then top with remaining peaches. Sprinkle with just a bit of cinnamon if you’d like. Bake for 1 hour at 350 degrees. Serve hot out of oven, or room temp. It is quite delicious at room temperature, if you don’t have the room in your oven, and it makes for a pretty awesome leftover.

Can be assembled, cooked 1/2 way through, then cooked the rest of the way through on the day of the holiday.

Classic Potato Pancakes –Latkes

Chanukah will be here starting this Sunday night, December 18. Here is my recipe for delicious Potato Latkes.

It is a delicious fairly easy recipe for simple latkes. If you eat them hot they’re best but that’s tough to do sometimes. They really are most delicious hot off the frying pan. Serve with Applesauce or Sour Cream . Enjoy and Happy Chanukah from my kitchen to yours. I do have a delicious recipe for homemade apple sauce on my blog if you’re feeling inspired to make it along side the potato pancakes. Homemade Apple Sauce is it’s title and just put that into the search bar or google homemade apple sauce cooking with Candi .

This is what I do.

This recipe should serve 4

Ingredients:

2 large Russet Potatoes — peeled and cut lengthwise into quarters

1 large Spanish Onion–peeled and cut into quarters

2 large eggs

1/2 cup all purpose flour

2 Teaspoons Kosher Salt

1/2 Teaspoon freshly ground black pepper

1 Teaspoon baking powder

Vegetable Oil for frying

Directions:

Using a food processor with a coarse grating disc, grate the potatoes and onion. Transfer the mixture to a clean dishtowel ( I prefer a thin one for this task) and squeeze out as much liquid as possible. This is key to a delicious latke.

Transfer the mixture to a large bowl. Add the eggs, flour, salt, pepper, and baking powder and pepper and mix until the flour is absorbed.

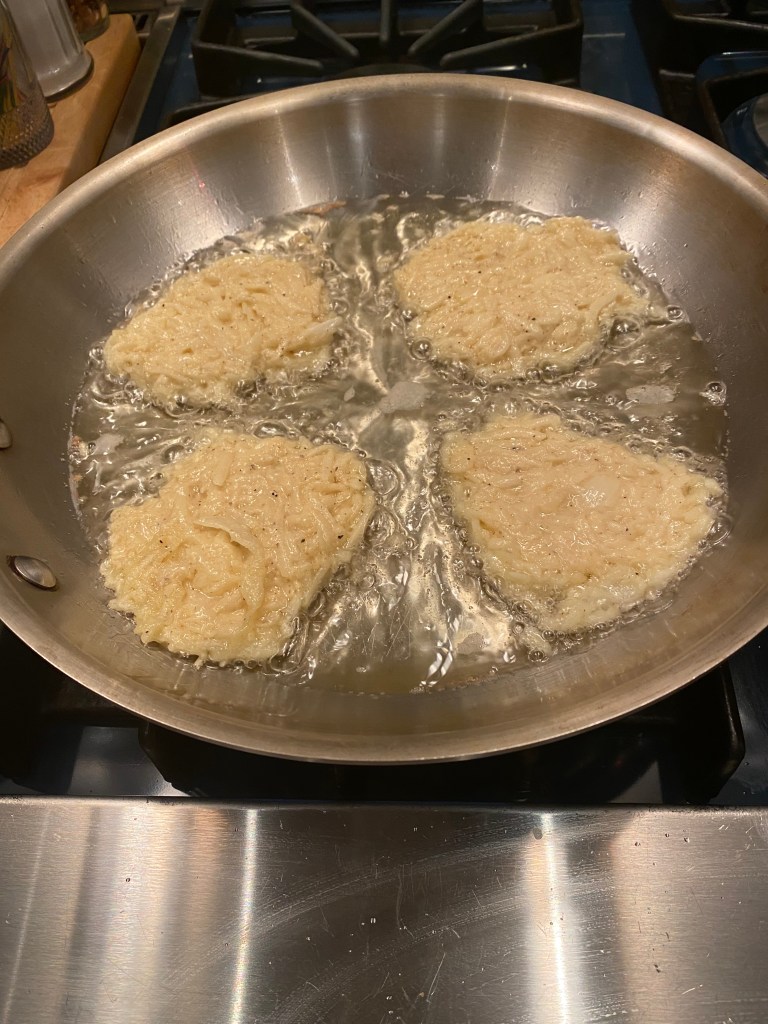
In a medium heavy-bottomed pan over medium-high heat, pour in about 1/4 inch of the vegetable oil. Once the oil is hot use a heaping tablespoon to drop the batter into the hot pan, cooking in batches. Use a spatula to flatten and shape into round discs. When edges of the latkes start to brown and get crispy ( about 5 minutes) , transfer the latkes to a paper towel lined plate to drain . Repeat.

If you’re making double the recipe I would swap out the oil and wipe with paper towel and start with fresh oil. For one batch the oil was fine. Just control the heat on your stove.

Enjoy and Happy Chanukah.


Banana Pudding from Magnolia Bakery – One of my Top Ten Desserts that you don’t even bake

Since the first time my daughter Jenn made this dessert we have added it to our Thanksgiving Table. Just what you need after that big dinner is this dessert!!! We love it and can’t get enough of it. Whether you’ll be making it for Thanksgiving or anytime just be prepared to fall in love with it. Completely decadent and totally ridiculous in calories and richness it is love at first bite.

It is actually a subtle taste of bananas, but I wouldn’t make this if I didn’t like bananas. I happen to just adore bananas and I absolutely love love this pudding. I cannot have it in the house because I will continually find an excuse to go into the fridge and eat it till it’s pretty much all gone.  As full as I was last year and swearing I wasn’t going to eat another thing for at least a week, when I saw this  pudding I knew I was going to eat it.  I find it impossible to resist and I know others who suffer from this same fate. If you’re in the market for a purely decadent rich over the top dessert then this is it for you. Probably up there on my top ten desserts ever. This is from the More from Magnolia Cookbook so how could it be bad?

*this recipe really needs time , so you must start the day before to let initial pudding set, and then you’ll need at least 4 more hours minimum before serving. So you must factor time into your preparing of this awesome pudding but it’s so worth it.

Happy Thanksgiving from our house to yours.

Ingredients:

1 14 ounce can sweetened condensed milk

1 1 /2 cups ice-cold water

1 3.4 ounce package instant vanilla pudding mix ( preferably Jell-O brand)is there another brand?

3 cups heavy cream

1 12 ounce box Nabisco Nilla Wafers ( no substitutions) is there another brand?

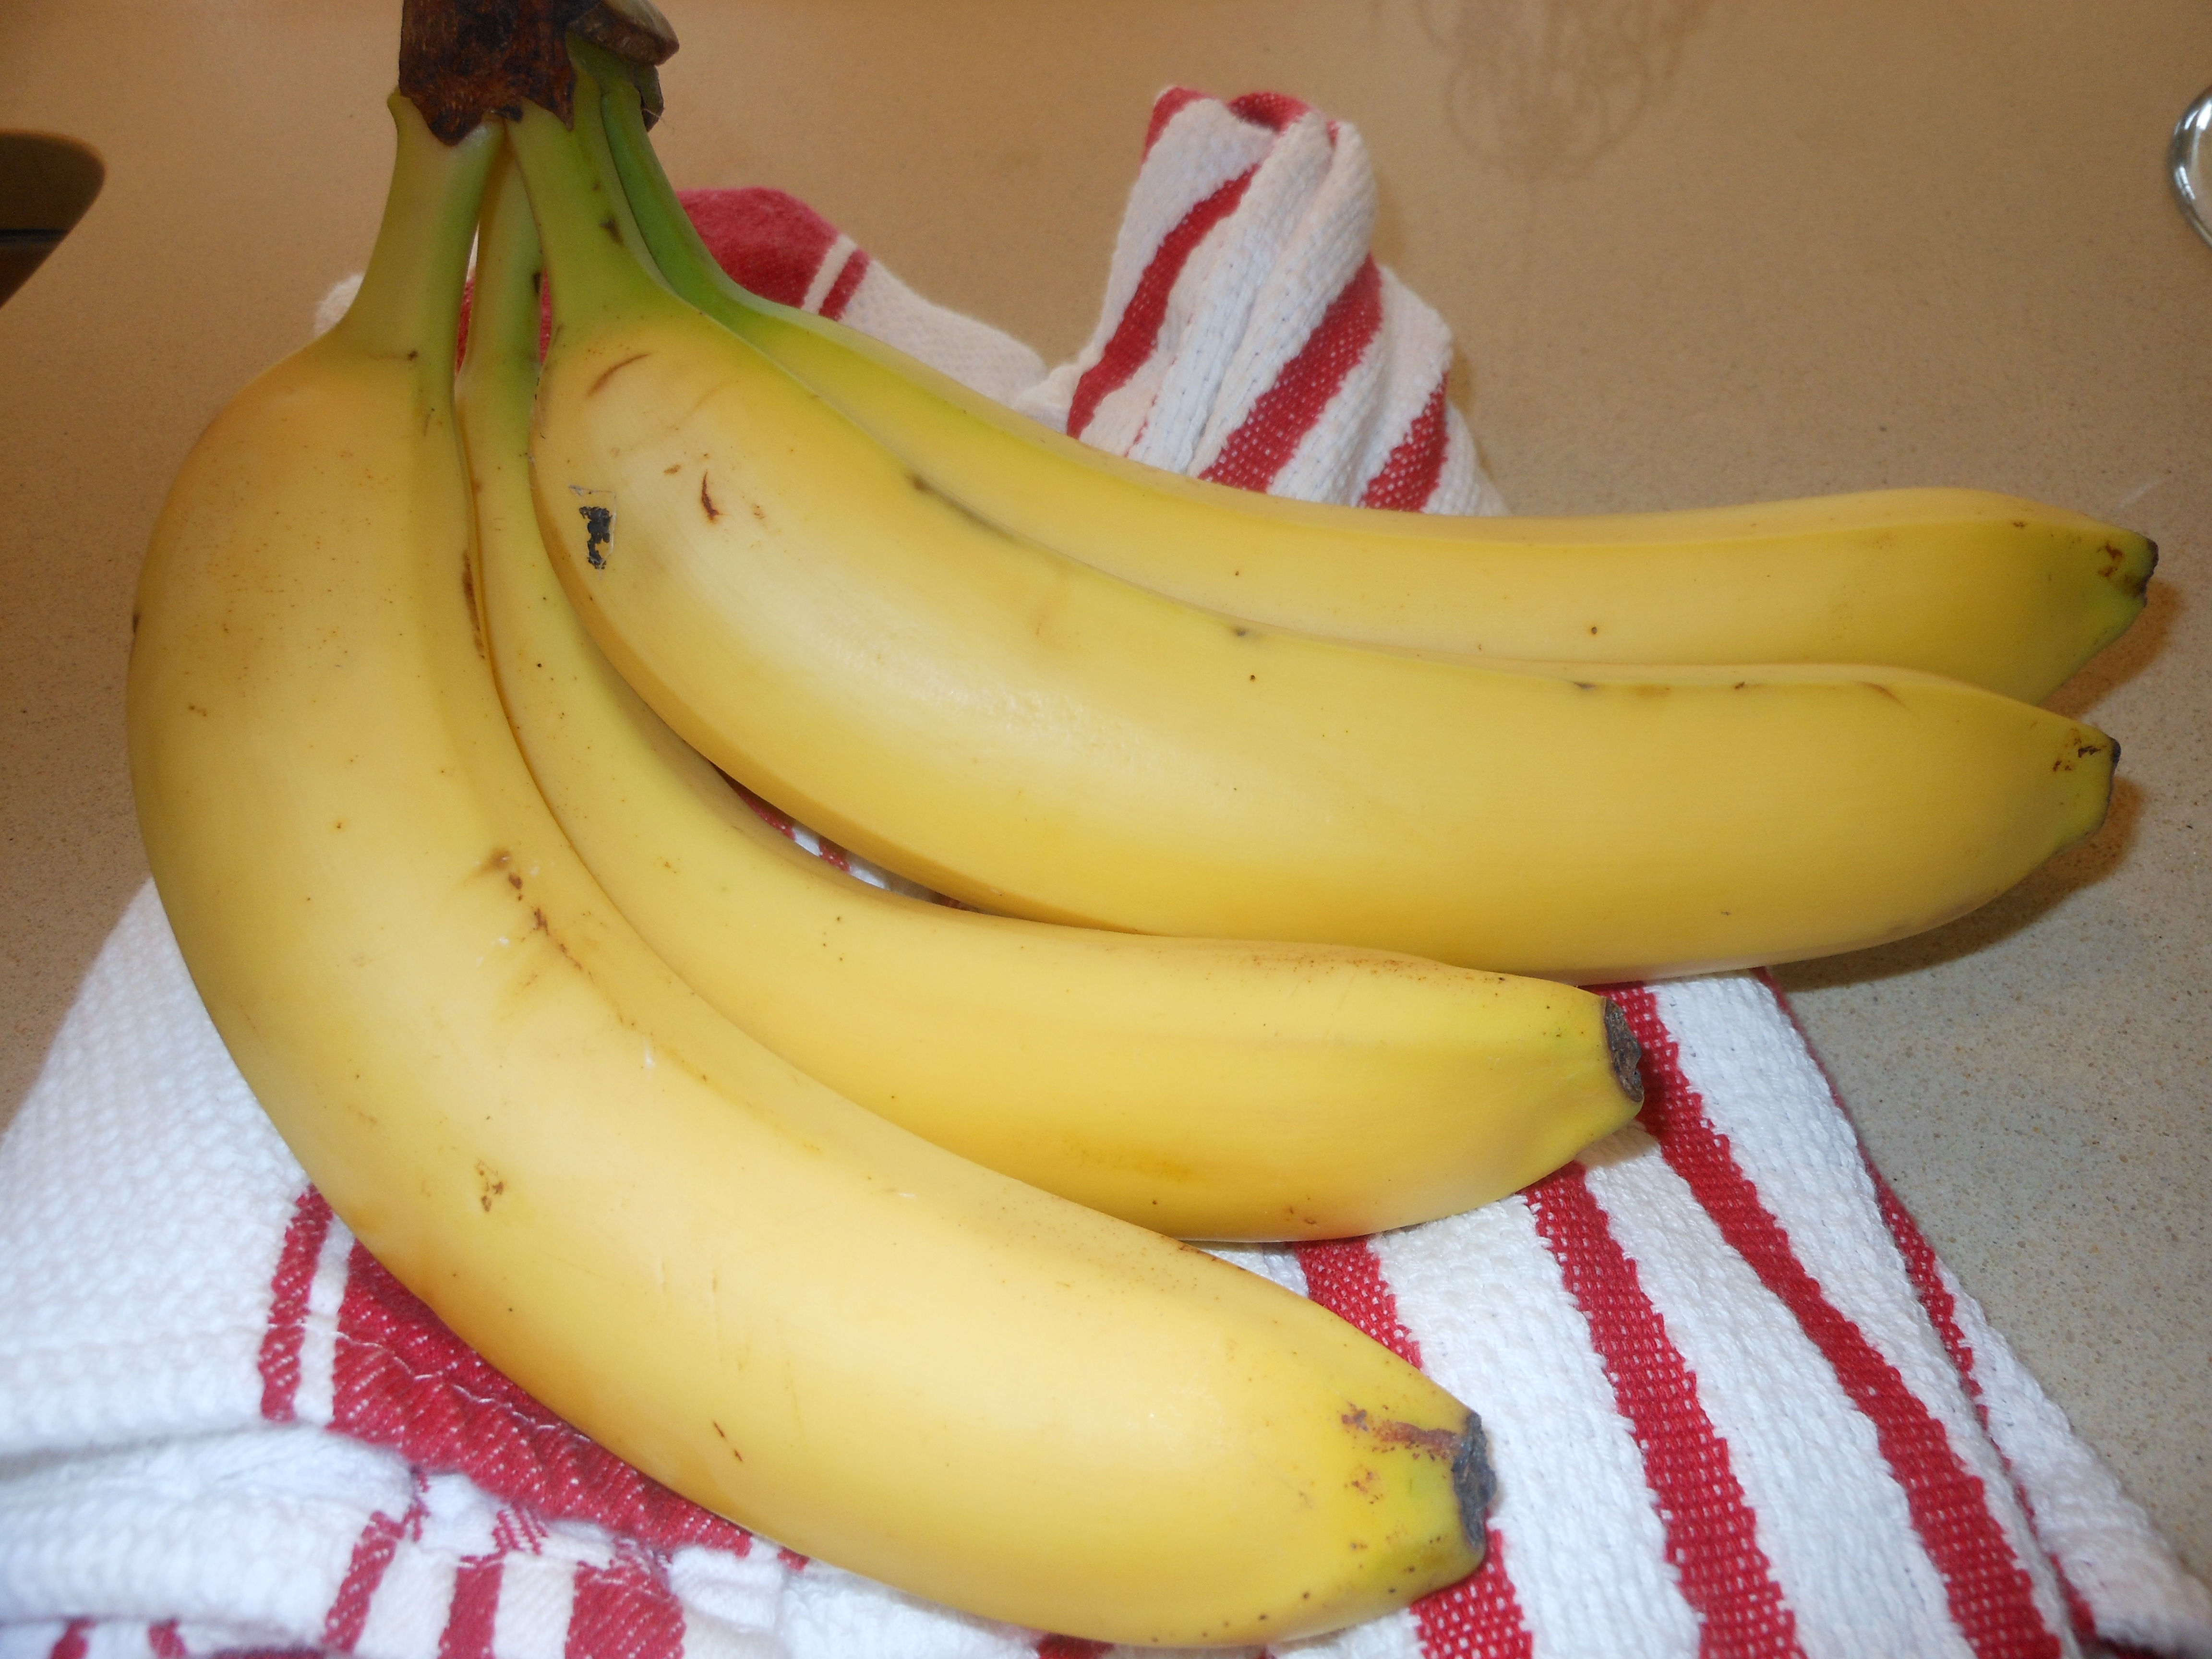
4 cups sliced ripe banana

Directions:

In a small bowl, on the medium speed of an electric mixer, beat together the sweetened condensed milk and cold water until well combined, about 1 minute. Add the pudding mix and beat well, about 2 minutes more.* Cover and refrigerate for 3 – 4 hours or overnight, before continuing. It is very important to allow the proper amount of time for the pudding mixture to set.

In a large bowl, on the medium speed of an electric mixer , whip the heavy cream until stiff peaks form. Gently fold the pudding mixture into the whipped cream until well blended and no streaks of pudding remains.

To assemble the dessert, select a large, wide bowl ( preferably glass) with a 4 – 5 quart capacity. Arrange one-third of the wafers to cover the bottom of the bowl, over-lapping if necessary, then one-third of the bananas and one-third of the pudding. Repeat the layering twice more, garnishing with additional wafers or wafer crumbs on the top layer of the pudding . ( Just crush up a few remainder cookies in food processor) Cover tightly with plastic wrap and allow to chill in the refrigerator for *4 hours–or up to 8 hours, but no longer! Serve and behold the love!

Serves anywhere from 12- 15

It’s a large dessert and a substantial one. It stands alone beautifully!

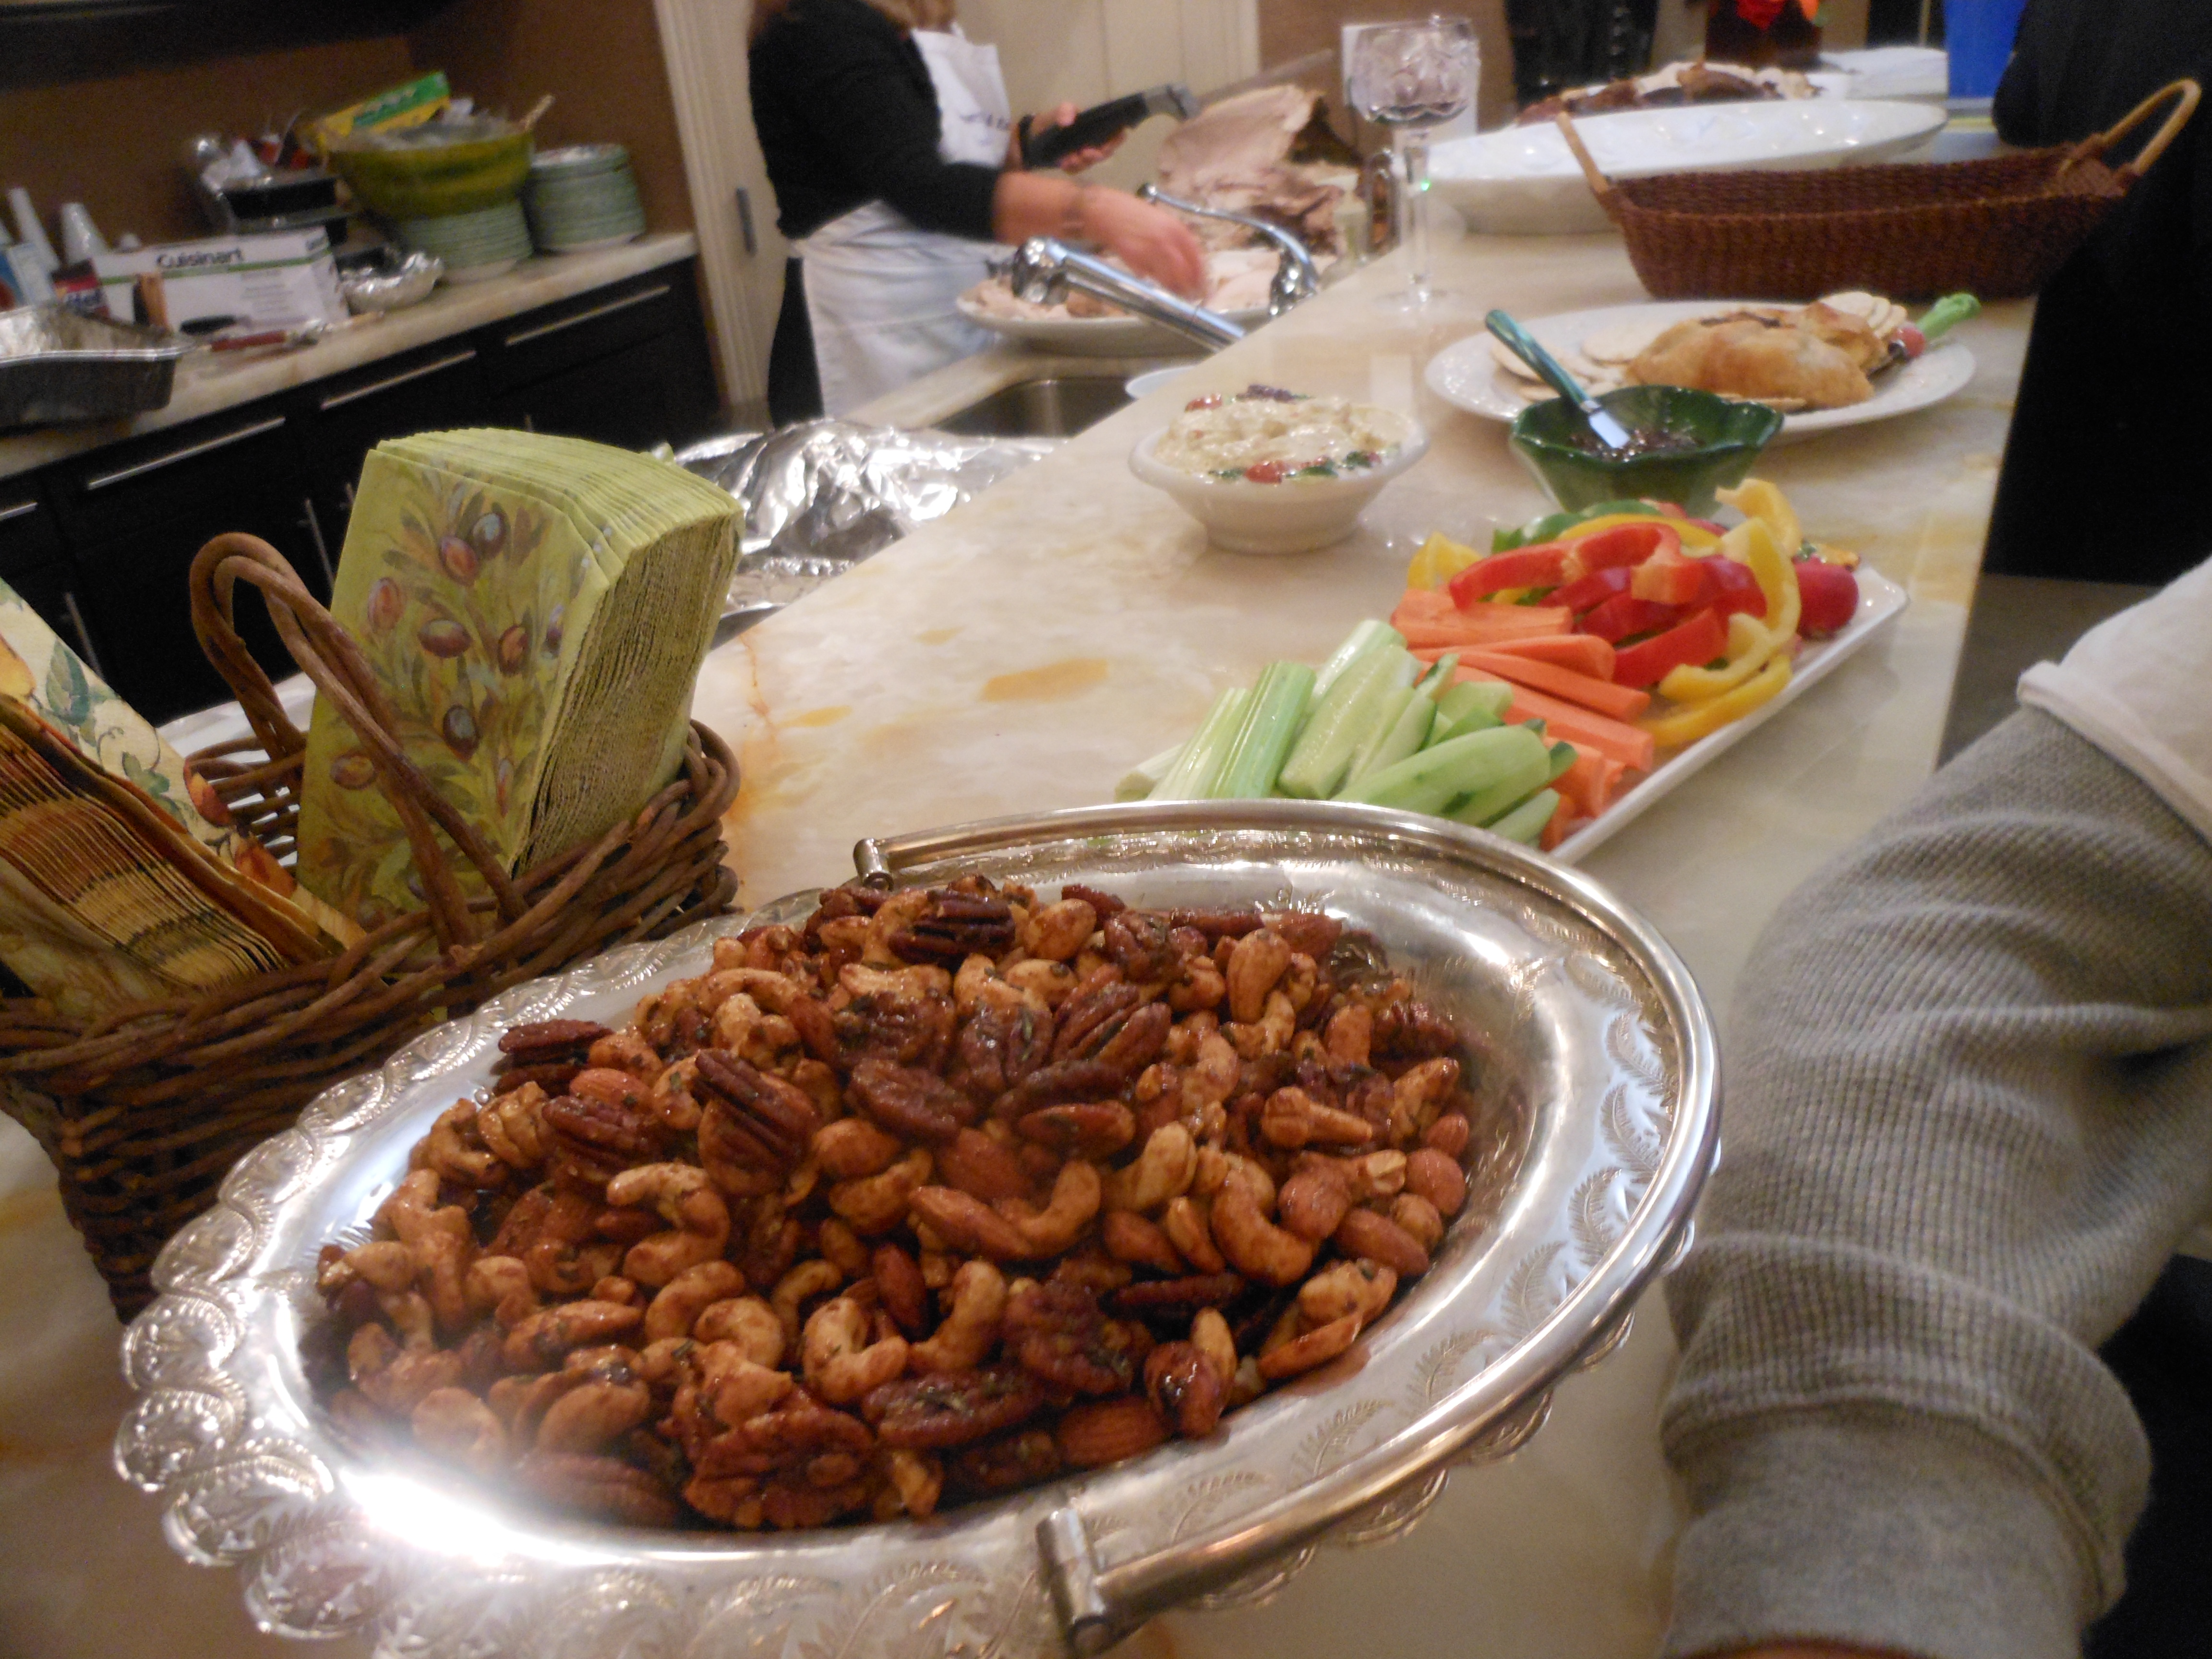
Sweet and Spicy Nuts – Perfect for Thanksgiving

T

My inspiration for this recipe came from Barefoot Contessa. These are my go-to nuts for Thanksgiving. Just a little something to nosh on before the big meal.  These last for a while so you can make ahead and keep them in a baggie or an air tight container.  These nuts make the perfect appetizers, no one who eats nuts can resist. I also like mine with a little “kick”, you can manage the heat on these with more or less cayenne pepper or chipotle powder.

And they make a lovely edible gift to bring to dinner if you’re arriving as a guest. ( check for nut allergies first though)

Enjoy and Happy Thanksgiving from our house to yours. Also a most perfect addition for Christmas so hold on to this recipe –I only post it 1x a year!

Ingredients:

vegetable oil

7 cups of nuts (you can break it up any way you want. You can do 7 cups of roasted mixed unsalted nuts or any other combination as long as they equal 7 cups. if you can’t find unsalted nuts you can use salted but be sure to adjust the salt on this recipe as per direction below) 

1/3 cup pure maple syrup

1/4 cup light brown sugar, lightly packed

3 tablespoons orange juice (fresh or container. fresh is always best (and one orange will do the trick,) but honestly no biggie.)

2 teaspoons ground chipotle powder–I use 2 teaspoons but if you really like them mild use a little less. You can also use cayenne pepper and sometimes I use a little of both.

4 tablespoons minced fresh rosemary leaves (divide 2 tablespoons for now and 2 tablespoons for later)

4 teaspoons Kosher salt (also divided 2 for now and 2 for later. don’t add second 2 teaspoons of salt if you bought salted nuts)

Preheat oven to 350

Brush a sheet pan (prefer one with sides) generously with vegetable oil (use a brush, love the silicone brushes)

First, combine nuts, 2 tablespoons of vegetable oil, maple syrup, brown sugar, orange juice, and chipotle powder in a large bowl (I prefer a large metal bowl). Toss to coat the nuts evenly.

Add 2 tablespoons of the minced rosemary and 2 teaspoons of the kosher salt and give it a good toss (a large metal spoon works the best b/c it can get a little sticky with a wooden spoon.)

Spread nuts in a single layer on sheet pan.

Roast nuts for 25 minutes, stirring twice. You will want to take them out of the oven to stir them b/c they may slide off the tray. Use a metal spatula. Roast for the rest of the 25 minutes until nuts are glazed .

Remove from the oven, and sprinkle with remaining 2 teaspoons of kosher salt (only if they were unsalted) and add the remaining 2 tablespoons of rosemary.

Toss well and set aside at room temp.

While they are cooling, stir them up a few times b/c they may stick together.

Taste for seasoning. They really don’t achieve full flavor until they fully cool. So you won’t know how spicy they are until they sit for a while. I’ve made these a million times and can tell you that this amount of chipotle has kick, but not psycho hot.

Serve warm, or let them cool. Put them in a container and serve whenever you like. They stay good for a long time.

*just a note: you can adjust salt, rosemary, and chipotle to your liking. I have recipe for Union Square Nuts and they don’t have chipotle and are also delish but I prefer these b/c I love the heat of the chipotle!

Enjoy!

Pumpkin Penne Bake

IMG_9874IMG_9875

I like to have a pasta dish every year at my Thanksgiving dinner and it’s a good one for all the vegetarians out there.  This is a delicious baked pumpkin penne. I am going to make it on the Monday before Thanksgiving and freeze it without putting the mozzarella cheese on top.  I will take it out of freezer Wednesday night and Thursday will  put cheese on top and bake till bubbly , you’ll want to make certain that it is completely defrosted and room temperature before putting it in the oven.  I will keep aluminum foil on it to re-heat and take off foil for last 20 minutes or so till it gets slightly brown.   It should start bubbling and to check for readiness put a fork right in the middle . If it needs more time and is getting too browned put foil back on and continue heating it up. You will cook it at 350 degrees as directions state.

One of the best things about baked pasta dishes is that they freeze so well. Making them some of the easiest dishes to prepare ahead. This whole thing including chopping up sage took maybe 1/2 hour to prep. My kind of dish!

As a side dish it should serve about 10-12 .

Ingredients:

1 box (1 lb.) penne pasta, cooked and drained well– cavatappi or rigatoni will work fine too.

1 15 ounce can pumpkin puree, not pumpkin pie filling

3 – 4  cups shredded mozzarella, divided , I used about 3 cups in pasta and another 1 cup on top. ( 2 packages 8 oz. shredded cheese) you’ll have a little left over

1/4 cup heavy cream

2 tablespoons fresh sage, chopped or 2 teaspoons dried sage

1 teaspoon kosher salt

1/2 teaspoon garlic powder

Directions:

Pre-heat oven to 350 degrees.

In a large bowl, combine cooked penne, pumpkin,  2  cup- 3 cups mozzarella, heavy cream, sage, salt and garlic powder. Stir to combine. Taste for salt.

Transfer mixture to a greased or well sprayed 3 quart baking dish and sprinkle with remaining 1 cup mozzarella.

Bake 20 to 30 minutes or until cheese is bubbly and melted. Since I was freezing I pulled it out after 20 minutes, cooled it down and wrapped it tightly and put in freezer.