Category Archives: Baked Goods

Don’t Let the Apples Go Bad Cake

Apples are the kind of fruit we eat all year round. They are always in the fridge and if they don’t get eaten, I  feel guilty that they’re just sitting there and going to go bad.  I saw this recipe on Smitten Kitchen and decided to make it.  I would make it and freeze it, so if you’re interested in doing so this cake freezes well. You’ll need a tube pan. You don’t need an electric mixer, so it’s pretty easy on the special equipment. Use those leftover apples–don’t let them go bad. No butter in this recipe, lots of sugar though.  My house smelled divine.

I also love this recipe for the Jewish Holidays which are just around the corner…..just saying.

*you can see in photos that I use a melon baller to get the pits out of the middle of the apple. I prefer this technique over the corer thing which never really works for me.  The melon baller works perfectly: first cut apple in half, then scoop out just the pits.

Thanks to Smitten Kitchen again for a wonderful recipe.

www.smittenkitchen

Ingredients:

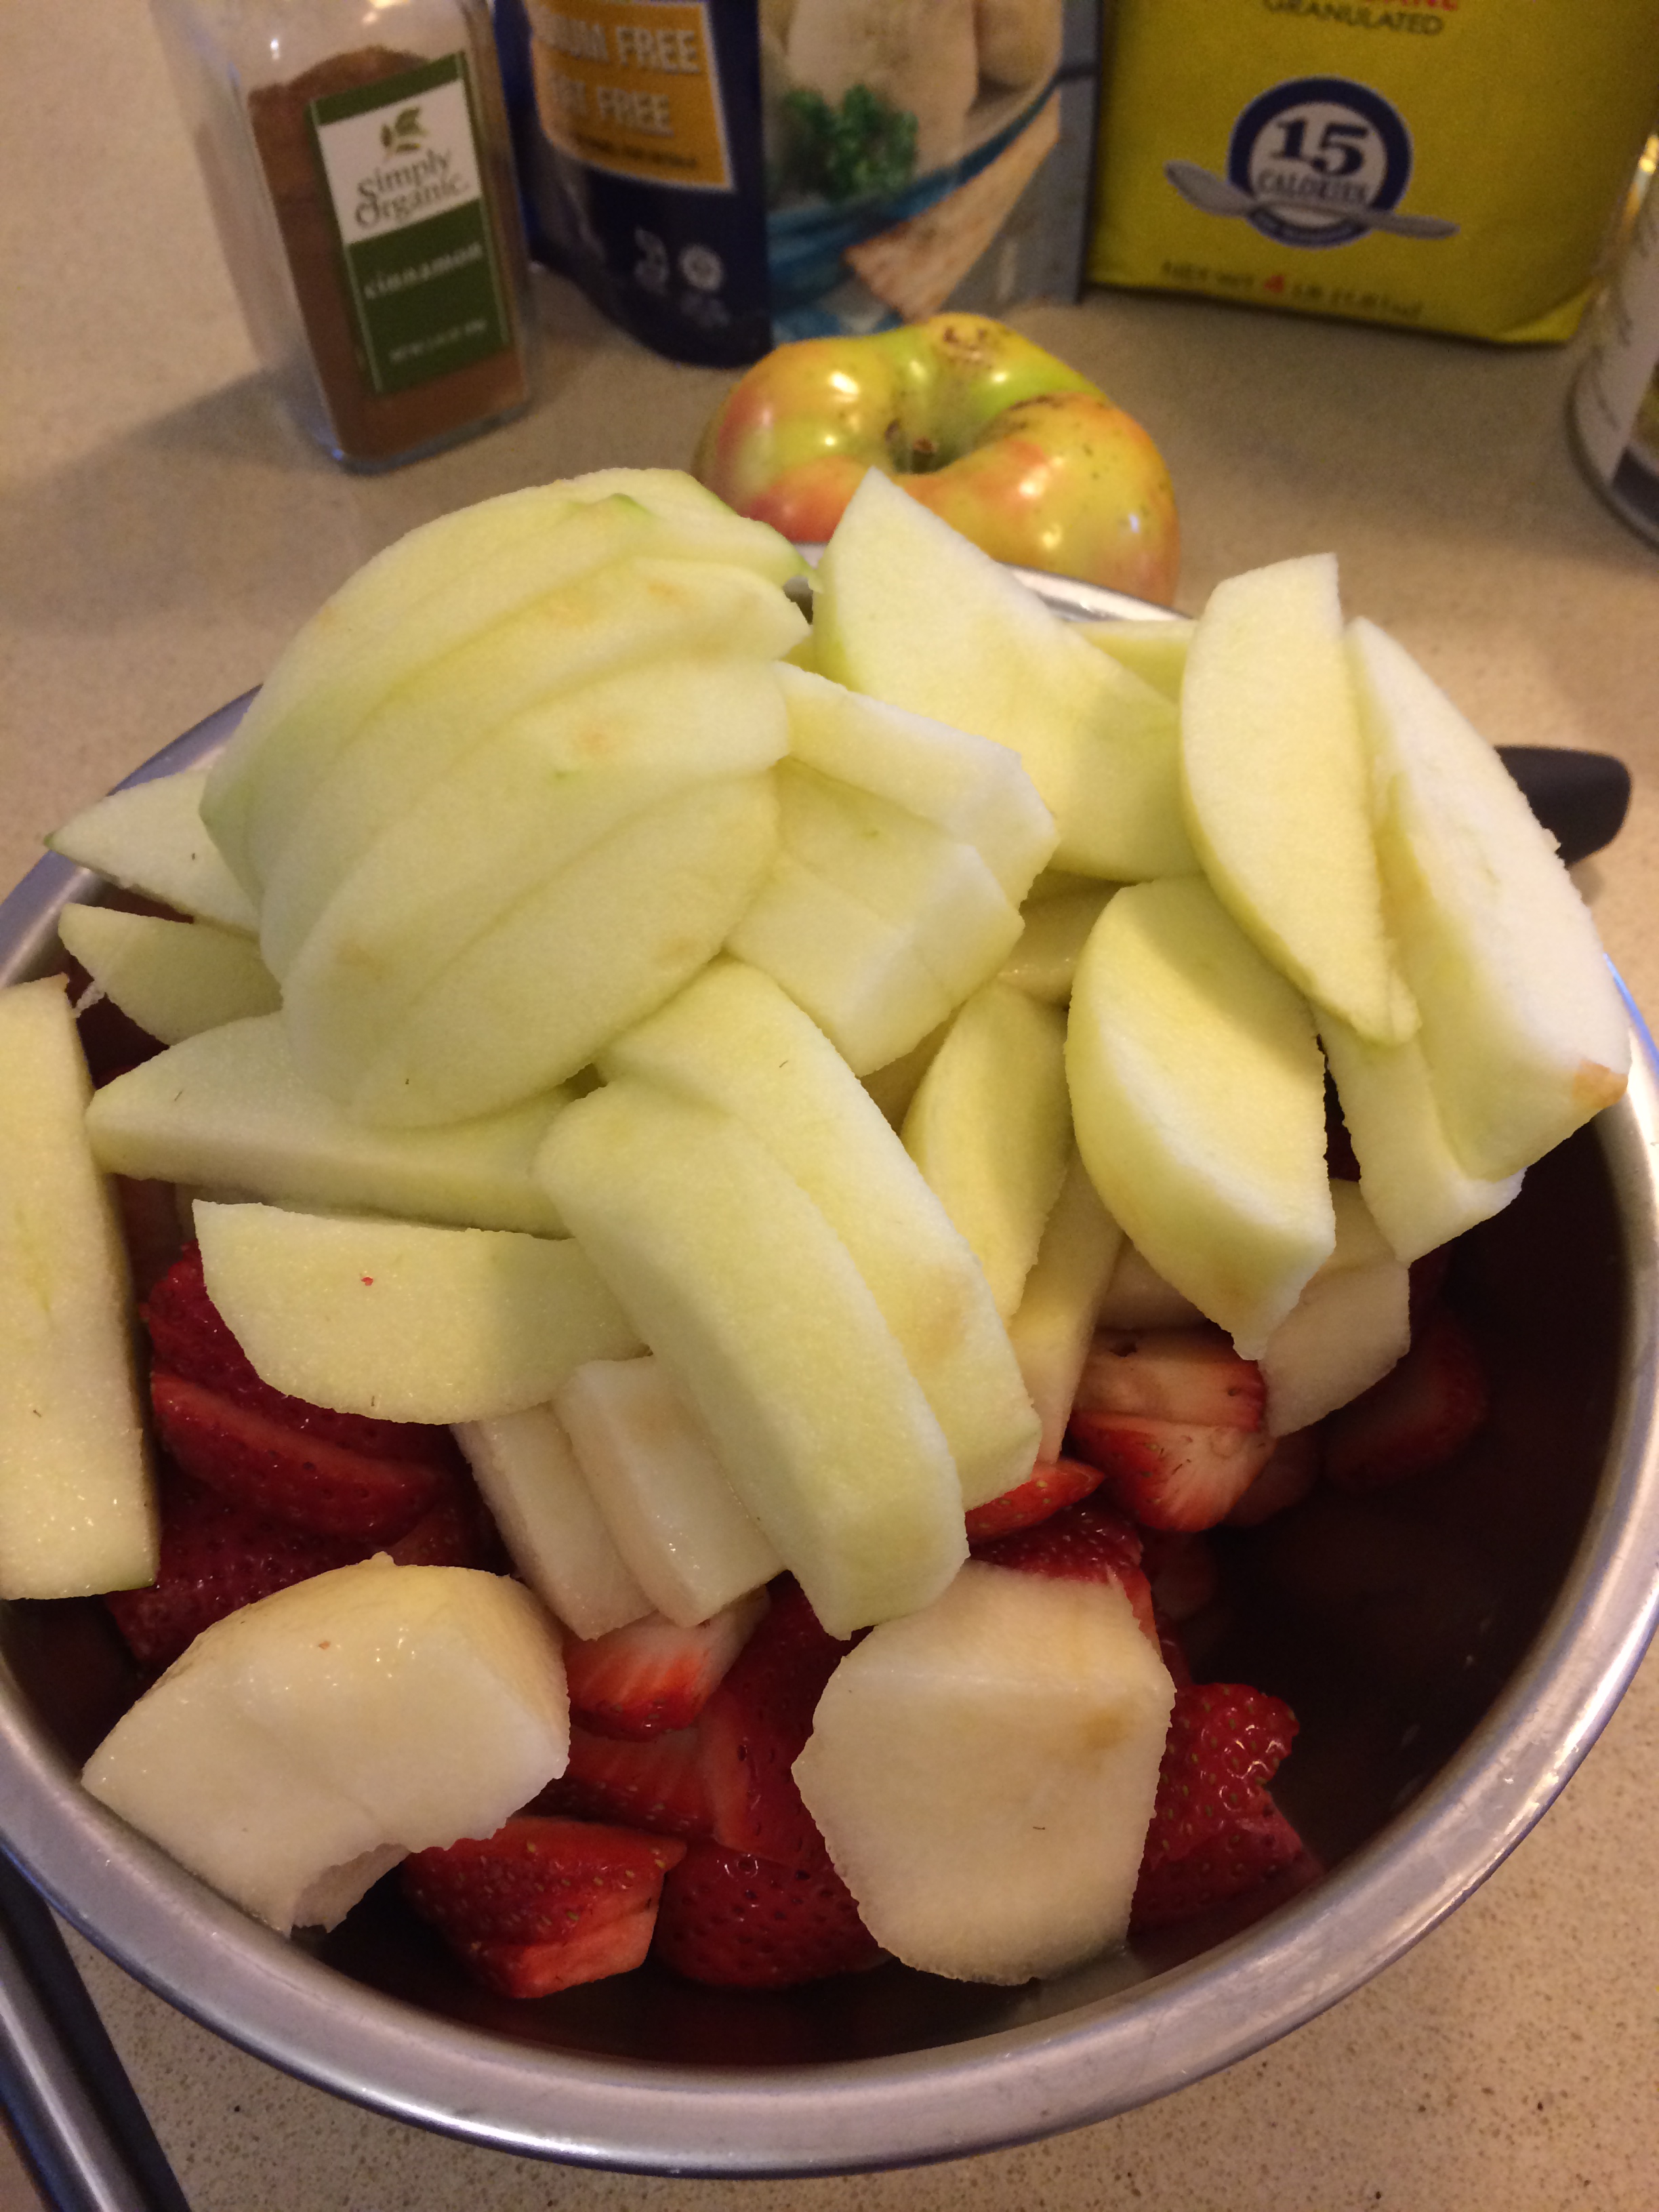
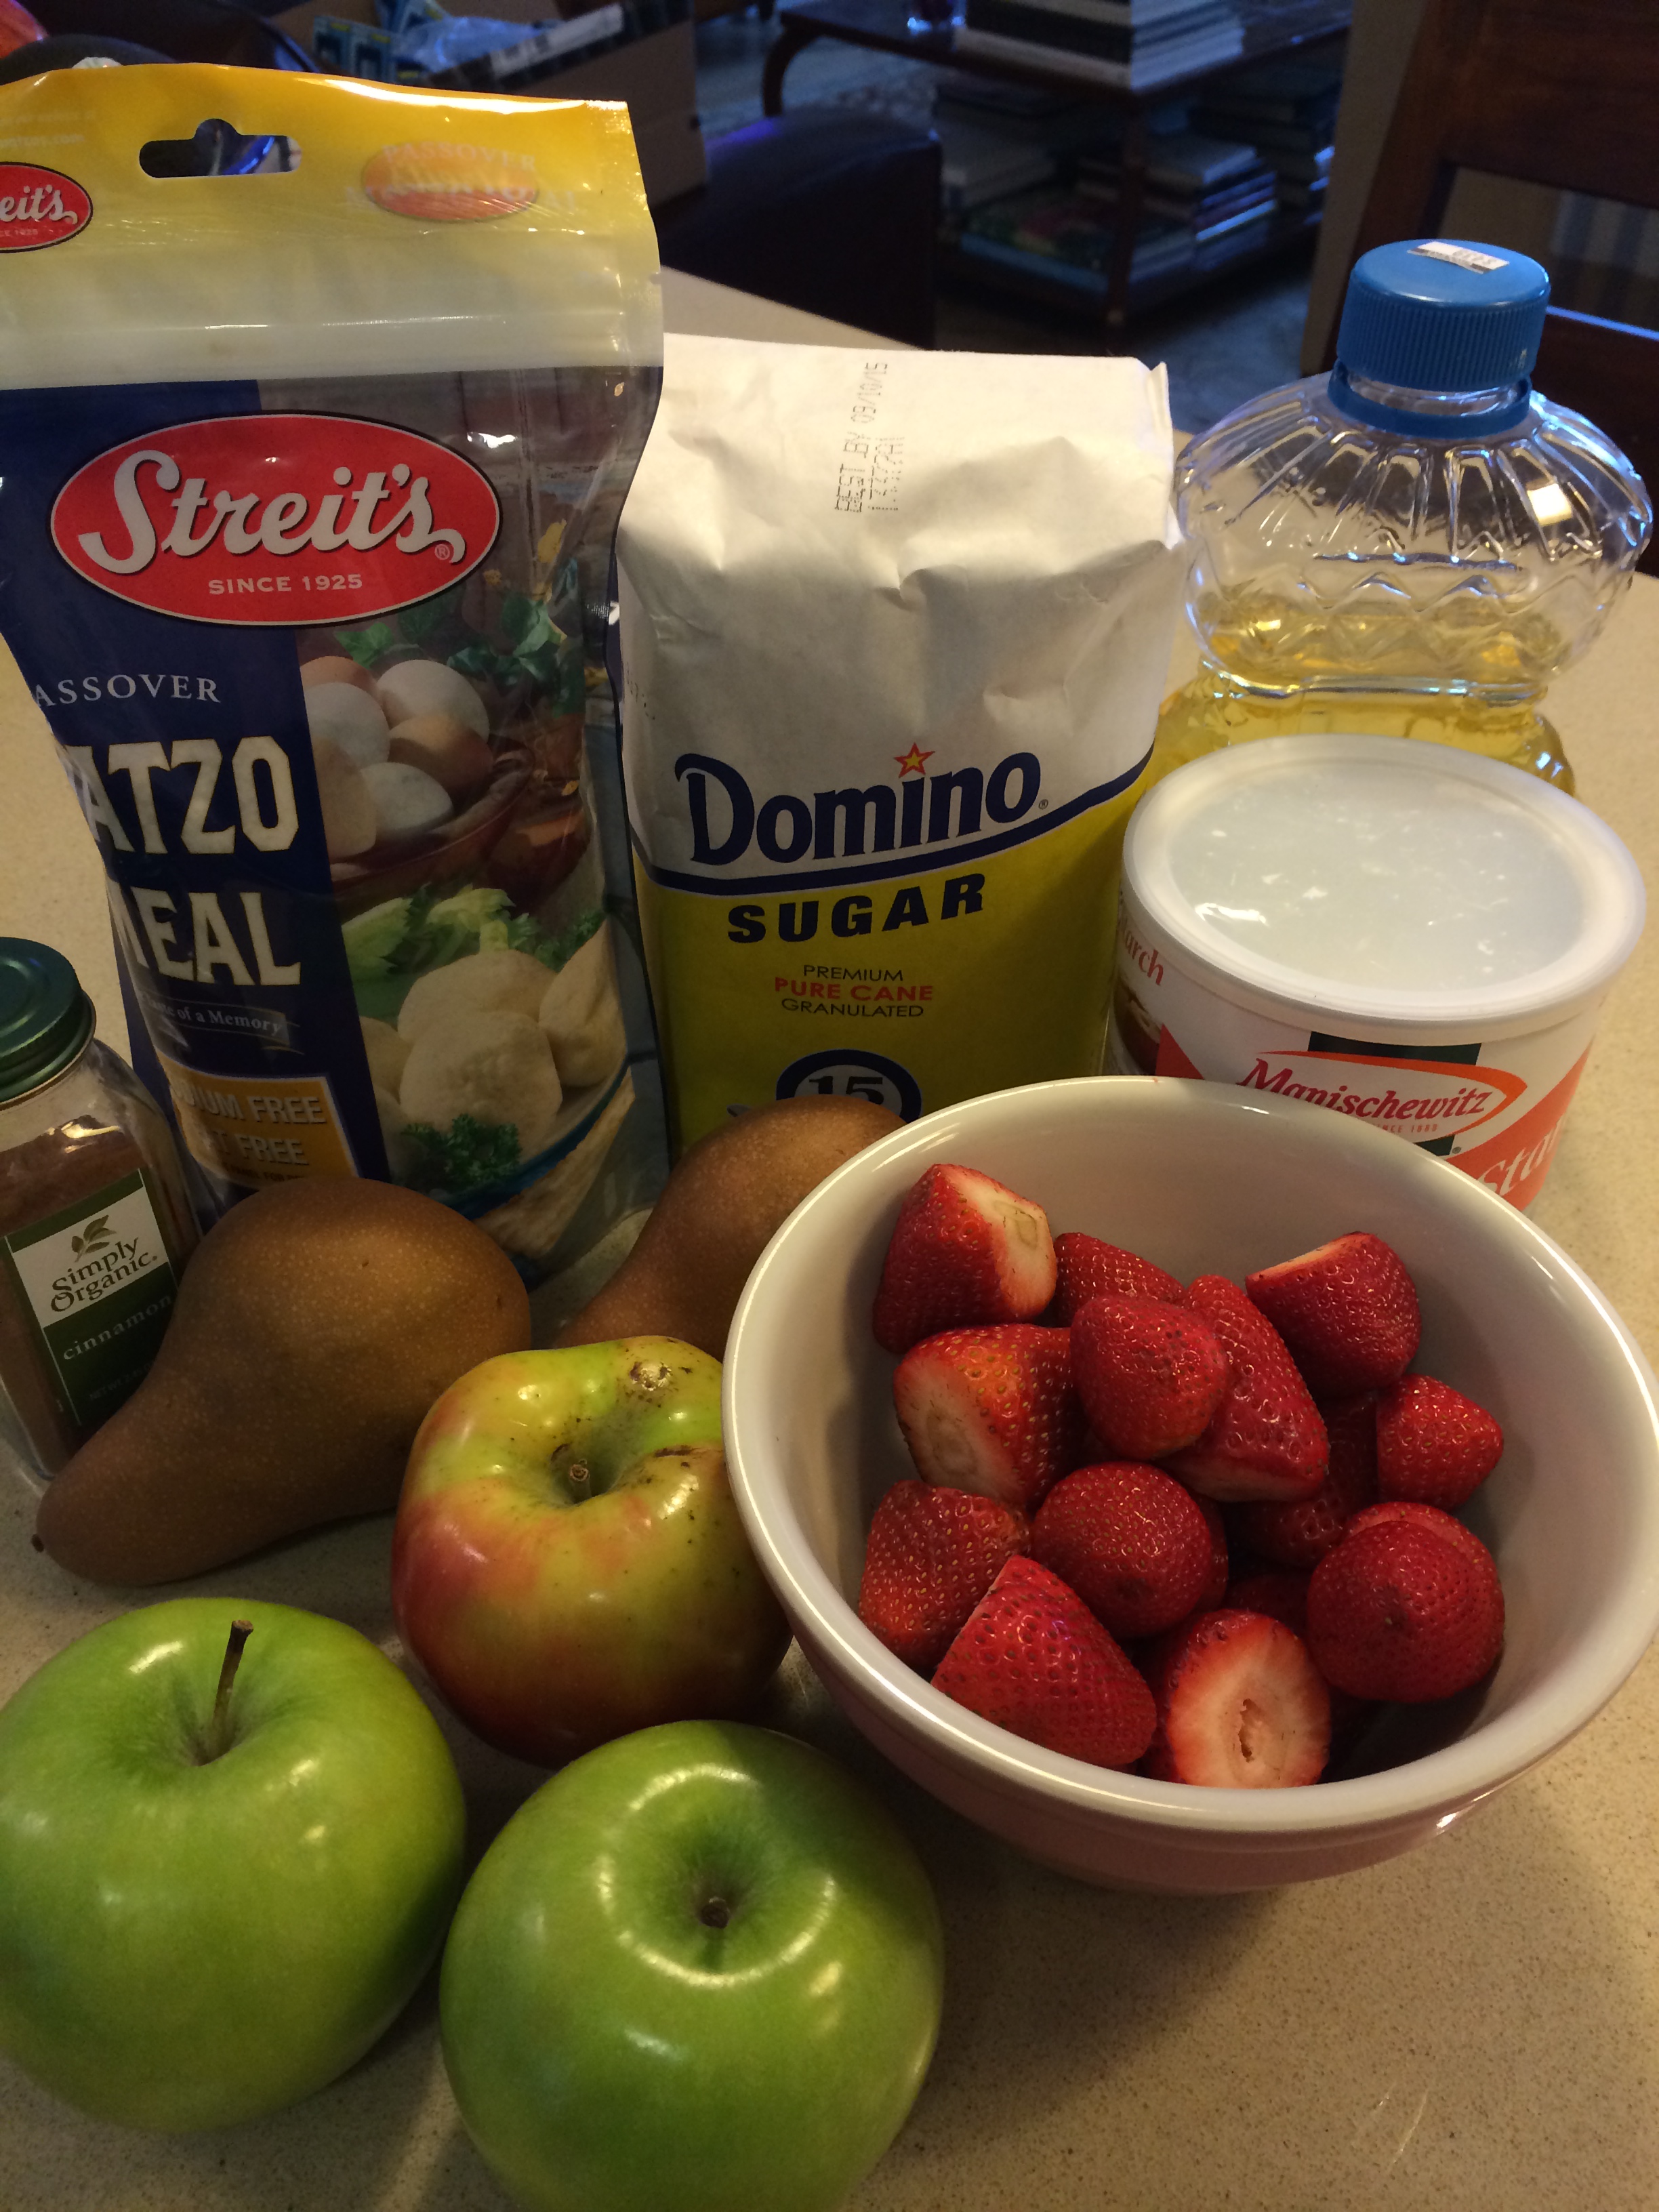
6 apples (I used what I had in the house: a combo of Granny Smith and Honey Crisp. Good old Macintosh will work, too.)

1 tablespoon cinnamon

5 tablespoons sugar

2 3/4 cups flour, sifted

1 tablespoon baking powder

1 teaspoon salt

1 cup vegetable oil

2 cups sugar

1/4 cup orange juice (try to use fresh but if not, Tropicana will do)

2 1/2 teaspoons vanilla

4 eggs

1 cup walnuts, chopped (this is optional; I didn’t use them this time out)

Directions:

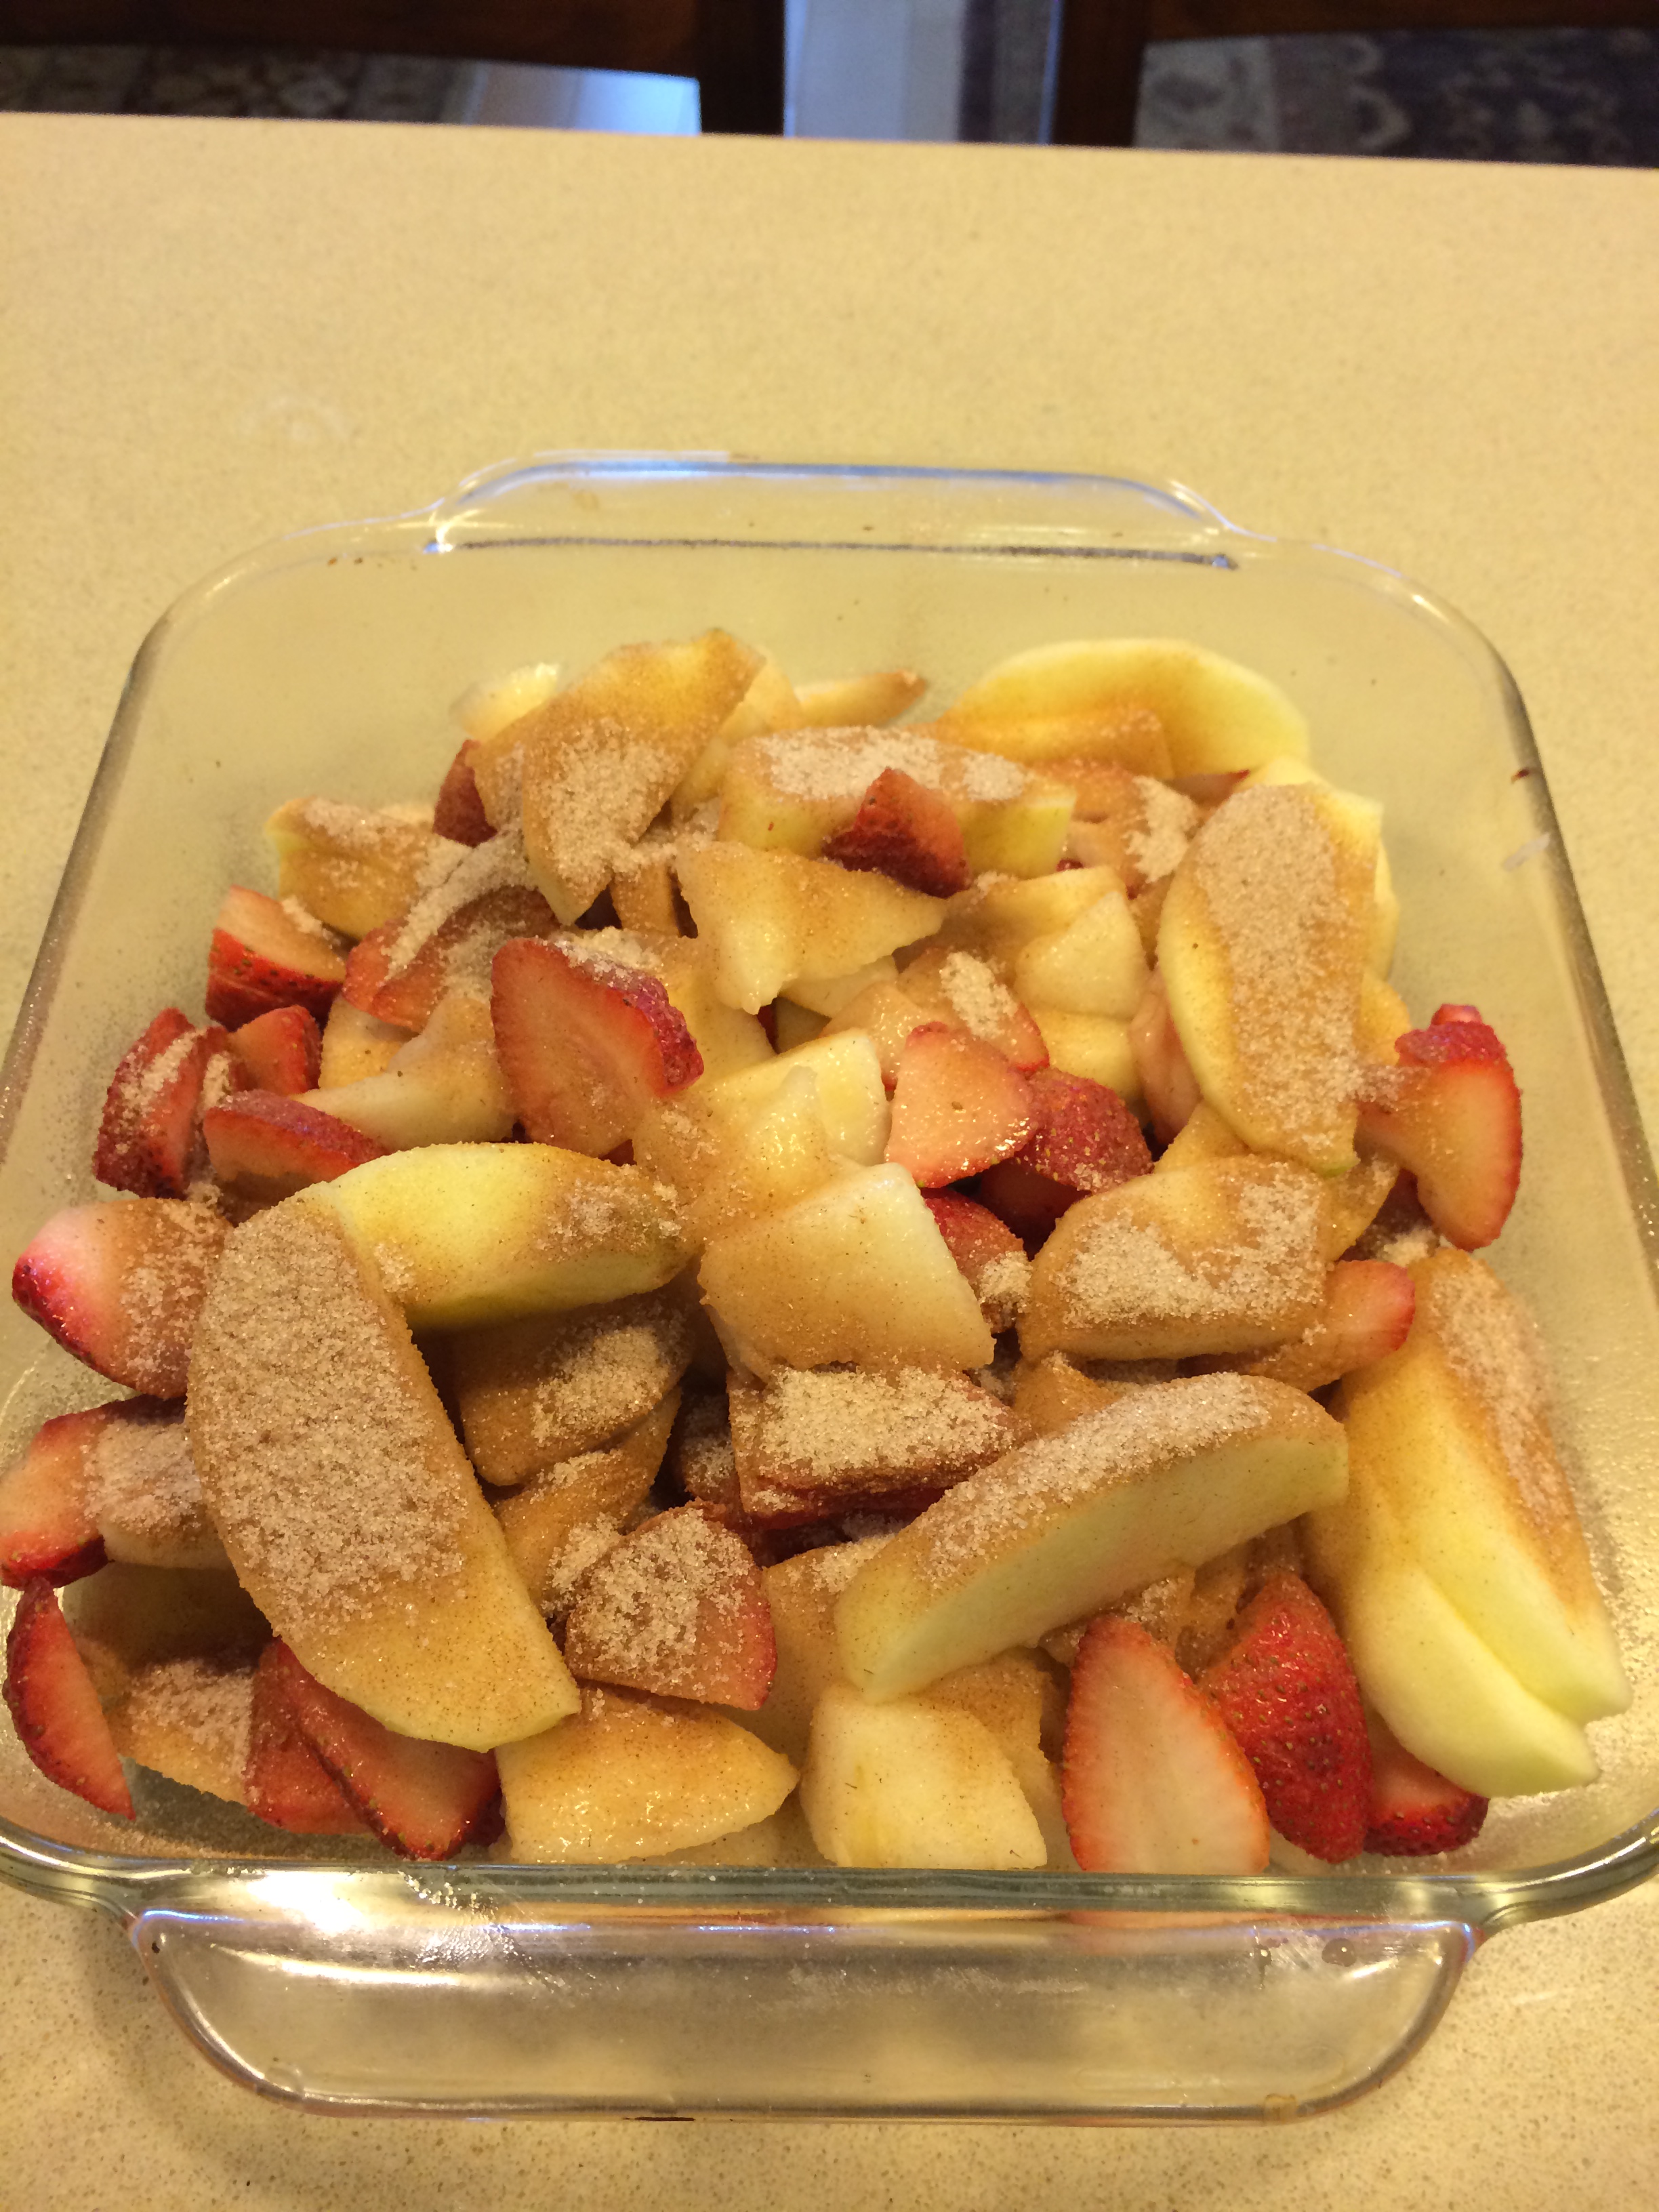
Preheat oven to 350 degrees. Grease a tube pan. Peel, core, and chop apples into chunks. Toss with cinnamon and sugar and set aside (I sprayed with a baking spray. There’s no need to add any butter here.)

Stir together flour, baking powder, and salt in a large bowl. In a separate bowl, whisk together oil, orange juice, sugar and vanilla. This mixture will be rather thick.  Mix wet ingredients into the dry ones, then add eggs, one at a time. Scrape down the bowl to make sure all ingredients are incorporated. Use a rubber spatula to get it all out of the bowl.

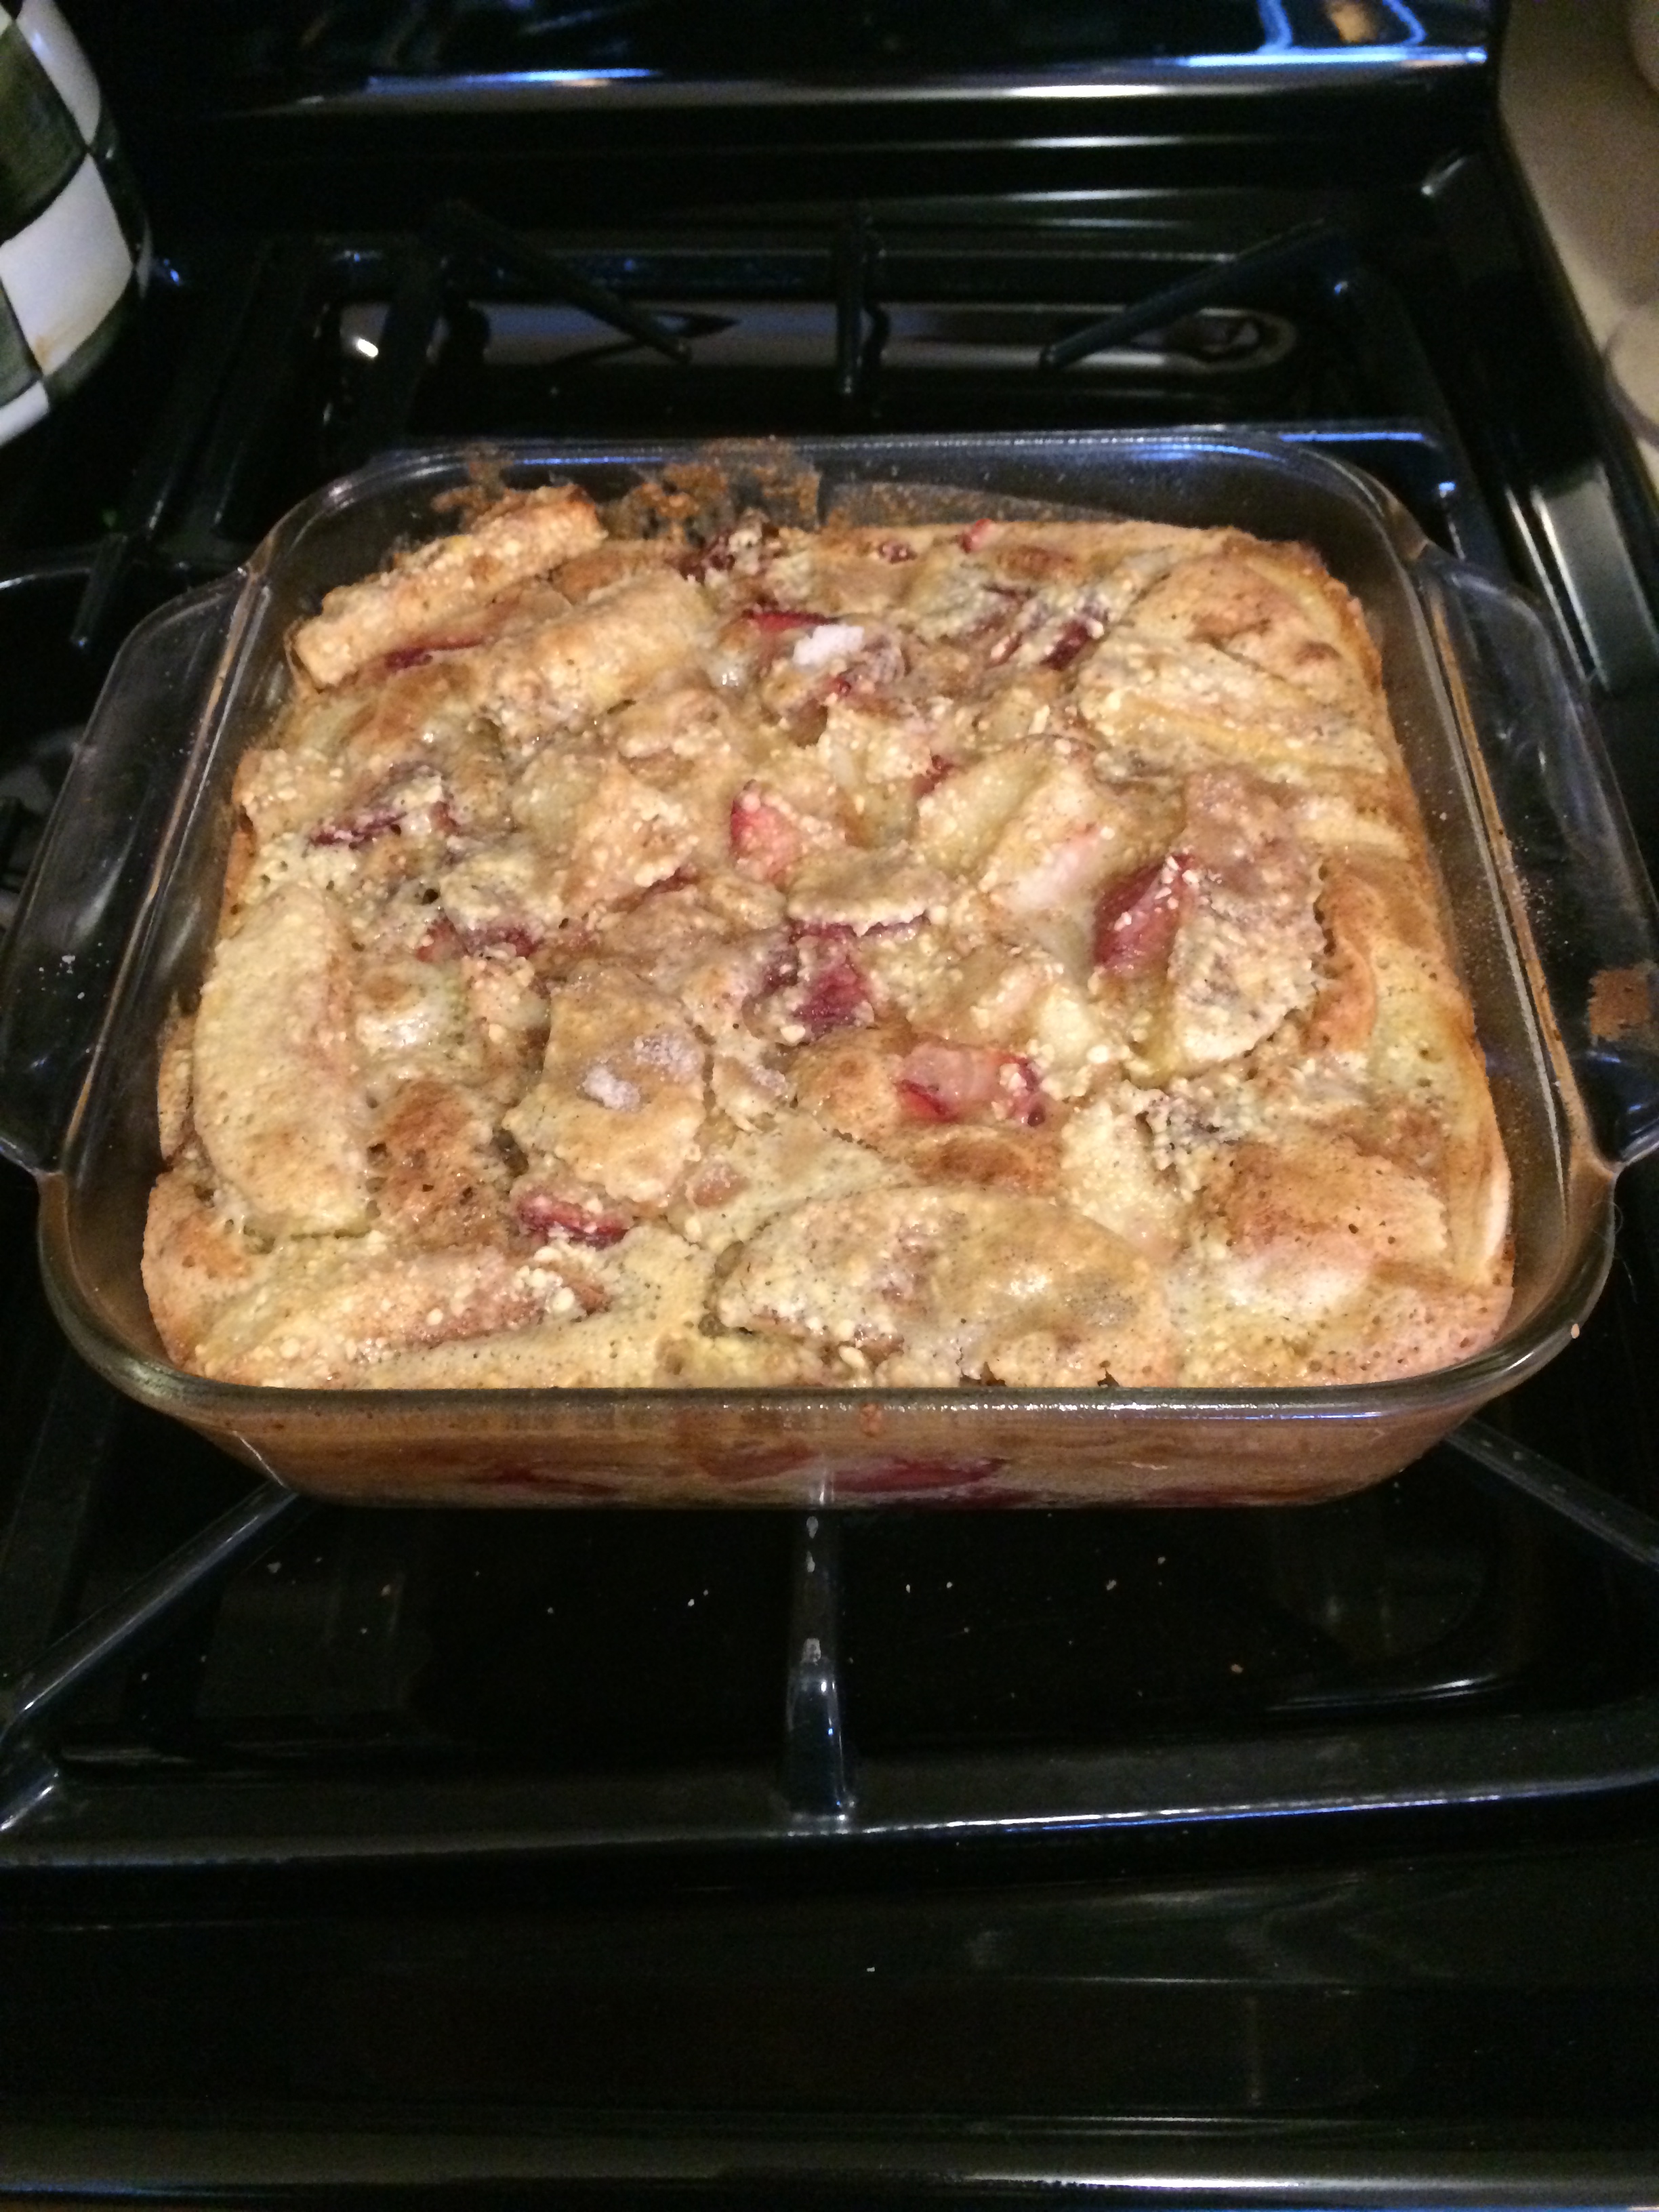
Pour 1/2 the batter into prepared tube pan. Spread 1/2 the apples over this. Pour the remaining batter over the apples and arrange the remaining apples on top. Use your eye to halve  batter and apples (don’t worry if it’s not perfectly halved.) Bake for about 90 minutes, or until a cake tester (or toothpick) comes out clean. I would check cake after 1 hour 20 minutes. I baked for the full 90 minutes; it’s a rather thick cake.

Triple Berry Crisp–Gluten Free

IMG_7716 IMG_7709 (2) IMG_7702 IMG_7698 I love sugar as much if not more than the next guy but this was an opportunity to make a berry crisp without any white sugar or flour.  I stumbled upon this recipe on one of the million blogs, sites and posts I see spouting Paleo and Gluten Free recipes. I am not a paleo eater nor am I gluten free but it can’t hurt to have a recipe that is light on the sugar and fairly healthy to boot. If you would like it a little bit sweeter you can add a tablespoon of coconut sugar or a packet of stevia, I didn’t and I liked it just the way it was.  It intrigued me since I love a crisp but hate the amounts of sugar that go into it, even though I do love eating it.

I had some fresh blueberries, some fresh blackberries and a few random raspberries that were going to go uneaten . What better time to try this? You can make this with just blueberries, or any berry or fruit you like. Berries are in abundance now and super delicious. This recipe took me all of 1/2 hour to put together. Use cooking spray on ramekins and baking sheet or use parchment paper for easier clean-up.  I used 4 ramekins but you can stretch this to 6 for sure.

I just sampled and can say that while they are not cloyingly sweet they have a bit of sweetness and crunch and you can really taste the tartness of the berries. I wouldn’t mind topping with some  ice cream or yogurt but I guess that would be defeating the purpose. There are some wonderful dairy-free ice creams out there and I suppose they would work just fine.

Just an addition– I ate it for breakfast this morning!!! with a little greek yogurt!

Ingredients:

app. 2 pints of berries — as I said you can mix them or use any one you like best. I used black, blue and raspberries. This can be made with apples, peaches, strawberries , nectarines and any combination of the above. I like making them in individual ramekins as a way of having portions already prepared which I think is very nice for dessert but equally nice made in a larger baking dish and you may need to double up on ingredients.

Ingredients:

Juice of 1 lemon

1 cup almond flour–available in most supermarkets today ( Whole Foods)

*1/2 cup slivered almonds–obviously can be made without nuts but I love the crunch

1/4 cup coconut oil, melted

2 tbsp. maple syrup ( use pure maple not the artificial one)

1 tsp. cinnamon

pinch of nutmeg

Directions:

Preheat the oven to 375 degrees

In a bowl, mix together the berries with the lemon juice. Divide between the ramekins ( spray ramekins first) you can also bake this in one large baking dish of course.

You can use the same bowl or a new one, and mix together remaining ingredients until combined. Spoon the almond mixture over the berries. Bake for app. 30 minutes , until bubbly and golden brown. Mine were done in 25 minutes so check your oven after 20 minutes to see where they’re at.

Let it cool slightly before serving.

OMG Apricot Bars

OMG Apricot Bars out of oven

OMG Apricot Bars pre cooked

These bars are nothing short of a-mazing! They are the most perfect, delicious treats–great to take on a hike, great for after a ride on your bike…ok, enough Dr. Seuss. Just go ahead and bake them–it is not difficult. I woke up early this morning and decided to bake them and one hour later, they were finished and out of the oven. They remind me of a yummy, soft granola bar. If you don’t like apricots, substitute cherries and cherry preserves, blueberries and blueberry preserves, etc. (I’m not sure if I would use fresh blueberries. Just stick with the dry version of the fruit and the matching preserves.) Thanks to Giada for the inspiration on this one!

INGREDIENTS:

Filling:

1 large jar of apricot preserves (I used an 18 oz jar of apricot/pineapple preserves because that’s what I had in the house. You can use a 13 oz jar of apricot preserves. I like it very gooey so I used a large jar of preserves.)

8 dried apricots, chopped up into small pieces

Crust:

1 3/4 cups all-purpose flour

1 cup light brown sugar, packed

1 teaspoon ground cinnamon

3/4 teaspoon baking powder

3/4 teaspoon kosher salt

1 teaspoon vanilla

1 3/4 cups old-fashioned oats (not the instant or 1-minute kind)

1 cup chopped walnuts

1 stick unsalted butter, melted

1 egg (room temperature), beaten

DIRECTIONS:

Preheat oven to 350 degrees. Make sure oven rack is in the center of the oven.

Line a 9×13 baking dish with parchment paper (see picture) on the bottom and the sides and then spray the paper with cooking spray (I use Pam).

In a bowl, mix together the jam and the dried apricots and set aside.

In a large, separate bowl, whisk together the flour, brown sugar, cinnamon, salt and baking soda. Stir in the oats and walnuts. Add the melted butter, egg and vanilla and mix very well. Using a utensil or your clean hands, lightly press half of the crush mixture into the bottom of the prepared pan. Using a knife or spatula, spread the apricot filling (use it all) over the first layer of crust. Cover the filling with the remaining crust mixture and gently press the crust mixture to flatten. Bake for about 35 minutes until light golden brown. Cool for at least one hour. Cut into bars. They will lift right out of pan with the paper and cleanup is a snap with parchment paper.

These will stay in an airtight container for at least three days. I will freeze them for the next time we want them, because they are too dangerous to have around.

* Yields about 24 bars

Summer Crumble — Peach and Blueberries

photo 3 (6)photo 3 (7)photo 2 (6)photo 2 (8)A crumble or a crisp whatever you call it there is no reason not to make this simple delicious dessert. In the summer you have so very many seasonal fruits to choose from and all sorts of delicious combinations. I used peaches and blueberries today because the peaches are amazingly beautiful and I had an abundance of blueberries. Any stone fruit, berries, or pitted cherries will work. In the Fall I make this with apples and pears which is Joel’s favorite of all time. The fruit comes out soft and tender and the crumbly crunchy cap is ever so crisp. Delicious served warm with a scoop of vanilla ice cream.

I used an 8×11 pyrex but any baking dish around that size will work out just fine.

You’ll need a food processor to do the crisp topping this way. You must use cold butter straight out of fridge. I also added a little bit of chopped nuts but this is totally optional.

Plums and Nectarines work just as well. I also sprinkled a dash of cinnamon on the top (just a touch) right before baking , this is also totally optional.

Ingredients:

Fruit Mixture:

app. 8 cups sliced stone fruit, berries or pitted cherries I used peaches which I pitted, peeled and sliced and 1 container of blueberries (6 oz.)

1 cup sugar

2 Tbsp. Corn Starch

1 tsp. finely grated orange zest ( almost a whole orange)

2 Tbsp. of freshly squeezed orange juice from zested orange

pinch of kosher salt

In a large bowl toss fruit, sugar, cornstarch, salt, zest and juice together with a spoon. Set aside. I also sprayed baking dish with Bakers Aid cooking spray which is great stuff.

Preheat oven to 375 degrees.

Crumble Topping:

Ingredients:

3/4 + 1/4 cup of old-fashioned oats separated. 3/4 cup will be used at beginning and 1/4 cup at end.

1/3 cup all-purpose flour

1/4 cup light brown sugar ( firmly packed)

1/2 teaspoon kosher salt

1 stick chilled unsalted butter , straight out of fridge and this is important here. Butter should be diced into small pieces. Cut stick in half then cut into small uniform pieces.

Directions for crumble topping:

In the bowl of food processor with blade , pulse oats, flour, light brown sugar, salt together. Then through the top tube drop in diced cold butter and pulse until no dry spots remain, it takes a few minutes. Transfer to a bowl and add in 1/4 cup old-fashioned oats with your fingers.

Transfer fruit mixture to prepared baking dish, scatter crumble topping over the mixture. I added some chopped nuts and a little cinnamon at this point. Place baking dish on a baking sheet ( sprayed with cooking spray as well) and bake at 375 degrees for at least 50 minutes, check on it. You don’t want to pull it out too soon because you want the crumble to brown perfectly and the fruit will not thicken. You’ll know it’s ready by the color of the crumble topping.

Allow to cool for an hour.

You can heat up before eating at 250 degrees covered for about a 1/2 hour should be enough.

You can freeze this as well. Take out the night before you’ll want it and let it defrost in the refrigerator, the next day take it out and let it come to room temperature before re-heating. I freeze it often and it works out quite well.


Blackberry Cobbler

before cobbler gets baked , with biscuit topping

before cobbler gets baked , with biscuit topping

finished product - Yum

finished product – Yum

photo (3) Memorial Day has already passed and Summer Season is officially upon us even though it’s not technically Summer yet.  This brings me to this delicious dessert filled with the most delicious in season blackberries.  I have posted numerous blueberry cobblers but this one has to be my personal favorite made with Blackberries.  It’s a real deal Old Fashioned Cobbler.  You can really make this with any fruit but I love Blackberries while they’re sweet, plump and delicious! Blueberries and Red Raspberries will also work  well. Or you can mix up the fruits!


Ingredients:

1 pound or about 3 1/2 – 4 cups blackberries , cleaned , rinsed and dried

1 tablespoon arrowroot or cornstarch

2 tablespoons fresh lemon juice

1 cup all-purpose flour

3/4 cup sugar, I use regular granulated sugar for cobbler inside and on top I use turbinado sugar. 1/2 cup granulated sugar for inside cobbler and 1/4 cup turbinado

1 teaspoon baking powder

1/4 teaspoon salt

1/2 cup whole milk or you can use low-fat buttermilk

3 tablespoons unsalted butter, melted

3/4 cup boiling water

Directions:

Preheat the oven to 350 degrees.

In a bowl I place the clean blackberries that I’ve washed and dried. I sprinkle them with the arrowroot and lemon juice and mix gently  Set aside.

In a medium size bowl, I sift the flour, 1/2 cup sugar, baking powder and salt. Add the milk and butter. Stir until just combined, don’t over stir, it shouldn’t be smooth. Then by the moundful drop dough onto blackberries. I spread around a little bit but don’t completely cover the top of berries. ( see photo) the dough will spread a little once it’s baked.

Pour boiling water over the dough and fruit before you bake it. Sprinkle top with 1/4 turbinado sugar or regular sugar. Raw sugar or turbinado sugar makes it a little crunchier topping. I prefer it to regular sugar for a topping.

*if you are preparing in advance which is what I did today. Prepare up till the boiling water and sugar part. Refrigerate for up to 2 days , bring to room temperature then pour boiling water and top with sugar and bake. I baked for app. 45 minutes till dough gets browned and crackly looking and blackberries are bubbling. ( see photos)

Remove from oven and let sit but serve while it’s still warm with ice-cream for extra added deliciousness!

Happy Summer from my kitchen to yours.

Passover Cobbler

photo 1 (65)photo 3 (51)photo 1photo 4 (2)I stumbled upon this recipe in my recipe file, haven’t a clue as to where it’s from but it looked good and I tried it and it is definitely worthwhile. Very easy to make and small prep time. It’s nice to make this with a few different fruits , I used apples, pears and strawberries. Use whatever fruits you like, but I will say that the strawberries added the zing it needed, I wouldn’t omit them. I used a whole pint of strawberries and sliced them thinly. Pretty tasty for a Pesach cobbler.

Ingredients:

3 large eggs (room temperature)

3/4 cup sugar

1/4 cup Vegetable oil

3/4 cup matzo meal

2 tablespoons potato starch

6-8 cups fruit, peeled and sliced like apples, pears, and strawberries ( I used a whole pint of strawberries, 2 apples and 2 pears)

1/8 cup cinnamon sugar ( you can just make this yourself, 1/8 cup of sugar mixed with a 1/2 teaspoon of cinnamon)

Directions:

Preheat oven to 350 degrees. Lightly spray a 9×9 square baking pan.

Beat eggs with sugar until well blended. Add the oil, matzo meal and potato starch and blend well. I used an electric mixer.

Put all the fruit in the pan and sprinkle with most of the cinnamon sugar, reserving a little for the top. Spoon the batter over the fruit, covering as much of the fruit as you can. Sprinkle with remaining cinnamon sugar.

Bake until the topping is set and just turning a tan like color, about 45 minutes. Serve hot, warm or at room temperature.

*If you let the fruit sit for a while with cinnamon sugar mixture the flavors really soak in. So if you have the time I would do this. If not , it’s fine as well.

This will freeze perfectly . Just let it completely cool down before freezing. I cut into squares for freezing.


Passover Popovers

Super easy and Super light and delicious. Give this one a try. These are delicious during Passover with some preserves in the morning as well as with your Seder Meal. Enjoy and Happy Passover Cooking from my kitchen to yours. I used a muffin tin and it worked out perfectly. Bake these light airy treats for your Seder to rave reviews. One per person is perfect , this recipe yielded 9 popovers. photo20130321-113701.jpg photo

Ingredients:

1 cup cake meal

4 eggs — always work with room temperature eggs unless otherwise stated for best results

1 tsp. salt

1 Tbsp. sugar

1 cup water

1/2 cup peanut oil

Directions:

Preheat oven to 400 degrees.

Mix the cake meal, salt and sugar in a bowl.

Bring oil and water to a boil, add cake meal mixture and remove from stove.

Beat in one egg at a time and mix a lot. It will be thick.

Allow to stand for 15 minutes.

Drop into a well-greased muffin or popover tin using a tablespoon to 3/4 full. I spray with cooking spray . I used a Canola Oil baking spray, or lightly grease pan with canola oil.

Bake at 400 degrees for 35 minutes till medium golden brown. I placed pan in the center of the oven .

Warm before serving if desired.


Happy Valentines Day Brownies – Chocolatey and Fudgey


This is a delicious easy to make Chocolate Fudgy Brownie. Perfect for Valentines Day , as it is such a Chocolatey Holiday. I have always had a  rather large sweet tooth and  Valentines Day always meant candy, chocolate, dessert of one kind or another and it was always up there with my other favorite , Halloween for pretty much the same reasons. How can you not like a holiday that has so much sweetness?  Make this brownie  anytime and  top with ice cream and chocolate sauce for an incredibly killer dessert. I personally cut them up into small pieces and don’t feel as guilty when I eat them. I came in today from being out all day and saw them on the cake stand and because I had cut them up so small, I indulged in two pieces and it just hit the spot!!! Make no mistake these are the real deal, and I never really understand why anyone would use a mix when this is so easy and all the ingredients are so readily available.  And you have bragging rights for Homemade. Just make sure you use an 8 x 8 baking dish, this really does make a difference. Enjoy and Happy V-Day!!!!

Ingredients:

1/2 cup unsalted butter, melted

3 ounces unsweetened chocolate, chopped ( when you buy the box, the chocolate comes in squares, each square is an ounce)

1/8 tsp. salt (regular table salt)

1 cup sugar

2 large eggs at room temperature, lightly beaten

1 tsp. vanilla extract

3/4 cup Cake flour (make sure you use Cake Flour not regular Flour)

1 cup semi- sweet chocolate chips

1/2 cup chopped nuts ( I used chopped pecans , but chopped walnuts are good as well)

*extra unsalted butter for greasing the pan, I admit to using butter but you can spray with baking spray. (Pam)

Directions:

Preheat oven to 350 degrees. Grease an 8 inch square baking dish with unsalted butter ( or spray with Baking Pam)  In a saucepan melt the stick of butter and then when it is melted add the chopped unsweetened chocolate on low heat. Stir often until all the chocolate has been melted. Add the sugar in and let cool for at least 10 minutes.  Once it has sufficiently cooled off , take out another bowl and add beaten eggs and vanilla, and mix well and stir in chocolate mixture. Blend in cake flour ,salt and mix, do not  over mix, just mix till blended. Then add in chocolate chips, and nuts if you’re using them.

Pour batter into greased baking dish and spread evenly. Tap the pan on countertop to get rid of any air bubbles, about 3 or 4 times ought to do it.

Bake the Brownies for 30 minutes ( it’s exactly how long I did)  insert a cake tester or toothpick and it should come out almost clean. Be careful not to over bake.

Remove from the oven and cool completely before slicing into squares.

I actually took out of oven and let it sit out covered almost all day, so by the time I cut into them they were completely cool. I used a knife and wet it, so it would cut cleanly.

So yummy!:) Served with an ice cold glass of milk, perfection.

Also can sprinkle a little sifted confectioners sugar on top of cooled brownies before serving if you’d like.

P B and J Bars (Peanut Butter and Jelly) Real Comfort Food

p b and j bars

These bars definitely fall into the decadent category. They are super rich, super dense and super delicious. You kind of have to be a PB&J type to really like these and since I am, I love them. This is the time of year for baking and some real comfort food baking seems to happen around the Holidays.

The trick to this recipe is to let it cool completely before even attempting to cut them. Actually, this time I put in refrigerator for a few hours, used a knife with a cup of water to cut. I cut them into very small pieces because they are so rich. Pour a glass of milk, sit down with a small piece and enjoy! The original recipe comes from Ina Garten and I’ve made a few small, personal changes. This time out I omitted the chopped peanuts on top, wanted to make it without , and they were perfect. The extra added peanuts add some crunch, but not totally necessary . I think we could all use a little of this good old fashioned comfort food now and again.

INGREDIENTS:

2 sticks unsalted butter, room temperature

1 1/2 cups sugar

1 tsp vanilla extract

2 extra-large eggs, room temperature

2 cups (18oz.) creamy peanut butter (I use Skippy reduced fat)

1 1/2 cups (18 oz.) raspberry jam (or any other flavor you like) this time I tried seedless raspberry jam which worked out so well ( Smuckers or Bonne Maman are 2 of my favorites)  but any one will do. Use flavor you like.

3 cups all-purpose flour, sifted

1 tsp baking powder

1 1/2 tsp kosher salt

*2/3 cups chopped salted peanuts ( coarsely chopped) (I omitted this time out ) as you can see by pictures.

DIRECTIONS:

Preheat the oven to 350 degrees.

Grease a 9×13 inch cake pan. Line it with parchment paper, then grease and flour the pan. (You can also spray with baking spray. I like to use a little butter on parchment paper.)

In the bowl of an electric mixer with the paddle attachment, cream the butter and sugar on medium speed until light yellow (a few minutes). Switch the mixer to low-speed and add eggs, vanilla, and peanut butter and mix well.

In a small bowl, sift together the dry ingredients. With the mixer on low-speed, add the flour mixture (dry ingredients) slowly into the peanut butter mixture, until well combined.

Spread 2/3 of the dough into the prepared cake pan and spread over the bottom with a knife or spatula. Spread the jam evenly over the dough. Drop small globs of the remaining dough evenly over the jam (use a spoon and don’t worry if the jam isn’t completely covered). Sprinkle with chopped peanuts and bake for 40-45 minutes. Cool completely and cut into squares.

*yields about 24 bars but I can usually get about 30 but cutting them small

Chocolate Croissant Bread Pudding

IMG_9890 Our daughter Kerri made this for Thanksgiving this year and it is new to our repertoire and oh so delicious and amazingly easy to make. With the holidays quickly approaching you might want to check this one out and definitely keep it in mind for a dinner party or family gathering.  You will look like a rock star . This recipe is from Naomi Robinson and her website Bakers Royale .  Just find the best chocolate croissants you can buy out there and the rest is easy. It’s truly fuss-free and the ultimate in comfort food. Makes for an amazing dessert or brunch dish.

You can make in a 9×13 Pyrex type baking dish or a 2 small round pie dishes, or 2 smaller baking dishes.

Ingredients:

1 cup granulated sugar

8 Tablespoons butter, softened

3 large egg yolks

3 large eggs

2 cups milk ( preferably whole)

1/2 cup heavy cream

1 1/2 teaspoon vanilla extract

1/4 teaspoon salt

1 teaspoon cinnamon

1 teaspoon instant espresso powder

8-10 (1 lb.) chocolate croissants–you will be cutting into 1″ cubes

6 oz. semi-sweet chocolate chips

*confectioners sugar for dusting

Directions:

Pre-heat oven to 350 degrees. Lightly spray a 9×13 baking dish or 2 8 inch pans or 2 round pie dishes..

Place butter and sugar in a food processor and pulse until blended. Add in egg yolks, eggs, milk , cream , vanilla extract, salt, cinnamon and instant espresso powder. Pulse to blend. If no processor you can use your blender.

Cut croissants into 1 inch cubes and place them into preferred pans. Sprinkle evenly with chocolate chips. Pour custard mixture on top. Gently press down on croissant pieces to ensure even absorption.

Bake until set but still soft and a knife inserted at the center comes out clean, about 30-40 minutes. Dust with confectioners sugar just prior to serving. Serve warm or at room temperature.

This is simply amazing.