Category Archives: Baked Goods

7-UP Bundt Cake

IMG_7176 IMG_7179 IMG_7183IMG_7238 IMG_7237 IMG_7234 IMG_7222Now you have to wonder how a cake like this ever get discovered in the first place? Baking with actual drinking soda sounds both disgusting and intriguing but I was up for the task. I promise you it was delicious. IMG_0563 IMG_0561  I gave up drinking soda a few years ago and now I’m going to put it in a cake? But that’s exactly what I did. I had to wonder how a cake like this came to be,  was someone drinking 7-UP and spilled 3/4 of a cup in by accident? OMG it’s a lot to think about it but all I can say is WOW! I did a little research on the recipes and there are quite a few out there, most of these “soda” cakes seem to hail from the South.  Baking is a little tricky up here at high altitude but it went well. Bundt cakes make you look like a rock-star baker. I made a few changes to recipe adding vanilla extract and lemon extract. Lemon extract was the key for me. I kept the glaze simple but there are some awesome renditions out there.

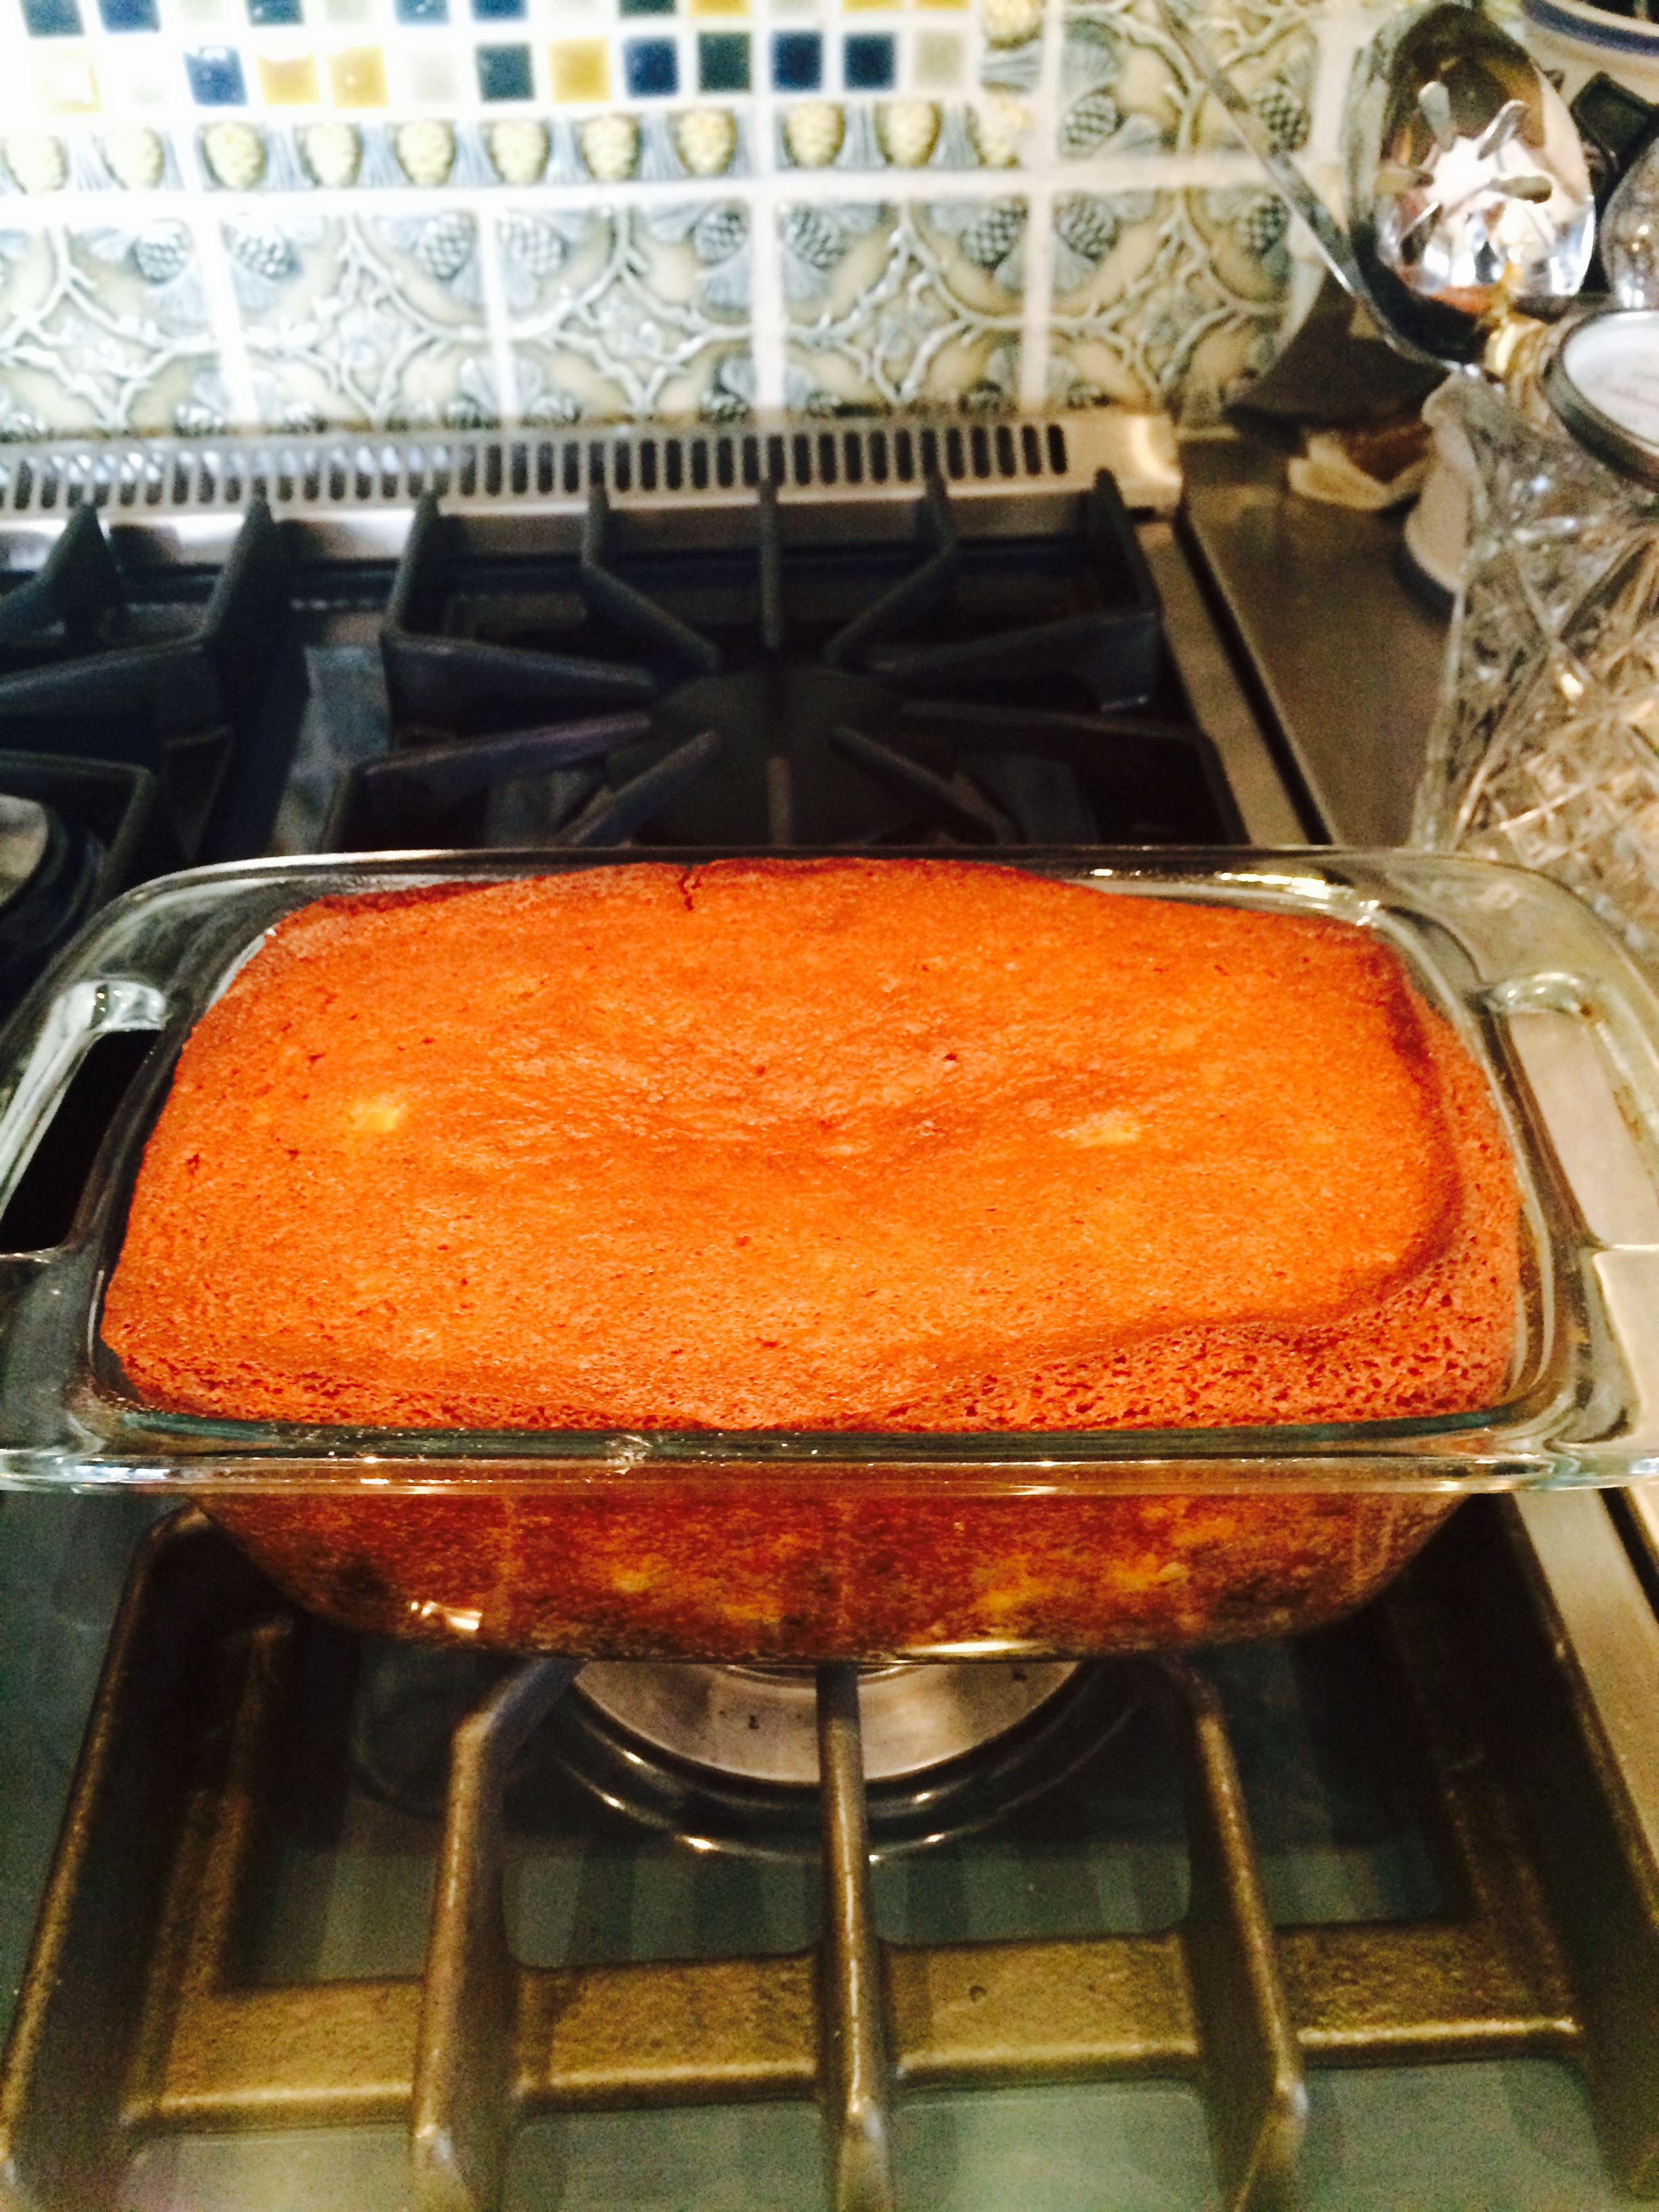
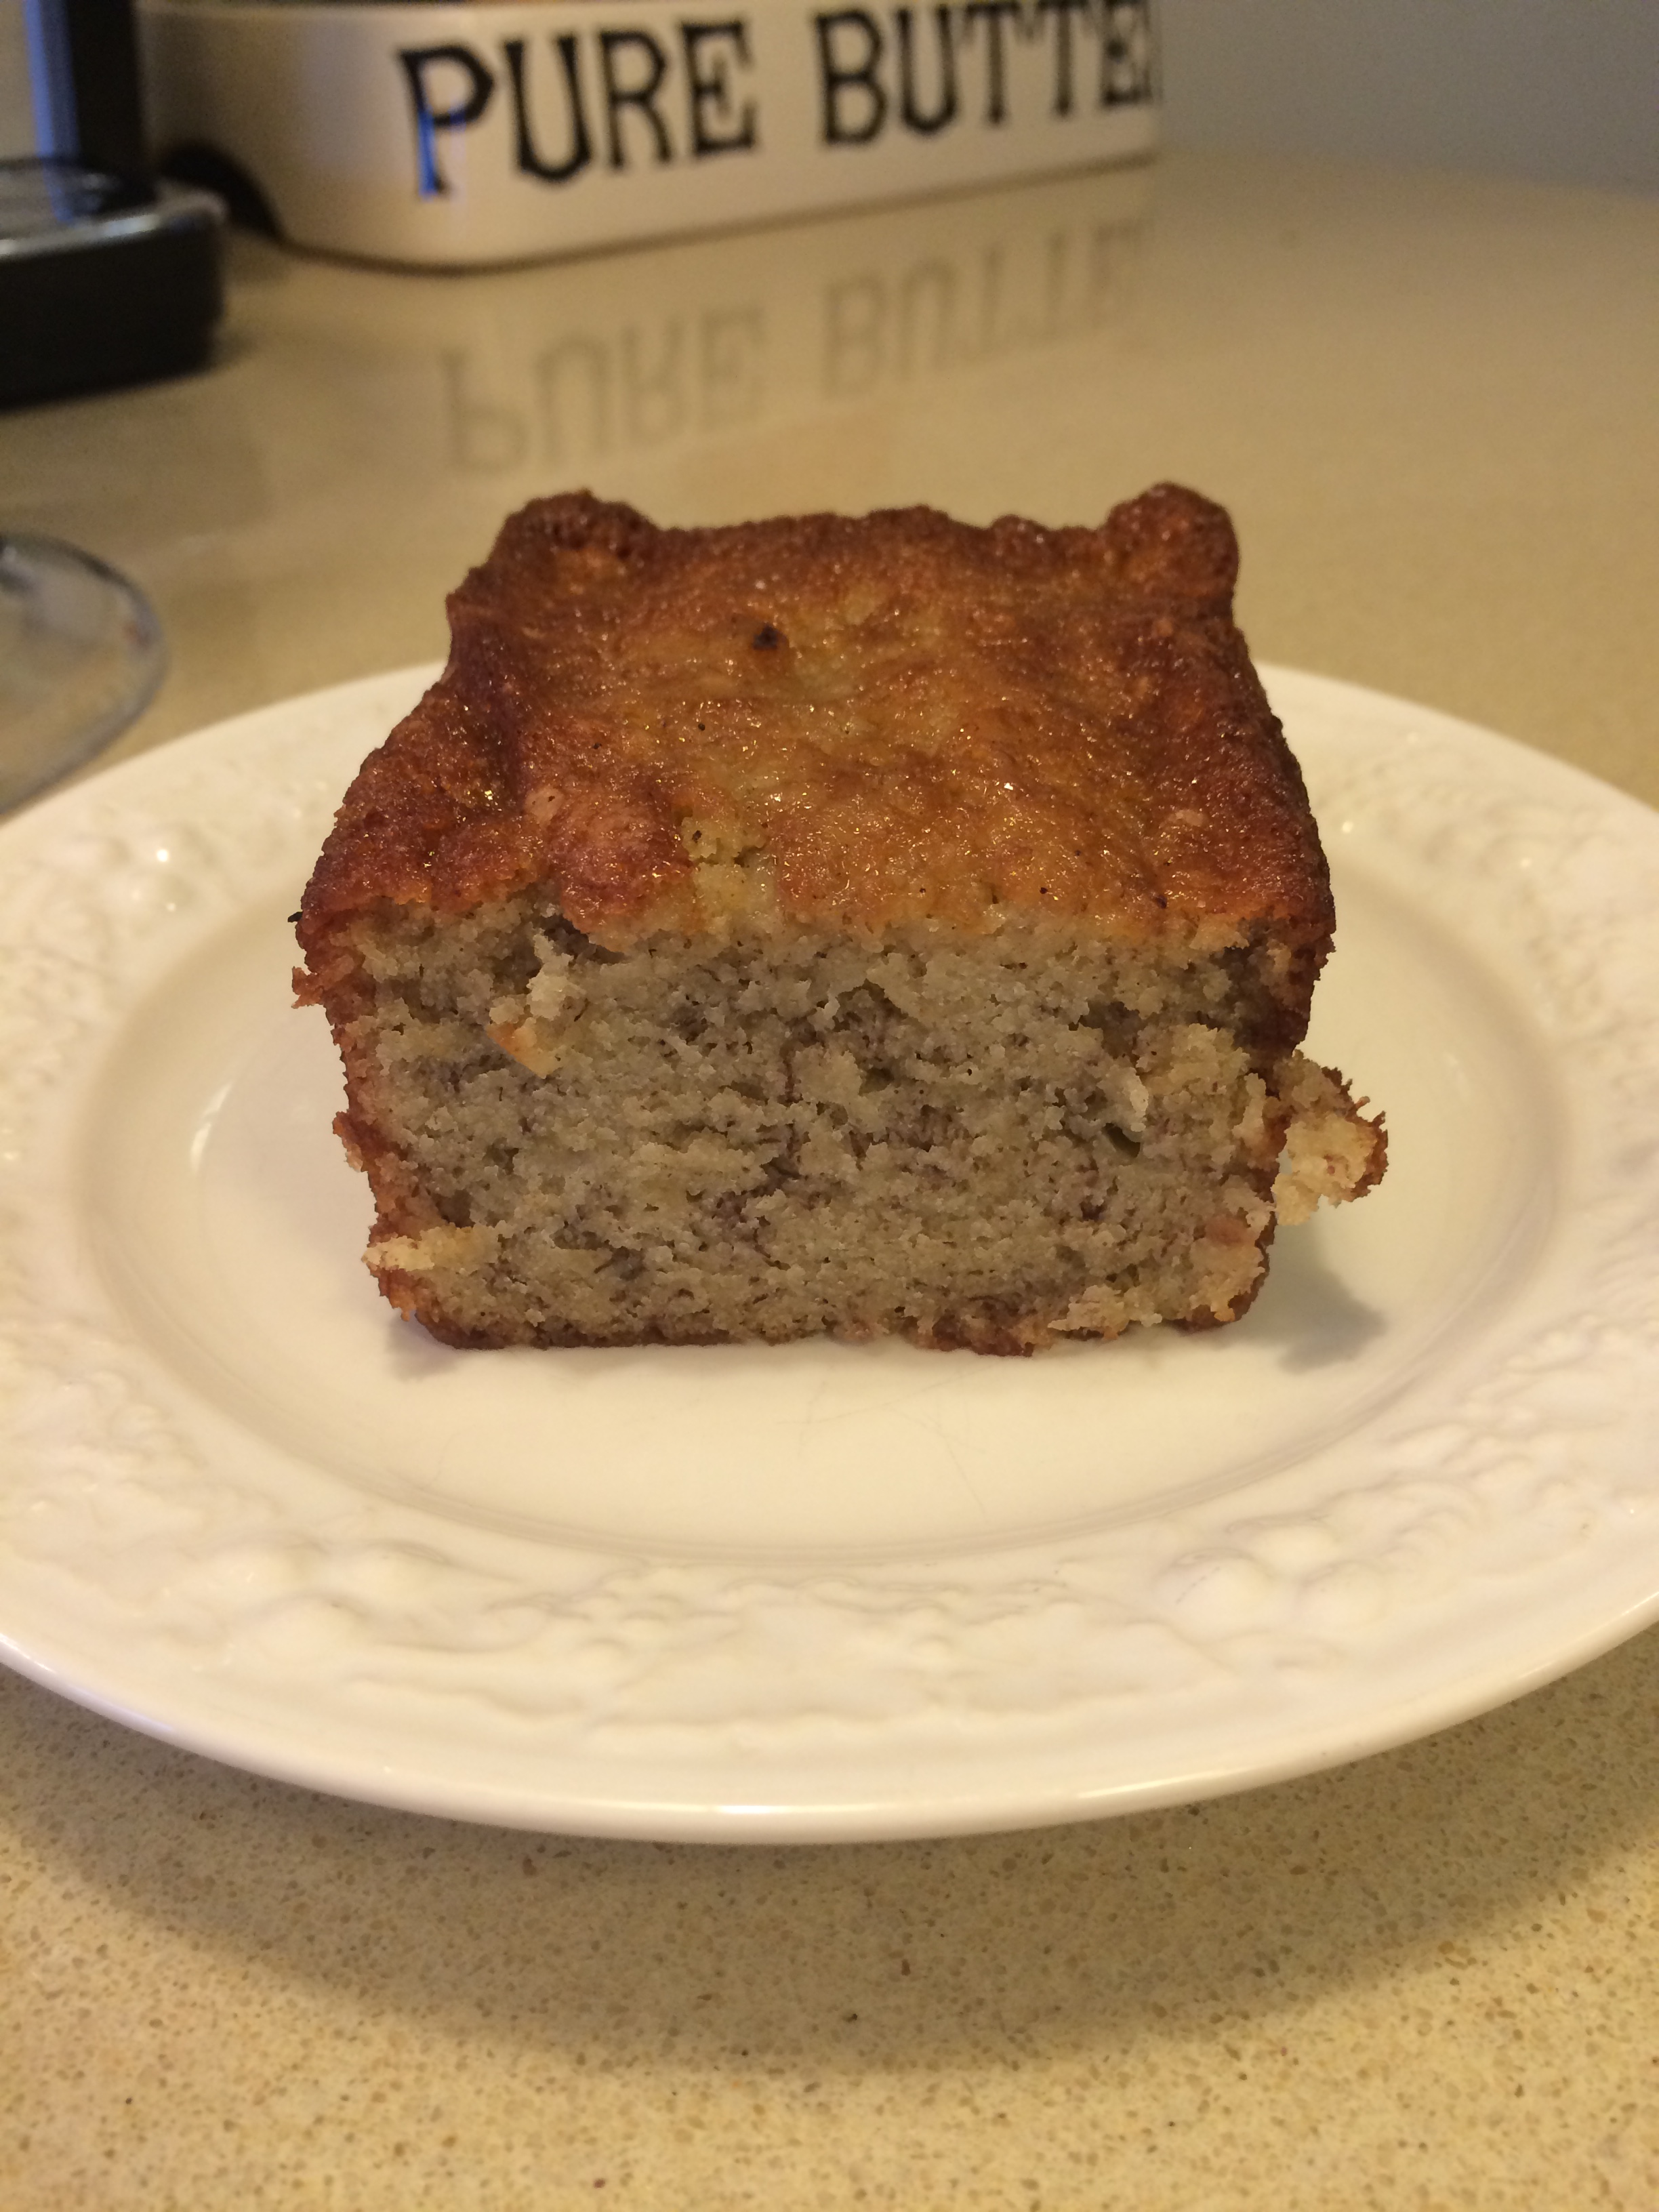
Somehow these ingredients produce a delicious lemony moist cake!

Julia Child once said “A party without cake is just a meeting” my exact sentiment.
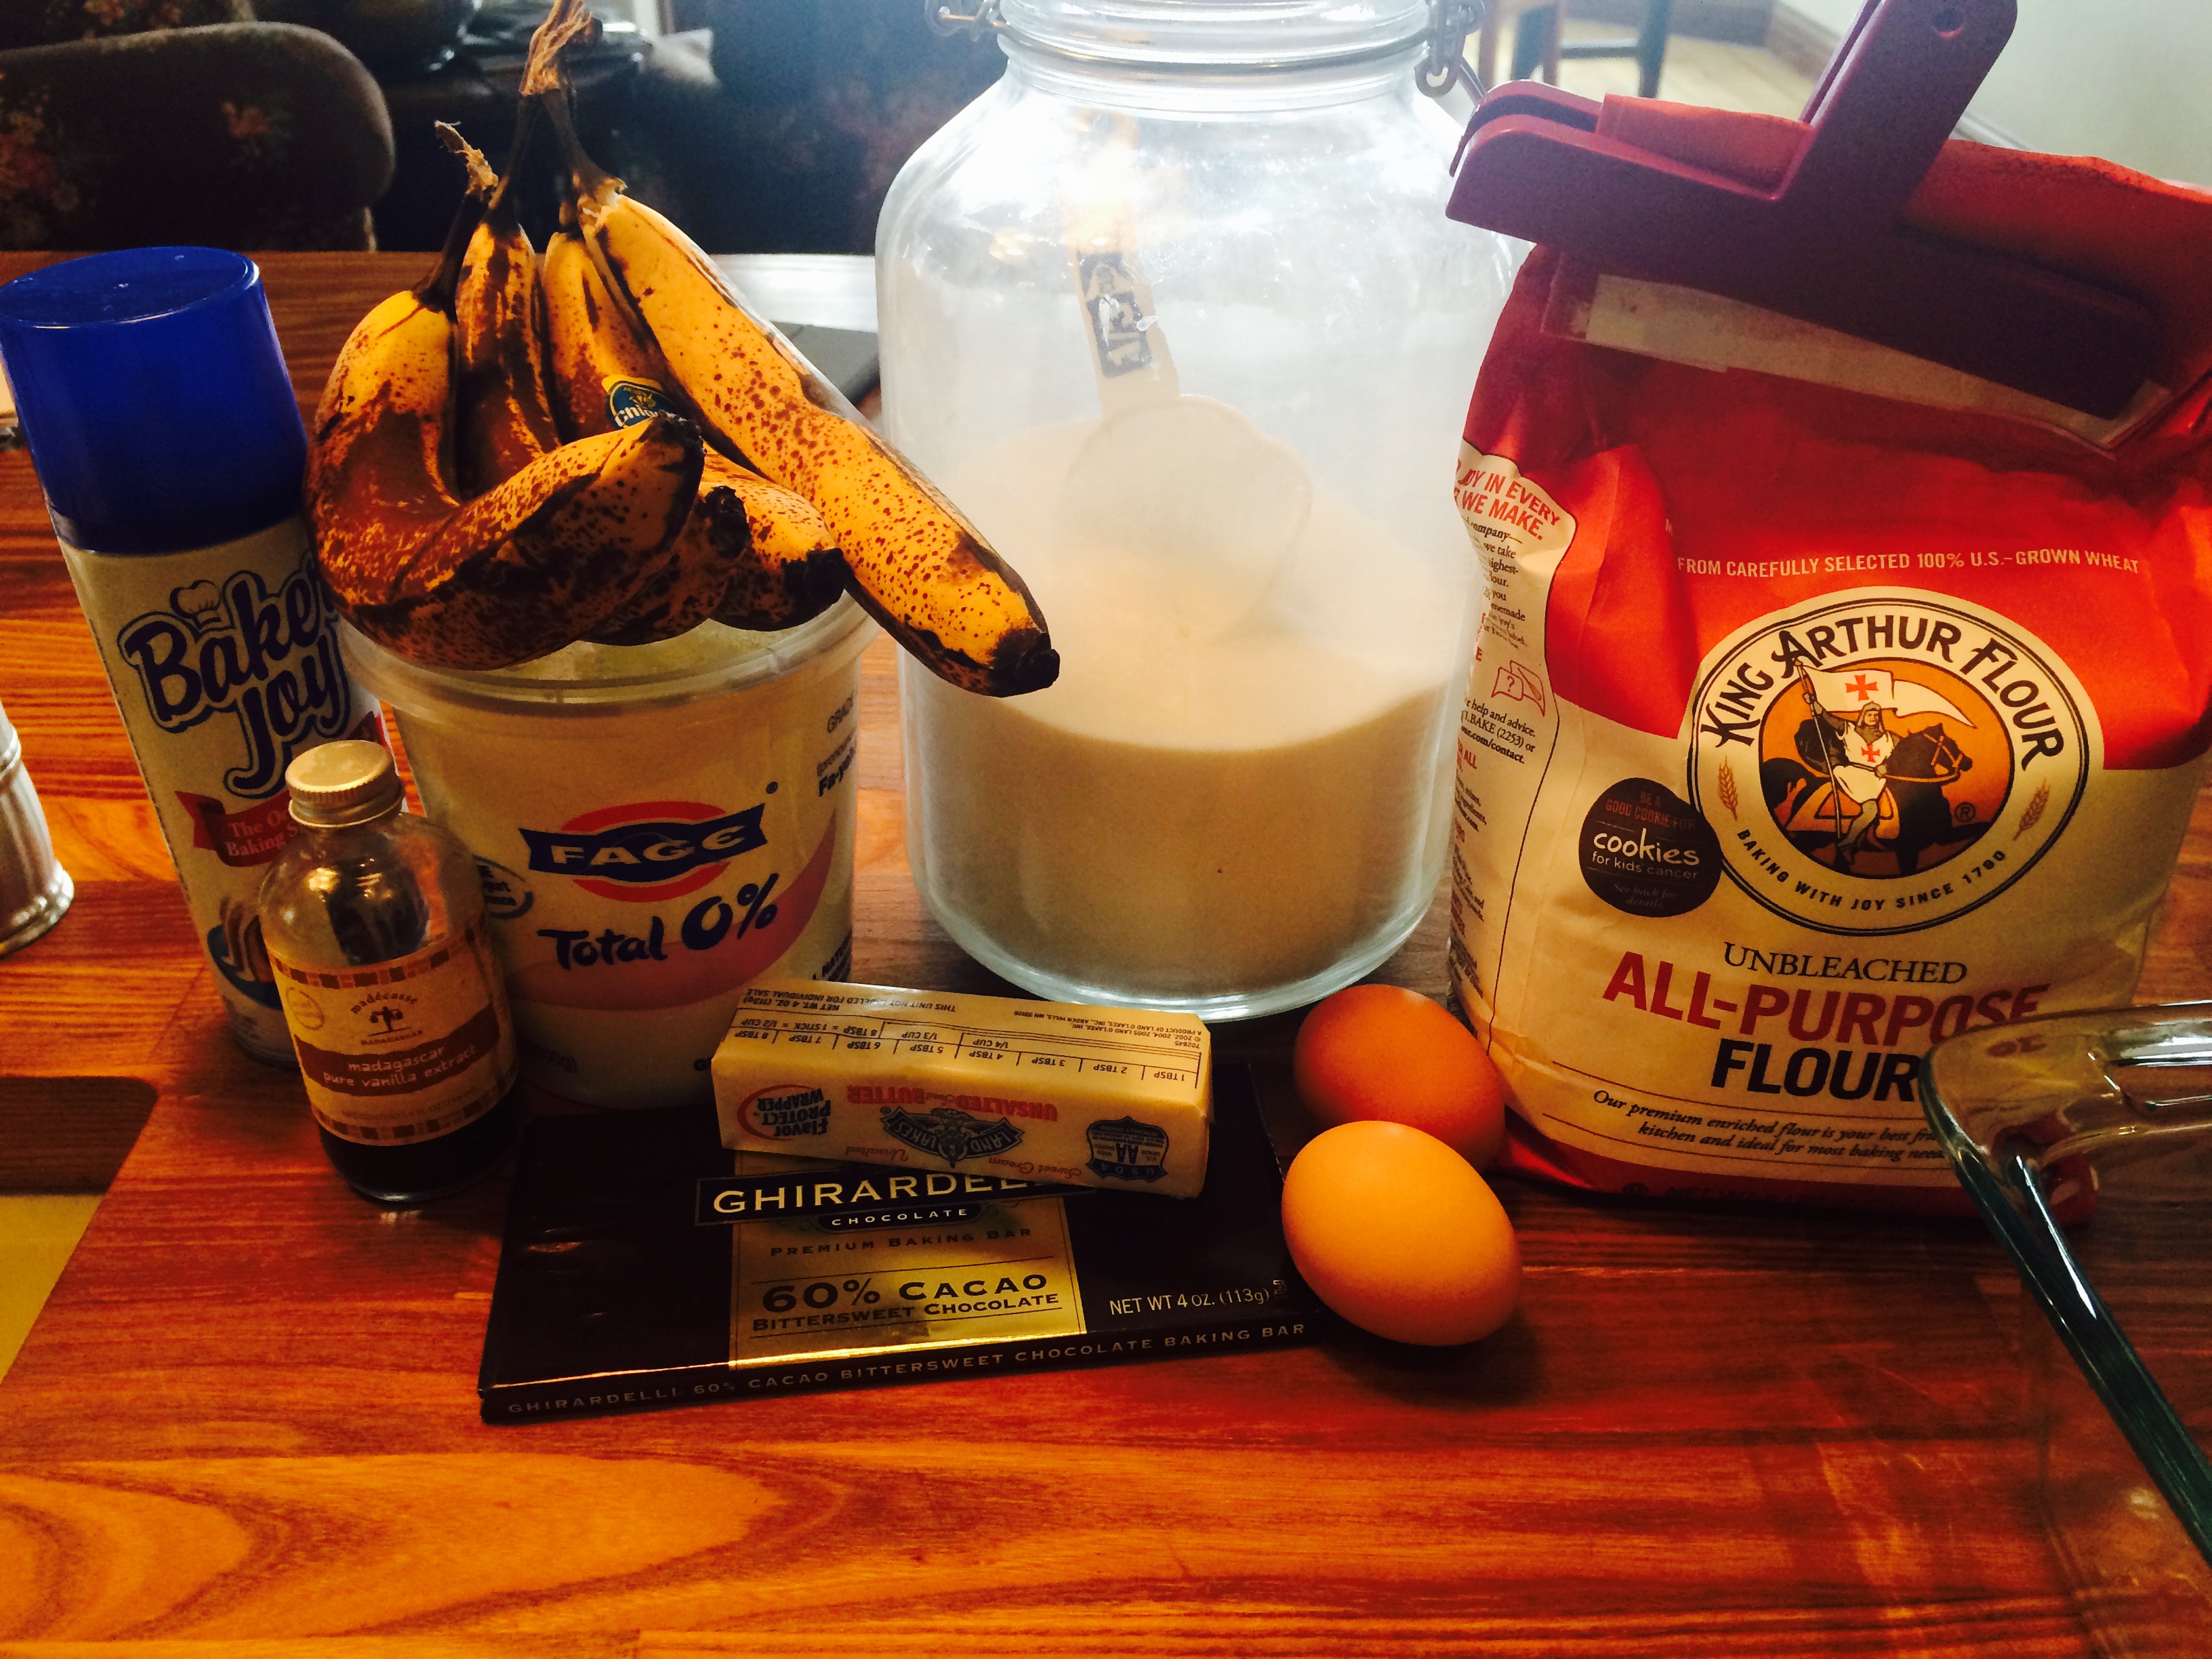
Ingredients:

1 1/2 cups butter, softened ( a little trick I discovered is using soft butter spread, easier to measure out and no melting required, just leave it out to really soften before using) if you use regular butter just soften it up in the microwave for a few seconds.

3 cups sugar

5 eggs ( always try to use room temperature eggs)

3 cups flour

2 Tablespoons Lemon Extract

1/2 Teaspoon Vanilla Extract

3/4 cup 7UP or any carbonated lemon-lime beverage of your choice

*optional you can add zest of 1 lemon and 1 lime , I did it without doing this extra step and it was all good. For an extra zing of flavor you can add it.

Lemon Glaze:

2/3 cup powdered sugar ( confectioners sugar)

1 Tablespoon Lemon Juice ( juice of a fresh lemon)

Directions:

Preheat oven to 325 degrees.

You will probably cook cake for about 1 1/4 hours. I would check on cake with a cake tester after the hour.

Cream butter and sugar for about 20 minutes in an electric mixer with paddle attachment, I know this seems like a very long time but according to many different renditions of this recipe I have read it seems that the cake will come out lighter if you do this.

Add eggs one at a time, beating after each egg

Add flour and lemon extract and vanilla extract

Fold in 7UP –meaning simply take bowl off electric mixer stand . Pour soda in slowly and gently fold in with a rubber spatula.

Pour into a well-greased (sprayed with cooking spray) Bundt Pan or Tube Pan, I used a Bundt.

Make Lemon Glaze-mix the powdered sugar and lemon juice together with a whisk.

I removed bundt cake from pan after about 10 minutes, let cool.

When cake is cooled, drizzle with Lemon Glaze

Summer Blueberry Cake

I just keep finding new recipes for blueberries. I love blueberries and they are so abundant right now and in peak season. I love them right out of the containers, and I love them in muffins, pies, cakes and cobblers. Here is another delicious cake which you can freeze and a few months from now when fresh blueberries aren’t really around ,you will bring back that summer day that you baked this. I cut this in 1/2 , 1/2 for now and 1/2 for when I return in the winter. You can always make this with frozen berries but I have never done so. To me it’s all about cooking with fruits and vegetables that are seasonal.  There really is nothing like fresh seasonal fruits and vegetables, and I can’t get enough of them . This is a fairly easy cake to bake. I baked it for 45 minutes, and the tester came out clean. You’ll have to check your own oven for cooking time . It can vary from 40 – 50 minutes depending on your oven.

I found this recipe on one of my favorite cooking blogs , Smitten Kitchen. I may have made a few changes which I often do, but it is pretty much the same.


Ingredients:

2 cups all – purpose flour, plus another tablespoon to dust blueberries with

1 tablespoon baking powder

1 teaspoon table salt

2 sticks unsalted butter ( softened) YIKES

3/4 cup light brown sugar packed

1/2 cup sugar ( regular granulated sugar)

3 large eggs ( room temperature)

1 cup buttermilk ( I used low-fat buttermilk)

1/2 cup fresh blueberries

Topping:

1/2 cup fresh blueberries

1/4 cup granulated sugar

1/2 teaspoon ground cinnamon

Directions:

Adjust oven rack to middle position and preheat oven to 350 degrees. Spray and lightly flour a 9 x 13 baking pan. ( I prefer Pam baking spray)

Whisk 2 cups flour, baking powder, and salt together in a medium size bowl. With electric mixer, beat butter and sugars on medium high-speed until fluffy. Add eggs one at a time, beating until each egg is just incorporated. Don’t overbeat. Reduce speed to medium and beat in 1/3 of the flour mixture, and beat in 1/2 of the buttermilk. Beat in another 1/3 of the flour and the remaining milk, and then the remaining flour mixture. Toss  blueberries with a tablespoon of flour just lightly dust them. Using a rubber spatula, gently fold in 1/2 of the blueberries. Spread batter into prepared dish.( see photo)

For the topping:

Scatter remaining 1/2 of the blueberries over the top of the batter. Stir sugar and cinnamon together in small bowl and sprinkle all over the top of the batter. Bake until cake tester or toothpick comes out clean in center of cake. I cooked for 45 minutes. It should take anywhere between 40 – 50 minutes. Cool in pan for about 1/2 hour, then turn it out of baking dish or cut out pieces. I turned it out, cut in 1/2 and froze 1/2 of it for the cold months. This is a delightful cake served for dessert, and so perfect for breakfast and a great afternoon snack with ice coffee .

I threw in a photo of me and my grandson, Riley who was out here at the time.

Blackberry Clafouti (Blackberry Cake)–Simple and Easy to make

I made this cake because I love blackberries and I had all the ingredients in my house. If you like blackberries, this is a light cake which will be perfect for dessert and not too heavy at all.  Clafouti is actually french for a cake made with cherries. If it’s made with blackberries or other berries it is called a Flaugnarde, which sounds super fancy and difficult to make and this is anything but that so we’ll just call it Clafouti! We aren’t going to get too technical here and I hope I don’t offend the French chefs out there. This is pretty much the same as the cherry Clafouti which I plan on baking soon and will post that once I’ve cooked that, but we have to wait for the cherries to be super ripe.  This cake is so very easy to make, requires no fancy equipment, and you can whisk ingredients in one bowl. Just use a pie baking dish to bake in. I had a glass dish and am happy that I did, because I could see the blackberries in the cake. This cake would be a most amazing breakfast type of cake–not too thick, but sort of like a blackberry muffin flattened out. Blackberries are so plump and delicious right now, you gotta cook this as soon as possible.

*In order for the blackberries not to sink in cake, I made sure they were dry after rinsing and then I put in a bowl with some flour and coated the berries in flour before adding them , not too heavily floured just a dusting.  It came out perfectly. I have made it where I forgot to dust with flour and they did sink. It didn’t look as pretty but it tasted just fine.

Ingredients: 

1 stick unsalted butter

1 cup sugar plus 1/4 cup of sugar for top of cake

1 cup Self-Rising Flour  Presto), sifted

1 cup whole milk

2 cups blackberries, fresh or frozen (I used fresh)

* A little extra flour for dusting the blackberries before baking with them (see note)

Directions:

Preheat oven to 350 degrees. I sprayed the baking dish with baking spray but you can also butter it.

Rinse and pat dry the blackberries. Melt the butter in microwave. Pour 1 cup sugar and flour into a mixing bowl. Slowly whisk in the milk and mix well. Then pour in the melted butter and whisk it all together well.

Dust blackberries with a little bit of flour and mix well. Pour the batter into the prepared baking dish. Sprinkle blackberries over the top of the batter, distributing evenly.  Sprinkle 1/4 cup sugar over the top.

Bake in the oven at 350 degrees for about 1 hour or until golden.  Yum!

A Real Deal Blueberry Cobbler

I recently found this recipe and realized it was a combination of 2 separate recipes–one for the blueberry filling and one for biscuits. When combined, this is a true cobbler and not a crisp. Yum!

Make it for company and at least six people so you have a teensy bit left over , these leftovers are just amazing the next day and hard to resist eating !

Use fresh blueberries which are in abundance now and if you want to make this in the winter and blueberries aren’t around you can always use frozen blueberries. It’s almost a must to serve this with vanilla ice cream, as it complements it so well! If you’d like, you can make this a day ahead for sure, I’ve even frozen it. It comes out perfectly. Now is the time to try and bake this delightful dessert with all of the beautiful blueberries out there.

Ingredients:

1 pound blueberries or 3 1/2 cups – obviously fresh is best but if you want you can use frozen blueberries

1 tablespoon cornstarch or arrowroot

2 tablespoons lemon juice (fresh)

1 cup all -purpose flour

3/4 cup sugar ( you can use turbinado (raw ) sugar as well ( divided)

1 teaspoon baking powder

1/4 teaspoon salt

1/2 cup milk ( don’t use fat free, if you must, use 2%) I prefer whole milk in baking or low-fat buttermilk always works.

3 tablespoons butter, melted

3/4 cup boiling water

Directions:

Preheat the oven to 350 degrees. Spread the blueberries in an ungreased but sprayed ( I always use Pam to help with the clean-up) 8 or 9 inch square baking pan. Sprinkle with cornstarch
and drizzle with lemon juice. Set aside.

In a medium size bowl, combine the flour, 1/2 cup sugar, baking powder and salt. Add the milk and the butter.

Stir until just combined ( shouldn’t be smooth) then drop mounds of dough onto the blueberries.

Pour boiling water over the dough and fruit. Sprinkle top with remaining 1/4 cup sugar.

Bake until the biscuits are golden brown and the blueberries are bubbly. 45- 60 minutes.

Serve warm or at room temperature. If you are preparing ahead , either frozen or in fridge, take out of freezer or fridge and bring to room temperature, I then put in oven till it starts to bubble.

Should serve 8

Triple Berry Crisp–Gluten Free

IMG_7716 IMG_7709 (2) IMG_7702 IMG_7698 I love sugar as much if not more than the next guy but this was an opportunity to make a berry crisp without any white sugar or flour.  I stumbled upon this recipe on one of the million blogs, sites and posts I see spouting Paleo and Gluten Free recipes. I am not a paleo eater nor am I gluten free but it can’t hurt to have a recipe that is light on the sugar and fairly healthy to boot. If you would like it a little bit sweeter you can add a tablespoon of coconut sugar or a packet of stevia, I didn’t and I liked it just the way it was.  It intrigued me since I love a crisp but hate the amounts of sugar that go into it, even though I do love eating it.

I had some fresh blueberries, some fresh blackberries and a few random raspberries that were going to go uneaten . What better time to try this? You can make this with just blueberries, or any berry or fruit you like. Berries are in abundance now and super delicious. This recipe took me all of 1/2 hour to put together. Use cooking spray on ramekins and baking sheet or use parchment paper for easier clean-up.  I used 4 ramekins but you can stretch this to 6 for sure.

I just sampled and can say that while they are not cloyingly sweet they have a bit of sweetness and crunch and you can really taste the tartness of the berries. I wouldn’t mind topping with some  ice cream or yogurt but I guess that would be defeating the purpose. There are some wonderful dairy-free ice creams out there and I suppose they would work just fine.

Just an addition– I ate it for breakfast this morning!!! with a little greek yogurt!

Ingredients:

app. 2 pints of berries — as I said you can mix them or use any one you like best. I used black, blue and raspberries. This can be made with apples, peaches, strawberries , nectarines and any combination of the above. I like making them in individual ramekins as a way of having portions already prepared which I think is very nice for dessert but equally nice made in a larger baking dish and you may need to double up on ingredients.

Ingredients:

Juice of 1 lemon

1 cup almond flour–available in most supermarkets today ( Whole Foods)

*1/2 cup slivered almonds–obviously can be made without nuts but I love the crunch

1/4 cup coconut oil, melted

2 tbsp. maple syrup ( use pure maple not the artificial one)

1 tsp. cinnamon

pinch of nutmeg

Directions:

Preheat the oven to 375 degrees

In a bowl, mix together the berries with the lemon juice. Divide between the ramekins ( spray ramekins first) you can also bake this in one large baking dish of course.

You can use the same bowl or a new one, and mix together remaining ingredients until combined. Spoon the almond mixture over the berries. Bake for app. 30 minutes , until bubbly and golden brown. Mine were done in 25 minutes so check your oven after 20 minutes to see where they’re at.

Let it cool slightly before serving.

Happy Memorial Day Blackberry Cobbler

before cobbler gets baked , with biscuit topping

before cobbler gets baked , with biscuit topping

finished product - Yum

finished product – Yum

photo (3)

I saw these amazing blackberries at Whole Foods and had to buy them. They are nothing short of amazing right now. I have posted numerous blueberry cobblers , etc. Today is a version of my blueberry cobbler made with blackberries, and an opportunity to write up another recipe and wish everyone a wonderful Memorial Day weekend. Whatever you have going on  stop and think about all the very brave men and women who have served our wonderful country and continue to serve and protect every single day.

Enjoy the unofficial start of the summer season! We finally made it.

Ingredients:

1 pound or about 3 1/2 – 4 cups blackberries , cleaned , rinsed and dried

1 tablespoon arrowroot or cornstarch

2 tablespoons fresh lemon juice

1 cup all-purpose flour

3/4 cup sugar, I use regular granulated sugar for cobbler inside and on top I use turbinado sugar. 1/2 cup granulated sugar for inside cobbler and 1/4 cup turbinado

1 teaspoon baking powder

1/4 teaspoon salt

1/2 cup whole milk or you can use low-fat buttermilk

3 tablespoons unsalted butter, melted

3/4 cup boiling water

Directions:

Preheat the oven to 350 degrees.

In a bowl I place the clean blackberries that I’ve washed and dried. I sprinkle them with the arrowroot and lemon juice and mix gently  Set aside.

In a medium size bowl, I sift the flour, 1/2 cup sugar, baking powder and salt. Add the milk and butter. Stir until just combined, don’t over stir, it shouldn’t be smooth. Then by the moundful drop dough onto blackberries. I spread around a little bit but don’t completely cover the top of berries. ( see photo) the dough will spread a little once it’s baked.

Pour boiling water over the dough and fruit before you bake it. Sprinkle top with 1/4 turbinado sugar or regular sugar. Raw sugar or turbinado sugar makes it a little crunchier topping. I prefer it to regular sugar for a topping.

*if you are preparing in advance which is what I did today. Prepare up till the boiling water and sugar part. Refrigerate for up to 2 days , bring to room temperature then pour boiling water and top with sugar and bake. I baked for app. 45 minutes till dough gets browned and crackly looking and blackberries are bubbling. ( see photos)

Happy Cooking and Happy Memorial Day from my kitchen to yours.

My Favorite Macaroons–Traditional Style for Passover

photo 5 (40)I am not sure why I only make these macaroons during Passover. They are definitely my favorites; they are very easy to make, look totally professional, and are the Passover cookie in my book. These can be made ahead of time and stored. I usually make a few days before the Seder because I dip them in melted chocolate (just the tops). You don’t have to dip, you can leave plain. I dip up to 1/2 the macaroon in the chocolate. They are sweet and crunchy on the outside, and moist and chewy on the inside. After Passover, if there are any left over, I freeze them. Cannot have them lying around. Of course you may make these any time of year…they are always welcome on the menu.

*When dipping, just turn macaroon upside down (with peaked part into the chocolate). I usually go just a bit more than the top (probably 1/2 the macaroon into the chocolate). Use as much or as little as you like.

*just a little note, silpat is awesome to use for this recipe instead of parchment paper. You must cool completely before trying to lift off the paper. Also before you dip into chocolate I like to cool down completely.

Ingredients:

3  large egg whites (When I bake, I always leave eggs out so that they are at room temp.)

1/2  cup sugar

1/4 teaspoon salt

1 package (14 oz.) sweetened, flaked coconut ( I like this Angel Flake Baker’s Brand, but they’re all fine)

*1 package semi-sweet chocolate chips (You can really use any semi-sweet chocolate to melt. It’s just easy with the chips.)

Directions:

Preheat oven to 350 degrees. Line a baking sheet with parchment paper (you can use non stick cooking spray, like Pam, but I just line with parchment, which works really well).

In a large bowl, whisk together egg whites, sugar and salt until frothy. With a fork, stir in coconut until moistened.

Using a level tablespoon (measuring ones are perfect), pack the mixture into the spoon, so all macaroons are equal size. Drop mixture onto prepared sheet (cookies will not spread). Bake until golden brown, about 25 – 30 minutes. Towards the end, check on them to be sure they don’t burn. I make a little peak with my fingers on the cookies before I bake them (this makes for easier dipping).

*To melt chocolate on stove top: I bring a small saucepan of water to a rolling boil, and on top of it put a small stainless (oven proof) bowl filled with the chocolate.( works like a double boiler if you don’t have one) When it completely melts, take off heat. Once macaroons are completely cool, you can dip the tops. Just make sure chocolate and macaroons are cooled off first. Just dip top of cookie in chocolate and place on a plate to cool. When I am all done, I refrigerate the macaroons to set the chocolate. You can leave in fridge until you are ready to serve and take out with enough time to bring to room temp. Before serving, I usually use a cool cookie sheet with parchment paper to cool off cookies once they’ve been dipped.

*should yield about 20 – 25 cookies. You can double if you’d like.

Chocolate Banana Bread

IMG_6987FullSizeRender (9)This is an amazing banana bread made with chopped bittersweet chocolate . Totally amazing and very hard to resist. You can make ahead and freeze up to 3 months! Of course I had 4 very over-ripe bananas and I had all of the other ingredients in the house so why not bake a banana bread but with chocolate this time out. By chopping up the chocolate you get different sizes of chocolate bits , some small and some large. I prefer chopping up the chocolate to using chocolate chips in this bread, it definitely adds more interest.

*FullSizeRender (6)FullSizeRender (3) If your bananas aren’t ripe enough and you really want to bake this bread, put them in a 300 degree oven unpeeled for about 15 minutes to soften. Make this bread–you won’t be sorry.

Ingredients:

1 stick unsalted butter, room temperature

1 2/3 cups all-purpose flour

1 teaspoon baking soda

1/2 teaspoon fine salt ( table salt)

1 1/4 cups sugar

2 large eggs, room temperature please

3 – 4 mashed over-ripe bananas app. 1 1/2 cups

2 tablespoons greek yogurt (plain) I used 0% fat or you can use sour cream

1 teaspoon vanilla extract

4 ounces bittersweet chocolate, chopped . Chocolate comes in bars available in the baking section of most supermarkets. There are many kinds of baking chocolate but this recipe calls for bittersweet not unsweetened.

Directions:

Preheat oven to 350 degrees. Spray a 5×9 inch loaf pan , I love Bakers Joy cooking spray for baking. In a medium bowl, whisk together flour, baking soda, and salt.

In the bowl of an electric mixer beat butter and sugar on medium-high until fluffy app. 3 minutes or so. Add eggs, one at a time, beating well after each addition and scraping down the sides of the bowl.

Beat in mashed bananas, yogurt, and vanilla. Beat in dry ingredients and chocolate on medium speed. Pour batter into prepared baking pan. Bake until a cake tester inserted into the center of loaf comes out clean, app. 50 – 60 minutes. I baked mine for about one hour.

Let bread cool in pan for about 15 minutes then turn out and let cool completely on a wire rack.

Simple Banana Bread

IMG_6029

batter for banana bread

IMG_6031 IMG_6032This is a simple and delicious Banana Bread. A “no frills” amazingly delicious banana bread. It is Dominique Ansel’s recipe for Banana Bread. While my other banana bread is amazingly delicious it contains brown sugar and a streusel type crunchy topping which makes it more like a cake than a bread.  This is delicious served as a bread or with something delicious spread on top of it, butter, jam or even peanut butter. It is pantry ready except for the bananas which I happen to have 4 over ripe ones sitting around.  All other ingredients should be in your pantry . I use an electric mixer to mix bananas and eggs because I like the consistency of it done this way. If you don’t have an electric mixer you can mash the bananas by hand and beat in one egg at a time. The bread will start browning early on and this is OK, it forms a wonderful brown crust from all that butter! Mine never got burned.

You will also need a loaf pan. This is  a large loaf so I filled my standard loaf pan and poured the excess into a small mini loaf. I used a 9×5 loaf pan filled about 3/4 to the top. This bread will turn brown quickly just be careful not to burn it so check on it after 50 minutes.  I actually baked for only 60 minutes and it was perfect. Brown and crispy on the outside and moist and delicious on the inside. A really perfect banana bread. You can also use 3-4 mini loaves and they will probably cook in 30 minutes or so. You’ll have to check because it really depends on your oven. I checked mine with a cake tester and it came out clean so I knew it was done. If you touch center of cake it should spring back .

I made this banana bread without nuts but if you’d like add some chopped walnuts. Totally optional and about 1/2 cup would be enough for this recipe. Nothing to stop you from adding some chocolate chips either.

Enjoy!

Ingredients:

2 cups sugar

2 cups flour

3/4 teaspoon baking soda

3/4 teaspoon ground nutmeg

1 teaspoon salt

1 teaspoon baking powder

3 eggs ( room temperature)

4 over-ripe bananas

14 Tablespoons unsalted butter, melted–yikes I know!!!

Directions:

Preheat the oven to 350 degrees.

I spray the loaf pan with Baker’s Joy cooking spray. ( I love this spray for baking)

In a large bowl, combine the dry ingredients. Sugar, Flour, Baking Soda, Nutmeg, Salt and Baking Powder.

Melt Butter in Microwave (35 seconds should do it)

In bowl of an electric mixer I place the bananas and with paddle attachment beat the bananas into a mush. I then add one egg at a time and beat each one in.

Mix the wet ingredients with the dry ingredients and mix until just combined. Don’t overmix. Stir in the melted butter until fully incorporated.

Pour the batter into loaf pan and bake until golden brown or a cake tester inserted into the center comes out clean, about 60-70 minutes. Check after 50 minutes to be sure.

Allow to fully cool before slicing. At least 1/2 hour.

I will probably freeze this bread so I will allow to completely cool before freezing as well.

Michele’s White Chocolate Macadamia Jumbos

Michele sent me this as her entry for my CWC Thanksgiving Contest. Wow! they are amazing and before I keep eating them they are going in the freezer for Thanksgiving. Michele always makes these for her fabulous Christmas party. They will keep in the freezer for up to 3 months, so the plan is to make ahead for Thanksgiving, because these have to be on my table.  I didn’t get dried cherries, but I had craisins so I used them. They cooked up in 17 minutes at 325 degrees and were just beautiful. I am happy that I went to the gym this morning that’s all I can say. Thanks Michele for participating and for your support of my blog :). These are going on my Thanksgiving dessert table without a doubt.  These are decadent, but if you’re eating a cookie shouldn’t it be? These were so amazing that everyone who ate them fell in love with them, so I must give this prize to Michele. Thanks to everyone else who participated, and I loved Shelly’s muffins and Julie’s Pie which may find it’s way on to my Thanksgiving table.

*P.S. they never did stay in our freezer because of Hurricane Sandy.  Alot of people got to eat these delicious cookies and everyone agreed they were some kind of wonderful.

Ingredients:

2 1/2 cups all purpose flour

3/4 cup butter or margarine ( 1 1 2/ sticks softened)

3/4 cup granulated sugar

1/2 cup dark brown sugar

3 Tblsp. corn syrup

2 tsps. vanilla extract

1 tsp. baking soda

1 tsp. salt

2 large eggs ( room temperature please)

12 oz. bag white chocolate chips

1 jar ( 6 1/2 oz) macadamia nuts chopped about 1 1/3 cups

1 1/2 cups dried tart cherries or cranberries, I actually used craisins

Directions:

Preheat oven to 325 degrees. In a large bowl, I placed flour, baking soda and salt  and mixed together. In bowl of kitchen aid mixer I placed softened butter, sugars, corn syrup , vanilla, butter and eggs, mixed at medium speed while adding the flour in. When it’s all combined scrape bowl with rubber spatula, and stir in white chocolate chips , nuts and cherries.

Drop by slightly rounded 1/4 cups, 3 inches apart onto ungreased cookie sheet, I used a Silpat and an ungreased cookie sheet. These cookies are large so be sure to space 3 inches apart. Transfer to a wire rack and cool. Can be frozen up to 3 months.

I baked for 17 minutes, check them after 15 depending on your oven.

These cookies are amazing. Enjoy!