Category Archives: Baked Goods

A Real Deal Blueberry Cobbler

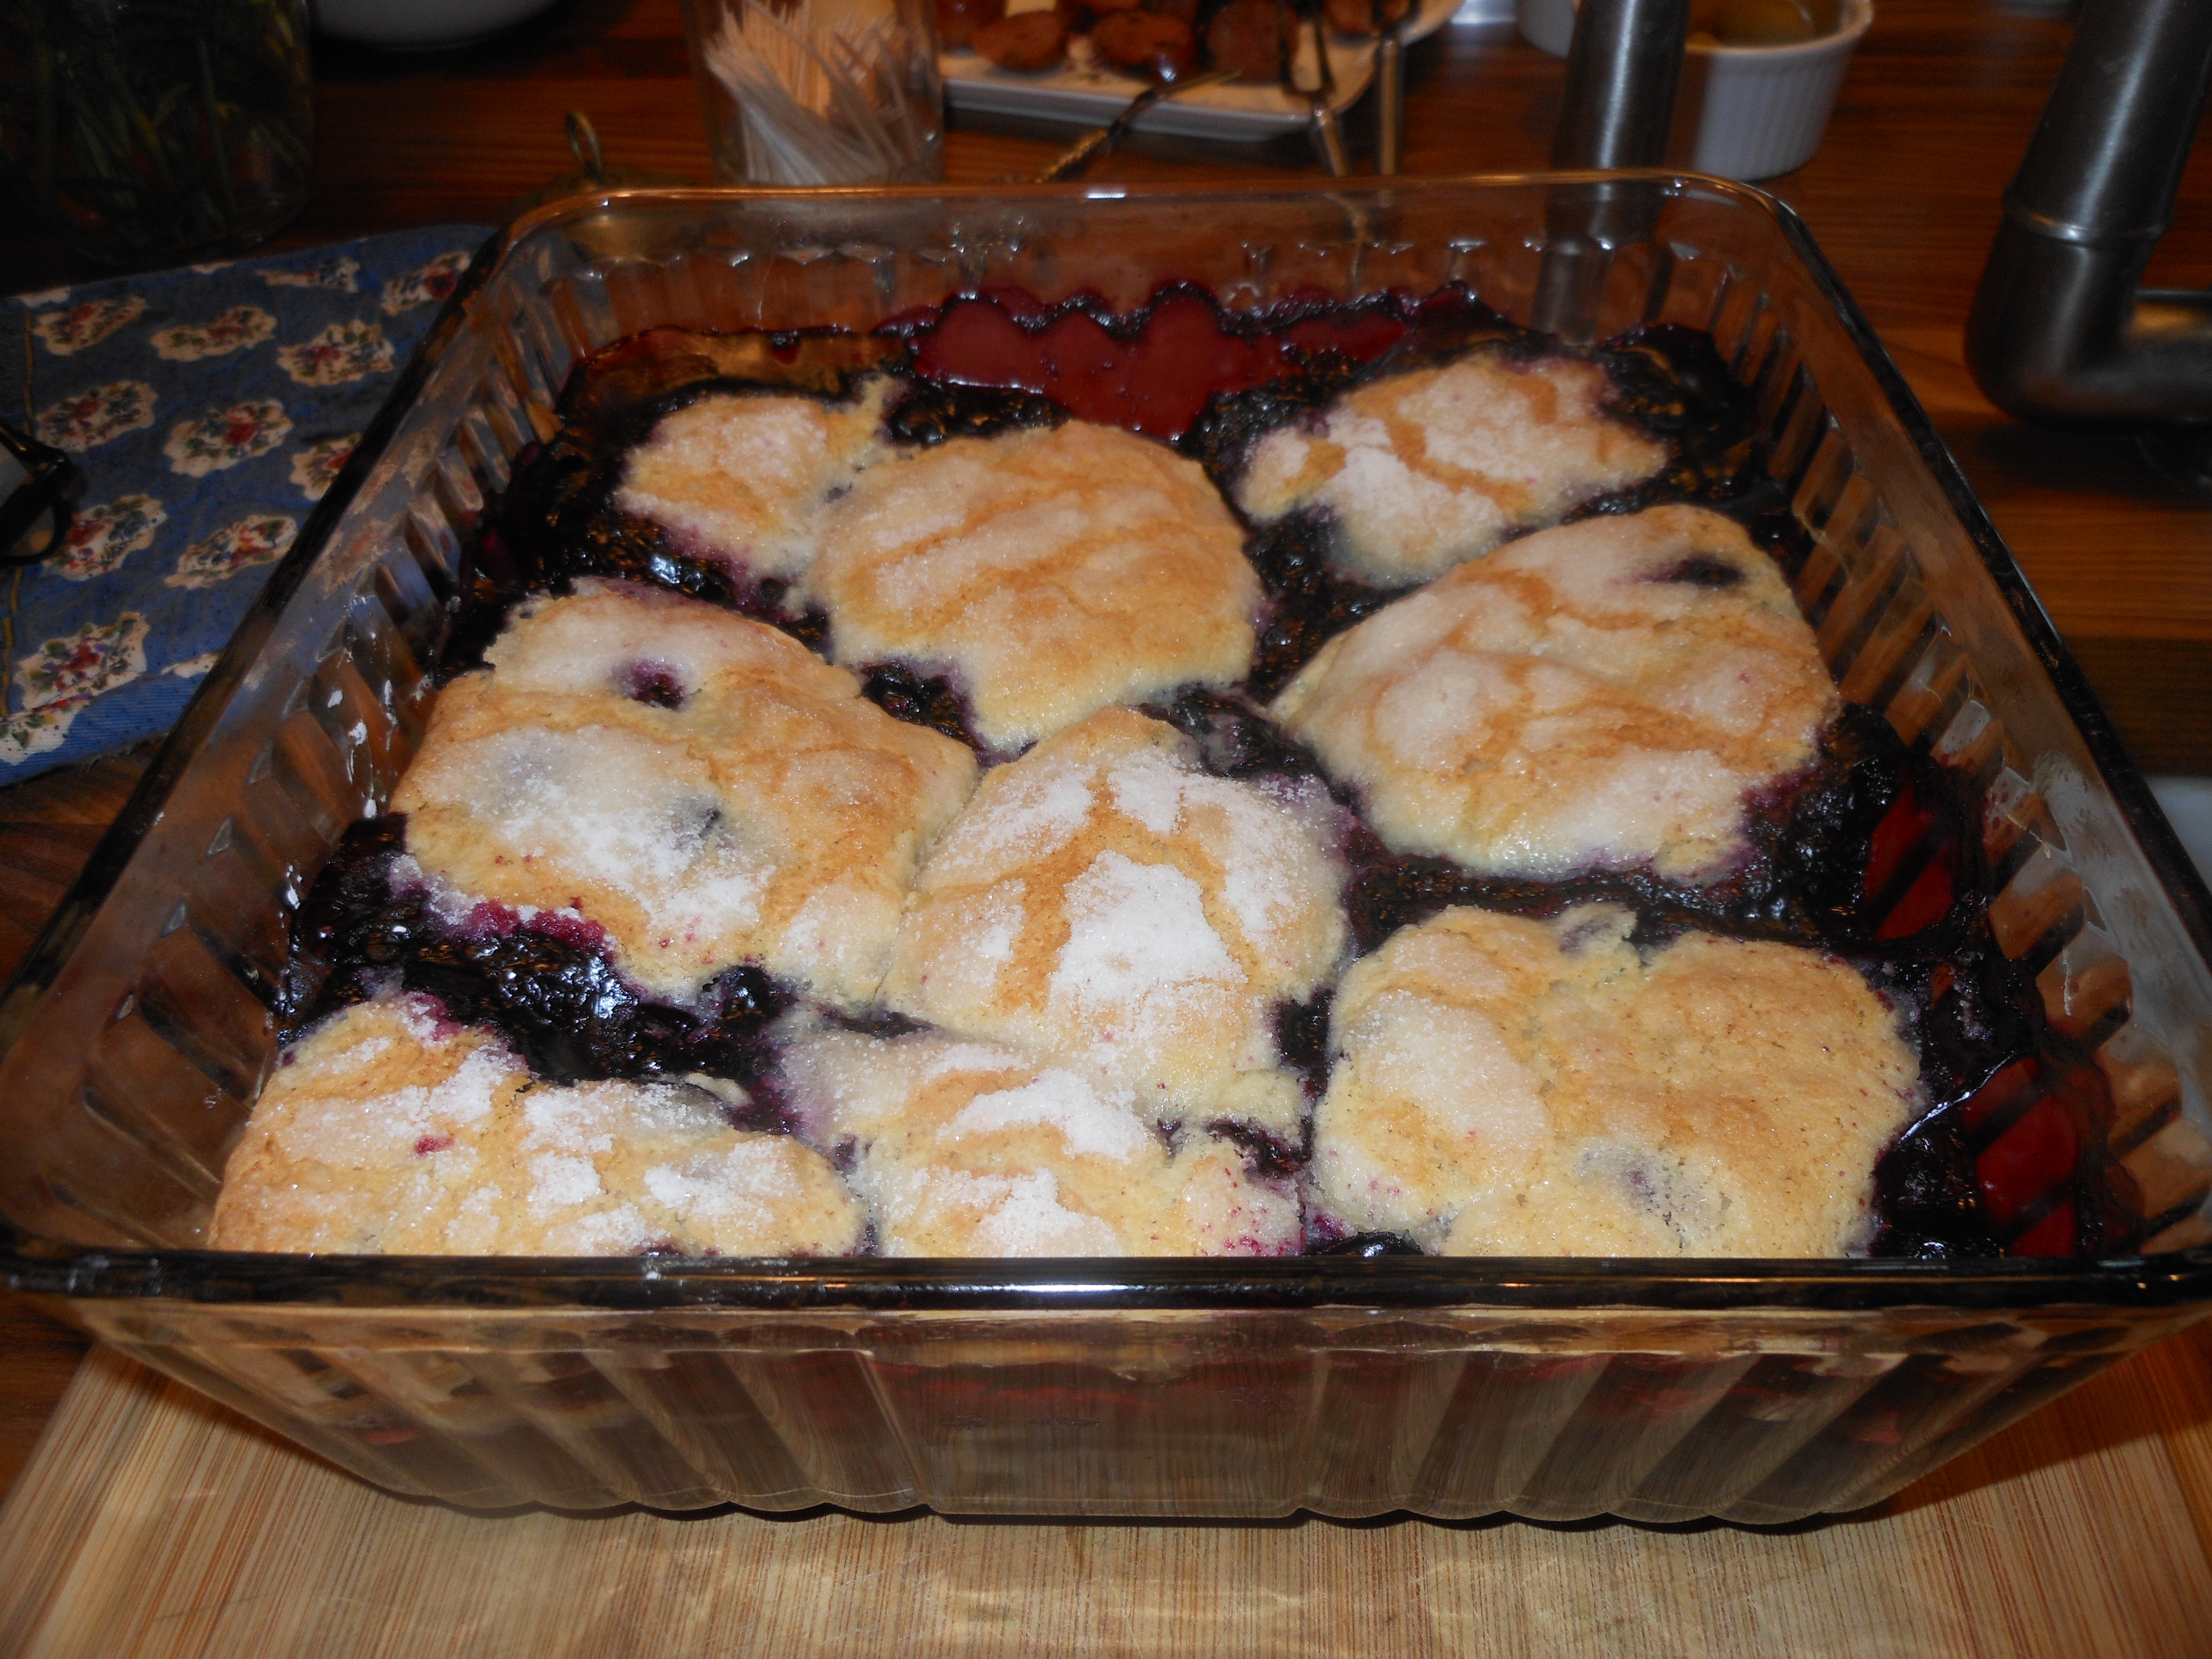
I recently found this recipe and realized it was a combination of 2 separate recipes–one for the blueberry filling and one for biscuits. When combined, this is a true cobbler and not a crisp. Yum!

Make it for company and at least six people so you have a teensy bit left over , these leftovers are just amazing the next day and hard to resist eating !

Use fresh blueberries which are in abundance now and if you want to make this in the winter and blueberries aren’t around you can always use frozen blueberries. It’s almost a must to serve this with vanilla ice cream, as it complements it so well! If you’d like, you can make this a day ahead for sure, I’ve even frozen it. It comes out perfectly. Now is the time to try and bake this delightful dessert with all of the beautiful blueberries out there.

Ingredients:

1 pound blueberries or 3 1/2 cups – obviously fresh is best but if you want you can use frozen blueberries

1 tablespoon cornstarch or arrowroot

2 tablespoons lemon juice (fresh)

1 cup all -purpose flour

3/4 cup sugar ( you can use turbinado (raw ) sugar as well ( divided)

1 teaspoon baking powder

1/4 teaspoon salt

1/2 cup milk ( don’t use fat free, if you must, use 2%) I prefer whole milk in baking or low-fat buttermilk always works.

3 tablespoons butter, melted

3/4 cup boiling water

Directions:

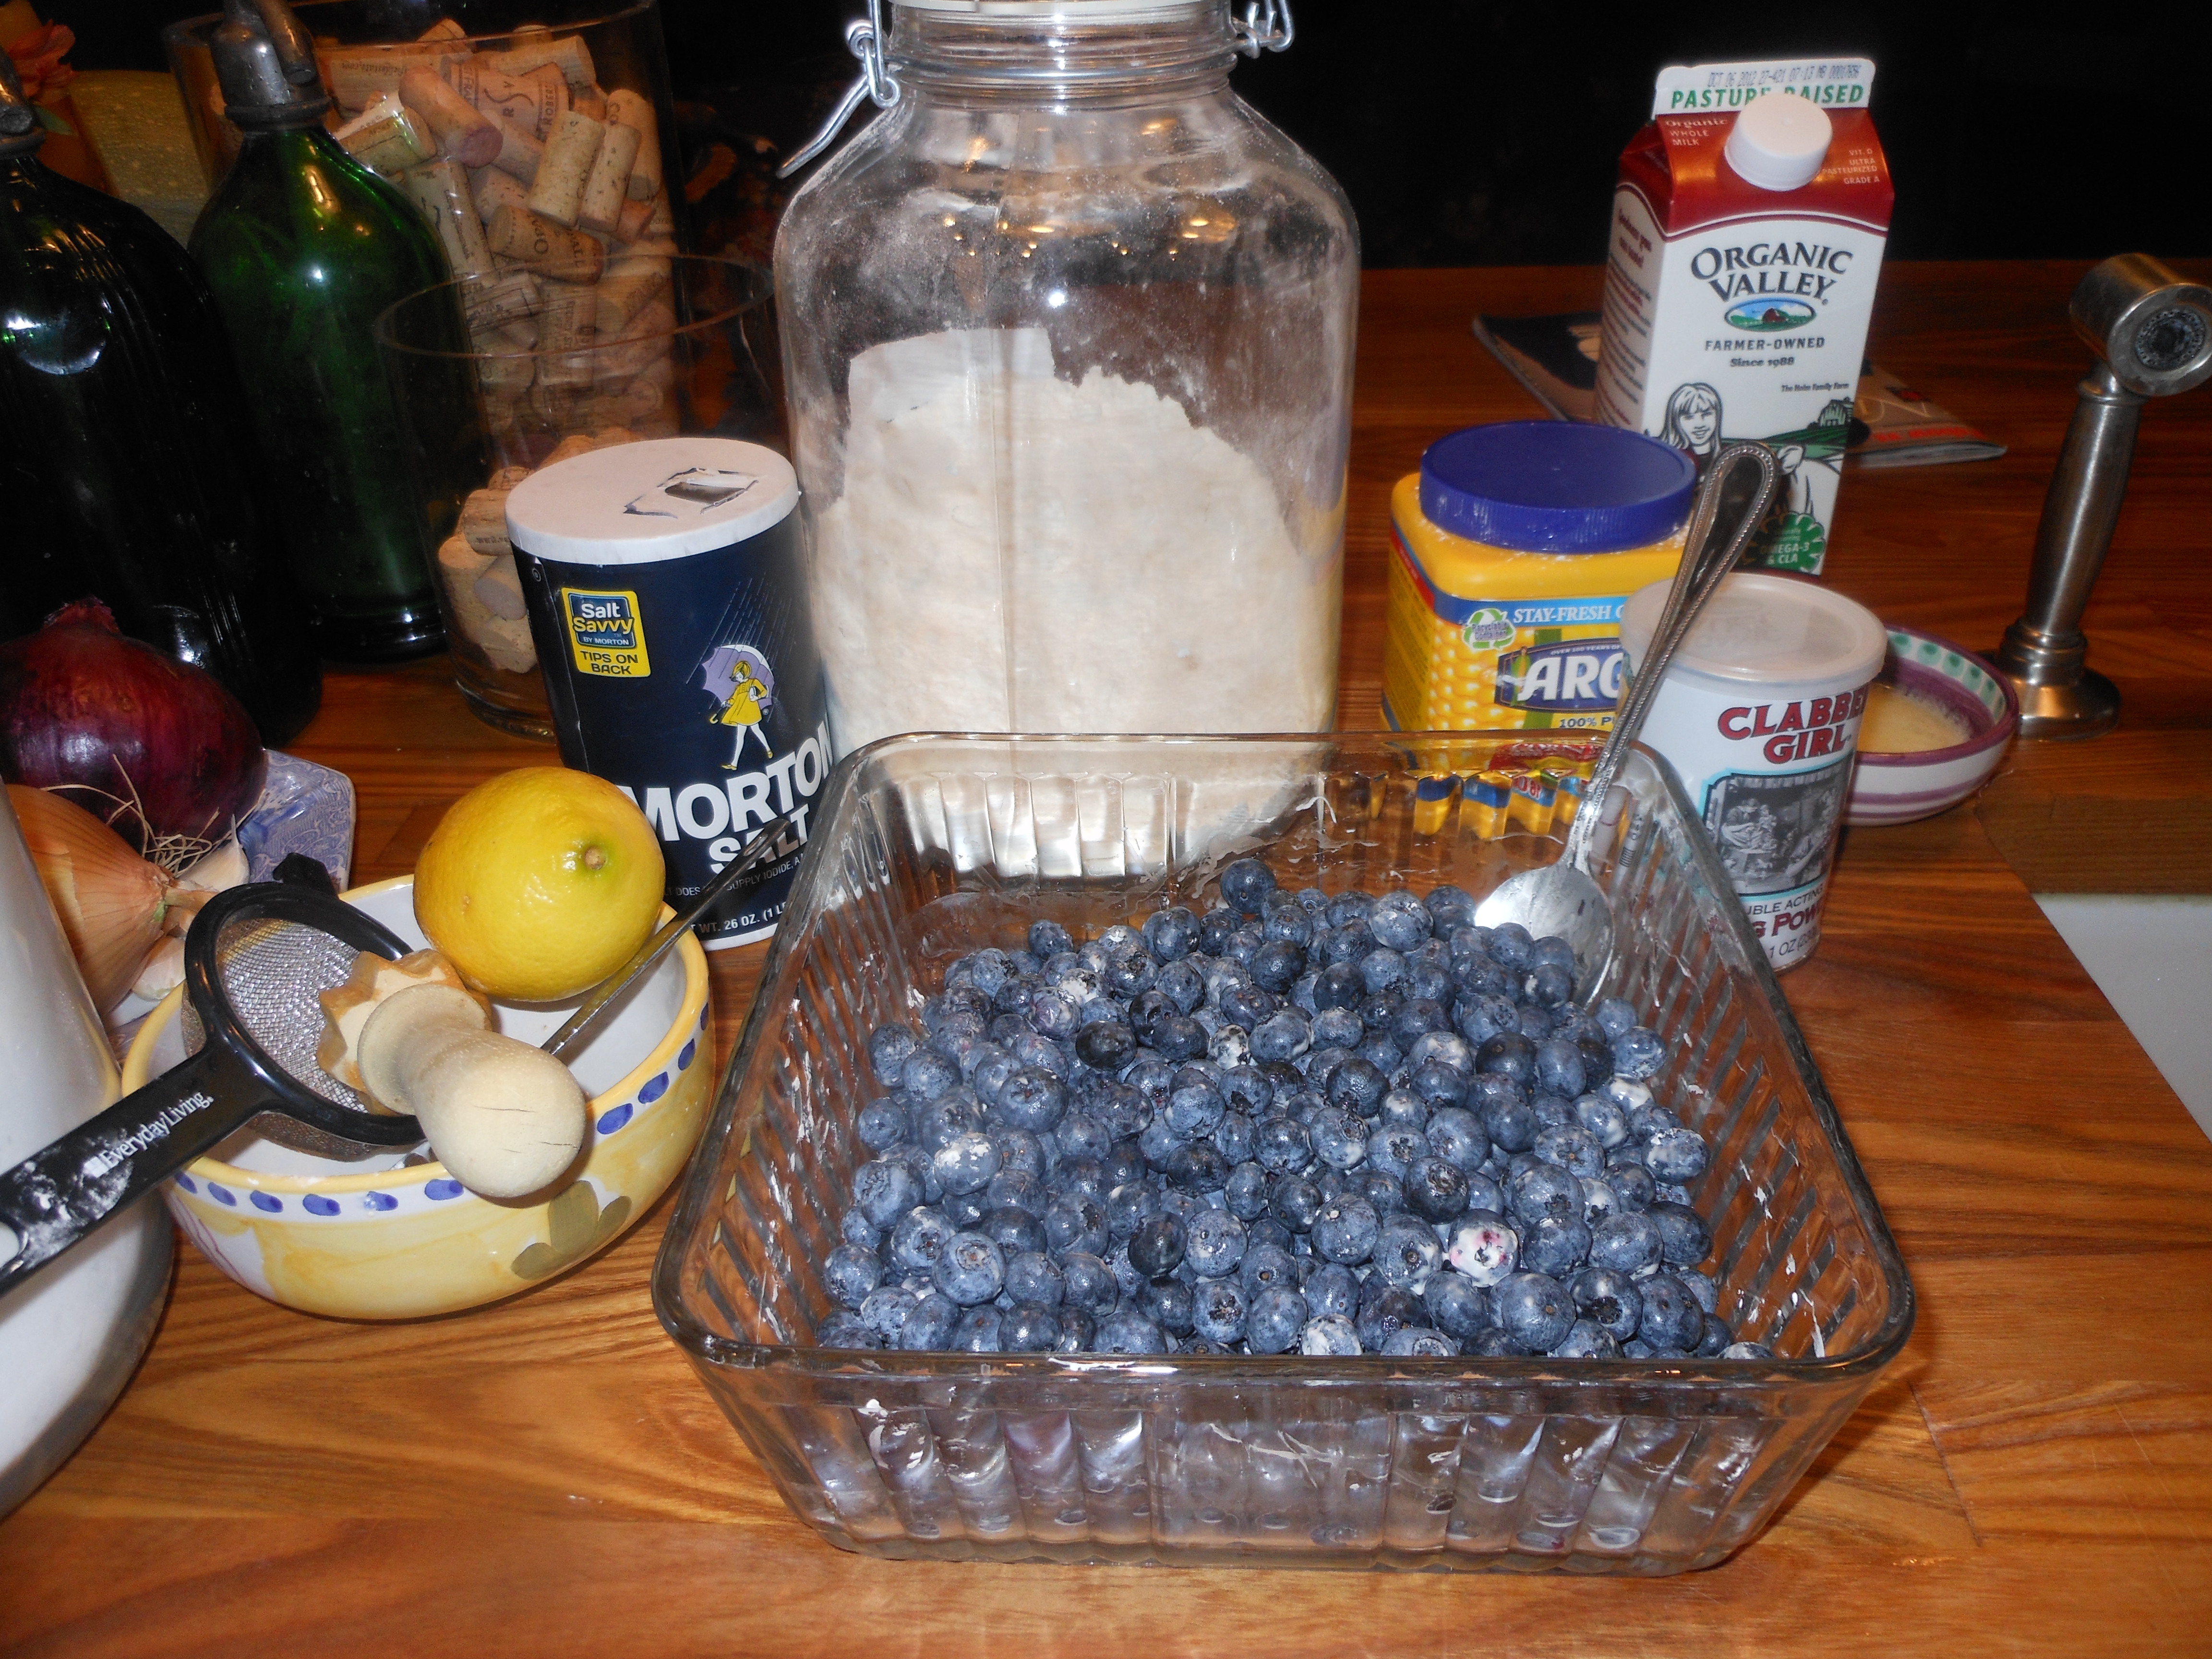
Preheat the oven to 350 degrees. Spread the blueberries in an ungreased but sprayed ( I always use Pam to help with the clean-up) 8 or 9 inch square baking pan. Sprinkle with cornstarch
and drizzle with lemon juice. Set aside.

In a medium size bowl, combine the flour, 1/2 cup sugar, baking powder and salt. Add the milk and the butter.

Stir until just combined ( shouldn’t be smooth) then drop mounds of dough onto the blueberries.

Pour boiling water over the dough and fruit. Sprinkle top with remaining 1/4 cup sugar.

Bake until the biscuits are golden brown and the blueberries are bubbly. 45- 60 minutes.

Serve warm or at room temperature. If you are preparing ahead , either frozen or in fridge, take out of freezer or fridge and bring to room temperature, I then put in oven till it starts to bubble.

Should serve 8

Triple Berry Crisp–Gluten Free

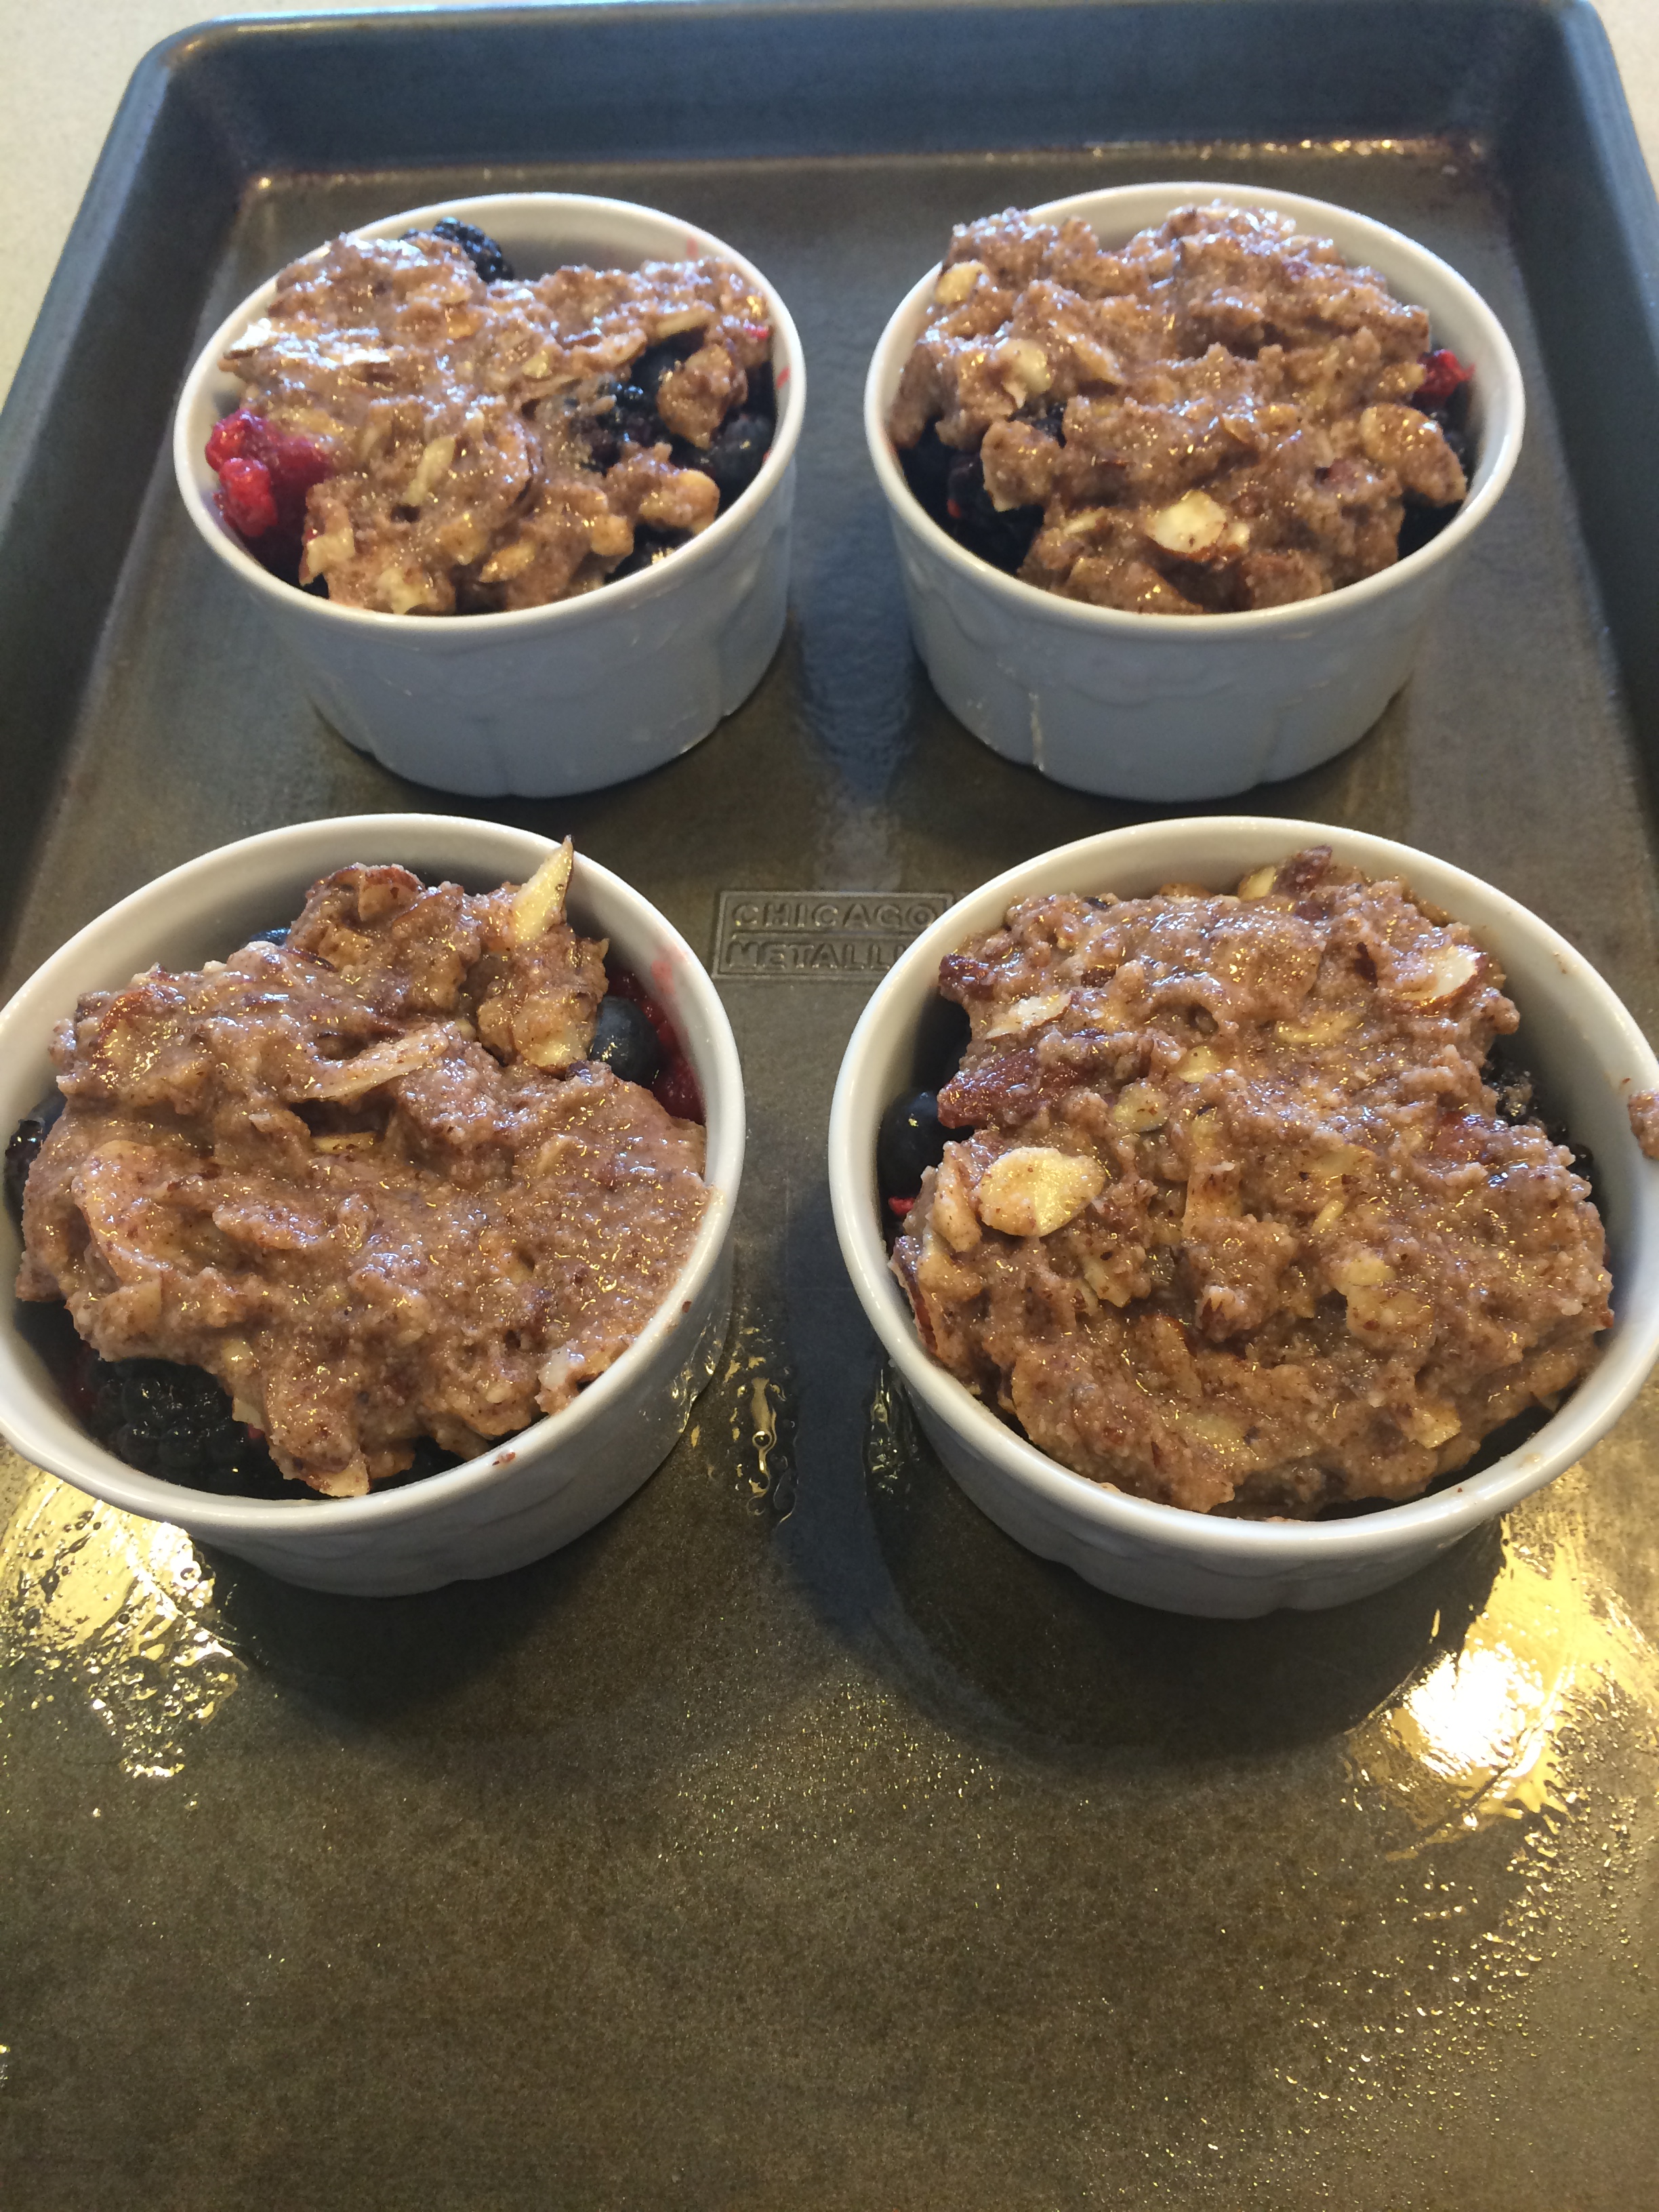
IMG_7716 IMG_7709 (2) IMG_7702 IMG_7698 I love sugar as much if not more than the next guy but this was an opportunity to make a berry crisp without any white sugar or flour.  I stumbled upon this recipe on one of the million blogs, sites and posts I see spouting Paleo and Gluten Free recipes. I am not a paleo eater nor am I gluten free but it can’t hurt to have a recipe that is light on the sugar and fairly healthy to boot. If you would like it a little bit sweeter you can add a tablespoon of coconut sugar or a packet of stevia, I didn’t and I liked it just the way it was.  It intrigued me since I love a crisp but hate the amounts of sugar that go into it, even though I do love eating it.

I had some fresh blueberries, some fresh blackberries and a few random raspberries that were going to go uneaten . What better time to try this? You can make this with just blueberries, or any berry or fruit you like. Berries are in abundance now and super delicious. This recipe took me all of 1/2 hour to put together. Use cooking spray on ramekins and baking sheet or use parchment paper for easier clean-up.  I used 4 ramekins but you can stretch this to 6 for sure.

I just sampled and can say that while they are not cloyingly sweet they have a bit of sweetness and crunch and you can really taste the tartness of the berries. I wouldn’t mind topping with some  ice cream or yogurt but I guess that would be defeating the purpose. There are some wonderful dairy-free ice creams out there and I suppose they would work just fine.

Just an addition– I ate it for breakfast this morning!!! with a little greek yogurt!

Ingredients:

app. 2 pints of berries — as I said you can mix them or use any one you like best. I used black, blue and raspberries. This can be made with apples, peaches, strawberries , nectarines and any combination of the above. I like making them in individual ramekins as a way of having portions already prepared which I think is very nice for dessert but equally nice made in a larger baking dish and you may need to double up on ingredients.

Ingredients:

Juice of 1 lemon

1 cup almond flour–available in most supermarkets today ( Whole Foods)

*1/2 cup slivered almonds–obviously can be made without nuts but I love the crunch

1/4 cup coconut oil, melted

2 tbsp. maple syrup ( use pure maple not the artificial one)

1 tsp. cinnamon

pinch of nutmeg

Directions:

Preheat the oven to 375 degrees

In a bowl, mix together the berries with the lemon juice. Divide between the ramekins ( spray ramekins first) you can also bake this in one large baking dish of course.

You can use the same bowl or a new one, and mix together remaining ingredients until combined. Spoon the almond mixture over the berries. Bake for app. 30 minutes , until bubbly and golden brown. Mine were done in 25 minutes so check your oven after 20 minutes to see where they’re at.

Let it cool slightly before serving.

Happy Memorial Day Blackberry Cobbler

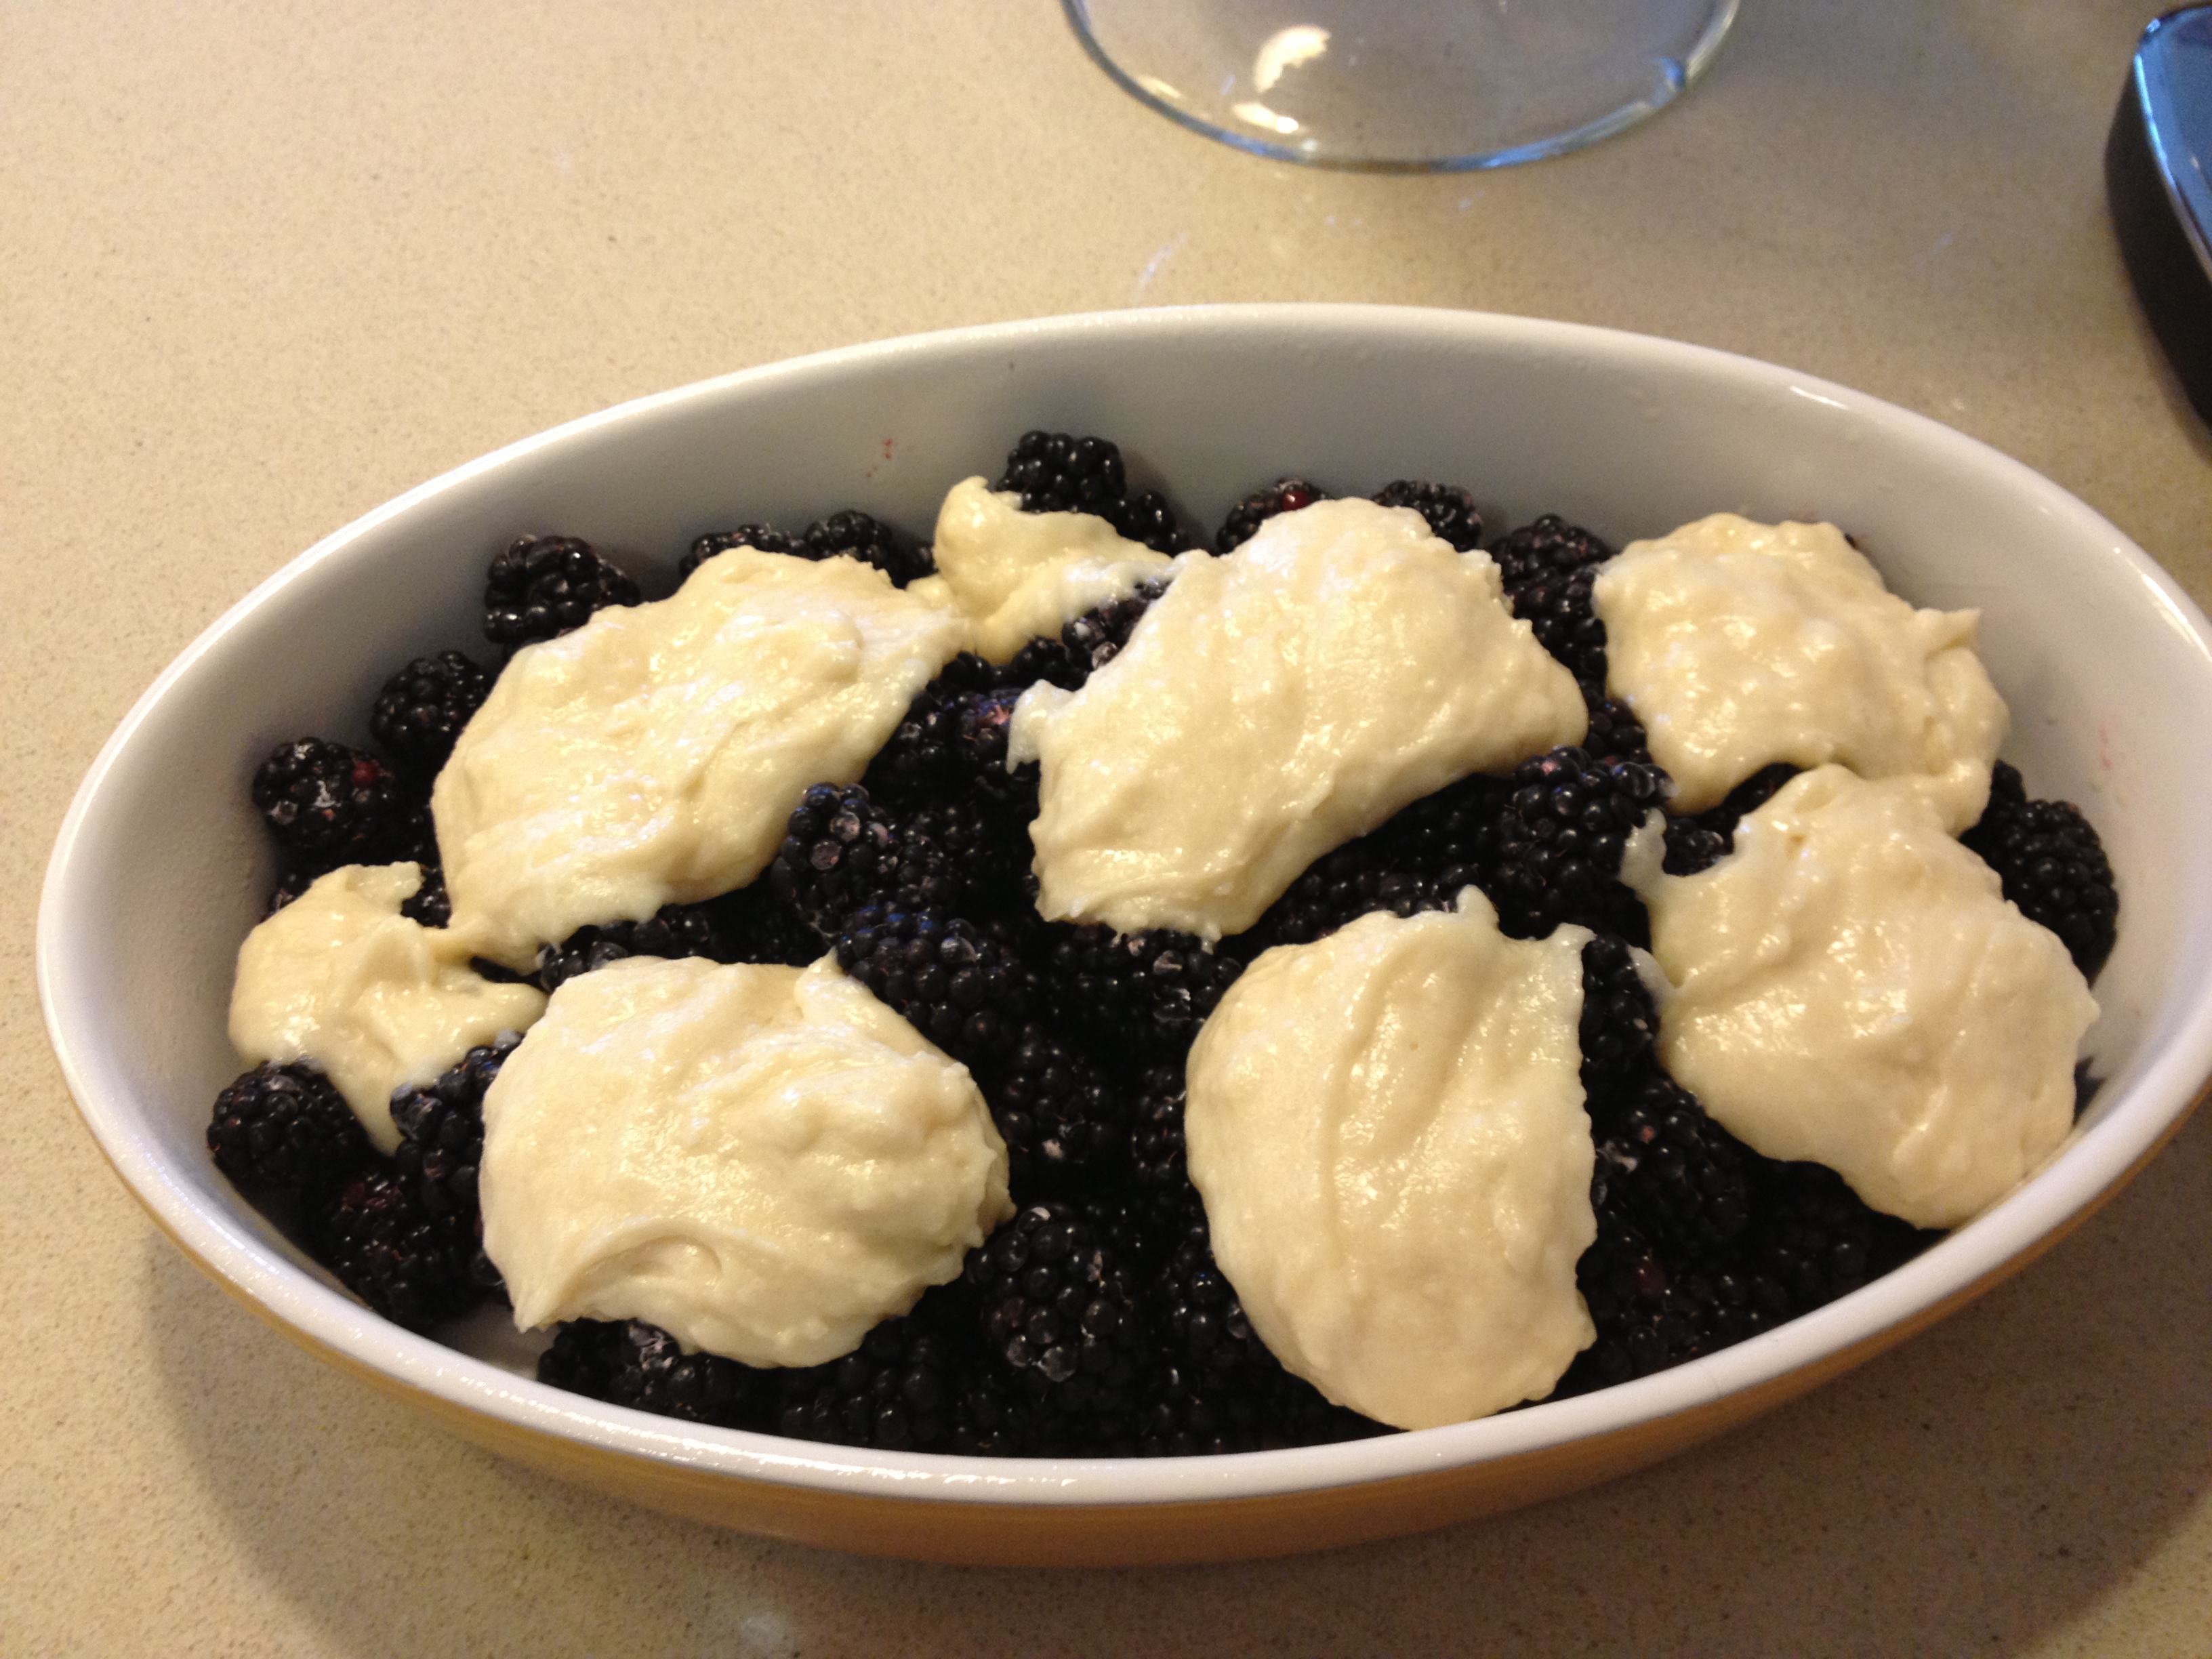
before cobbler gets baked , with biscuit topping

before cobbler gets baked , with biscuit topping

finished product - Yum

finished product – Yum

photo (3)

I saw these amazing blackberries at Whole Foods and had to buy them. They are nothing short of amazing right now. I have posted numerous blueberry cobblers , etc. Today is a version of my blueberry cobbler made with blackberries, and an opportunity to write up another recipe and wish everyone a wonderful Memorial Day weekend. Whatever you have going on  stop and think about all the very brave men and women who have served our wonderful country and continue to serve and protect every single day.

Enjoy the unofficial start of the summer season! We finally made it.

Ingredients:

1 pound or about 3 1/2 – 4 cups blackberries , cleaned , rinsed and dried

1 tablespoon arrowroot or cornstarch

2 tablespoons fresh lemon juice

1 cup all-purpose flour

3/4 cup sugar, I use regular granulated sugar for cobbler inside and on top I use turbinado sugar. 1/2 cup granulated sugar for inside cobbler and 1/4 cup turbinado

1 teaspoon baking powder

1/4 teaspoon salt

1/2 cup whole milk or you can use low-fat buttermilk

3 tablespoons unsalted butter, melted

3/4 cup boiling water

Directions:

Preheat the oven to 350 degrees.

In a bowl I place the clean blackberries that I’ve washed and dried. I sprinkle them with the arrowroot and lemon juice and mix gently  Set aside.

In a medium size bowl, I sift the flour, 1/2 cup sugar, baking powder and salt. Add the milk and butter. Stir until just combined, don’t over stir, it shouldn’t be smooth. Then by the moundful drop dough onto blackberries. I spread around a little bit but don’t completely cover the top of berries. ( see photo) the dough will spread a little once it’s baked.

Pour boiling water over the dough and fruit before you bake it. Sprinkle top with 1/4 turbinado sugar or regular sugar. Raw sugar or turbinado sugar makes it a little crunchier topping. I prefer it to regular sugar for a topping.

*if you are preparing in advance which is what I did today. Prepare up till the boiling water and sugar part. Refrigerate for up to 2 days , bring to room temperature then pour boiling water and top with sugar and bake. I baked for app. 45 minutes till dough gets browned and crackly looking and blackberries are bubbling. ( see photos)

Happy Cooking and Happy Memorial Day from my kitchen to yours.

My Favorite Macaroons–Traditional Style for Passover

photo 5 (40)I am not sure why I only make these macaroons during Passover. They are definitely my favorites; they are very easy to make, look totally professional, and are the Passover cookie in my book. These can be made ahead of time and stored. I usually make a few days before the Seder because I dip them in melted chocolate (just the tops). You don’t have to dip, you can leave plain. I dip up to 1/2 the macaroon in the chocolate. They are sweet and crunchy on the outside, and moist and chewy on the inside. After Passover, if there are any left over, I freeze them. Cannot have them lying around. Of course you may make these any time of year…they are always welcome on the menu.

*When dipping, just turn macaroon upside down (with peaked part into the chocolate). I usually go just a bit more than the top (probably 1/2 the macaroon into the chocolate). Use as much or as little as you like.

*just a little note, silpat is awesome to use for this recipe instead of parchment paper. You must cool completely before trying to lift off the paper. Also before you dip into chocolate I like to cool down completely.

Ingredients:

3  large egg whites (When I bake, I always leave eggs out so that they are at room temp.)

1/2  cup sugar

1/4 teaspoon salt

1 package (14 oz.) sweetened, flaked coconut ( I like this Angel Flake Baker’s Brand, but they’re all fine)

*1 package semi-sweet chocolate chips (You can really use any semi-sweet chocolate to melt. It’s just easy with the chips.)

Directions:

Preheat oven to 350 degrees. Line a baking sheet with parchment paper (you can use non stick cooking spray, like Pam, but I just line with parchment, which works really well).

In a large bowl, whisk together egg whites, sugar and salt until frothy. With a fork, stir in coconut until moistened.

Using a level tablespoon (measuring ones are perfect), pack the mixture into the spoon, so all macaroons are equal size. Drop mixture onto prepared sheet (cookies will not spread). Bake until golden brown, about 25 – 30 minutes. Towards the end, check on them to be sure they don’t burn. I make a little peak with my fingers on the cookies before I bake them (this makes for easier dipping).

*To melt chocolate on stove top: I bring a small saucepan of water to a rolling boil, and on top of it put a small stainless (oven proof) bowl filled with the chocolate.( works like a double boiler if you don’t have one) When it completely melts, take off heat. Once macaroons are completely cool, you can dip the tops. Just make sure chocolate and macaroons are cooled off first. Just dip top of cookie in chocolate and place on a plate to cool. When I am all done, I refrigerate the macaroons to set the chocolate. You can leave in fridge until you are ready to serve and take out with enough time to bring to room temp. Before serving, I usually use a cool cookie sheet with parchment paper to cool off cookies once they’ve been dipped.

*should yield about 20 – 25 cookies. You can double if you’d like.

Chocolate Banana Bread

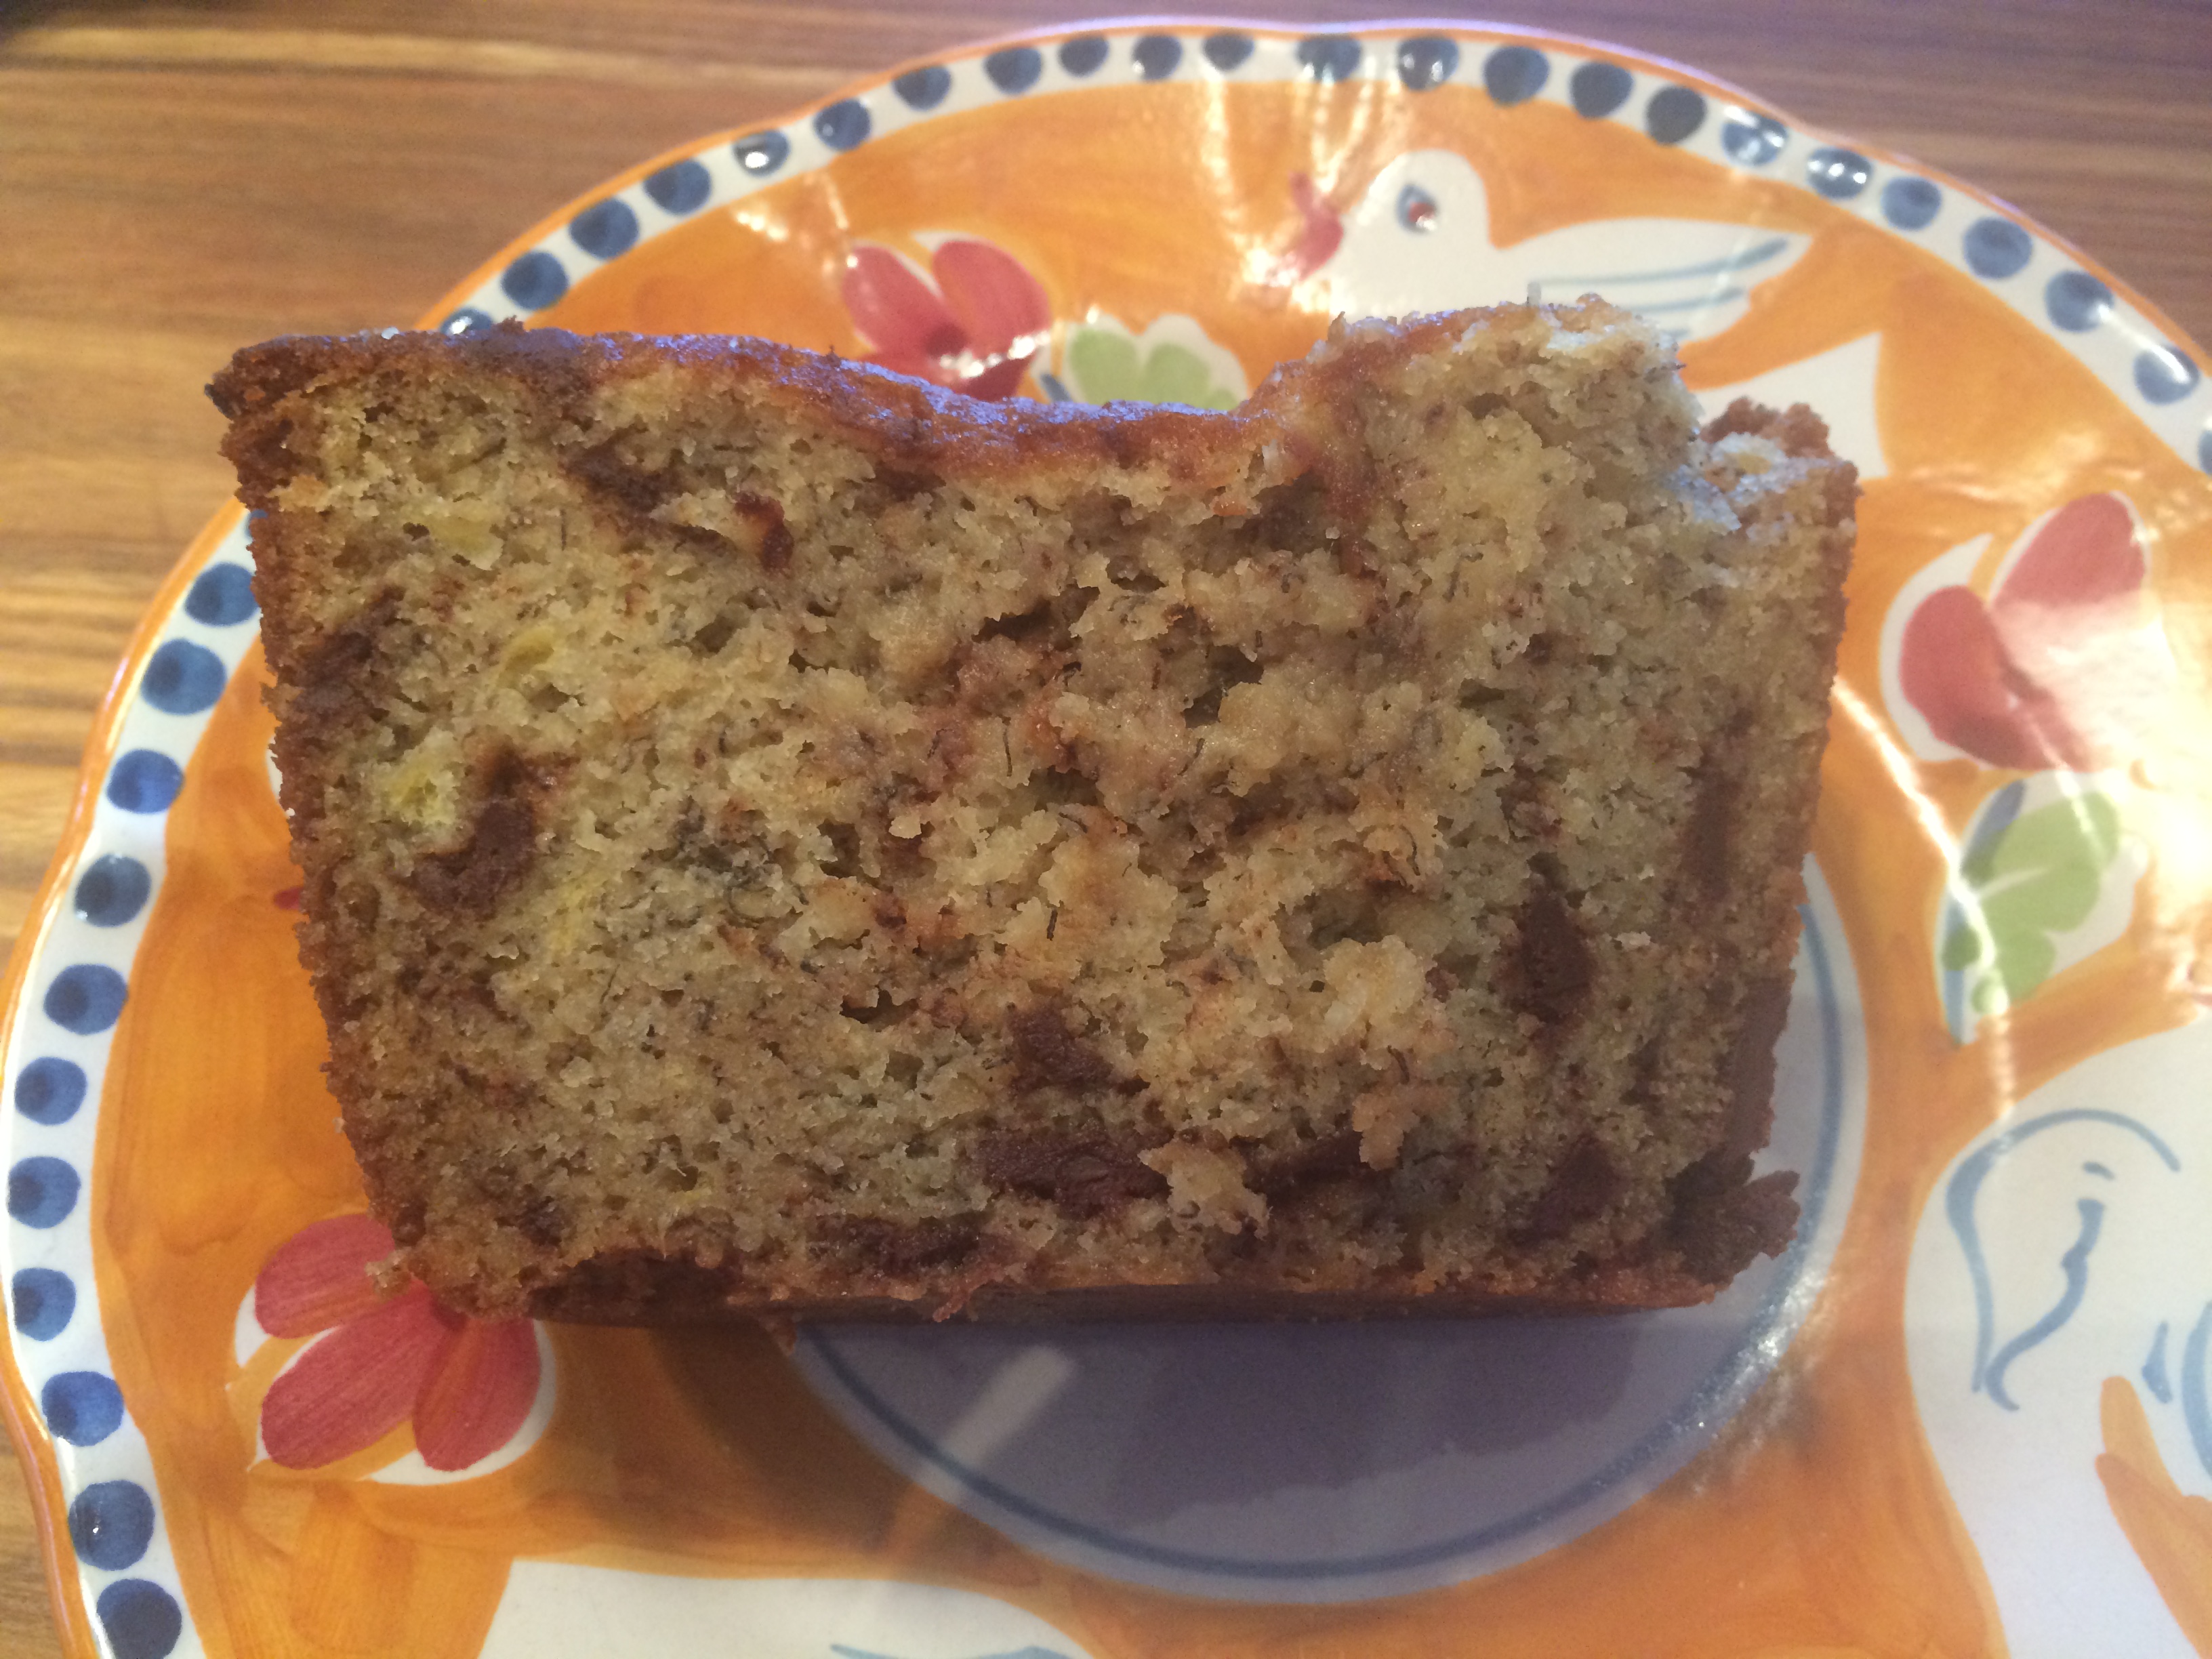
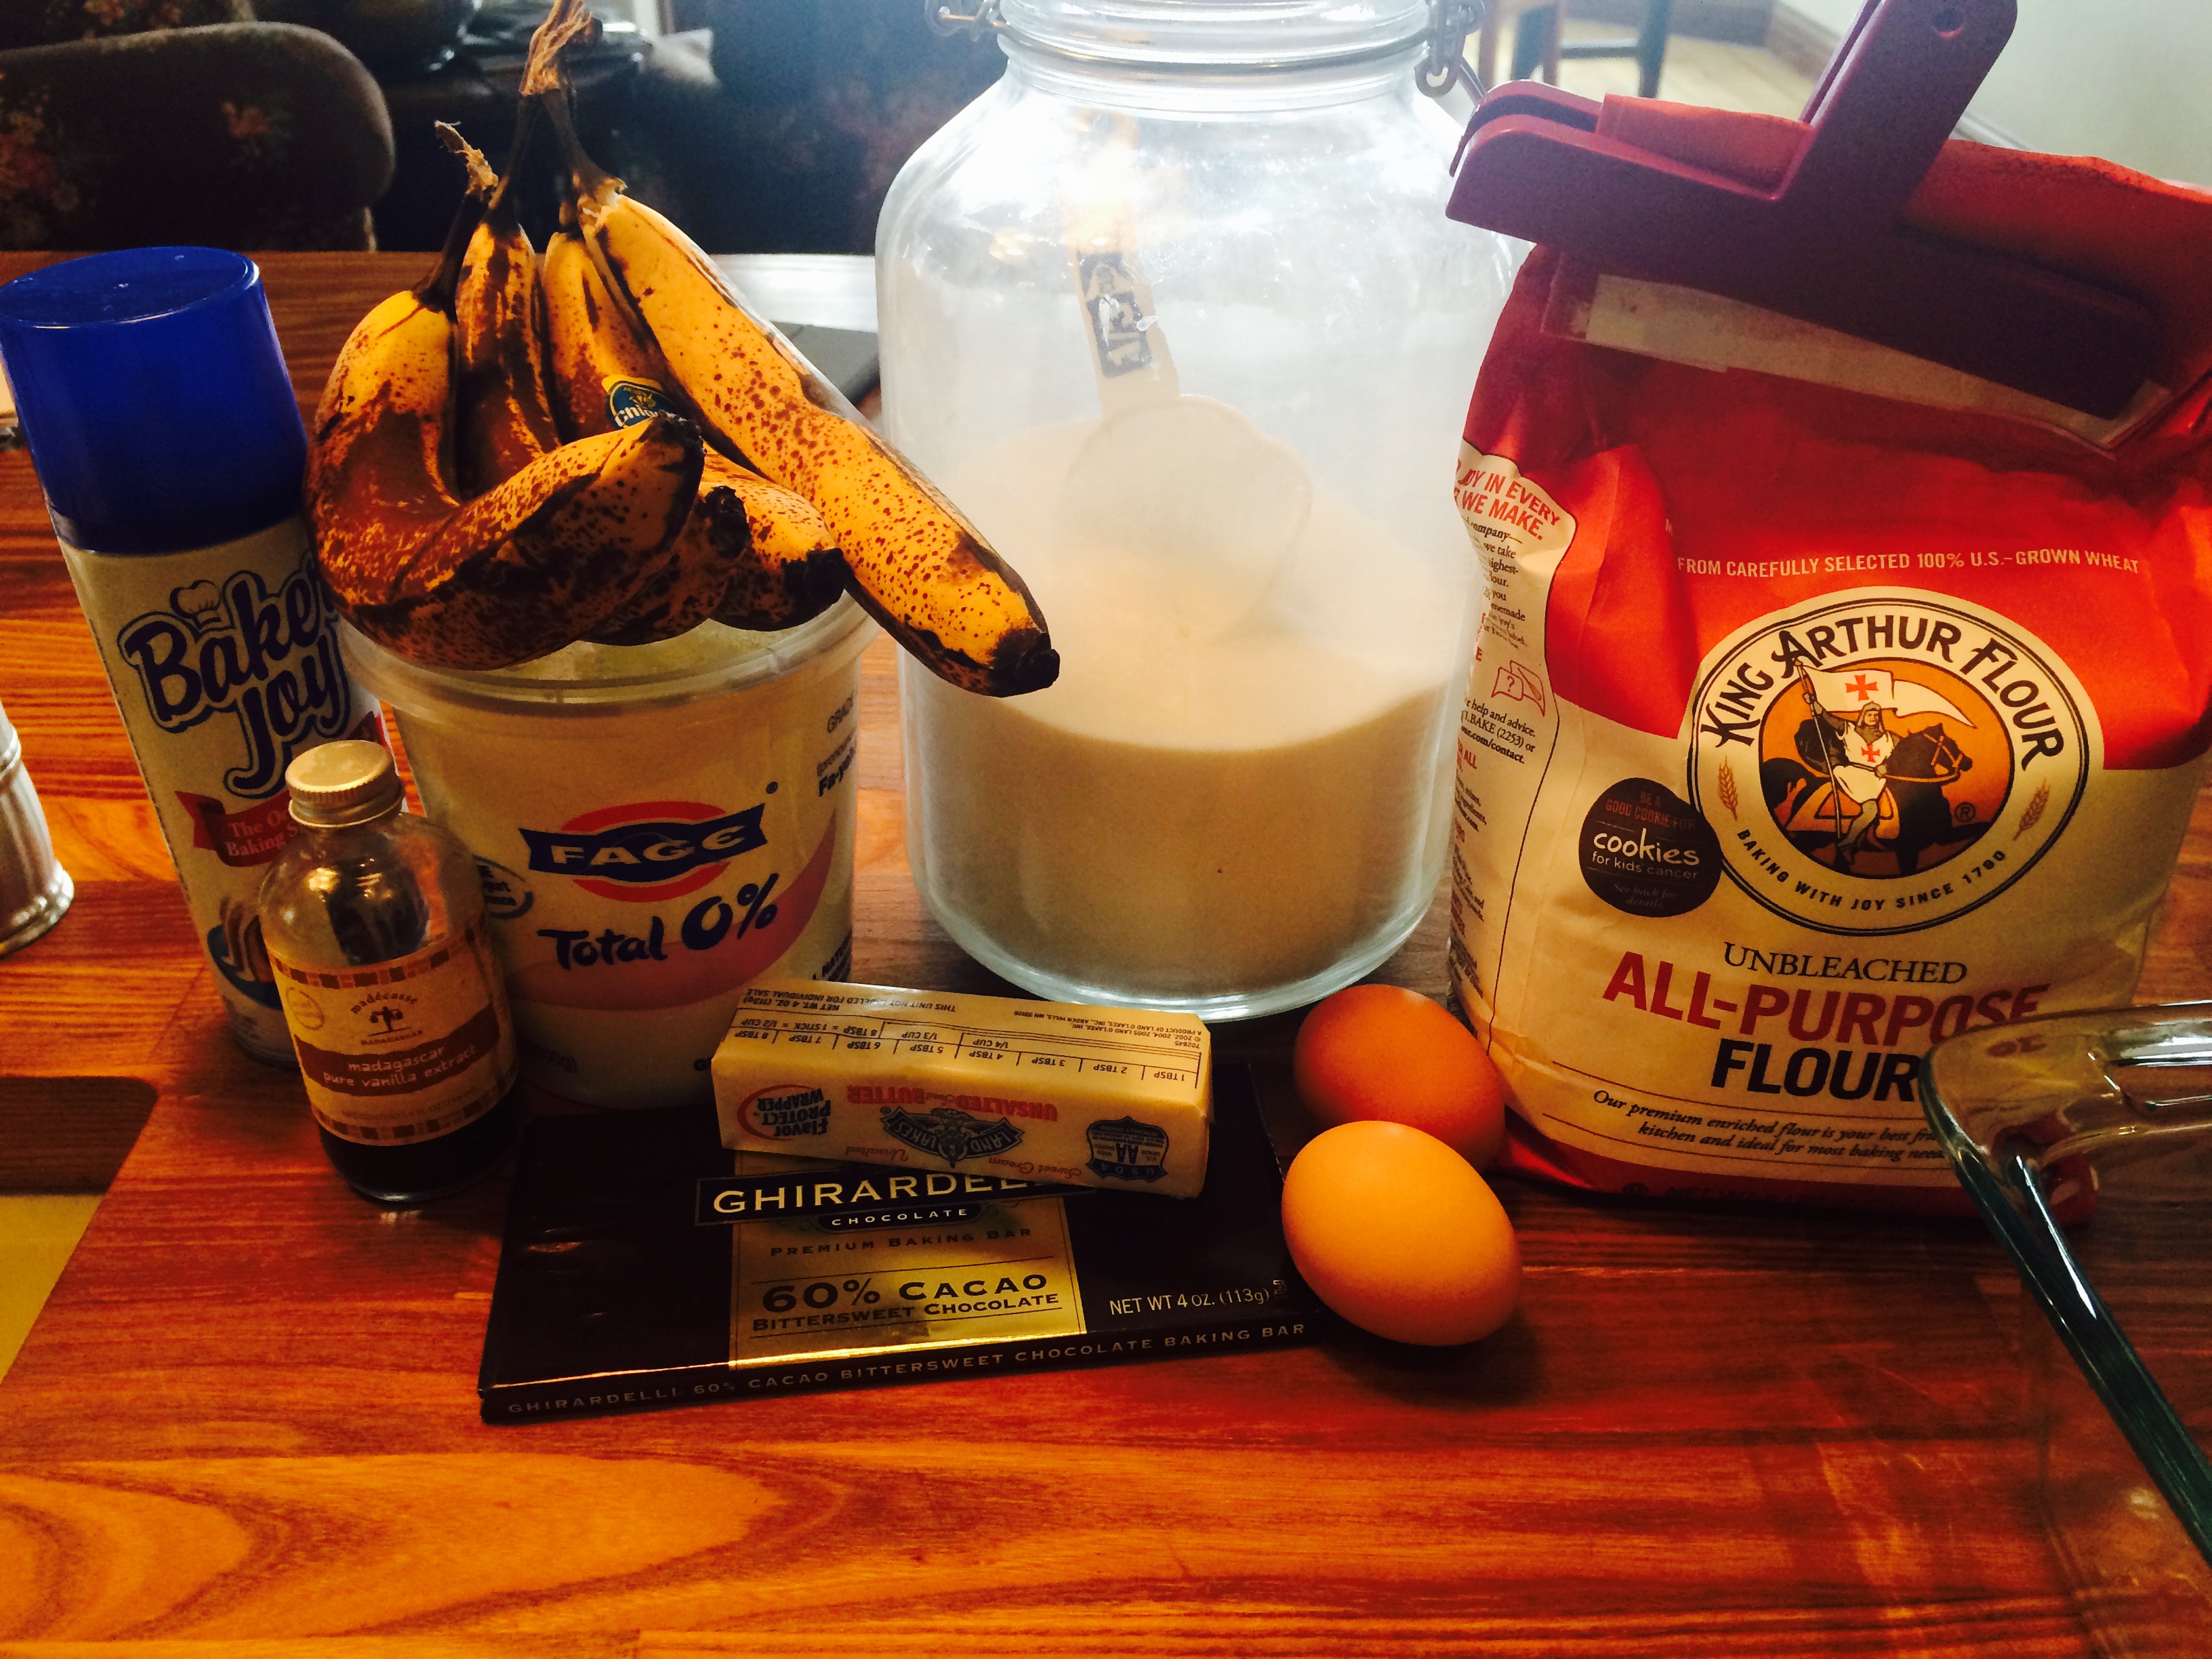
IMG_6987FullSizeRender (9)This is an amazing banana bread made with chopped bittersweet chocolate . Totally amazing and very hard to resist. You can make ahead and freeze up to 3 months! Of course I had 4 very over-ripe bananas and I had all of the other ingredients in the house so why not bake a banana bread but with chocolate this time out. By chopping up the chocolate you get different sizes of chocolate bits , some small and some large. I prefer chopping up the chocolate to using chocolate chips in this bread, it definitely adds more interest.

*FullSizeRender (6)FullSizeRender (3) If your bananas aren’t ripe enough and you really want to bake this bread, put them in a 300 degree oven unpeeled for about 15 minutes to soften. Make this bread–you won’t be sorry.

Ingredients:

1 stick unsalted butter, room temperature

1 2/3 cups all-purpose flour

1 teaspoon baking soda

1/2 teaspoon fine salt ( table salt)

1 1/4 cups sugar

2 large eggs, room temperature please

3 – 4 mashed over-ripe bananas app. 1 1/2 cups

2 tablespoons greek yogurt (plain) I used 0% fat or you can use sour cream

1 teaspoon vanilla extract

4 ounces bittersweet chocolate, chopped . Chocolate comes in bars available in the baking section of most supermarkets. There are many kinds of baking chocolate but this recipe calls for bittersweet not unsweetened.

Directions:

Preheat oven to 350 degrees. Spray a 5×9 inch loaf pan , I love Bakers Joy cooking spray for baking. In a medium bowl, whisk together flour, baking soda, and salt.

In the bowl of an electric mixer beat butter and sugar on medium-high until fluffy app. 3 minutes or so. Add eggs, one at a time, beating well after each addition and scraping down the sides of the bowl.

Beat in mashed bananas, yogurt, and vanilla. Beat in dry ingredients and chocolate on medium speed. Pour batter into prepared baking pan. Bake until a cake tester inserted into the center of loaf comes out clean, app. 50 – 60 minutes. I baked mine for about one hour.

Let bread cool in pan for about 15 minutes then turn out and let cool completely on a wire rack.

Simple Banana Bread

IMG_6029

batter for banana bread

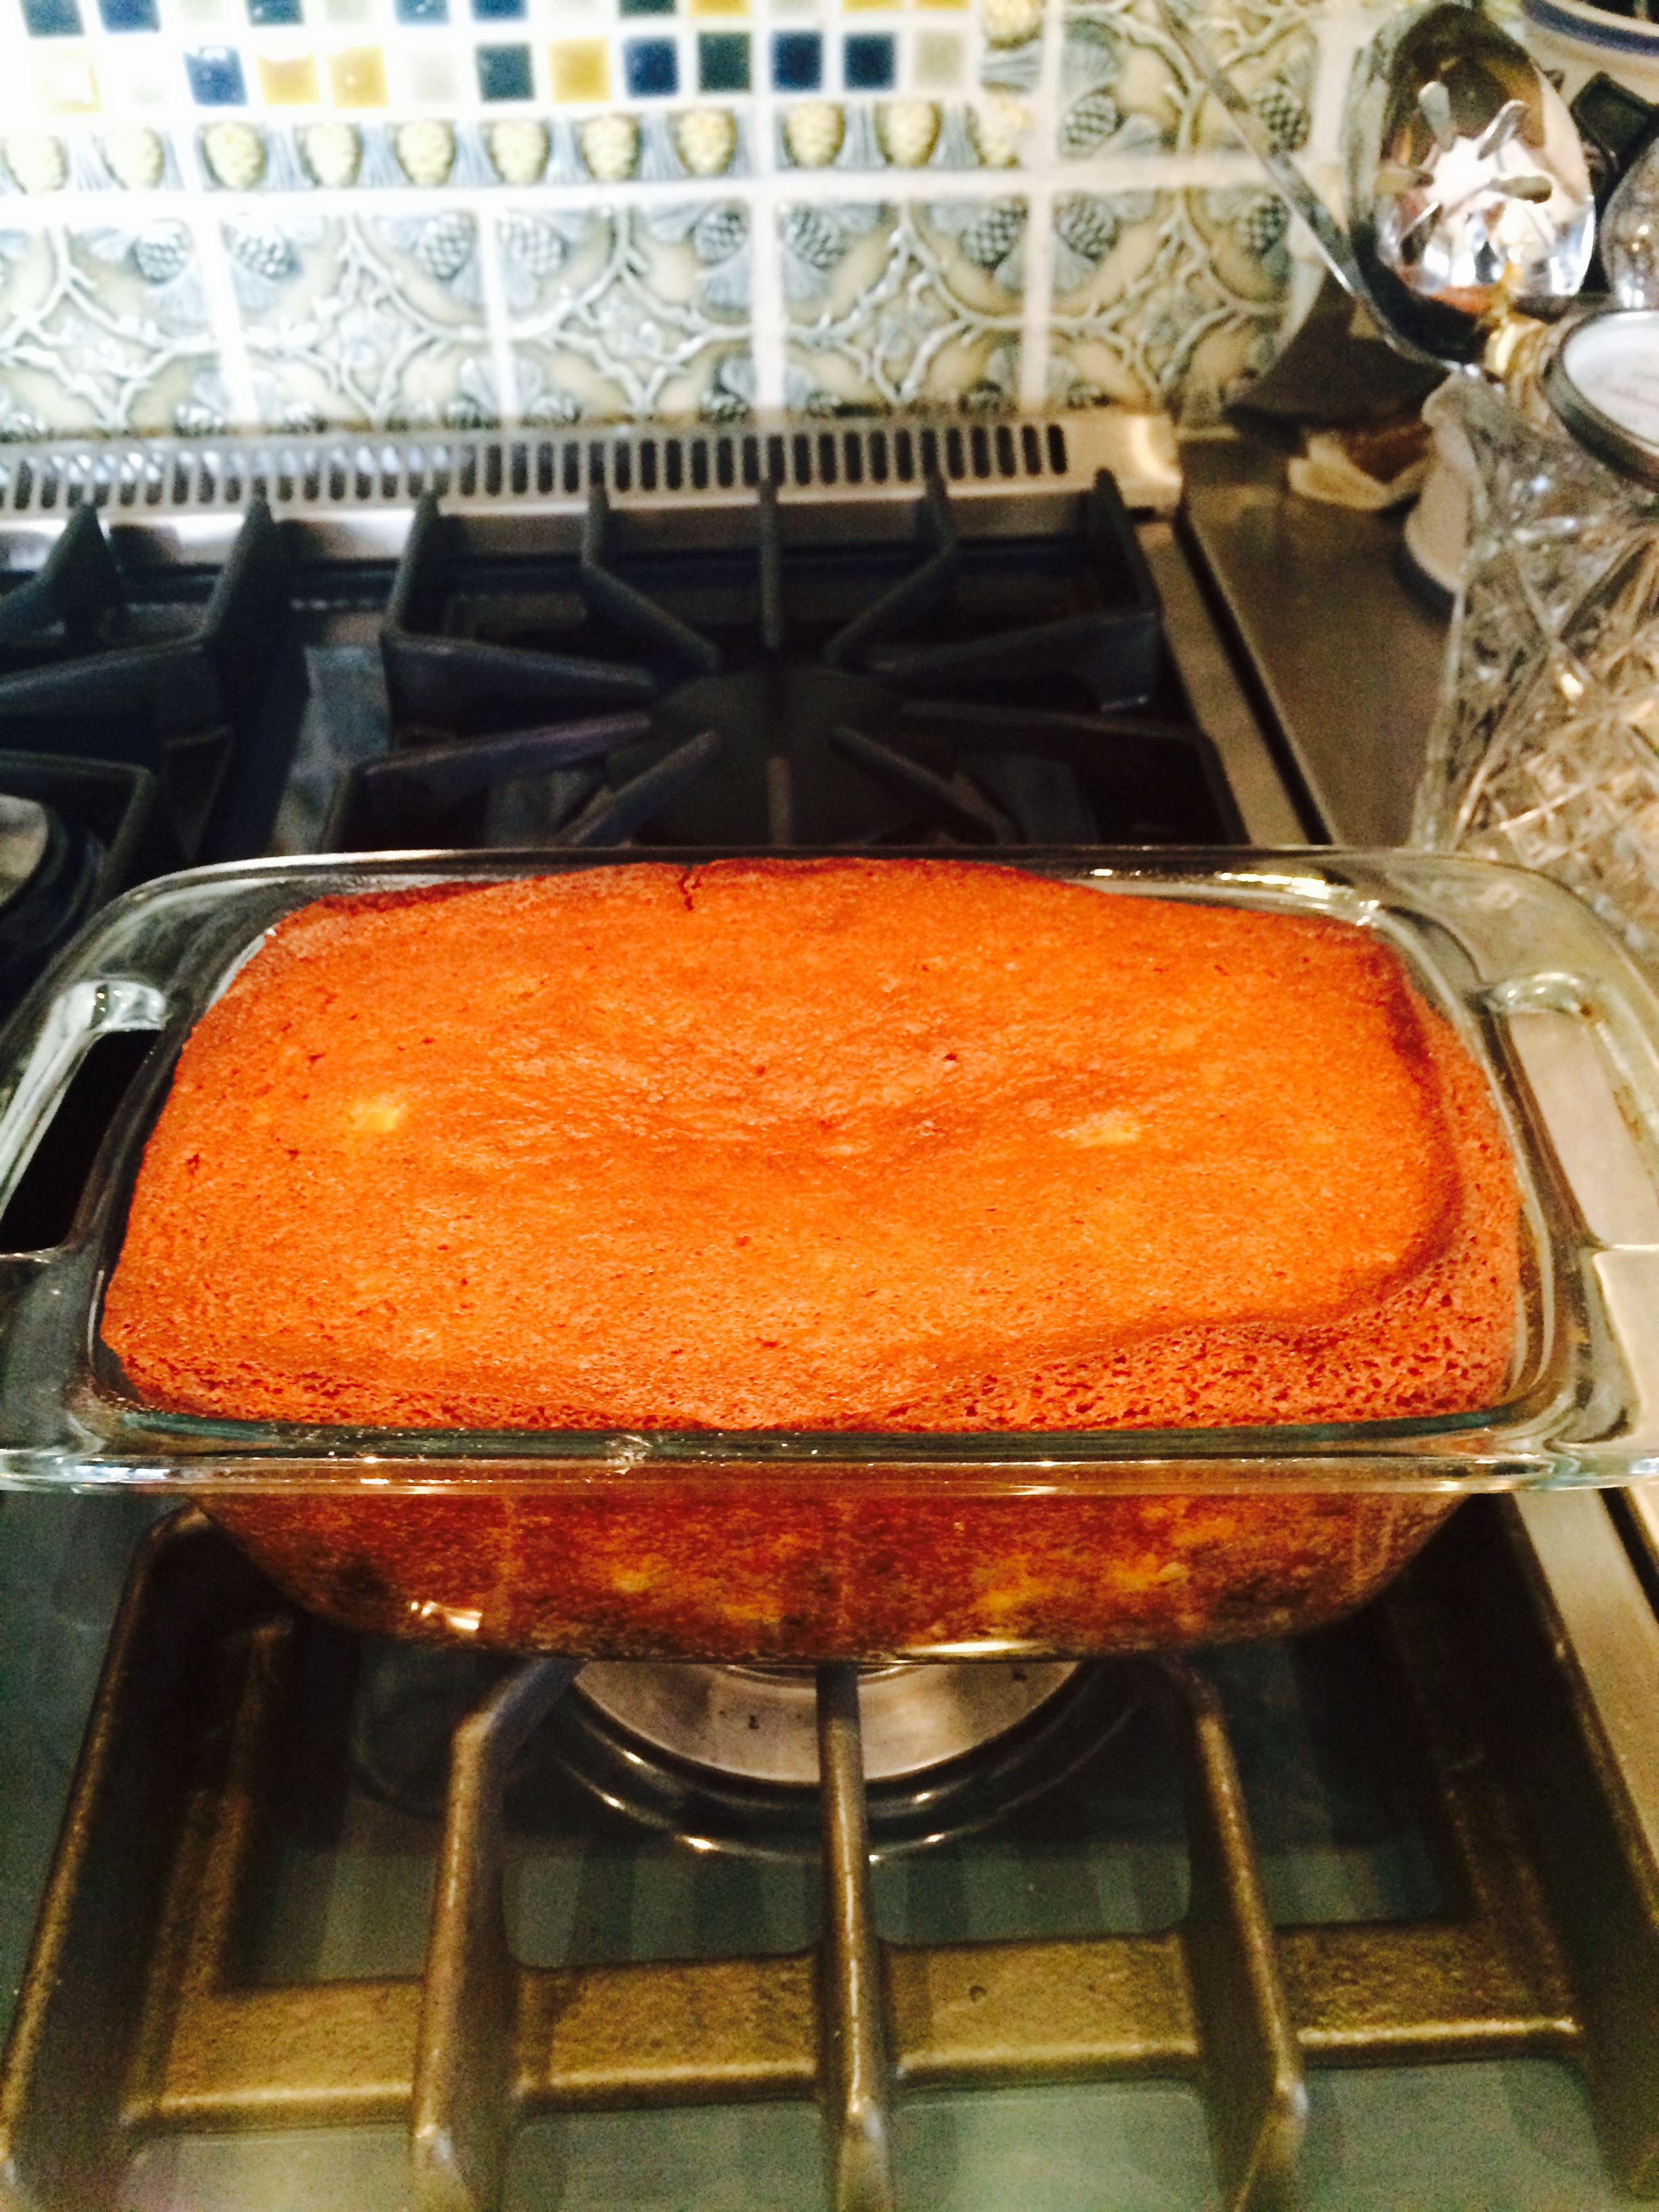
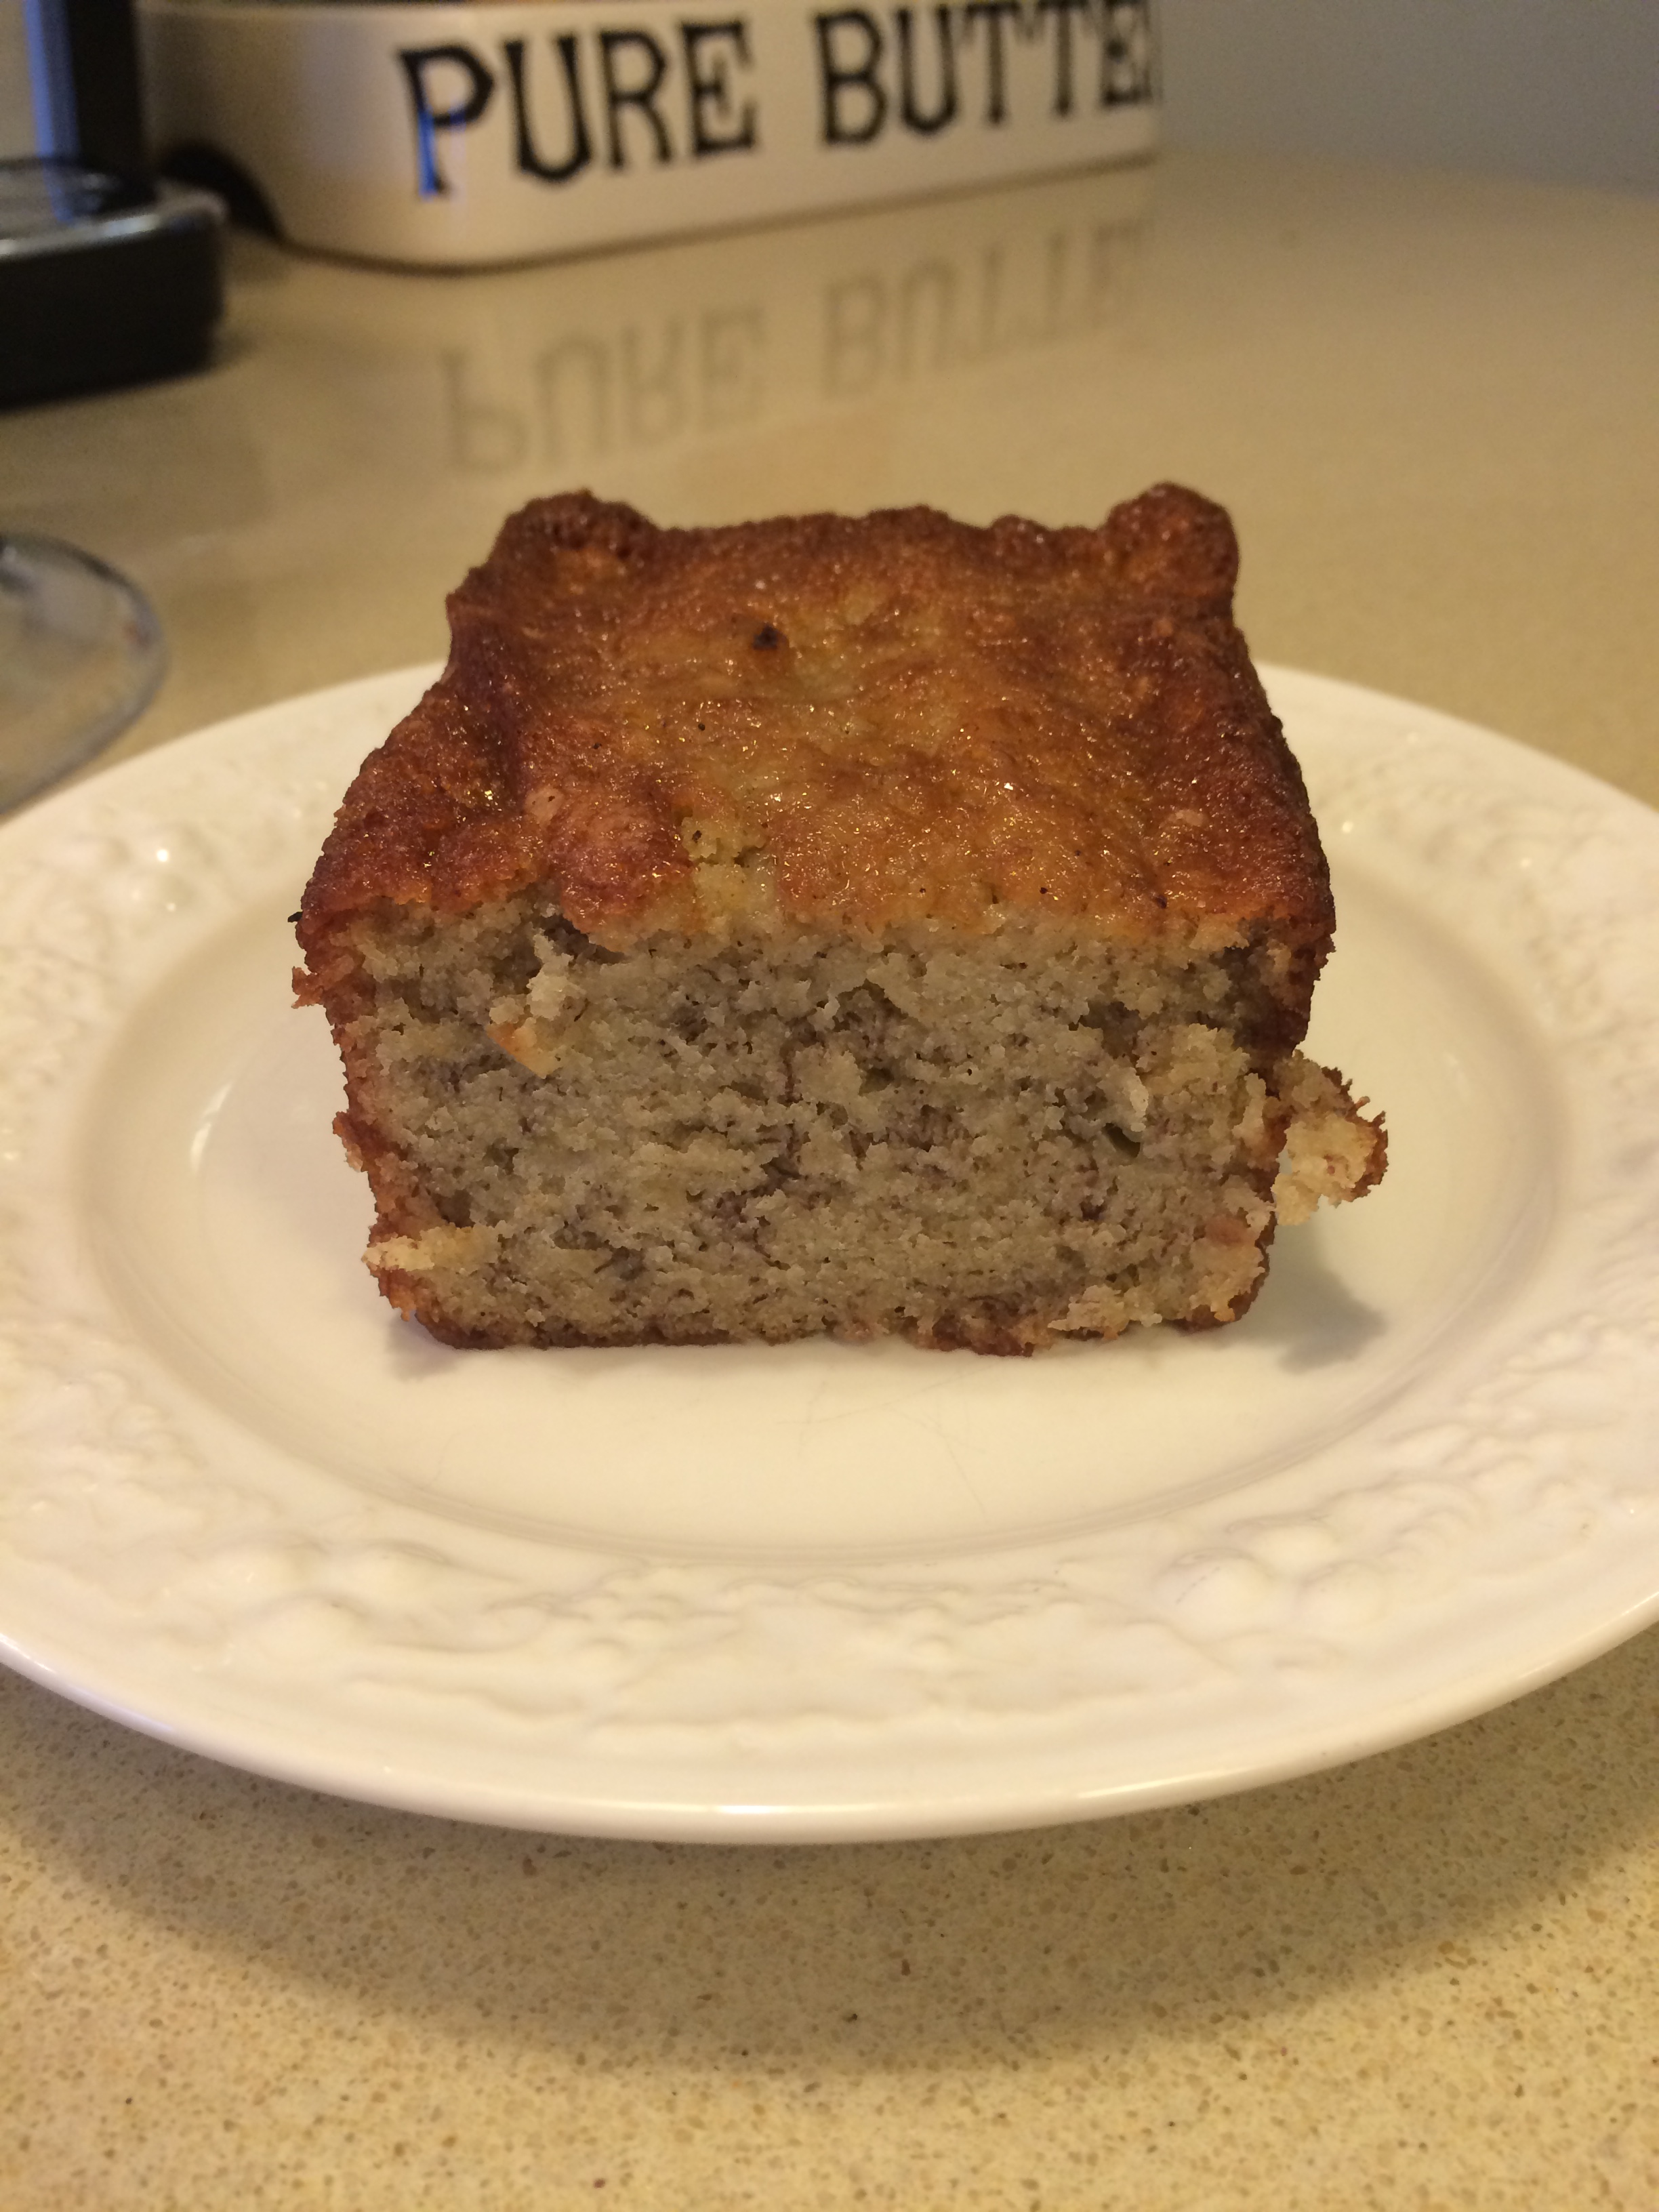
IMG_6031 IMG_6032This is a simple and delicious Banana Bread. A “no frills” amazingly delicious banana bread. It is Dominique Ansel’s recipe for Banana Bread. While my other banana bread is amazingly delicious it contains brown sugar and a streusel type crunchy topping which makes it more like a cake than a bread.  This is delicious served as a bread or with something delicious spread on top of it, butter, jam or even peanut butter. It is pantry ready except for the bananas which I happen to have 4 over ripe ones sitting around.  All other ingredients should be in your pantry . I use an electric mixer to mix bananas and eggs because I like the consistency of it done this way. If you don’t have an electric mixer you can mash the bananas by hand and beat in one egg at a time. The bread will start browning early on and this is OK, it forms a wonderful brown crust from all that butter! Mine never got burned.

You will also need a loaf pan. This is  a large loaf so I filled my standard loaf pan and poured the excess into a small mini loaf. I used a 9×5 loaf pan filled about 3/4 to the top. This bread will turn brown quickly just be careful not to burn it so check on it after 50 minutes.  I actually baked for only 60 minutes and it was perfect. Brown and crispy on the outside and moist and delicious on the inside. A really perfect banana bread. You can also use 3-4 mini loaves and they will probably cook in 30 minutes or so. You’ll have to check because it really depends on your oven. I checked mine with a cake tester and it came out clean so I knew it was done. If you touch center of cake it should spring back .

I made this banana bread without nuts but if you’d like add some chopped walnuts. Totally optional and about 1/2 cup would be enough for this recipe. Nothing to stop you from adding some chocolate chips either.

Enjoy!

Ingredients:

2 cups sugar

2 cups flour

3/4 teaspoon baking soda

3/4 teaspoon ground nutmeg

1 teaspoon salt

1 teaspoon baking powder

3 eggs ( room temperature)

4 over-ripe bananas

14 Tablespoons unsalted butter, melted–yikes I know!!!

Directions:

Preheat the oven to 350 degrees.

I spray the loaf pan with Baker’s Joy cooking spray. ( I love this spray for baking)

In a large bowl, combine the dry ingredients. Sugar, Flour, Baking Soda, Nutmeg, Salt and Baking Powder.

Melt Butter in Microwave (35 seconds should do it)

In bowl of an electric mixer I place the bananas and with paddle attachment beat the bananas into a mush. I then add one egg at a time and beat each one in.

Mix the wet ingredients with the dry ingredients and mix until just combined. Don’t overmix. Stir in the melted butter until fully incorporated.

Pour the batter into loaf pan and bake until golden brown or a cake tester inserted into the center comes out clean, about 60-70 minutes. Check after 50 minutes to be sure.

Allow to fully cool before slicing. At least 1/2 hour.

I will probably freeze this bread so I will allow to completely cool before freezing as well.

Michele’s White Chocolate Macadamia Jumbos

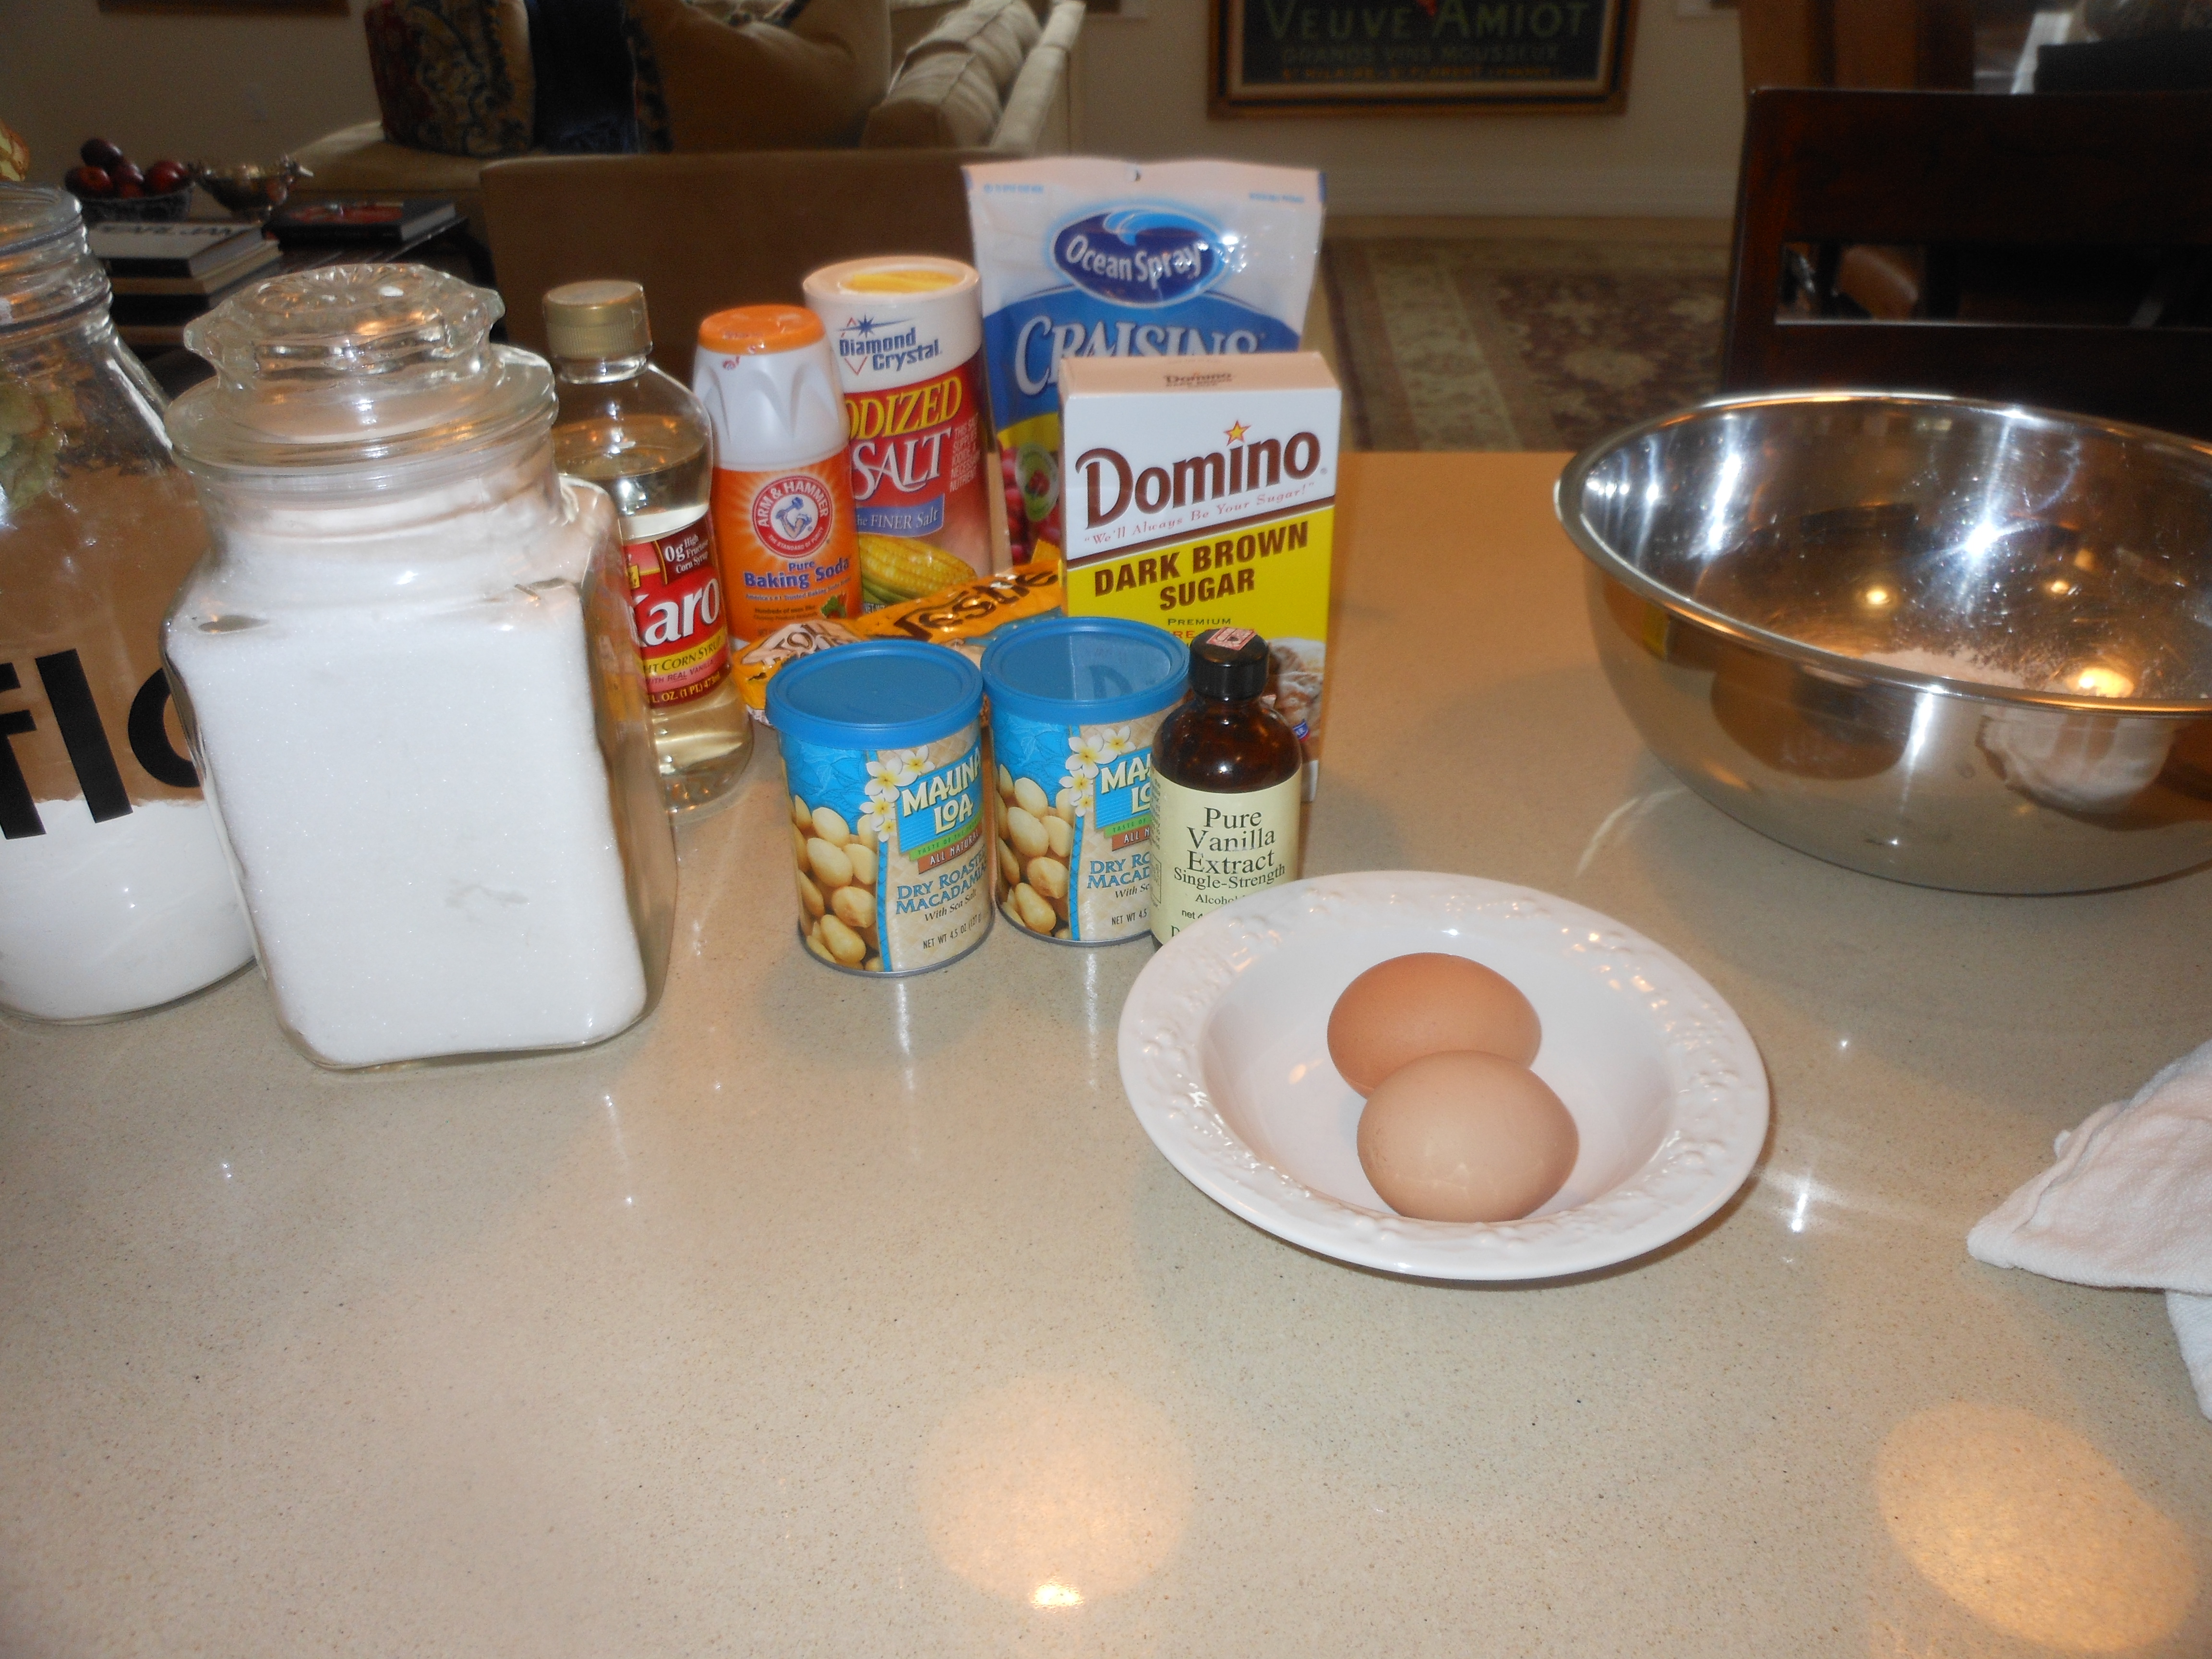
Michele sent me this as her entry for my CWC Thanksgiving Contest. Wow! they are amazing and before I keep eating them they are going in the freezer for Thanksgiving. Michele always makes these for her fabulous Christmas party. They will keep in the freezer for up to 3 months, so the plan is to make ahead for Thanksgiving, because these have to be on my table.  I didn’t get dried cherries, but I had craisins so I used them. They cooked up in 17 minutes at 325 degrees and were just beautiful. I am happy that I went to the gym this morning that’s all I can say. Thanks Michele for participating and for your support of my blog :). These are going on my Thanksgiving dessert table without a doubt.  These are decadent, but if you’re eating a cookie shouldn’t it be? These were so amazing that everyone who ate them fell in love with them, so I must give this prize to Michele. Thanks to everyone else who participated, and I loved Shelly’s muffins and Julie’s Pie which may find it’s way on to my Thanksgiving table.

*P.S. they never did stay in our freezer because of Hurricane Sandy.  Alot of people got to eat these delicious cookies and everyone agreed they were some kind of wonderful.

Ingredients:

2 1/2 cups all purpose flour

3/4 cup butter or margarine ( 1 1 2/ sticks softened)

3/4 cup granulated sugar

1/2 cup dark brown sugar

3 Tblsp. corn syrup

2 tsps. vanilla extract

1 tsp. baking soda

1 tsp. salt

2 large eggs ( room temperature please)

12 oz. bag white chocolate chips

1 jar ( 6 1/2 oz) macadamia nuts chopped about 1 1/3 cups

1 1/2 cups dried tart cherries or cranberries, I actually used craisins

Directions:

Preheat oven to 325 degrees. In a large bowl, I placed flour, baking soda and salt  and mixed together. In bowl of kitchen aid mixer I placed softened butter, sugars, corn syrup , vanilla, butter and eggs, mixed at medium speed while adding the flour in. When it’s all combined scrape bowl with rubber spatula, and stir in white chocolate chips , nuts and cherries.

Drop by slightly rounded 1/4 cups, 3 inches apart onto ungreased cookie sheet, I used a Silpat and an ungreased cookie sheet. These cookies are large so be sure to space 3 inches apart. Transfer to a wire rack and cool. Can be frozen up to 3 months.

I baked for 17 minutes, check them after 15 depending on your oven.

These cookies are amazing. Enjoy!

Apple and Cranberry Cake on my Table for Thanksgiving

It’s so hard to make a choice of Thanksgiving desserts. Usually by the time dessert rolls around everyone is so full . Somehow though everyone seems to rally for dessert, no matter how full. It’s been on my mind what to bake? I already baked my apple pie which is in my freezer from my Baking Class at ICE.  I know so nice and light right??? Well it’s Thanksgiving, and no one is eating the whole cake, so don’t moan and groan. This is an easy one to do. Pumpkin Cheesecake, not so easy. So if you haven’t finalized your decision, this is a great way to go.  I got this recipe from Barefoot Contessa. (Ina Garten). How easy is that? cookbook. This is a wonderful recipe to make for as long as you have those wonderful cranberries, so stock up in the freezer while they’re around.

Ingredients:

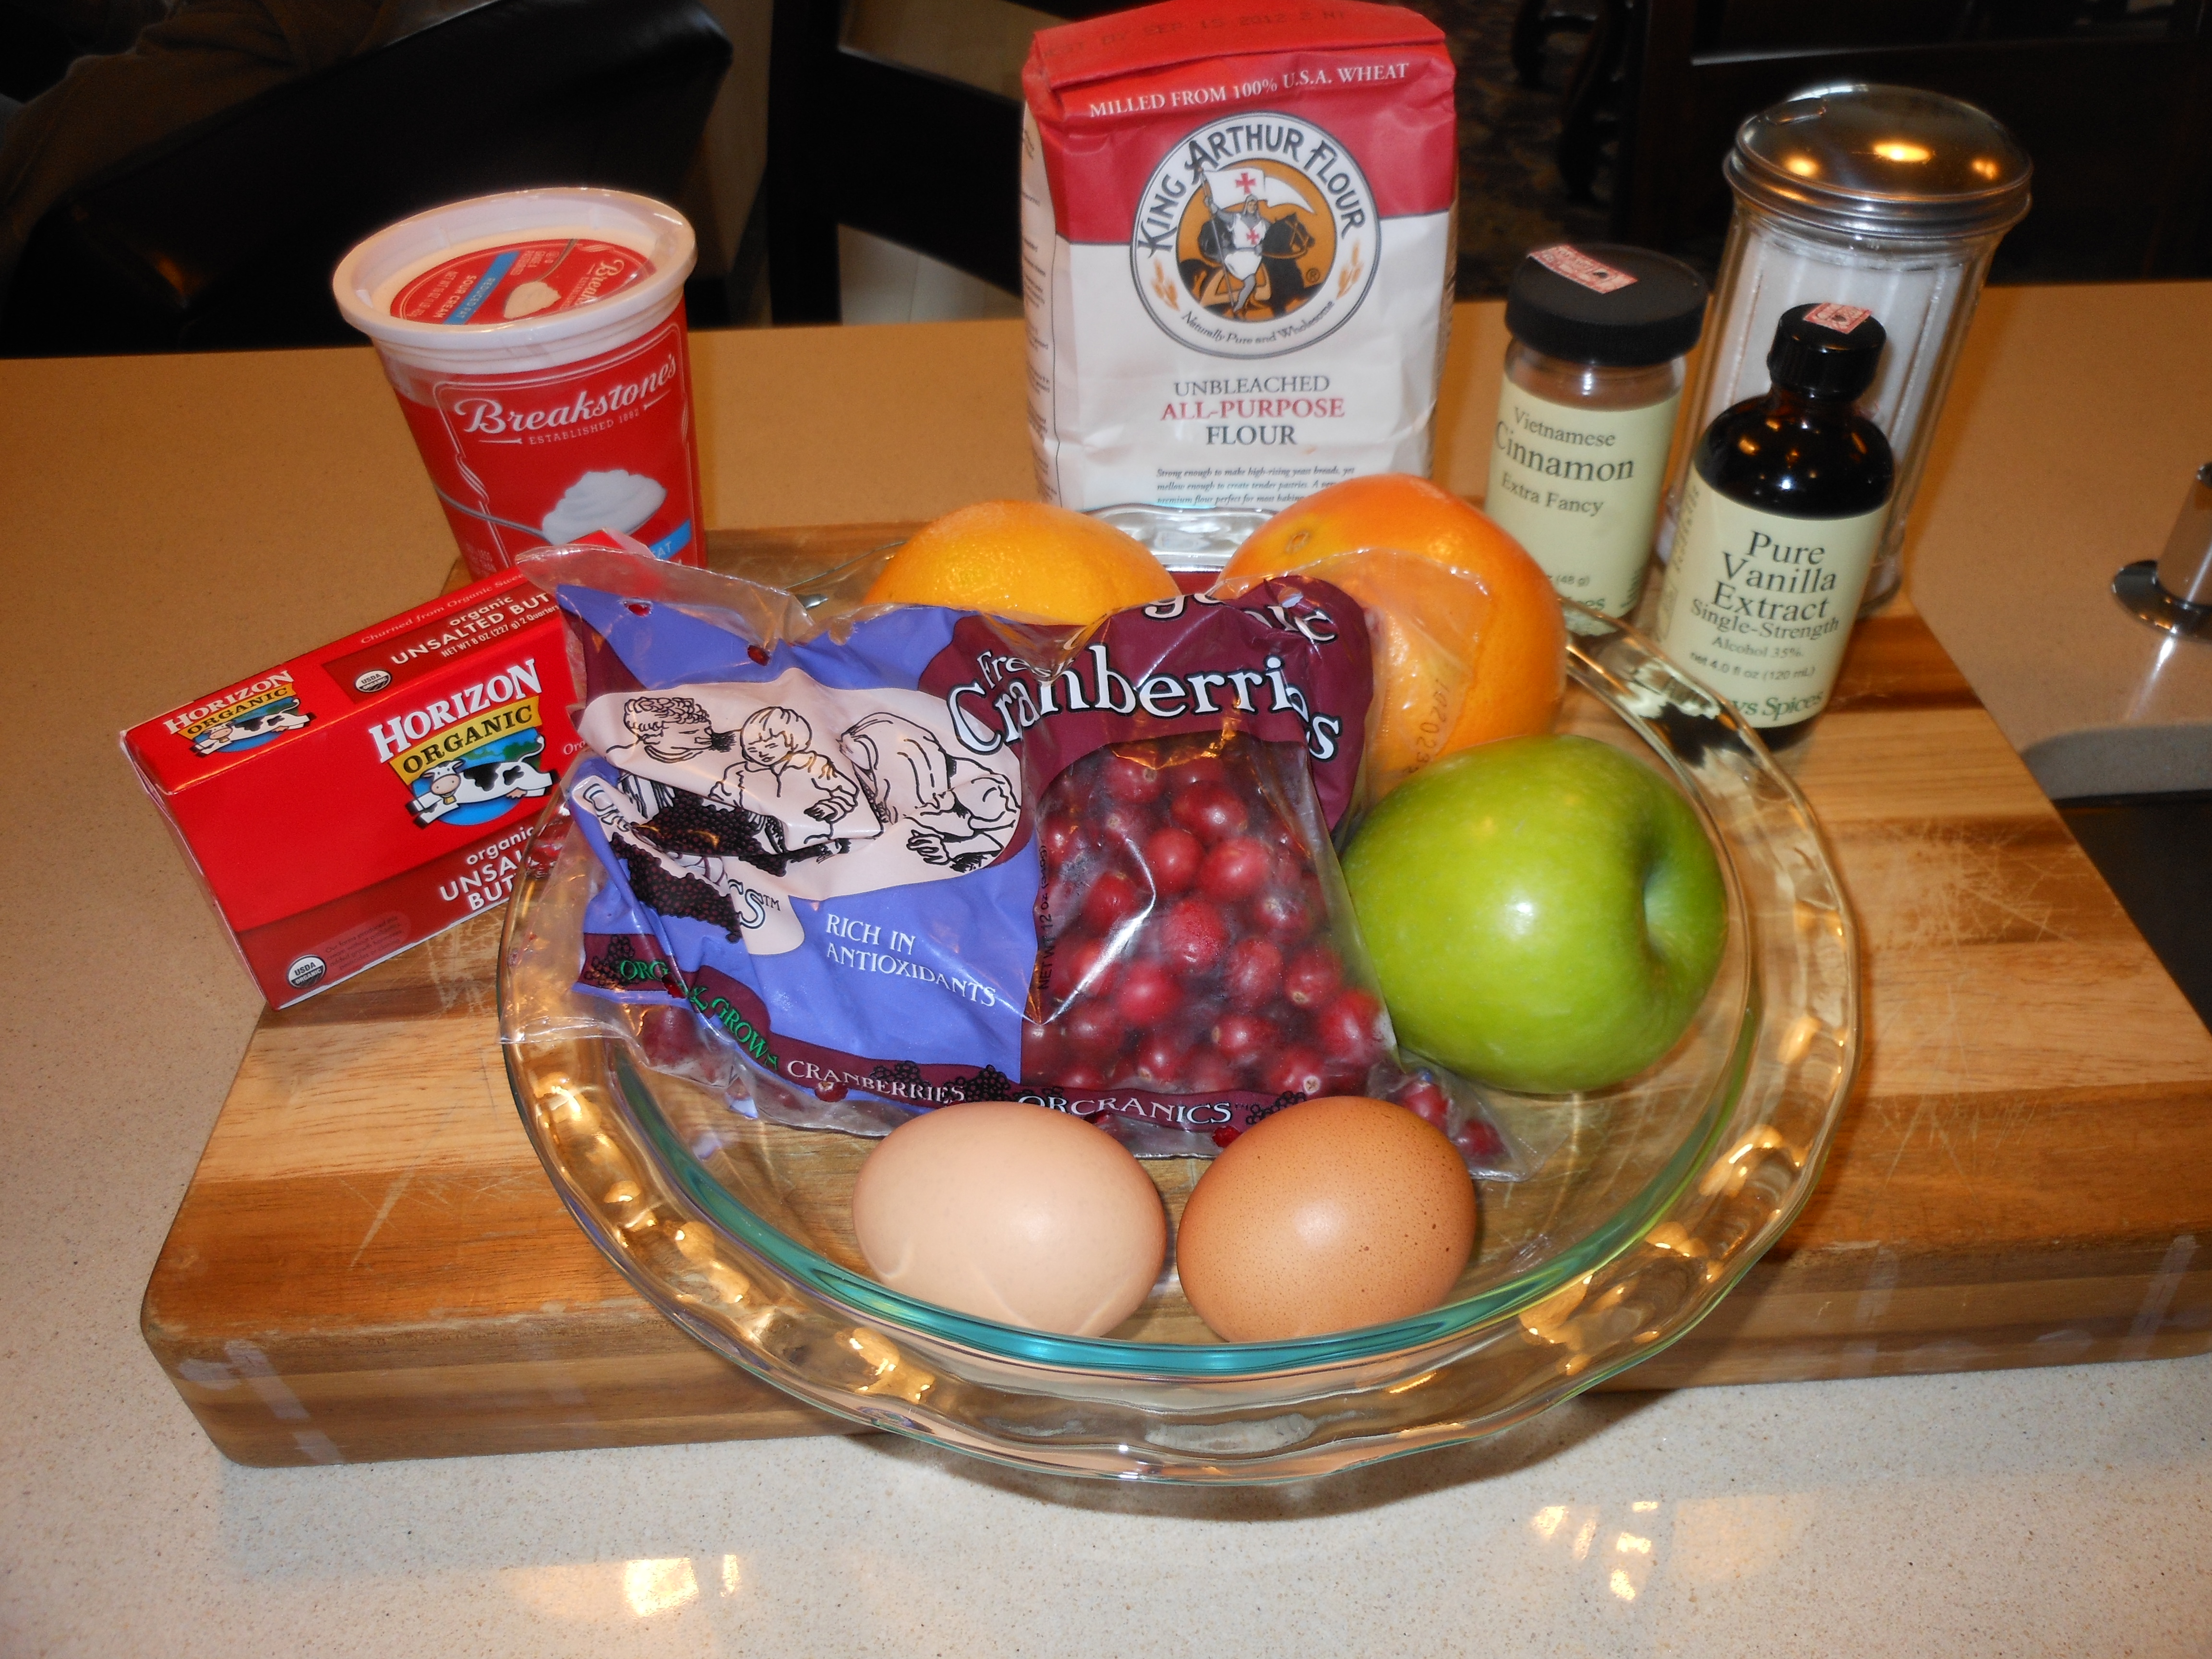
10″ glass (Pyrex) pie plate

1 bag of fresh cranberries (rinse and pick out stems, etc.)

1 Apple peeled, cored, and diced (Granny Smith is a good choice here

1/2 cup light brown sugar, lightly packed

1 tablespoon orange zest (probably need 2 average size oranges)

1/4 cup freshly squeezed orange juice

1 1/8 teaspoons ground cinnamon,( divided 1 Teaspoon for fruit mixture and 1/8 teaspoon for topping)

2 xtra large eggs, at room temp.

1 cup plus 1 tablespoon  granulated sugar

1 stick unsalted butter, melted and cooled slightly

1 teaspoon pure vanilla extract

1/4 cup sour cream (lite OK) not fat free please

1 cup all-purpose flour

1/4 teaspoon kosher salt

Directions:

Preheat oven to 325 degrees

Combine the cranberries, apple, brown sugar, orange zest, orange juice and 1 teaspoon of cinnamon in a medium bowl. Set aside.

In the bowl of an electric mixer with the paddle attachment, beat the eggs on medium-high speed for about 2 minutes. With the mixer on medium, add 1 cup of the granulated sugar, the butter, vanilla and sour cream and beat until just combined . On low speed, slowly add in the flour and salt.

Pour the fruit mixture evenly into a 10 inch glass pie plate (Pyrex) Pour the batter over the fruit, covering it completely. Combine the remaining 1 tablespoon of granulated sugar and 1/8 teaspoon of cinnamon and sprinkle over the batter. Bake for 55 – 60 minutes, until a toothpick or cake tester inserted into the middle comes out clean and the fruit is bubbling around the edges.

Serve warm or at room temperature. Delicious with vanilla ice cream.

Pure Wow Dump Cake aka Chocolate Bundt Cake

IMG_5877

pre glaze

IMG_6406

Heavier Type Glaze–same glaze just waited till cake was completely cooled down for a few hours. Yum!

IMG_5879

post glaze but most of the glaze will disappear into the cake unless you make a heavier frosting type glaze.

IMG_5875 I love a great bundt cake and I love that they are now calling Bundt Cakes Dump Cakes. You really just throw it all together and bake it! It’s so easy anyone can do it and look good doing so. I got this particular Dump Cake from a blog I love to follow–Pure Wow. If you haven’t gone on this site please do so and subscribe, it’s for all of us, something for everybody. I got this recipe and I have to say all of their recipes look so good and exciting! I made a change in that I added my vanilla glaze because I love a good chocolate cake infused with a glaze. It’s not really a frosting and it sinks into the cake which just gives it a little more “pure wow ” factor.  I included recipe for my Vanilla Glaze. Thanks Pure Wow for the Pure Wow of this recipe.

Just go out and buy a really good Bundt Pan, it’s a worthwhile investment. You’ll also need a cooling rack while you’re at it.

http://www.purewow.com

Ingredients:

2 cups sugar

3/4 cup brewed coffee

2 ounces unsweetened chocolate

1/4 cup cocoa powder

1 stick unsalted butter

2 cups all-purpose flour

1 1/2 teaspoons baking soda

1 1/2 teaspoons baking powder

1 teaspoon salt

1 cup buttermilk ( I do buy low-fat buttermilk, if you can find it)

2 eggs — room temperature for baking always (unless otherwise specified)

1 1/2 teaspoons pure vanilla extract

Vanilla Glaze Ingredients:this is totally optional

2/3 cup of confectioners sugar

4 teaspoons whole milk ( and maybe a touch more)

1 teaspoon vanilla extract

Directions:

Preheat the oven to 350 degrees.

Grease a Bundt Pan with non-stick spray ( I love Baker’s Joy)

In a medium size heat safe bowl, combine the sugar with the coffee, chocolate, cocoa powder and butter. You can heat in the microwave or on the stove top over a pot of simmering water ( about 5 minutes) that’s what I do. I mix occasionally until the butter and the chocolate are fully melted and the sugar dissolves.

In a large bowl, whisk the flour with the baking soda, baking powder, and salt to combine. Add the chocolate mixture to the dry ingredients and mix to combine. I let the chocolate mixture cool just a touch first.

Now add the buttermilk, eggs and vanilla and mix with a spoon until the batter is smooth and fully combined.

Pour the mixture into the prepared bundt pan and bake until a toothpick inserted into the center comes out clean, 40- 50 minutes. I let the cake sit for at least 15 minutes and while it’s still warm I inverted it onto a cooling rack ( which is essential to baking , so if you don’t own one get one)

I let the cake cool completely before glazing it. The glaze will melt right into the cake. This cake was super light and super moist. I served with strawberries and it would be awesome with some home-made whipped cream.

Baked French Toast — all time best

DSCN4275

DSCN4288

DSCN4283

DSCN4274

DSCN4270

DSCN4302

DSCN4294I posted this originally back in October 2011 for Yom Kippur break fast. It is truly one of the best French toast recipes I’ve ever made.  I include it every year since my friend Ilene Stern gave it to me. I never have a single piece left. Delicious and decadent, perfect brunch and breakfast food. I almost always include it in my Mother’s Day Brunch as well. Once you’ve made this recipe there is no turning back, your whole family will love it and you’ll have to make it every time.

The only downside is that you must prepare and refrigerate the night before without cooking it, you cannot cook this dish till you’re ready to eat it, the bottom will get hard like a caramel candy would. So cook right before you’re going to serve. Enjoy!

*recipe as is should serve 6- 8 if you have more people make 2 trays!

Ingredients:

1 cup packed light brown sugar

1 stick unsalted butter

2 tbsp. corn syrup ( I use Karo Original light corn syrup)

5 eggs (room temperature please)

1 1/2 cups milk ( you can use low-fat, I use Skim Plus)

1 tbsp. vanilla

1 package of sliced cinnamon bread. ( Pepperidge Farm is fine) if you can get thick slices it’s great , but the thin kind will work just double stack them it will be fine) You probably will use 12 slices of bread per tray. You will have 6 stacks of 2 slices each, 12 slices total, or 6 thick slices of cinnamon bread. If you can’t find just cinnamon bread use raisin cinnamon bread it’s easier to find .

Directions:

Melt butter, add brown sugar and corn syrup and combine well. Spray a 9×13 baking dish, Pyrex works well here. Pour butter mixture into baking dish and arrange bread slices flat in the mixture ( you will double stack the thin sliced bread) Unless the bread is 1″thick you will be doubling the standard sliced bread. Squeeze the bread to fit–it should hold 12 slices ( 6 double stacks), 3 on each side of a 9×13 baking dish.

In a blender mix the eggs, milk and vanilla and pour over the bread slices, covering them completely. Cover and refrigerate overnight. The bread will absorb all the liquid by the morning, so if you need to travel with it will be fine.

Uncover and bake in a preheated 350 degree oven for 30 minutes. Once it’s out of the oven you can dust with powdered sugar, but not necessary. Serve right from the baking dish.

*if you let this sit out too long before serving, the bottom may get hard like a praline candy. It never ever lasts long enough for this to happen at my table.

Look at my original recipe post on October 5 2011. More Break Fast: the all-time best Baked French Toast, I swear.