Category Archives: Baked Goods

Pumpkin Cupcakes with Cream Cheese Frosting–Fall Treats

photo (4)photo (16) photo (17) photo (18) photo (19)There are a few things I really love to eat. Mostly anything sweet and mostly dessert. Anyone who knows me well knows that I have an incredible sweet tooth. Funny that my name is Candi and I love candy, cookies, cakes and ice cream so very much. I would probably pass on most entrees and just cut to dessert if I had my way . When I was a kid I would gladly trade a sandwich for dessert any day of the week. Some things never change. I’d like to believe that my tastes in dessert have changed a wee bit and that I have a bit more of a sophisticated palate now but not when it comes to candy,  I still love junky candy as much as I did when I was 6. However my taste in cake has definitely improved with age. I don’t think I would have enjoyed pumpkin cake as a kid but I really love it now. Anything baked with pumpkin gets high marks in my book and if you put cream cheese frosting on it it’s off the charts.   It’s just the right amount of sugar and spice! Perfect Fall Cake and it may just find its way to my Thanksgiving Table. It really is a very easy recipe to follow ,  I made cupcakes but you can easily make this in a Pyrex 9 x13 inch pan as a sheet cake and frost it and decorate with candy corn or those little candy pumpkins!

Now you can make these without frosting and just eat like muffins with a little smear of cream cheese which wouldn’t be too bad either.

Shopping List:

1 can Pumpkin ( not pumpkin pie filling just Pumpkin) 15 oz. size

cream cheese  and paper liners for cupcakes

Staples: (things you should have in your Pantry and fridge all the time)

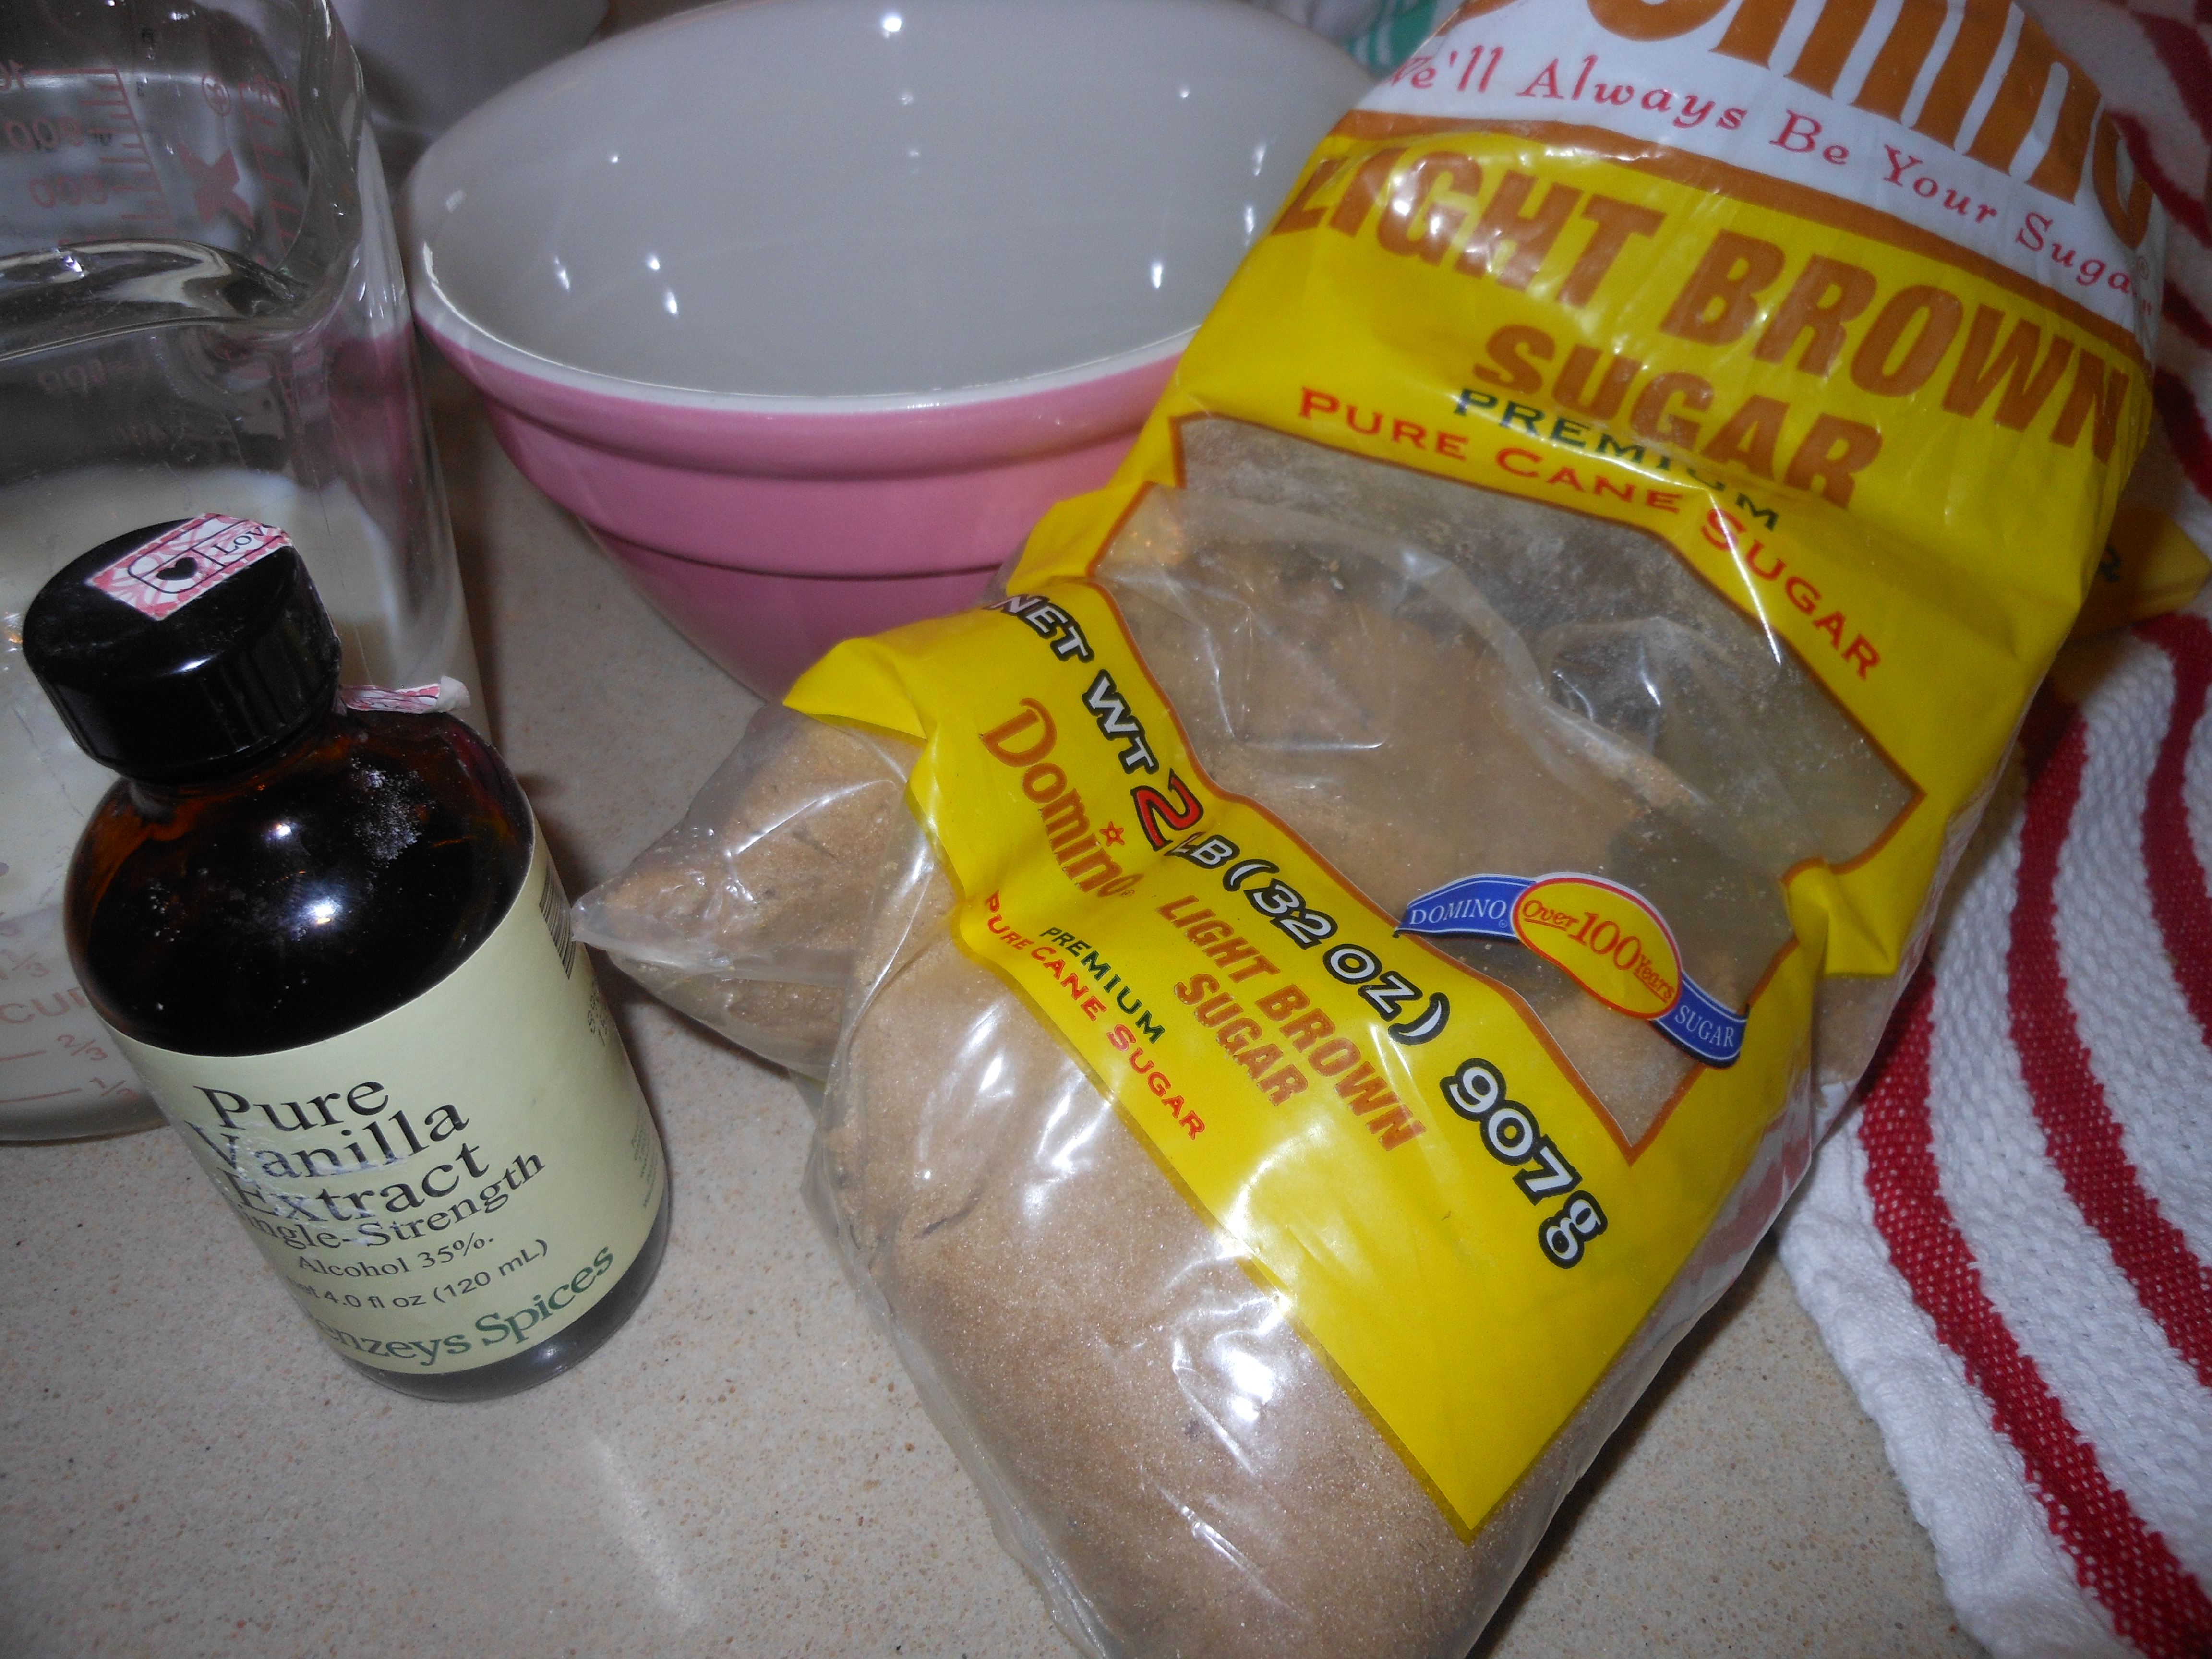
all-purpose flour, sugar, baking powder, baking soda, cinnamon, ground cloves, salt, vegetable oil, eggs, confectioner’s sugar, unsalted butter, vanilla extract, and milk

Ingredients:

2 cups of all-purpose flour

1 cup of sugar

2 tsp. baking powder

1 tsp. baking soda

1 tsp. cinnamon

1 tsp. ground cloves if no ground cloves you can substitute with pumpkin pie spice or nutmeg. I prefer cloves.

1 tsp. salt (regular table salt)
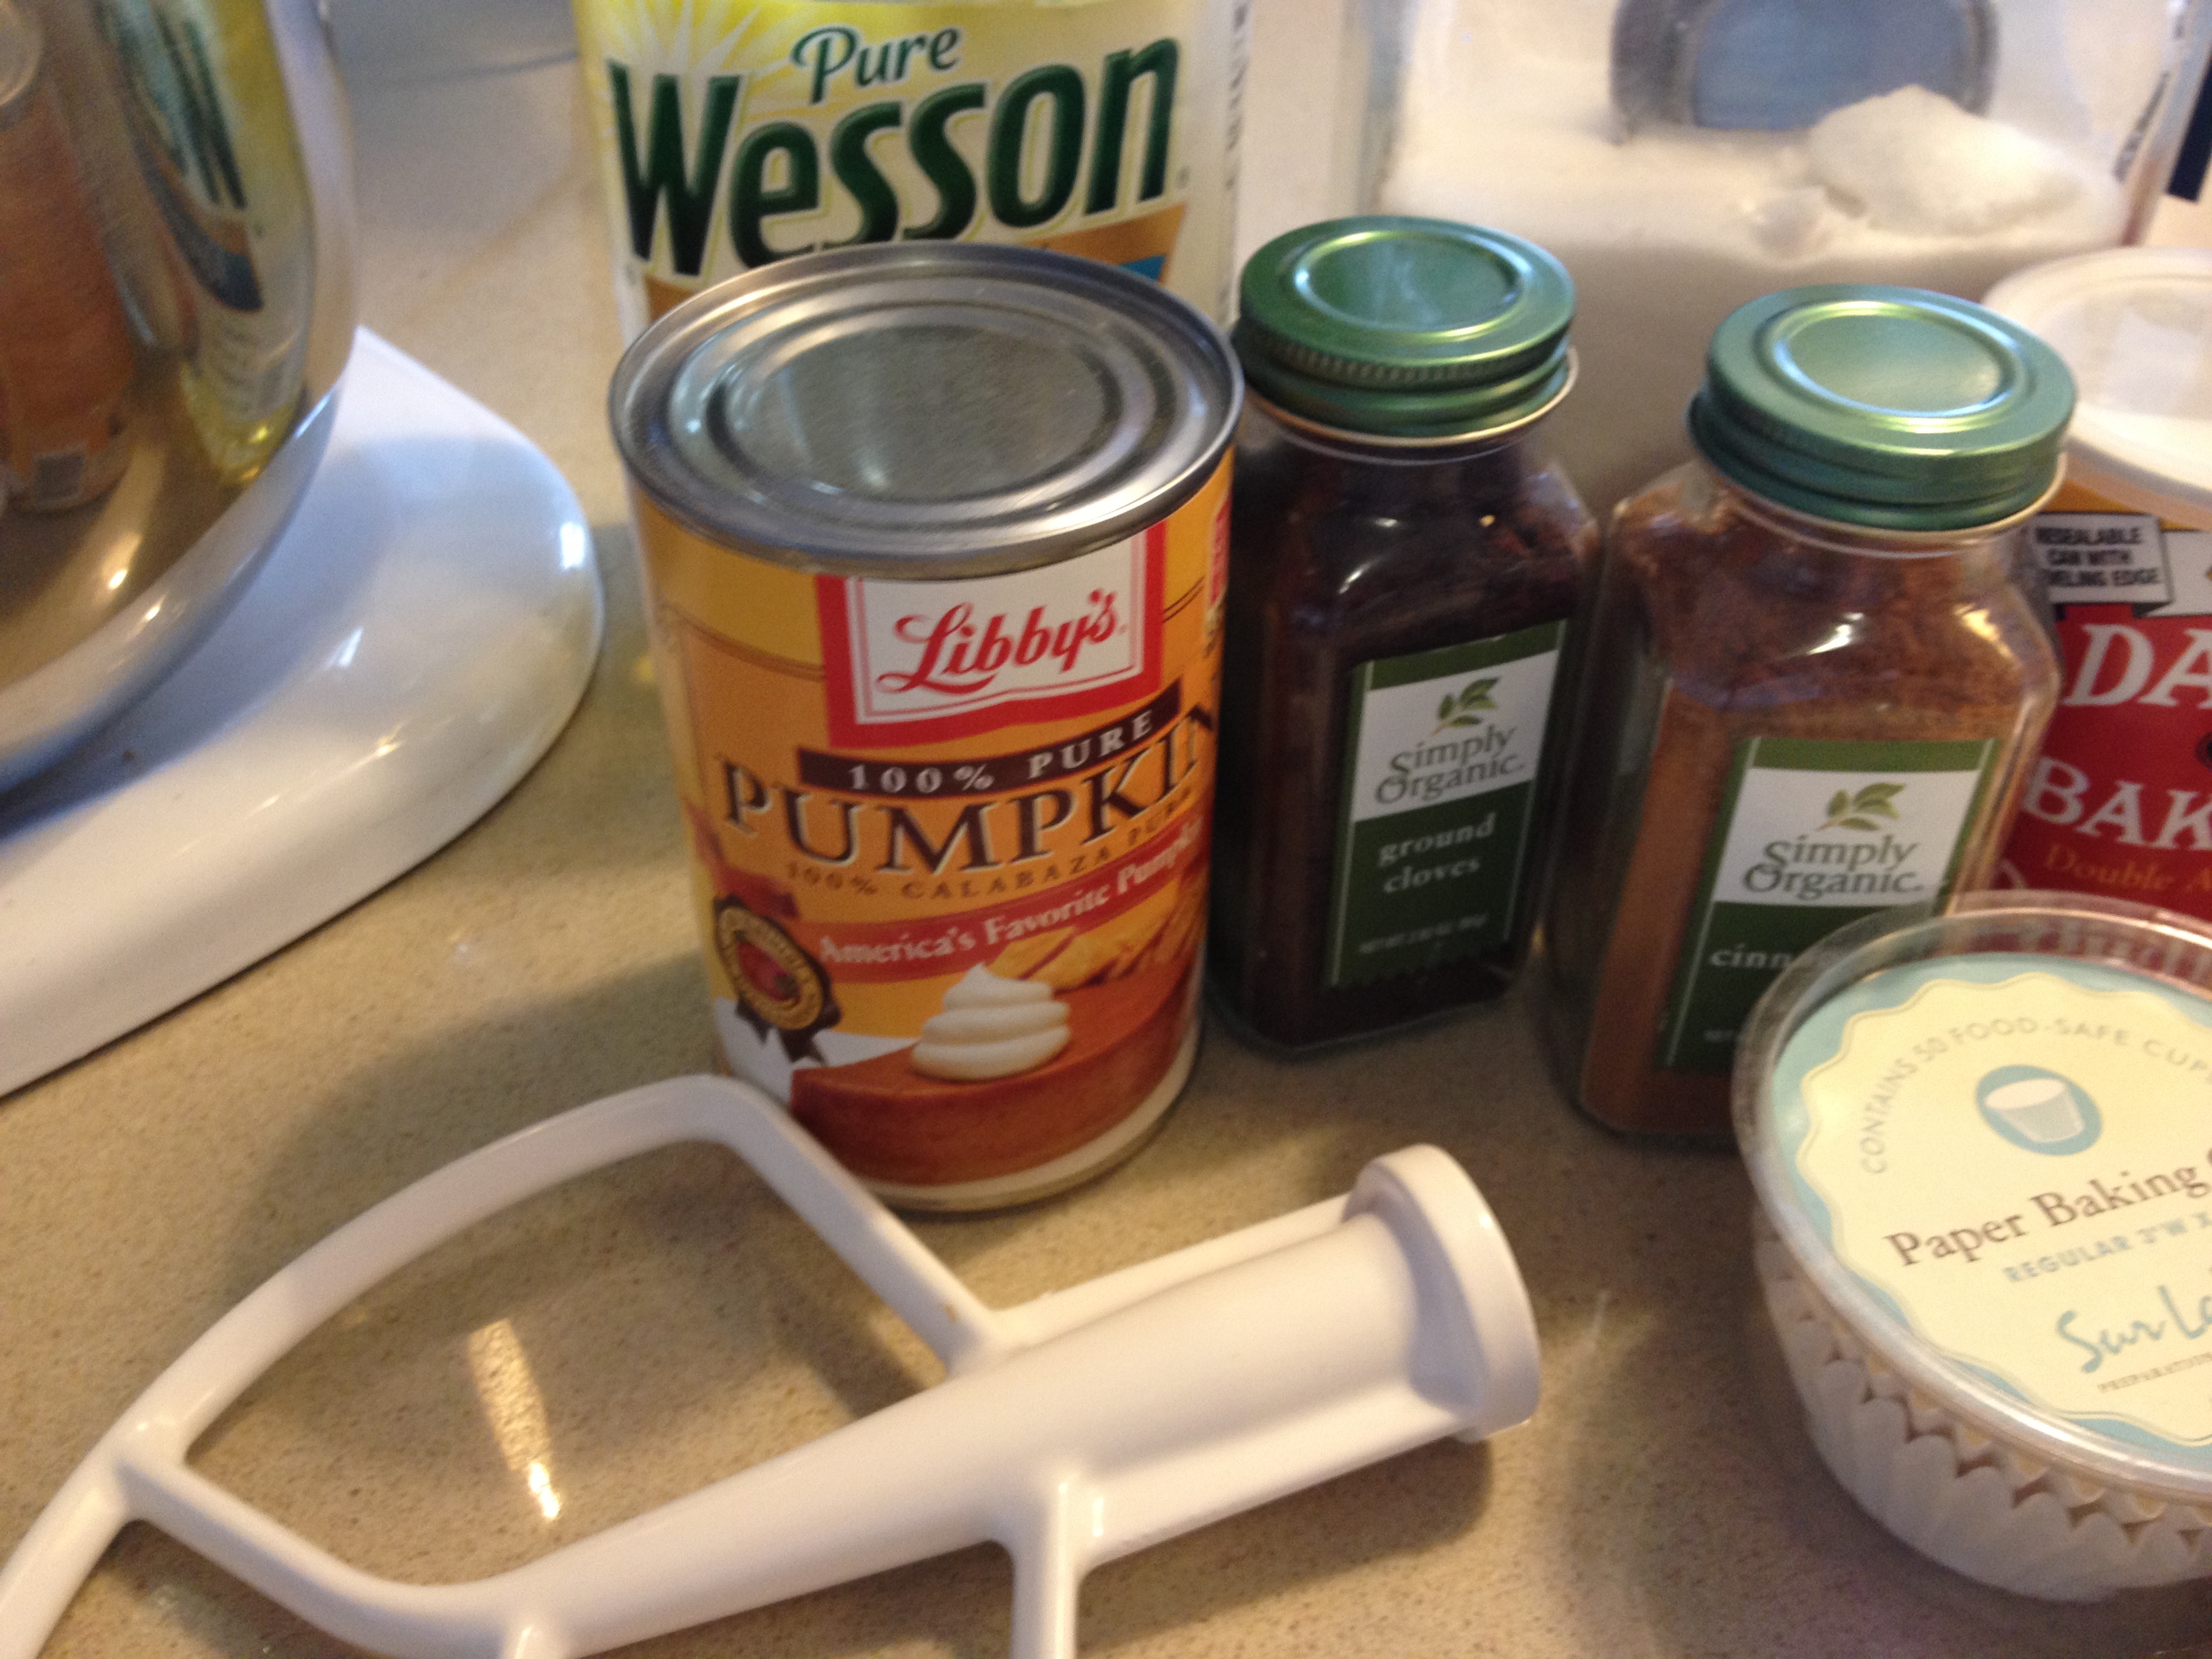
1 cup vegetable oil

1 can Pumpkin (not pumpkin pie filling) Pure Pumpkin

4 eggs ( room temperature please)

Cream Cheese Frosting:

2 cups of confectioner’s sugar

1/3 cup softened butter ( unsalted)

1 tsp. vanilla extract

4 oz. softened cream cheese ( soften in microwave) not melted just softened or you can leave it out for a bit and it will soften up.  I actually used light cream cheese not fat free please. I mean the amount of calories is staggering, but you’re only going to eat 1 cupcake right? how many calories can possibly be in that????? Don’t tell me , I don’t want to know.

1 Tbsp. Milk ( I used skim plus)

Directions:

Preheat the oven to 350 degrees. I mixed all dry ingredients together then mixed in eggs ( one at a time) and can of pumpkin and vegetable oil. Mix till combined, don’t overmix. No need to sift, just put dry ingredients in a bowl first and whisk together with a whisk , get some air in there.

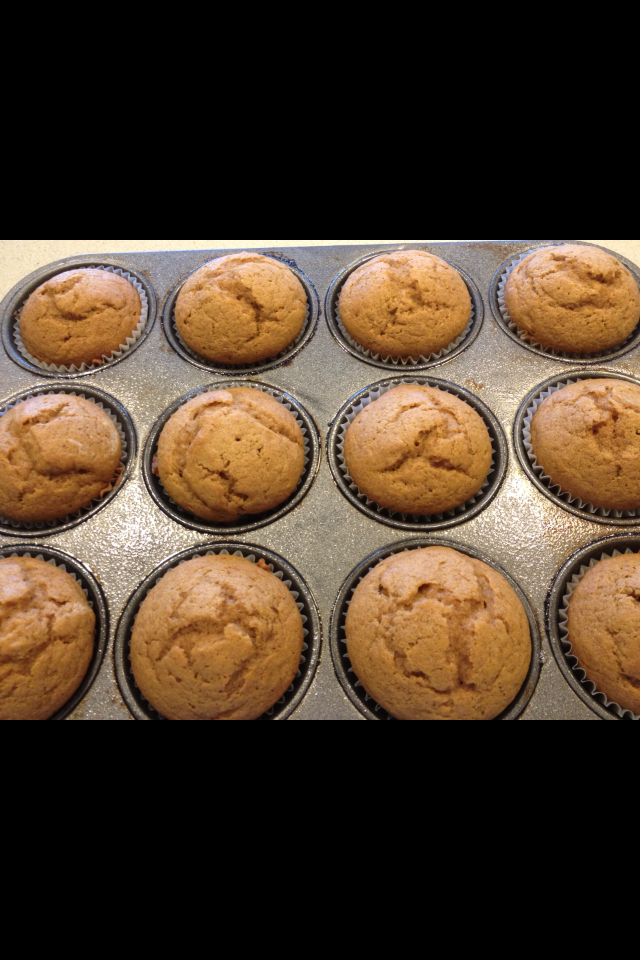
Pour into a greased muffin pan about 3/4 full.  I always use little paper liners and bake at 35o degrees for 20 – 30 minutes . Be careful not to over bake so the cake stays moist.  I baked for 26 minutes. I started checking on them after 20 minutes.

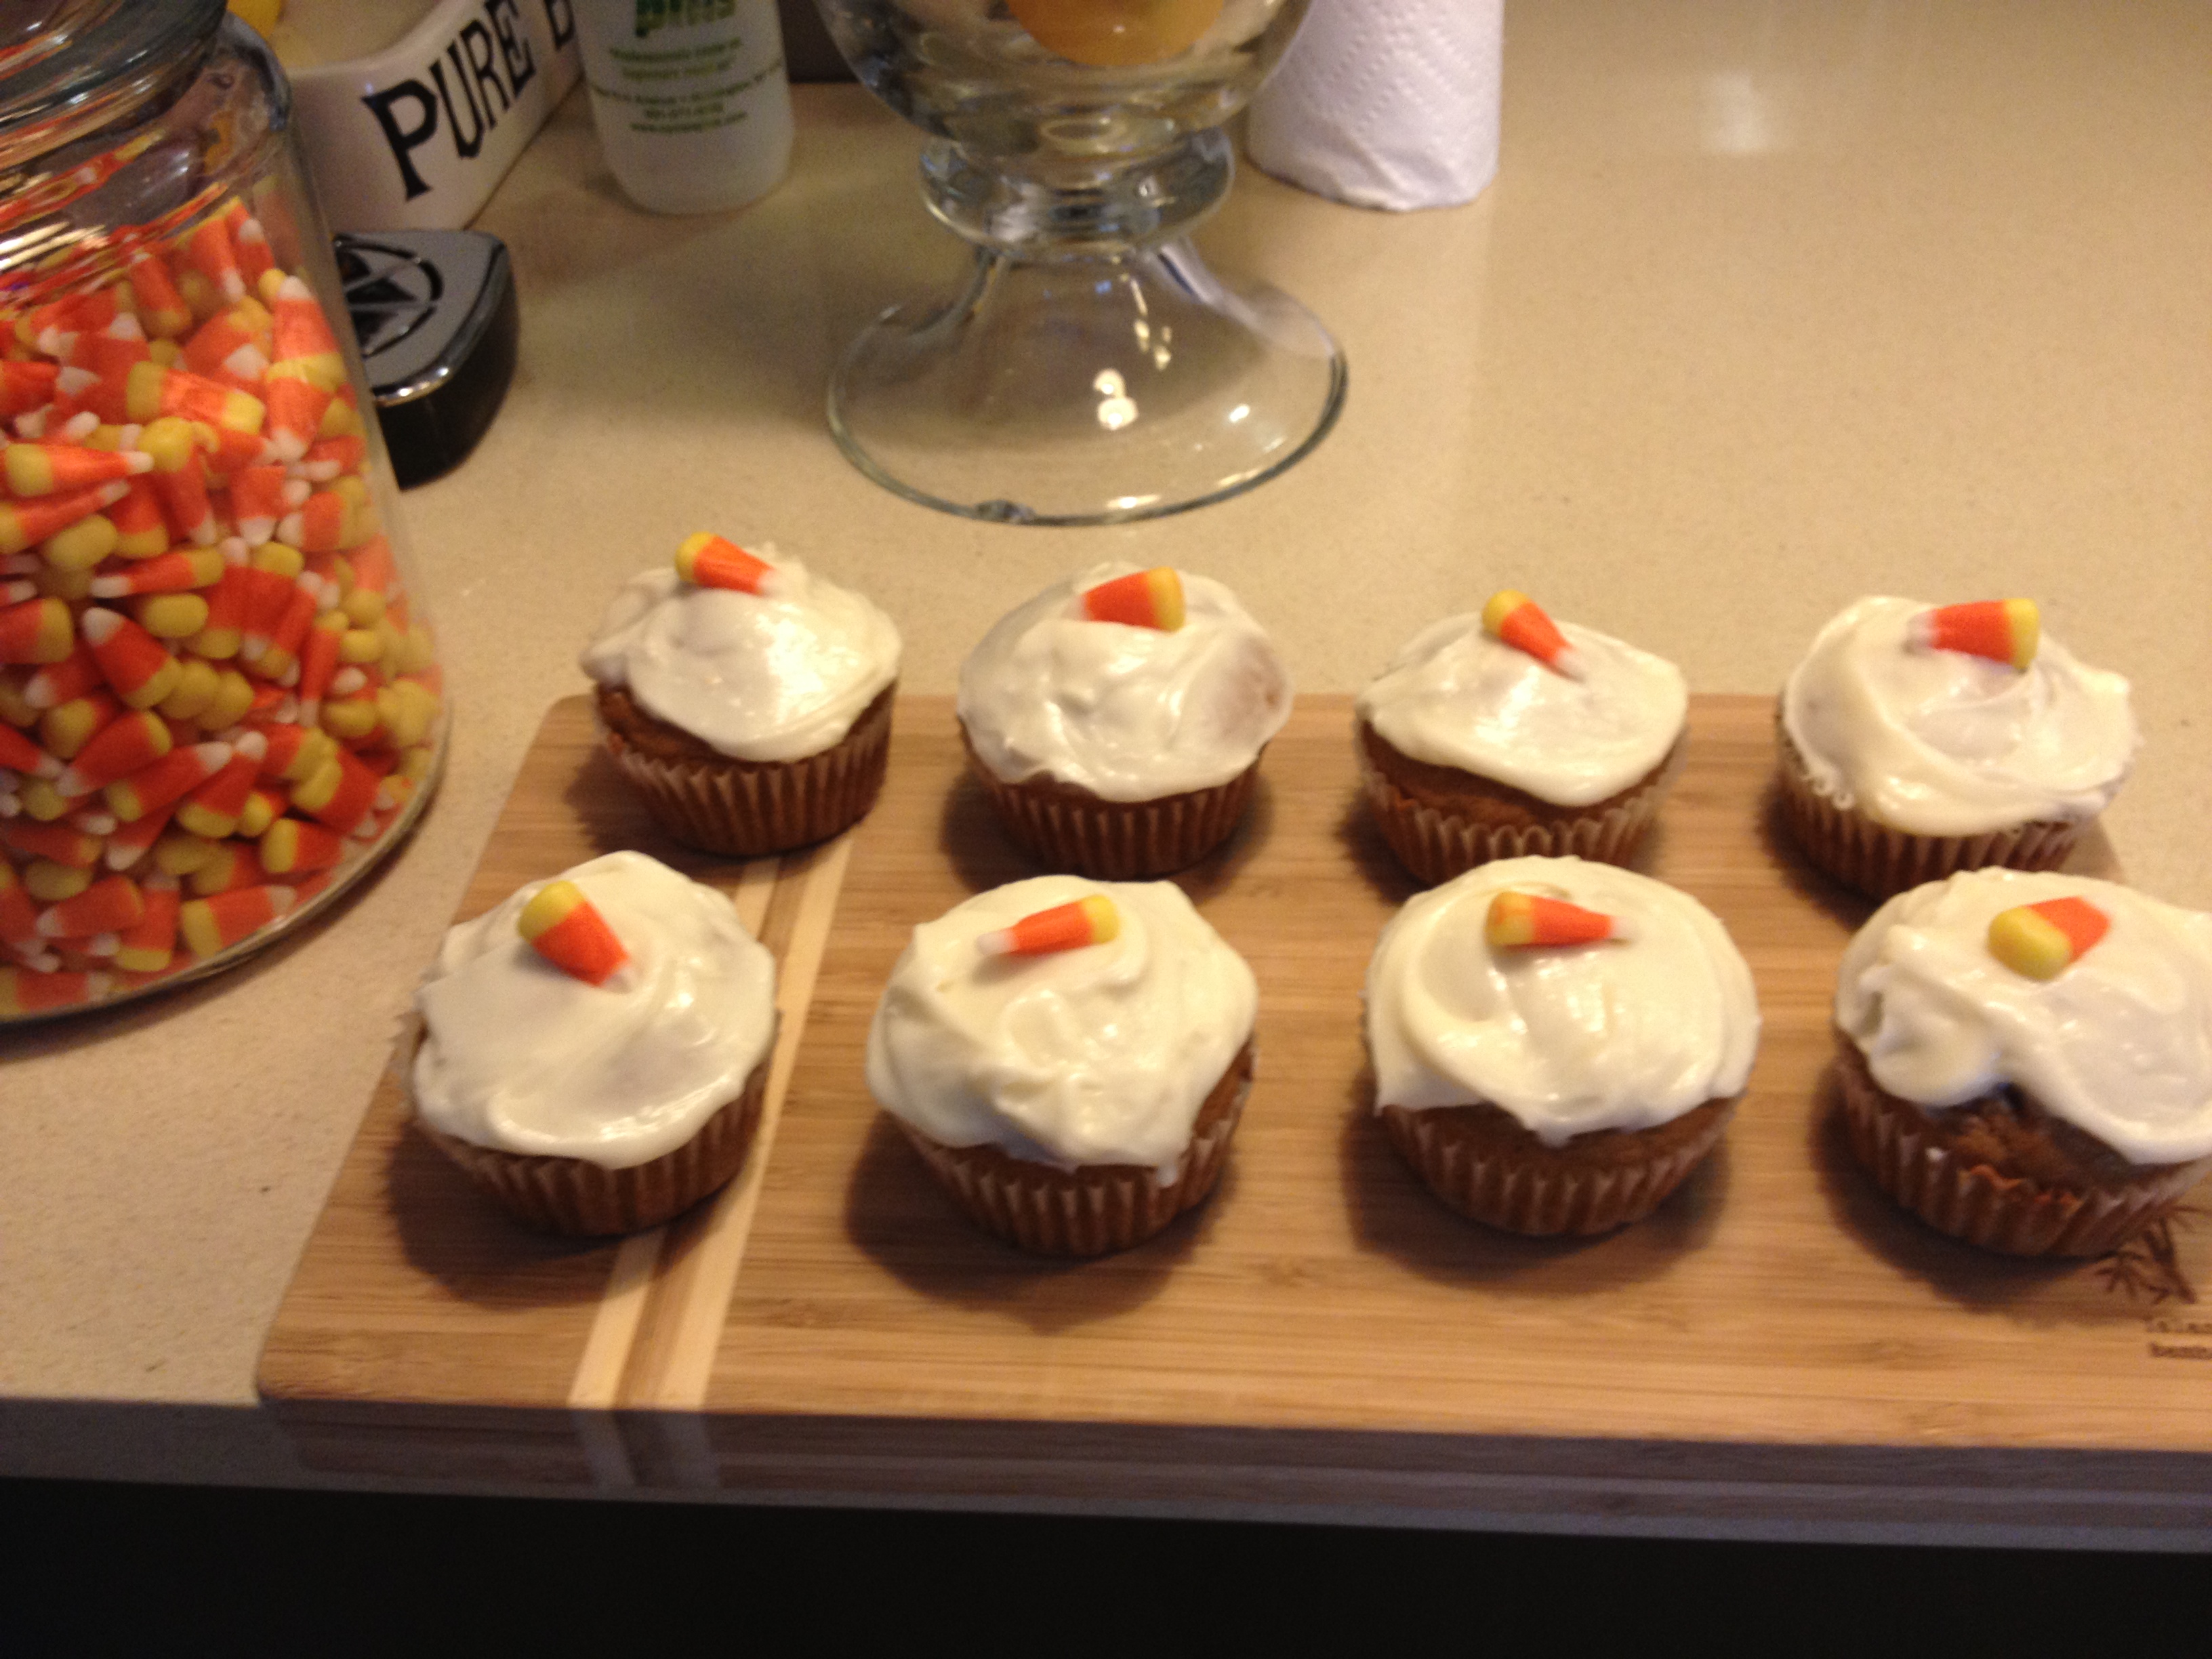
Allow cupcakes to cool completely before frosting. I made my frosting in my electric mixer while cupcakes were cooling.

Frost Cupcakes / Cake  and if you’d like decorate with some of those little Halloween Candies like candy corn or those little pumpkin shaped candies sold this time of year. Enjoy!

*should make about 16 cupcakes , I made 12 and a mini loaf.

Shelly’s Pumpkin Ginger Muffins – I love Pumpkin

My friend Shelly who is an excellent cook and baker gave this recipe to me back in 2012.  I wanted to try them because I love all things Pumpkin and ’tis the season. I was leaving Colorado for the season and  planned on freezing these delicious beauties so they would be here when we return. Shelly said that she freezes them, then takes them out for breakfast individually by putting the frozen muffin in the microwave  or toaster oven. A little butter and jam don’t hurt either. The list of ingredients may seem daunting. I had to shop for a few of the items, but don’t let this stop you because these are fairly healthy and a perfect brunch/breakfast item, or good for just mid-afternoon tea. They contain fiber and aren’t cloyingly sweet. I love ginger and I love pumpkin. If you don’t like the ginger spice you can cut down or eliminate the crystallized ginger. Wow, pumpkin and ginger. What more can I say? Thanks so much Shelly for your contribution.

Ingredients:

1 cup all-purpose flour

2 cups whole wheat flour

2 1/2 cups wheat bran

approx. 1/3 cup of crystallized ginger (very small pieces), available in Whole Foods and most supermarkets

2 tsp. baking soda

4 tsp. pumpkin pie spice

2 tsp. ground ginger

1/2 tsp. salt

2 cups packed brown sugar

1 15 ounce can pumpkin (not pumpkin pie filling- be careful)

2/3 cup buttermilk

2/3 cup canola oil

1/2 cup molasses

2 tsp. vanilla extract

4 large eggs (room temperature please)

raw sugar to sprinkle on top

Muffin cups (the paper kind are perfect)

Directions:

Preheat oven to 400 degrees .

Combine flour, whole wheat flour, wheat bran, pumpkin pie spice, baking soda, ginger powder and salt in a large bowl. Stir well to combine, then make a well in the center.

Combine brown sugar, canned pumpkin, buttermilk, canola oil, molasses, vanilla and eggs, and whisk it all together until well combined. Add this mixture into the flour mixture and stir well until moist. Mix in the crystallized ginger.

Coat muffin tins with baking spray. I use a 12 muffin tin. Spoon mixture into cups. I used a large tablespoon and just dropped in. (See picture.) Sprinkle raw sugar on  top of muffins before baking (use as much or as little as you like).

Bake for about 16 minutes or until cake tester comes out clean. Mine baked for 17 minutes. Let cool down and remove from pan onto wire rack. If you have no wire rack just a baking sheet will do.

Enjoy! These are delicious and pretty nutritious. Serving size should make about 24 muffins.

Pumpkin Walnut Bread (no butter)

I just love pumpkin and I can’t stop posting about it. Pumpkin Season is here.  I love baking this bread because the smell in the house is beyond. I usually serve pumpkin bread and a banana bread in my bread basket on Thanksgiving. It’s hard to believe that there is no butter in this moist, delicious bread. I make both of these way ahead of time, because they freeze so well. You can even double the recipe if you have two loaf pans, and eat one now and tuck one away for another day like Thanksgiving. It’s a nice thing to bring to someone’s house as a gift as well if you’re so inspired.  This recipe will make one perfect loaf.

*this bread freezes beautifully for up to 8 weeks. Double wrap it in plastic and put in a resealable plastic freezer bag, and put the date on it. Defrost, still wrapped in the plastic to avoid condensation on the bread, at least 2 hours before serving. I take out of freezer the night before I’ll be using it.

Ingredients:

2 cups all-purpose flour (I sift)

3/4 teaspoon baking soda

1/2 teaspoon ground cinnamon

1/4 teaspoon allspice

1/4 teaspoon ground cloves

1/4 teaspoon ground ginger

1/4 teaspoon salt

2 large eggs, room temperature

1/3 cup water

1 1/2 cups sugar

1 cup canned pumpkin (not pumpkin pie filling)

1/2 cup canola oil

1 teaspoon pure vanilla extract

1 cup chopped walnuts (obviously this is optional)

You will need a 9 x 5 inch loaf pan, parchment paper, large bowl, medium bowl, whisk, silicone or rubber spatula.

Directions:

Preheat the oven to 350 degrees and position oven rack in the center of oven.

Lightly coat the loaf pan with melted butter and dust with flour, or spray with Pam. I line my loaf with a piece of parchment paper that extends one inch beyond the edge of the pan (this makes it easy to life the bread out. It is optional , just make sure you grease pan in one way or another first. If you’re not comfortable working with parchment paper, skip it. I like it but it can be tricky in a loaf pan. Just grease well, or give it a good spray.)

In a large bowl, sift the flour. Then, whisk together the flour, baking soda, cinnamon, allspice, cloves, ginger, and salt until thoroughly blended. In a medium bowl, whisk together the eggs and the water. Add the sugar and blend well. Add the pumpkin puree, vegetable oil, and vanilla extract and blend well. Add the pumpkin moisture to the dry ingredients and whisk until well blended and smooth. Add the walnuts and stir until they are well distributed. Use a spatula to scrape the batter into the prepared loaf pan.

Bake for 55 – 65 minutes, until the bread is firm to the touch and a toothpick or cake tester comes out clean from the center of loaf.  I let it cool for about 10 minutes, then I turn it out onto a rack to cool completely. I don’t freeze it until it is completely cool.

Pumpkin Spice Bundt Cake – I love Pumpkin

It’s pumpkin time again! and I am clearly obsessed  with pumpkins. This is a pretty easy  to make bundt cake. Perfect for Thanksgiving or any time. You can make it ahead of time and freeze for another, or make two. While you’re making the mess anyway, you might as well bake two, and freeze one. Got this one from Gourmet Magazine. Just saying while I’m not a big raw cookie dough person I am a very big batter person and this batter was pretty delicious right out of the bowl!

Ingredients:

1 1/2 sticks (3/4 cup) unsalted butter, softened, plus additional for greasing bundt pan (or spray with Pam) I buttered this time

2 1/4 cups all-purpose flour, plus additional for dusting the pan

2 teaspoons baking powder

1 teaspoon cinnamon

3/4 teaspoon ground allspice

1/2 teaspoon salt

1 1/4 cups canned solid-pack pumpkin (from a 15 ounce can; not pie filling)

3/4 cup well-shaken buttermilk

1 teaspoon vanilla

1 1/4 cups granulated sugar

3 large eggs (room temp. is always best for baking)

Icing:

2 tablespoons plus 2 teaspoons well shaken buttermilk

1 1/2 cups confectioners sugar

You will need a 10-inch nonstick bundt pan (3 quart)

Directions:

Put oven rack in middle position and preheat oven to 350 degrees. Butter/spray bundt pan generously then dust with flour and knockout excess flour.

Whisk together flour ( 2 1/4 cups) , baking powder, baking soda, cinnamon, allspice, and salt in a bowl. Whisk together pumpkin, 3/4 cup buttermilk and vanilla in another bowl.

Beat butter ( 1 1/2 sticks) and granulated sugar in a large bowl with an electric mixer at medium-high speed until pale and fluffy, 3 – 5 minutes, then add eggs and beat another minute. Reduce speed to low and add flour and pumpkin mixtures alternately in batches, beginning and ending with flour mixture and mixing until batter is just smooth.

Spoon batter into pan, smoothing top, then bake until a cake tester or wooden pick inserted into center of cake comes out clean, 45 – 50 minutes. Cool cake on a rack for about 30 minutes, then invert cake , mine slid right out onto rack. I completely cooled cake for a few hours before I iced it. You can ice while cake is still warm however. I would let it sit for at least 1 hour before I iced though. It came out perfectly. Icing will get hard on the cake and be very white, it’s a beautiful presentation.

Icing:

While the cake is cooling, whisk together buttermilk and confectioner’s sugar until smooth. Drizzle icing over warm cake, then cool cake completely. Icing will harden slightly.

Cake can be made 3 days ahead and kept in an airtight container, I would ice it when I planned on serving it.

Break-the-Fast Food – Blintz Souffle

Here we go again…another holiday to cook for. Most of breaking the fast is taking in bagels, fish, etc. Easy to do. But I still try to make a few dishes and this recipe is an oldie but a goodie. I have been making this recipe since 1975 and it never gets old.  This dish can be assembled ahead of time, kept in the refrigerator and baked right before eating. This is a keeper and a tradition in my house. Always delicious. You can buy almost any of the frozen blintzes. Some stores have homemade ones, but it doesn’t really make that big of a difference with this recipe. Enjoy! This is super easy, with excellent results.

INGREDIENTS:

6 blintzes (you can use cheese or fruit-filled, whichever you like. Depending on how many people I’m feeding, I usually make 1 fruit and 1 cheese tray)

2 eggs

1/4 cup sugar

1 tbsp. unsalted butter or margarine

3/4 cup sour cream (lite is fine but I wouldn’t use fat-free)

1 tsp. vanilla

Dash of cinnamon

DIRECTIONS:

Preheat oven to 350 degrees.

Melt butter or margarine in saucepan. Spray baking dish with Pam spray (Original). Mix remaining ingredients in a bowl together. Place frozen blintzes in baking dish. I usually use a 9×13 size dish but anything close to that will work. You can double the recipe, in which case you’d obviously need a larger baking dish (you need room for the blintzes to expand a little and for the egg mixture to rise around it. Don’t spread it too thin.) Pour the melted butter on top of the frozen blintzes, followed by the sour cream mixture. Bake at 350 degrees for approx. 30-40 minutes. Let it sit for a few minutes out of the oven before cutting into it.

Baked French Toast — all time best

DSCN4275

DSCN4288

DSCN4283

DSCN4274

DSCN4270

DSCN4302

DSCN4294I posted this originally back in October 2011 for Yom Kippur break fast. It is truly one of the best French toast recipes I’ve ever made.  I include it every year since my friend Ilene Stern gave it to me. I never have a single piece left. Delicious and decadent, perfect brunch and breakfast food. I almost always include it in my Mother’s Day Brunch as well. Once you’ve made this recipe there is no turning back, your whole family will love it and you’ll have to make it every time.

The only downside is that you must prepare and refrigerate the night before without cooking it, you cannot cook this dish till you’re ready to eat it, the bottom will get hard like a caramel candy would. So cook right before you’re going to serve. Enjoy!

*recipe as is should serve 6- 8 if you have more people make 2 trays!

Ingredients:

1 cup packed light brown sugar

1 stick unsalted butter

2 tbsp. corn syrup ( I use Karo Original light corn syrup)

5 eggs (room temperature please)

1 1/2 cups milk ( you can use low-fat, I use Skim Plus)

1 tbsp. vanilla

1 package of sliced cinnamon bread. ( Pepperidge Farm is fine) if you can get thick slices it’s great , but the thin kind will work just double stack them it will be fine) You probably will use 12 slices of bread per tray. You will have 6 stacks of 2 slices each, 12 slices total, or 6 thick slices of cinnamon bread. If you can’t find just cinnamon bread use raisin cinnamon bread it’s easier to find .

Directions:

Melt butter, add brown sugar and corn syrup and combine well. Spray a 9×13 baking dish, Pyrex works well here. Pour butter mixture into baking dish and arrange bread slices flat in the mixture ( you will double stack the thin sliced bread) Unless the bread is 1″thick you will be doubling the standard sliced bread. Squeeze the bread to fit–it should hold 12 slices ( 6 double stacks), 3 on each side of a 9×13 baking dish.

In a blender mix the eggs, milk and vanilla and pour over the bread slices, covering them completely. Cover and refrigerate overnight. The bread will absorb all the liquid by the morning, so if you need to travel with it will be fine.

Uncover and bake in a preheated 350 degree oven for 30 minutes. Once it’s out of the oven you can dust with powdered sugar, but not necessary. Serve right from the baking dish.

*if you let this sit out too long before serving, the bottom may get hard like a praline candy. It never ever lasts long enough for this to happen at my table.

Look at my original recipe post on October 5 2011. More Break Fast: the all-time best Baked French Toast, I swear.

Applesauce and Raisin Cake – an Homage to the Bundt Queen

I always call my friend Susan the Queen of the Bundt Cake. It certainly seems to be her calling, as she is always coming up with new and delicious Bundt Cakes for all of us to try. I just hope I do her justice in trying to duplicate it. She made this cake for everyone last New Years  and I have been wanting to try it ever since.  I had to change one of the ingredients because I bought chunky applesauce instead of plain applesauce. Of course, if you’re so inclined you can make your own applesauce (I wasn’t so inclined today!).  The original recipe hails from The Silver Palate, and I have to say this is one cookbook you don’t want to be without. There are so very many wonderful recipes in it. This cake has a slightly spicy flavoring, and is just so darn good. I am very happy to report that this cake came out awesome! Super Delicious with the chunky applesauce. Very moist and delicious, cooked perfectly at 1 hour and 10 minutes. Thanks Suki and the Silver Palate!

This cake can be a wonderful addition to your holiday table, applesauce and raisins just so perfect for Rosh Hashana.

Ingredients:

1 cup (2 sticks) unsalted butter, plus a little extra for greasing the pan (Butter should be at room temperature.  I woke up early and didn’t have time to let it sit so I just put it in microwave to soften for 15 seconds.)

*if baking for the Jewish Holidays and don’t want to use butter you can use margarine

3 cups all-purpose flour

2 cups sugar

2 eggs (at room temperature)

2 cups applesauce (I used Chunky because probably didn’t have reading glasses in market and grabbed it.)

1 teaspoon vanilla extract

1 teaspoon ground cinnamon

1/2 teaspoon ground nutmeg, or 1 teaspoon freshly grated

2 teaspoons baking soda

1 cup raisins

Lemon/Orange Icing ingredients:

1 cup confectioner’s sugar

1/2 teaspoon ground cinnamon

1 1/2 tablespoons fresh lemon juice

1 1/2 tablespoons fresh orange juice

Directions:

Preheat oven to 350 degrees.

In a mixing bowl (electric mixer), cream together the butter and sugar until light and fluffy. Add the eggs, one at a time, beating well after each addition. Stir in the applesauce and vanilla.

Sift the flour, cinnamon, nutmeg and baking soda together then add to applesauce mixture. Next, sprinkle in the raisins, and blend gently but thoroughly.

Pour the batter into the tube pan and set on a rack in the center of the oven. Bake until a cake tester inserted into the cake comes out clean. 1 hour and 10 – 15 minutes. I cooked it 1 hour and 10 minutes.

Cool in the pan for at least 15 minutes (I will leave it all day as I go out hiking, and turn it over when it is completely cool when I return.)  When it is completely cool, I will make the icing and drizzle over the top. A little trick is to poke little holes in the cake (on top, with cake tester or toothpick) and pour icing over the cake and it will go into cake and infuse some of the lemon/orange directly into cake.

Instructions for icing:

Sift the confectioner’s sugar and cinnamon into a small bowl.

Dribble in the juices, stirring constantly until the icing is smooth. Drizzle over completely cooled cake.

*should be enough icing for 1 Applesauce Raisin Cake

Don’t Let the Apples Go Bad Cake

Apples are the kind of fruit we eat all year round. They are always in the fridge and if they don’t get eaten, I  feel guilty that they’re just sitting there and going to go bad.  I saw this recipe on Smitten Kitchen and decided since we were leaving for Colorado and I was not ditching perfectly good apples, I would make it and freeze it for when we come back.  (The cake would freeze well…the apples, not so much.) You’ll need a tube pan. You don’t need an electric mixer, so it’s pretty easy on the special equipment. Use those leftover apples–dont’ let them go bad. No butter in this recipe, lots of sugar though.  My house smelled divine.

*you can see in photos that I use a melon baller to get the pits out of the middle of the apple. I prefer this technique over the corer thingys which never really work. The melon baller works perfectly: first cut apple in half, then scoop out just the pits.

Ingredients:

6 apples (I used what I had in the house: a combo of Granny Smith and Honey Crisp. Good old Macintosh will work, too.)

1 tablespoon cinnamon

5 tablespoons sugar

2 3/4 cups flour, sifted

1 tablespoon baking powder

1 teaspoon salt

1 cup vegetable oil

2 cups sugar

1/4 cup orange juice (try to use fresh but if not, Tropicana will do)

2 1/2 teaspoons vanilla

4 eggs

1 cup walnuts, chopped (this is optional; I didn’t use them this time out)

Directions:

Preheat oven to 350 degrees. Grease a tube pan. Peel, core, and chop apples into chunks. Toss with cinnamon and sugar and set aside (I sprayed with a baking spray. There’s no need to add any butter here.)

Stir together flour, baking powder, and salt in a large bowl. In a separate bowl, whisk together oil, orange juice, sugar and vanilla. This mixture will be rather thick.  Mix wet ingredients into the dry ones, then add eggs, one at a time. Scrape down the bowl to make sure all ingredients are incorporated. Use a rubber spatula to get it all out of the bowl.

Pour 1/2 the batter into prepared tube pan. Spread 1/2 the apples over this. Pour the remaining batter over the apples and arrange the remaining apples on top. Use your eye to halve  batter and apples (don’t worry if it’s not perfectly halved.) Bake for about 90 minutes, or until a cake tester (or toothpick) comes out clean. I would check cake after 1 hour 20 minutes. I baked for the full 90 minutes; it’s a rather thick cake.

S’Mores Baked in the Oven

IMG_8638IMG_8636IMG_8639 IMG_8641 IMG_8642IMG_8634 IMG_8633 IMG_8632Oh Wow!!! what could be better??? truly easy and very little fuss , perfect with the kids and perfect for the adults. Very rich and gooey. Whole thing takes about 40 minutes from start to finish and you can re-heat the sliced bars in the microwave for about 30 seconds if you have some left-over. It’s great for a large group and I would say about 12-15 servings here. Let’s hold on to the last few weeks of summer with this delicious dessert.

For a very traditional s’mores taste eat immediately, I think they tasted a little better after they cooled down for a bit. Whichever way you prefer them –this is a great recipe for a crowd. You can prepare first and then pop in the oven while you are having dinner. Enjoy!

*also I was able to obtain these amazing square marshmallows in the supermarket, if you see them –grab them otherwise just regular old marshmallows will do the trick.

Ingredients:

Crust:

18 graham crackers

1/4 cup granulated sugar

pinch of salt

8 Tablespoons unsalted butter-melted

*parchment paper — I think you’ll want to work with it for this recipe–it can get difficult once they harden to get them out of pan. Clean up was a snap with it.

Topping:

3 extra-large Hershey Bars (or 7 regular-size ones)

24 jumbo marshmallows–look for the large square ones

Directions:

Preheat the oven to 400 degrees. Lightly grease a 9×13 Pyrex type baking pan with cooking spray and then line with parchment paper , allow an extra couple of inches of paper to hang over the edge.

In the food processor bowl, pulse the graham crackers until they are finely ground. Transfer the crumbs to a medium-sized bowl.

Add the sugar and salt to the graham crackers and stir to combine. Add the melted butter and stir until the crumbs are moistened. Pour the crumb mixture into the prepared pan and press into an even layer.

Bake the crust for about 10 minutes or until the edges turn lightly golden. Let the crust cool off completely before adding chocolate. I probably let it sit off heat for about 1/2 hour.

Arrange the chocolate bars (see picture) evenly on the top of cooled crust, I had to remove 1 row of chocolate to fit it in pan and left a little uncovered crumbs around edges. Arrange the marshmallows on top of the chocolate, leaving a little space between each one (see photos) Marshmallows will expand slightly.

Bake until the chocolate is soft and beginning to melt, and the marshmallows are evenly toasted on top. Probably about 10-15 minutes depending on your oven.

I couldn’t wait to eat them but I would suggest letting them cool off for  a little bit, cutting was easier when it cooled down ( after 15-20 minutes) I was able to cleanly cut slices. It’s more like campfire s’mores when you eat them hot out of the oven and certainly messier.

You can re-heat the sliced bars in the microwave for about 20-30 seconds. If you are keeping them , cut them and store individual slices.

Blueberry-Banana Muffins

Love blueberries and love bananas. Blueberries are abundant now and super delicious . Bananas are always around and I always buy too many and need to figure out what to do with the rotten bananas. I realize there are a lot of ingredients in these muffins and just measuring it all out was a task, but I enjoyed it and it was well worth it. I will freeze a few for when I am in the mood for them but not in the mood to bake them. The recipe yielded exactly 12 decent sized muffins, in one pan.  This muffin mix is perfect, not too sweet which makes for a perfect breakfast muffin or snack muffin. I used buttermilk ( low fat) couldn’t find non fat , but if you can feel free to use it here. There are 2 eggs but no butter and only 1/4 cup of canola oil . The buttermilk allows you to cut way back on the butter and the oils. These muffins worked out perfectly.

Ingredients:

3/4 cups nonfat or low-fat buttermilk ( I used low -fat b/c I couldn’t fine nonfat)

3/4 cups packed light brown sugar

1/4 cups canola oil

2 large eggs (room temperature, and I used my little trick because I decided to bake at the last minute) just let the eggs sit in warm water for 1/2 hour.

1 cup mashed ripe bananas ( I used 2 medium sized bananas)

1 1/4 cups whole wheat flour

1 cup all purpose flour

1 1/2 teaspoon baking powder

3/4 teaspoon ground cinnamon

1/2 teaspoon baking soda

1/2 teaspoon salt ( regular table salt)

1/4 teaspoon ground nutmeg

1 1/4 cup blueberries

Directions:

Preheat oven to 400 degrees. I sprayed a 12 cup muffin pan with baking spray ( and they came out perfectly) you can also line with paper liners if you like.

Whisk together the buttermilk, brown sugar, oil and eggs in a large bowl. Stir in the mashed bananas.

In another bowl, whisk whole-wheat flour all -purpose flour, baking powder, cinnamon, baking soda, salt and nutmeg.

Fold the dry ingredients into the wet ingredients and stir until just combined . Fold in the blueberries. Divide the batter into the 12 cup muffin pan till full.

Bake until the tops are golden brown and a cake tester inserted into the center comes out clean.

I baked for 25 minutes.