
 I picked up a couple of bags of cauliflower rice last time I was in the supermarket and I made a cauliflower pizza one night and then I made this rice last night. The original recipe was posted back in October 2018. I have to admit that since you can now find cauliflower already chopped up and ready to use there is no excuse not to make this. I used to have to chop the cauliflower in my processor which was time consuming and I would have to dry it on towels as it was always slightly watery. Now it’s available in pre-prepared cauliflower rice packages and this is a “game changer”. Both Green Giant chopped cauliflower in a bag as well as at Trader Joe’s and Whole Foods. The pre-chopped bags come in 16 ounce size bags which is what I used for this recipe. You can buy extra bags and keep them frozen! It’s wildly popular so grab it while you can and get a few extra bags while you’re at it. Of course you can always chop your own if you don’t have access to any of these products.
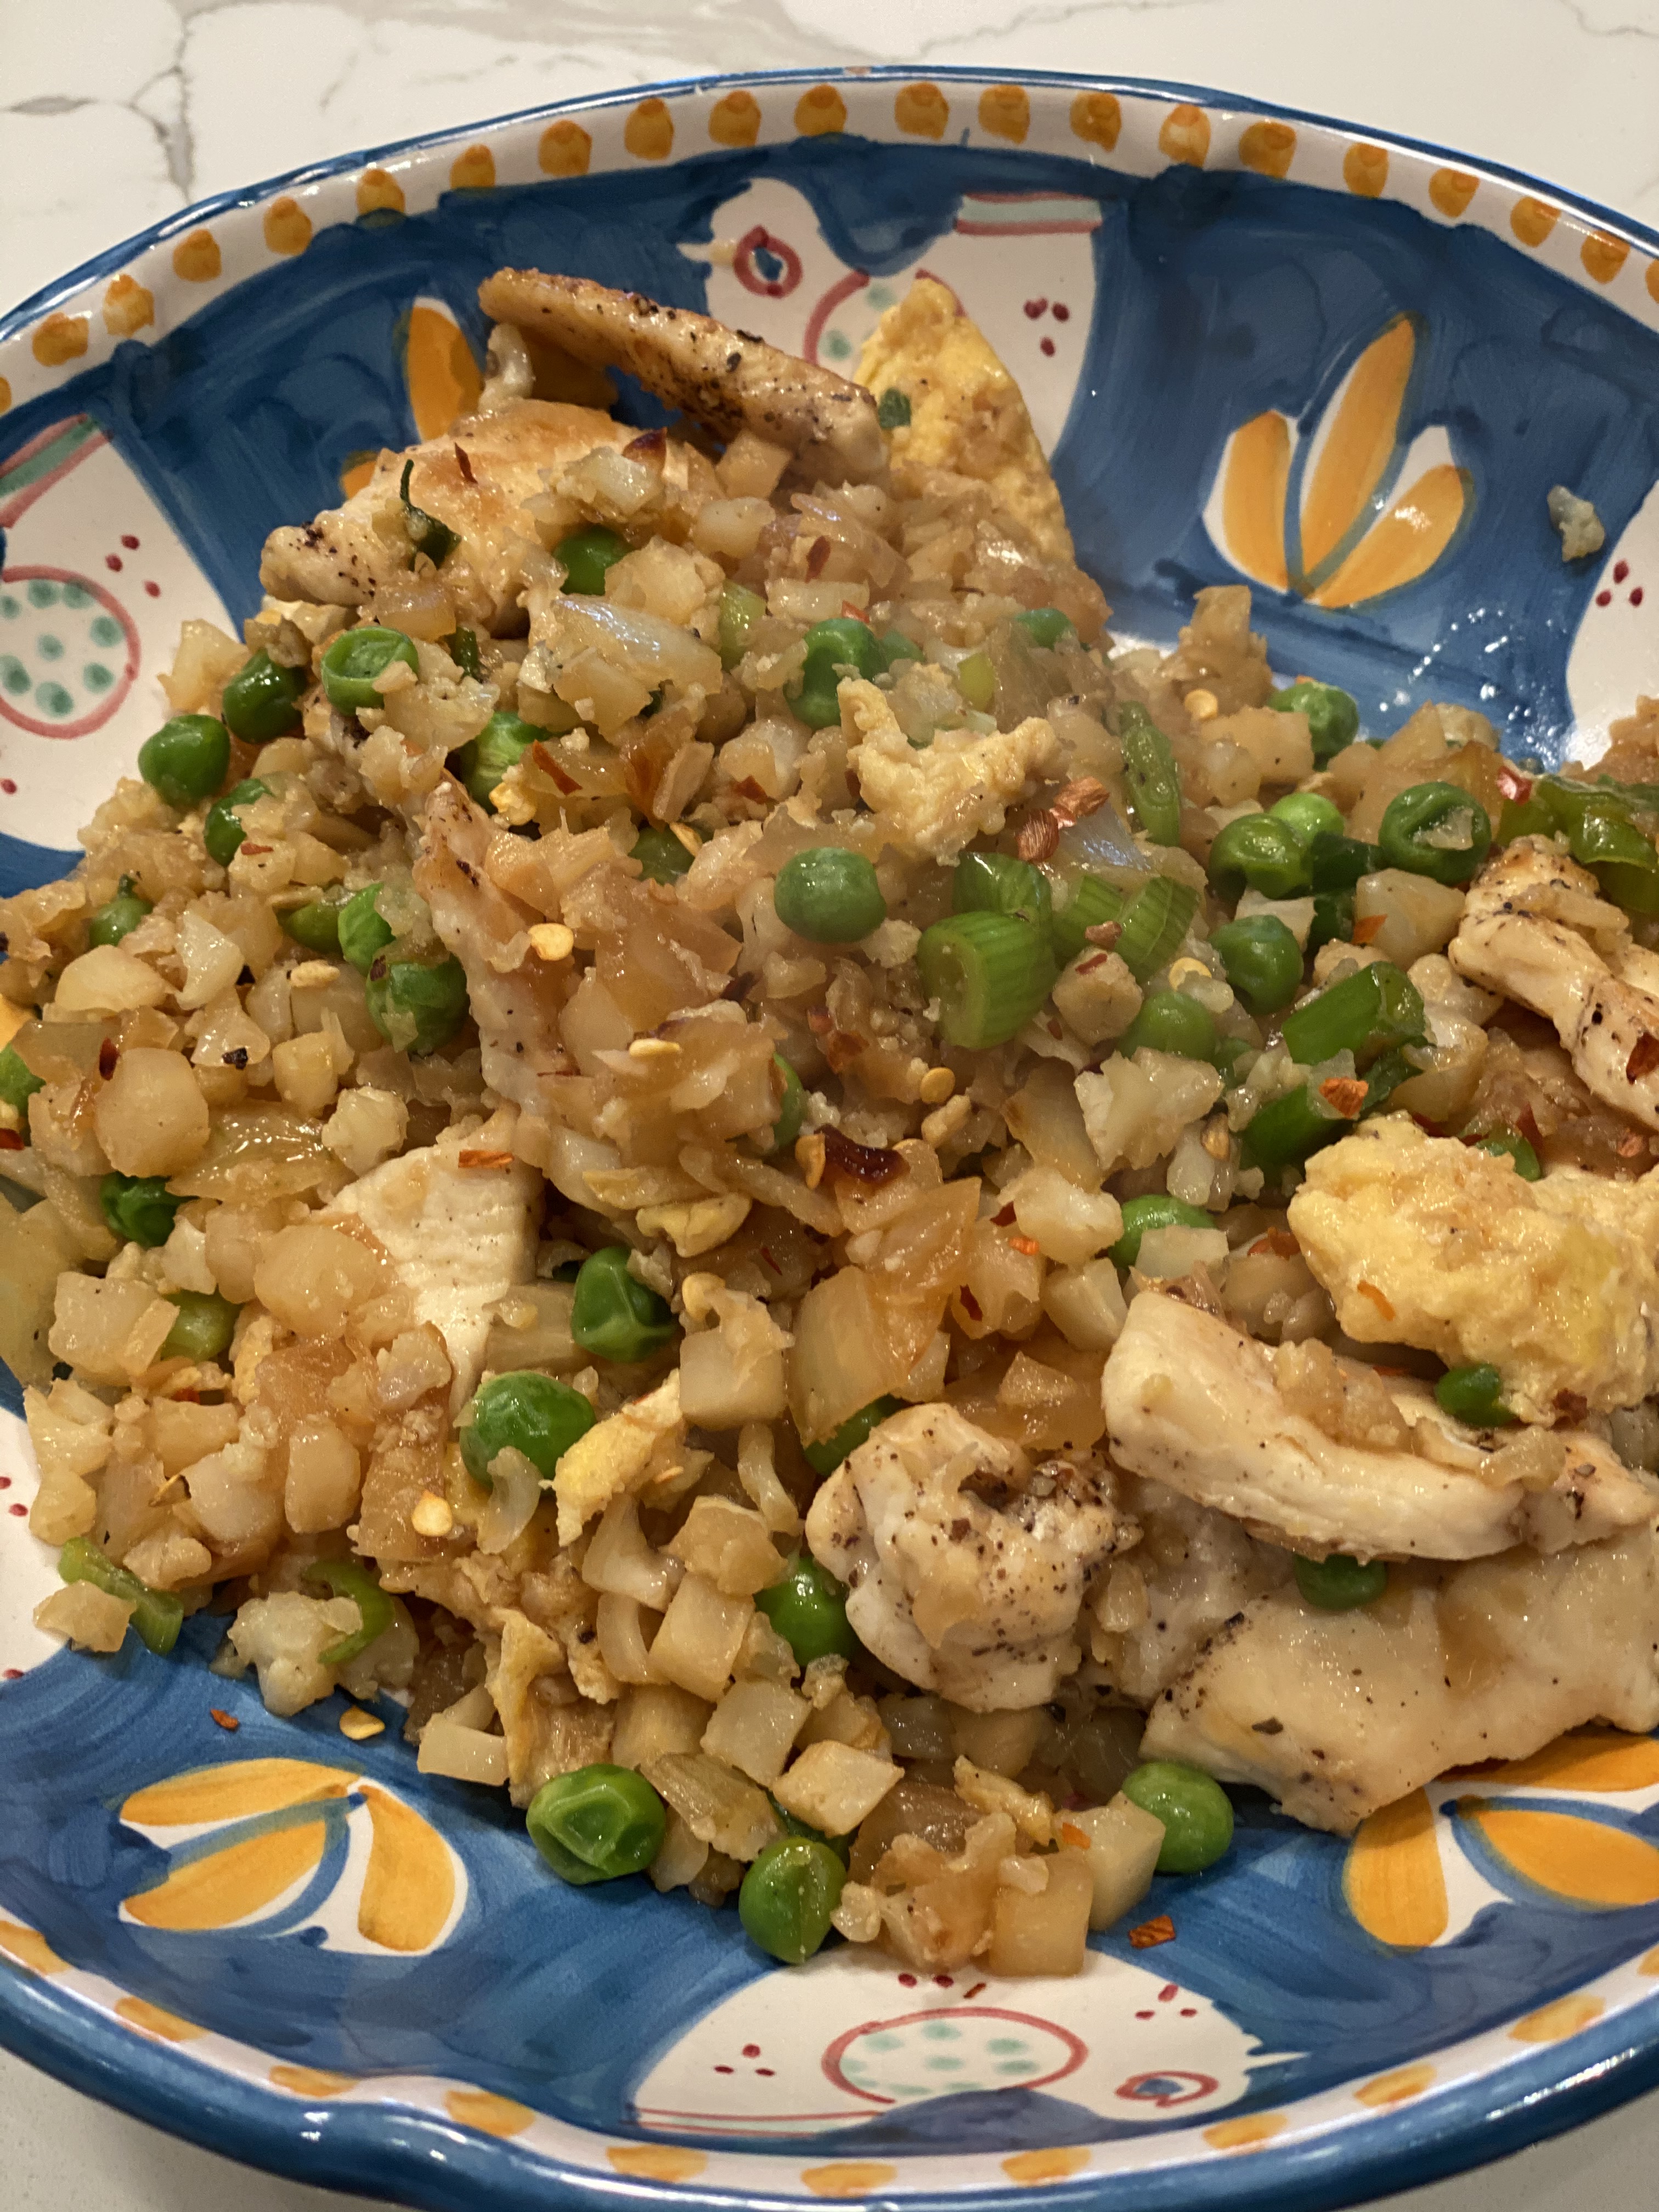
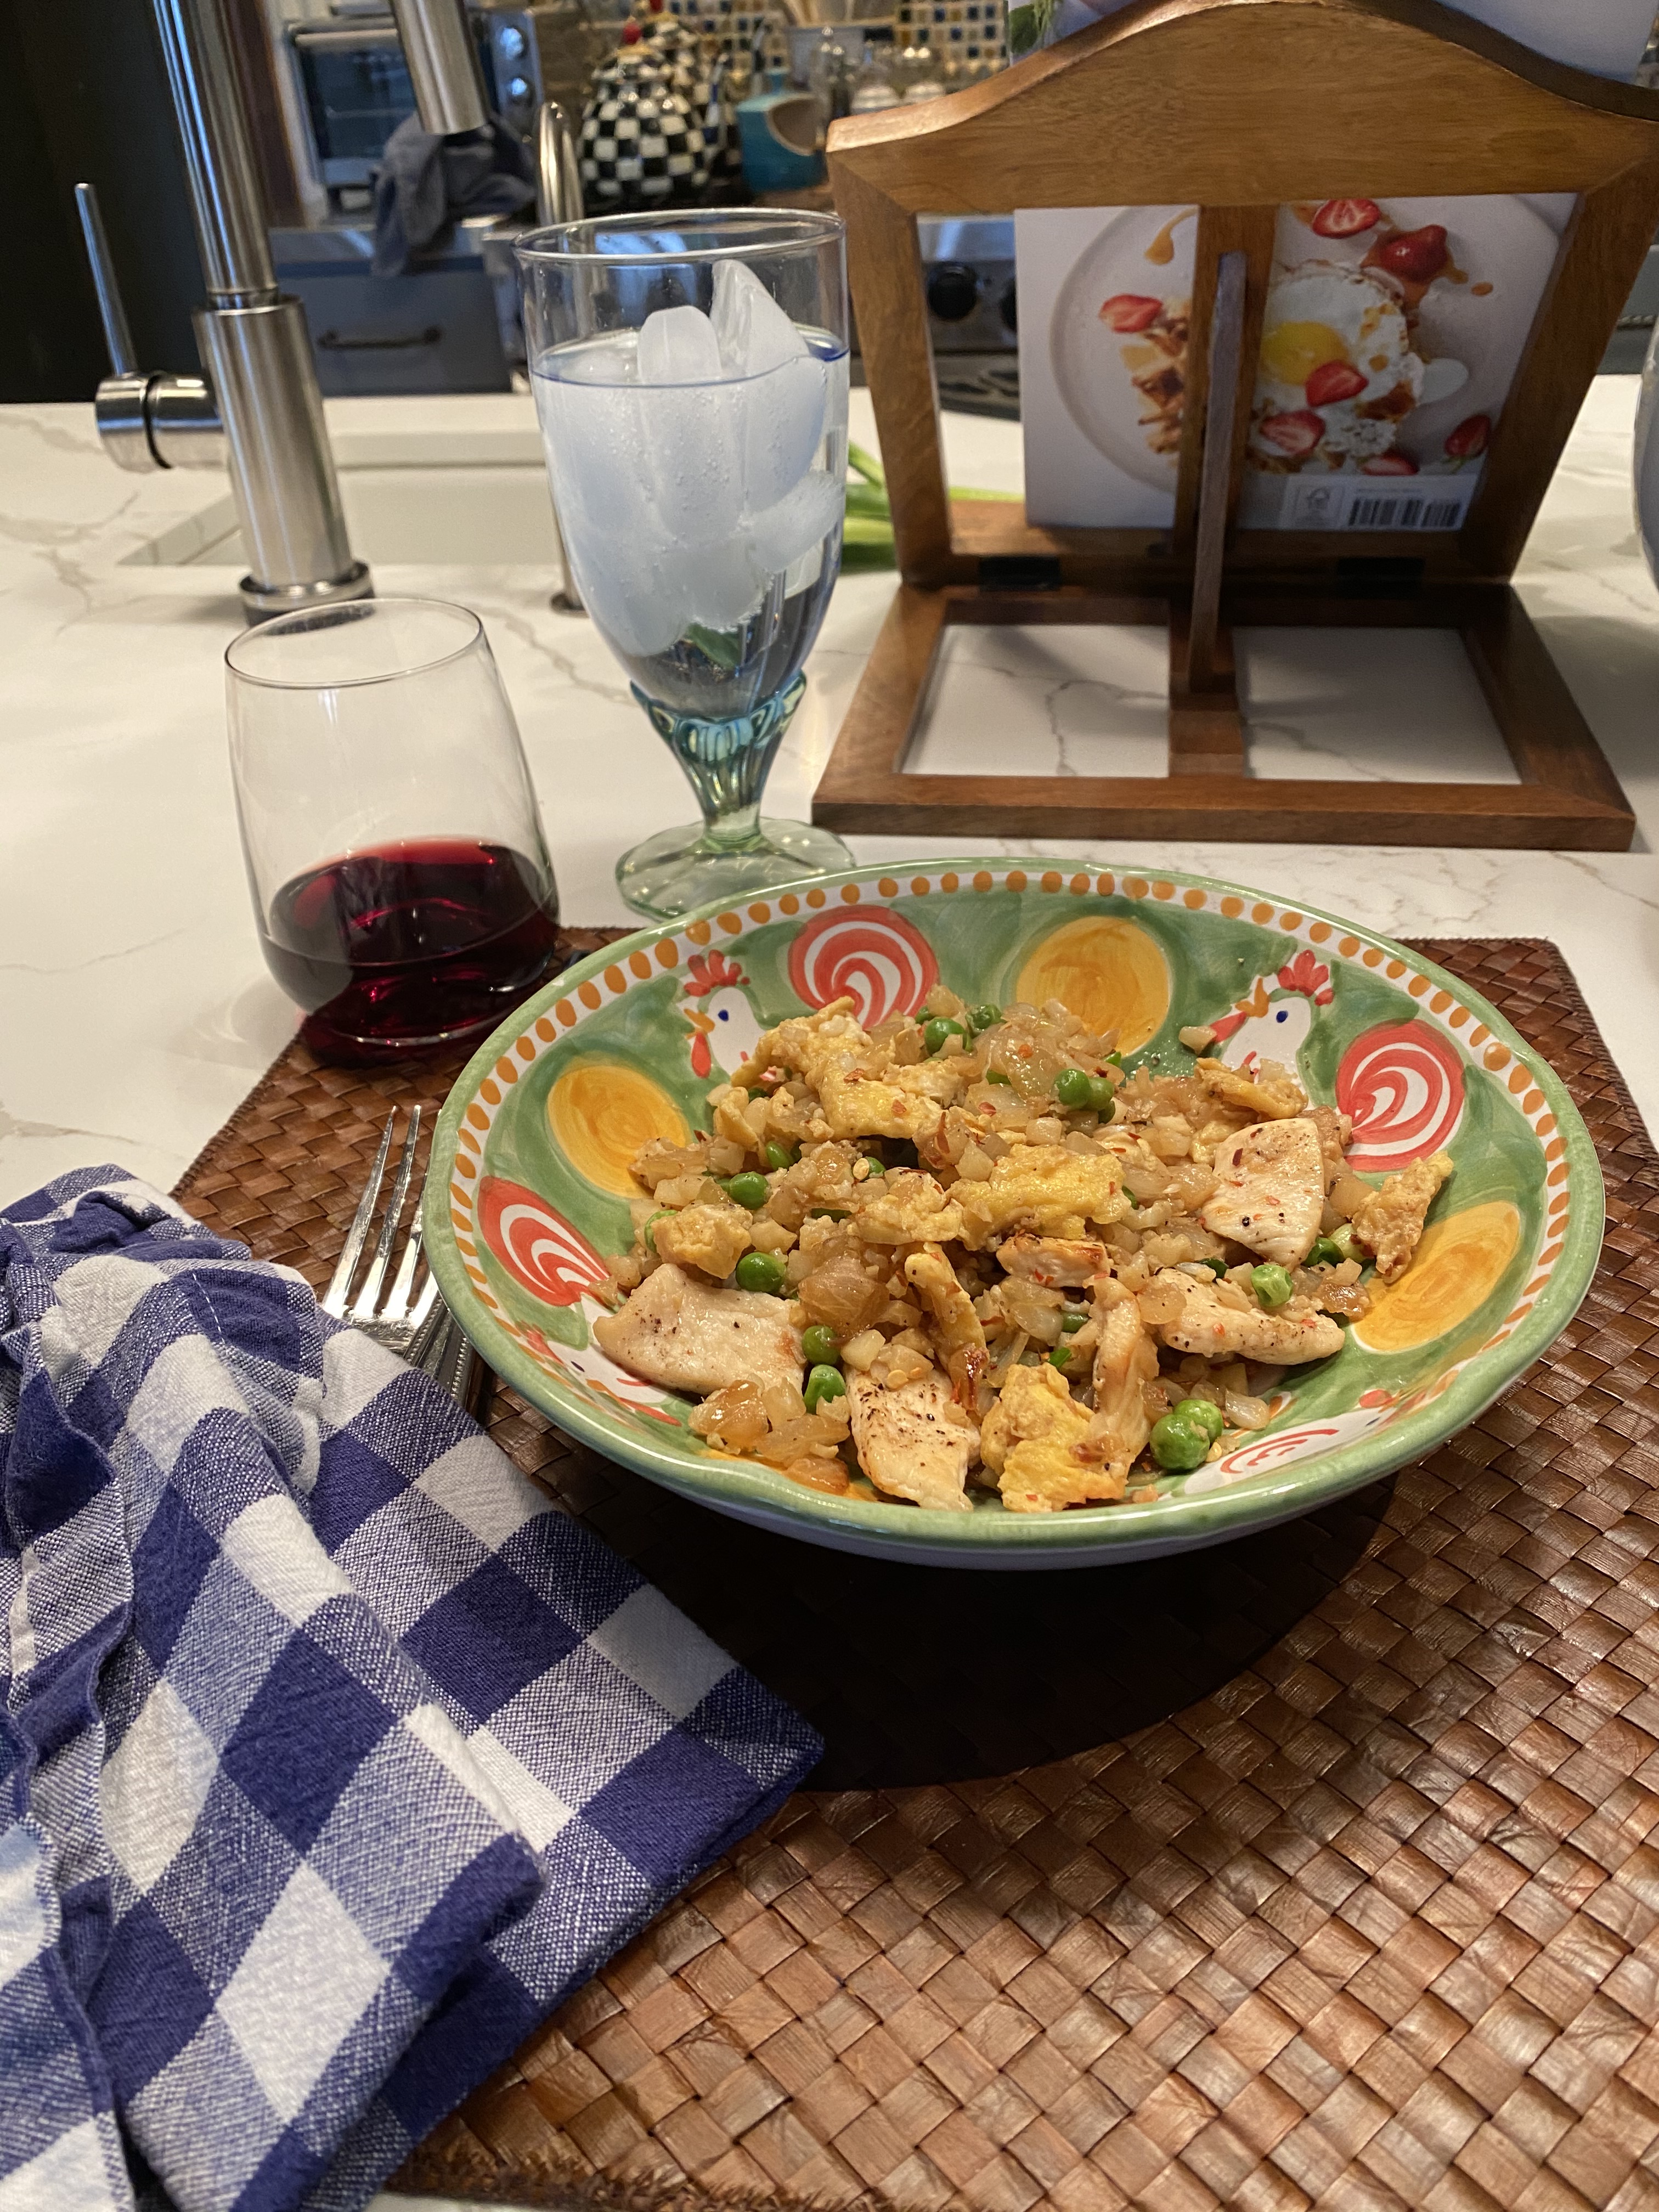
This was so delicious I have added chicken and shrimp but you can certainly leave it vegetarian and add more vegetables or tofu. There are so very many variations on this theme, feel free to go wild with it. It’s a low carb alternative to regular rice and a delicious healthy way to do so. I served it up in a large bowl and it was really a filling delicious dinner. Of course because of quarantine due to Corona I haven’t shopped as much and only had frozen peas not peas and carrots and it was perfectly fine. If and when you get your food delivery just pick up some of these ingredients and you won’t be sorry.
Today I will heat up leftovers for lunch since we are all eating at home now and maybe throw a fried egg on it!
Follow me @cookingwithcandi on Instagram and if you do make one of my recipes please post and tag me — I love hearing from all of you and let’s face it what else do we have to do these days? and social media helps to keep us all social.
Stay safe and be smart my friends.
Ingredients:
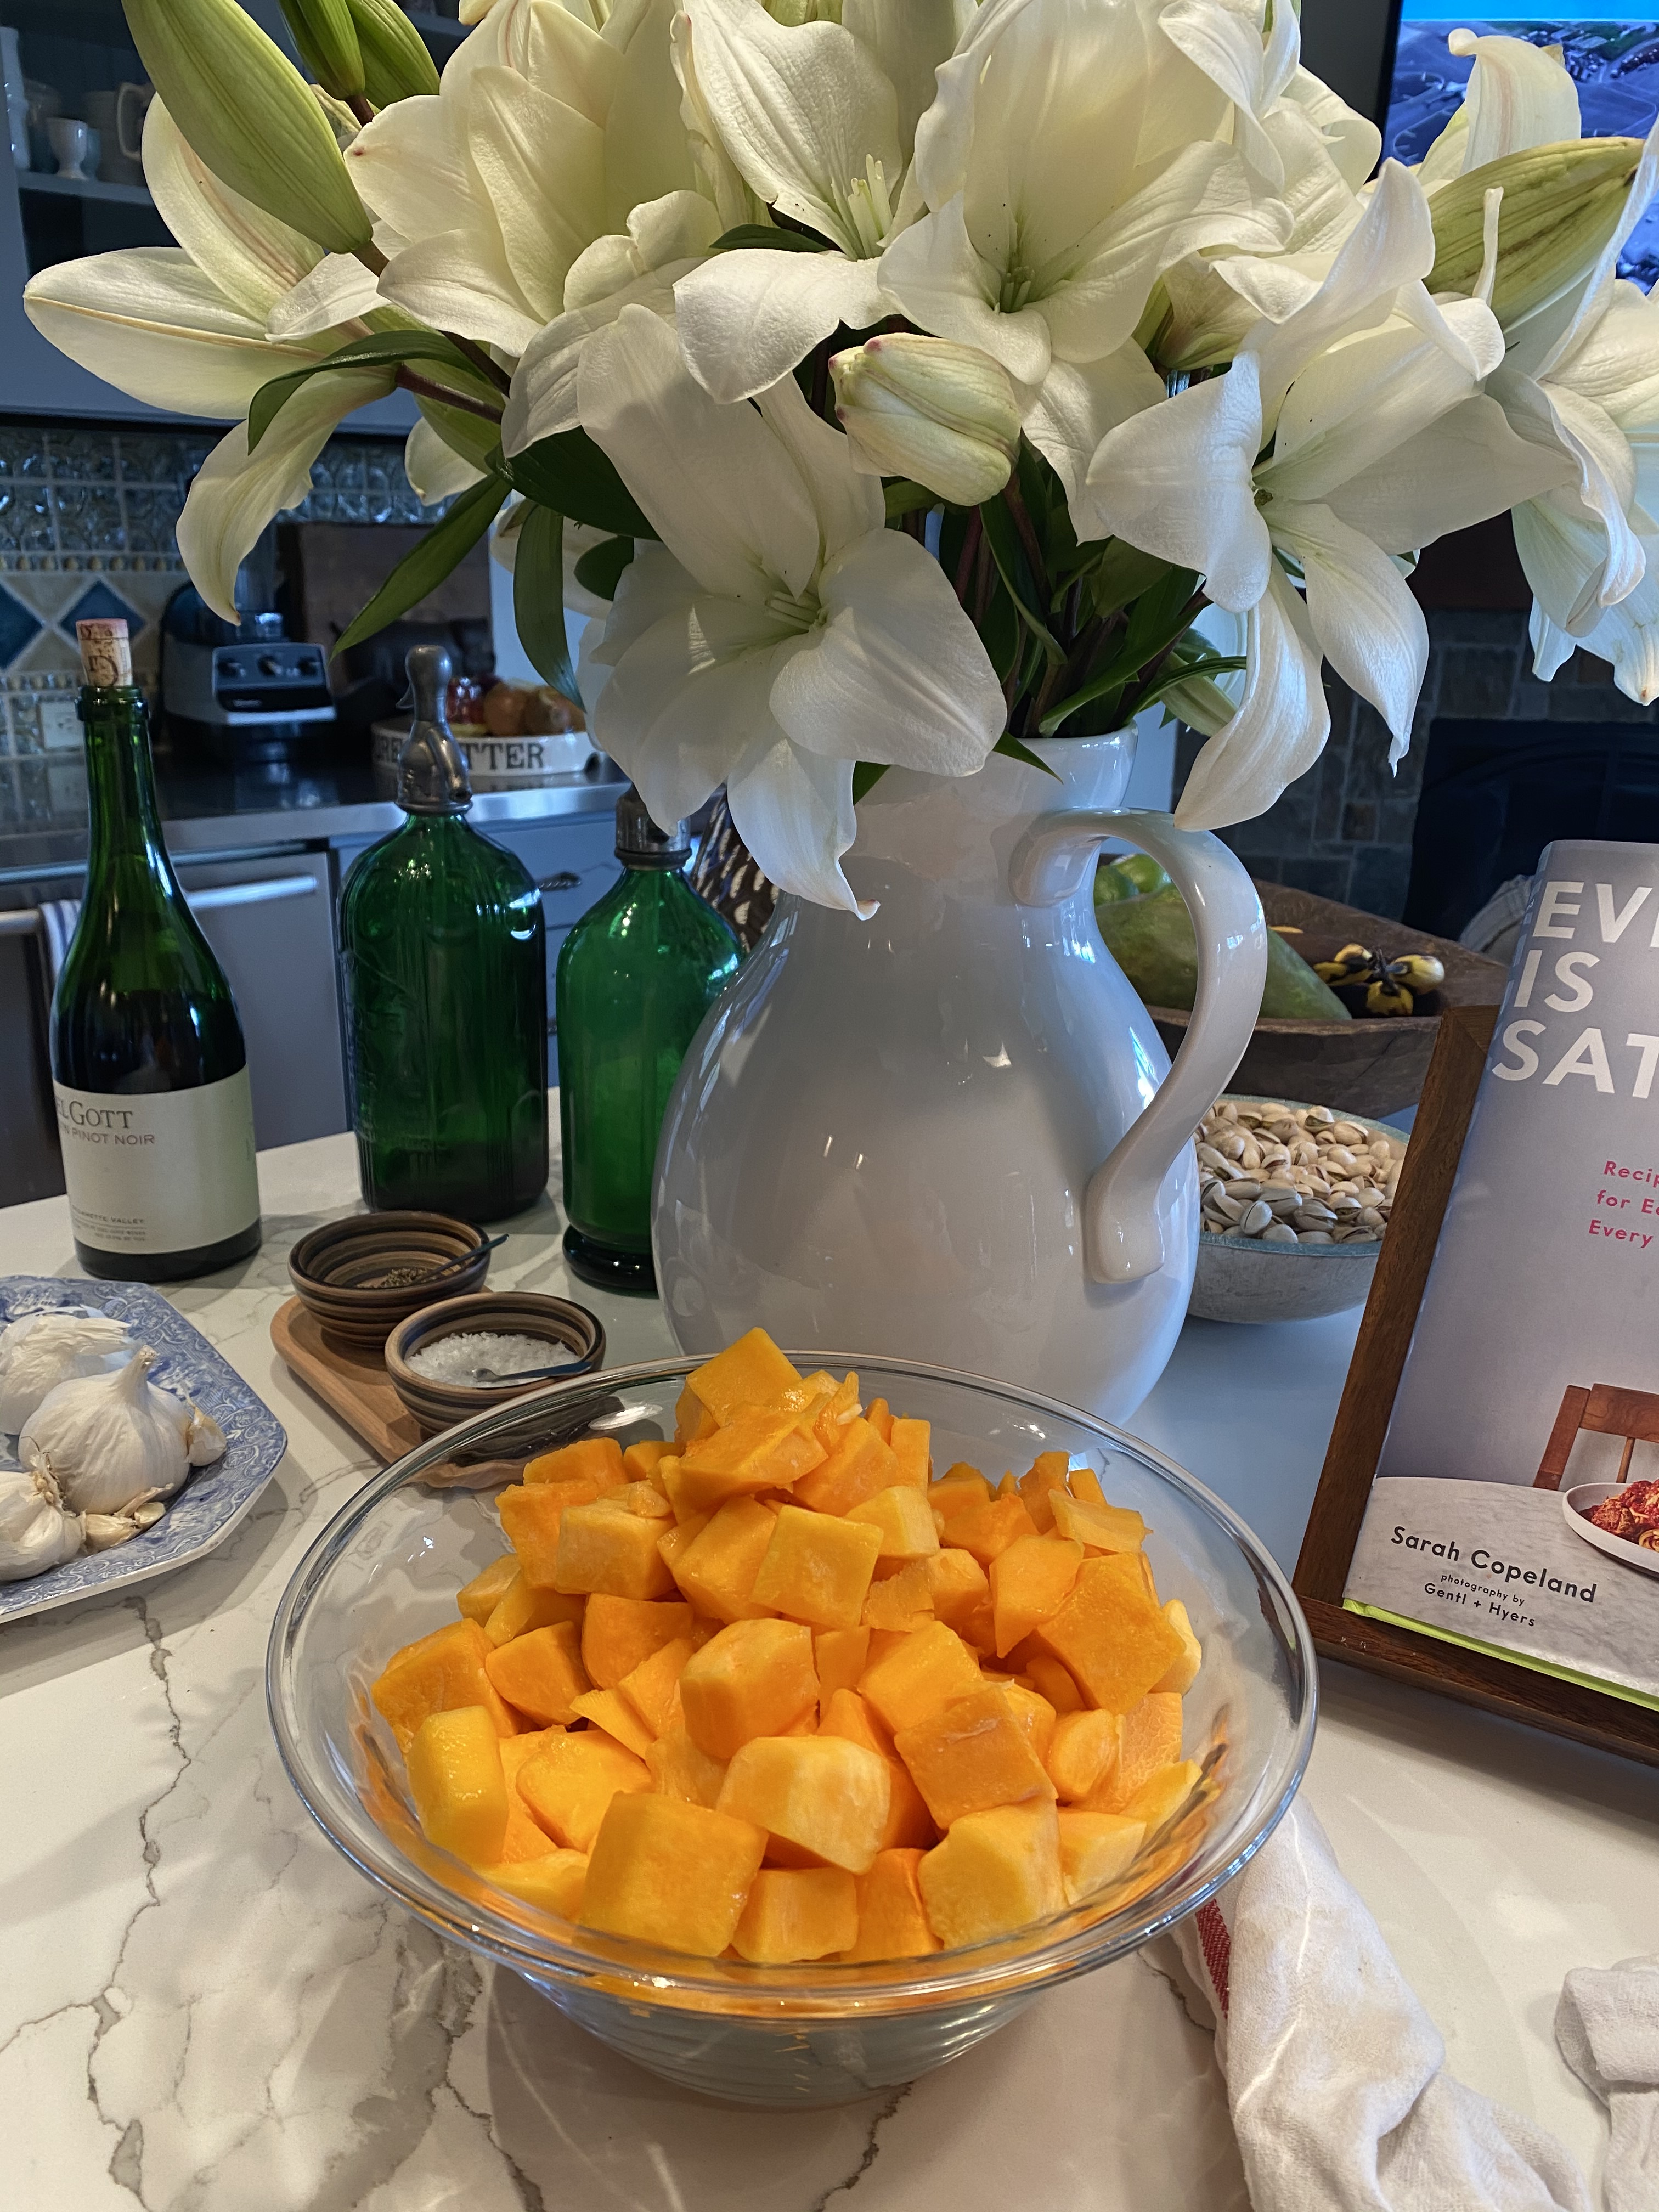
1 bag chopped cauliflower rice ( I found Green Giant brand and used it) I used a 16 oz. bag you can use up to 24 oz. Or 1 medium head of cauliflower.
2 Tablespoons reduced sodium soy sauce- you may want to add more at the end , you’ll wait and taste–add to your own liking and you can even leave it on the table and have everyone add to their own liking
1 Tablespoon Sesame Oil
2 Tablespoons vegetable oil, plus a little bit for eggs as well. You can cut the oil down on eggs if you’d like. I felt like I needed the 2 tbsp. of oil for onions , etc. You can start 1 tbsp. and add as you need.
1/8 teaspoon ground ginger– you can use fresh if you prefer
2 large eggs-beaten
1 cup frozen peas and carrots –I had it in the house and how easy was this? you can use broccoli or corn or all.
1 onion diced
2 cloves garlic -minced
1/8 teaspoon freshly ground black pepper , about 6 grinds on the pepper mill will do
*pinch of crushed red pepper
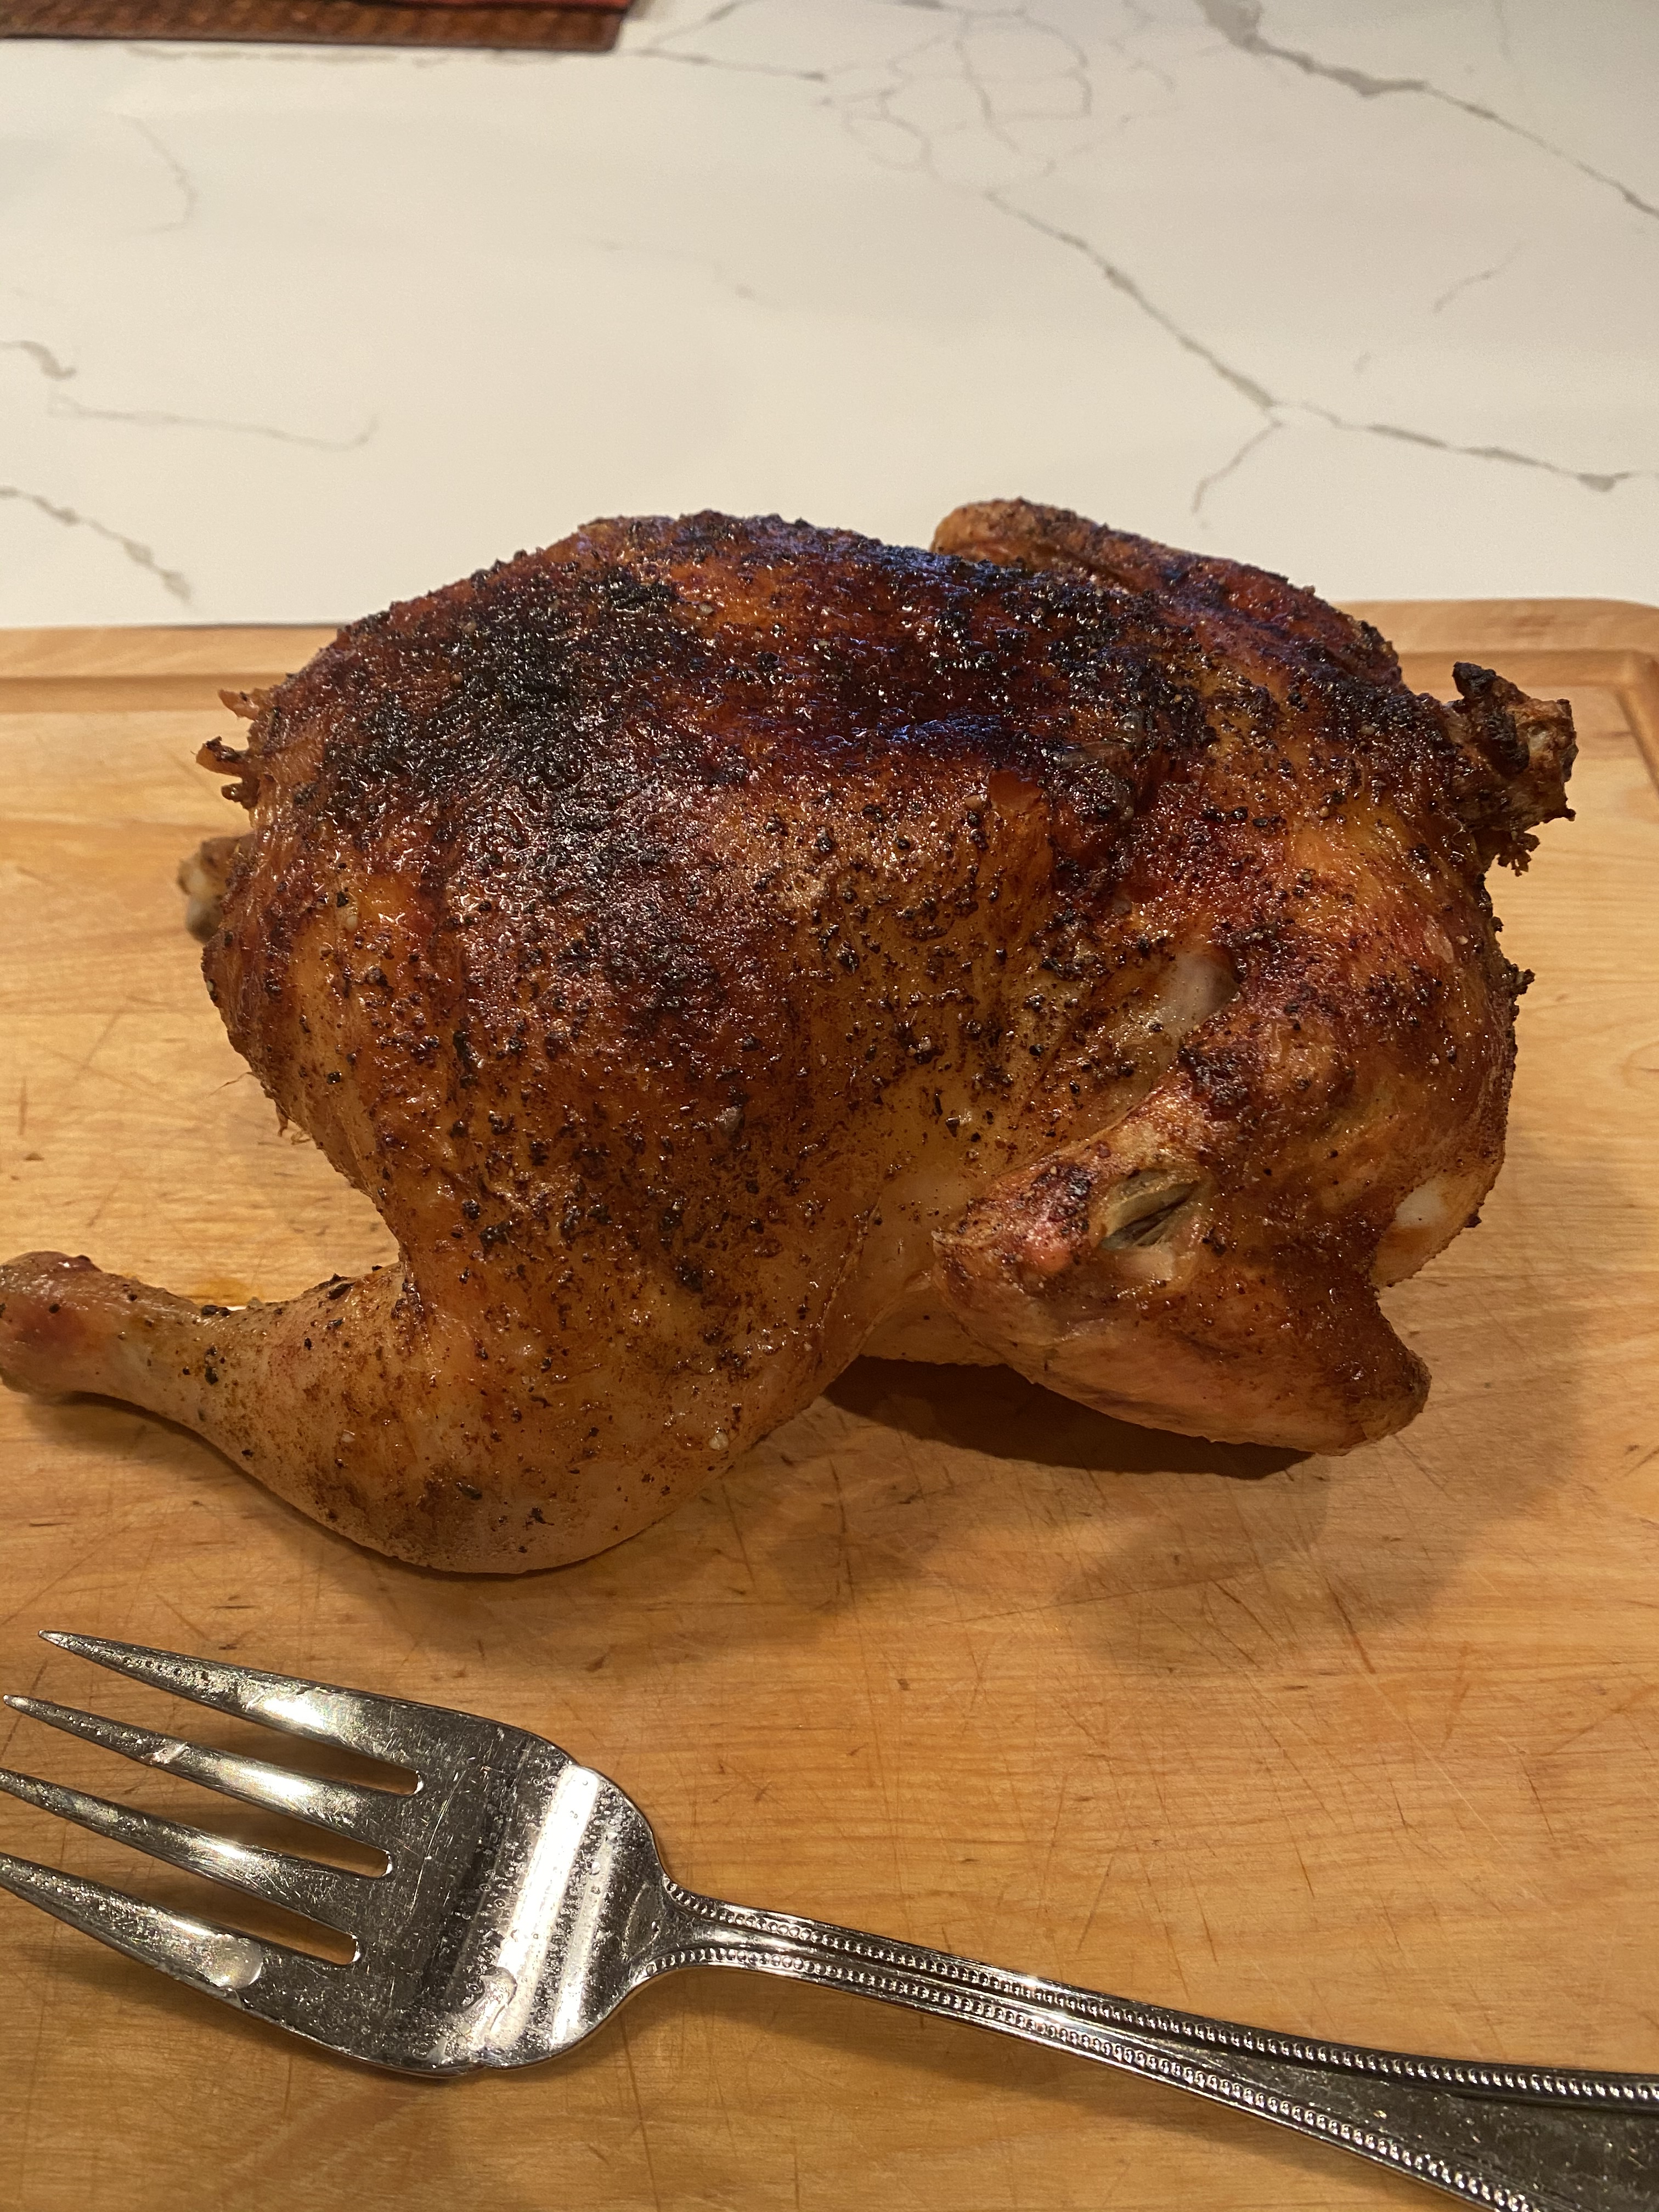
*chicken, shrimp whatever protein you like . I used thin chicken cutlets that I cooked in a pan ( sprinkle with salt and pepper first) and in a little vegetable oil just cook till ready. if I were making for more people I would probably add about 1/2 lb. of cutlets diced up. Cook breasts and then cut up or cut up and cook quickly in a pan they will finish cooking in the rice. I use a 1 lb. package of thin chicken cutlets
2 green onions (scallions) thinly sliced
*salt and pepper to taste — you may want to add a little but don’t add till the end and you’ve tasted it. I added a little sprinkling of salt and pepper.
Directions:
If you must make the cauliflower rice, take out the processor, pulse cauliflower in the large bowl of a food processor until it resembles rice, about 3 minutes, set aside. If you bought the bag–you’re ready.
In a small bowl, whisk together soy sauce, sesame oil, ginger and a little black pepper
Heat about 1/2 Tbsp. of vegetable oil in a medium skillet over low heat , add beaten eggs and cook until cooked through. I didn’t scramble , I made a large pancake. About 2-3 minutes per side, flipping once. Let cool completely before dicing into small pieces, set aside to cool.
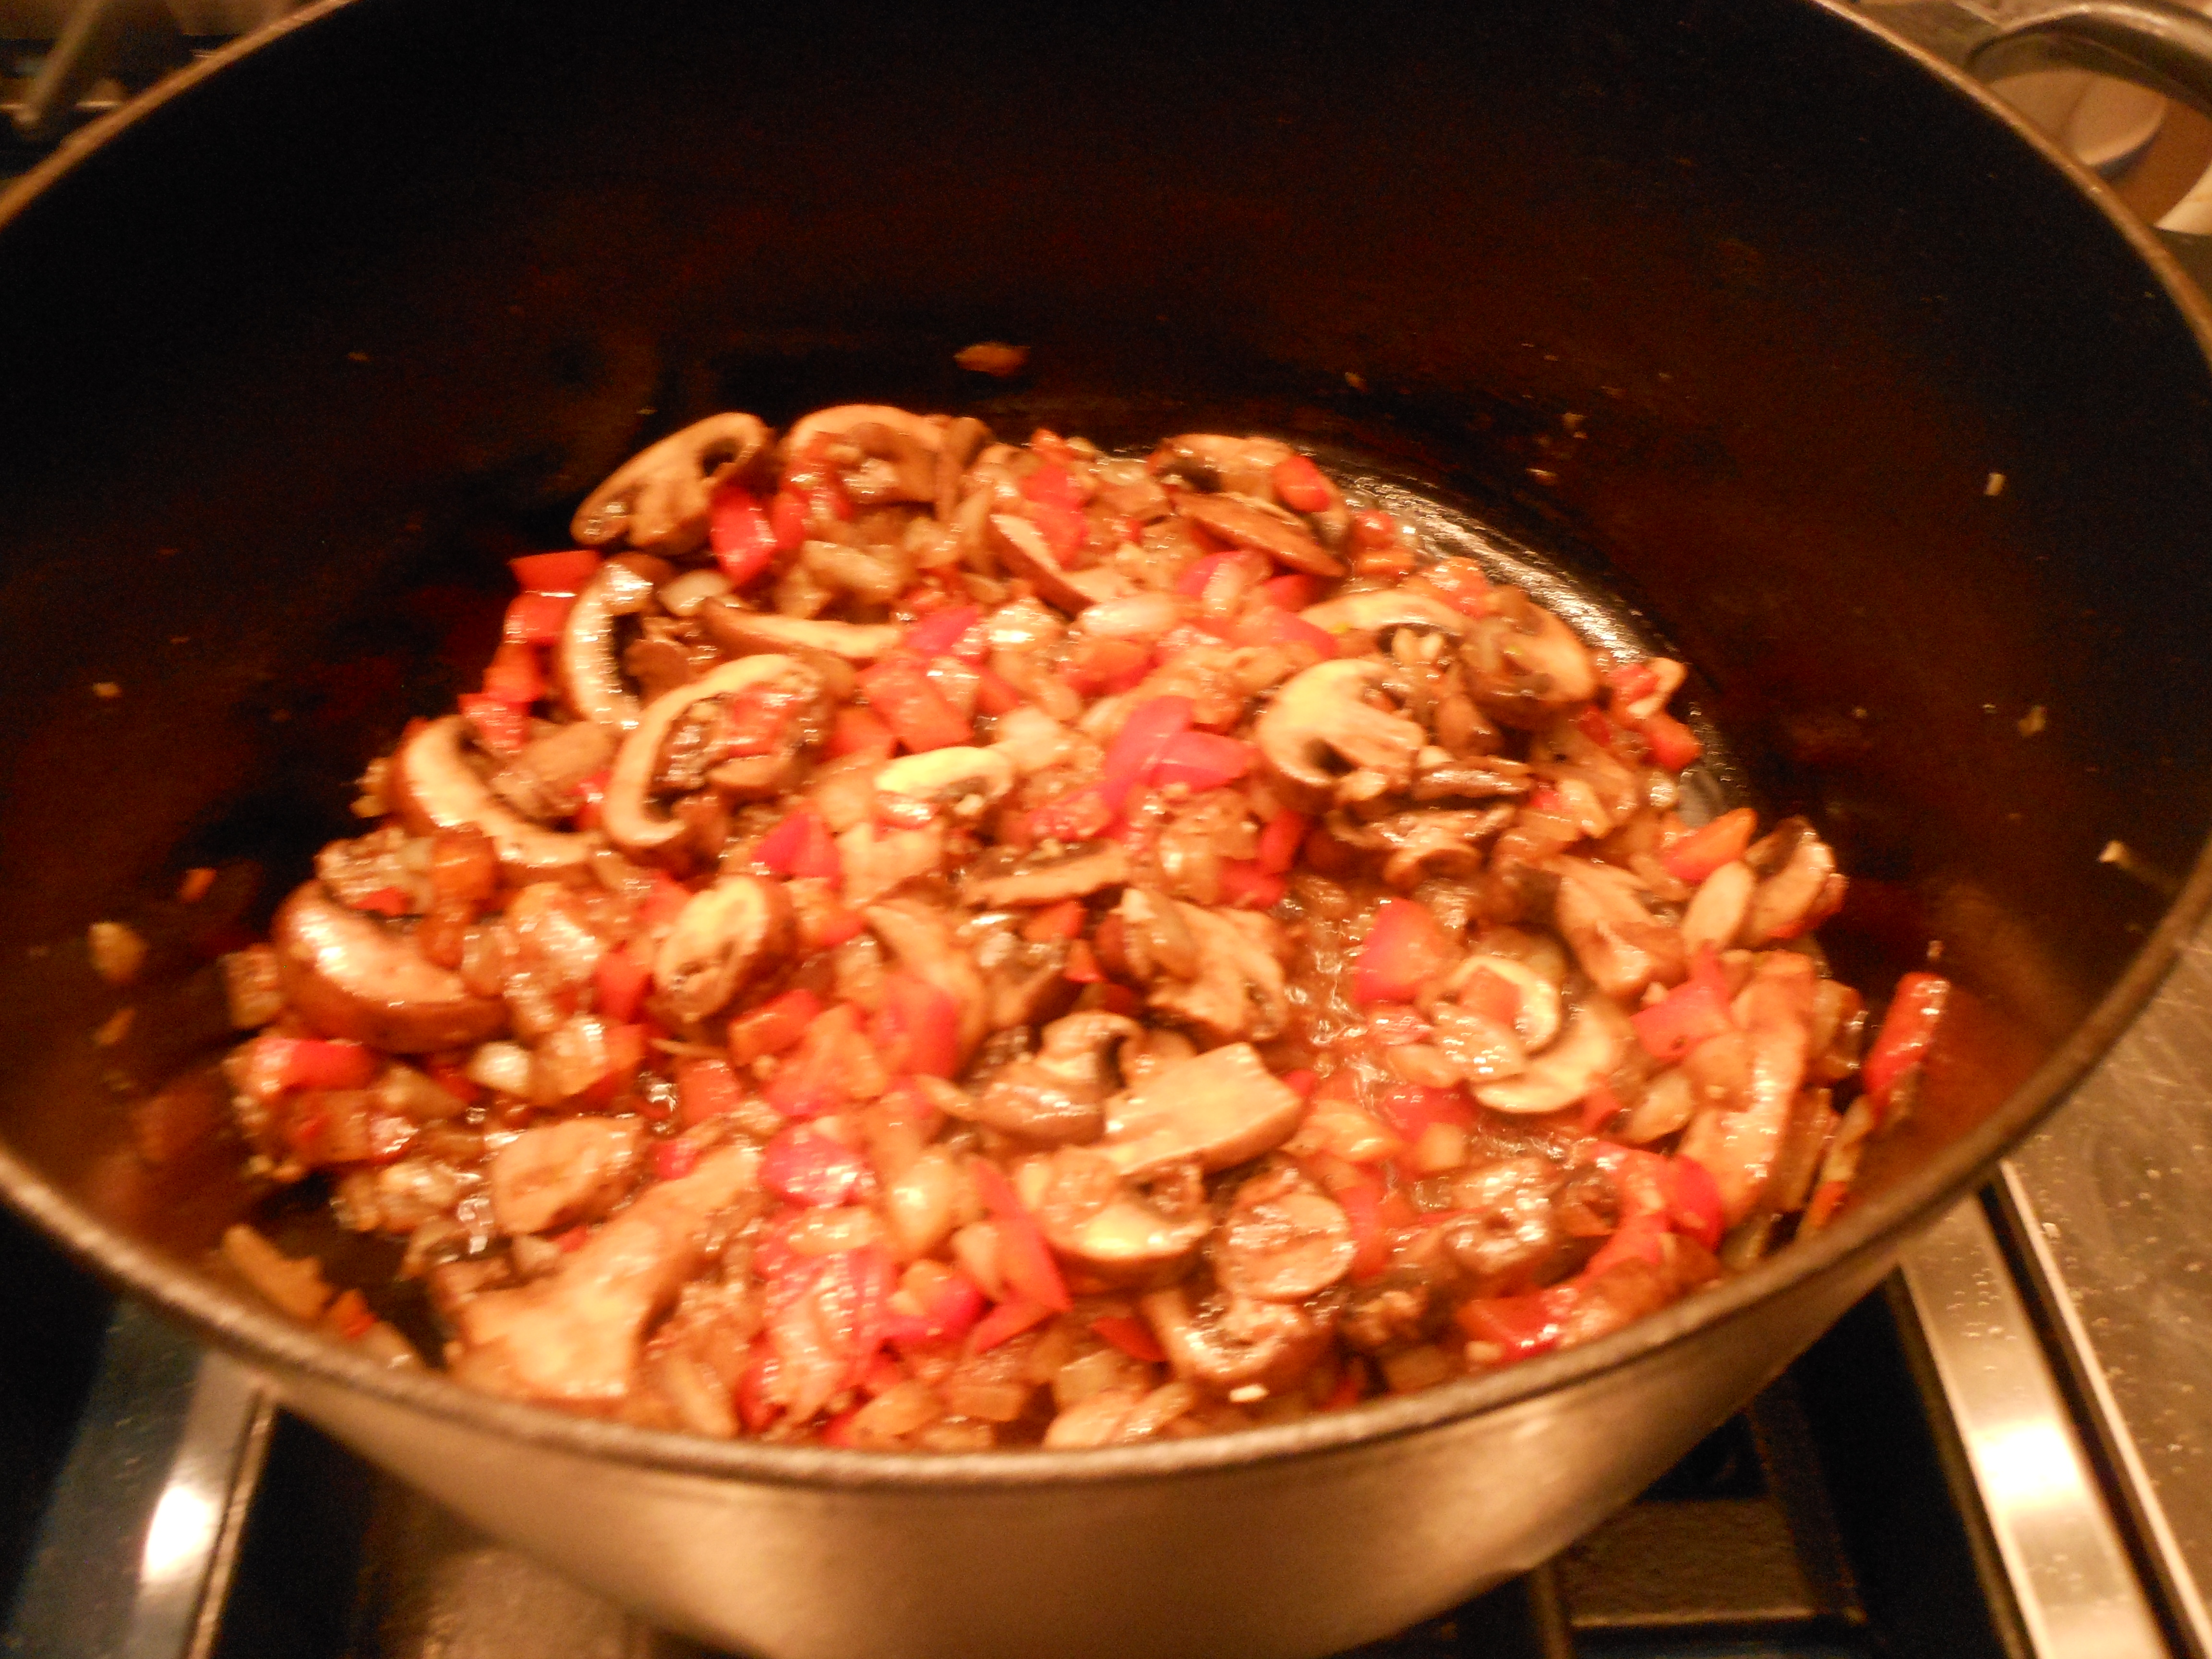
Heat 1- 2 Tablespoons Vegetable Oil in a large skillet or wok over medium high heat. Add garlic and onion to the skillet and cook, stirring often, until onions become translucent, at least 5 minutes. I like my onions translucent for this recipe. Lower the heat and stir in peas and carrots (and any other veggies you’d like) and cook until vegetables are tender, about 5 minutes. I ended up using the 2 Tablespoons of oil, do what works best for you.
Stir in the cauliflower, diced up eggs, green onions and soy sauce mixture. Cook, stirring constantly, until heated through and the cauliflower is tender, about 5 minutes . Taste for soy sauce and add if necessary. I didn’t add any salt because the soy sauce was salty enough. After the first five minutes of cooking I throw in the cooked protein that I am using and continue to heat it all up stirring as I go. If you ‘d like you can also add more soy sauce at this point. Just heat till hot and serve.
This is a very loose recipe so please feel free to experiment.


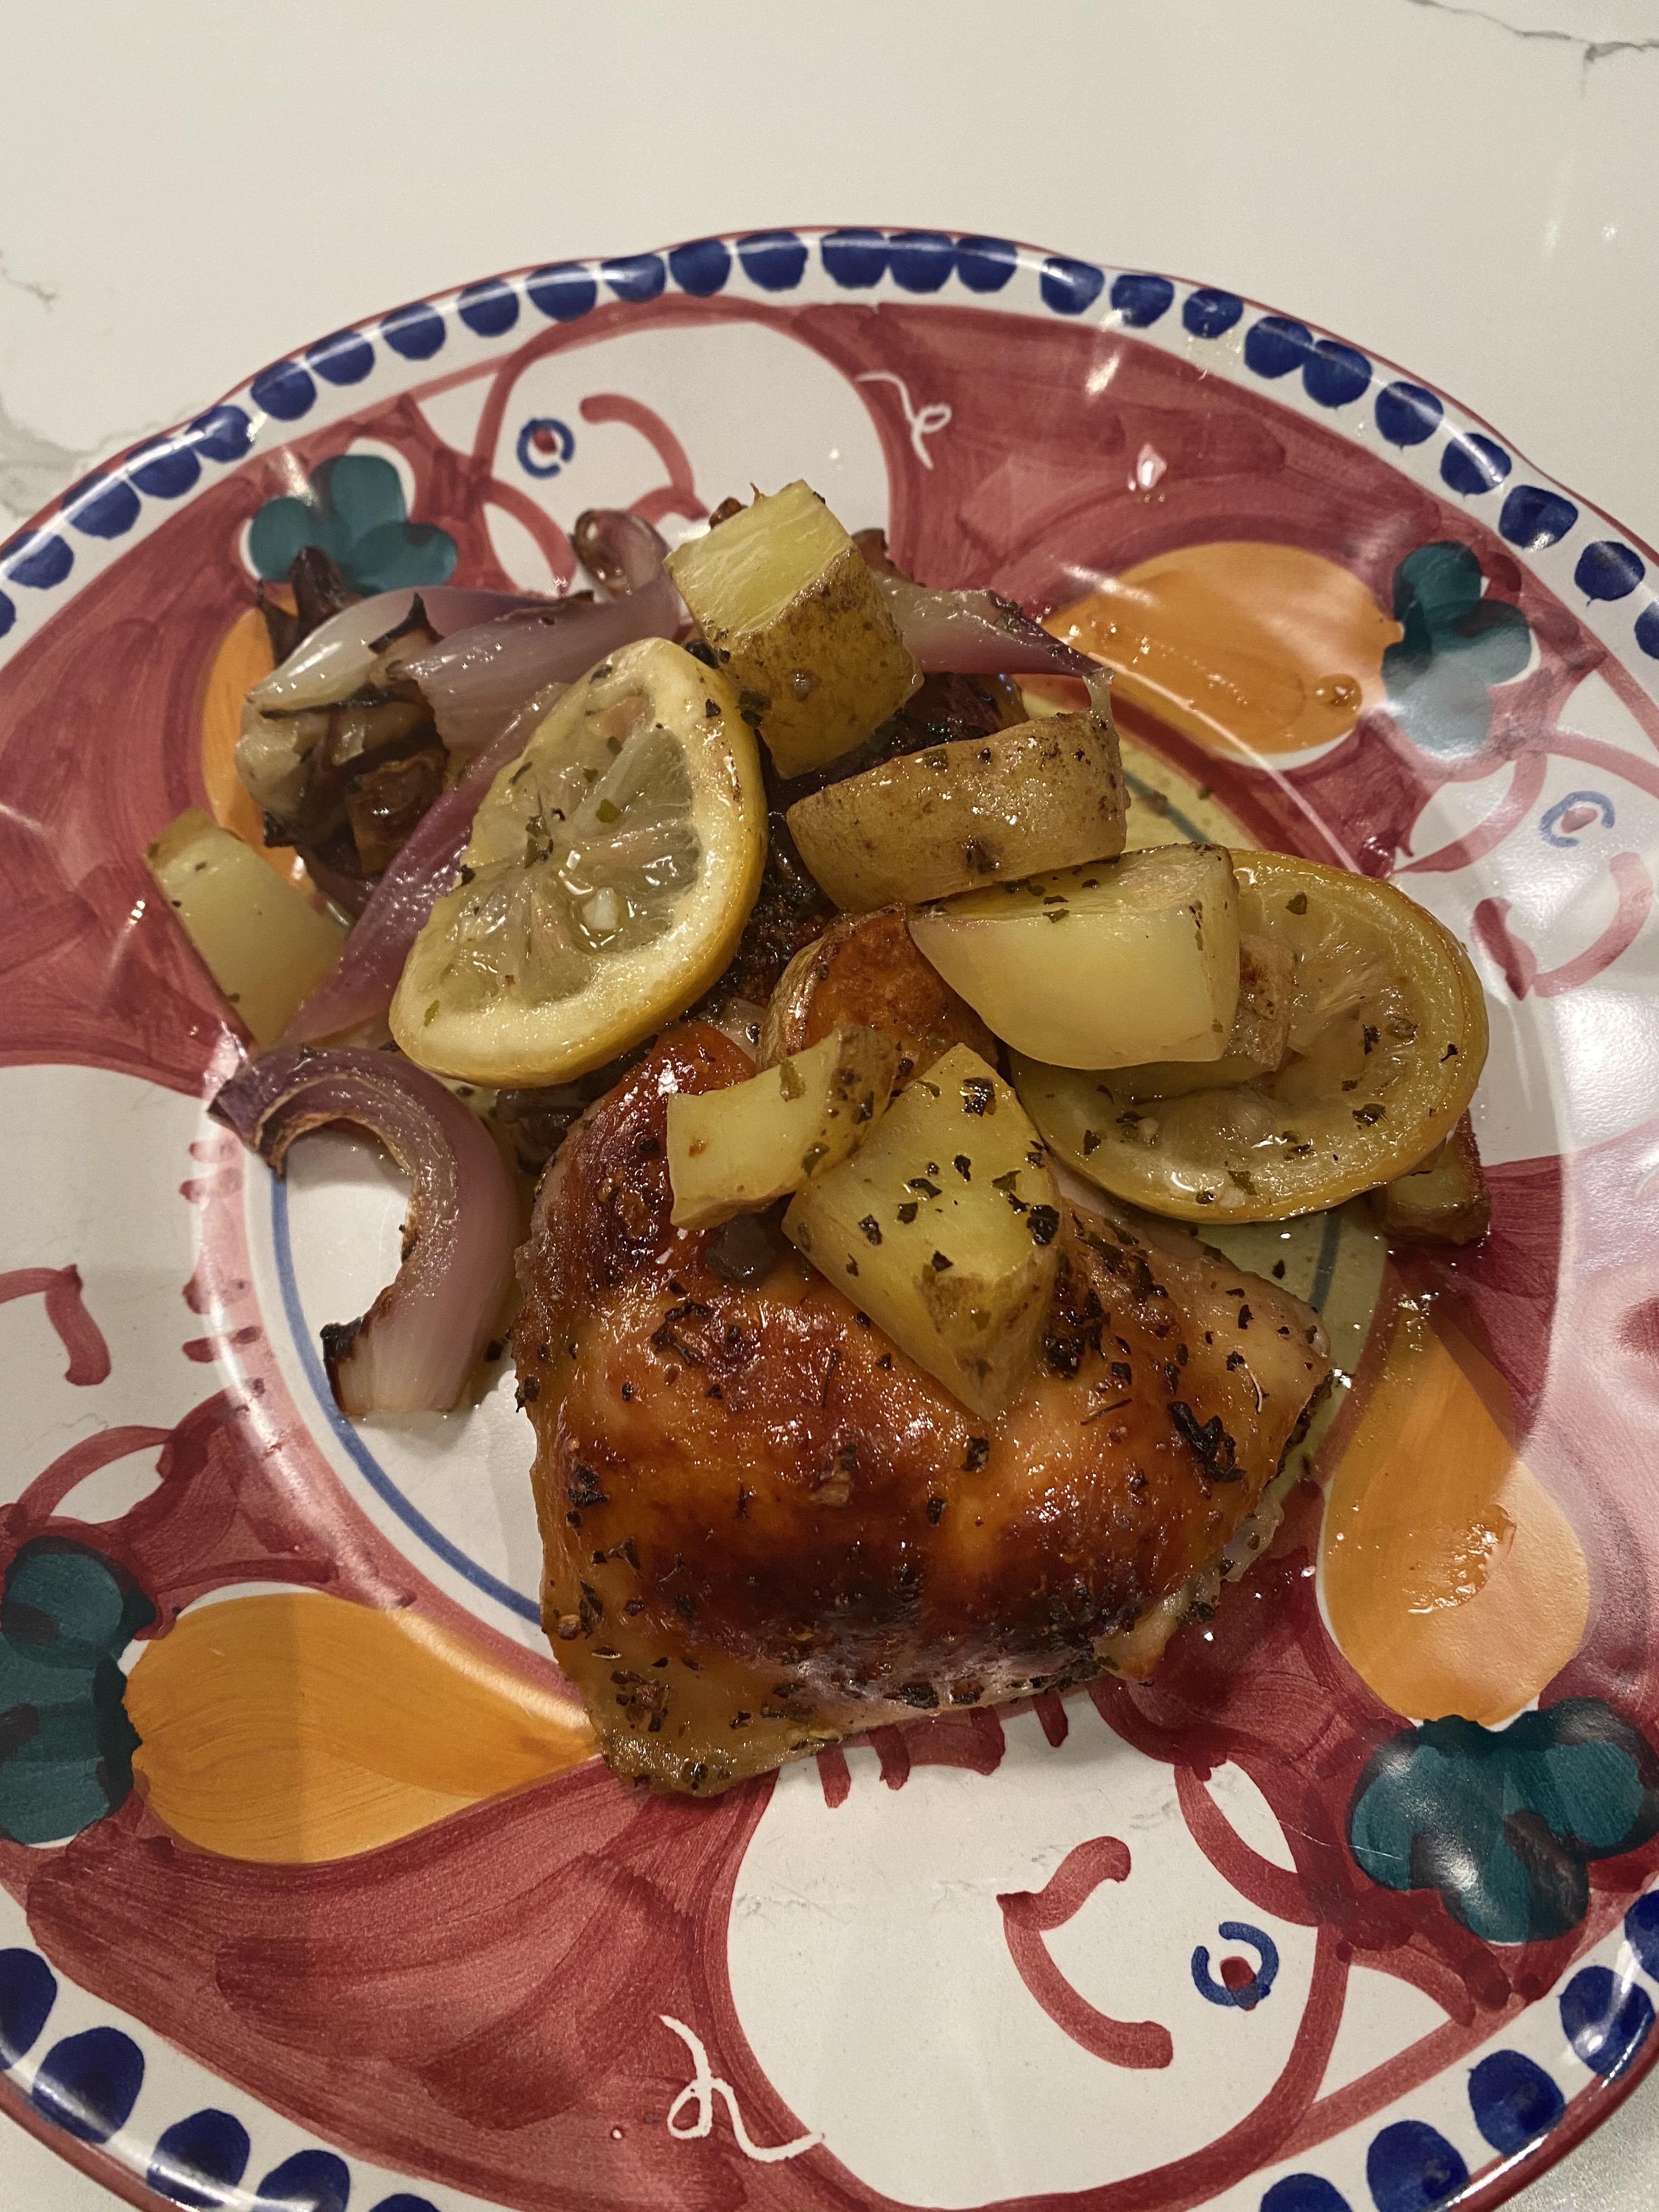
 We’re all looking for some comfort these days so I am going through my blog for the most comforting recipes I can find. Cooking every night is definitely a challenge but we don’t have much choice these days. So I figure we make lemonade at least when we’re in the mood to drink lemonade. It’scertainly not a fun time and the news is terrifying When we sit down for dinner (just the two of us) it’s a little respite from the world. It always has been but now more than ever.
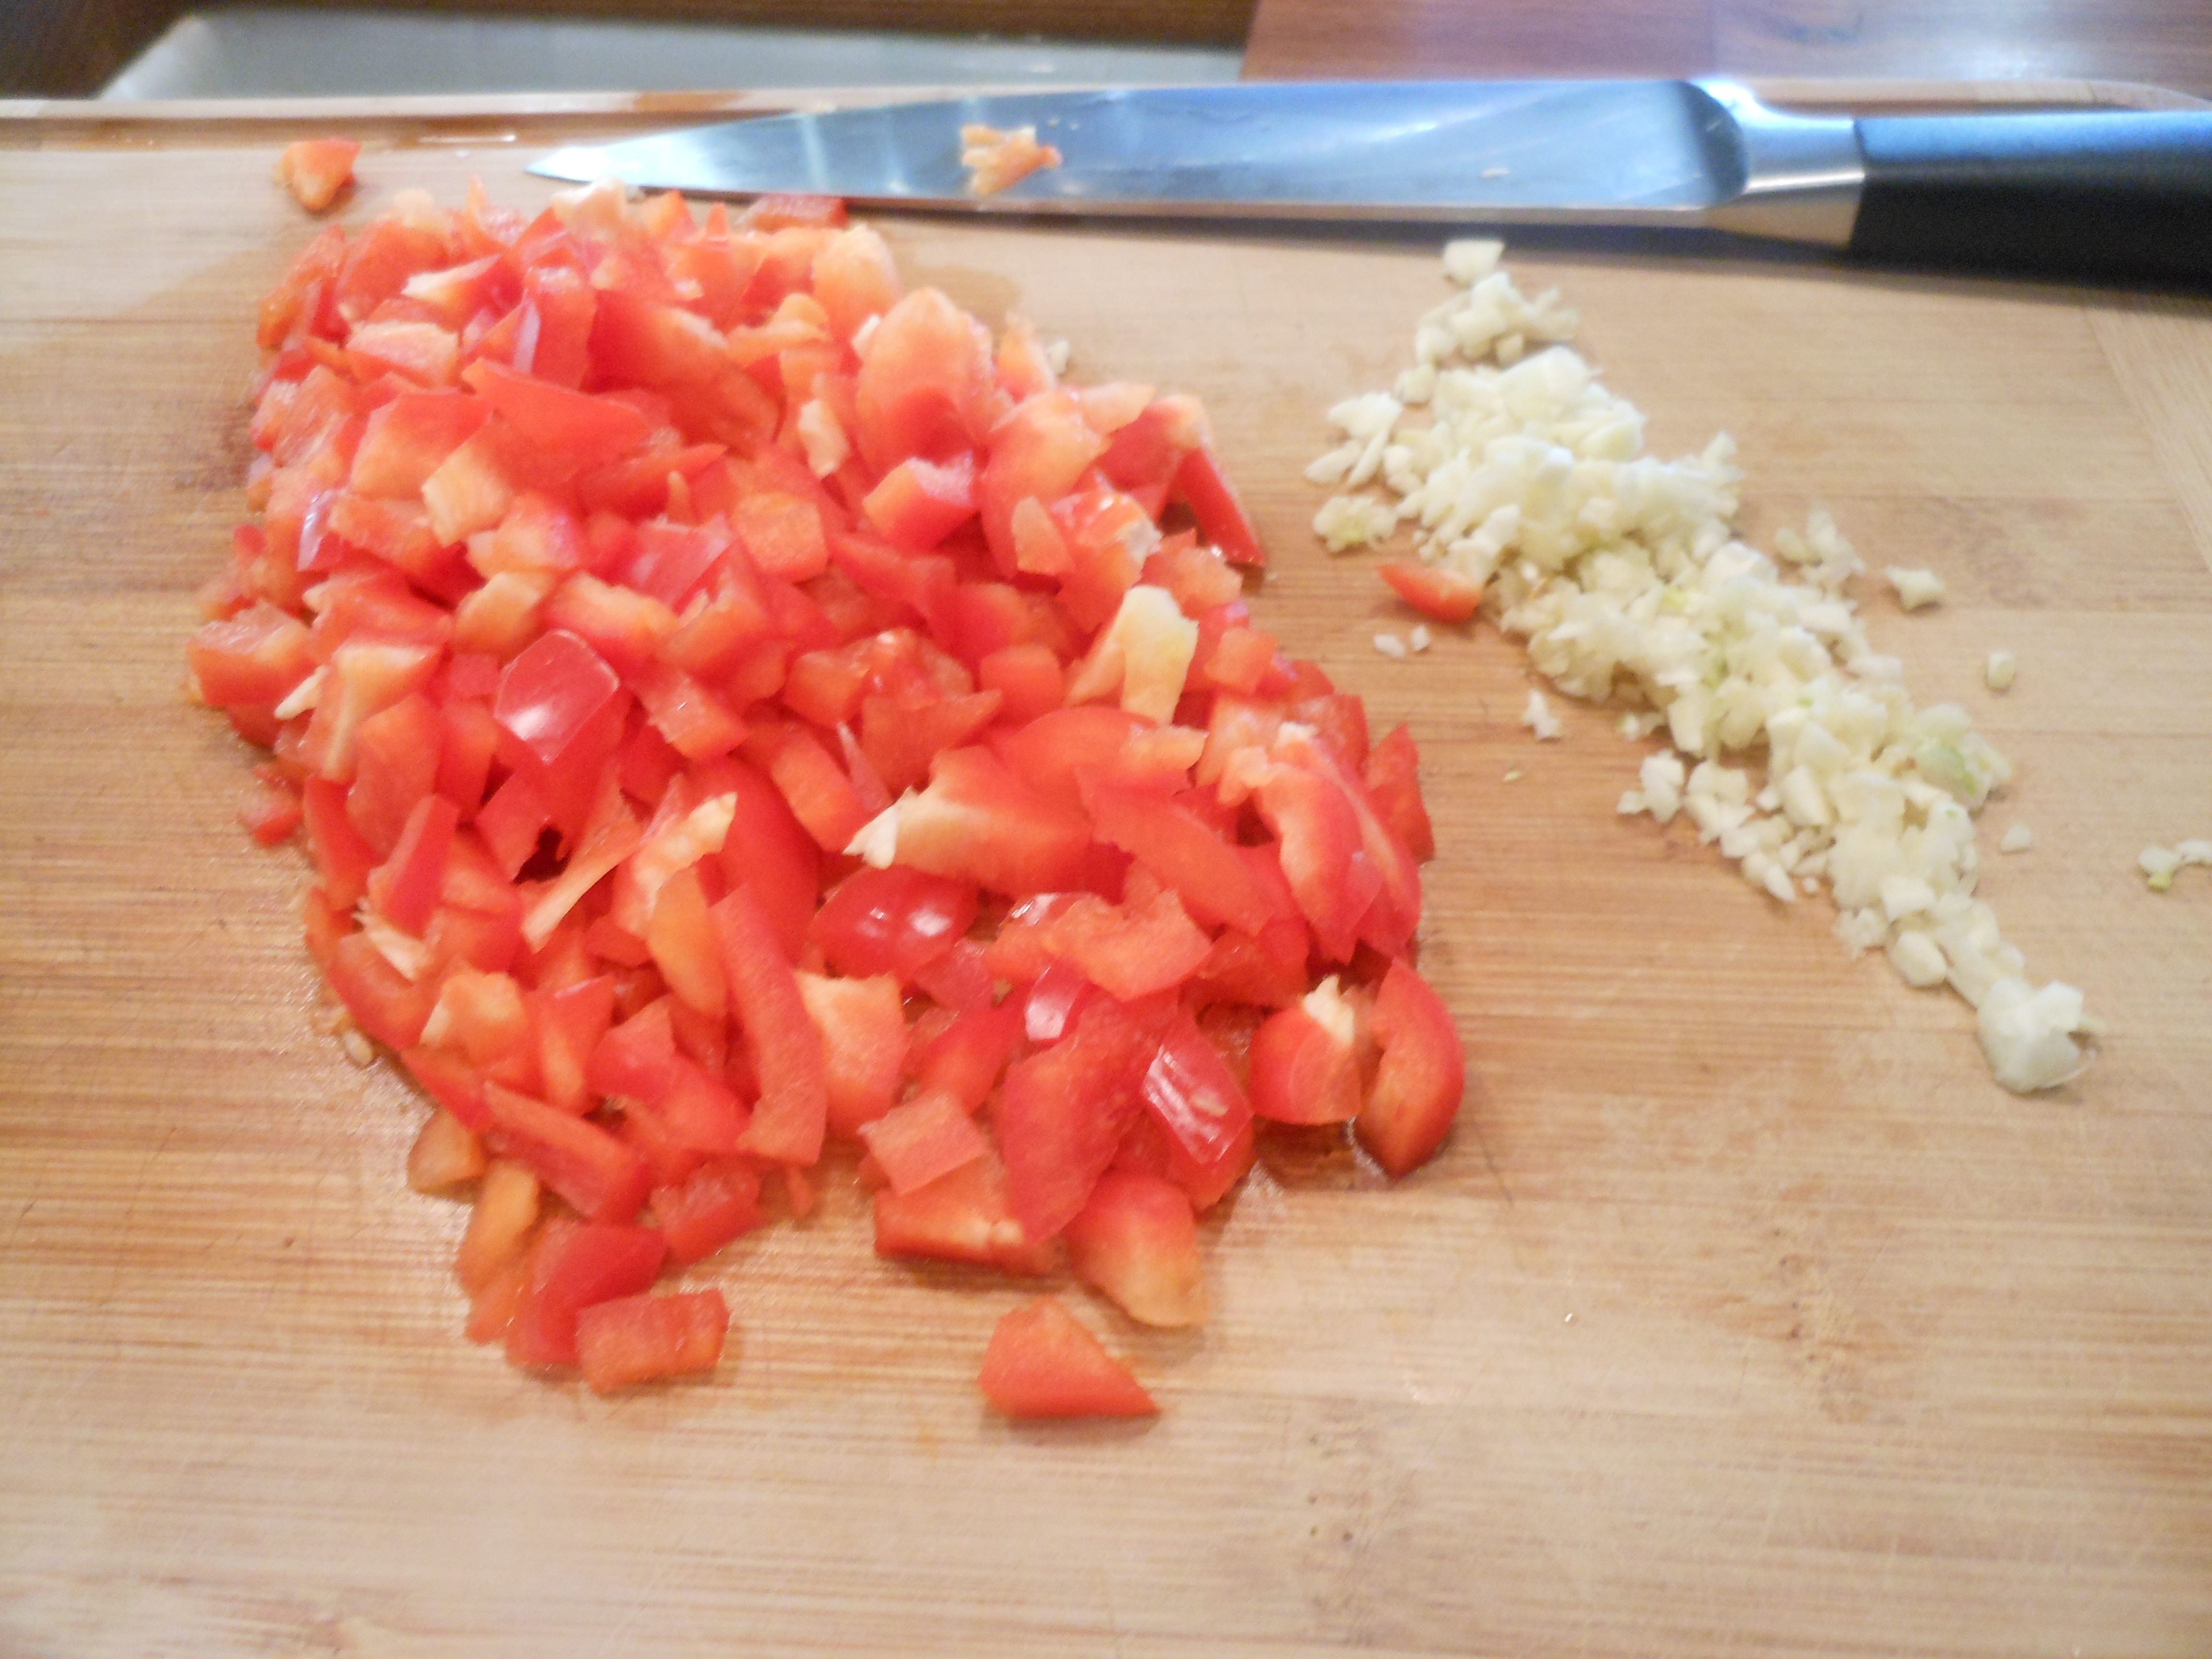
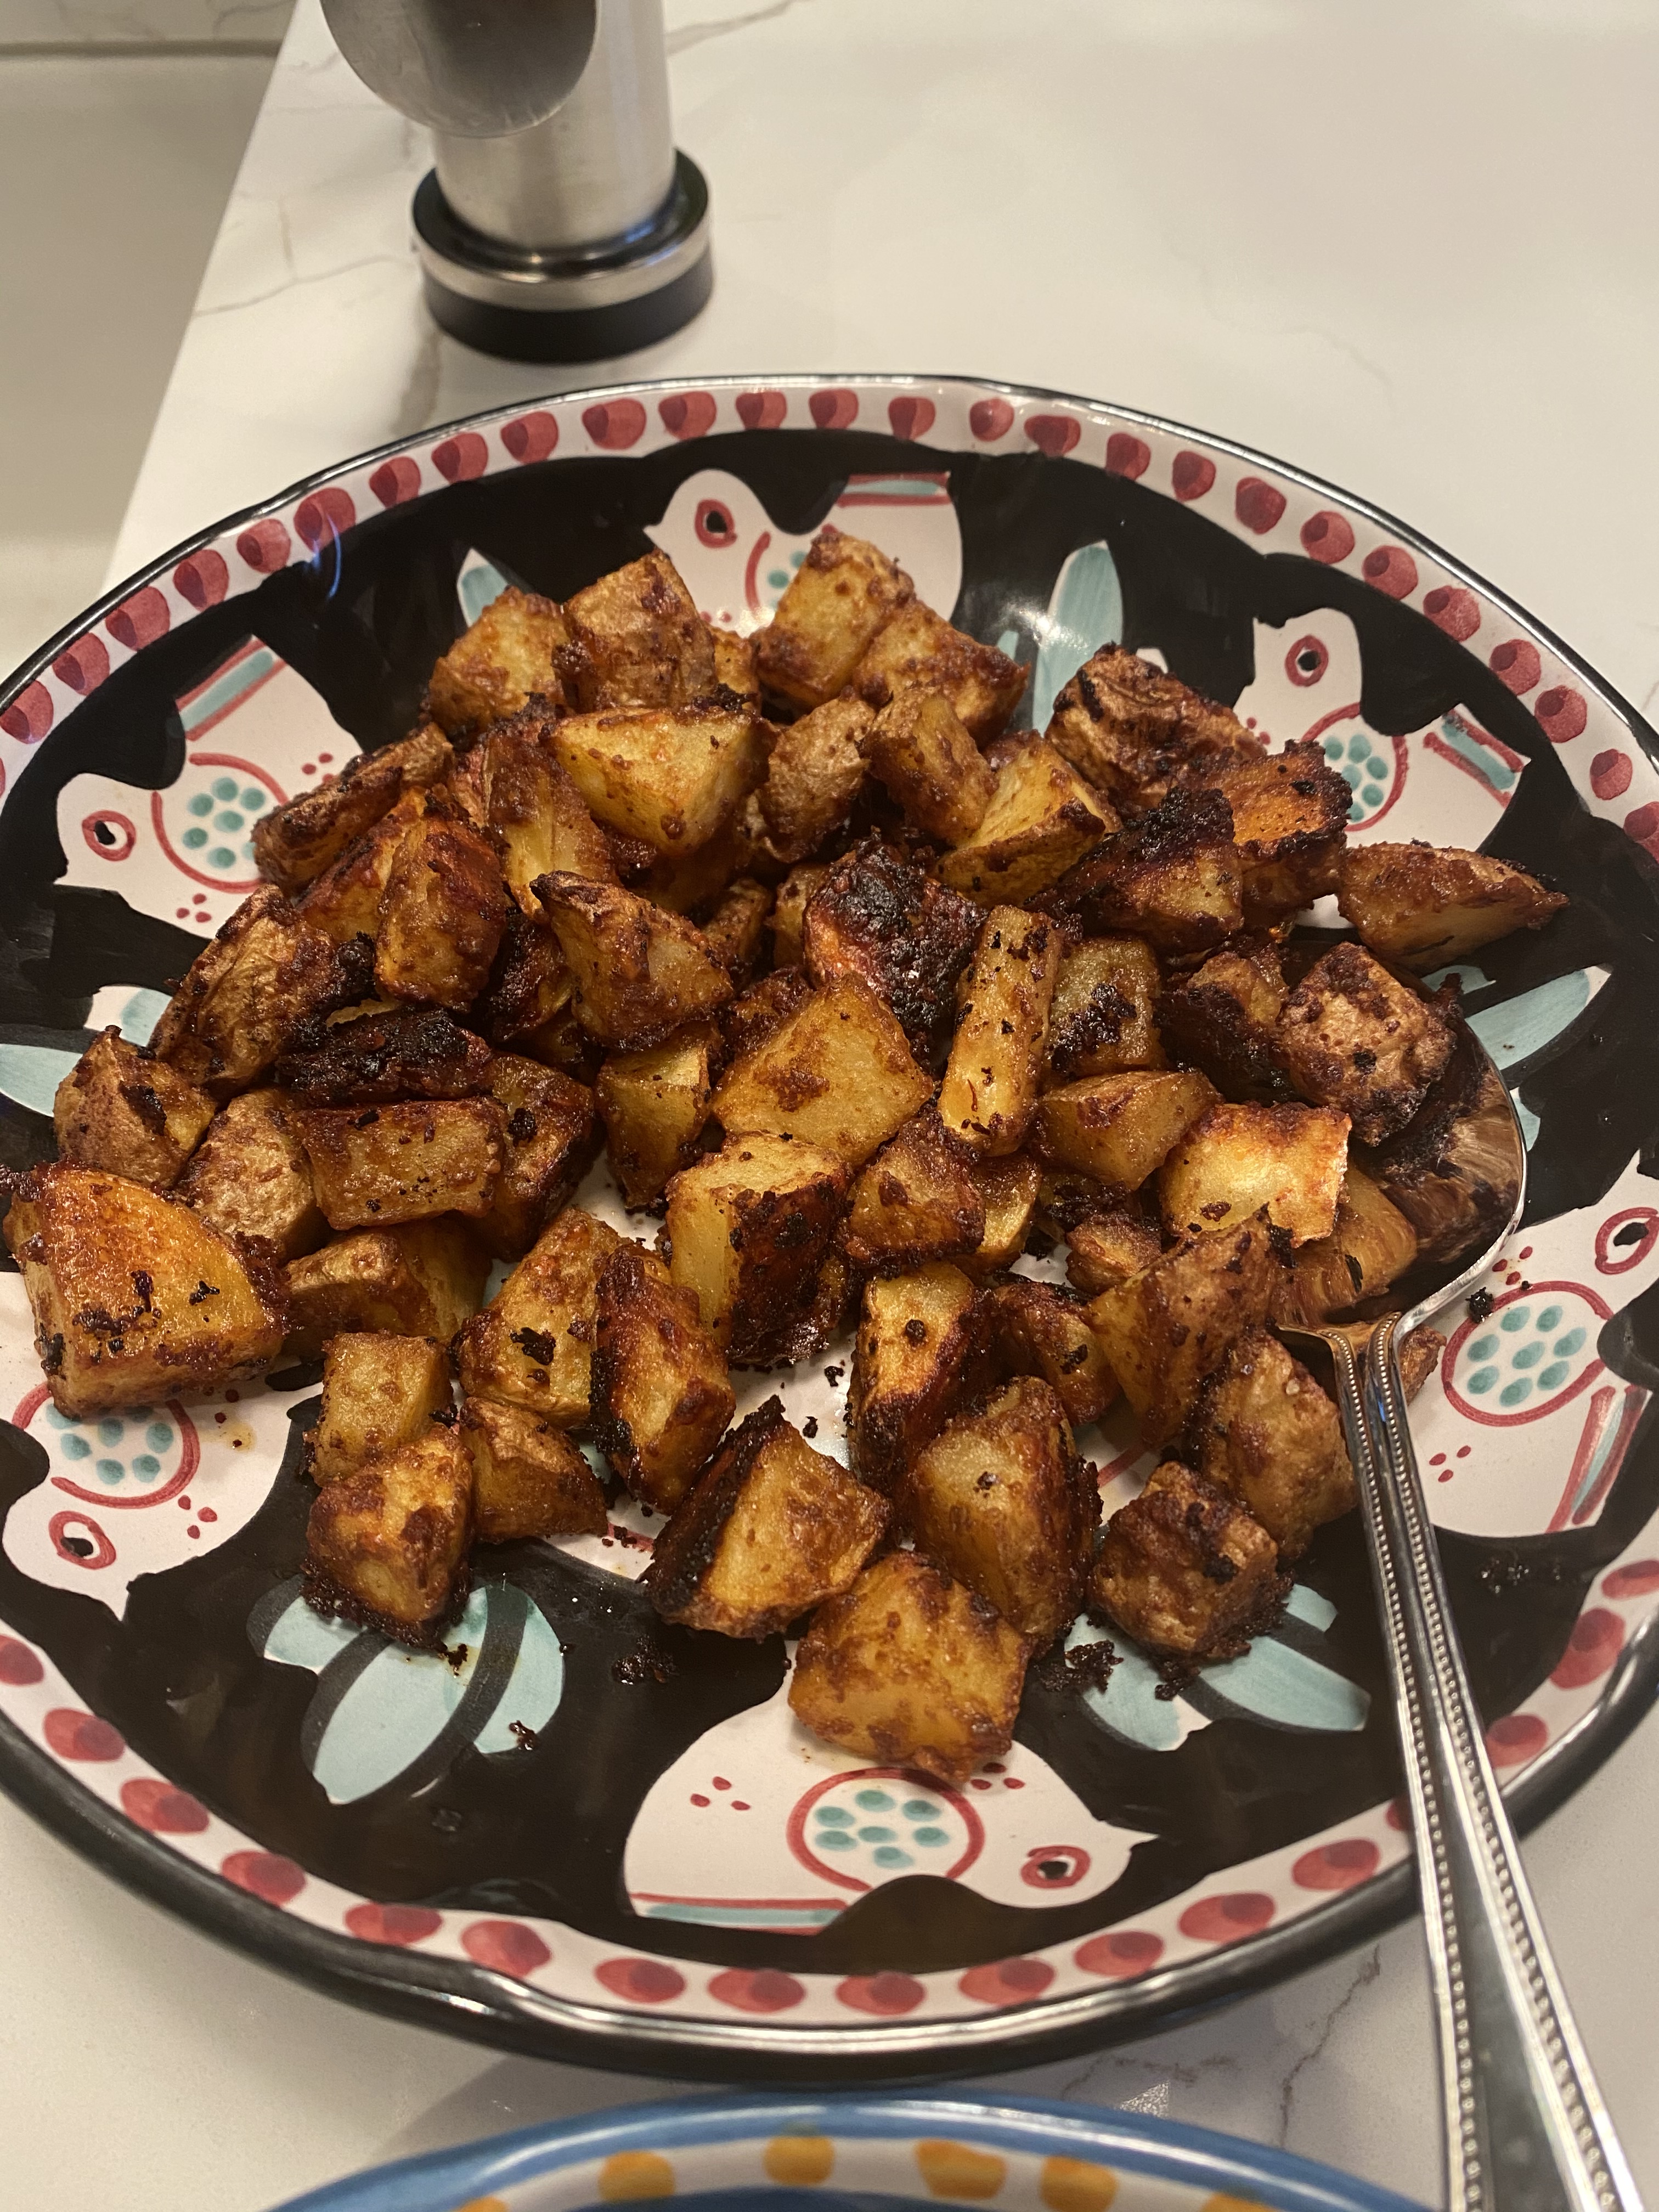

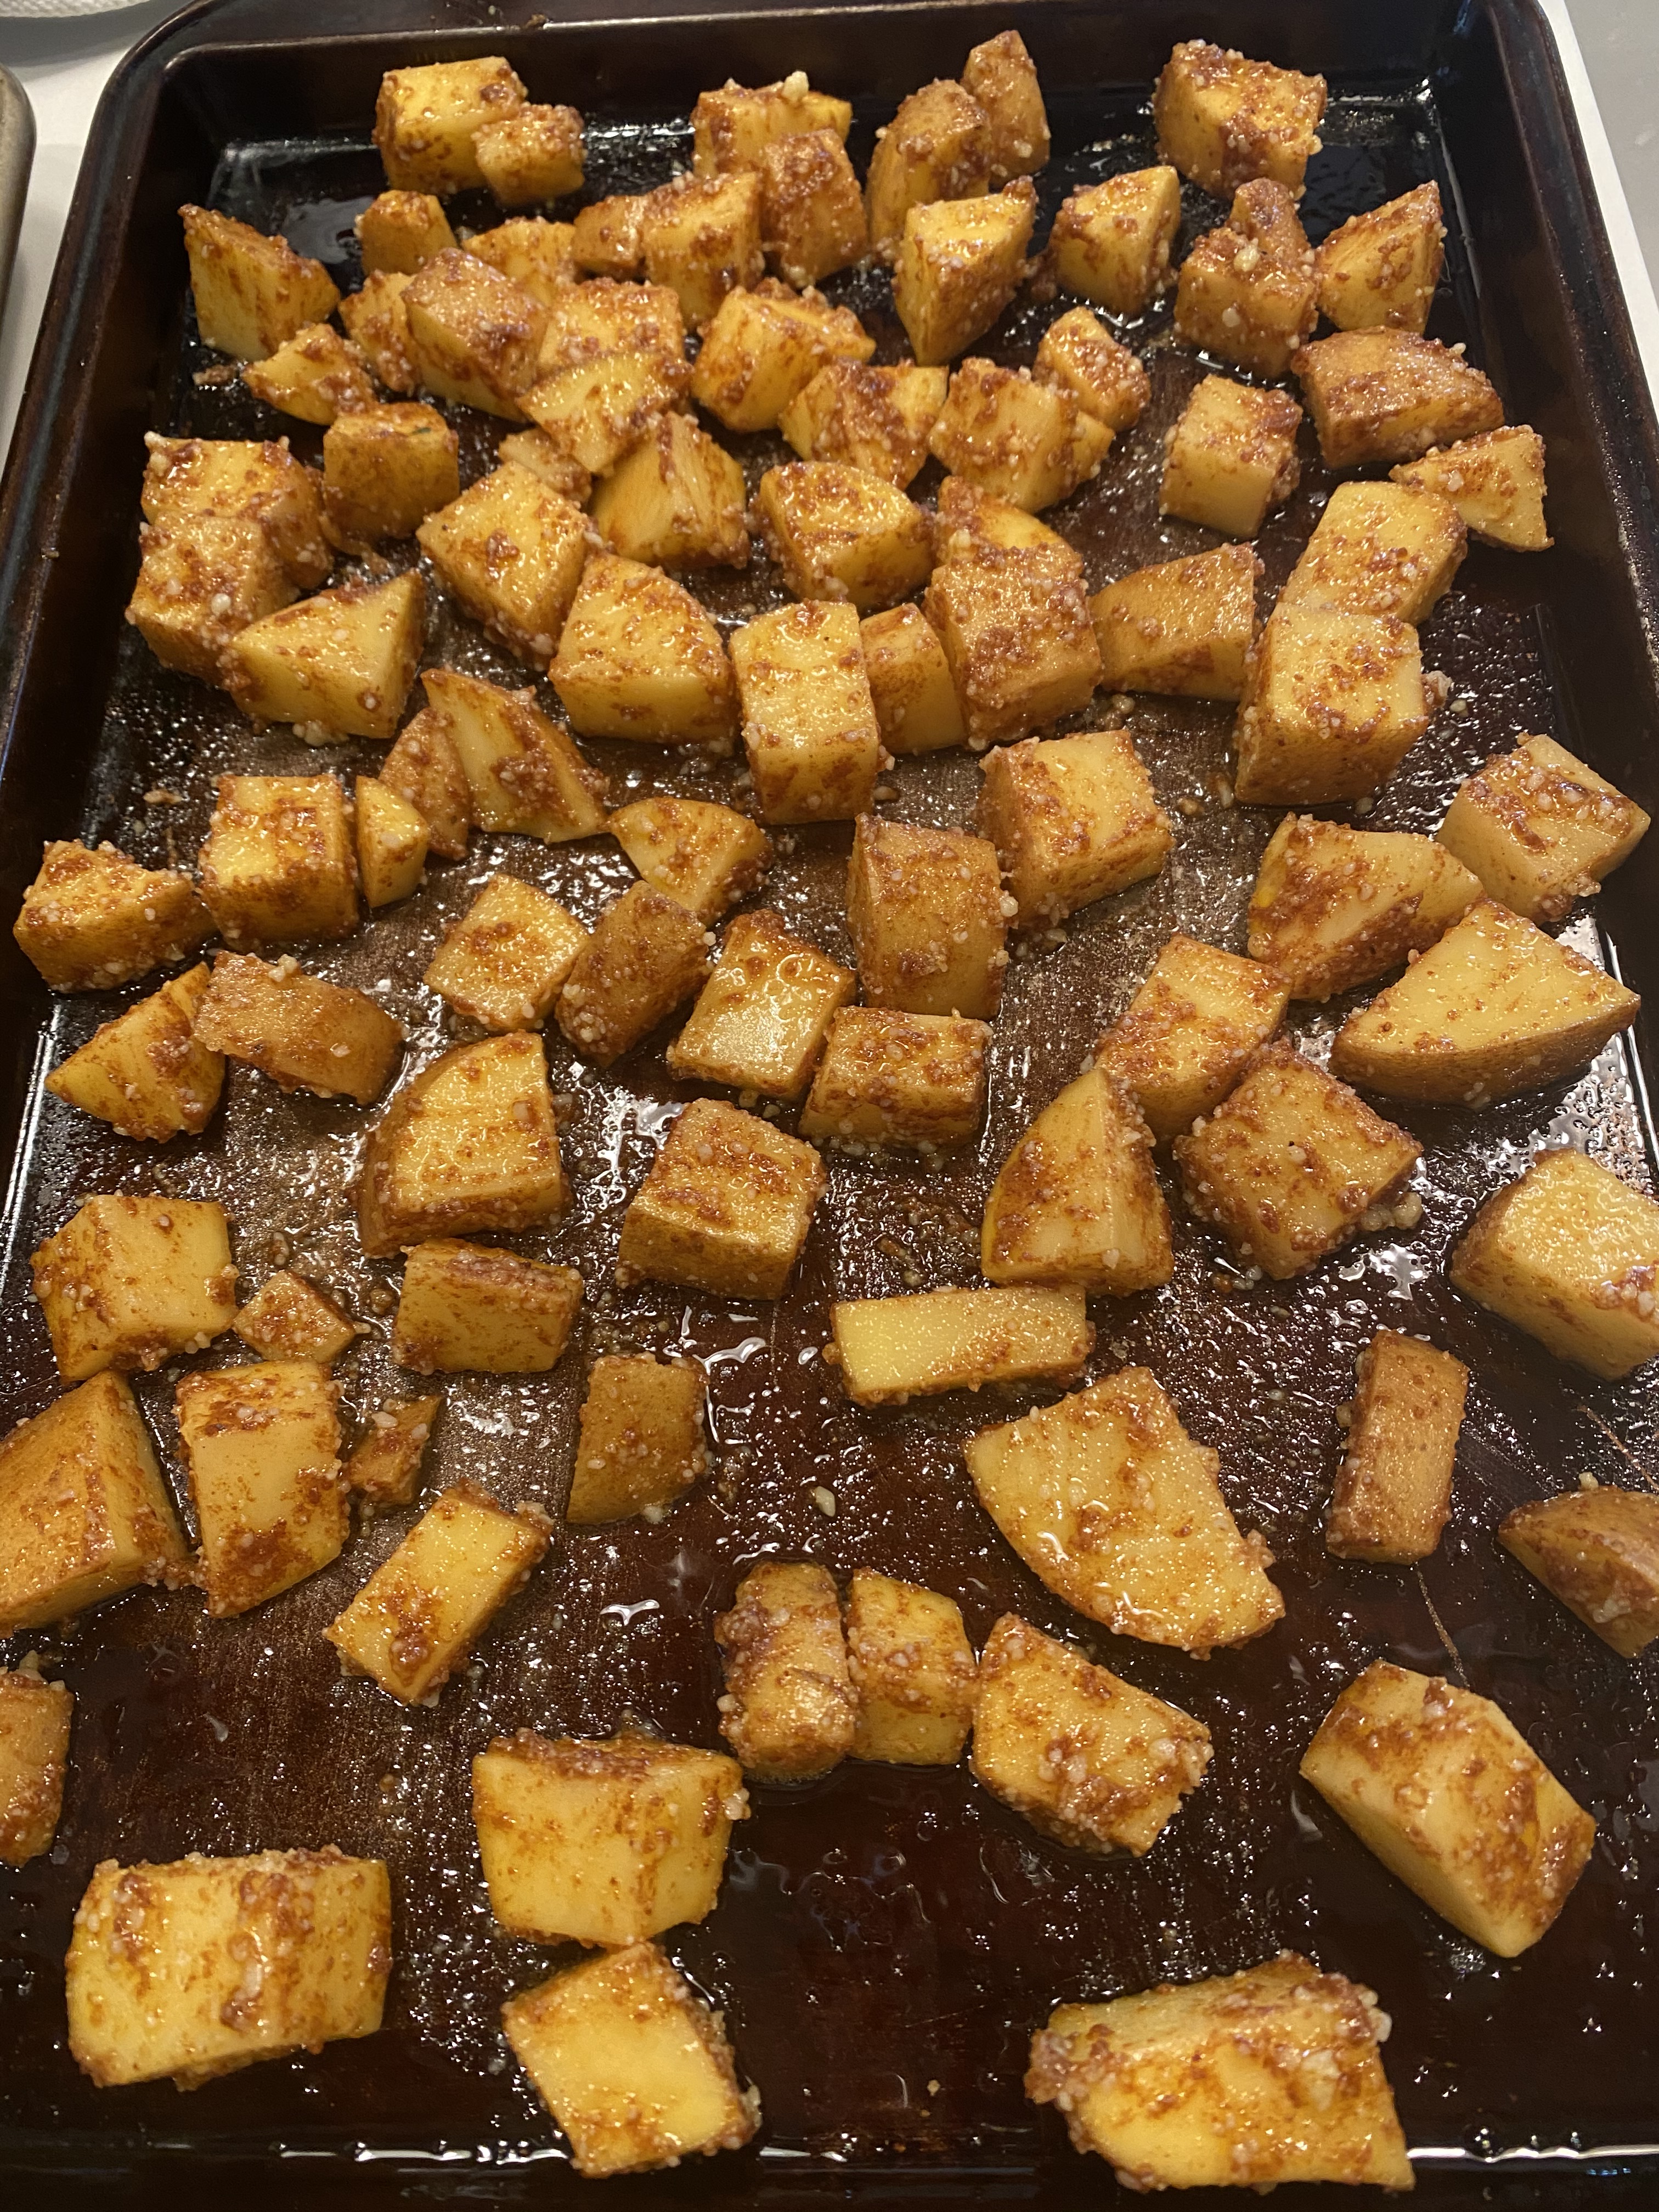

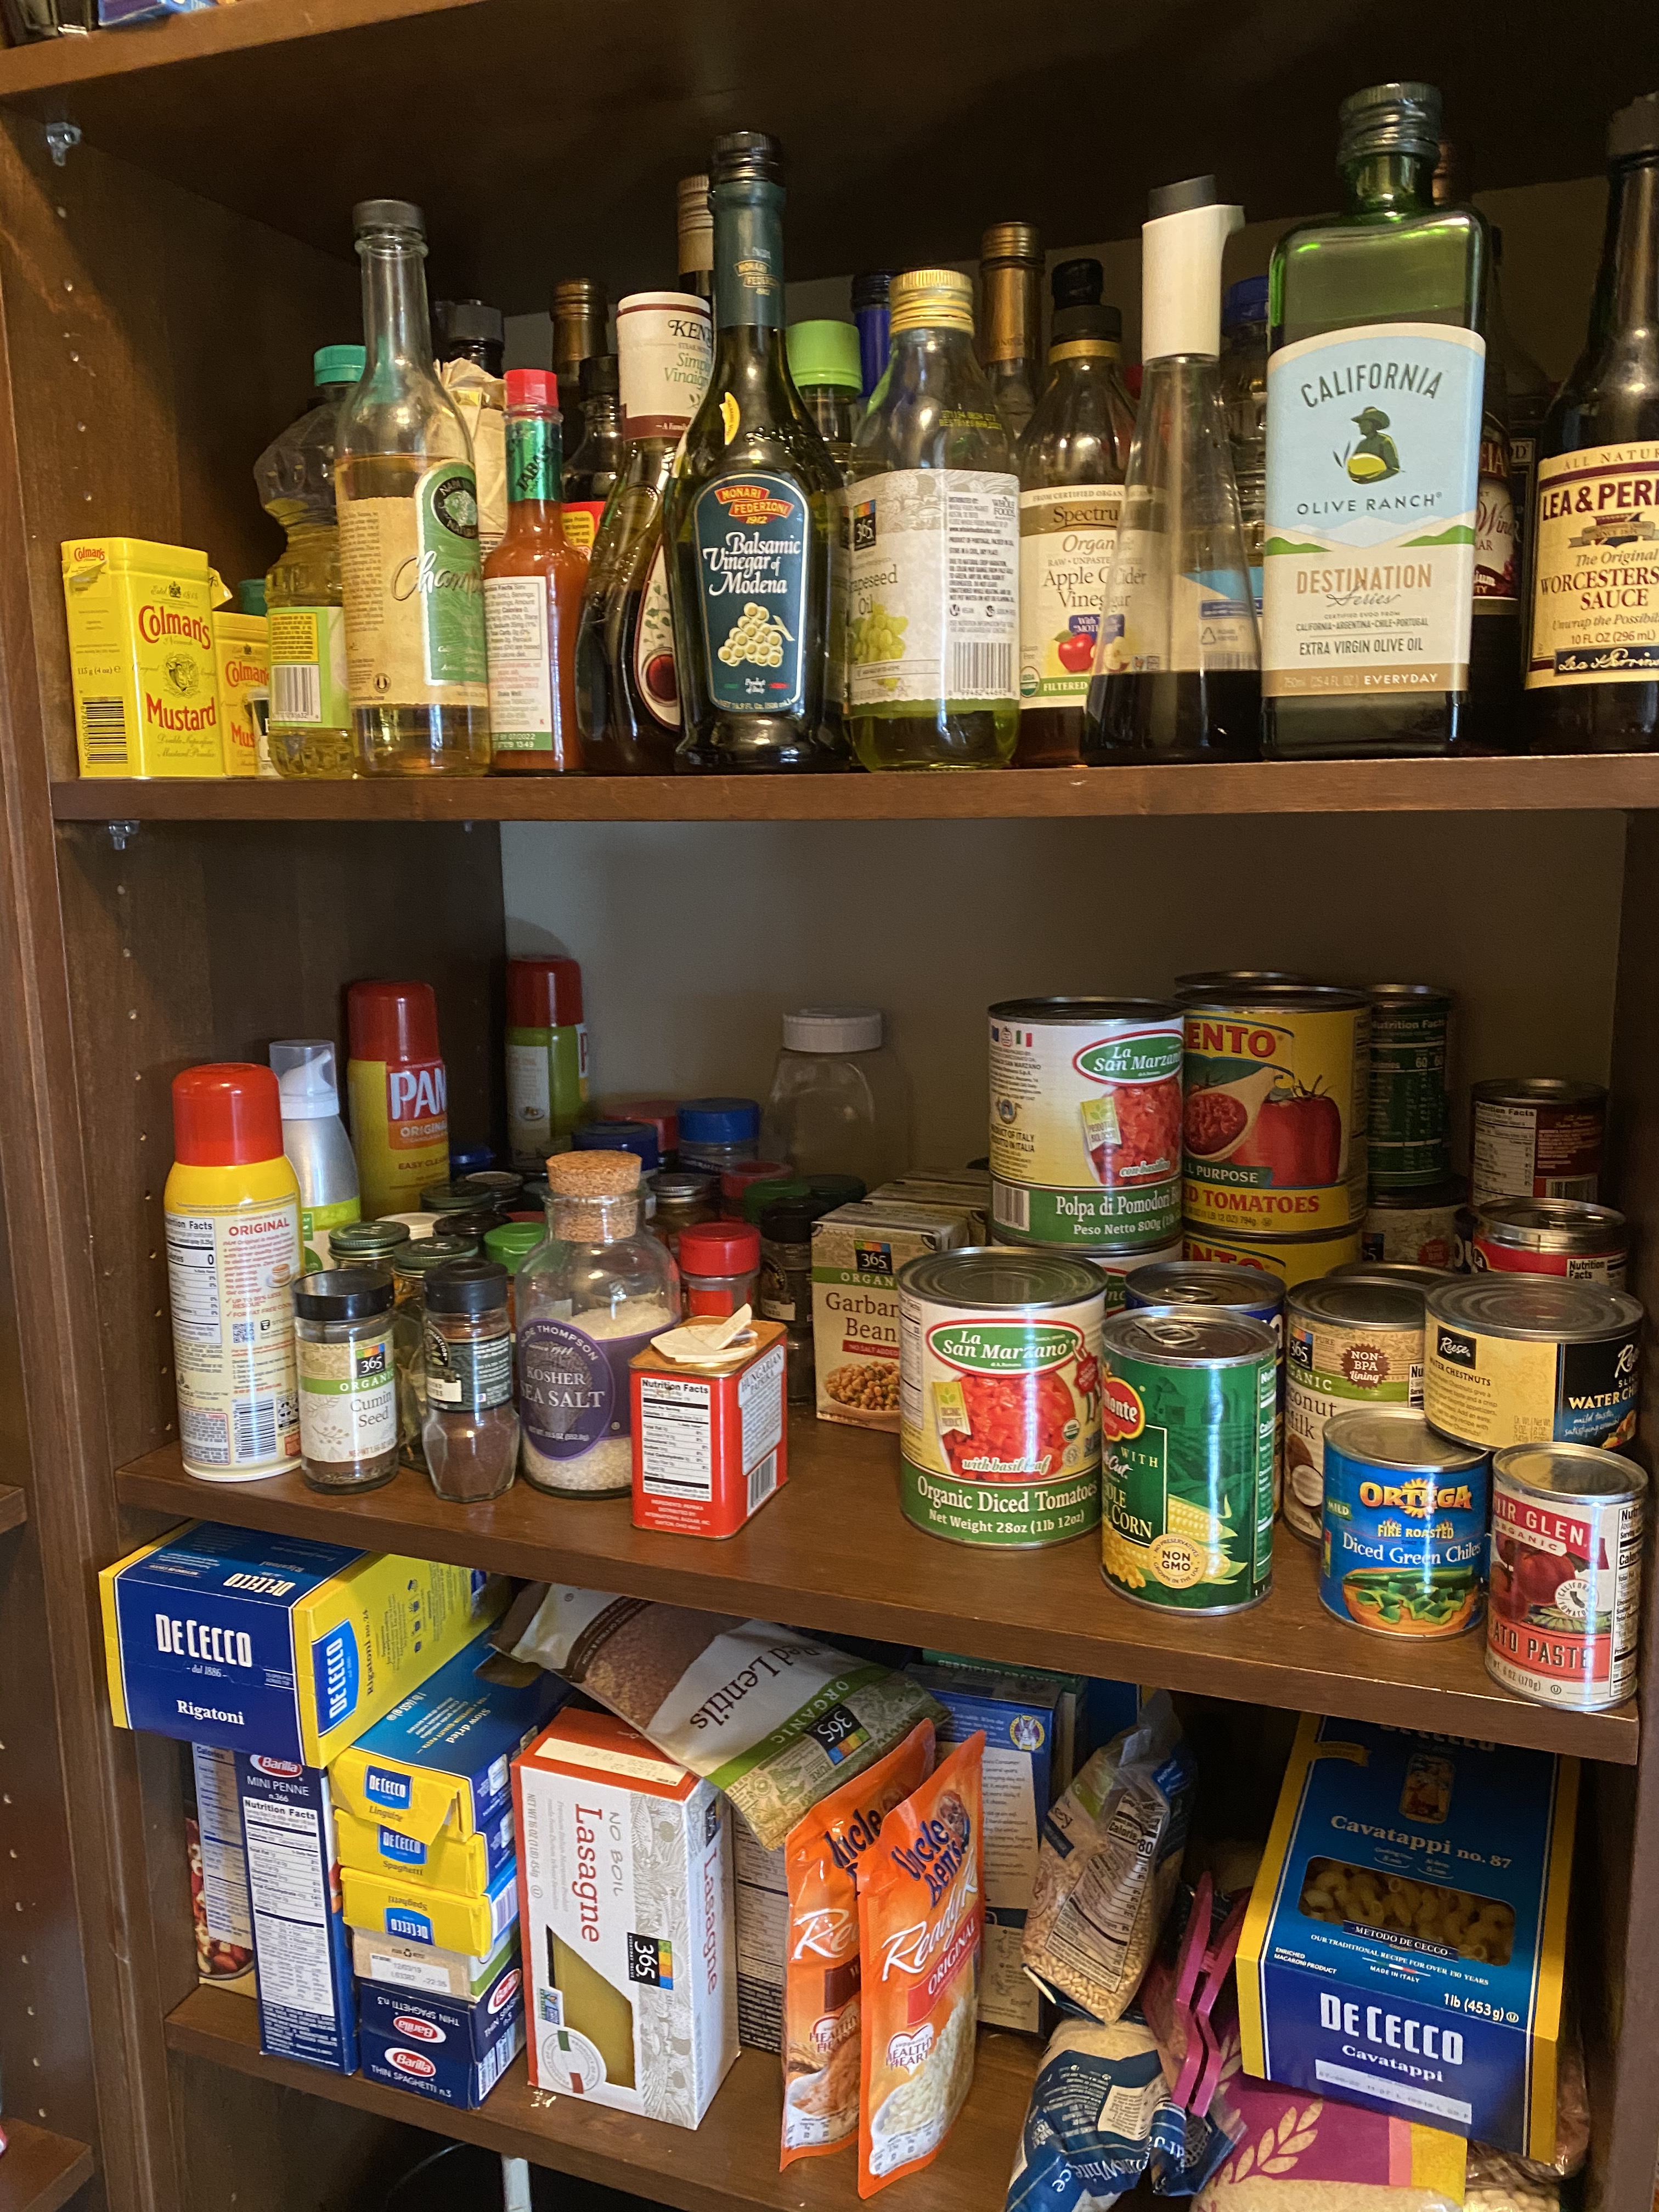


 These are strange times we’re living in my friends and followers and a home-cooked meal is something we can be in control of and feel so very good about serving to our family. It’s good to be in control of the ingredients we use and know what you’re eating and who handled it. Stock up the pantry and the freezer as best you can and start cooking. Stay healthy and be smart and safe.