
 I was having a dinner party and thought this would be a perfect addition to my menu. It contained fresh vegetables and a salad all in one! Perfect side dish served right along with dinner. Of course you can add a protein and make this the meal which would be ever so perfect. Perfection in a bowl. This is what I did and what veggies I used, feel free to use the vegetables you would love. These were the quantities that worked perfectly though. I won’t lie it took some prep for this and a good idea would be to chop a lot of the veggies ahead of time and have them ready. Avocado and lettuce must be added right before serving though. Dressing and veggies can be made ahead of time .
*I served as a side dish and it was generous for about 6 -8 servings , if you’re using for a main probably 4-6.
*Original Recipe from O Magazine–I made a few changes
Ingredients:
Dressing:
2 Tbsp. red wine vinegar
1 Tbsp. freshly squeezed lemon juice
1 Tbsp. Dijon Mustard
1 garlic clove–minced
1/2 tsp. kosher salt plus a little more to taste at the end
1/4 tsp. freshly ground black pepper plus more to taste at the end
1/4 cup good extra-virgin olive oil
Salad:
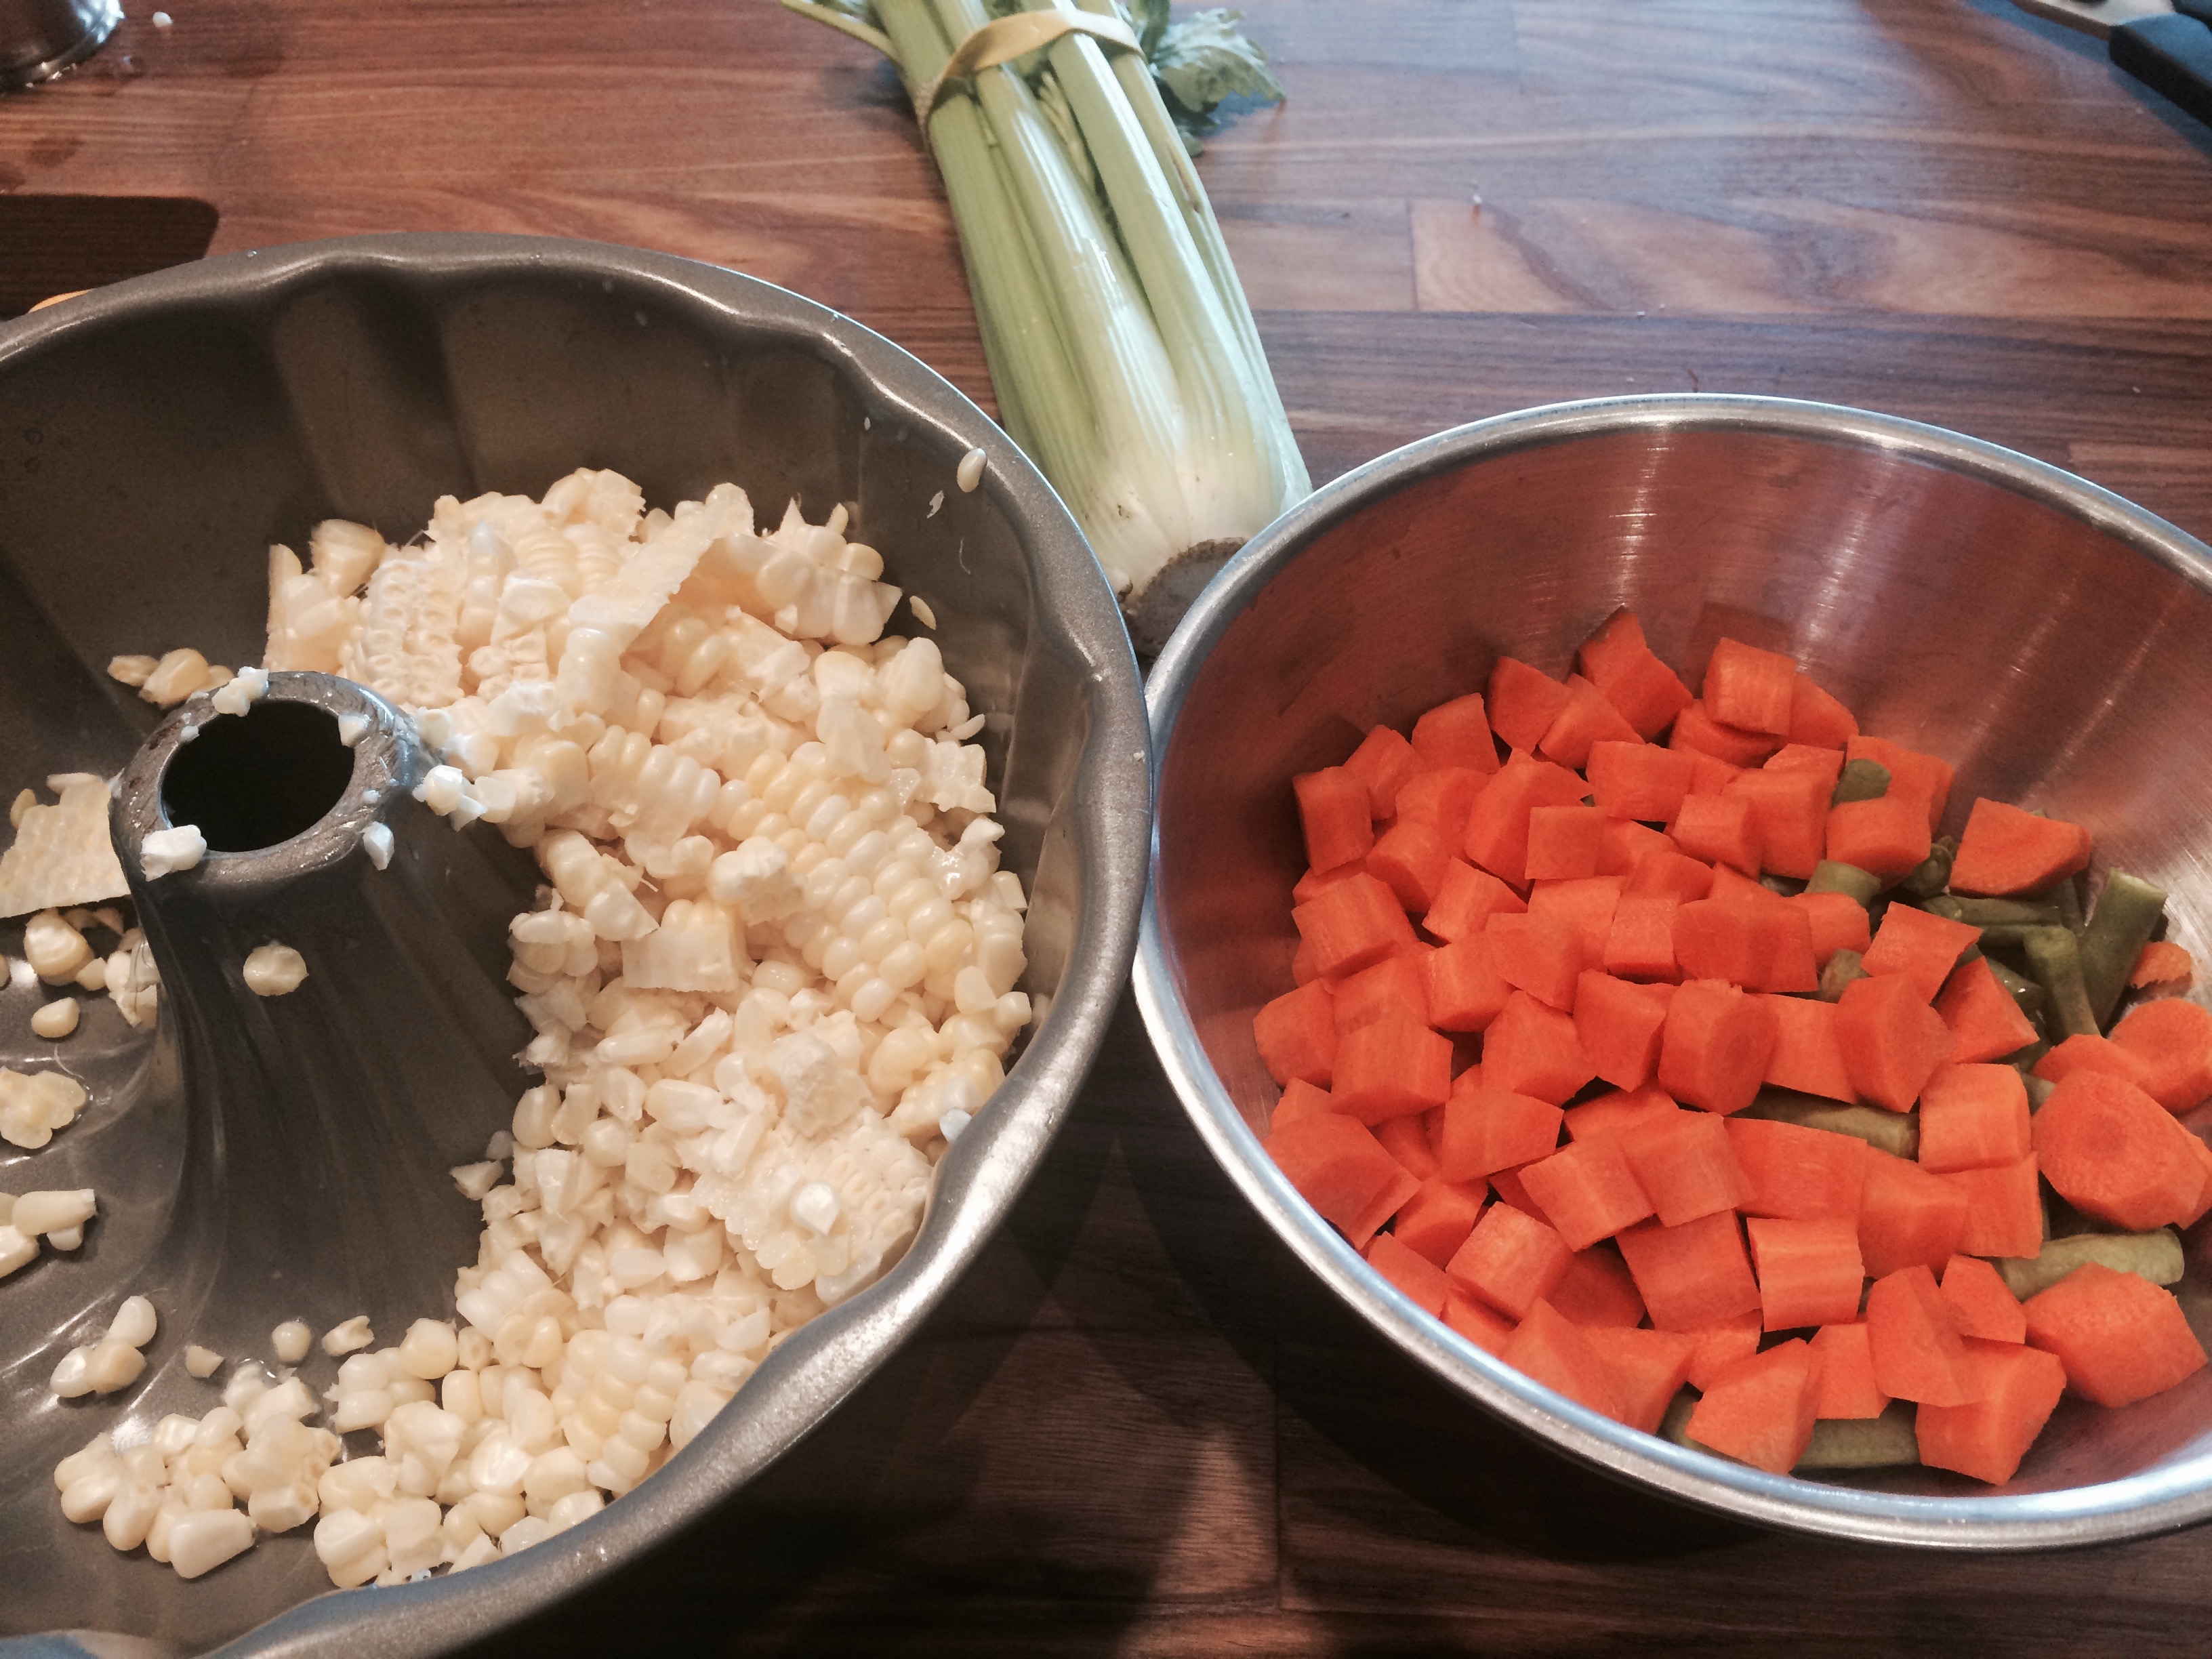
1/2 lb. green beans, trimmed and cut into small pieces — about 1/2″
2 medium carrots, cut into small pieces
3 ears of corn, cut kernels off cobs
1/2 pint small cherry or grape tomatoes cut in 1/2
2 ribs celery, cut into small pieces , about 1/2″ pieces
1 red bell pepper, cored and cut into small pieces , also about 1/2″ size
1/3 cup finely chopped red onion
1 head romaine , chopped
1 large ripe avocado, peeled, pitted and diced
1/4 cup finely grated Parmesan Cheese
Directions:
Bring a large pot of salted water to a boil.
Meanwhile in a large bowl, whisk together vinegar, lemon juice, mustard, 1/2 tsp. kosher salt, garlic, and 1/4 tsp. black pepper. Lastly, whisk in the oil slowly. Set aside.
When water comes to a boil, add cut up green beans and carrots to boiling water and cook until tender, about 5-6 minutes. Add corn and cook a couple of minutes more. Drain in a colander and rinse under cold water, let veggies completely cool down. I let them sit till they were completely cool. Give vinaigrette a quick whisk, and add veggies to the bowl. Add in the tomatoes, celery , bell pepper and onion and toss well. Set aside and let marinate for at least 1/2 hour. I probably let it sit in marinade for about an hour.
Right before serving, add chopped romaine, avocado and parmesan . Taste for salt and pepper and add as needed. Toss gently to combine.
Serve immediately.


 We
We


