


 I must say that the first time I saw this recipe for one-pot pasta I was hesitant. I read up on it and found out that the actual recipe for this one-pot pasta hailed from Puglia. So for all of those “haters” out there I am just saying that I did do my homework here and found out that yes they do this in Italy and original recipe was from there. OK that’s enough of that. It doesn’t really matter where it’s from now does it? I have made 2 versions of this type of pasta and all I can say is yum. I will also add that you need to be a little bit more attentive during the cooking but the result was fabulous. We loved the creaminess and the pasta came out perfectly al dente. You just don’t want to overcook it, taste for doneness and sit down and eat. It was delicious the next day cold out of fridge as well. Give this one a try you won’t be sorry. Joel was very happy with the clean-up detail as well because it was one pot! Whole thing took under an hour from start to finish. One pan, people!!! dry noodles, sauce ingredients, water, wine a few good things and you’ve got a delicious impressive dinner.
*I used my large Le Creuset pot. A large skillet would work fine here as well.
Ingredients:
2 Tablespoons extra-virgin olive oil
5 cloves of garlic, chopped
app. 1 – 1 1/2 lbs. of chicken breast, cut into small chunks. Just buy a regular package of chicken breasts and cut them up as I did ( see photos)
2 large roasted red peppers, sliced into thin slices ( straight out of the jar) see photos
6 cherry peppers, chopped and de-seeded , you can use hot if you like it spicy or just mild cherry peppers which is what I used (straight out of the jar) see photos
1 cup water, you will probably add about 1/2 cup more but you should start out with a cup
1 lb. rigatoni, I like the way the rigatoni works of course penne or another type of macaroni will work just fine
1 cup white wine, use what you have open as long as it’s not a sweet wine
1 28 oz. can of crushed tomatoes
1 cup Parmesan Cheese grated, more for serving
1/2 stick unsalted butter
1/4 cup heavy cream
2 teaspoons fresh basil torn, you’ll want to add a little more at the end of cooking as well.
1/2 teaspoon kosher salt or sea salt
Crushed red pepper flakes, optional. If you like the heat add a little bit during cooking and you can always add more at end. 1/4 teaspoon to start is good.
Directions:
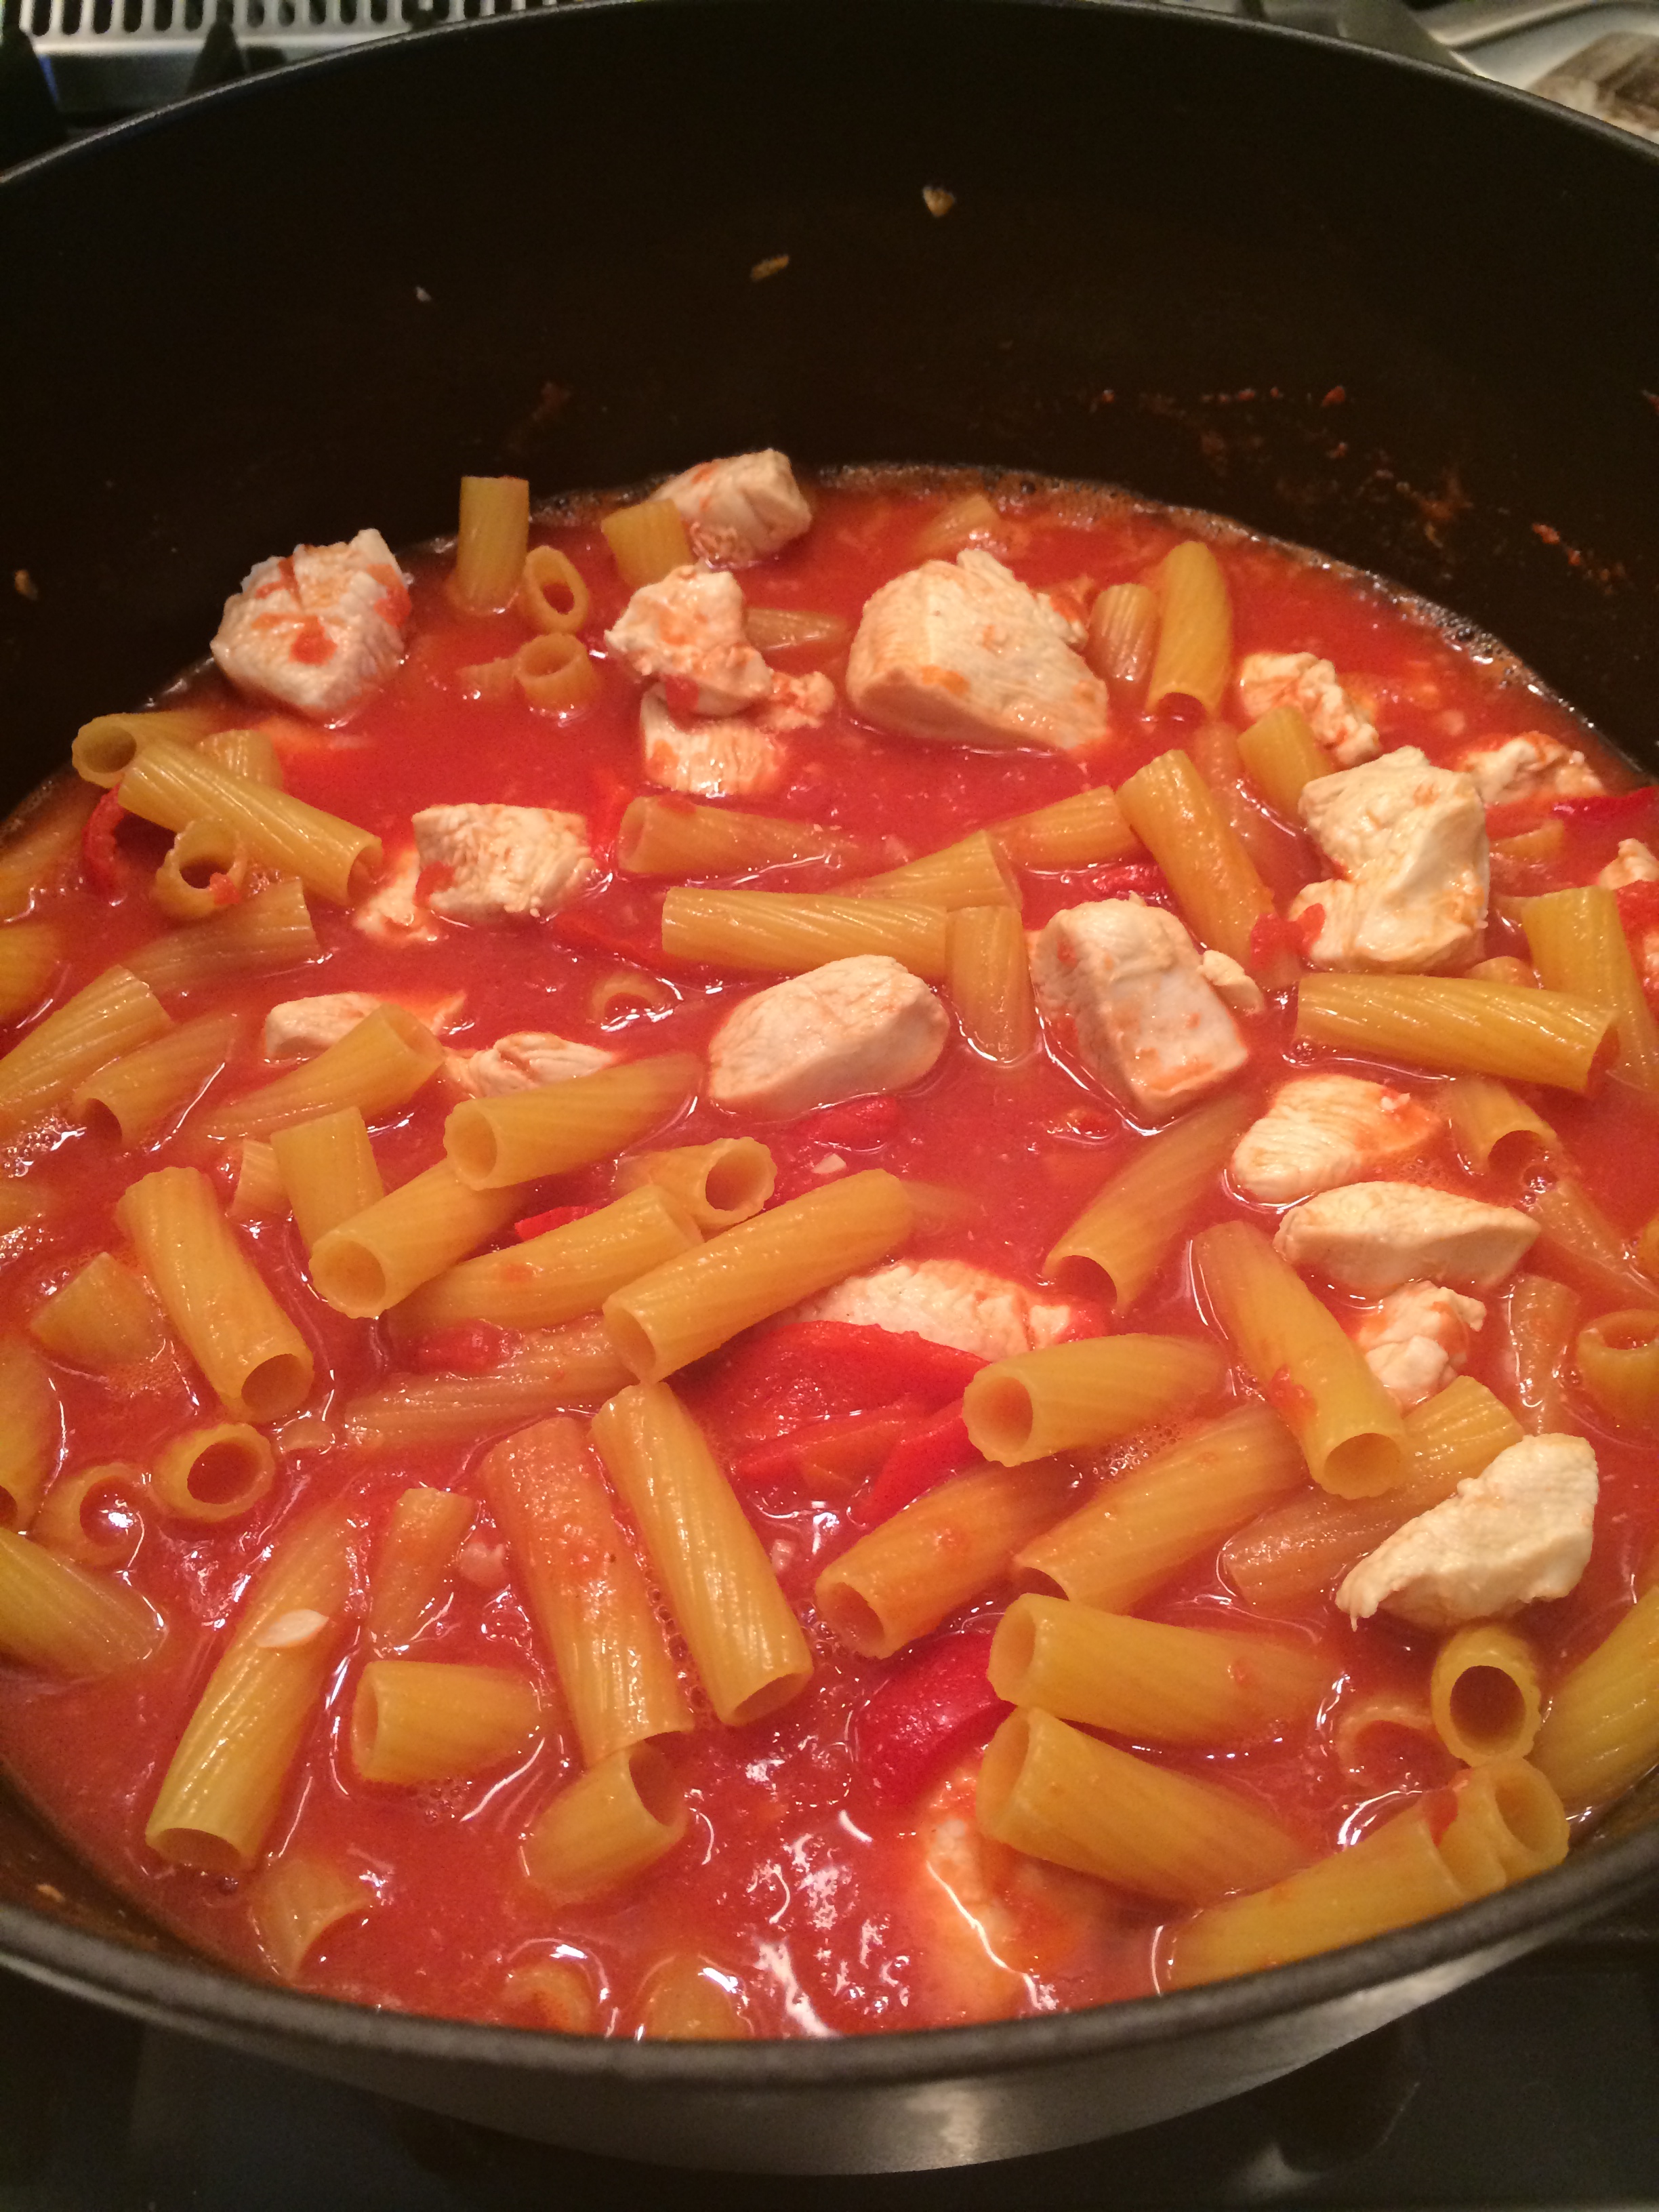
In a large skillet type of pot, heat the olive oil over medium heat and add in the garlic and chicken . Saute the chicken until it is just browned on the outside but not cooked through.
Stir in the roasted red peppers and cherry peppers, and sauté for another minute or so. Add in the crushed tomatoes and wine. Add in the water and the raw pasta and bring to a low boil. If you need more water you’ll know at this point , add a bit more water (a little at a time) Continue to cook, stirring very often, until the pasta has cooked to al dente , it will take anywhere from 15- 20 minutes. Taste pasta and judge how much longer it needs.
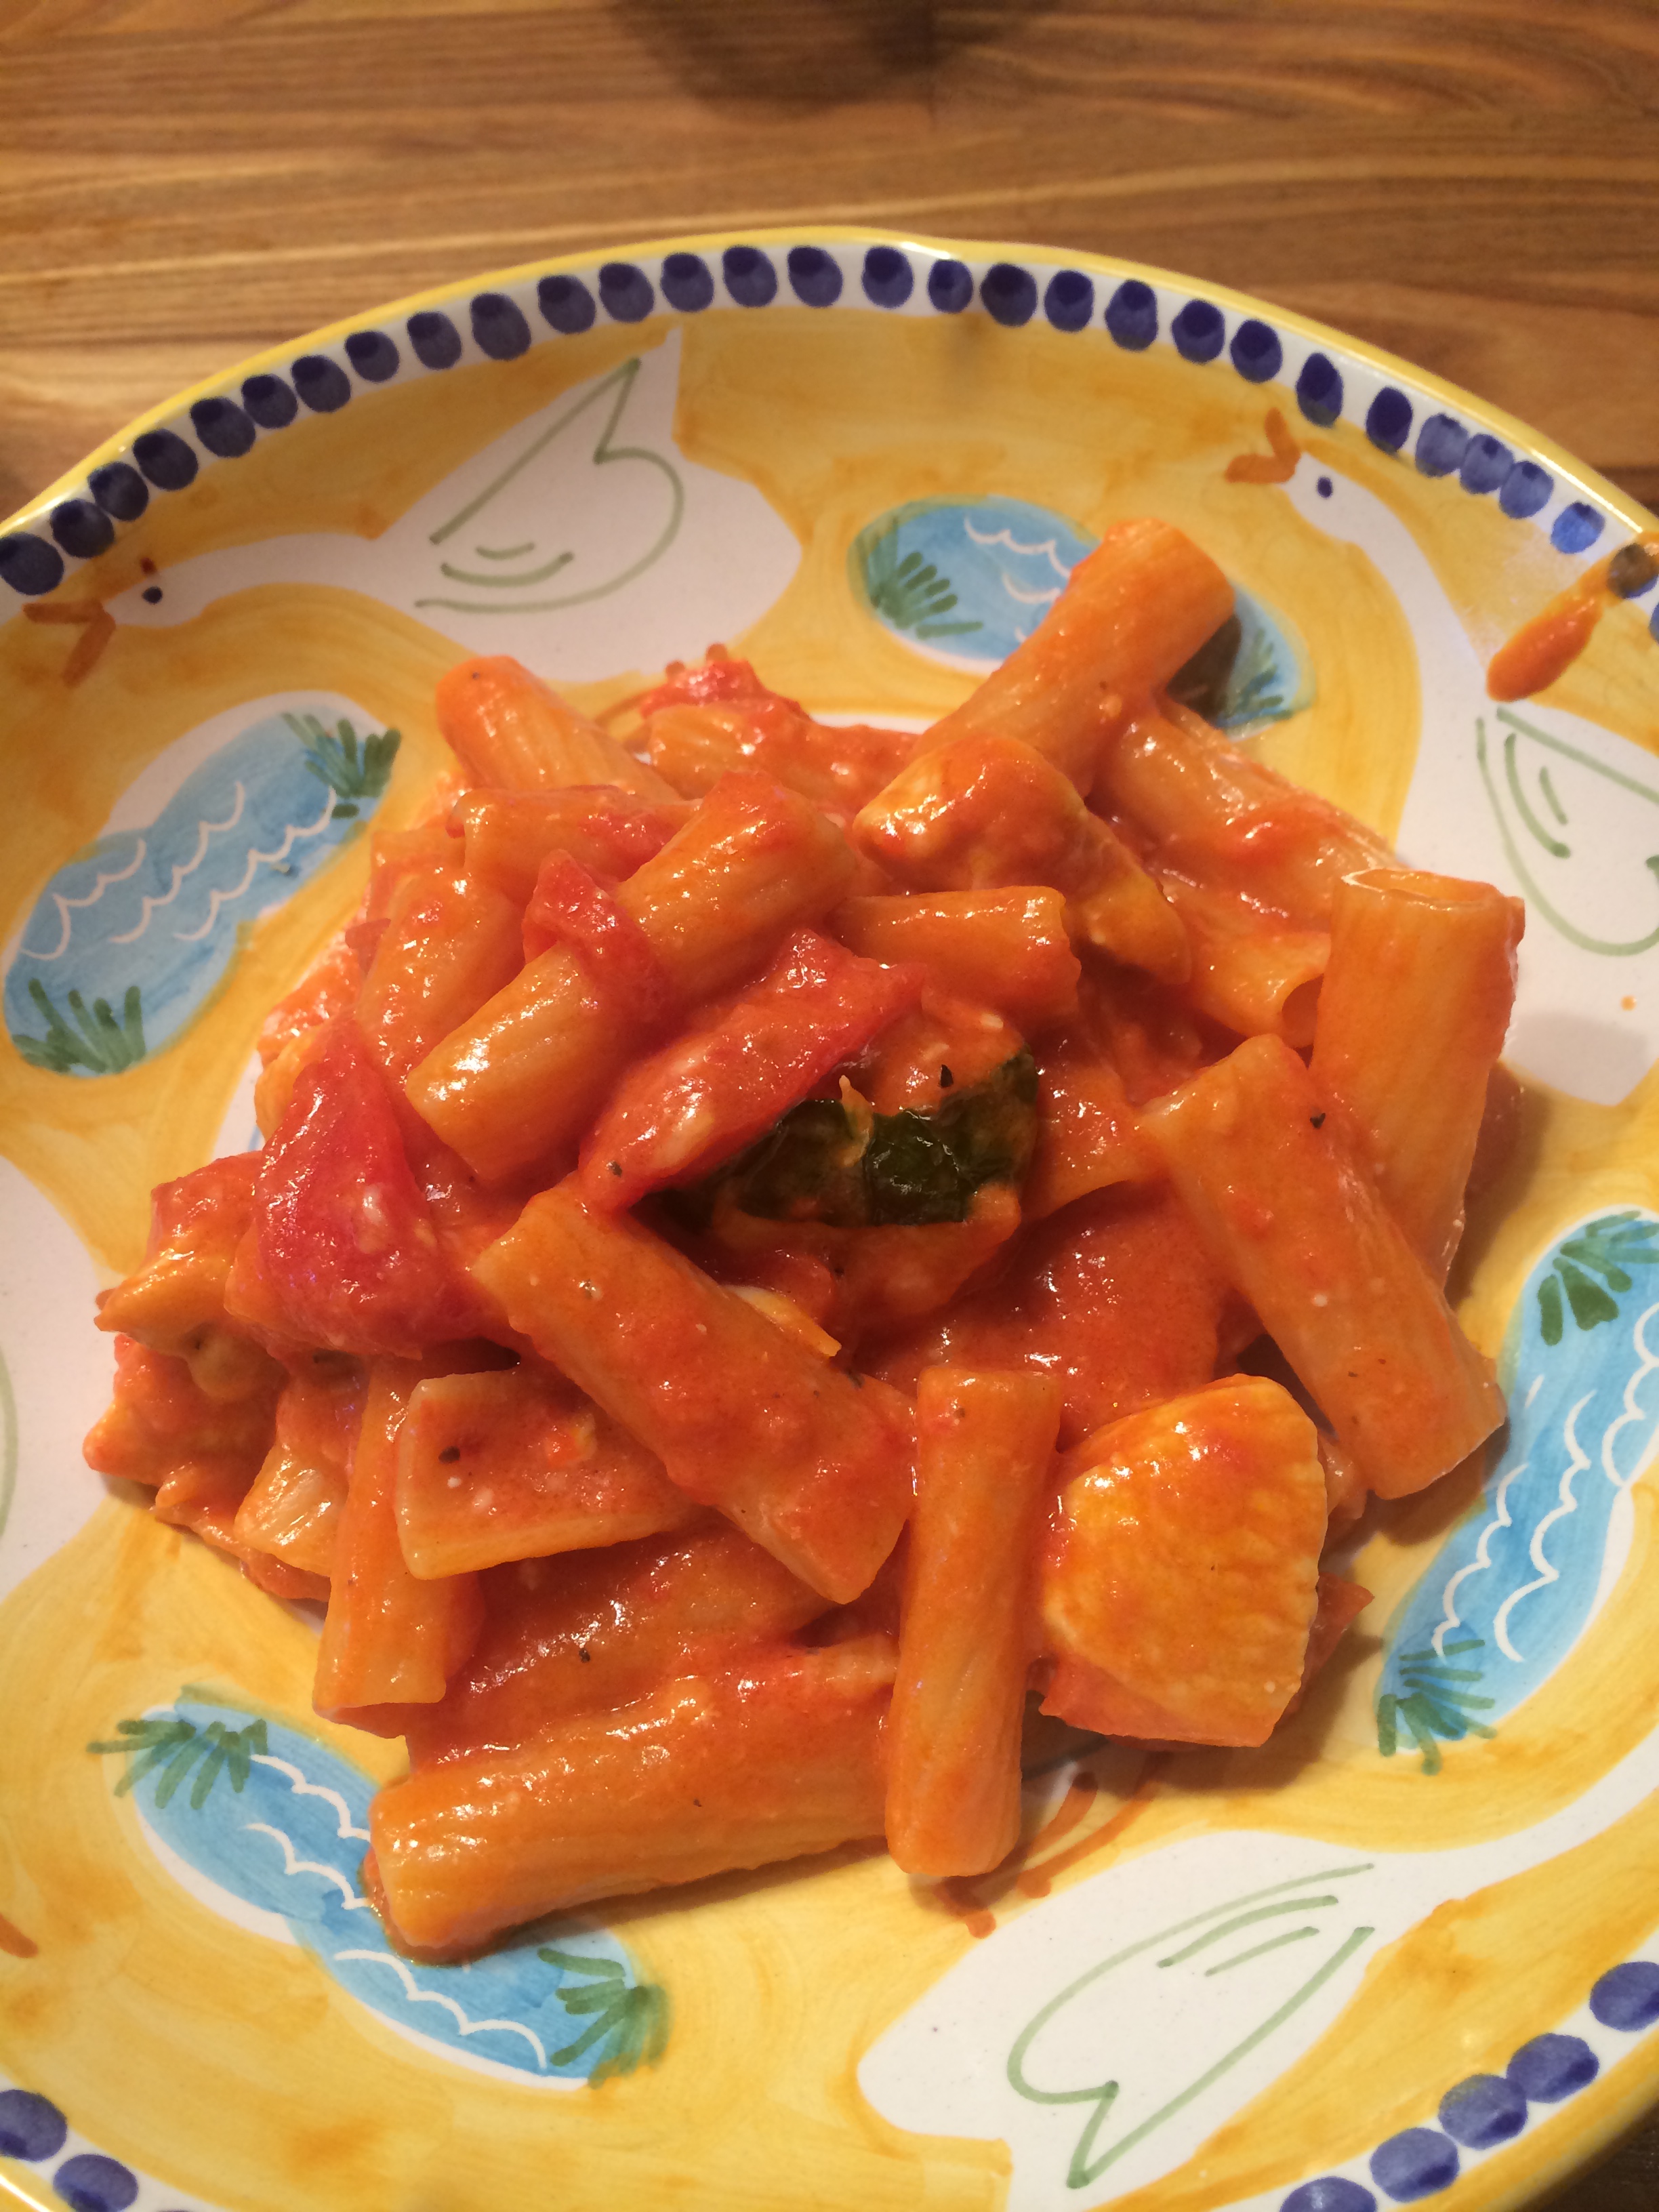
When pasta is done to your liking, reduce heat to low and add in the butter, basil and salt. When the butter is completely melted into the past, add in the cream and the cheese. Let simmer on low for another ten minutes or so, stirring occasionally. Top with additional cheese, basil and red pepper flakes if you like.
Serve warm.