Monthly Archives: July 2014

Lemon Garlic Chicken with Green Beans and Potatoes

photo 5 (59)photo 1 (3)photo 3 (2)photo 1 (2)

photo 2 (2)
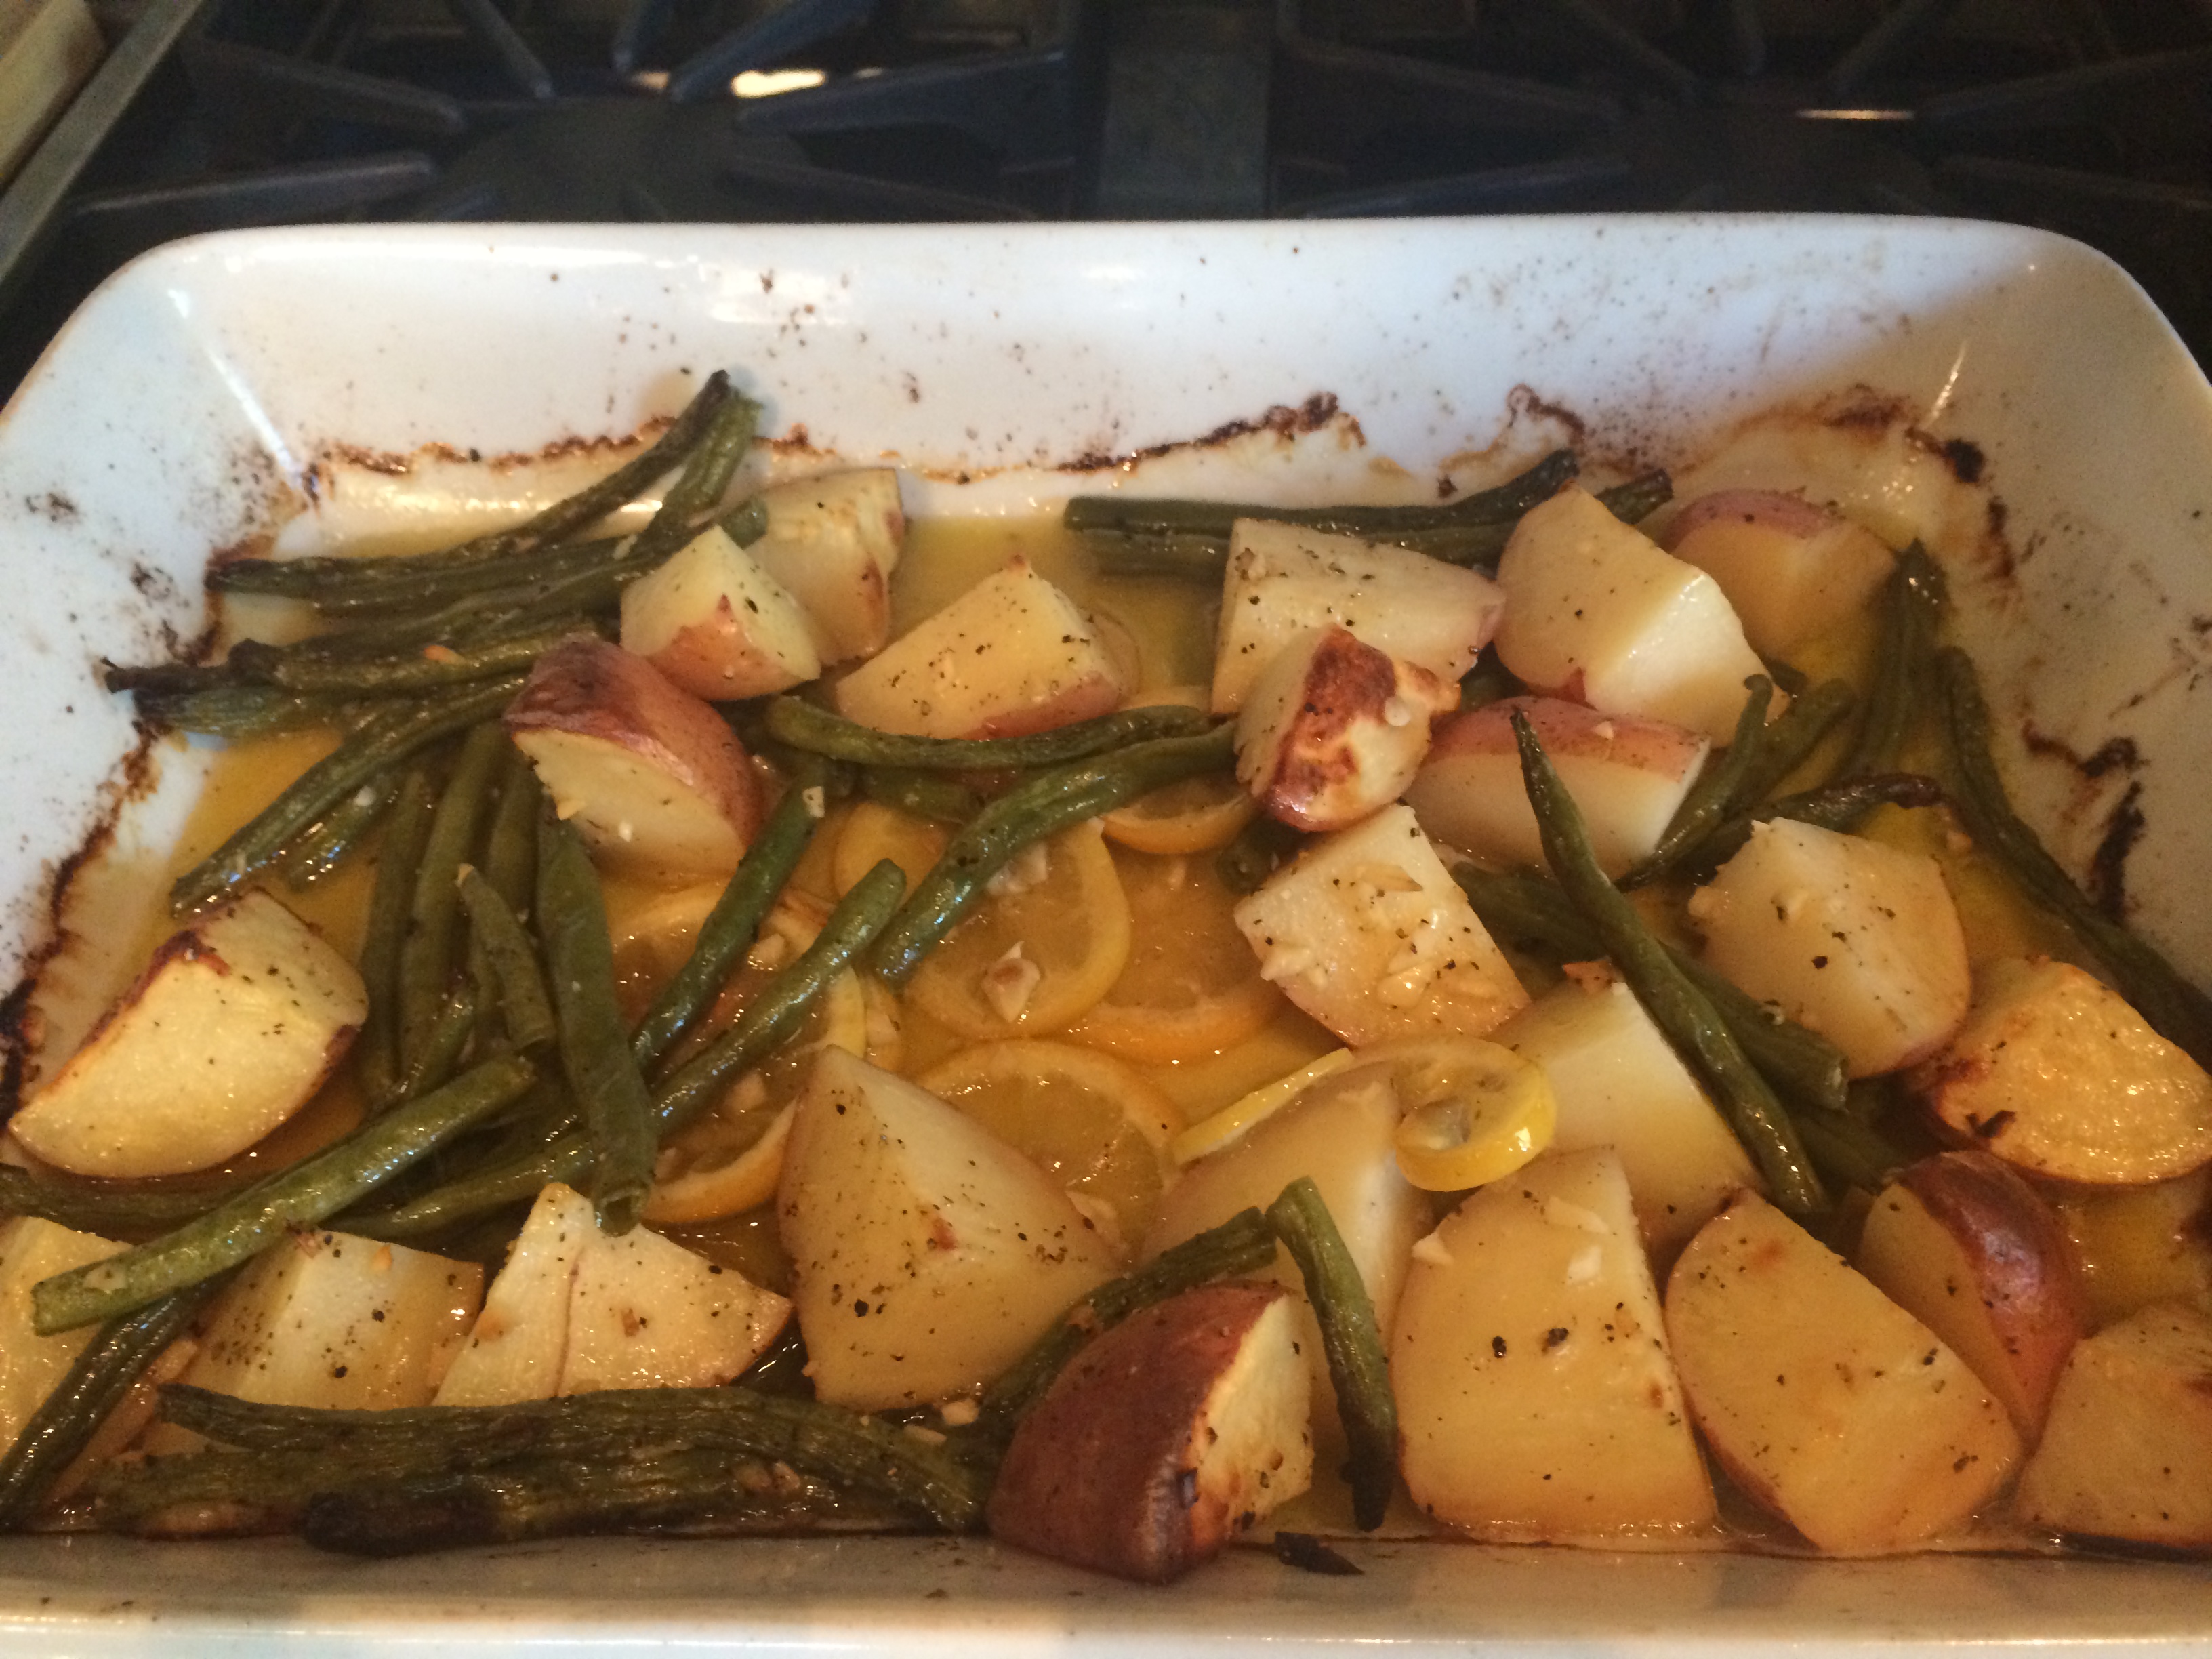
I love one pot meals. I think they have become my most favorite kind of meal to make. This one is so delicious and perfect. Chicken was cooked perfectly and the lemons caramelized in the pan adding a delicious flavor to the chicken and potatoes and beans. We thoroughly enjoyed this and it is a perfect recipe for all year round. I made it with 2 chicken breasts for the 2 of us, this recipe should serve 4 beautifully according to directions with 4 breasts. You will need a large baking dish or you can make in a cast-iron skillet. The prep is pretty quick and the shopping is easy. Nothing exotic here just good old cooking with easy ingredients. Enjoy!

Ingredients:

Olive Oil– 6 Tablespoons, divided 1 and 5

2 lemons, 1 thinly sliced and 1 you will juice

4 garlic cloves, minced

1 teaspoon kosher salt

1/2 teaspoon freshly ground black pepper

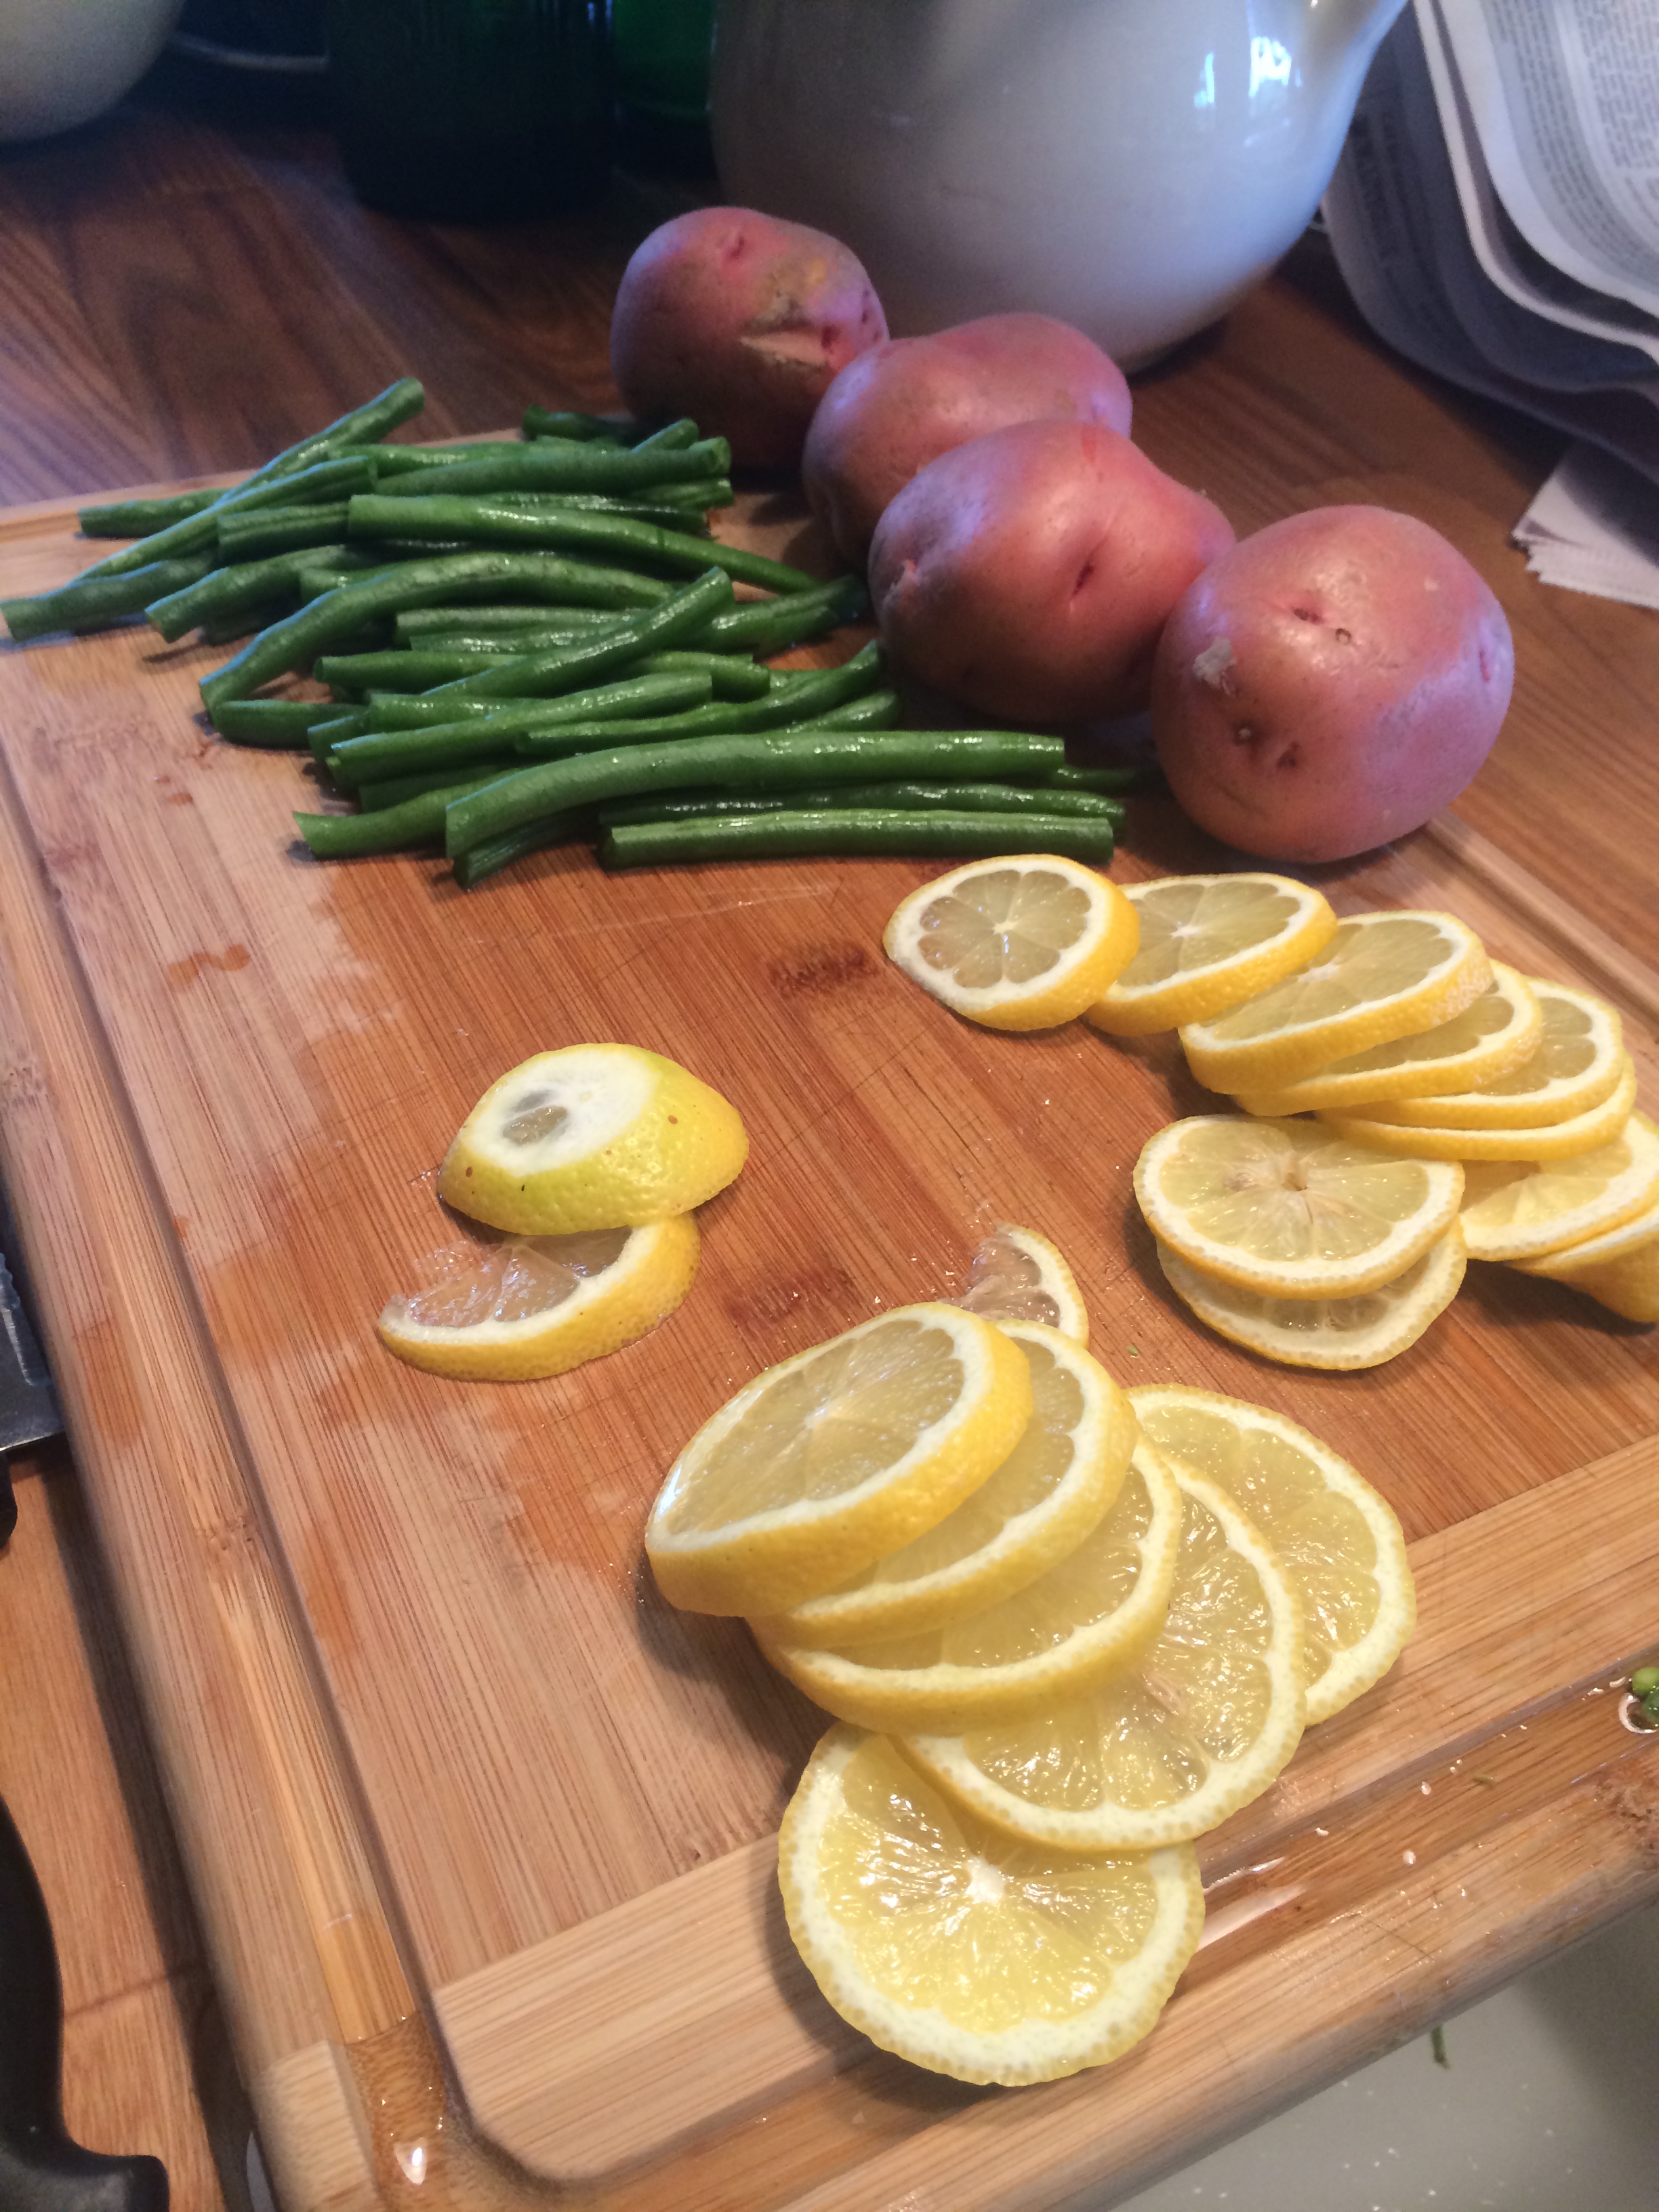
3/4 pound trimmed green beans

8 small red potatoes, quartered

4 chicken breast, bones in and skin on

Directions:

Preheat oven to 450 degrees. I always spray my baking dishes with cooking spray for easy clean-up. Then coat your baking dish with 1 tablespoon olive oil. Arrange the lemon slices in a single layer in the bottom of the dish.

In a large bowl, combine the remaining 5 tablespoons of olive oil, lemon juice, garlic, salt and pepper; add the green beans and toss to coat. Using a slotted spoon or tongs, remove the green beans and arrange them on top of the lemon slices. Add the potatoes to the same olive-oil mixture and toss to coat. Using tongs or slotted spoon again, arrange the potatoes along the inside edge of the dish or skillet on top of the green beans. Place the chicken in the same bowl and coat with the olive-oil mixture. Place the chicken , skin side up in the dish or skillet. Pour any of the remaining olive-oil mixture over the chicken.

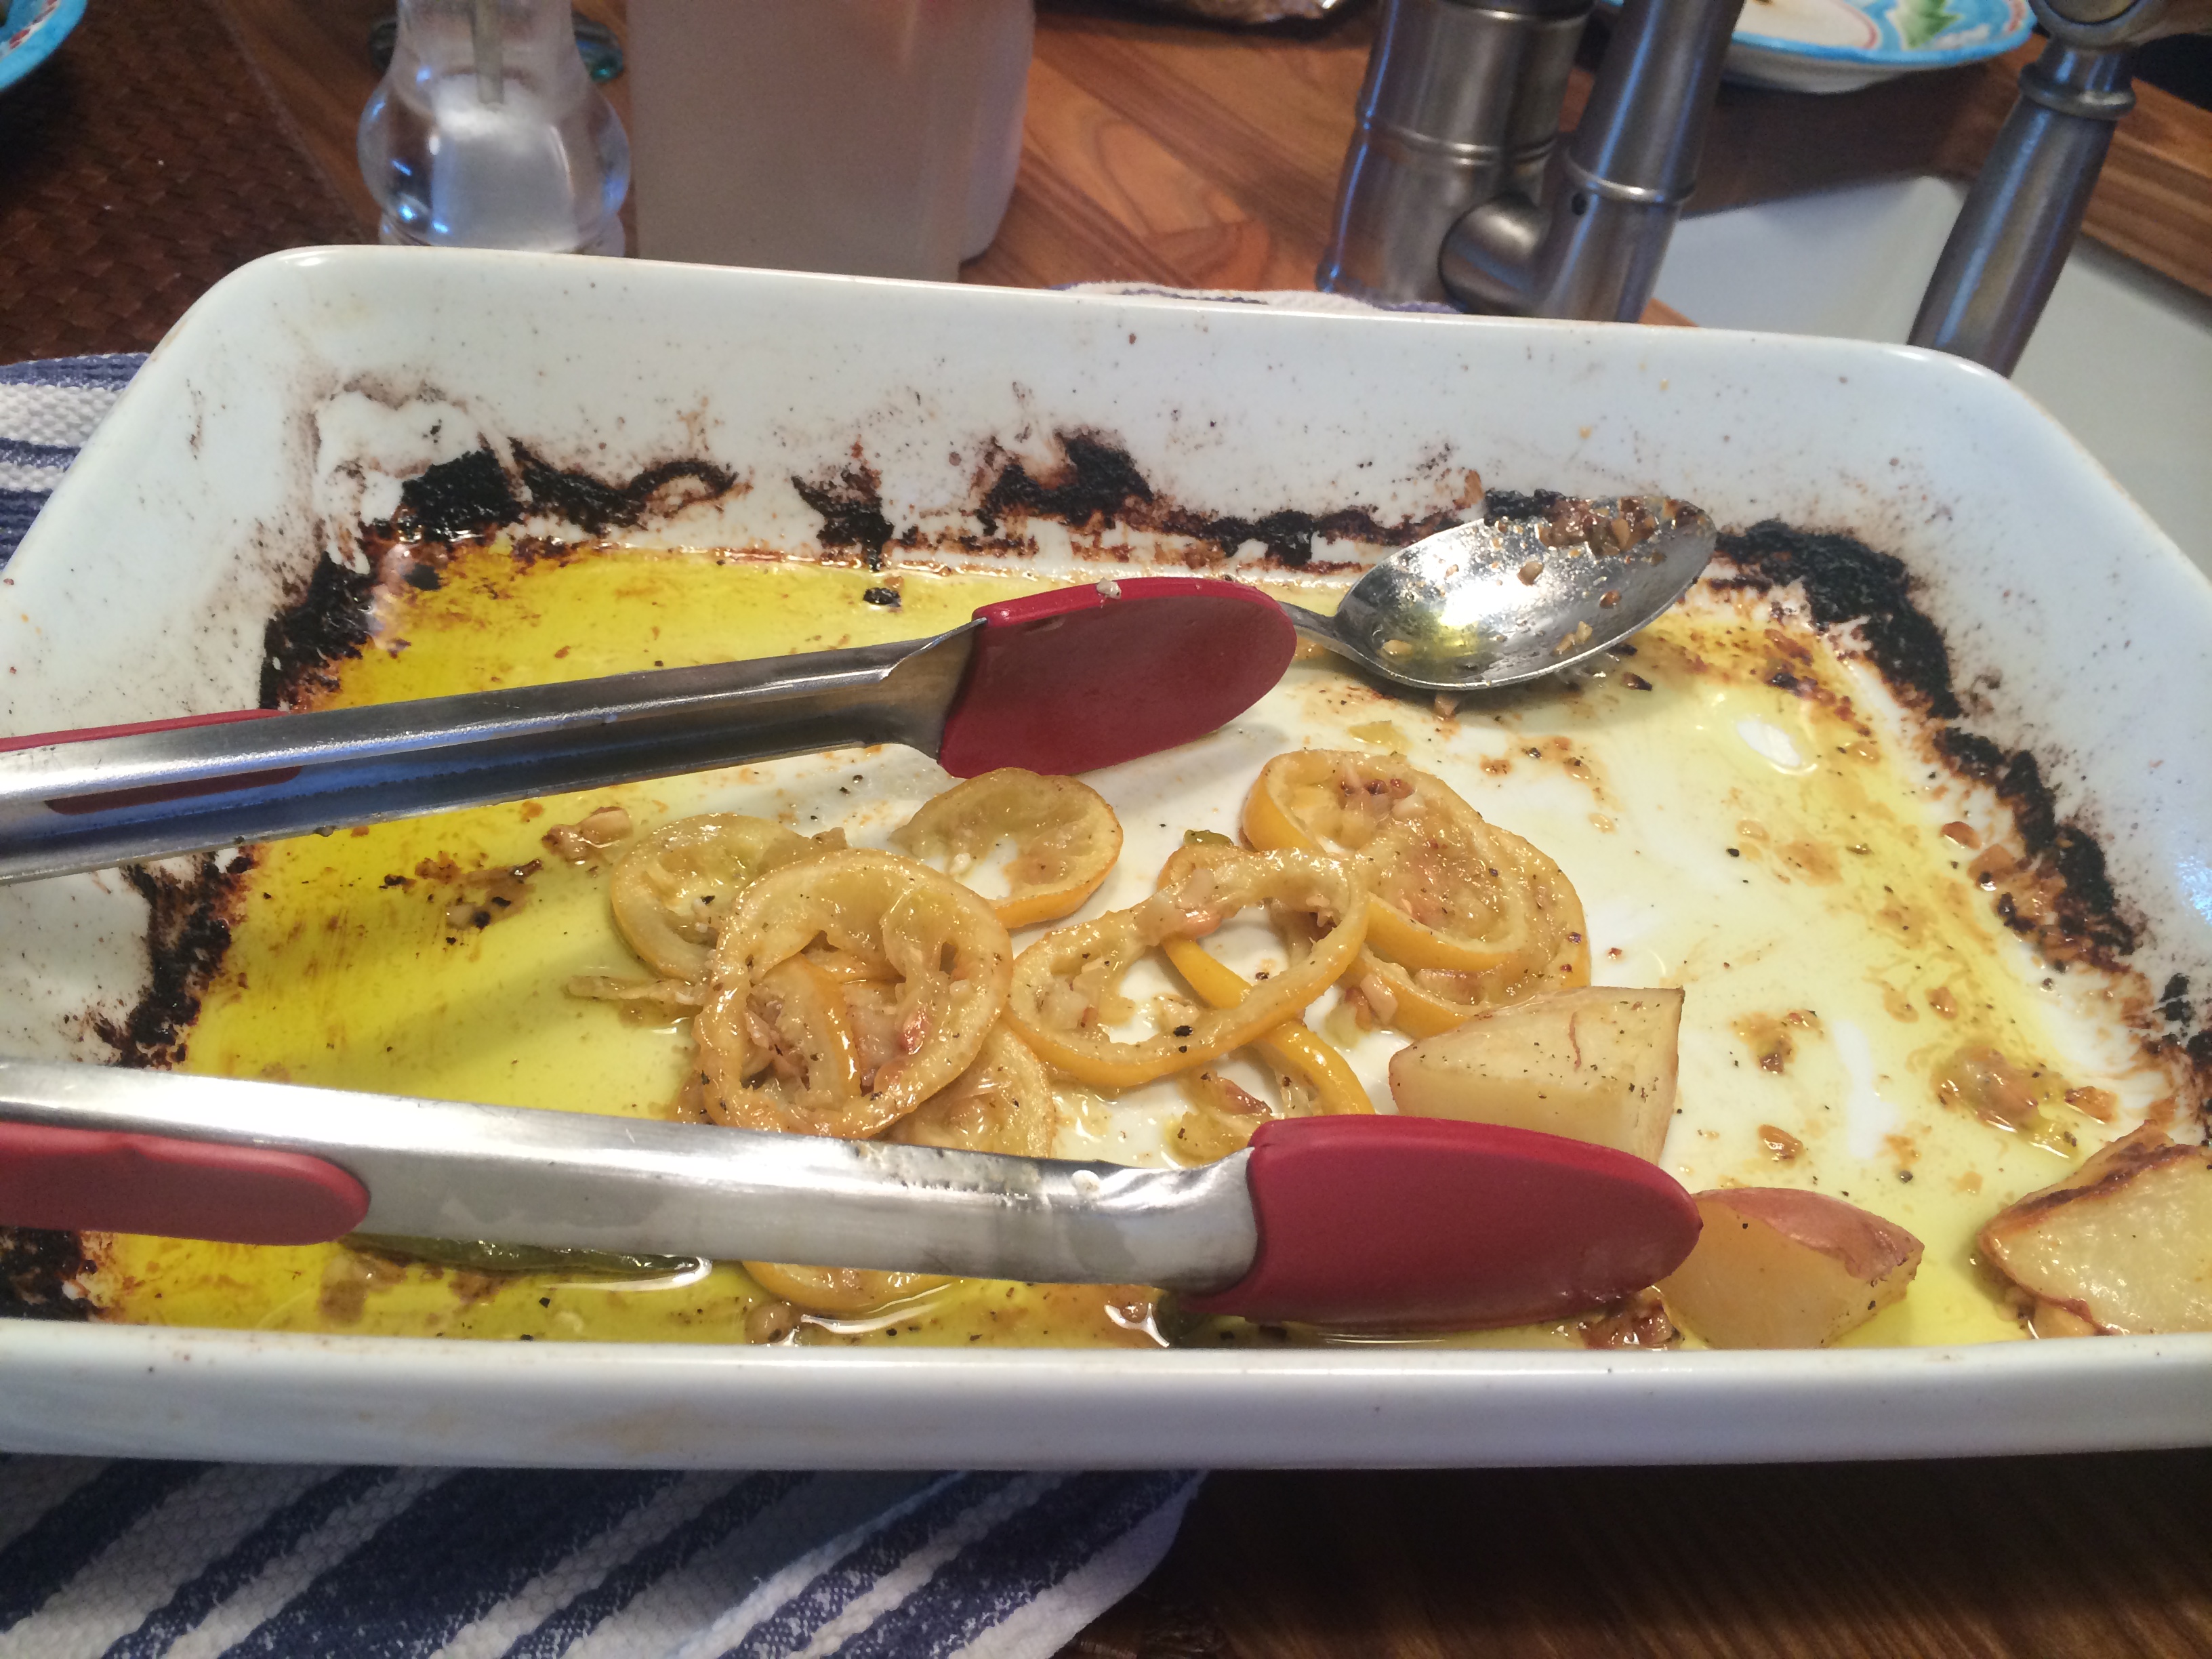
Roast for 50 minutes. Remove the chicken from the dish or the skillet. ( you may want to cut into chicken to make sure it’s ready, I roasted for about 55 minutes) then place the beans and potatoes back in oven for about 10 minutes until the potatoes are tender. I covered the chicken with aluminum for that 10 minutes.

When potatoes are ready, place a chicken breast on the plate and plate up the beans and potatoes. Serve Warm from the oven.


Chocolate Chip Cookies

My go to chocolate chip cookie recipe. Easy ingredients and perfectly crispy the way I like them. Old Fashioned Goodness. Real Comfort Food here. Enjoy!

cookingwithcandi's avatarCooking with Candi

Silpat

These are my go to chocolate chip cookies . I make these because I almost always have all of the ingredients on hand. I keep sticks of salted butter in the freezer just for these.  These are your basic chocolate chip cookie, I would say they are more crispy than soft. Unlike my other chocolate chip cookies  (cookies and milk which was published back on Feb. 28 ) which are very very crispy made with vegetable oil and super fine sugar.  These are an old fashioned chocolate chip cookie and if you don’t have dark brown sugar use light brown sugar . I think they’re meant to be made with dark brown sugar but sometimes I only have light brown sugar in the house so it will have to do. If you’re going out shopping for ingredients buy the dark brown sugar. Enjoy with coffee, tea or my favorite  a cold glass of…

View original post 255 more words

Zucchini Time Bread

Time to think about cooking and baking with all the fresh produce out there. Here’s a delicious bread made with fresh zucchini which is in abundance during the summer . Enjoy!

cookingwithcandi's avatarCooking with Candi

It’s that time of year again when zucchinis are everywhere. I love to use them in breads, muffins and fritters. This morning I baked 2 zucchini loaves with the help of this recipe. It takes a lot of ingredients but it’s worth it. With the help of a food processor the zucchini is shredded in no time. Zucchini came from my friend Shelly’s garden and they were beautiful. If you have a friend who has some get a hold of it, or just buy it from the market. Breads are awesome because you can freeze them and take them out and bring back them memory of that summer day you baked them.  Enjoy!

Ingredients:

1 cup whole wheat flour

1 1/4 cups all-purpose flour

1/2 teaspoon salt

2 teaspoons baking soda 1 teaspoon ground cinnamon

1 teaspoon ground nutmeg

1 cup sugar

1 cup lt. brown sugar (packed)

4 eggs, beaten

3/4…

View original post 134 more words

Summer Salad–Farm Fresh Farro

photo 5 (4)photo 4 (65)photo 2 (69)photo 3 (4)During the summer months in Colorado I am usually outdoors on a hike or my bike and while out there I can’t help but be inspired by all the beauty surrounding me here in the mountains. One of the things I often think about while out there is what I am going to make for dinner. Our daughter Kerri was out here visiting and while she is out here I am always on the search for some new vegetarian recipes to try out.  The inspiration for this salad came from some beautiful radishes from the farmers market and some fresh sugar snap peas. During the summer months with all the beautiful fresh vegetables available it’s super easy to throw together these salads. The fresh parmesan pieces give it the extra kick and salt it needs, use as much or as little as you like. I prefer pearled farro for this recipe.

*original recipe from Jessica Seinfeld website Do it Delicious

Ingredients:

1 cup pearled farro

1 cup sugar snap peas

4 large radishes

2 scallions

1/4 cup mint leaves loosely packed

1/4 cup parmesan pieces

3 tablespoons fresh lemon juice

2 tablespoons olive oil

1/2 teaspoon kosher salt

1/4 teaspoon freshly ground black pepper

Directions:

Follow directions on the box of farro or fill a saucepan to about an inch from the top. Bring to a boil, and add the farro and cook until tender but still chewy, about 10 minutes. Drain in a strainer and run under cold water to cool down. Drain out excess water and let sit while you prep the rest of the salad.

Wash the snap peas and radishes. Remove the stems from the snap peas, cut them crosswise into 1/2″ pieces and add to a medium bowl. Trim the stems off the radishes and remove the root ends. Slice the radishes in half , then slice crosswise into thin half moons. Add the radishes to the bowl. Trim the ends of the scallions, wash and then slice the white and light green parts of the scallions into small rounds. Add to the bowl. Tear the mint leaves and add to the bowl. Take the parmesan and crumble into the bowl, you can use your hands or a knife to crumble parmesan. Add the cooled farro to the bowl.

Add the lemon juice, olive oil, salt and pepper to the bowl. Taste for seasonings. Mix and allow to sit for a bit before serving. I made ahead and stored in fridge. I removed before serving for a while to bring to room temperature.


Second Favorite Salad Dressing (Balsamic)

Re-blog Monday and here is a wonderful salad dressing that I originally posted back in August ’11. If you missed it or are just looking for a light delicious dressing over those beautiful tomatoes that are out there right now. Enjoy over mozzarella and tomato salad or with greens but be sure to have some crusty bread along with your salad to mop up all the goodness. Enjoy!

cookingwithcandi's avatarCooking with Candi


As much as I love my mustard vinaigrette dressing, I also love this dressing. It is a nice, light balsamic, and I often use it on my greek salads with a little oregano. It’s just perfect as it is. I use those wonderful bell jars which are available in most supermarkets. You will almost always have all of these ingredients on hand, and if you don’t, you should! It couldn’t be much simpler. No excuse not to make your own dressing. Take control of what goes into the food you eat!

INGREDIENTS & DIRECTIONS:

In a small bowl, whisk together 1/4 cup Balsamic vinegar, 1 tablespoon Dijon (I use 2 because I like a strong mustard flavor but you should use according to your own taste.) Add a pinch of sugar. (What exactly is a pinch? Pour a very little bit of sugar into the palm of your…

View original post 71 more words

Blackberry Clafouti (Blackberry Cake)–Simple and Easy to make

This is an amazing recipe made with beautiful delicious in season blackberries. Believe it or not it is a light cake and perfect for dessert
for those summer nights you want something sweet , delicious and not too heavy. I made this and posted this for the first time 2 summers ago and it’s been a part of my summer rotation since. Original post was June’12. Blackberry Clafouti.

cookingwithcandi's avatarCooking with Candi

I made this cake because I love blackberries and I had all the ingredients in my house. If you like blackberries, this is a light cake which will be perfect for dessert and not too heavy at all.  Clafouti is actually french for a cake made with cherries. If it’s made with blackberries or other berries it is called a Flaugnarde, which sounds super fancy and difficult to make and this is anything but that so we’ll just call it Clafouti! We aren’t going to get too technical here and I hope I don’t offend the French chefs out there. This is pretty much the same as the cherry Clafouti which I plan on baking soon and will post that once I’ve cooked that, but we have to wait for the cherries to be super ripe.  This cake is so very easy to make, requires no fancy equipment, and you can whisk ingredients in one bowl. Just use…

View original post 297 more words

Fresh Tomato Pasta with Ricotta

photo 5 (2) photo 5 (3) photo 3 (2) photo 5 (4)photo 2 (2)What could be bad here? Fresh delicious ingredients and pasta with fresh  I always make my fresh tomato sauce with little cherry tomatoes in the summer ( summer pasta favorite in this house). This time out I added in Ricotta Cheese, all you cheese lovers out there will love this. If you don’t love cheese just make without but don’t leave out the fresh basil because the flavor is what it’s all about. This is super easy and you’ll look like a star. By the way this was the night of the super moon and check out that awesome sunset over the mountains. Rocky Mountain High.

Ingredients:

2 cloves garlic, chopped

app. 1 and 1/2 packages of small cherry tomatoes or 1 lb. or so

1 small package of fresh basil will work but a little more is good too.

3 Tbsp. Olive Oil divided into 2 Tbsp. and 1 Tbsp.

2 Tbsp. Water

Fresh Ground Black Pepper app. 1/4 tsp. and then more to taste

1 tsp. kosher salt and then to taste

1 box any kind of spaghetti you like, I used bucatini it’s a personal favorite

1 cup whole milk or part-skim ricotta cheese, I used a little more but it’s fine to only use 1 cup.

Directions:

Prepare pasta according to directions on the box for al dente. You’ll want pasta with a little bite to it, never mushy and over cooked.

Chop 2 cloves of garlic. Clean Basil leaves and take out 3/4 of Basil and wash it , dry it and tear it into small pieces. Wash the tomatoes.

Place a large skillet or any large pot on the stove on a medium heat. Put 2 Tbsp. of Olive Oil in pot and heat for a few minutes till oil starts to shimmer. Add the chopped garlic to pot, the add the basil. Cook down stirring with a wooden spoon for about a minute, don’t burn garlic. Stir in the tomatoes leaving them whole, and add 2 Tbsp. of water ( tap water is good here). Add tsp. of kosher salt and about 1/4 tsp. of freshly ground black pepper. Cover and cook for about 10 minutes. Uncover and continue cooking while cooking pasta. You will want tomatoes to break down and release their juices for the sauce.

Once the pasta is cooked al dente, drain it in a colander, no need to rinse cooked pasta. Then add it to the pot with the tomatoes. I added ricotta cheese right before we were going to eat and mixed well with the rest of the basil leaves and taste for more salt and pepper.

Delicious! and Easy!


Palisades Peach Muffins

Re-blog Monday and here is a wonderful recipe for those wonderful peaches out there in abundance now. I also throw some peaches into my Summer Sangria but this is also a great way to use those peaches. Enjoy the summer! it goes by too quickly.

cookingwithcandi's avatarCooking with Candi

All these amazing fresh peaches from Palisades, Colorado and I am going to use them in something yummy , comforting and delicious. Part of life out here in Colorado is all the time outdoors with lots of biking, hiking and a little bit of golf. I don’t worry so much about all the calories and I have to say  with all the exercise I do out here I do indulge a wee bit more than I normally would. These muffins aren’t cloyingly sweet although I did sprinkle some turbinado sugar on top, which do add a bit of sweetness but not too much. The muffins themselves are really moist due to the buttermilk, and by all means you can use regular milk. I had low-fat buttermilk in the house and wanted to use it. These muffins would also be just delicious with blackberries, raspberries or blueberries. Who could resist these peaches though . It’s…

View original post 262 more words

Kale and Pasta Perfection

Perfect Pasta recipe with Kale — perfect vegetarian pasta . Perfect served all year round for all you Kale lovers out there. This is a simply delicious past and has all the goodness and health benefits of kale.

cookingwithcandi's avatarCooking with Candi

photo 4 (40)photo 2 (43)photo 3photo 5 (34)photo 1 (56)photo 1 (55)photo 3 (44)Our daughter Kerri is out visiting in Colorado and it’s a great opportunity not only to ski with her and enjoy our time together but to cook vegetarian style for her. I have been saving this one for her because we all know what a waste this would be for just Joel. I made Joel a separate Bowties Pasta with Turkey Sausage, Peas and Mushrooms which if you have never made you really must check out, it’s on my blog under that title originally posted on July ’11. (see in photo)   I used a Fusilli type short pasta which was perfect. This dish really was so super easy to put together and it will now become one of my go-to pasta dishes for sure. I was also able to buy the Kale from Whole Foods chopped and cleaned already, which only made the prep that much easier . I would say total prep…

View original post 473 more words

Soy Roasted Cauliflower

photo 1 (2) photo 1 photo 3 photo 4I had bought cauliflower and wanted to do something new to it other than just plain roasted .  I love it just roasted but I had soy sauce, had sesame oil, had olive oil, and well you get the picture. I wish I had some sesame seeds to sprinkle over it and I would have sprinkled some scallions as well but since I had neither seeds or scallions I forged ahead. It was so delicious. I mean how could this be bad? Joel wouldn’t touch it and again he doesn’t know what he’s missing. It just means that there’s more for me and I save the leftovers for the next day to put in a salad. This is a very tasty side dish and can be made just as well with broccoli. Easy and Enjoyable! Perfect.

Ingredients:

1 head cauliflower

2 Tablespoons olive oil

1 teaspoon sesame oil

1 Tablespoon soy sauce

Sprinkle of Kosher Salt or Truffle Salt

*1 Tablespoon Sesame Seeds – didn’t have but will def remember for next time

*1 scallion, sliced up for garnish at the end

Directions:

Preheat the oven to 400 degrees.

Remove the core from the cauliflower and cut into small florets. In a large bowl, toss the cauliflower with the oils, soy sauce, salt and sesame seeds.

Spread on a large rimmed baking sheet ( I spray with Pam first) and roast until tender and browned, stirring once halfway through about 25 minutes in. Take a taste and adjust salt if need be. I just sprinkled salt lightly over the cauliflower because of the soy sauce it’s plenty salty but taste for yourself. I cooked for a total of 55 minutes. You will have to adjust cooking time for your oven. Safe to say about an hour or so depending also on how large you leave the florets.

Transfer to a serving bowl and if you’d like garnish with sliced scallions.