


 Nothing but beautiful tomatoes out there begging to be eaten in a million different ways. Perfect for a “Meatless Monday” dish or any night of the week . There are tons of local tomatoes out there now. At any local farmers market you can pick up pints of these beautiful babies. This is a lovely light pasta.
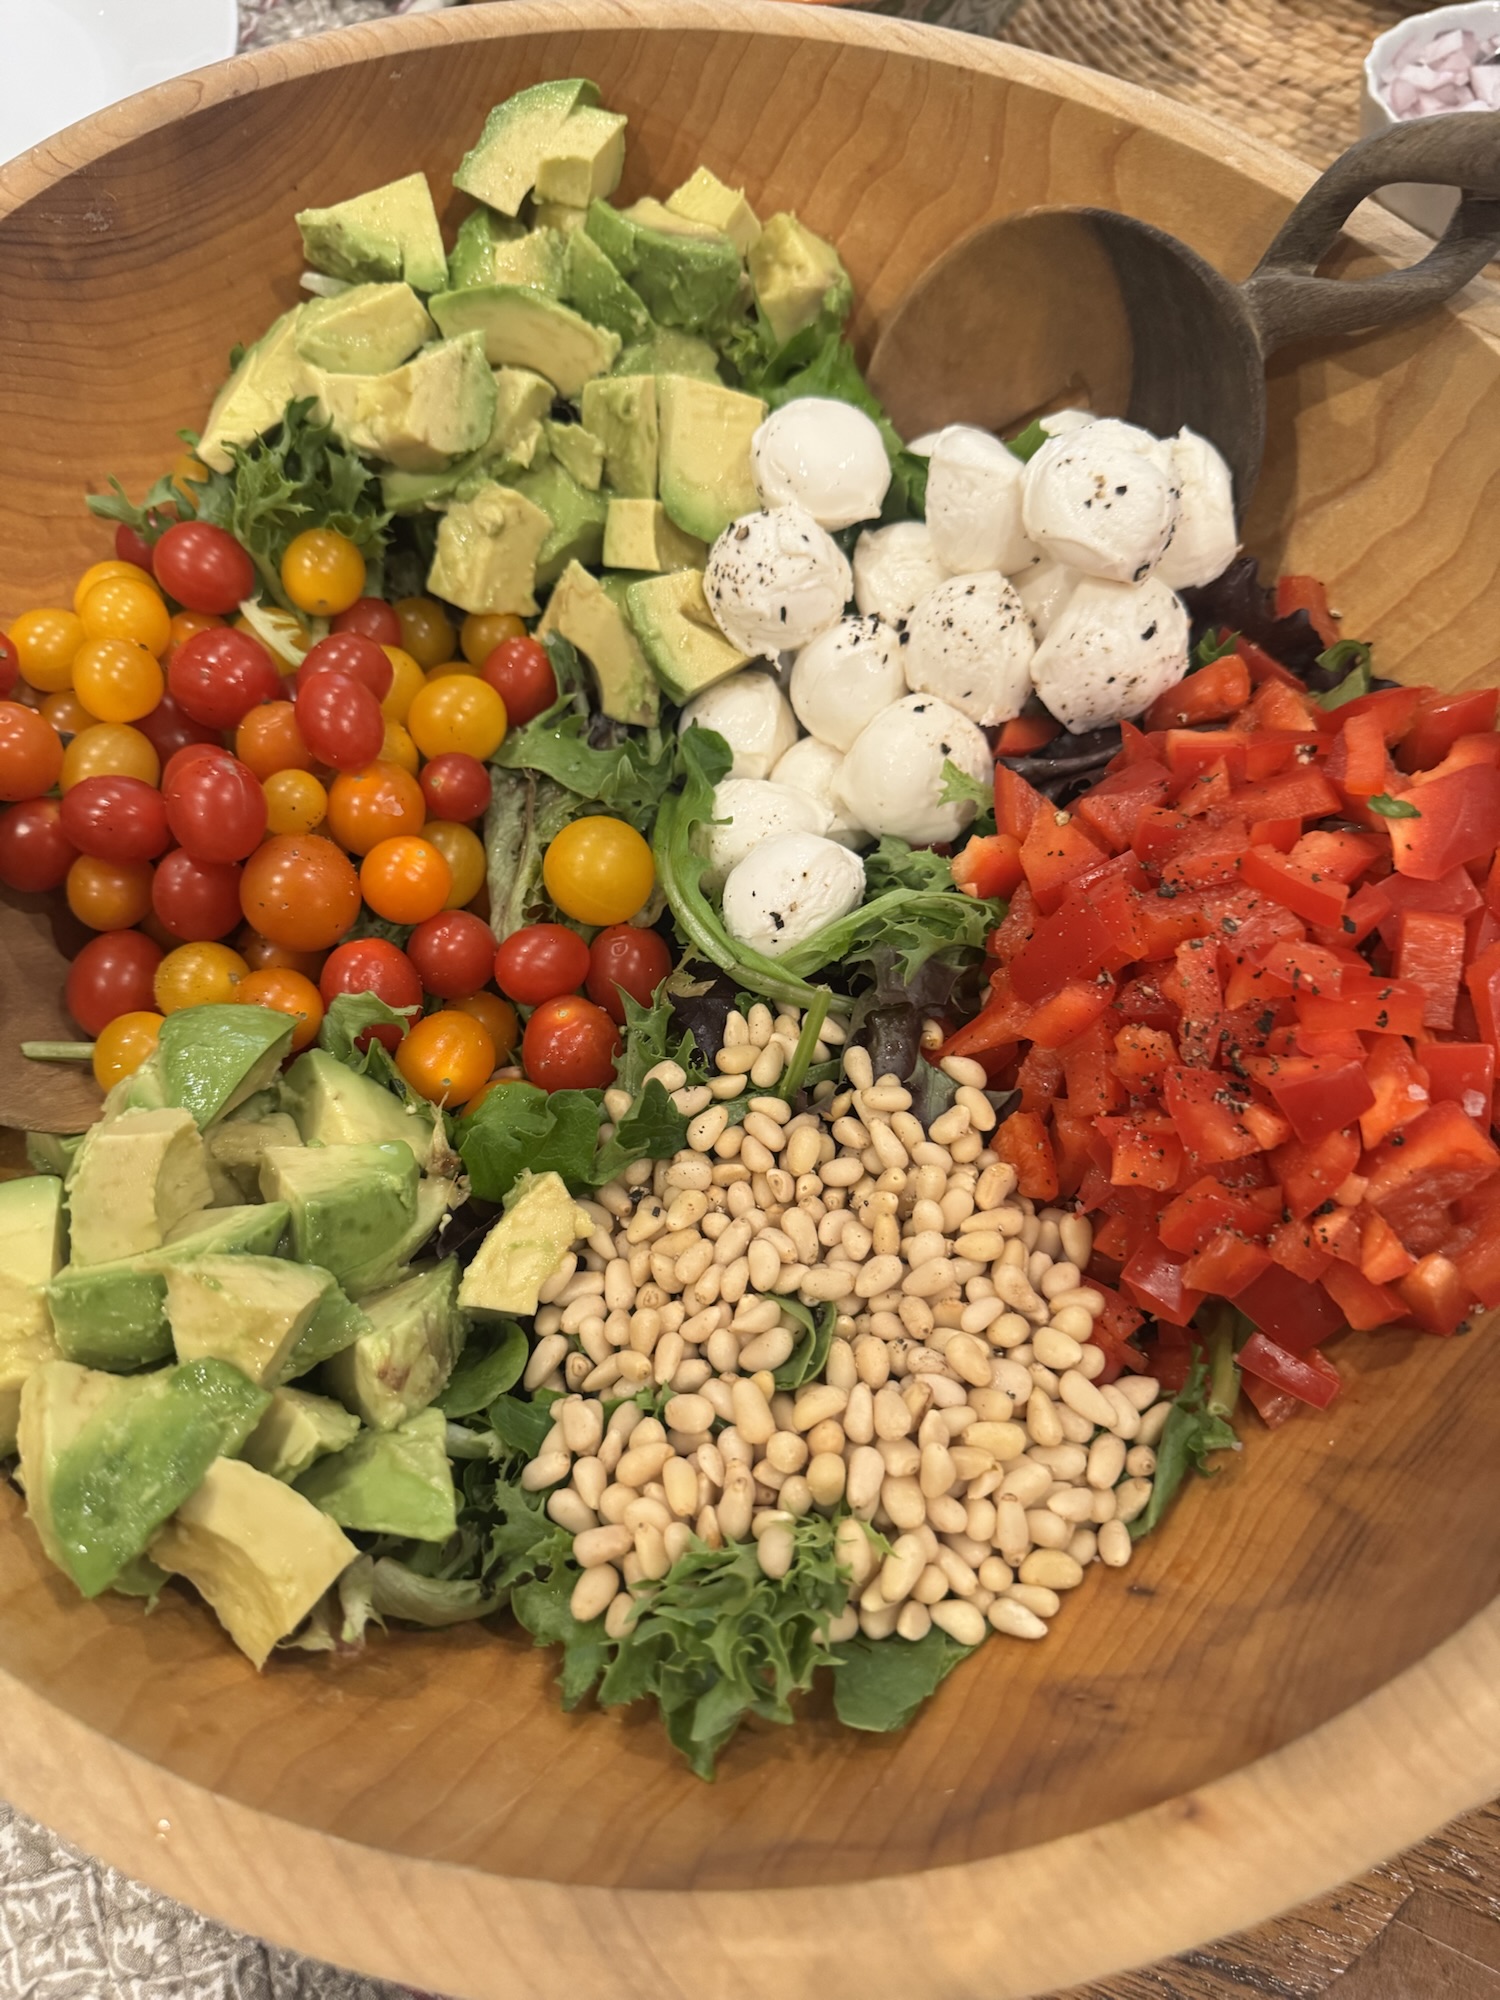
I had bought 2 pints of those beautiful little cherry tomatoes and right now there are those gorgeous yellow sunburst tomatoes also available. I wasn’t sure what I would do with them. They varied in size so I knew if I made a sauce some were getting cut and some would stay whole. Nothing ever sounds better than a plate of pasta to me, nothing. These beautiful tomatoes are only out for such a limited time you have to get them while the getting is good. Some of the tomatoes were super small and I left them whole while I halved the larger ones. There are so many variations of this sauce and feel free to improvise. We love it this way. So simple and so delicious.
Follow me on Instagram @cookingwithcandi
Ingredients:
1 lb. spaghetti , any kind of long spaghetti is good for this — sometimes I use bucatini type and sometimes I use thin type long spaghetti– use whatever you’d like
1/4 cup extra-virgin olive oil plus more as needed
4 cloves garlic, peeled and minced.
1/2 teaspoon crushed red pepper* we like it spicy so if you don’t want it that spicy cut to 1/4, I actually used 1 whole teaspoon and it packed a lot of kick.
2 pints of cherry tomatoes or little plum tomatoes or you can use about 3 cups of chopped fresh tomatoes of any type. I cut the larger tomatoes in 1/2 and I left the little ones whole– last night I used 2 packages of sugar bomb tomatoes they were 12 oz. each and it was perfect
app. 20 leaves of fresh basil, I just cut them up into small slivers–this is totally optional if your kids don’t like green stuff– but it looks pretty
Kosher Salt and Freshly Ground Black Pepper to taste –I used app. 1 teaspoon on tomatoes and added towards the end as needed
freshly grated parmesan at your discretion
Directions:
Cook pasta according to directions on box for al dente. Reserve a cup of pasta water in the event you may need a little more liquid in your sauce. Add 2 tablespoons of salt to cooking water for pasta. The Italians like to say that their pasta water should be like sea water good and salty. After finished cooking pasta — reserve 1 cup of pasta water and set aside before you drain pasta.
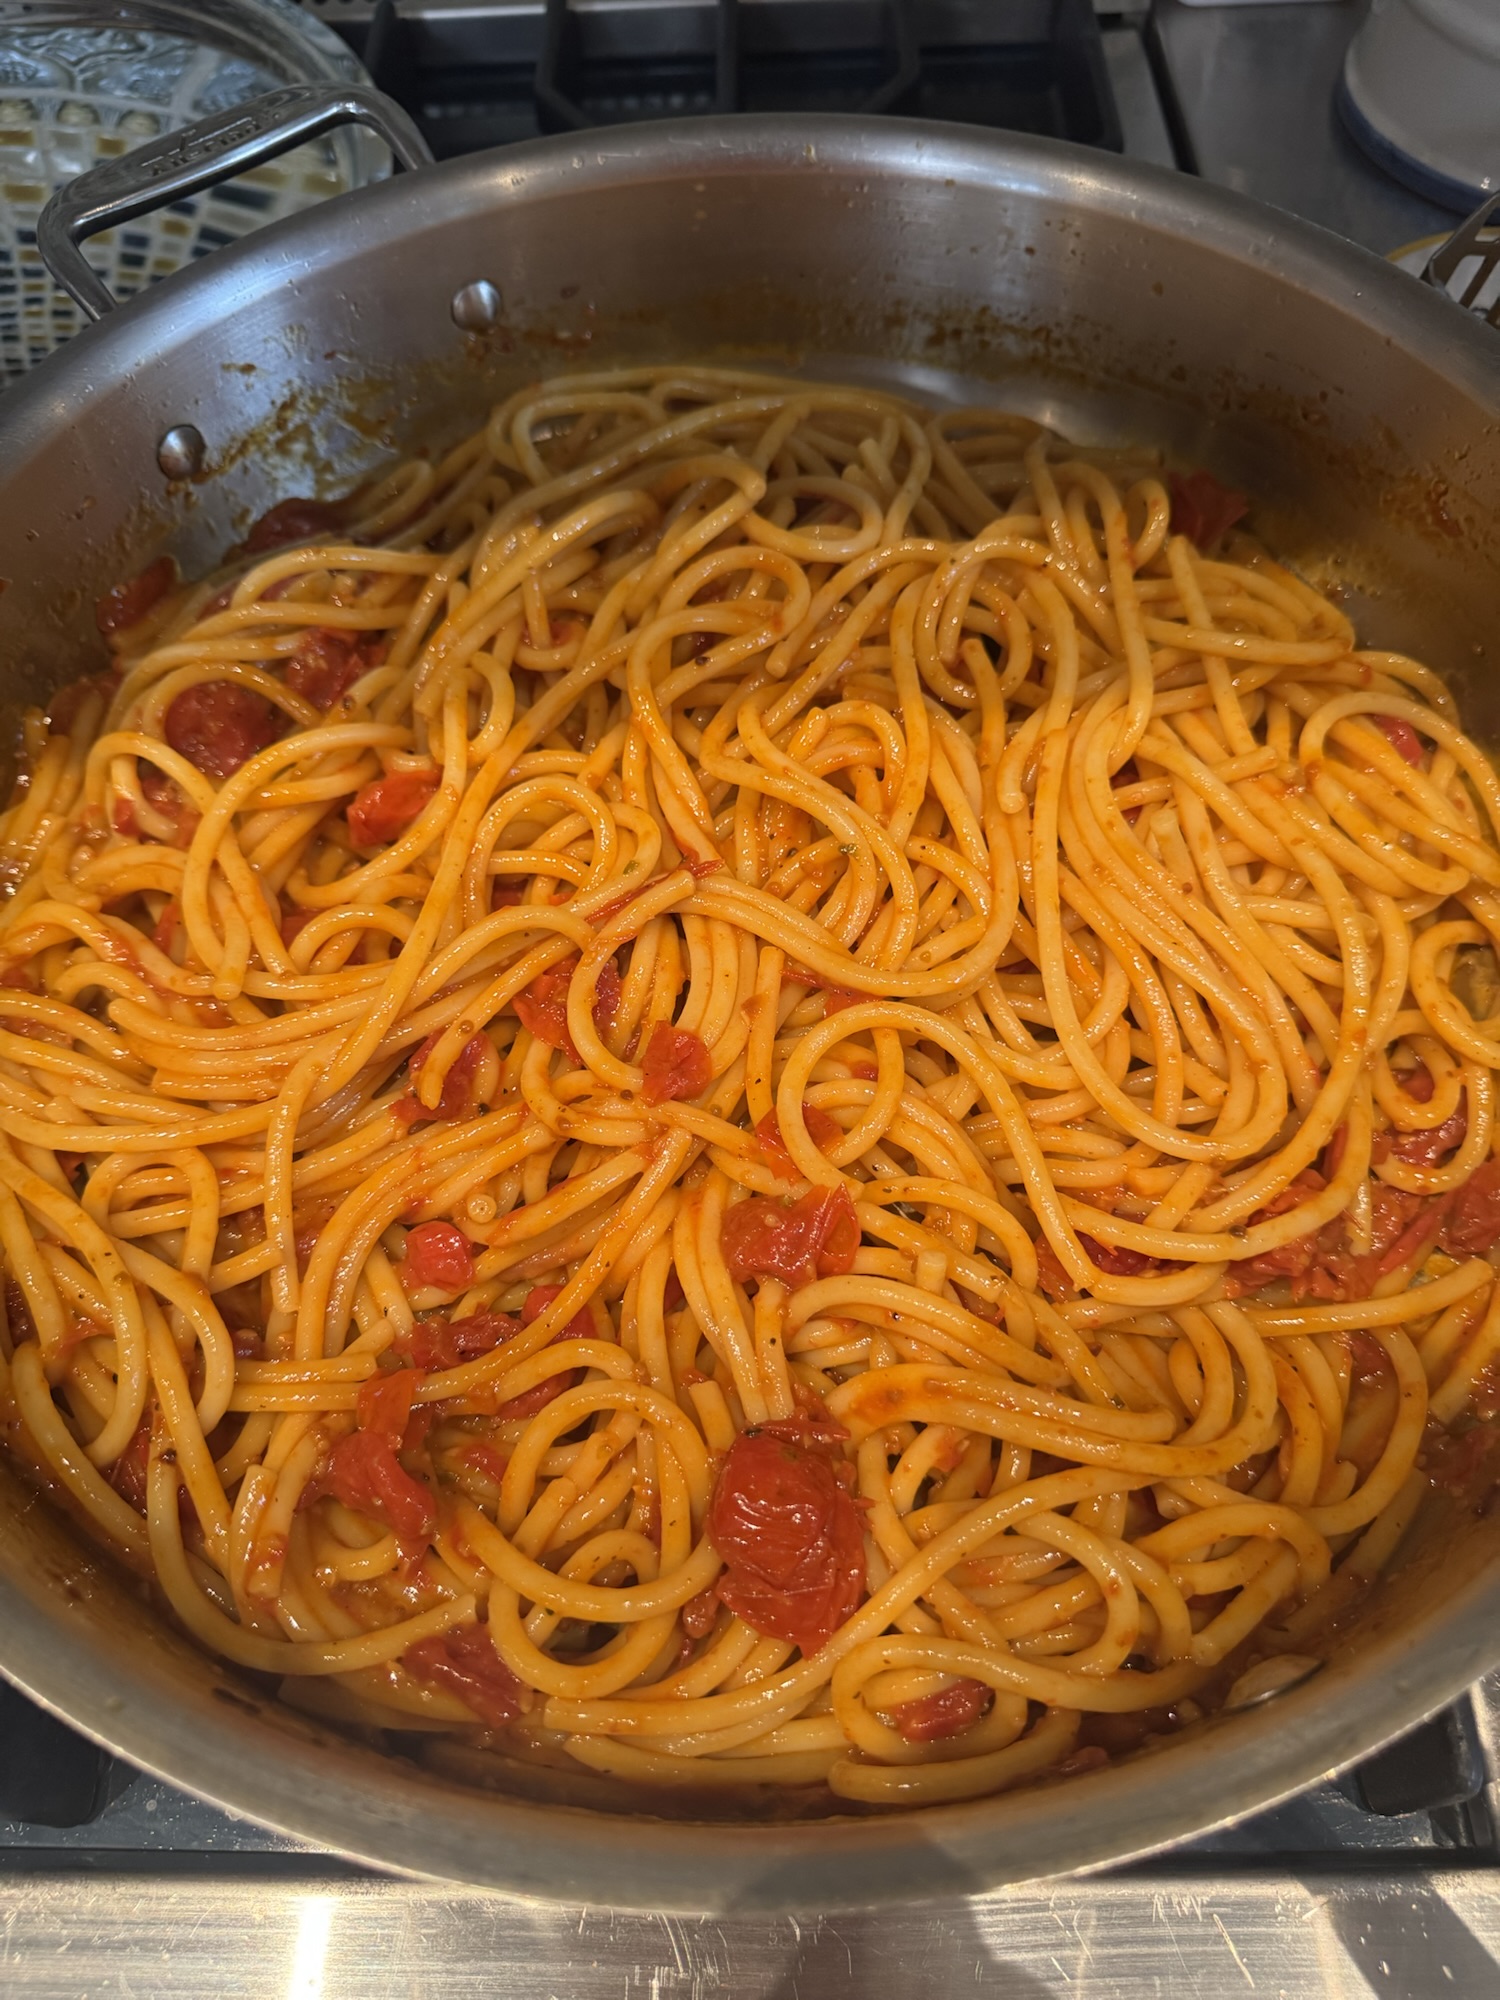
Heat a large sauté pan over medium heat add 4 tablespoons of olive oil and garlic, cook until garlic is golden about 2 minutes. Be careful you don’t want to burn this garlic. Add the crushed red pepper now and the tomatoes, and cook over medium low heat. I also added some kosher salt (about 1/2 teaspoon to start, you can always add more) and a little freshly ground black pepper. Stir for a while to make sure garlic doesn’t burn and tomatoes start to burst and deflate about 5 minutes and if you think you need a little more olive oil add it now . I let the tomatoes simmer in the pan for about 15 minutes to 1/2 hour for the best consistency. I smashed down stubborn little tomatoes at the end with the back of a wooden spoon or a masher if you have one. A very low simmer at the end. Taste for Salt and Pepper. The longer the tomatoes sit in the oil and cook down on a low simmer the better the sauce will be so if you have a little time let it sit. I think my tomatoes sat for at least 2 hours like this. Once tomatoes were cooked down I just turned off heat covered it and let it sit. Before eating while making the pasta I heated up on a low simmer.
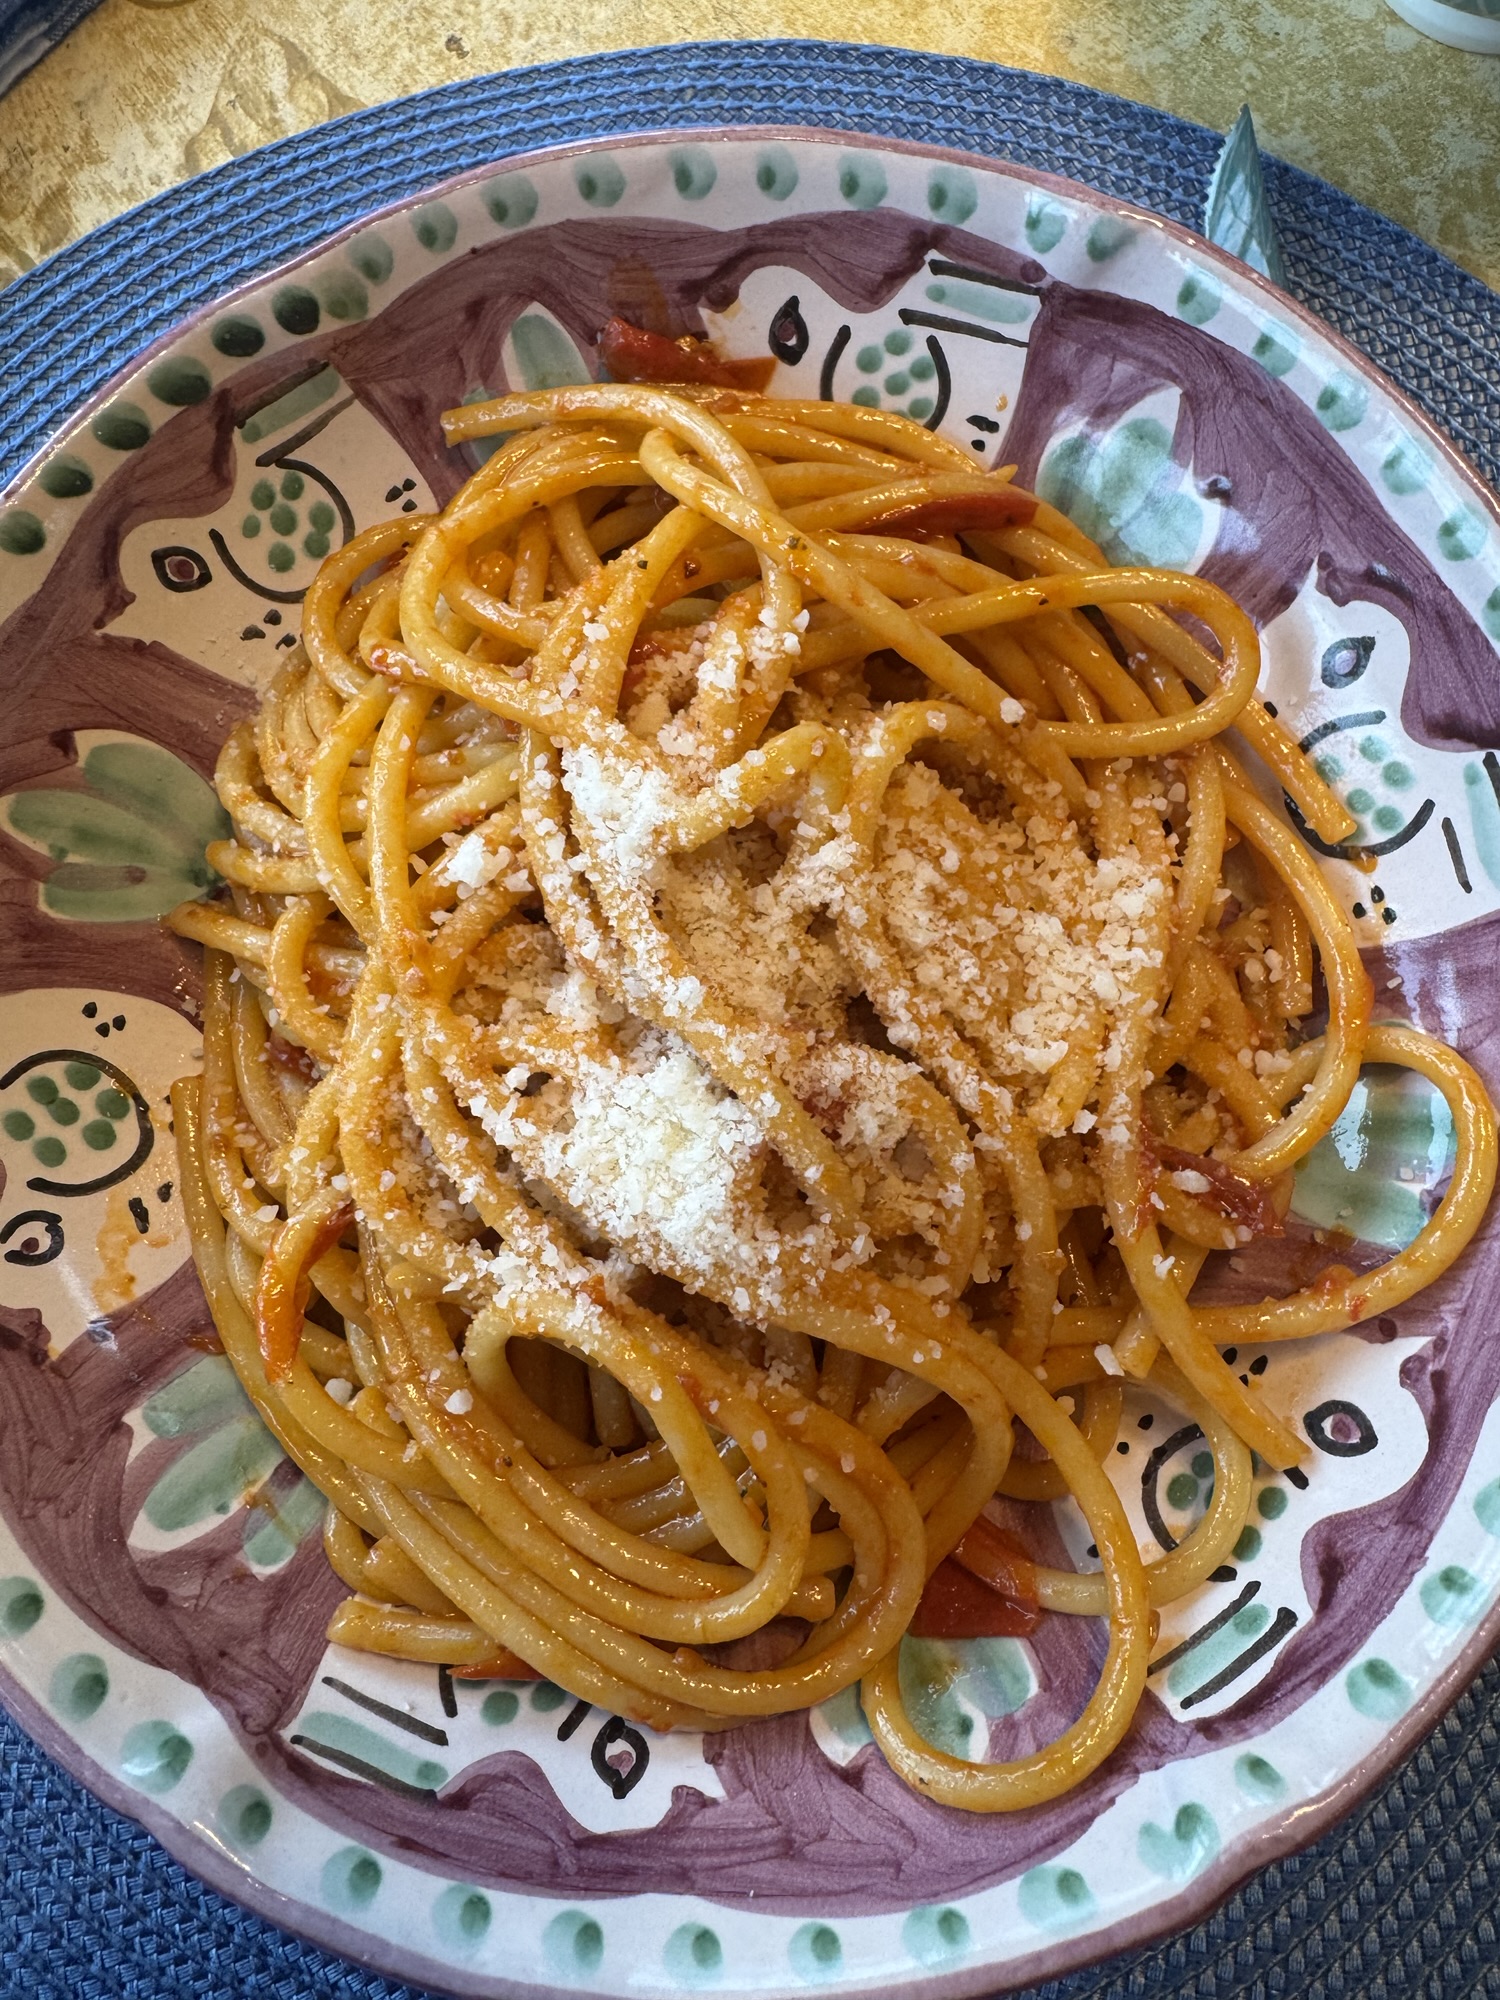
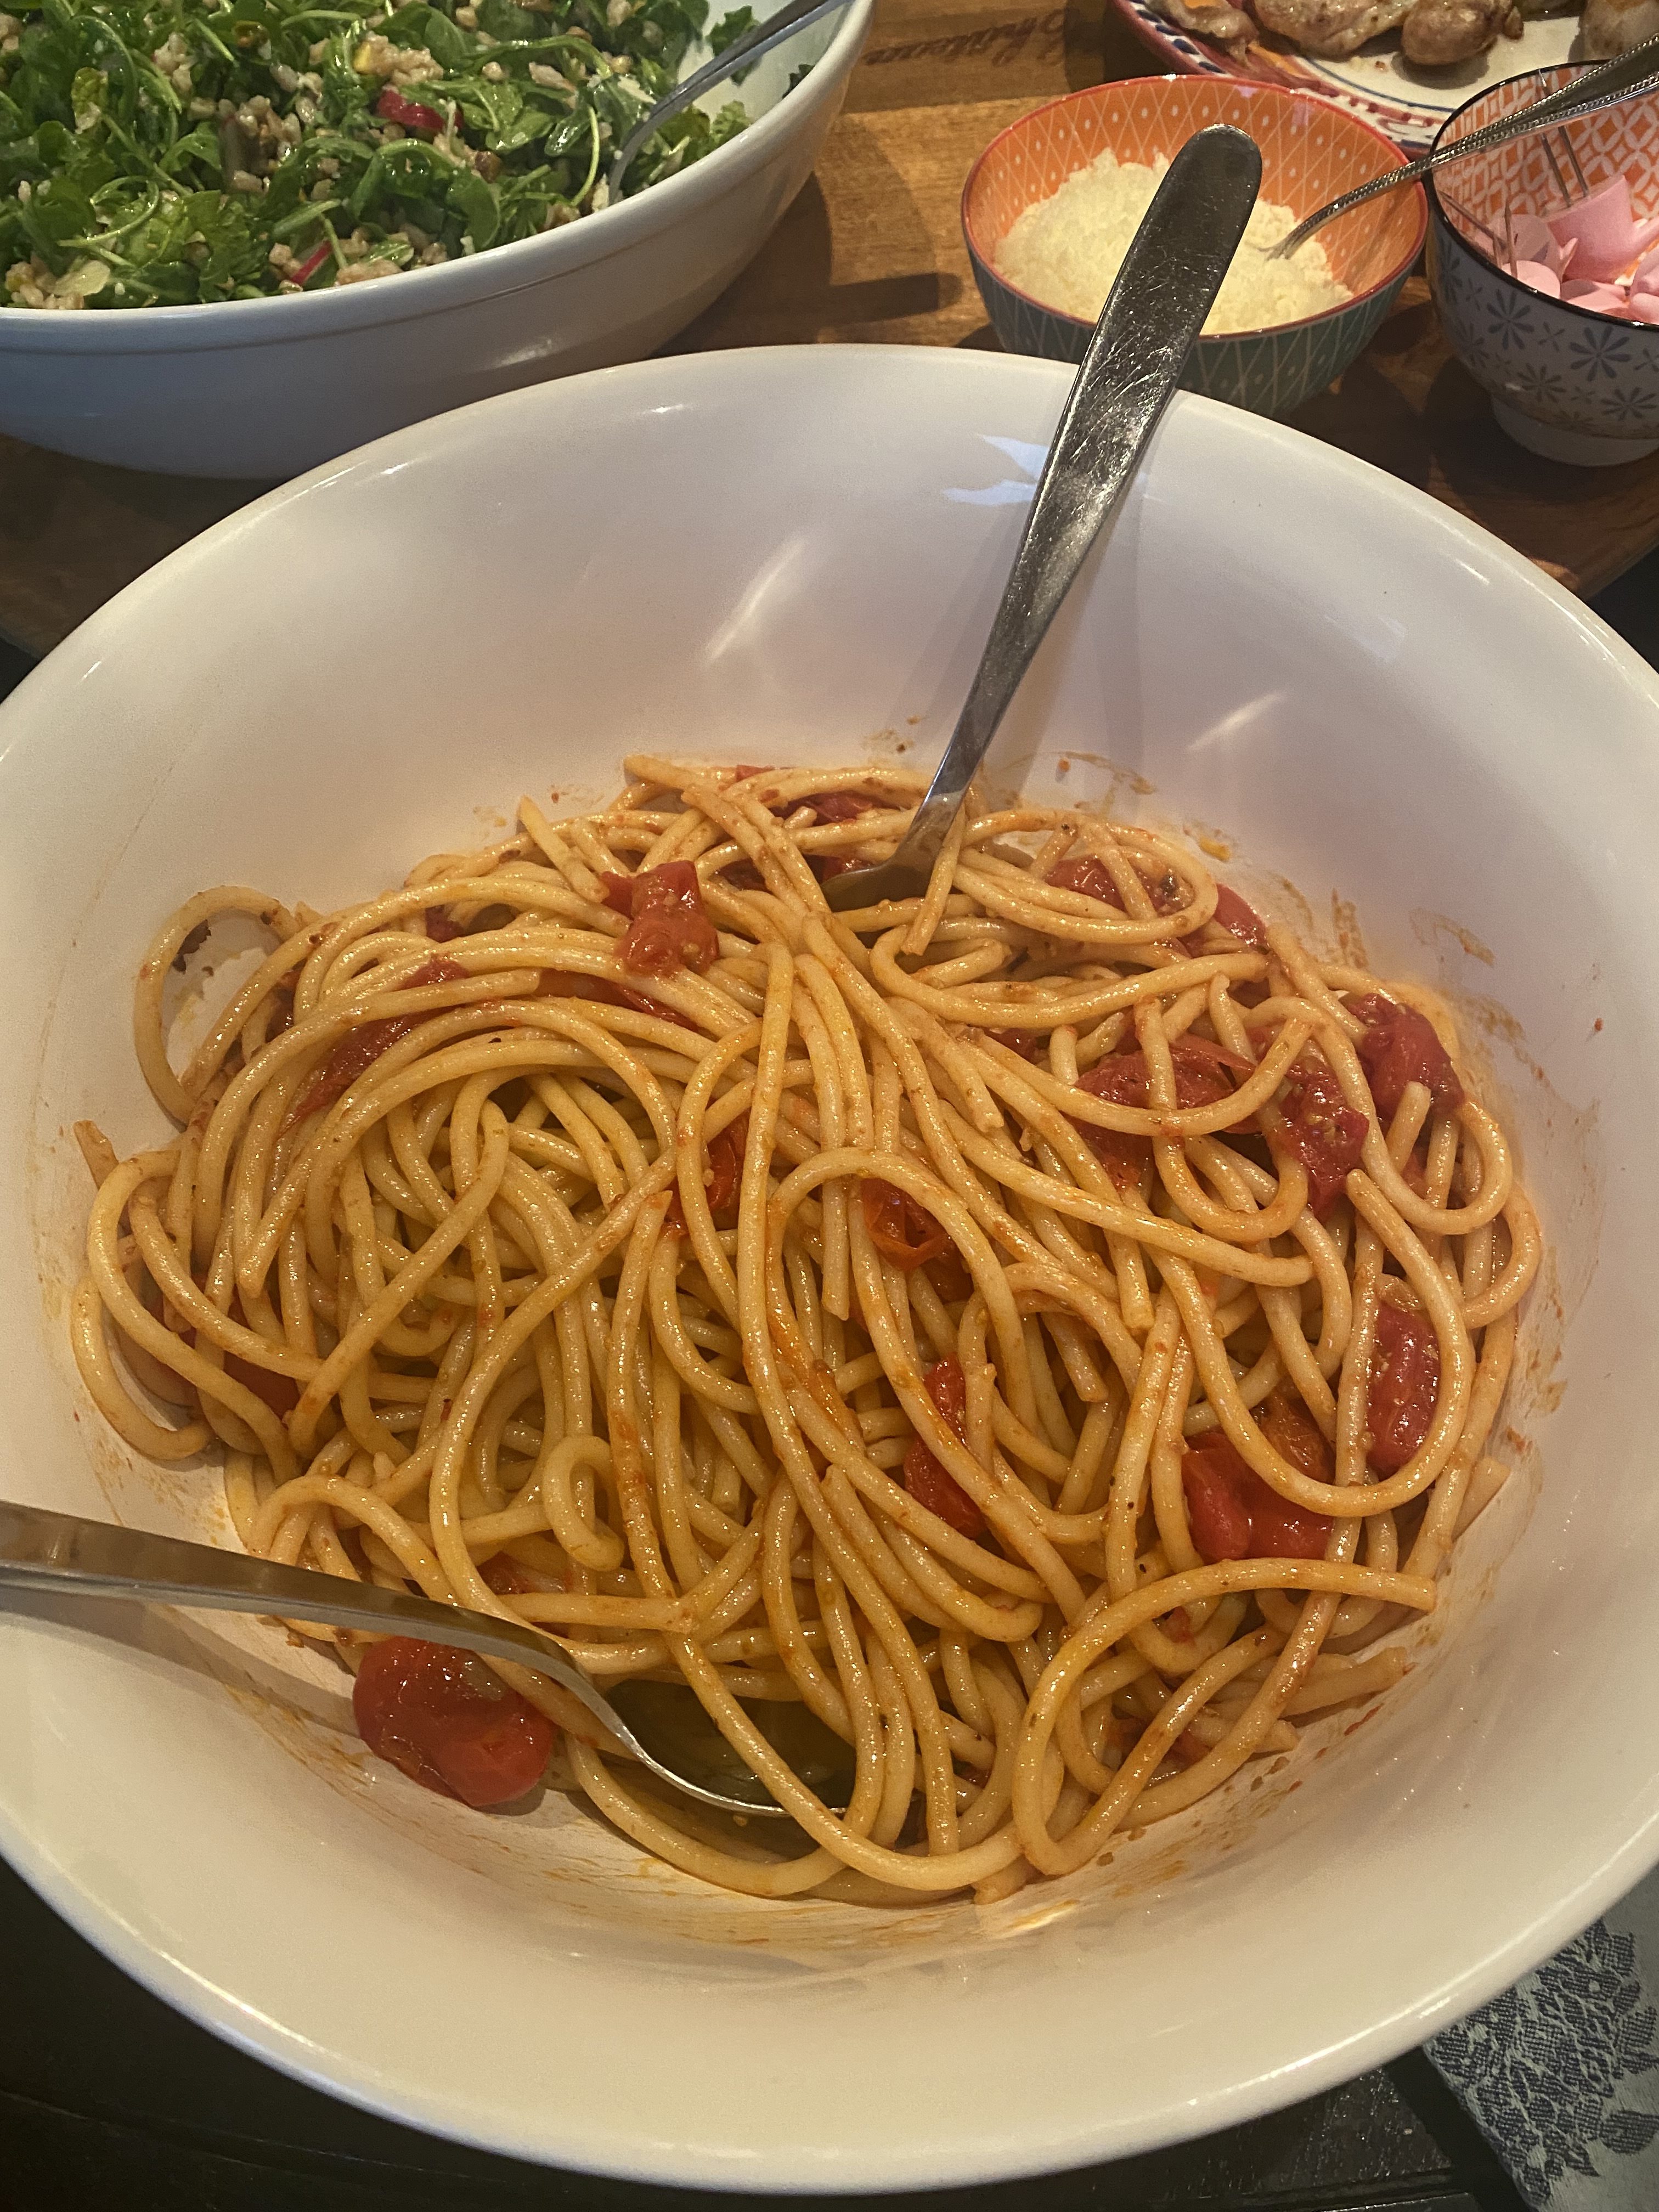
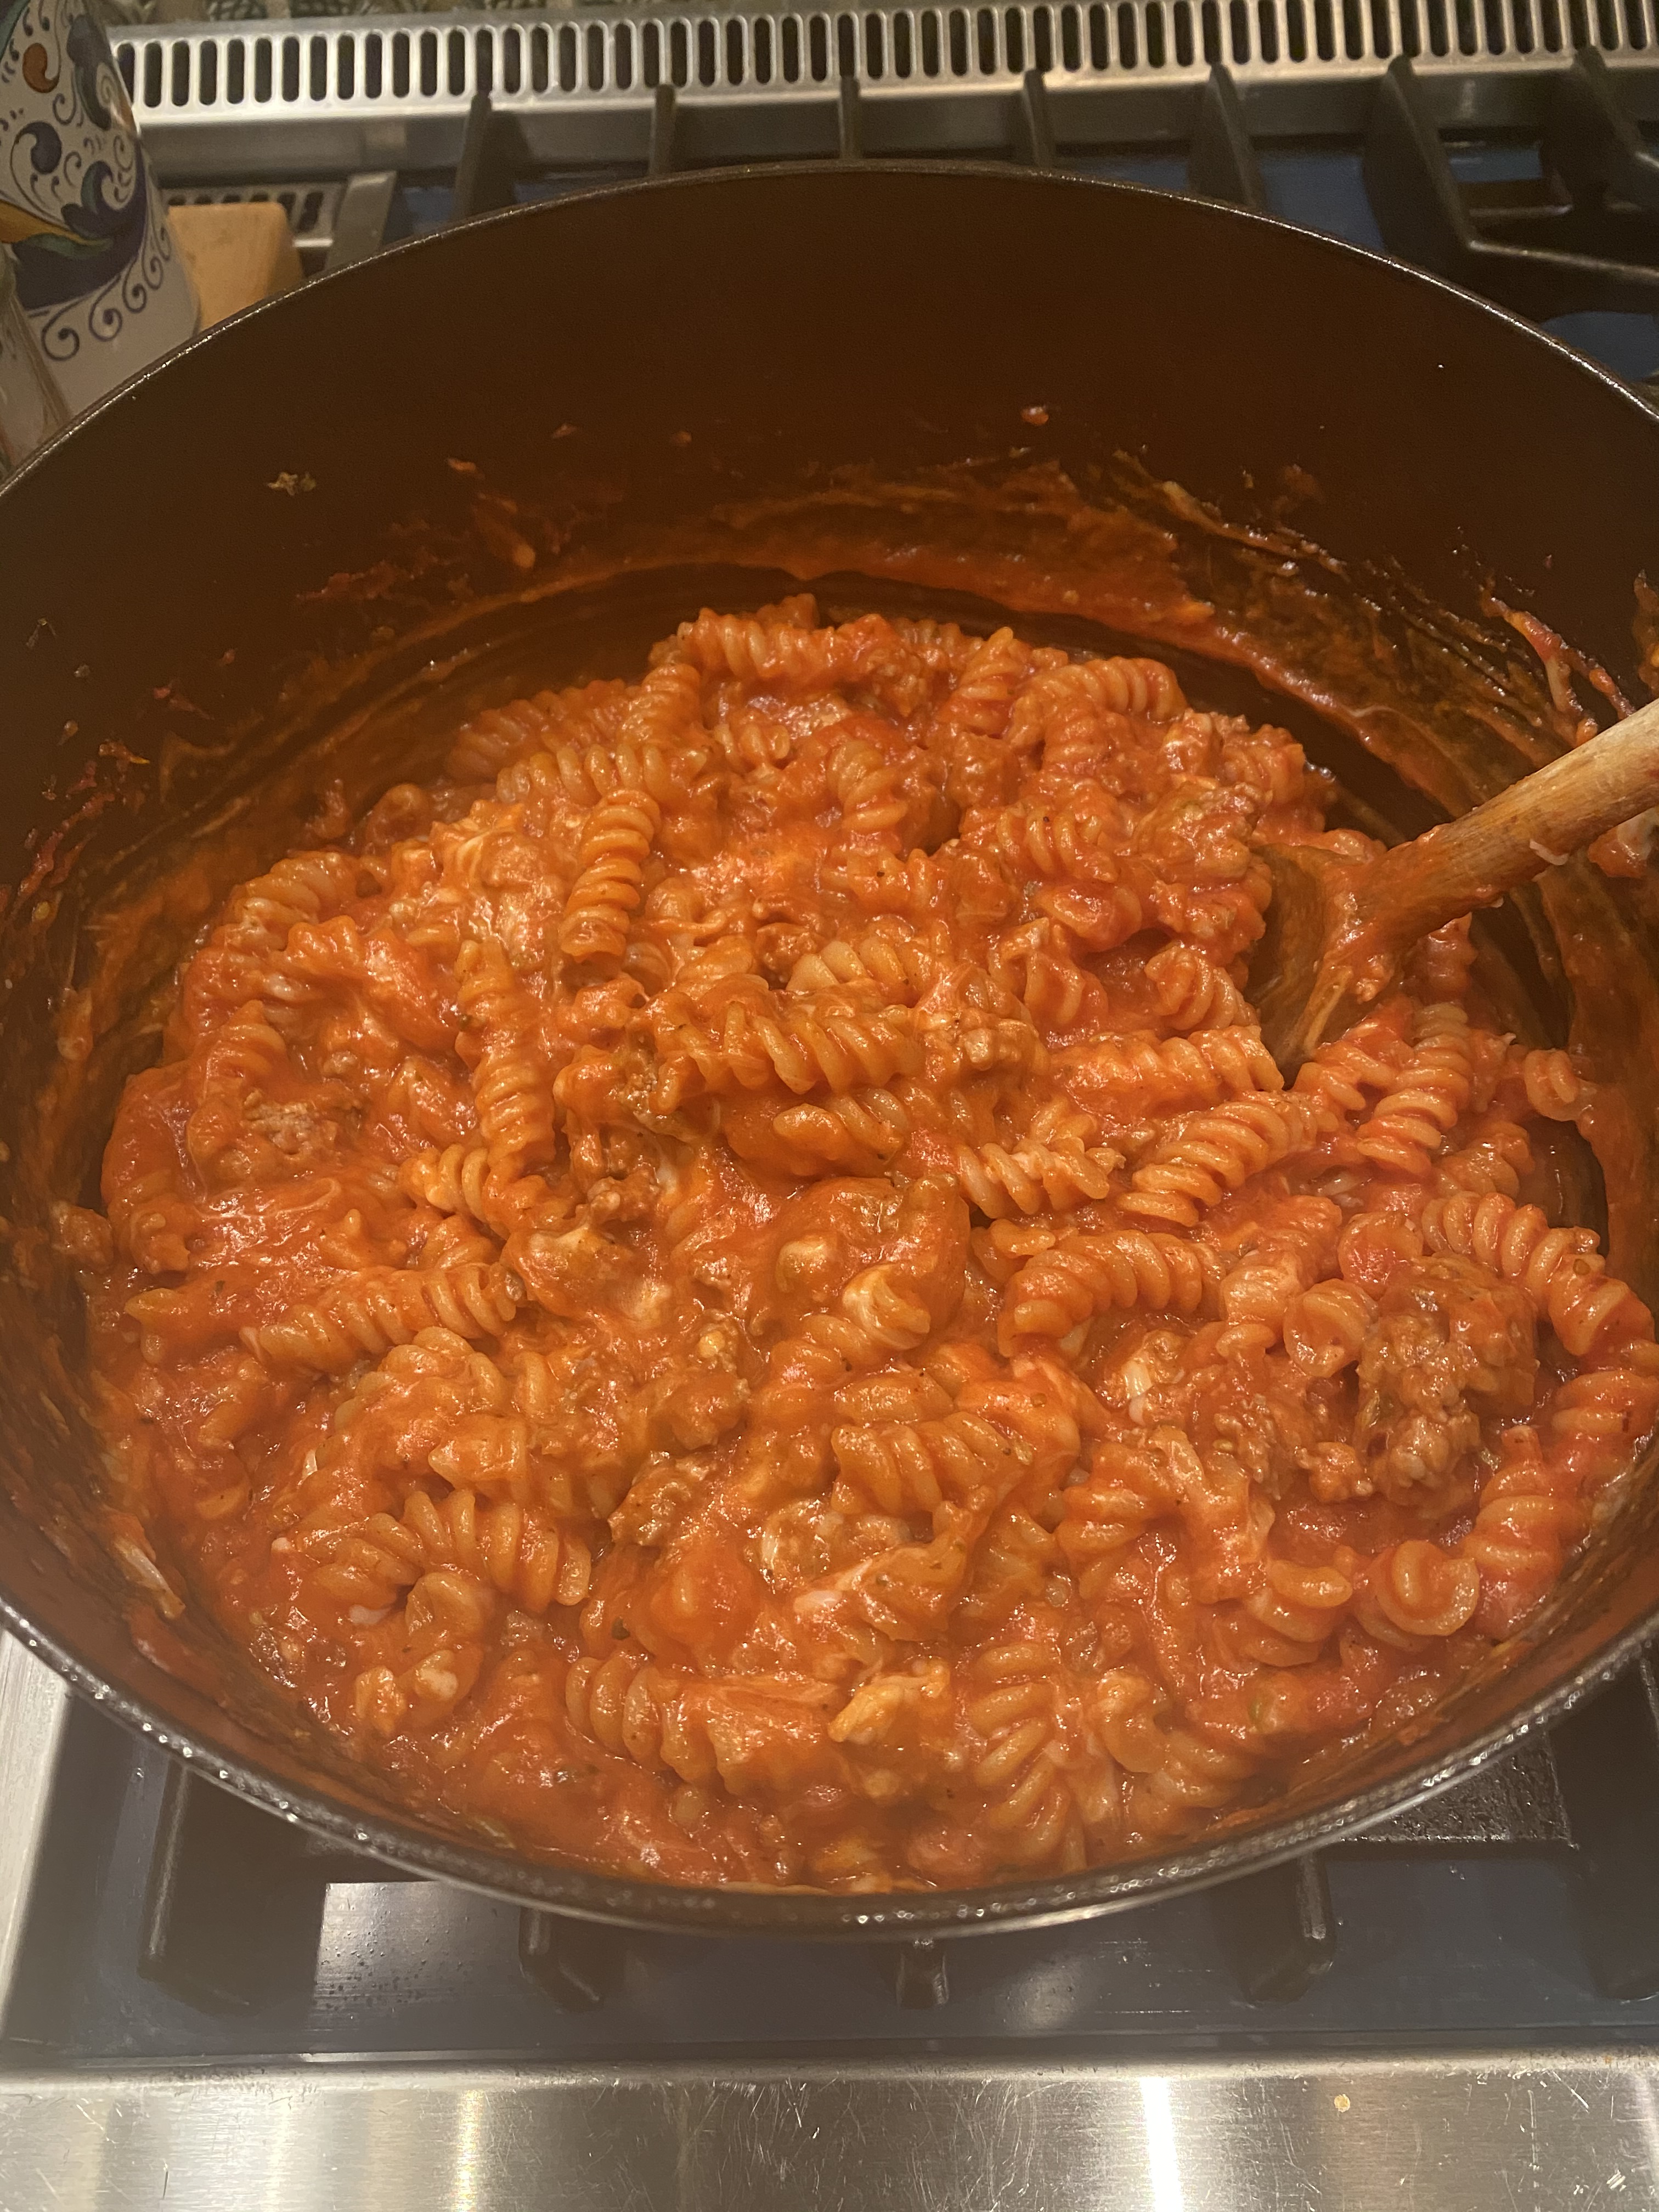
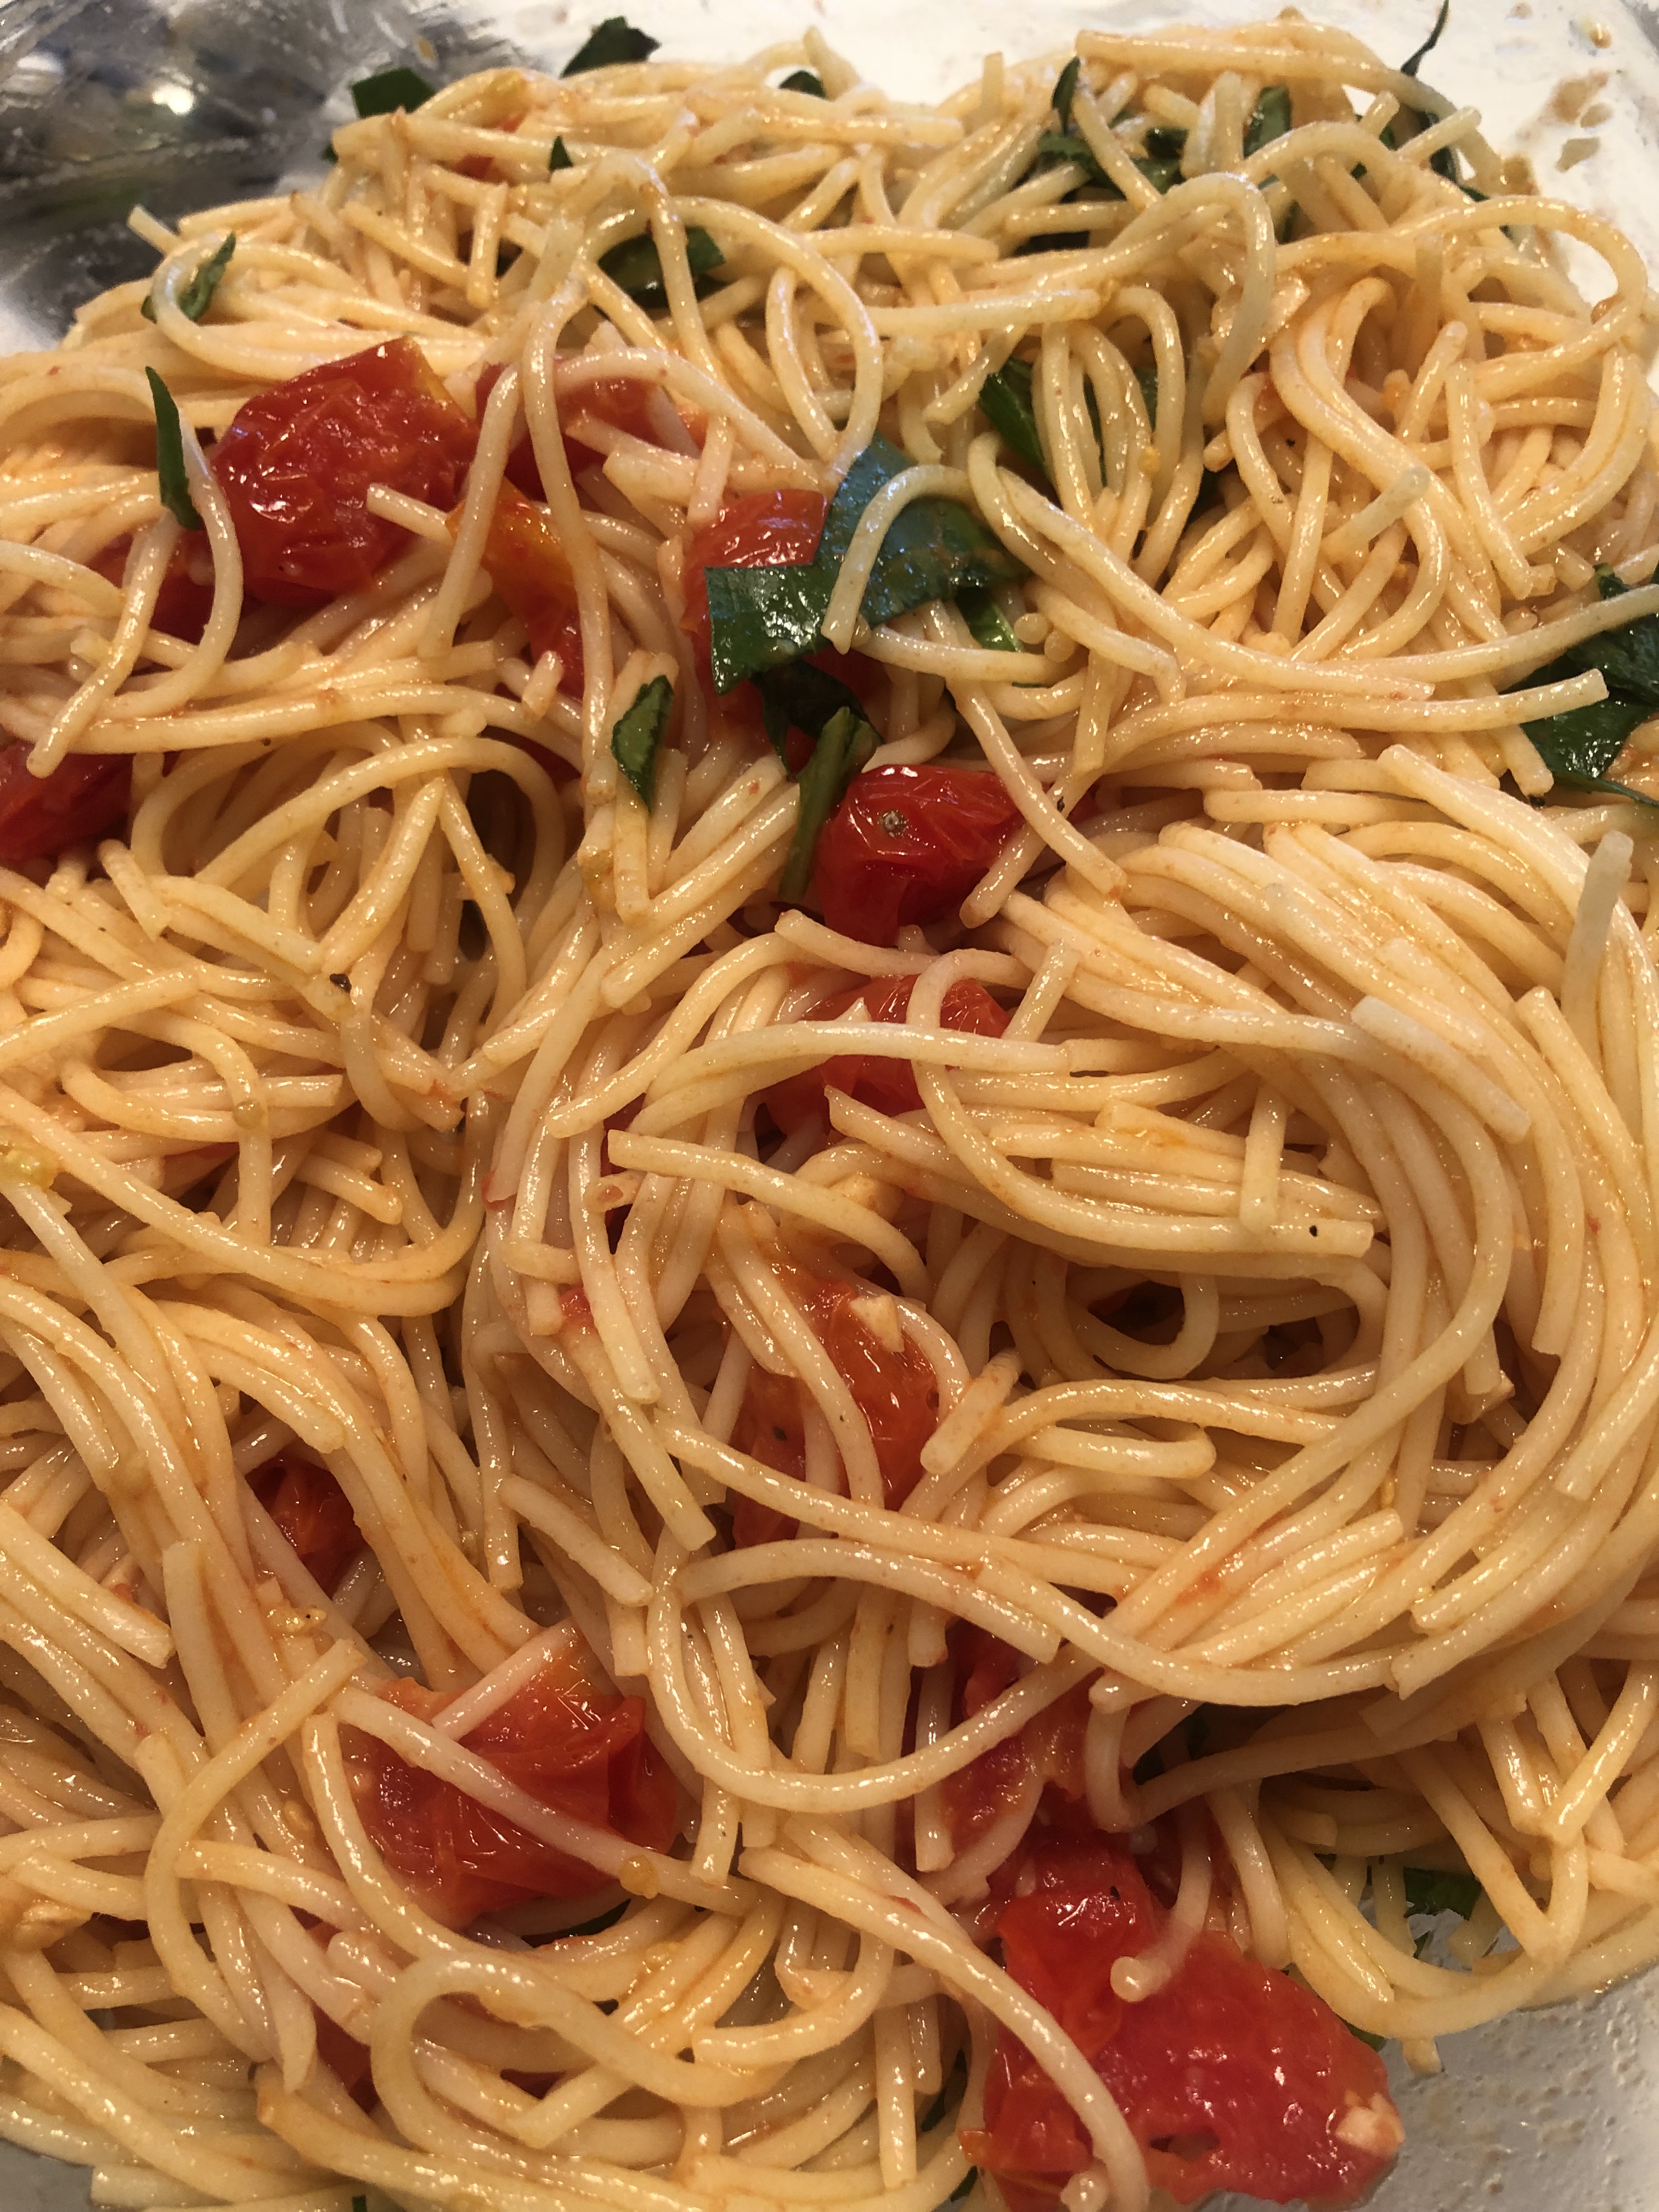
Once the spaghetti is cooked and you’ve drained it ( remember to reserve a cup of pasta water). Add the pasta water a little at a time to the pan with tomatoes and over medium-low heat toss the pasta with the tomatoes well. Add the basil . I let everyone add their own cheese at the table.
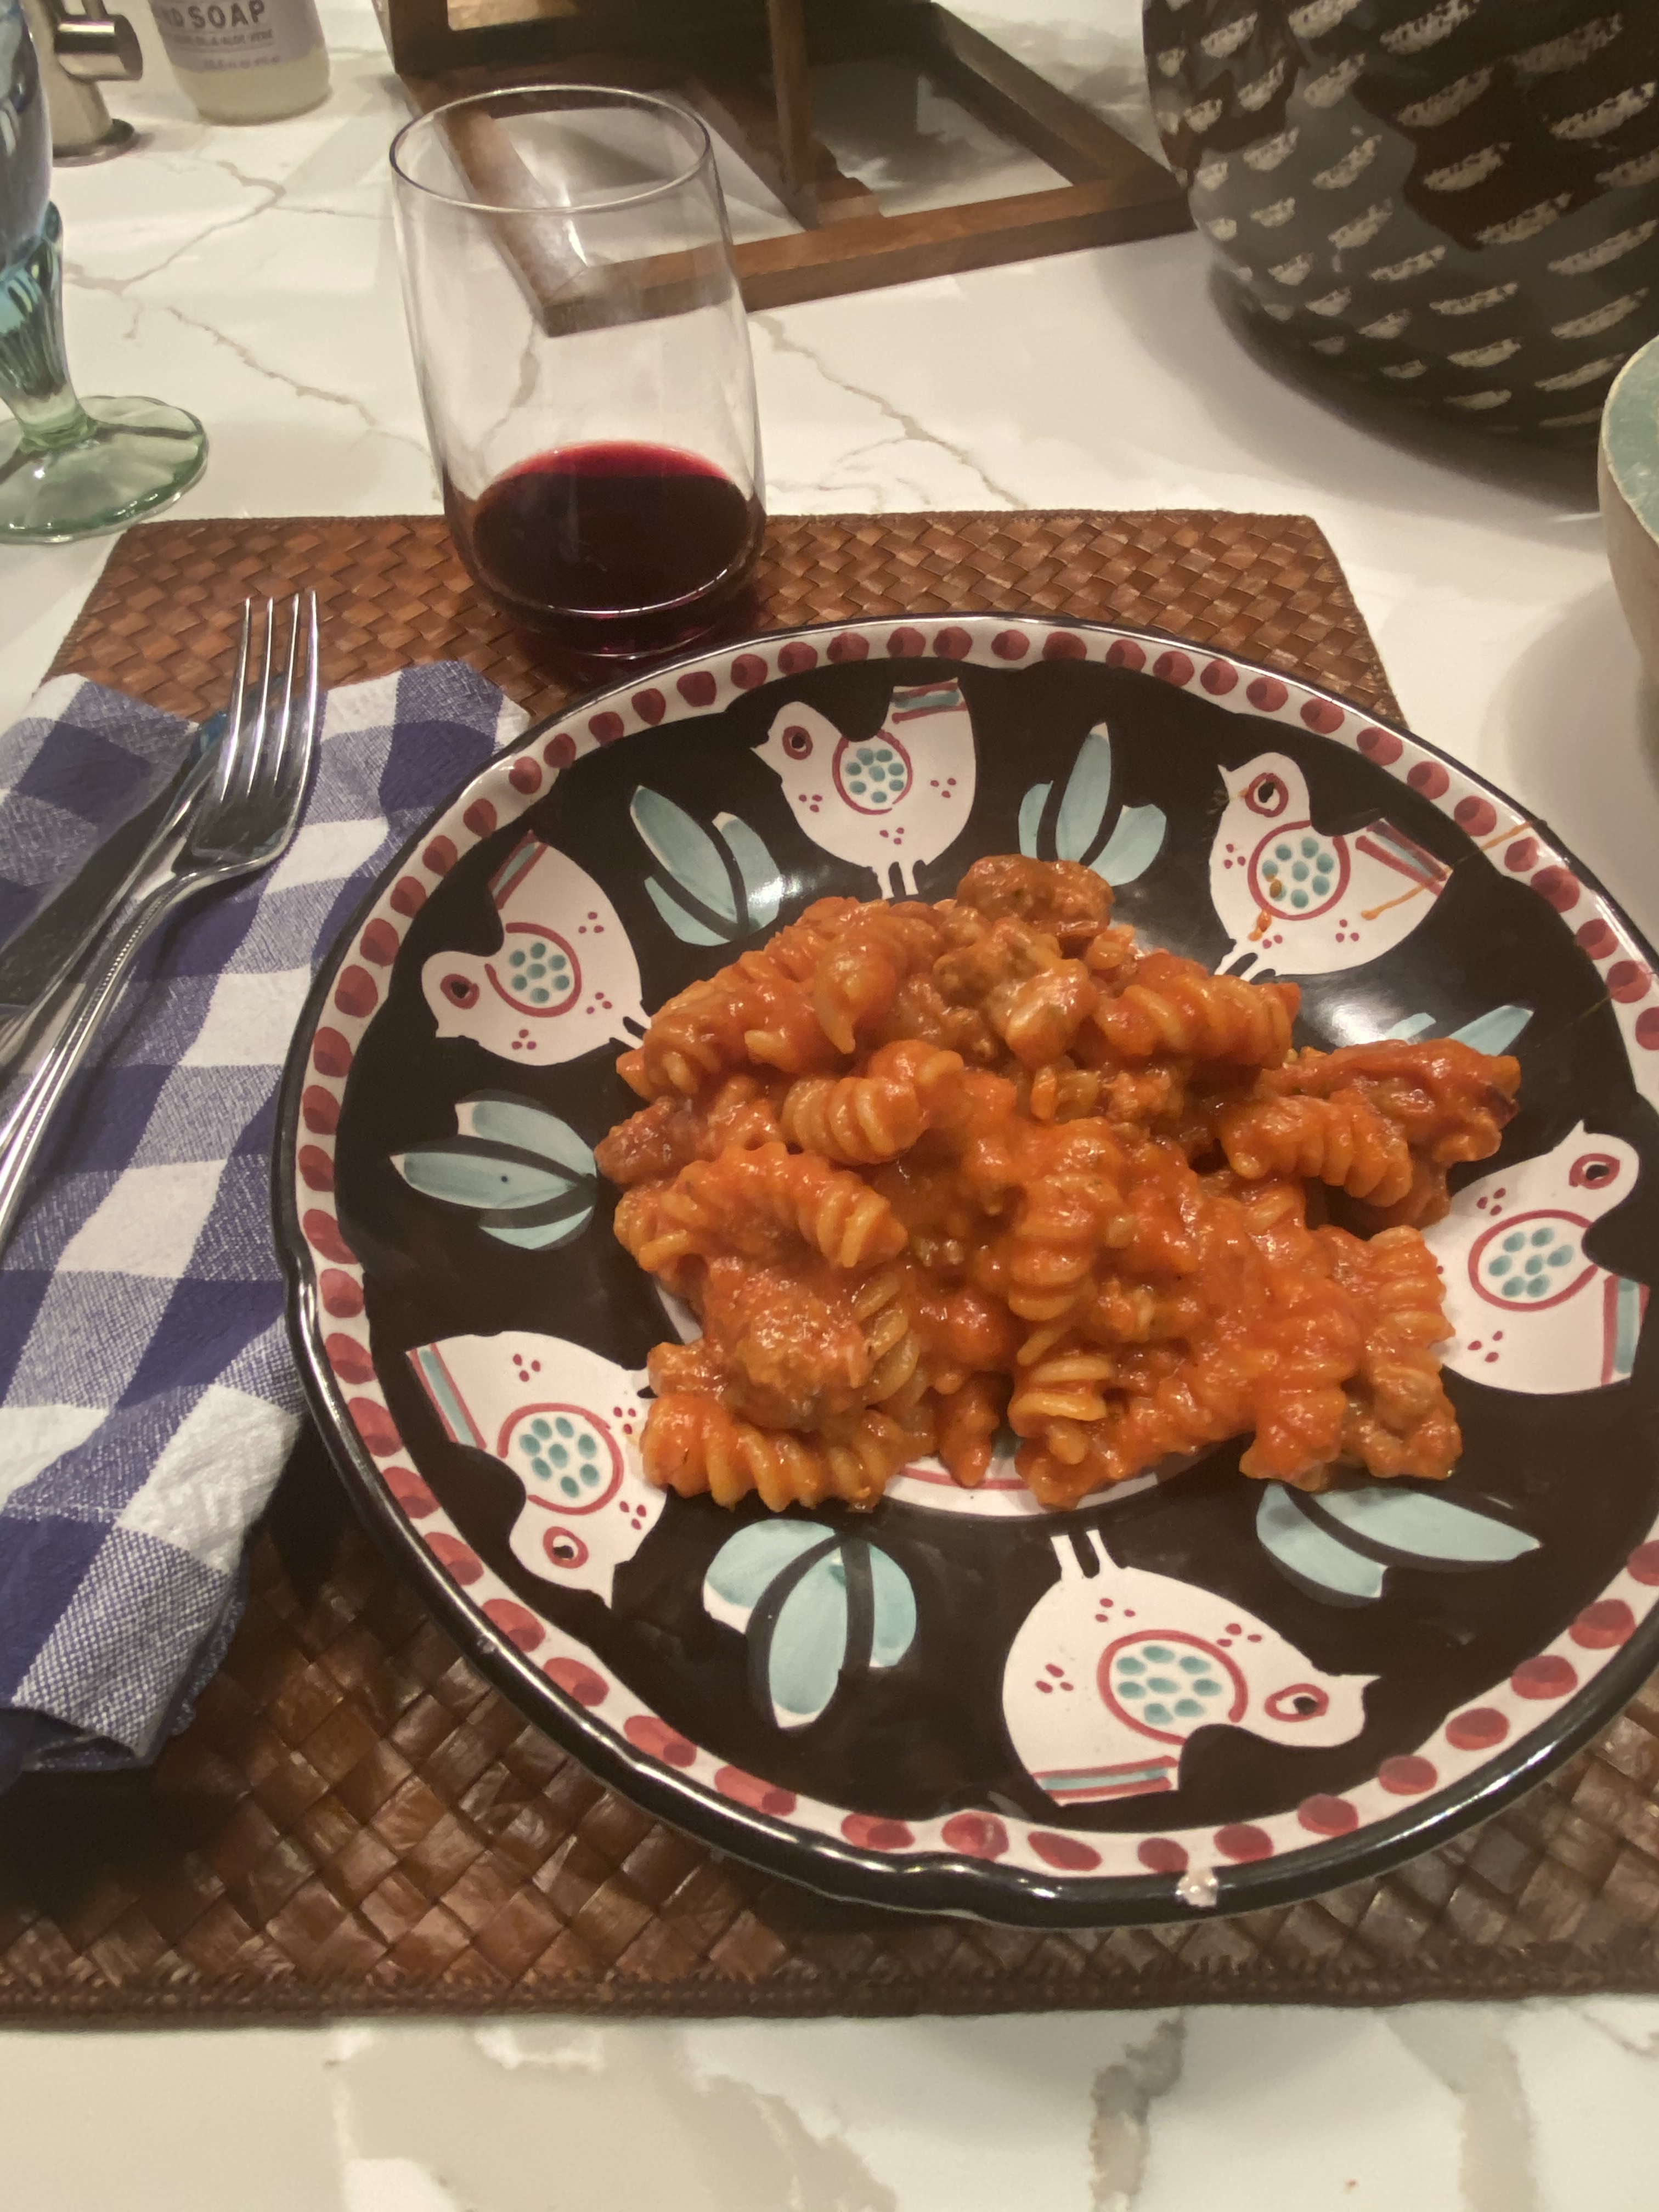
Remove the pan from the heat and plate it up.
Yum! and even more delicious the next day.