Sheet Pan Asian Style Chicken Meatballs and Burnt Broccoli —

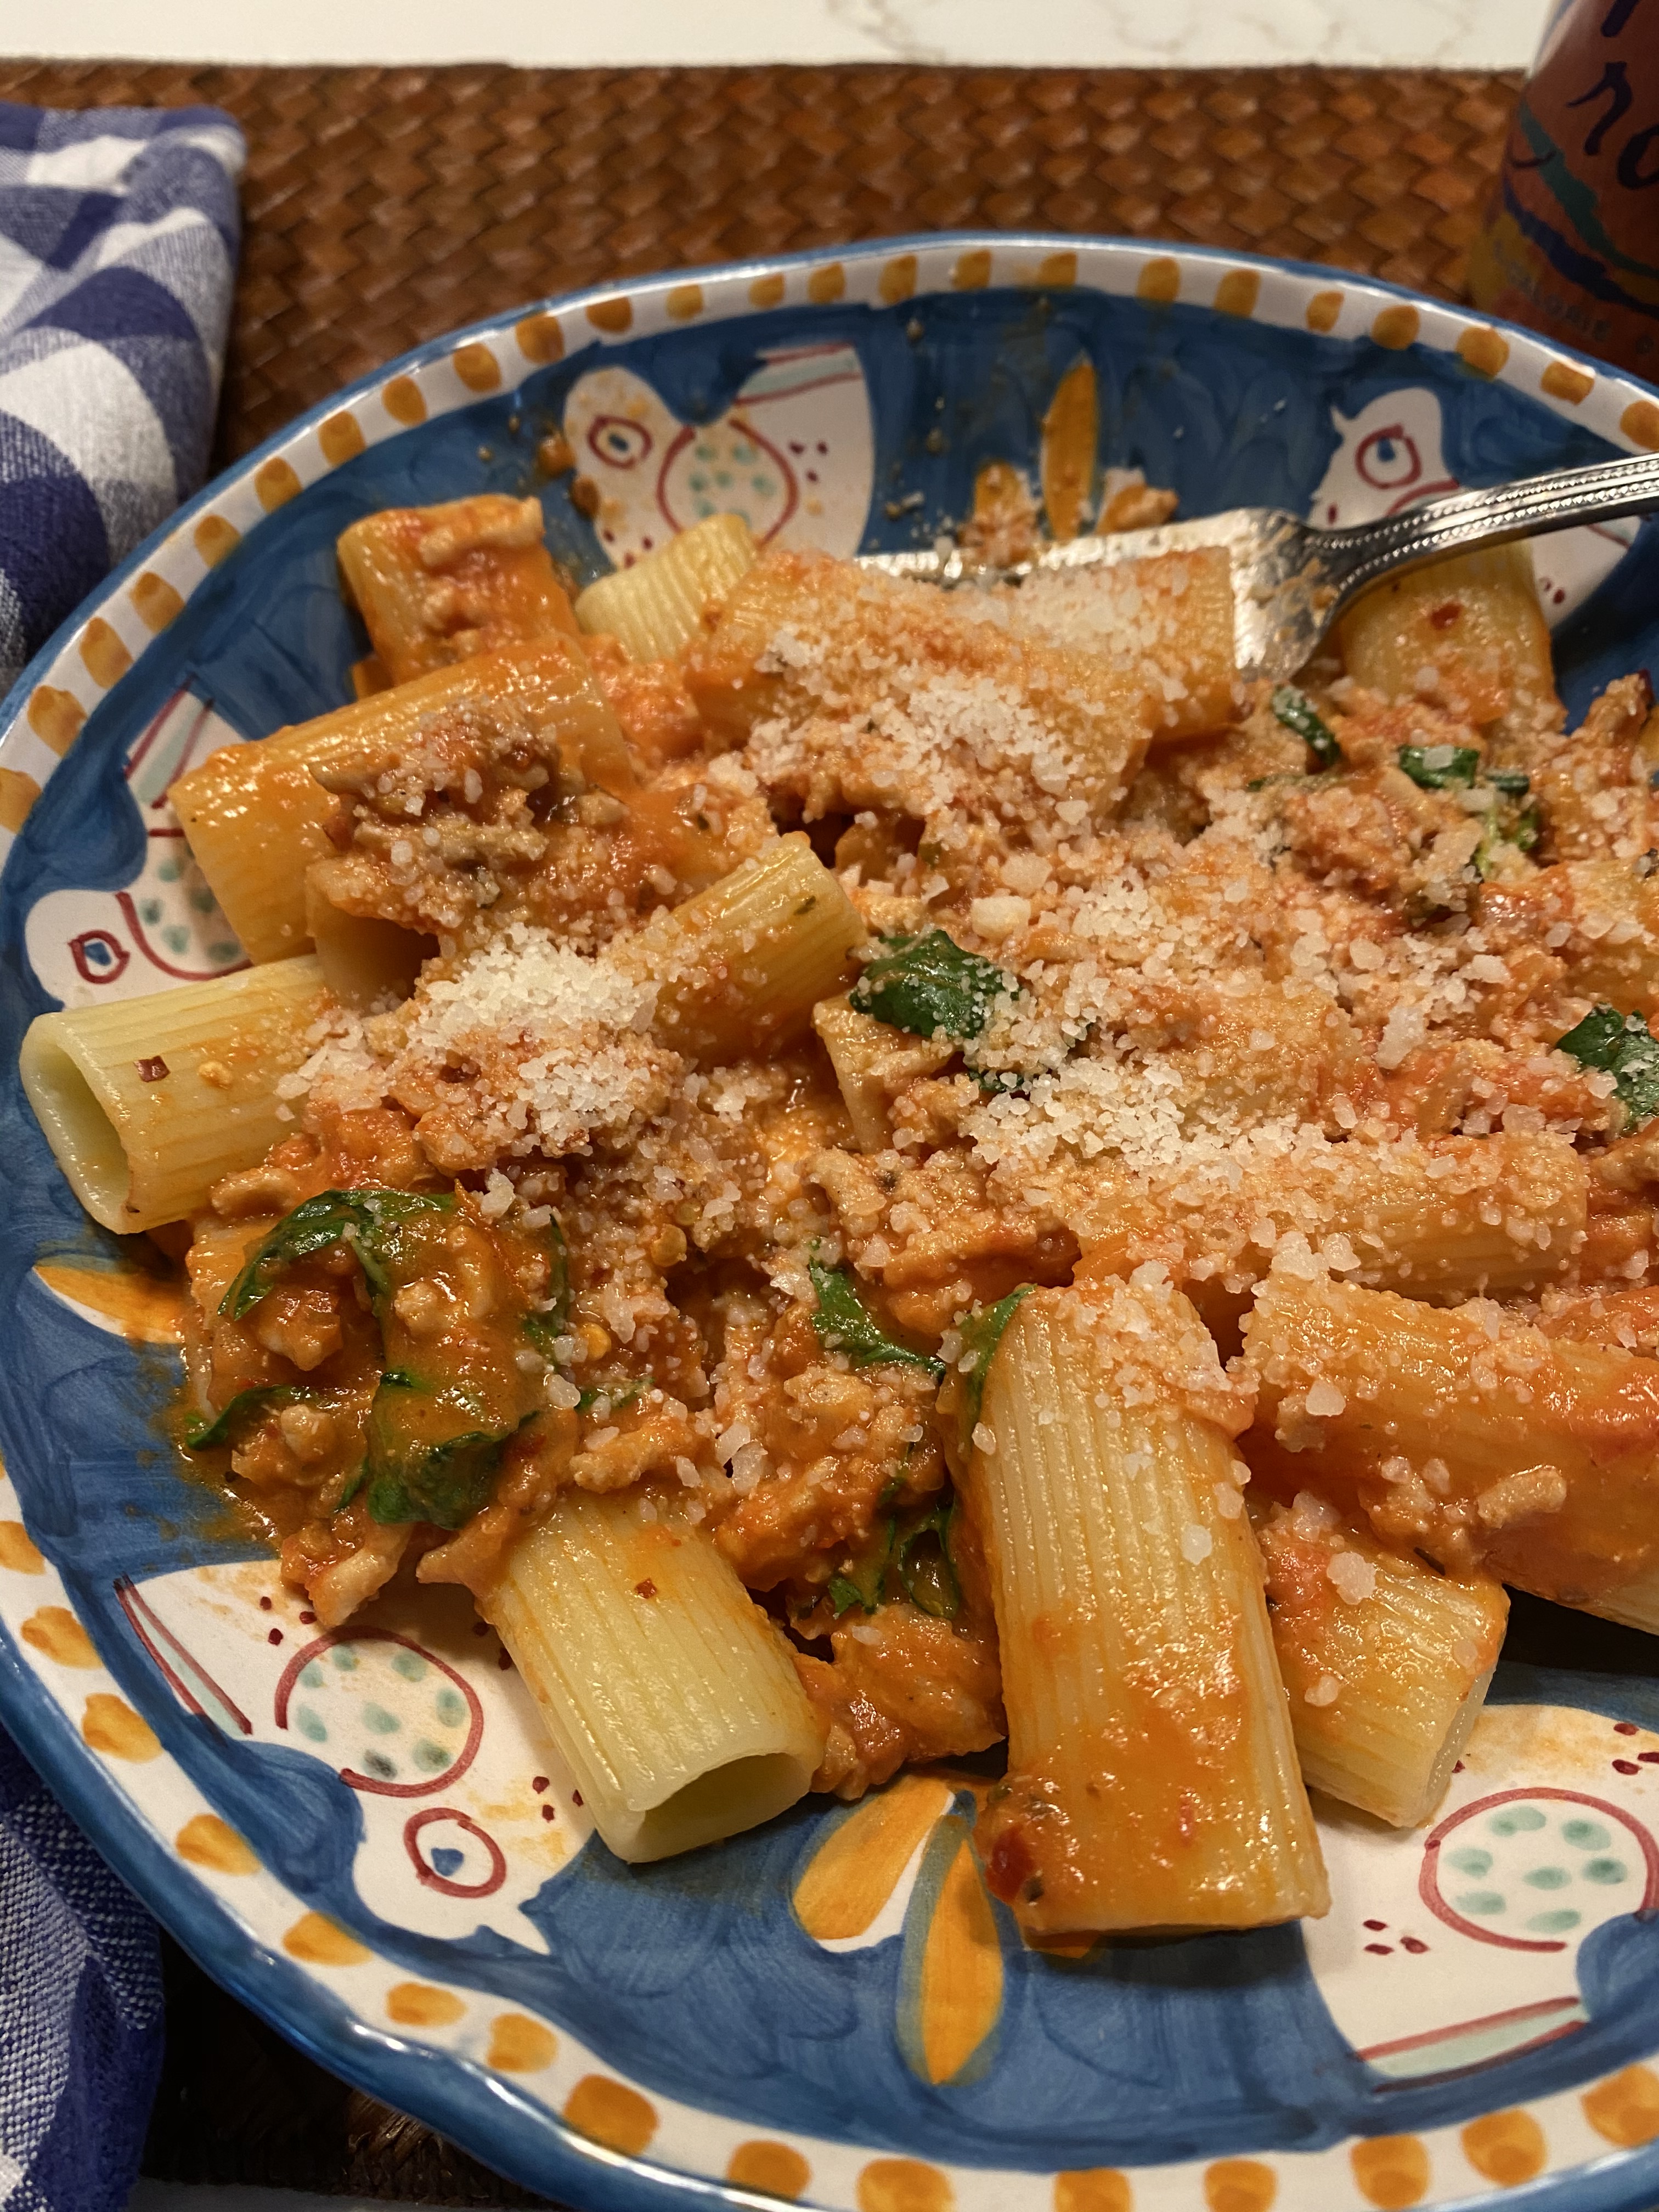
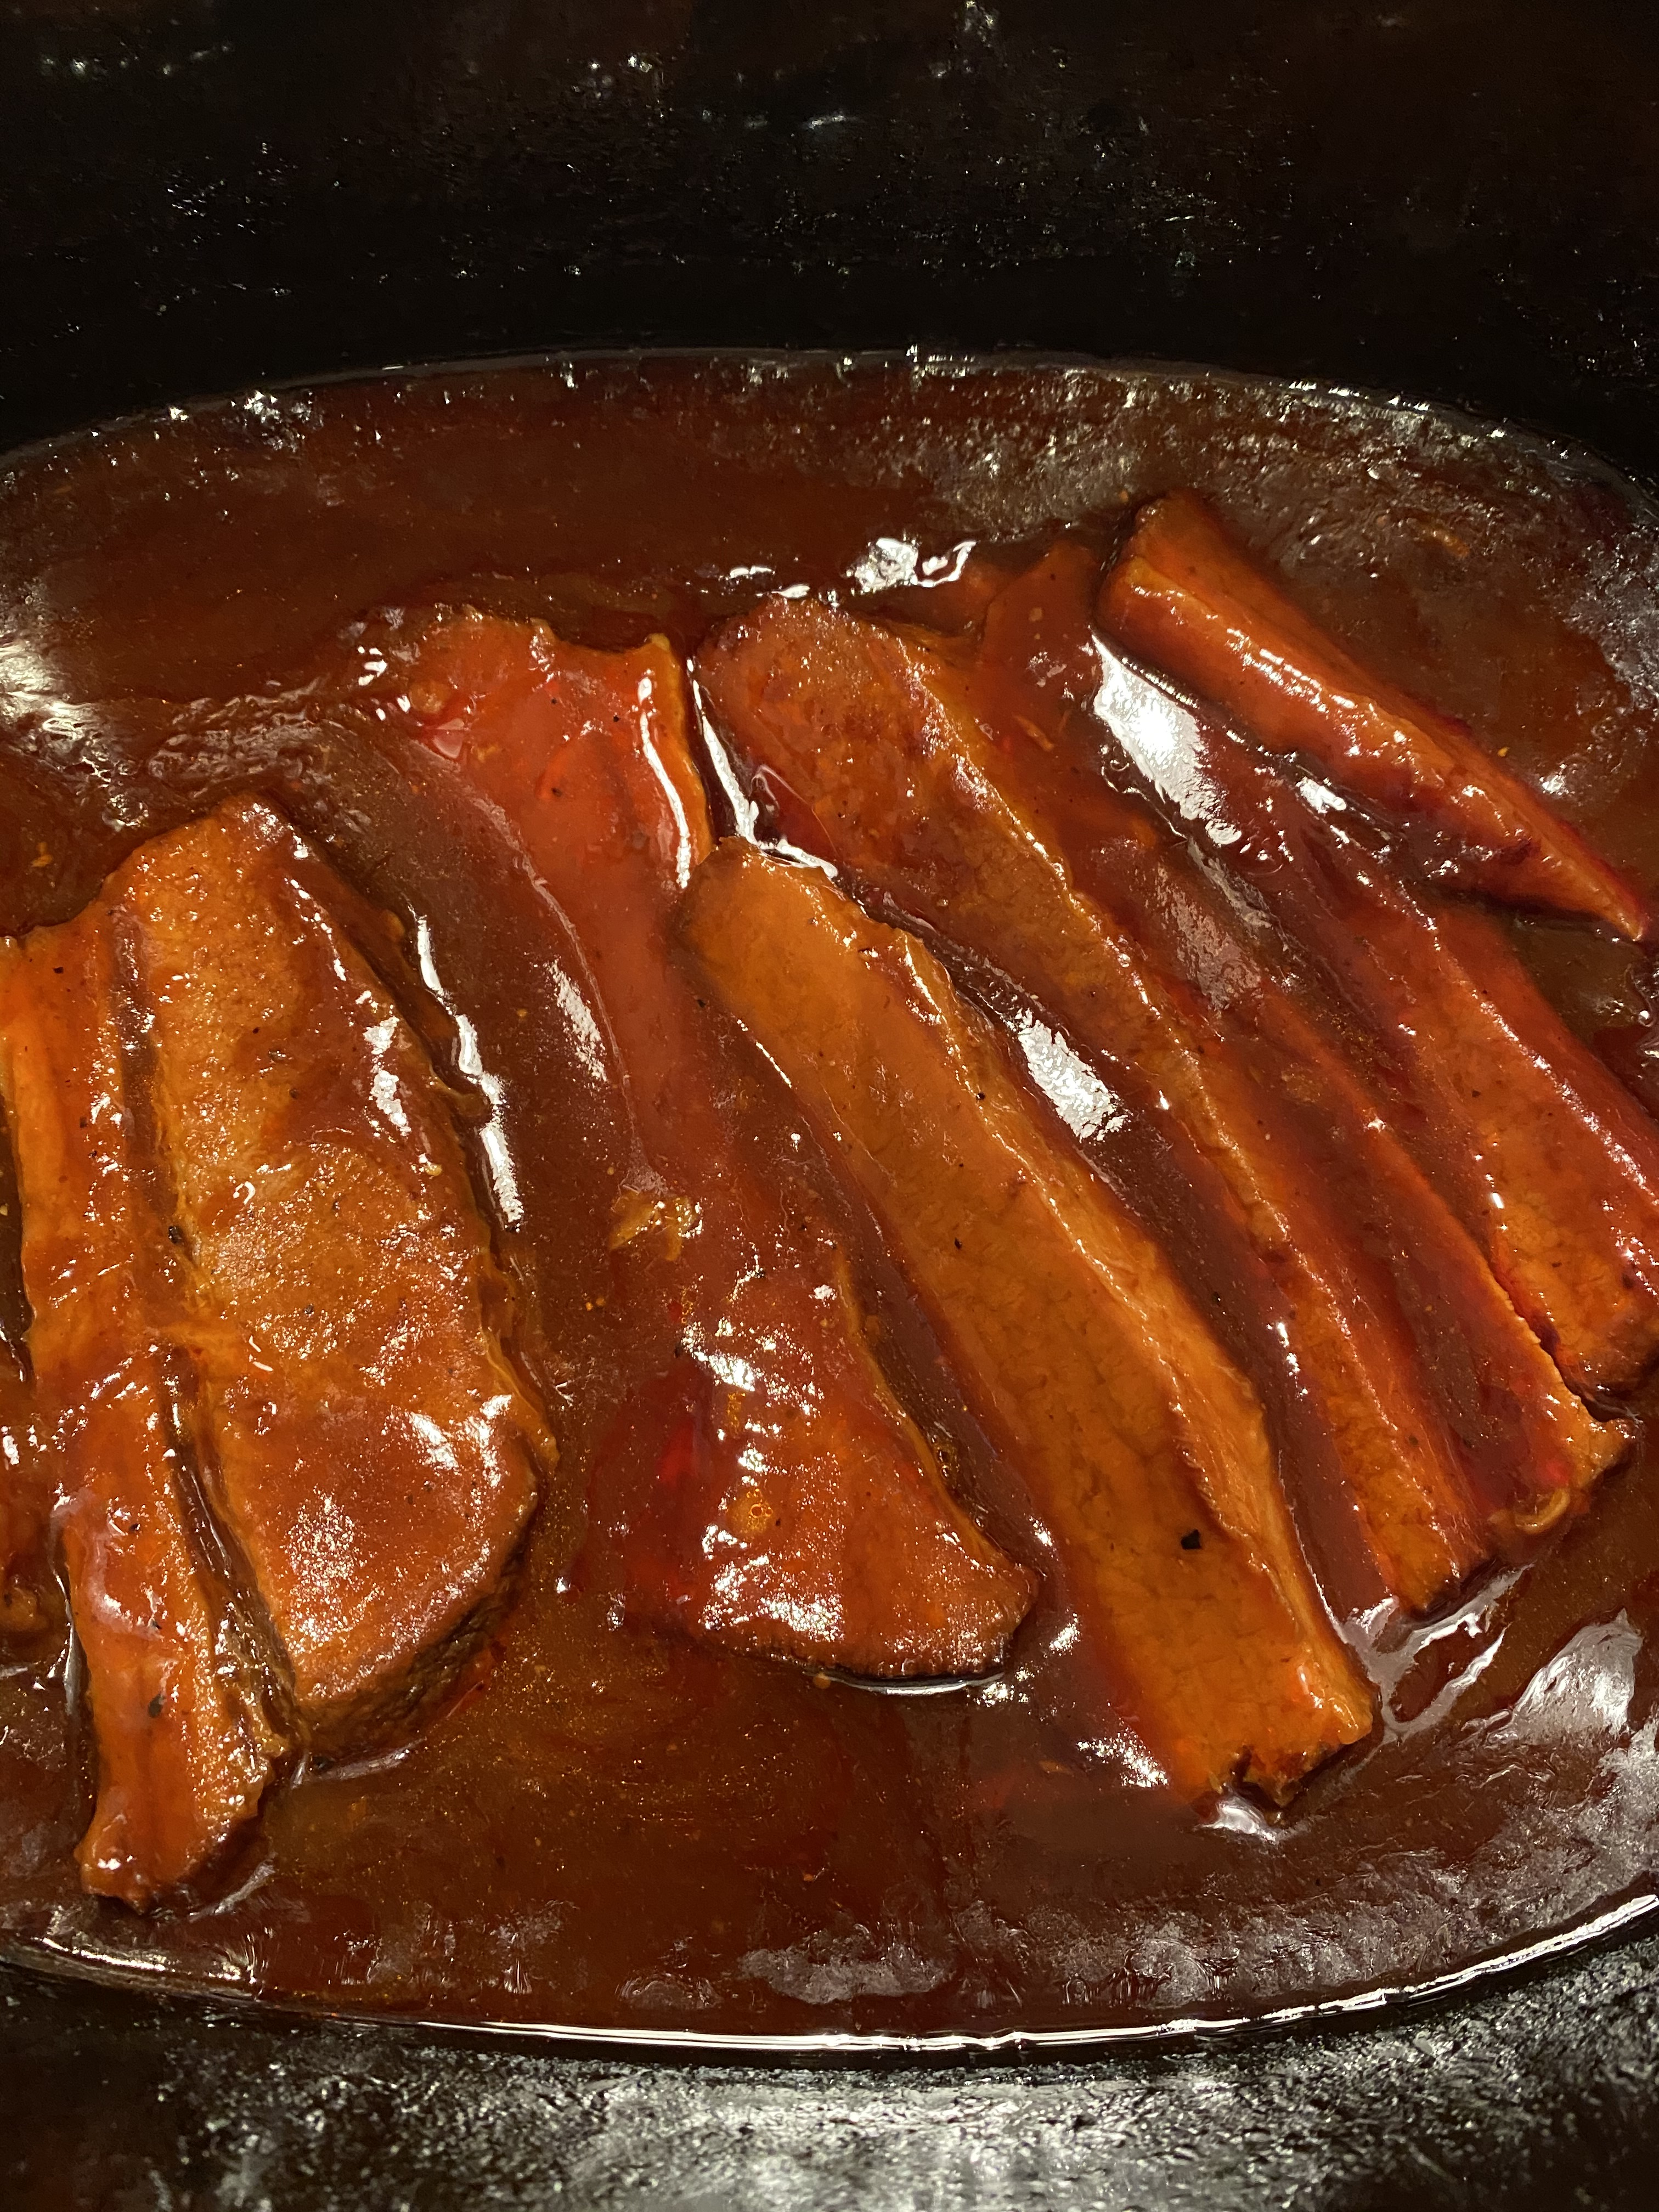
This was a delicious twist on chicken meatballs. The meatballs were so amazingly moist and tasty and I served over Jasmine Rice and it was just perfect. The original recipe is from Bon Appetit and I took a few liberties with it. We like spicy food so I used some Sriracha along with the ketchup — you can make this as spicy as you like or not spicy at all depending on how much or how little Sriracha you use or use none at all. If you’re in the mood for something a little different this one’s for you. We just love meatballs and we’ll eat them any which way. Have fun with this one. And you all know that my husband absolutely still refuses to eat broccoli so it was his loss because it was delicious.

*a little note I use my mini chopper to chop ginger and garlic and I use it for onions as well . It gets it finely minced. If you don’t have one of these mini choppers I highly recommend it’s use to get garlic, ginger and onions and other vegetables finely grated when recipe calls for that.

Enjoy!

Ingredients: Sauce

2/3 cup Ketchup — I decreased the ketchup and added about 1/3 Sriracha – and it was very spicy but we like very spicy . So please either keep it 2/3 of ketchup for totally not spicy or decrease a little ketchup and add a little Sriracha.

1/4 cup Worcestershire Sauce

2 Tbsp. Water

2 Tbsp. Honey

4 tsp. Soy Sauce

1/2 inch piece of ginger, peeled and finely grated

1 garlic clove — finely grated — see note above about finely grating

1/2 tsp. freshly ground black pepper

Ingredients: Meatballs and Broccoli

app. 1 lb. of Broccoli — you just want florets so if you’re starting with a head of broccoli you’ll have to trim and cut etc. I just bought a 1 lb. package of broccoli florets available in most grocery stores these days. ( not frozen)

2 Tbsp. Vegetable Oil divided — 1 for broccoli and 1 for Meatballs

2 1/2 tsp. Kosher Salt divided — 1 1/2 for Broccoli and 1 for Meatballs

* a pinch of Crushed red Pepper which is also optional

1 lb. ground chicken– I try to use 85/15 chicken the 90/10 tends to be very dry and really the best is ground dark meat if you can find it

1 large egg beaten to blend

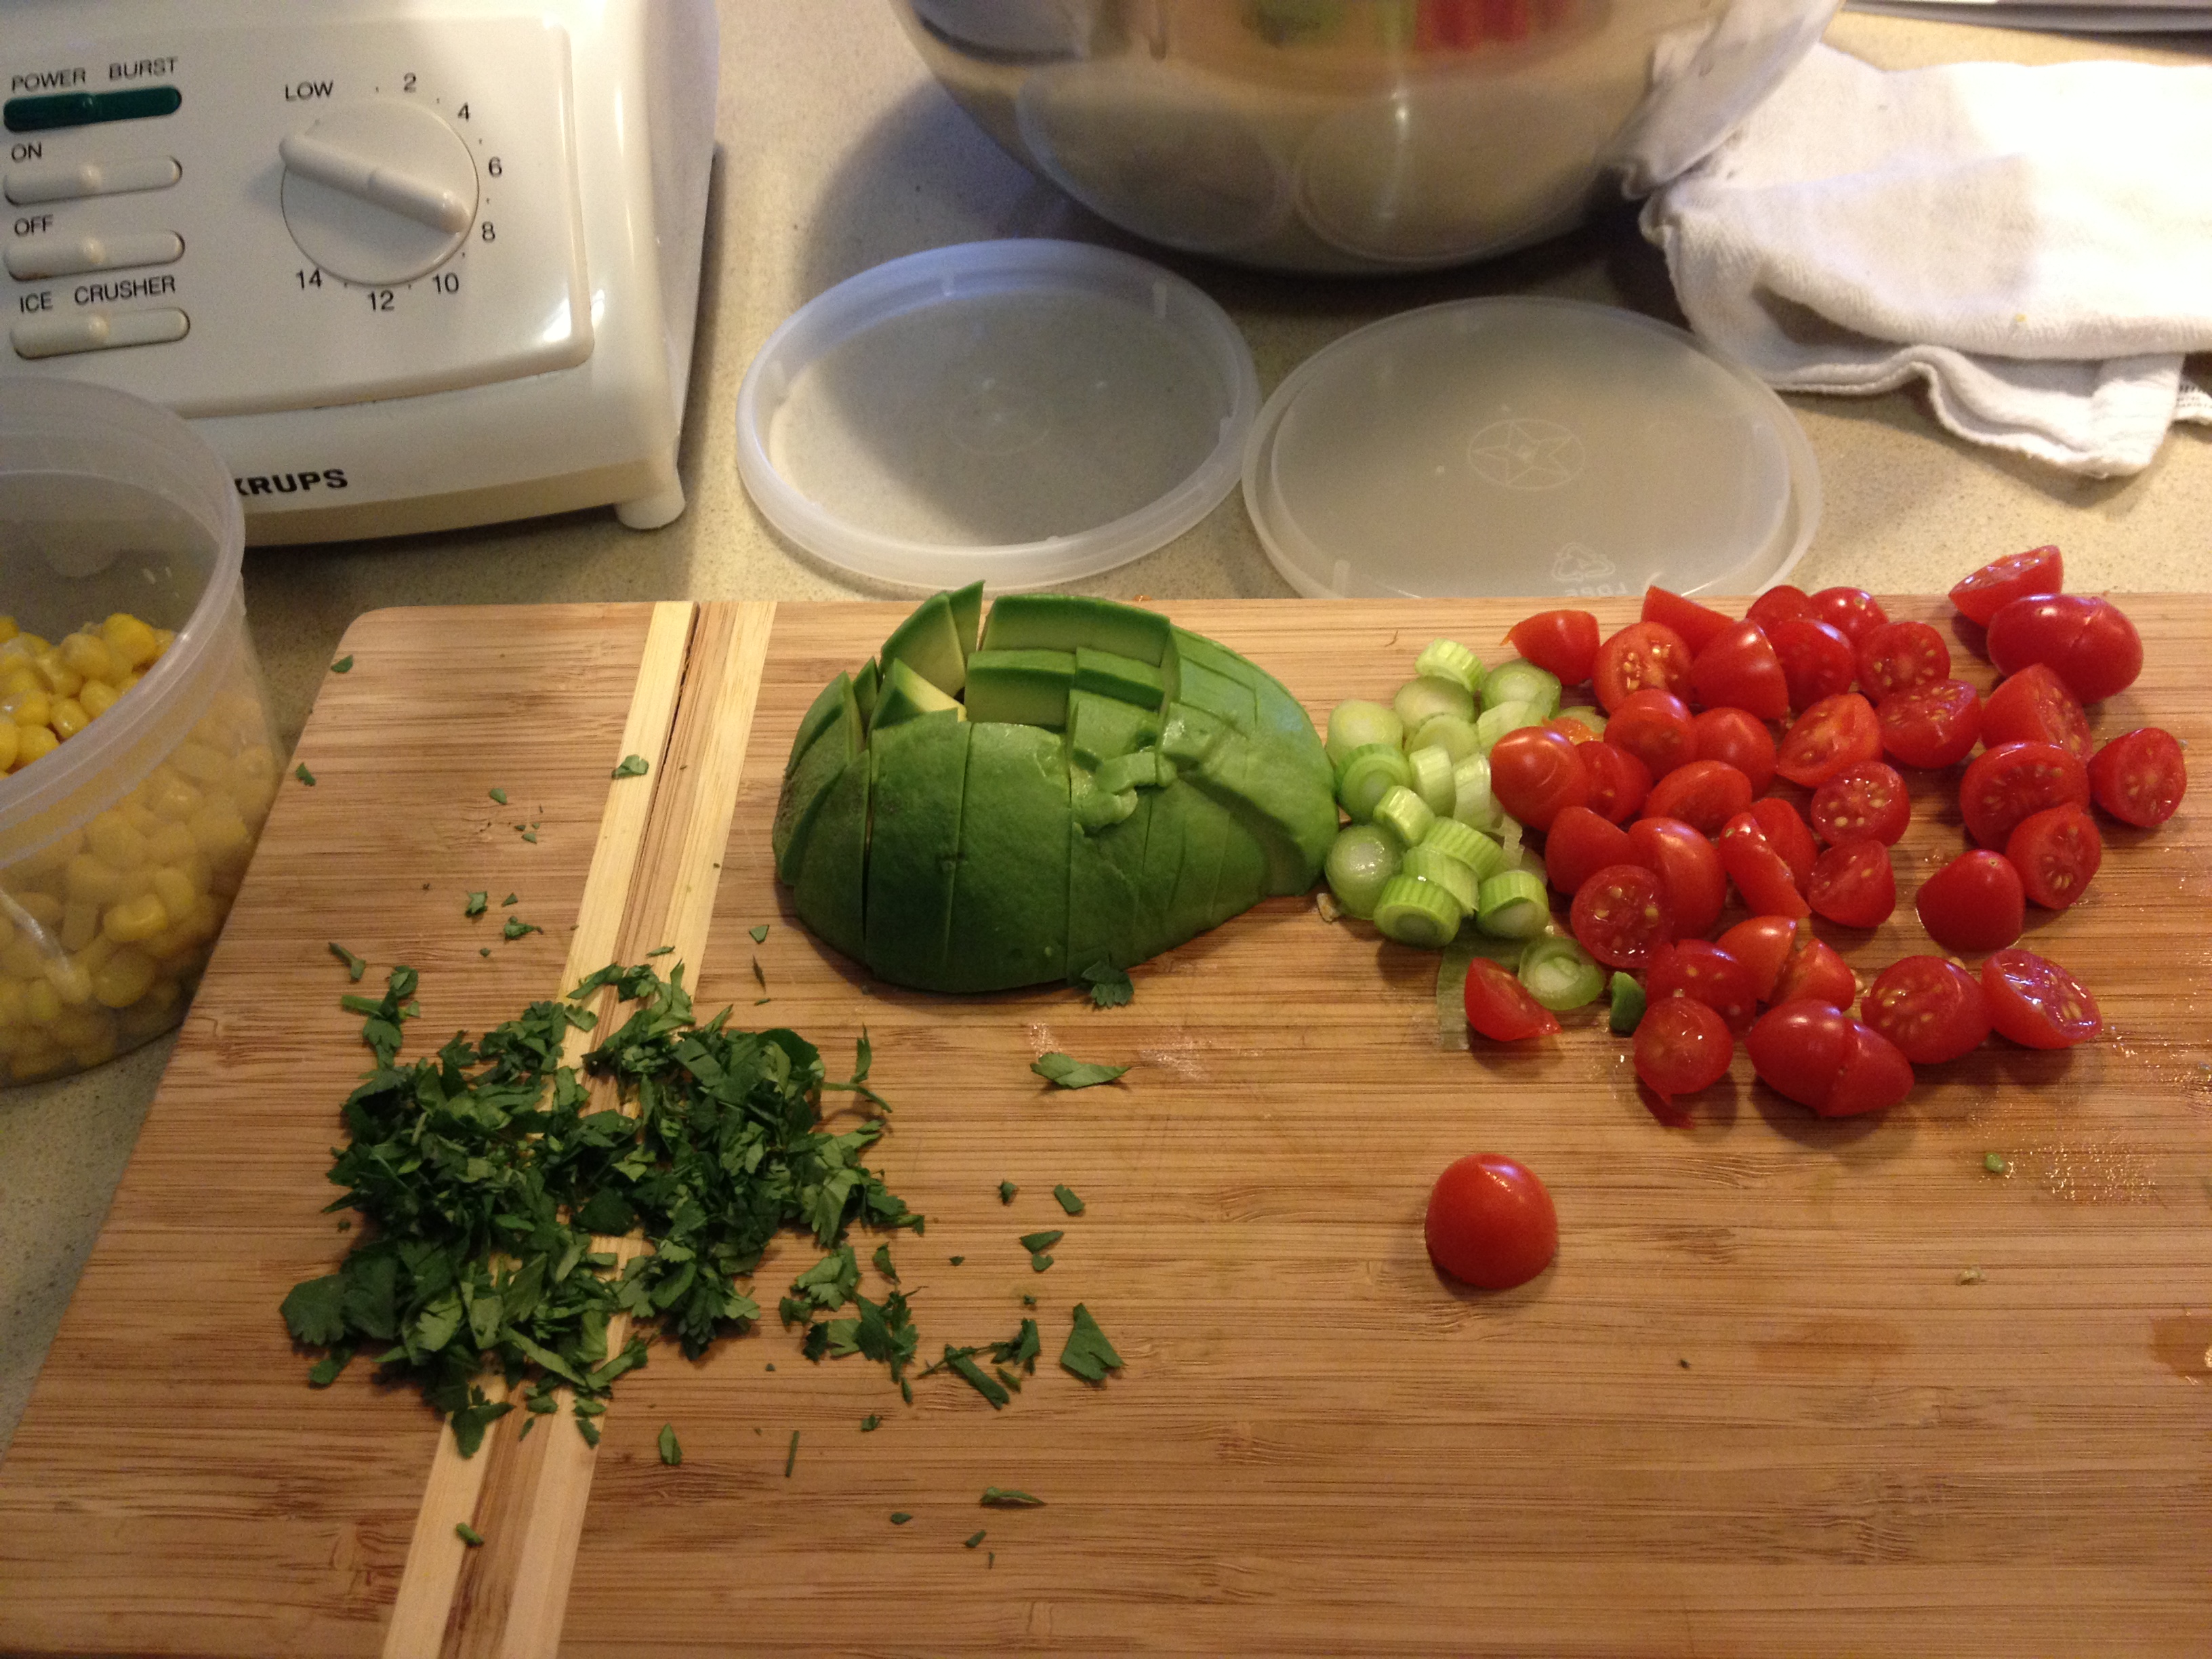
4 scallions , thinly sliced

2 garlic cloved, finely grated

1 ” small piece of ginger , finely grated

1/3 cup Panko ( Japanese Breadcrumbs)

1 Tbsp. Sesame Oil — I use regular Sesame Oil but you can use Toasted as well

1/4 tsp. freshly ground black pepper

Rice for Serving any kind you like , I used Jasmine this time but any kind will do

Directions:

Mix ketchup, Sriracha ( if you’re using) , Worcestershire Sauce, water, honey, soy sauce, grated ginger, and pepper in a small saucepan. I measured out about 1/4 cup mixture into a small bowl for glazing meatballs, later. Bring remaining mixture to a simmer over medium high heat stirring occasionally and reducing heat if necessary, let sauce thicken , about 5 minutes. Transfer sauce to a small bowl or leave in pan and remove from heat.

Meatball and Broccoli Assembly:

Place a rack in upper third of the oven; pre-heat to 450 degrees. I sprayed a sheet pan with cooking spray and lined it with aluminum foil. In a separate bowl I tossed florets with 1 Tablespoon Vegetable Oil, 1 1/2 tsp. Kosher Salt, and a few pinches of crushed red pepper ( optional) I brushed the sheet pan with the remaining 1 Tbsp. of Vegetable Oil and then placed broccoli florets on the edges of the baking sheet to create space for my meatballs.

Mix chicken, egg, scallions, garlic, ginger, panko, sesame oil, pepper , 1 1/2 tsp. Kosher Salt, and 4 Tbsp. Water in a medium bowl and mixed all ingredients together till just combined — don’t overmix

Using wet hands form into 12 meatballs — Probably 2 inches apiece though I didn’t measure but I got 12 beautiful sized meatballs. Arrange on baking sheet; brush with some of the reserved glaze ( 1/4 cup) ( see photo) Bake until meatballs are cooked through, about 15-20 minutes. Remove from oven; heat broiler. Brush meatballs again with glazing mixture; broil until broccoli is charred and meatballs are browned in spots, app. 5 minutes but keep an eye on them. At the end of 5 minutes if you’re meatballs look ready but your broccoli isn’t charred enough, remove meatballs and continue to broil broccoli till it’s charred enough.

Spoon meatballs and broccoli over rice in a bowl. Drizzle with sauce and there you go!

Cinco de Mayo Salad and Green Goddess Dressing

photo (2)photo (5)photo (2) photo Happy Cinco de Mayo!!! This salad is fresh and delicious and perfect for celebrating the day. If you’d like add a protein to it — chicken , shrimp or even tofu. May is here and it brings warm weather and beautiful flowers and springtime has finally arrived here .  This is a perfect way to bring a little Cinco de Mayo into your home in a pretty healthy way.

Any excuse to celebrate a holiday with a new recipe! Happy Cinco de Mayo everyone and here is a new salad and salad dressing to help celebrate with. While I am not a vegan and don’t always cook that way,  I tried this salad dressing which I found in Gwyneth Paltrow’s cookbook, “It’s All Good”, and I have to say it is all good! All good ingredients. I am not talking diet food–just good, healthy food, that when eaten in moderation, yields very good results. I used * Vegenaise in making this and highly recommend it in the place of mayonnaise. You can also use yogurt in its place. This is low salt and low sugar. Delicious, fresh ingredients. I made it with the delicious salad listed below. I love love cilantro, and I have to say that if you don’t love cilantro, this one’s not for you. I used half of a jalapeno and it was not hot at all, next time I will use a little more.  I scraped the seeds out. Be very careful handling jalapenos and their seeds–make sure to wash your hands well afterwards and maybe wear gloves to prevent any problems.

*This dressing will keep well in a jar for up to a week.

*a little story about Vegenaise, which is lighter than mayonnaise and contains no eggs, milk or animal products. No GMO’s (Genetically Modified Organisms). Mix it with Dijon for great flavor in the place of real mayo. Extra added bonus is a great jar to store future salad dressings in.

Stay Safe Guys and Enjoy the Day!

Be in control of your ingredients as much as possible.

Ingredients:

*this will be vegan if you use Vegenaise

DRESSING INGREDIENTS:

2/3 cup of Vegenaise, yogurt, or mayonnaise

2 scallions, white and light green parts only, chopped

1/4 cup freshly squeezed lime juice (about 4 limes)

1/2 green jalapeno, roughly chopped (you can use more or less, whatever level of heat you like)

1/2 cup extra virgin olive oil

1/2 teaspoon kosher salt

1 tablespoon honey

DRESSING DIRECTIONS:

Blend all ingredients in a blender except for olive oil (I open the top and pour oil in after all other ingredients are combined.) It is a beautiful light green color with specks of dark green. Joel was definitely suspicious of the color but he really loved it! Gave it a big thumbs up!

This should serve 4 nicely as a salad but adjust quantities based on how many people you are feeding.

SALAD INGREDIENTS:

About two hearts of romaine Lettuce, shredded

1/2 can of yellow corn (or 2 fresh ears of corn, shucked)

1/2 can black beans (I use organic canned beans and rinse and drain them)

4 scallions, white and light green parts only, thinly sliced

1 ripe avocado, cut into chunks

approx. 1/2 cup chopped tomatoes (I used delicious cherry tomatoes, halved)

1/4 cup roughly chopped cilantro

Green Goddess Dressing (see above)

If you’re using fresh corn, you’ll have to cook it first. I used the canned version this time. Place the lettuce in a large bowl and dress it with about 1/4 cup of the dressing, just so it’s nicely coated. I then added beans, tomatoes, scallions, avocado, cilantro and corn. Add a little more salad dressing, and serve immediately. Joel likes a lot more dressing on his salad so I served with dressing on the side.

Sheet Pan Chicken Fajitas

IMG_7067IMG_7069
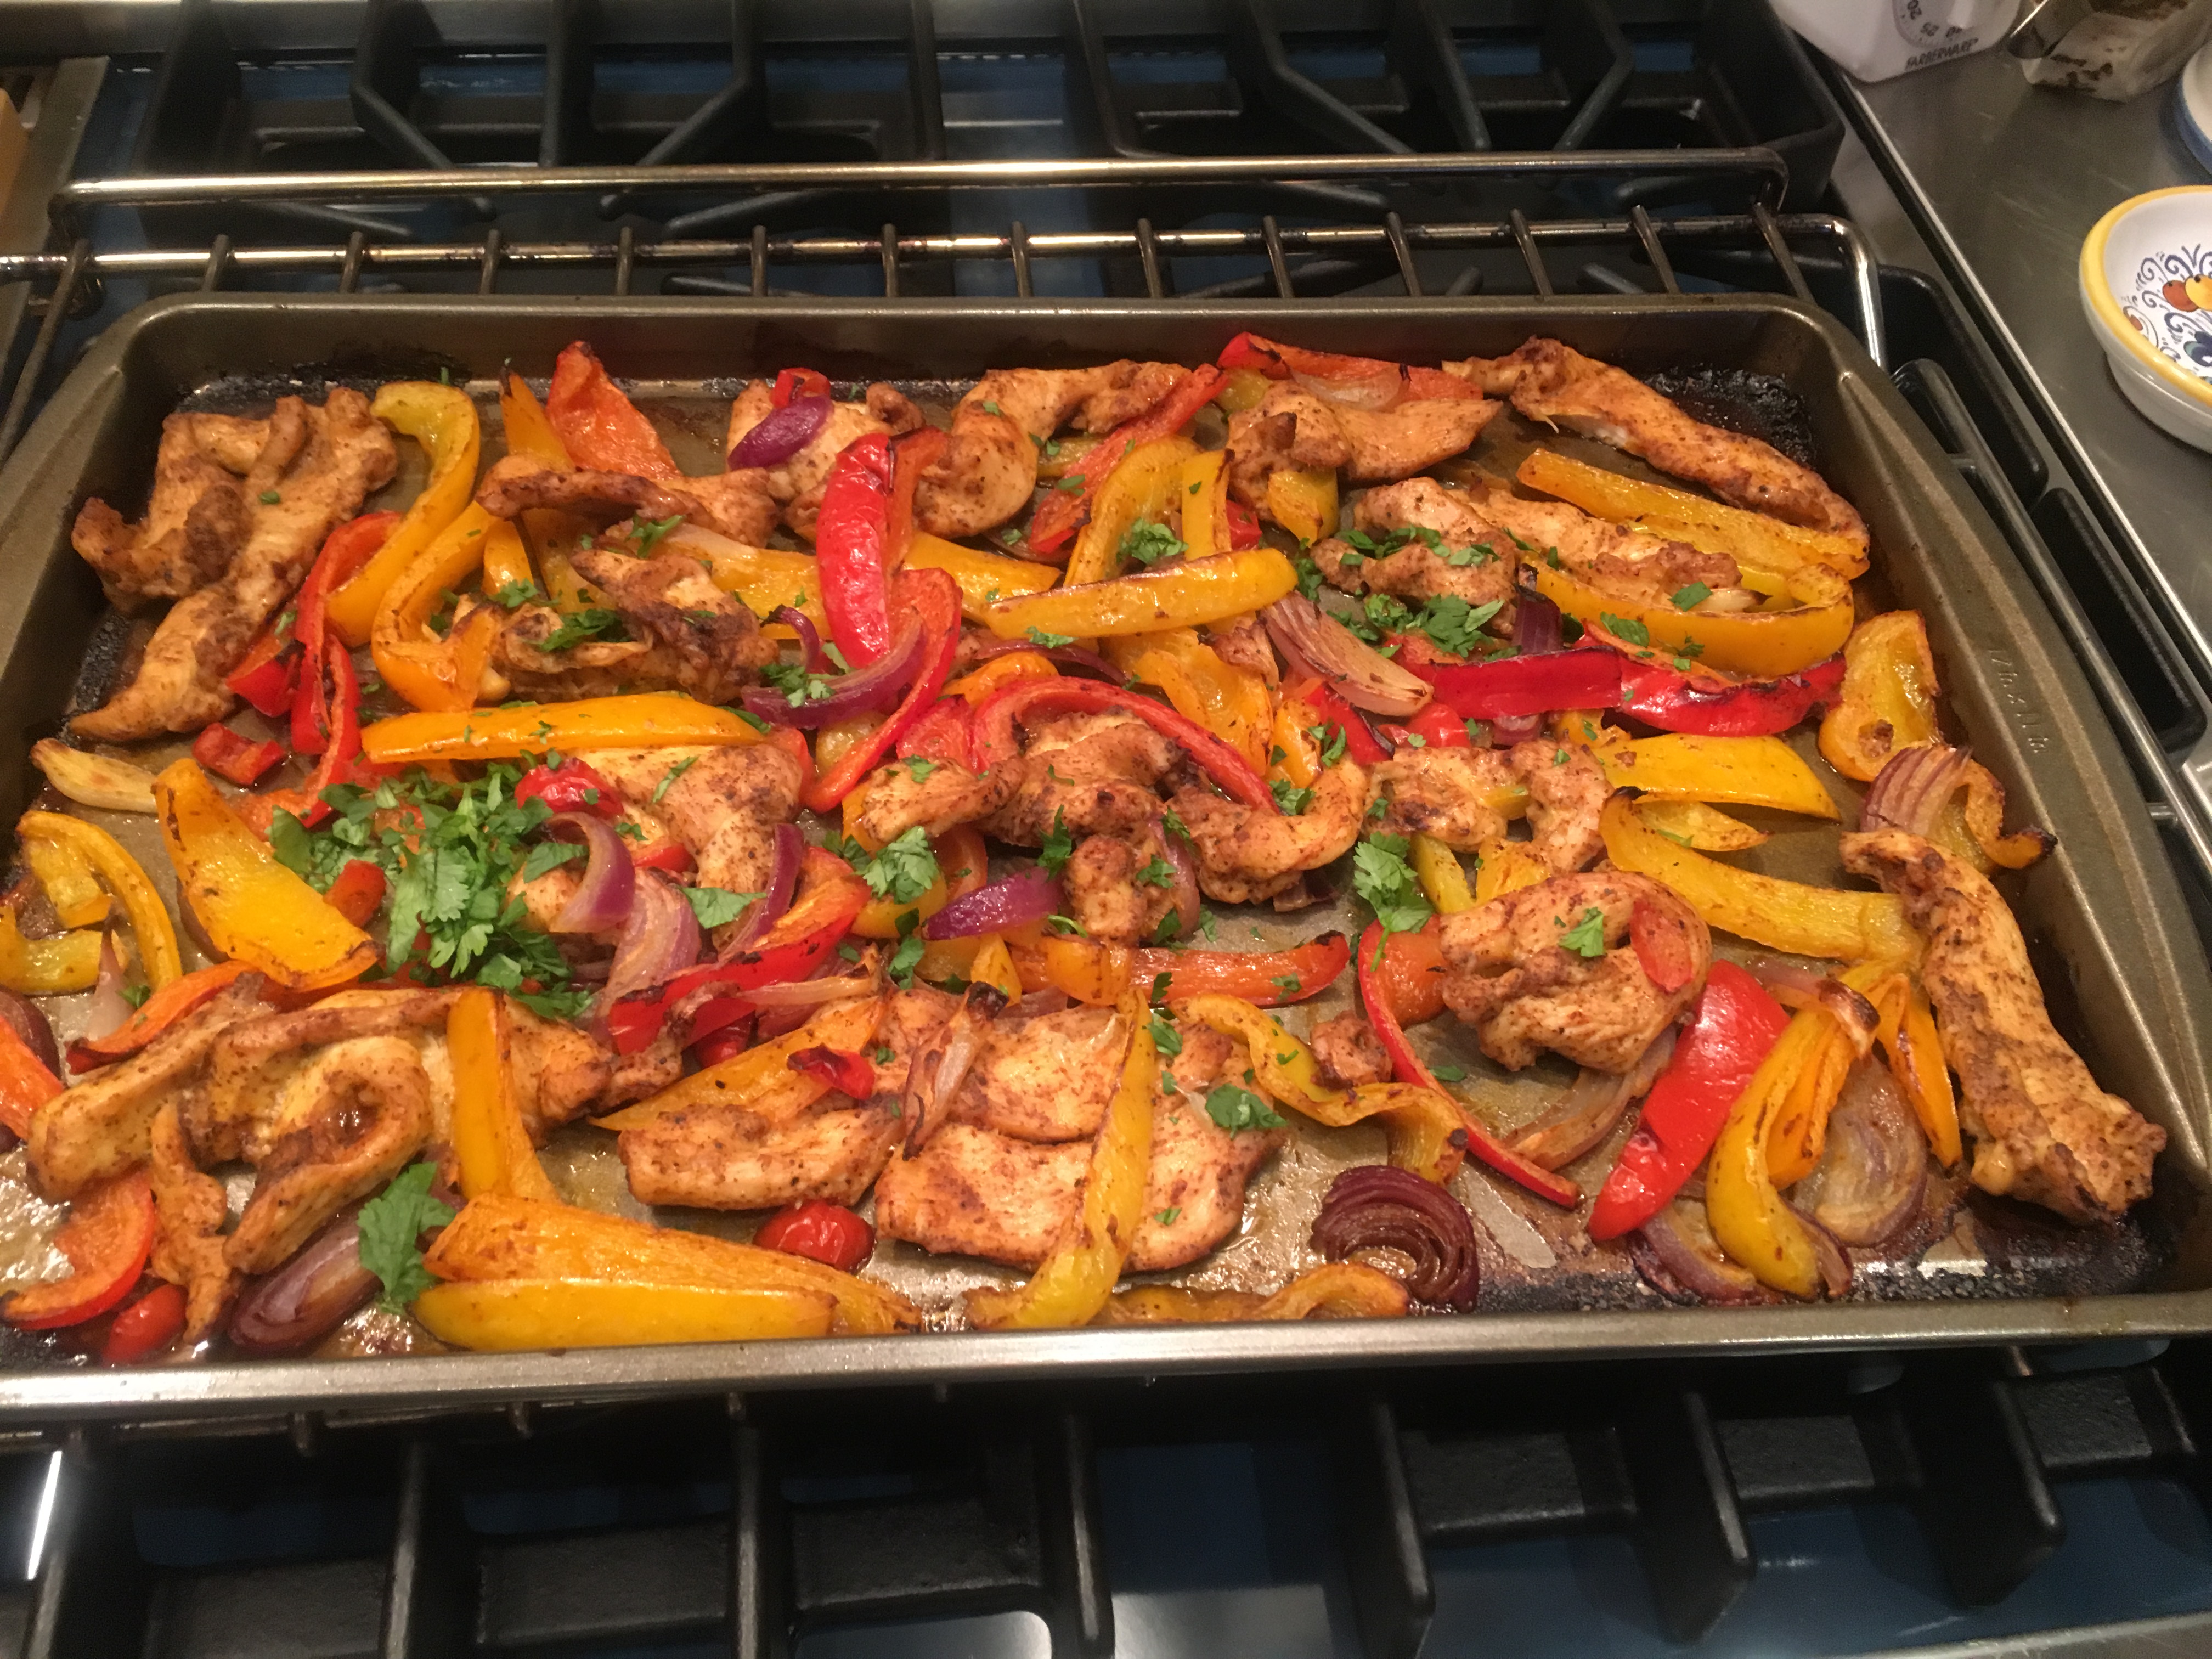
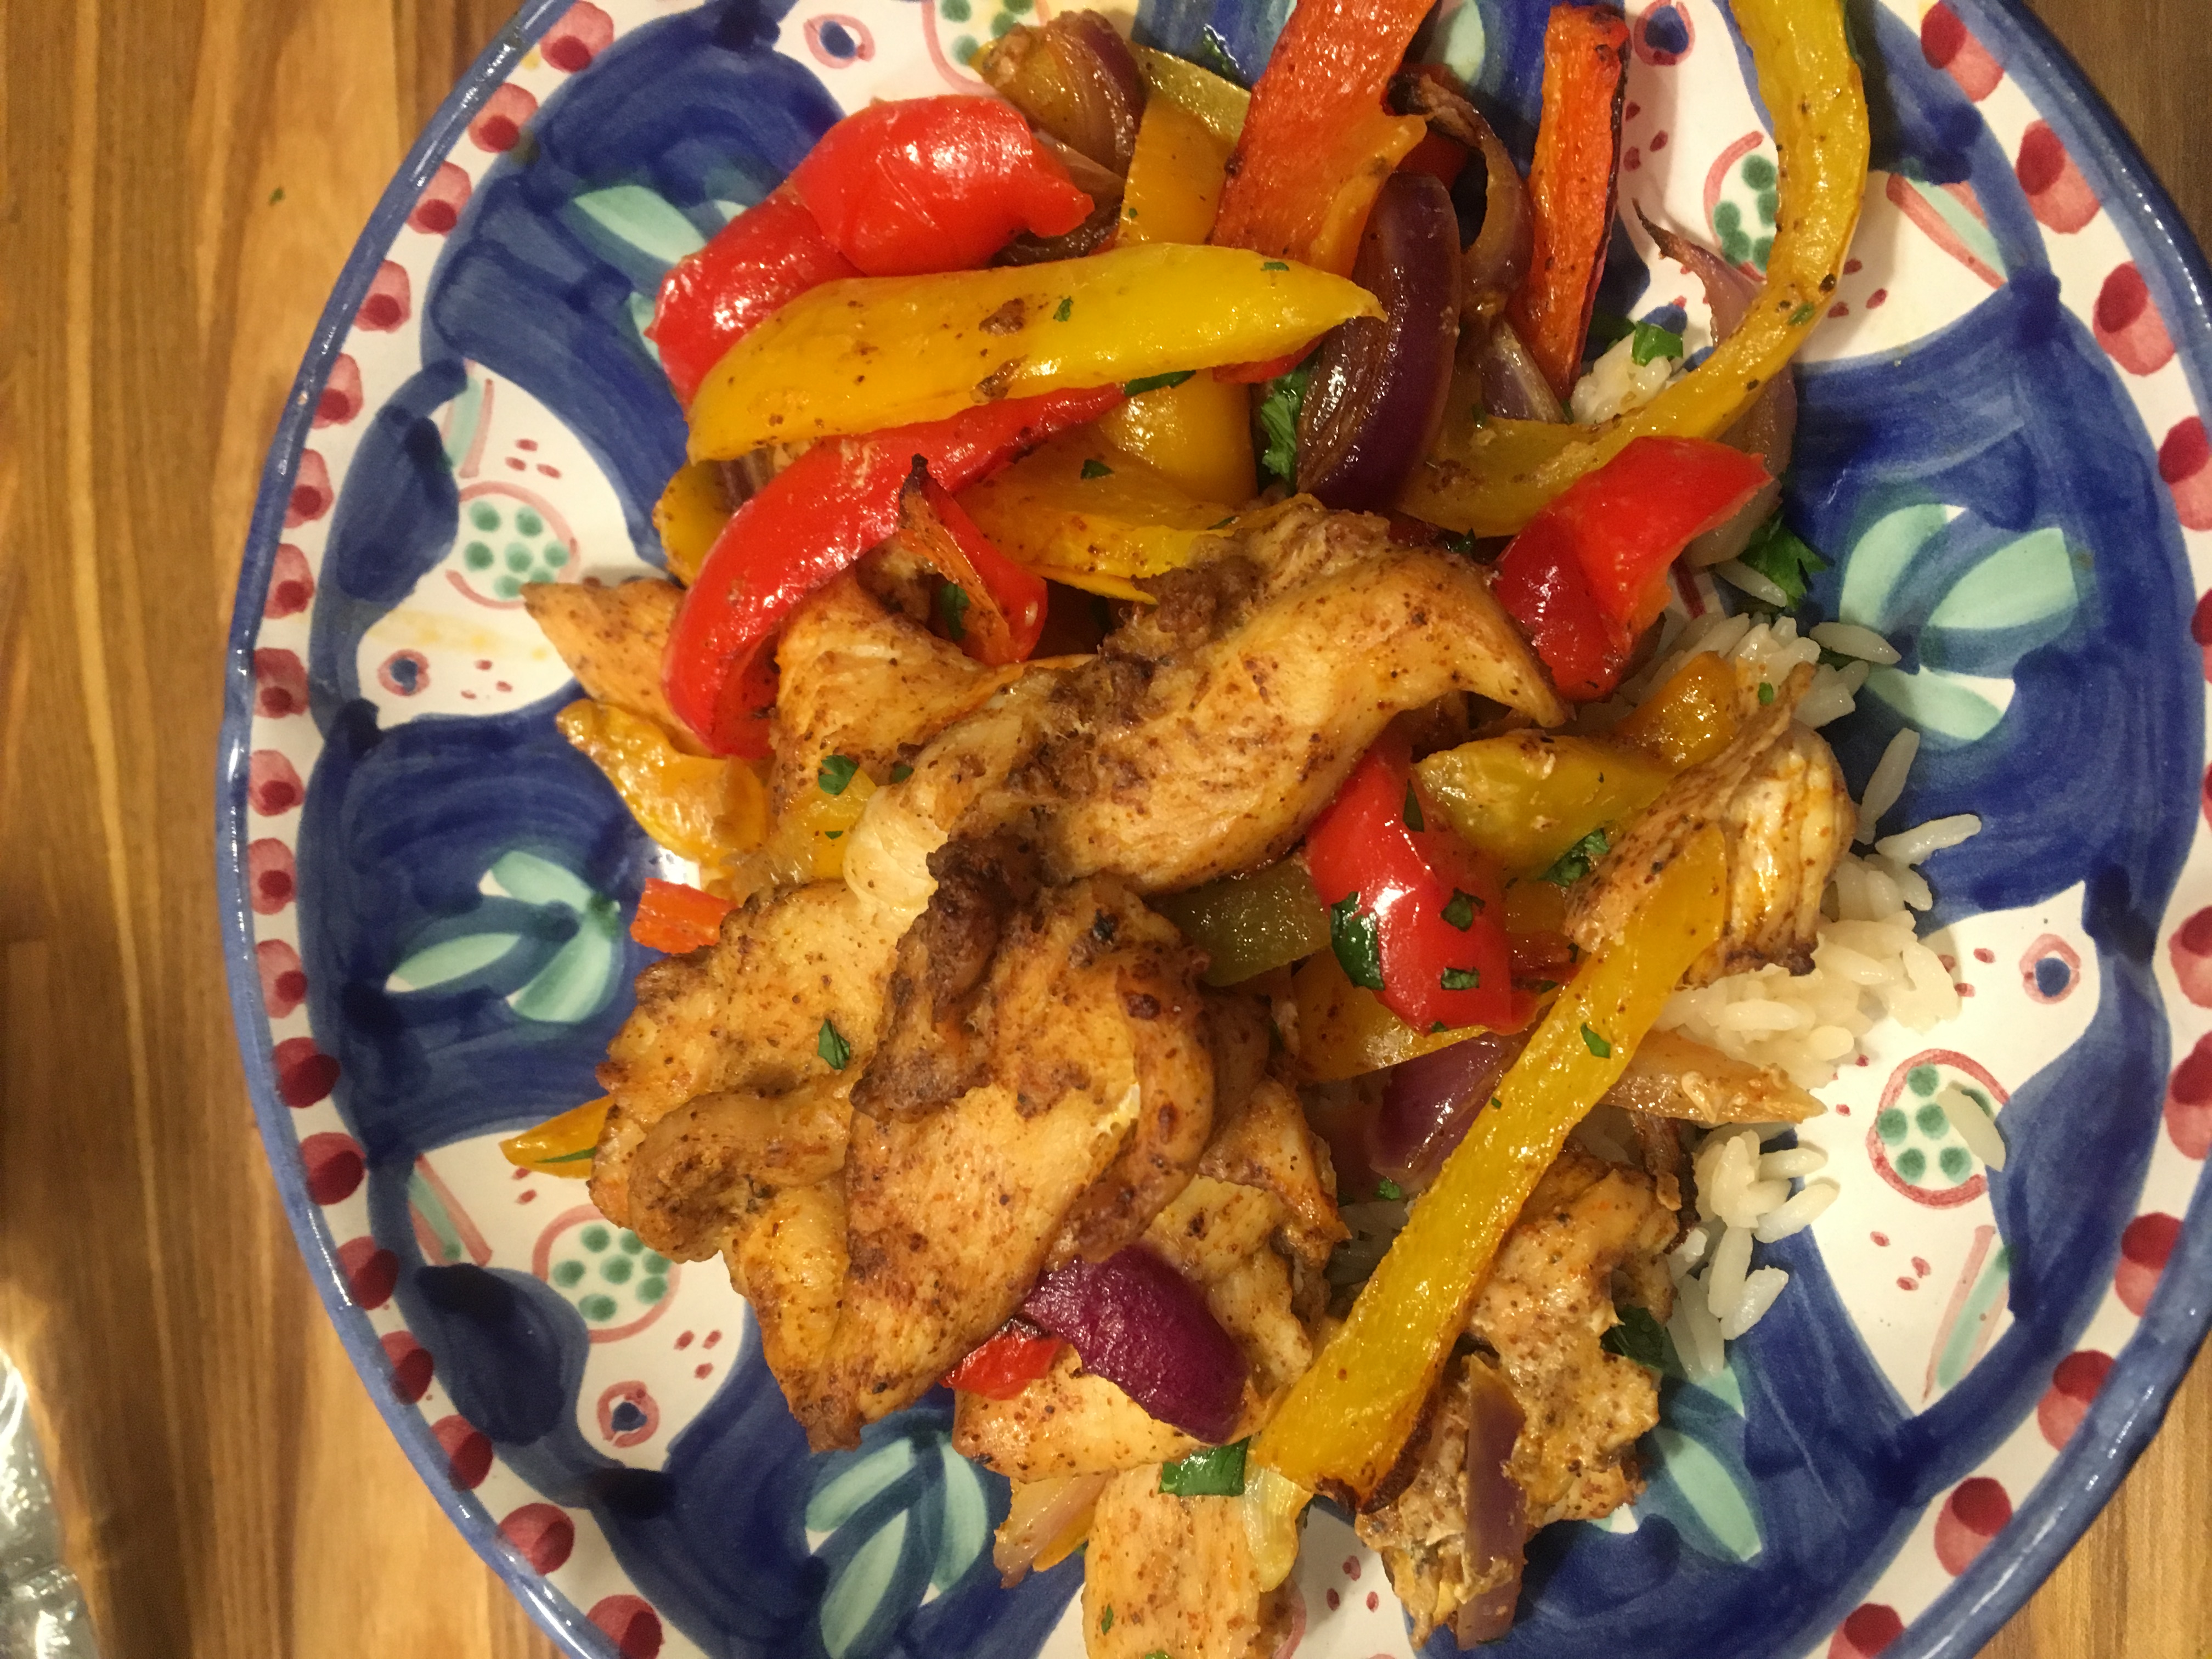
More of my favorite way to cook with Chicken Fajitas made on the Sheet Pan . I made this the other night and it is the easiest and most delicious meal. I am always experimenting with making Chicken Fajitas in new ways and trying to keep the oil down. If you use too little oil they come out tasting dry and that’s no good so use the 3-4 tablespoons of olive oil that I suggest.  This is what I did and I served with small soft tortillas and you can provide any fixings you like. I also served over rice in a bowl which is how I like to eat my fajitas. Obviously what you do with them is totally up to you! A little sour cream and guacamole never hurt anyone either. And buy some tortillas and you have perfection on a plate.

*it is important that all veggies be cut up into fairly uniform sizes this will help cooking process and timing

Enjoy!

Ingredients:

1 1/2 lbs. of chicken breast tenders– or just cut some chicken cutlets into strips

1 yellow bell pepper –sliced into 1/4″ slices

1 red bell pepper–sliced into 1/4″ slices

1 orange bell pepper–sliced into 1/4″ slices

1 small red onion–sliced into 1/4″ slices

3-4 Tablespoons of Extra Virgin Oil –now I have tried 2 Tablespoons and it was a little dry so use your own discretion here –depending on how much chicken you’re using and you’ll want a light glaze all over the chicken and veggies

1 teaspoon of kosher salt –this was enough for us but again use your own discretion

several turns of the pepper mill — freshly ground black pepper always works best

2 teaspoons of chili powder

1/2 teaspoon of garlic powder

1/2 teaspoon of onion powder

1/2 teaspoon of ground cumin

1/2 teaspoon of smoked paprika

Lime for squeezing at the end

*fresh chopped cilantro for garnish and delicious flavor if you like it

*warmed tortillas–if you like

Directions:

Preheat oven to 425 degrees

In a large bowl , combine onion, bell pepper, chicken strips, olive oil, salt and pepper and all the spices. Start with 2 Tbsp. of Olive Oil and add more . I really felt it needed more than 2 Tbsp.

Toss well and combine and allow to sit for a while before cooking. I find that the longer it sits the better it tastes. I prepped and let it sit for an hour or so.

Spray a baking sheet with non stick cooking spray

Spread chicken and onions and everything on baking sheet

Cook at 425 degrees for about 20 minutes, if you’d like to use a meat thermometer here chicken should be 165 degrees. After 20 minutes I turned the oven to broil and cooked for additional 2-4 minutes just letting the veggies get some nice color. Watch it carefully to make sure it doesn’t burn.

I served in bowls over rice with warm mini tortillas and sour cream and guacamole.

*should serve 3-4 nicely with the rice and sides

Enjoy!

Lemon Couscous with Chicken and Peas

photo (11)  Lemony couscous with grilled chicken and peas!!! Love it!!! It was so easy using very few ingredients and very yummy!   I used chicken breasts and threw them on the grill pan with a little olive oil , salt and pepper. If you really want to make this easy you can use a store-bought rotisserie chicken. You can also substitute any grain of your choice. I happen to love the Israeli couscous ( pearl couscous), it’s not as mushy and has a better texture for this dish especially. I also like to use organic lemons when I’m using the zest of a lemon. If it’s just the juice of a lemon I don’t get as nuts but I have to say I prefer the organic ones when I know I’ll be eating the skin of the vegetable or fruit.  The flavor of the fresh lemon is just wonderful . 

Enjoy this one!

Ingredients:

2 tablespoons olive oil

1 1/3 cups Israeli couscous ( pearl)

2 1/2 cups chicken broth

Zest of 2 large lemons ( organic)

1/4 cup fresh lemon juice

1/2 – 1 teaspoon kosher salt ( start with less and you may need to add a little more) the parmesan is salty, and you’re salting the chicken.

1/4 teaspoon freshly ground black pepper

1/2 cup grated Parmesan

4 green onions, chopped

1 cup frozen peas

1 lb. thin chicken breasts, a little olive oil and salt and pepper or use a rotisserie chicken breast

Directions:

On a baking sheet, brush chicken breasts with a little olive oil and lightly salt and pepper. The thin cutlets grill up very quickly app. 3 minutes per side. Grill and set aside . I cut chicken up into small pieces before adding them to couscous. You can also cut up thicker chicken cutlets into 2 inch pieces and using a grill pan or frying pan cook them the same way ( olive oil salt and pepper) I like to put chicken in a bowl glaze them with olive oil and s and p and then cook them.

In a large saucepan, heat the 2 tablespoons of olive oil over medium high heat. Add the couscous and cook until lightly toasted , 2-3 minutes. Add the broth, lemon zest, lemon juice, salt and pepper. Bring to a boil. Reduce the heat to medium-low and simmer uncovered until the couscous is tender but still firm to the bite, app. 8 minutes.

I then stirred parmesan cheese into couscous along with the green onions, peas and cut up chicken. Taste for salt and pepper.

I plated it up and we totally enjoyed!

Chicken Rigatoni a la Vodka

This was one delicious pasta meal made with ground chicken this time around. Pretty easy to make and the only special tool I used was an immersion stick blender but a blender will work as well. Easy ingredients and easy prep and came out just perfectly. Most perfect weeknight meal.

Enjoy!

Ingredients:

1 pound ground chicken

1 teaspoon Italian Seasoning

1/2 teaspoon red pepper flakes

2 Tablespoons Extra-Virgin Olive Oil plus 2 teaspoons of Oil for cooking the meat

2 Tablespoons Un-Salted Butter

1 Medium yellow onion — small dice

5 Medium Garlic Cloves minced

1/2 teaspoon dried oregano

1 teaspoon crushed red pepper flakes– use to your own liking — we like a little kick

1 28 oz. can crushed tomatoes

1/2 cup heavy cream

1/4 cup Vodka

12 oz. box Rigatoni or Penne

Kosher Salt and Coarse Black Pepper

Fresh Basil for garnish

Grated Parmigiano-Reggiano Cheese for garnish

Directions:

Cook the ground chicken in a large saucepan with 2 teaspoons olive oil and italian seasoning and 1/2 teaspoon red pepper flakes. Season with a bit of Salt and Pepper. Cook till crumbly and fully cooked. Remove and set aside in a bowl.

Heat the 2 Tablespoons Olive Oil and butter in the same saucepan over medium high heat . Once the butter has melted, add the onion and cook the onions down stirring frequently, until softened and translucent but not browned, about 5 minutes. Add the garlic, oregano and crushed red pepper flakes ( 1 Teaspoon ) cook stirring for another minute or so. Add the crushed tomatoes with their juices. Bring to a boil over high heat, then reduce the heat to medium-low so the mixture is barely bubbling — a simmer and cook for another 1/2 hour or so. Sauce will thicken and reduce somewhat. Season to taste with Salt and Pepper.

After sauce has cooked for 1/2 hour or so I turn off the heat and add the vodka and cream and then I use my immersion stick blender to blend the sauce till I like the consistency. I blended till completely smooth . You can use the blender just let sauce cool down first and work in batches. I then let sauce simmer for about 10 minutes to cook off the vodka. Taste for Salt and Pepper. 

Cook the pasta until al dente. Drain the pasta and reserve a cup of pasta water to thin out the sauce — I did because it thickened up a lot. Add the chicken to the sauce. Stir to combine and add water if too thick, stirring frequently. Let it cook for a little bit and then I plated up pasta added sauce and topped with fresh basil and grated cheese .

I froze leftover sauce.

This would probably serve 4 nicely.


Matzo Brei –Savory Style

This is a delicious way to make a meal with eggs and matzo. Sometimes we eat it for dinner and it’s just sort of perfect. Real comfort food for us.  I always loved Matzo Brei since I was a little girl, and I always wondered why it is that we only eat this delicious concoction during Passover.  It’s such a delicious treat why don’t we eat it more often? In our house we usually eat it till the matzo runs out. Usually for the week of Passover, then we stop. It’s so good. Everyone has their own little special spin on it.  Before I met Joel I always ate my matzo brei sweet with maple syrup sort of a matzo french toast. Joel loves it crispy and salty with a lot of pepper and since I know him he always asks for it this way , I sort of grew to love it this way as well. What’s not to love?  You definitely don’t have to be Jewish to love Matzo Brei. This is how we make it around our house.

Ingredients:

*serves 2 just barely (can and should be doubled)

3 Sheets of Matzo broken into little pieces

2 Large Eggs

Salt and Pepper

2 Tablespoons Vegetable Oil to cover bottom of pan — but usually 2 Tablespoons is about right

Directions:

Break the matzo into little pieces and place in a bowl. Cover with very hot water from tap. Let it stand for a couple of minutes, and then drain it. ( I usually put a plate over bowl and pour out all the water) Beat Eggs in another bowl, season with salt and pepper. Use your own discretion here, Joel likes it with a lot of salt and pepper. Wait a few minutes so matzo isn’t very hot before adding the eggs then combine the eggs with the drained Matzo till a batter forms. Heat the vegetable oil in a large frying pan over medium -high heat — make sure oil is very hot . I carefully  add the matzo mixture to the hot oil  and start to fry it up scrambling it as I go, we like it in little pieces. ( you can make this batter into small pancakes as well and just fry up until golden brown) I cook it till it is all fryed up and crispy. It should cook up pretty quickly if the oil is hot enough. You can serve it with less salt and pepper and put jam on the side, maple syrup on it, cinnamon , whatever you like! Matzo Brei is awesome even when you feel like you can’t face another piece of matzo.

Salmon with a Mustard Glaze

Here is another delicious Salmon recipe and so super easy. This is a light easy to make dinner perfect Spring Time Meal.  I made this for dinner last night and it was ready in no time and tasted truly delicious.It is light and easy, it doesn’t get much easier than this. The whole recipe took less than 1/2 hour to prep and cook! Depending on how thick your salmon is it could take no more than 10 minutes to fully cook right in the oven. Very few ingredients and a perfect dinner casual enough for just you and your family and can be bumped up to serve to guests. This is a winner.  Almost any side dish will do alongside this.

Roasted Brussels on another night were also perfect.

img_3593

Enjoy!

Ingredients:

3 Tablespoons Olive Oil

1 heaping Tablespoon Dijon Mustard

1 Tablespoon fresh lemon juice (app. 1 average size lemon)

Kosher Salt and Freshly Ground Black Pepper ( about 1/4 tsp. of each)

4 pieces Salmon fillets ( app. 6 oz. each) with skin on

*sprinkle a little fresh thyme if you’d like!!!

Directions:

Preheat the oven to 425 degrees. Spray a baking dish with cooking spray to facilitate removal of fish not to mention clean-up.

In a small bowl, mix together olive oil, mustard, lemon juice, and 1/4 teaspoon each kosher salt and freshly ground black pepper. I used a mini whisk and it came together beautifully.

Place Salmon, skin side down in a baking dish , and spoon mustard glaze over each piece of fish. Bake until salmon is just cooked through and no longer red, 6 – 10 minutes depending on the thickness of your fillet. I added a sprinkle of some fresh thyme right before I cooked and it added some more delicious flavor, this is totally optional.

Voila! done and enjoy. I served this time with a delicious lentil side dish.

Easy Israeli Salad

This salad is so delicious and fresh and works so well with grilled chicken, fish or really any protein. It’s a perfect accompaniment to a BBQ.

I just love it for lunch or dinner and it’s so easy that anyone can do it. Add in feta cheese, olives, or canned chick peas to add to this wonderful deliciousness.

Whatever and whenever you decide to serve this it will be most wonderful.

Just a word about making ahead… I chopped and diced all the vegetables and put in a bowl and put in the fridge. I juiced my lemon and had it set aside. Right before serving I added olive oil and lemon juice stirred it up well and tasted for salt and pepper.

If you add oil and lemon juice too soon it will be very soggy and I don’t like it that way at all. So just have it all ready to serve and add dressing right before.

Ingredients;

this is what I used feel free to substitute or add in whatever you’d like. ( Canned Chick Peas are also delicious in this) Olives, Scallions, Feta Cheese, whatever you feel like.

1 Large Seedless Cucumber or remove the seeds from a seeded one or just keep the seeds if you don’t care

1 box grape tomatoes halved

1 yellow pepper, diced or an orange one. I used orange and yellow about 1/2 and 1/2

1/2 cup diced red onion

2 Tbsp. Fresh Parsley , chopped

3 Tablespoons Lemon Juice

2-3 Tablespoons Olive Oil– I used 3 but you can start with 2 add the salt and pepper and add for more flavor after

Kosher Salt and Freshly Ground Black Pepper

*I love chick peas so I always add about 1/2 can of rinsed and drained chickpeas and of course a little feta never hurt anyone either — use as much or as little as you’d like and of course some Kalamata olives work very well here as well– obviously you can make this delicious salad your way

Directions:

In a large bowl, toss together all the vegetables. Add the lemon juice, olive oil and chopped parsley and mix thoroughly to coat.

Season with Salt and Pepper to your liking. Serve cold or at room temperature. I like it cold but it’s delicious either way.

Brisket made very easy–in the slow cooker

This Brisket recipe is probably the easiest recipe I have ever made . I like my Brisket made in the slow cooker and this recipe makes it so very easy , you don’t even have to brown it first on the stove top.

It has a sort of barbecue flavor rather than the traditional brisket flavor. If you have a slow cooker and can order a few very simple ingredients this one is for you.

Please stay safe and stay home and keep on cooking along with me.

Ingredients:

5 lbs Brisket–if you use a larger brisket adjust the seasonings and maybe add another 1/2 cup of sauce

Kosher Salt and Freshly Ground Black Pepper

1 tsp. Onion Powder

1/2 tsp . Garlic Powder

1/2 tsp Paprika — you can use Smoked Paprika but I used regular

1/2 tsp. Cumin

1/4 tsp. cayenne pepper– I used 1/2 tsp. because we like the heat

1 1/2 cups Honey Barbecue Sauce — I used Sweet Baby Rays (any sauce will do but this is very good and available at most supermarkets)

1/3 cup brown sugar

1/2 Tbsp. Cornstarch

Directions:

Pat Brisket dry with some paper towels . I take out a large baking sheet and place the brisket on this to do this next step.

Sprinkle brisket generously with Salt and Pepper. Mix all other dry spices in a small bowl . Dry rub both sides of the brisket with this mixture

Stir together the Barbecue Sauce and brown sugar

Spray your slow cooker with cooking spray and then pour half the of the sauce into the bottom of your slow cooker. Place the seasoned brisket fatty side up into the slow cooker. Don’t worry if it’s very big for the cooker because it shrinks down considerably. Cover the top of the brisket with the remaining sauce.

Cover the slow cooker and set heat to low for 9 hours, or until fork tender

When the brisket is finished cooking, remove it carefully from the slow cooker and put on a cutting board

Pour the sauce from the slow cooker into a large bowl and let it cool

Slice off the fat cap from the top of the brisket and discard

Flip the brisket over so the leaner side faces up. You can see the grain of the meat this way. Slice the brisket against the grain at a slight diagonal. Thin slices are best– I use an electric knife which really helps here.

Skim the fat that has risen to the top of the sauce in the large bowl. I actually have a measuring cup that filters out the fat — if you can get one of these it’s great. I didn’t have that much fat so don’t worry too much about this unless it looks very fatty which it probably won’t

In a small bowl , stir together the cornstarch and 1 Tbsp. of Water till completely smooth. Pour the cornstarch mixture into the bowl of sauce and stir to combine

Pour 1/2 the sauce back into the slow cooker. Layer the sliced meat on top of the sauce. Pour the remaining sauce over the brisket

Turn slow cooker to high for about an hour till the meat and sauce are heated through and the sauce is bubbling and it thickens. Keep on warm setting if you’re serving that day.

the leftovers were great for a few days

Total cooking time is 10 hours so you can get up early like I did and get it in the slow cooker early enough to have for dinner depending on what time you like dinner

Or make ahead of time and refrigerate or freeze with the sauce and heat it up the day you want to eat it.


Spinach Souffle for Passover-So Very Easy-Vegetarian/Dairy Side

Here we are again with all the matzoh meal and no flour for Passover, not to mention the 6 eggs that seem to be in every recipe.  I figured I’d be helpful for all of those looking for ways to reinvent the wheel. This recipe contains cinchy, easy ingredients, and its usually a crowd pleaser. So many variations of the same thing. This one can be made ahead and frozen, which is great. You will just cook it 1/2 way through before freezing, then defrost and cook at 350 degrees for about another 1/2 hour to 45 minutes later.

This is a dairy side dish so obviously won’t work for everyone but hold on to it because it is a keeper when looking for a vegetarian dairy side dish.

Ingredients: (can be doubled)

2 pkgs. frozen spinach (2 boxes) ( it’s app. 20 oz. of spinach, a bag and a half or 2 boxes)

1  bar of cream cheese softened (feel free to go lite but not fat-free please) I’ve been using 1 bar which is 8 oz. and works fine. You can leave out to soften or use microwave to soften, not melt.

2 lbs. cottage cheese (also not fat-free please) part skim is just fine

1 cup matzoh meal

6 eggs, well-beaten

Kosher salt and pepper to taste

Directions:

Preheat oven to 350 degrees. Spray a nice casserole or any baking dish you like to serve in (round souffle large ramekin is perfect) with Pam. Cook spinach thoroughly according to directions (you can microwave it) and drain well by squeezing out all the water–which is the most important tip. Melt the cream cheese in microwave in the event that it is isn’t softened — if you leave it out for a few hours it may be softened enough but if not use this microwave method (start out with about 20 seconds, which should do it; but if not, do a little more at a time until totally melted).

Add all ingredients in bowl, salt and pepper to taste. Bake 1 hour until golden brown at 350 degrees. If you are making this ahead of time, as I said you can cook 1/2 way through and freeze. Then the day before you want to serve it, take it out of freezer, defrost, and cook the rest of the way through–another 1/2 hour to 45 minutes till golden brown, and bubbly.