Soy Orange Rosemary Chicken

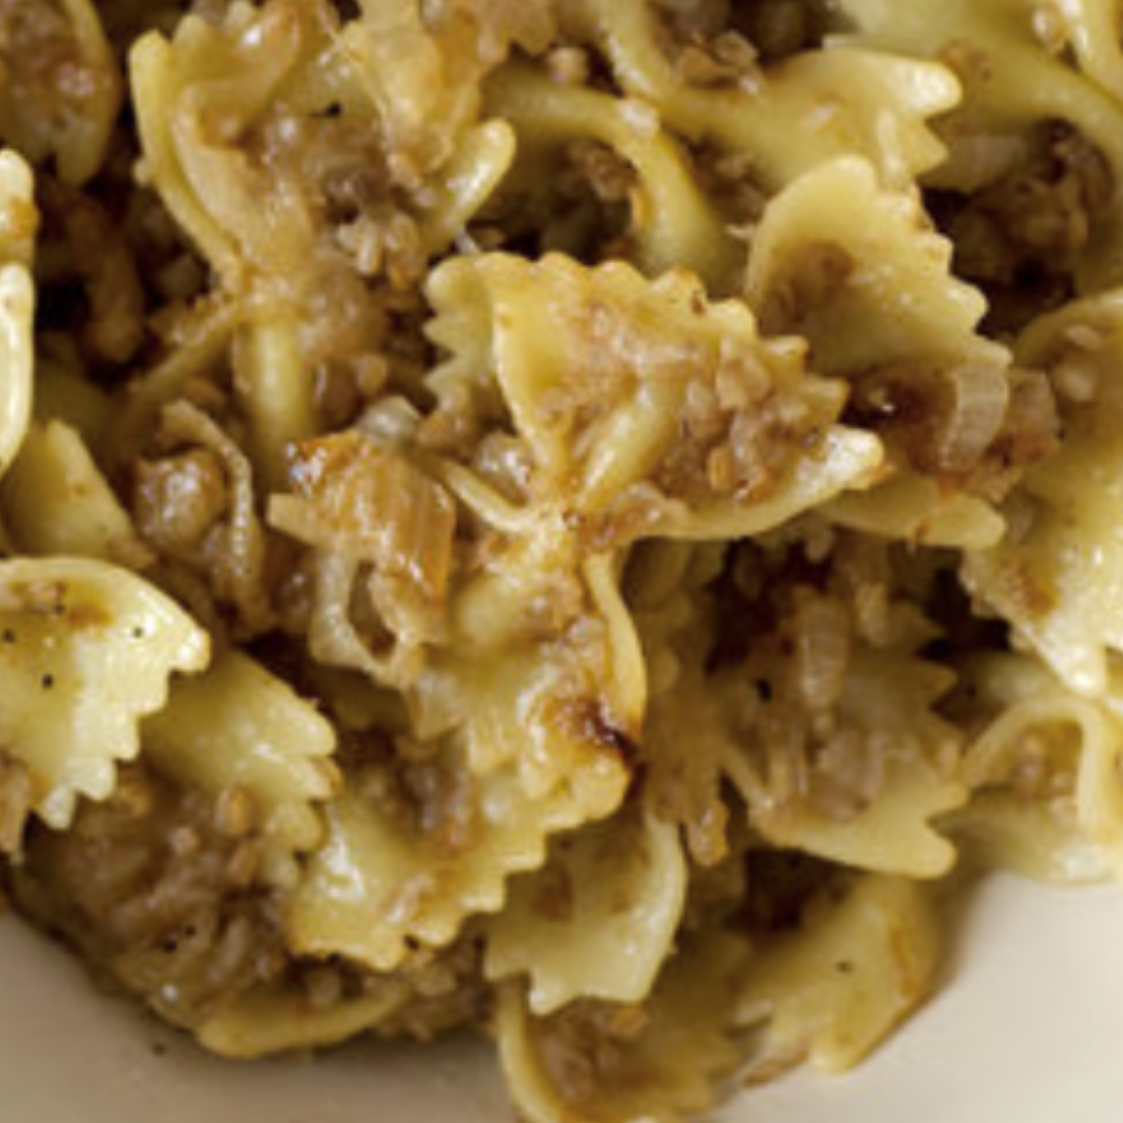
I put this together last night and it was most delicious if I do say so myself and obviously Joel was very happy with this one as well. Served alongside rice and a beautiful Brussels salad which I will post soon as well. In the meantime this is a great weeknight meal or lovely meal if you’re having friends over. I would say 2 lbs. would feed 4-6 depending on your eaters.

This is super-yummy and don’t forget to spoon the sauce over the chicken when you serve it!
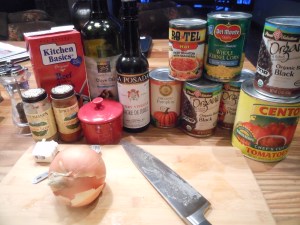
Ingredients:

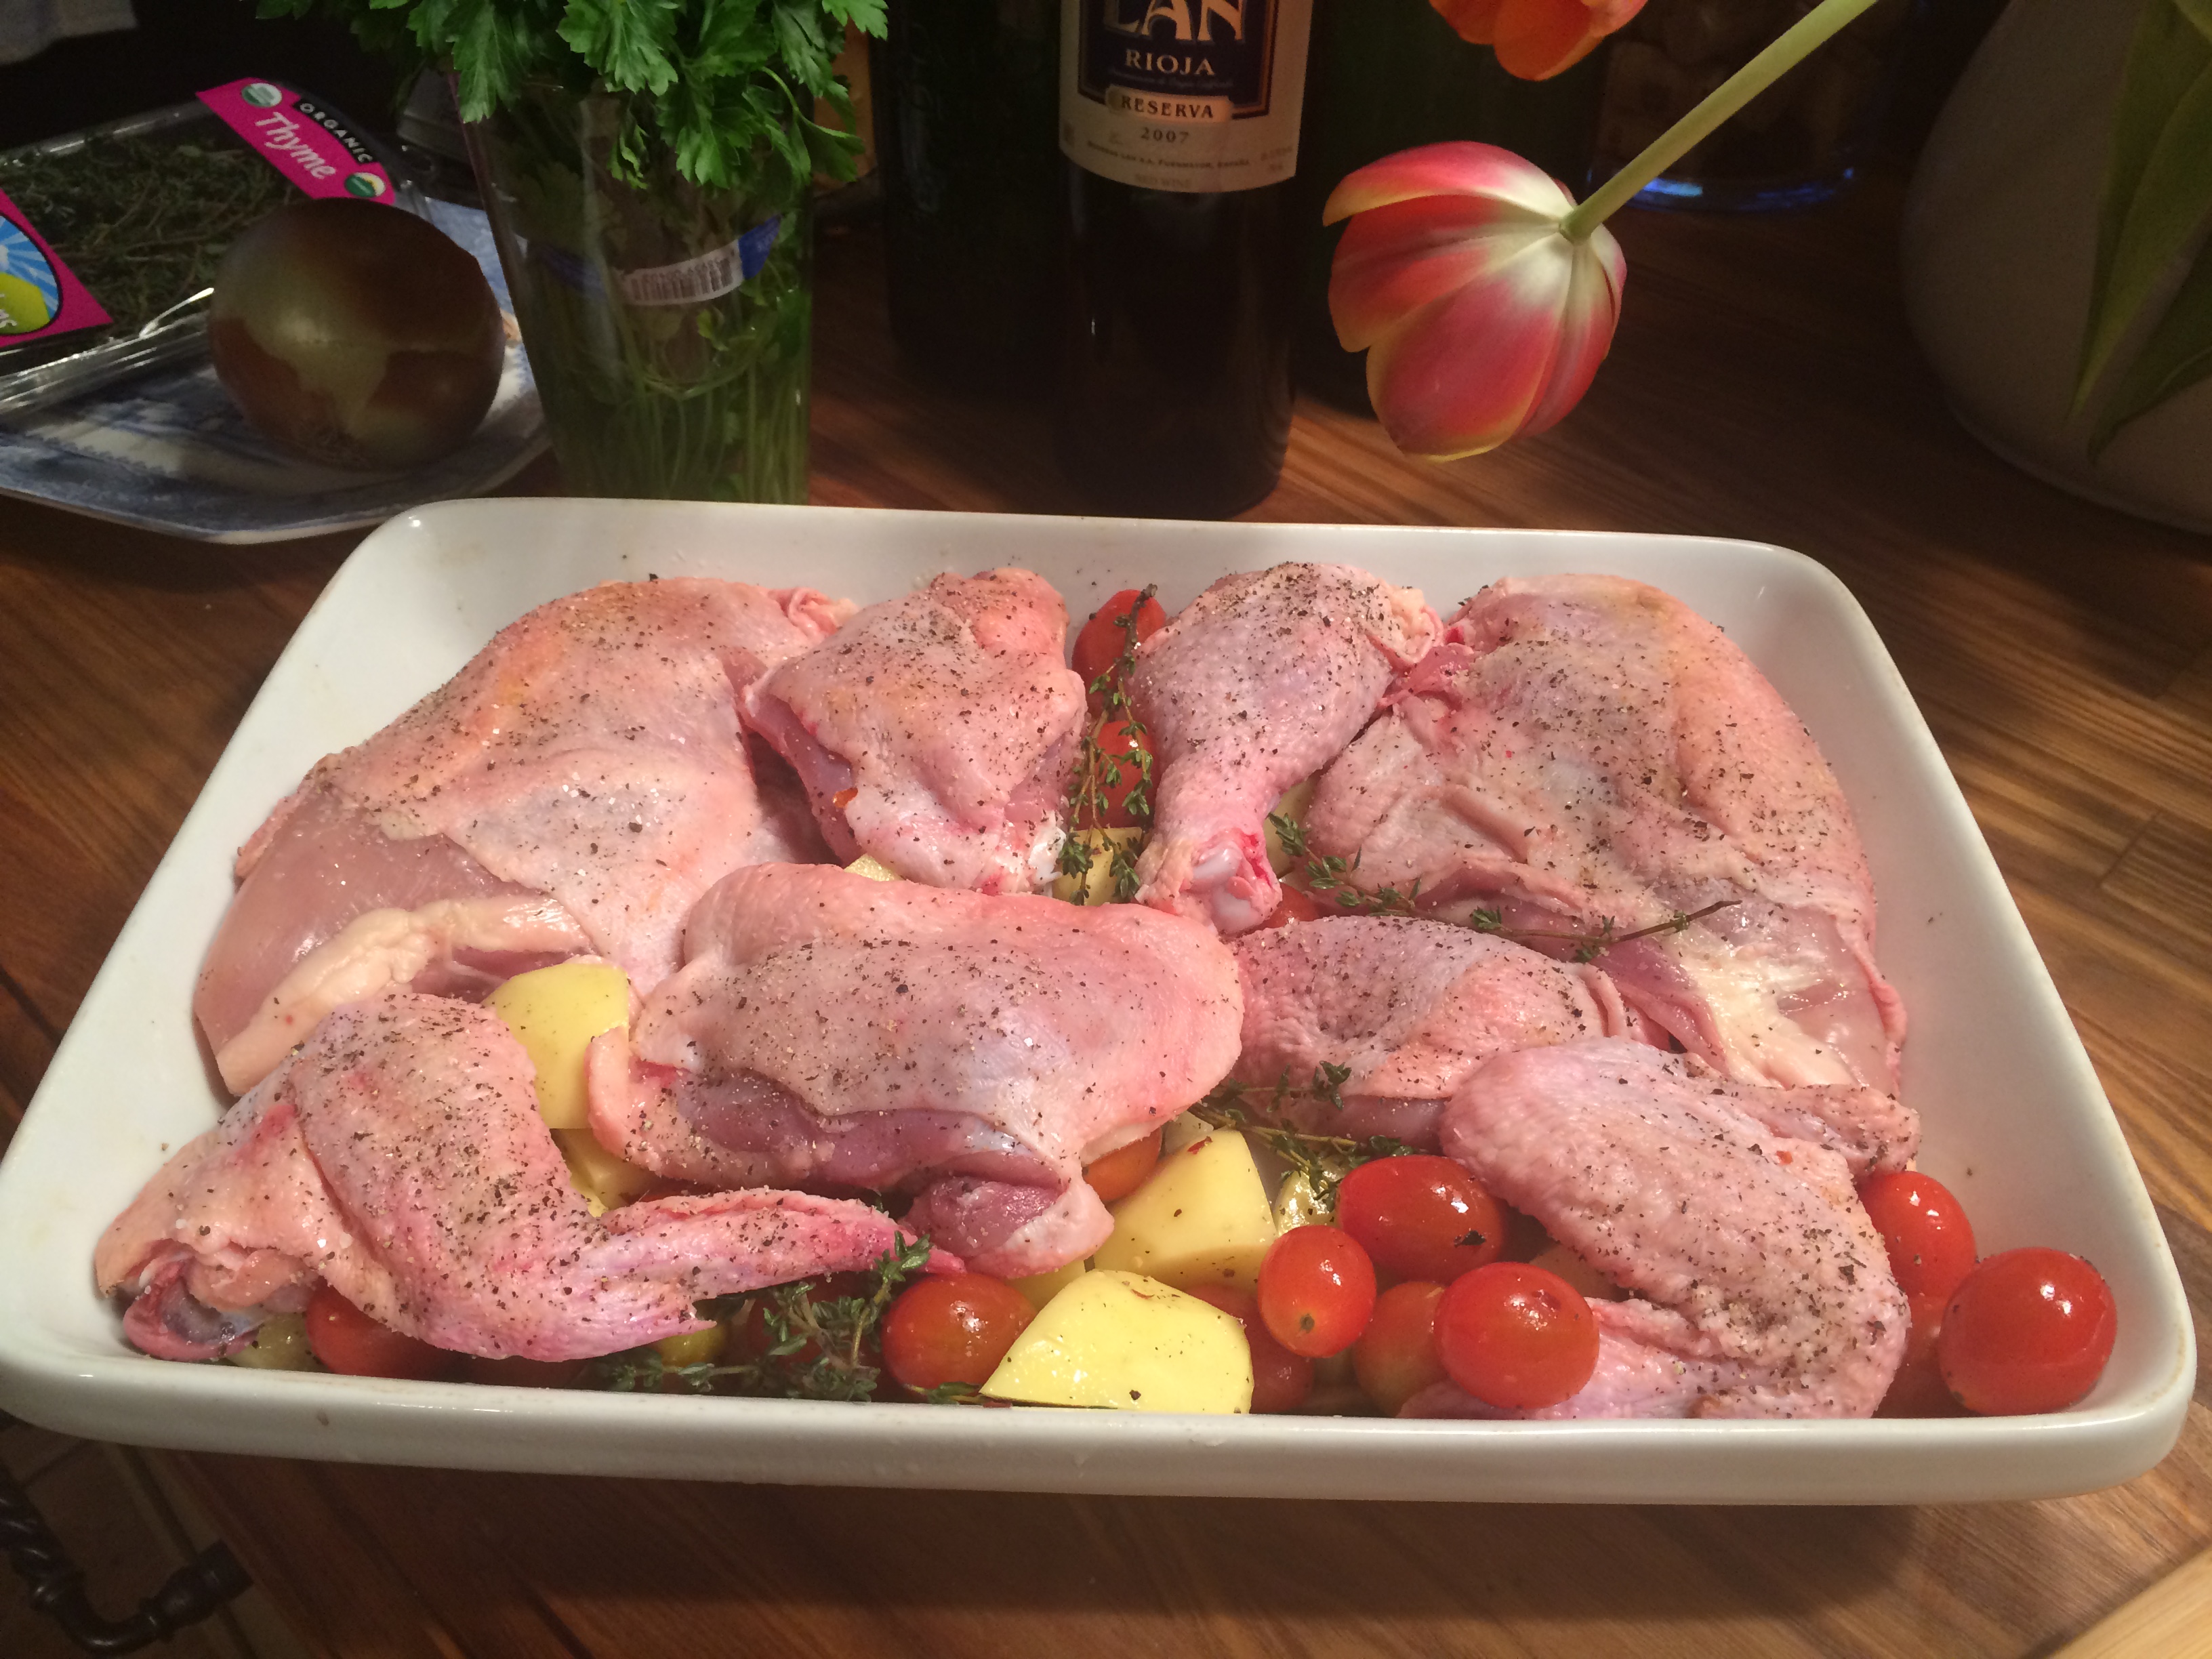
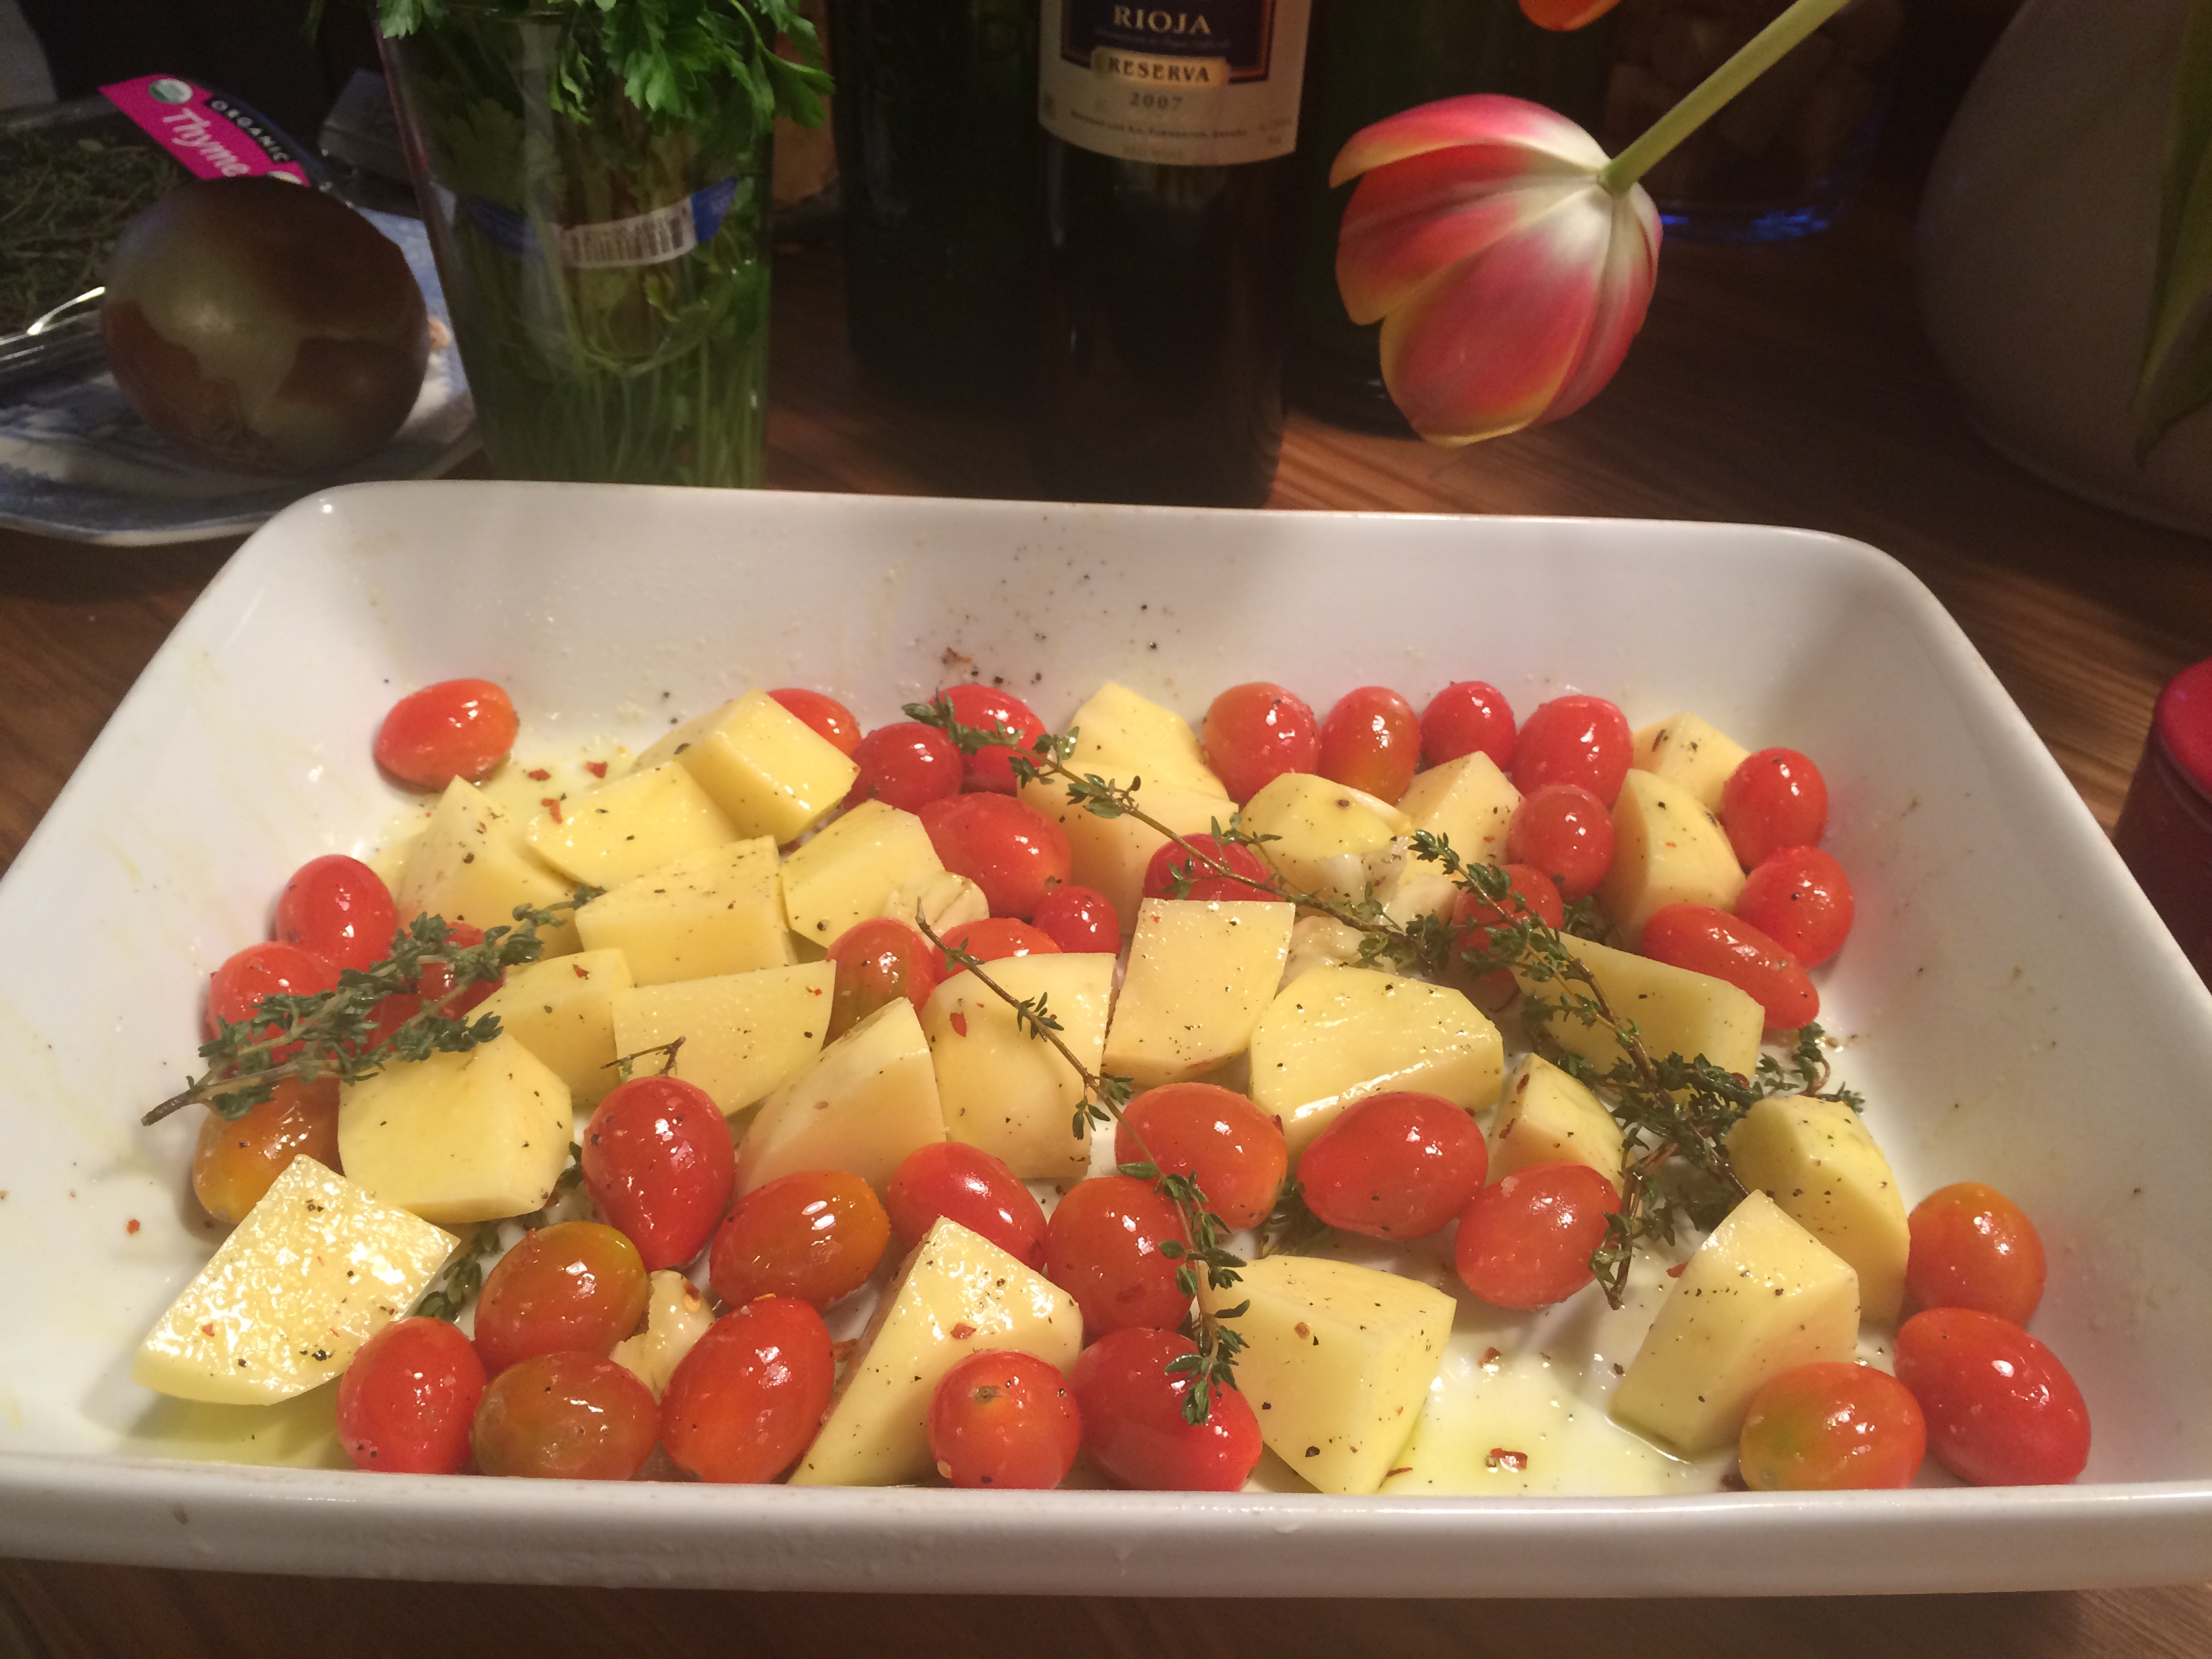
2- 21/2 lbs bone-in skin-on chicken– I used thighs –much tastier but if you insist on breasts cut in 1/2–this time out I made for the 2 of us but used the same amount of sauce for full recipe — the sauce cooks down and you’ll want some for top of chicken

8 ounces orange marmalade , or this time I used Orange Ginger Fruit Spread by Dalfour which had amazing flavor but even apricot preserves will work well here. The Orange flavor just adds a layer of flavor that you can’t get from the apricot and the ginger in the orange really kicked it up a notch.

1 1/2 Tablespoons Whole Grain or Stone Ground Mustard ( my favorite is from Maille)

2 Tablespoons Soy Sauce — I used low sodium

2 Tablespoons unsalted butter, melted

1 – 1/12 Tablespoons finely chopped fresh rosemary — if you like a lot of Rosemary add a little more if not a huge fan you probably won’t be making this recipe but use 1 Tablespoon

Kosher Salt and Freshly Ground Black Pepper (app. 1/2 teaspoon)

Directions:

You can marinade over-night but I did it first thing in the morning– you’ll want this to marinade at least 6 hours — this is important

I take chicken out rinse off and pat dry. I then sprinkle some kosher salt over chicken — not a lot just enough to “sprinkle” top and bottom of chicken

In a glass bowl or any non-reactive bowl combine marmalade, soy sauce, melted butter, rosemary and a few grinds of black pepper. Mix marinade till completely combined then add chicken pieces and coat each piece well. Cover and refrigerate for 6-8 hours or longer whatever is convenient for you. I also put chicken in a gallon sized baggie and squish it around. Completely up to you.

Remove chicken from the fridge and bring to room temperature about 1/2 hour before cooking. Pre-heat oven to 400 degrees. Spray baking dish with cooking spray– or you’ll have a tough time cleaning this one up.

Transfer the chicken to sprayed baking dish and get any and all marinade in the dish as well. I think I used a 13×9 dish. Bake for 45 minutes or until cooked through and browned up on top. Remove from the oven and allow to sit for a few minutes before serving. My oven cooked 4 pieces in 40 minutes so check chicken after 1/2 hour for progress — all ovens vary.

Chicken in One Pan with Garlic, Tomatoes and Potatoes

IMG_6426
chicken nestled in the baking pan with vegetables
IMG_6424
cut up potatoes, tomatoes, fresh thyme and pieces of smashed garlic.
IMG_6427
finished product–crispy chicken with delicious veggies

You all know by now how very much I love one pan meals. I am talking about everything goes in one pan into the oven and cooks. Not slow cooked just regular meals in one pan!!!!! So simple to prepare , you’ll look like you really know what you’re doing and so delicious to eat. This one got a ringing endorsement from Joel and he’s as fussy as they come. This one should be perfect for whole family and should serve 4 . This is what I did. Last night I just used chicken thighs you can use whatever parts of chicken you prefer. Skin on Bone in is preferred here. 

*you’ll need a large baking dish, I used a ceramic one as shown. Pyrex works well here as well.

Ingredients:

1 1/2 lbs.  Yukon gold potatoes ( I used about 4 for just the 2 of us ) peeled and cut into about 8 pieces each potato, you’ll want potatoes to be uniform in size so they all cook the same amount of time

6 cloves of garlic smashed ( take the whole garlic clove and whack it with the back of the knife and then remove skin)

1 pint cherry tomatoes or grape tomatoes

2 Tablespoons olive oil

app. 12 sprigs of fresh thyme

app. 1 – 2 teaspoons of kosher salt for potatoes and chicken

app. 1/2 to 1 teaspoon freshly ground black pepper

*1/4 teaspoon crushed red pepper–we love the heat but if you don’t just omit

1 whole chicken cut up in 8’s or 10’s , I ask butcher to remove the backbone and cut into 8’s or 10’s. App. 3-4 lbs. total or 6 chicken thighs bone and skin-on

Directions:

Preheat the oven with the oven rack in the middle to 425 degrees.

Spray the baking dish with a cooking spray (Pam) I mean you want the baking dish to clean up easy right?

Peel the potatoes and cut up into bite size pieces. Add to the sprayed baking dish . Smash and peel the garlic. Rinse the tomatoes and add as well along with the thyme.

Drizzle with the 2 tablespoons of olive oil. Season with about 1/2 teaspoon of salt and app. 1/4 teaspoon of freshly ground black pepper and the crushed red pepper. Toss it all together with your clean bare hands and spread into a single layer.

Rinse the chicken and pat dry with paper towels. Season both sides of the chicken with app. 3/4 teaspoon  and 1/2 teaspoon of black pepper. I am pretty liberal with the salt here because I feel chicken can be rather bland. Use at your own discretion and what works best for you and your family. Place the chicken amongst the vegetables , see my pictures for how I did it. Roast until the chicken is cooked through and the potatoes are tender. App. 50-60 minutes.

*A little note on the chicken. I checked my chicken after 50 minutes and it was done so I removed to a plate and covered with aluminum foil to keep warm . I placed potatoes back in oven for another 10 mins. or so till they were done. Delicious! the tomatoes burst and were perfect served alongside the chicken and potatoes.

*to check doneness of chicken–a meat thermometer inserted into the breast at middle part should read 160 degrees.

Easy Skillet Lasagna

This was truly one of the most epic meals! The whole meal in under an hour.  While I love a real lasagna I didn’t want to put the whole thing together and deal with it. Once you have the ingredients the prep time is minimal and you aren’t using store bought sauce.  You will be making the sauce and it will all cook together in the pan .  This can be done a few different ways and I invite you to play around with the ingredients and spices to your own liking. All I can say is Wow!  Delicious! Perfect Sunday night dinner and I am planning on making this tonight again.   All in one pot is truly a great way to cook, no fuss, no muss and no having to deal with cooking lasagna noodles!!!!!! Yeah!

This can easily be made with ricotta cheese and spinach or any veggies you like. I would even try it with cut up eggplant!

*You’ll need a large oven proof skillet with lid

*perfect for freezing leftovers

Ingredients:

1 to 1/2 Tablespoon Olive Oil–I used 1 1/2 you can start with 1 and add more to onions if you need it

1/2 lb. ground beef ( I used 80/20)

3 Italian sausage links, casings removed ( I used Hot Italian Sausage) use what you like , you can use turkey or chicken sausage as well

1 onion, diced

1 14.5 oz. can diced tomatoes

1 8oz.can tomato sauce

*Italian seasonings , if you have Italian seasonings in a jar that’s great if not use a little dried oregano and dried basil. Italian Seasonings is available in the spice department of all food stores.

*1/2 teaspoon crushed red pepper

App. 1/4 tsp. Kosher Salt and more to taste

2-3 garlic cloves, minced

app. 10 lasagna noodles, broken into 1/4’s, if it breaks up differently don’t worry it’s a very loose recipe! 8 ounces Farfalle Pasta also works if you don’t feel like using the lasagna noodles. Un-cooked Noodles!!!!!

8 oz. mozzarella balls ( fresh) I used the small ones this time. Use whatever cheese you like but these worked out beautifully.  You can always use shredded mozzarella, or just cut a large ball of mozzarella into small pieces ( as much or as little as you’d like) if using shredded mozzarella, you’ll need about 1 cup

2 cups water

Freshly grated Parmesan Cheese for serving

*you can also use 1 cup Ricotta Cheese for a very cheesy version, I would use this if I was making it with spinach and going veggie.

Directions:

Heat olive oil in a large skillet over medium-high heat. Add onions and cook till translucent, add garlic towards the end of onion process. Add ground beef to the onions, stirring occasionally till browned. I removed with slotted spoon and set aside in a bowl. I then cooked up the sausage making sure to crumble the sausage as it cooked.  I then removed sausage to bowl with meat , onions, and garlic and drained all excess fat from pan.

Pre-heat the oven to Broil.

Return meat to pan, add tomato sauce, diced tomatoes, spices, add 1/4 tsp. kosher salt to taste, if you need more add it. Add in the meat mixture and stir, bring to a simmer and add in broken lasagna pieces and 2 cups of water. Bring to a boil; cover, reduce heat and simmer until pasta is cooked through, about 13- 15 minutes for al dente. I stirred it gently a few times just to make certain that the noodles cooked through and didn’t stick together.

Remove from the heat . I placed my Mozzarella on top and placed in oven under broiler for about 5 mins. Check on it because you don’t want it to blacken. All ovens are different, in mine it needed about 6 minutes to just start browning without burning, but you don’t want to burn this up so set timer and keep an eye on it!

Remove from the oven and let it sit out for a few minutes. Plate it up and let everyone add their own parmesan cheese! Enjoy! you will.

IMG_1101

Plated up and ready to eat

IMG_1097

Finished Product

IMG_1096

adding mozzarella before placing under broiler

IMG_1093

placing un-cooked noodles into sauce

This would serve 4. It’s tough to double because you would need a super large pan.

This makes for an amazing leftover!

Pantry Soup aka Pumpkin Bean Soup (can be vegetarian)

Colorado Winter '12 004Colorado Winter '12 006Colorado Winter '12 008Rounding out the week with another soup recipe since it’s officially soup season. This is an oldie but goodie .

I love pumpkin as you already know by now. Since you can only really buy it from November through the Christmas Season I like to stock up for muffins, soups, etc.  I pulled out some cans of Black Beans, a can of Pinto Beans, and a can of Diced Tomatoes. This is the soup I made and it was pretty tasty. The spices I used are key, and you’ll have to check for Salt and Pepper towards the end . It wasn’t that difficult to make , I did use a lot of different ingredients but it was a good feeling to clean out the pantry at the same time! This is a warm wonderful soup, perfect for a cold winter day or evening. I did use a tablespoon of butter but you can easily substitute with all olive oil. I also love the way the Sherry Vinegar adds kick but if you don’t have it use Apple Cider Vinegar it’ll be just fine. There is no real right or wrong with this recipe, make it your way, use what you like and enjoy it!

Ingredients:

2 15 oz. cans black beans, rinsed and drained

1 15 oz. can Pinto beans, rinsed and drained

1 28 oz. can diced tomatoes, or chef’s cut tomatoes

1 10 oz. can Rotel diced tomatoes with green chilies ( this is optional, I had it and threw it in) if you can find this product by Rotel buy it because it’s really great in tacos, chili, stews and soups.

1 15 oz. can of Corn ( I used low sodium)

*1 Tbsp. Unsalted Butter ( optional)

1 medium onion chopped

4 cloves garlic, chopped

2 teaspoons kosher salt ( divided)

1 teaspoon freshly ground black pepper

1 bay leaf

1 tsp. ground cumin

1/4 tsp. Cayenne Pepper

4 cups Beef Broth ( feel free to substitute Vegetable Broth)

1  15 oz. can Pumpkin Puree

2 Tablespoons Sherry Vinegar ( or Apple Cider Vinegar)

Directions:

Pour 2 cans of the drained black beans into a food processor or blender, along with the can of tomatoes. Puree until smooth. Set aside.

Melt butter and olive oil in a soup pot over medium heat. Add the onion and garlic, and season with 1 teaspoon salt and some of the pepper. Cook and stir until the onions are softened and translucent. Stir in the bean puree, remaining can of beans, beef broth, pumpkin puree, and corn, tomatoes with green chilies, spices, and sherry vinegar. Mix until well blended,  I simmered for about an hour on a very low flame. Soup will thicken up nicely , if it is too thick you can add beef broth or water to thin out a bit.  Taste for Salt and Pepper, I added additional teaspoon of salt and pepper.

Chicken Tortilla Soup

img_3215

This soup has always been a favorite of mine and I usually try to order it when it’s offered on a menu. I am a big fan of Mexican Food and have always wanted to try to make my own Chicken Tortilla Soup .This is a super easy version using a store-bought rotisserie chicken and a packet of Taco Seasoning.  Now that the weather has turned super cold it’s a perfect time for heart warming meals. I started cooking soup in the afternoon, prep was pretty quick and I let it simmer for an hour and then turned off stove while we went out. When we got home I turned on the stove and continued cooking soup. I cut up avocado, chopped up some cilantro, put sour cream and cheese into some little bowls and in less than 1/2 hour we were sitting eating this delicious and tasty soup! Joel even ate the avocado!!!!  He loved the soup and it’s very filling. 

I use crispy tortillas if that’s what I have in the house. It is delicious with soft corn tortillas sliced up and added into the soup at the end also. I love when the crunchy chips go soft in the soup with the melted cheese– I could go on and on about this soup. Tonite I used soft tortillas.

If you have the time I suggest making this soup, it is so easy with a prepared chicken or you can make your own chicken .  The prep is about 15 minutes using store-bought chicken and cooking is about 1 1/2 to 2 hours for soup.  I just think soup tastes better the longer it sits. I prefer making it in the early part of the day and letting it sit on the stove for a while.

This is a big soup and will probably serve 6-8 nicely. I have a container in my freezer and 4 of us ate this soup.

Look for my slow cooker version also on my blog.

Enjoy!

Ingredients:

1 Rotisserie Chicken from your favorite supermarket

1 Tablespoon Olive Oil

1 Packet of Taco Seasoning — this is really easy , use whatever brand you like

1 cup diced onion

3 cloves garlic, peeled and minced

1 diced green pepper

1 diced yellow, red or orange pepper

1 10 oz. can  Rotel brand Tomatoes and Green Chiles–just a suggestion

1 can enchilada sauce– green or red ( in Mexican Food section of your supermarket) its a small sized can

1 15 oz. can of whole-kernel corn  – drained

32 ounces Chicken Broth

3 Tablespoons Tomato Paste

4 cups hot water

2 cans Black Beans , drained and rinsed unless they’re organic and then you don’t have to rinse but I always do anyway

*3 Tablespoons Cornmeal –mixed with water ( see instructions)

5 Soft Corn Tortillas (I use the small ones) cut into uniform strips or crunchy tortilla chips–use as many or as little as you like–or skip all together for a lighter version.

Toppings:

*optional and use whatever you like — these are just some suggestions

Sour Cream

Cilantro

Grated Cheese –Monterey Jack is a good choice here or Mexican Blend Grated Cheese

Cut-Up Avocado

Salsa or Pico De Gallo

Diced Red Onion

Diced Fresh Jalapeno

Hot Sauce like Cholula is my favorite go to sauce

Directions:

I took skin off chicken and shredded most of the chicken meat.

Heat 1 Tbsp. Olive Oil in a large Pot –dutch oven is great here (Le Creuset) add onions, peppers, and minced garlic. Stir and begin cooking, then add the packet of Taco Seasonings if it’s very dry and hard to stir you can add a little more olive oil. Add in the shredded chicken and stir it all up.

Pour in Rotel, chicken stock, tomato paste, enchilada sauce, water , black beans and corn. Bring to a boil, then reduce heat to a simmer. Simmer for app. 45 minutes to an hour, uncovered.

*In a little bowl mix 3 cornmeal with a small amount of water , just enough to mix it into a paste like consistency. Pour into the soup, then simmer for an additional 30 minutes at least, I cooked for another hour. I always believe the soup is best when it sits for a long time — this step is optional as I have done it with and without it. It thickens it up which the soup doesn’t really need but it does add some flavor. It’s totally up to you.

Check seasonings, adding more salt if you need it , I added kosher salt because I felt it needed it. Taste has to be your guide but be sure not to undersalt, you don’t want this to be bland. Turn off heat and allow to sit for about 20 minutes.

Five minutes before serving, gently stir in the tortilla strips if you’re using them.

Ladle into bowls, then top with your favorite toppings and there you go! I think the chips/tortillas make this soup along with the cilantro and avocado. Let your taste be your guide here.

Easy Chicken Soup with Orzo and Lemon

photo 4 (24) photo 5 (27)I literally started this soup at 5 p.m. and app. one hour later I was eating it.  Now that’s always a good thing in my book. Usually I slow cook my broth etc. and it takes hours ( Homemade Chicken Soup ) but this time there was no time, I wasn’t feeling great and wanted that homemade flavor without all the work . You can certainly cook your own chicken if it works out for you time wise. This would also be perfect with leftover chicken. I bought a rotisserie chicken and this is what I did. For those of you who saw it on Instagram and Facebook–this one’s for you. One more little thing, the fresh dill is the secret ingredient and gives it that wonderful layer of flavor, don’t skip it. I also squeezed fresh lemon into each bowl of soup , this added yet another wonderful layer of flavor to this soup. This is also a fairly low-calorie soup because whole soup is made with only 1/2 cup of orzo and it was plenty. I used these vegetables this time but feel free to add parsnips, mushrooms, kale or any other veggies you like.

Ingredients:

1 Rotisserie Chicken, skin removed and shredded .

1 tablespoon olive oil

1 leek, white and pale green parts only, halved lengthwise, then sliced crosswise about 1/2″ thick

2 stalks celery, sliced into 1/2″ thick slices (app.)

2 large carrots cut into 1/2″ rounds. I found beautiful organic baby carrots and used them, it’s about 2 large carrots but feel free to use a little more or less.

1/2 cup of orzo

6 – 8 cups chicken broth, if you have homemade broth/stock good for you and use it. If not the box ones are awesome. Low-Sodium is good here if you’re concerned about the salt.

Kosher Salt and Freshly Ground Black Pepper

app. 1/4 cup of chopped fresh dill

*Lemon halves for serving

Directions:

Heat olive oil in a large heavy pot over medium heat. Add the leek, celery and carrots. Cook veggies, stirring often, until vegetables are soft, 10-15 minutes. I threw a little salt and pepper in to vegetables during this period, you can taste for salt and pepper again.

Add 6 cups of chicken broth and bring to a boil. Then lower to a simmer for about 20 minutes, just till carrots are soft.

After about 20 minutes, I added 1/2 cup of orzo and cooked for 8- 10 minutes. Taste for Salt and Pepper. I added another 2 cups of broth after the orzo cooked. If you need more broth prior to this you can easily add before the orzo as well.

I then added the shredded chicken and dill and I also added a bit more of the chicken stock at this point since broth cooked down a bit. You can always add a little water if you’ve run out of broth.  I heated soup a bit more and served with lemon halves, squeezing a bit of lemon into each bowl of chicken soup before serving.

this was last night’s soup and I obviously didn’t have fresh Dill in the house which I missed but wanted to make this soup and had all other ingredients — sometimes this happens and it was totally delicious and no one missed the Dill but me.

Baked French Toast — all time best for Yom Kippur Break Fast

DSCN4275

DSCN4288

DSCN4283

DSCN4274

DSCN4270

DSCN4302

DSCN4294I posted this recipe back in October 2011 for Yom Kippur break fast and every Break Fast it is on the table, it’s practically a law in our family now! It is truly one of the best French toast recipes I’ve ever made.  I include it every year since my friend Ilene Stern gave it to me. I never have a single piece left. Delicious and decadent, perfect brunch and breakfast food. I almost always include it in my Mother’s Day Brunch as well. Once you’ve made this recipe there is no turning back  your whole family will love it and you’ll have to make it every time.

The only downside is that you must prepare and refrigerate the night before without cooking it, you cannot cook this dish till you’re ready to eat it, the bottom will get hard like a caramel candy would. So cook right before you’re going to serve. Enjoy!

*recipe as is should serve 6- 8 if you have more people make 2 trays!

Yom Kippur begins at sundown on October 4th and ends the following evening on October 5th

For those of you who fast — have a good fast.

Ingredients:

1 cup packed light brown sugar

1 stick unsalted butter

2 tbsp. corn syrup ( I use Karo Original light corn syrup)

5 eggs (room temperature please)

1 1/2 cups milk ( you can use low-fat, I use Skim Plus)

1 tbsp. vanilla

1 package of sliced cinnamon bread. ( Pepperidge Farm is fine) if you can get thick slices it’s great , but the thin kind will work just double stack them it will be fine) You probably will use 12 slices of bread per tray. You will have 6 stacks of 2 slices each, 12 slices total, or 6 thick slices of cinnamon bread. If you can’t find just cinnamon bread use raisin cinnamon bread it’s easier to find .

Directions:

Melt butter, add brown sugar and corn syrup and combine well. Spray a 9×13 baking dish, Pyrex works well here. Pour butter mixture into baking dish and arrange bread slices flat in the mixture ( you will double stack the thin sliced bread) Unless the bread is 1″thick you will be doubling the standard sliced bread. Squeeze the bread to fit–it should hold 12 slices ( 6 double stacks), 3 on each side of a 9×13 baking dish.

In a blender mix the eggs, milk and vanilla and pour over the bread slices, covering them completely. Cover and refrigerate overnight. The bread will absorb all the liquid by the morning, so if you need to travel with it will be fine.

Uncover and bake in a preheated 350 degree oven for 30 minutes. Once it’s out of the oven you can dust with powdered sugar, but not necessary. Serve right from the baking dish.

*if you let this sit out too long before serving, the bottom may get hard like a praline candy. It never ever lasts long enough for this to happen at my table.

Easy Fast to all .

Follow me on Instagram @cookingwithcandi

Apricot Noodle Pudding

I’ve tried so many noodle puddings, but keep coming back to the same old , same old. they’ve been passed down in so many different incarnations. i don’t even know what the original one is anymore. this is my most favorite. also a perfect break fast food for Yom Kippur. this noodle pudding can and should be made ahead of time, they hold together better.

Ingredients:

1 lb. noodles ( i use extra wide egg noodles, you’ll need a bag and 1/4 app. just eyeball it)

1 cup sugar

6 eggs ( I use extra large and at room temp. just make sure they are not right out of fridge) they work much better when they are not right out of fridge in baking.

1 tbsp. vanilla

1 stick unsalted sweet butter(melted)

6 oz. cream cheese (softened at room temp)

1 1/2 cups milk ( I use skim plus) would not use regular skim milk

2 cups apricot nectar (available in most supermarkets)

Topping:

1 1/2 cups cornflake crumbs

2 tsp. cinnamon

1/2 cup sugar

1 stick butter (melted)–you can try using a little less butter and add more if needed

1/2-1 jar apricot preserves –I used about 1/2 a jar you can always add a little more.

Directions:

 cook noodles and allow to drain till noodles are dry (don’t work with wet noodles)  mix 6 beaten eggs with the tablespoon of vanilla in one bowl. in another bowl melt 1 stick sweet butter(unsalted)softened cream cheese, and milk. add the apricot nectar . mix all ingredients together and put in large pyrex type baking dish which you have sprayed first with cooking spray. mix topping ingredients together, put on top of noodle pudding. cook at 350 degrees for one hour.   i usually cook this ahead of time, cook for 1/2 hour and then freeze it till i am ready to use, take out of fridge bring to room temperature and bake it for another hour till brown on top and cooked through. noodle puddings are best if you let it sit a while (at least 15 minutes before serving) they hold together better that way. can be served at room temperature.

*serves about 12 people

Grandma Sally’s Mandel Bread

photo (2) photo (4) photo (5) photo (6) photo (8) photo (9) photo (11) photo (12) photo (13) Grandma Sally was not my Grandma but she was my friend Joy’s Grandma. Joy is a friend of mine and has been such a great supporter of Cooking with Candi. I know what a good cook she is and she sent me this recipe and was kind enough to share her family’s secret to an awesome mandel bread. She sent it to me a while back and I haven’t been able to test it out until now. I highly recommend this delicious treat for anytime but why not for the New Year? Thanks again Joy for all your support, it is so appreciated and of course to Grandma Sally for this delicious recipe. Perfect for Break Fast during Yom Kippur or a perfectly crunchy dessert for Rosh Hashana or really anytime.

You can make 2 different mandel breads, one with nuts and one with chocolate or just mix them together . If you use them together use a little less nuts and a little less chocolate. If you like you can add the raisins as well . Use whatever you prefer. I used both chocolate and nuts.

If you love biscotti this is almost identical. There are so very many ways to make Mandel Bread but this one  was really worth the effort. Give it a try and let me know what you think. I think Joy gave me this recipe last year and I promised myself I would make it for this Rosh Hashana .  I did make a few tweeks to the actual baking but the ingredients and most of the recipe stayed the same as Grandma Sally’s . I love to dunk these crunchy cookies in tea or coffee. Yum!

P.S. woke up to these sitting in my kitchen and did a little dunking during breakfast with my morning coffee! They are hard to resist.

Ingredients:

2 heaping tablespoons of Crisco vegetable shortening

3/4 cup of sugar

3 eggs–always room temperature for baking unless otherwise stated

1 tsp. vanilla

2 1/2 cups of all-purpose flour

1 tsp. baking powder

2/3 cup of chopped walnuts* optional

2/3 cup of chocolate bits , chocolate chips are fine here , if using alone without nuts you may want a little more . You can always use raisins as well. Whatever you like will work. Raisins and Nuts are great.

For topping:

2 tablespoons granulated sugar and 3/4 teaspoon cinnamon, mix together for a cinnamon/sugar mixture.  Set aside.

Directions:

Cream together the shortening and sugar to mix well and add 3 eggs one at a time and continue beating in electric mixer, add in the vanilla on low speed until creamy. Then add in the dry ingredients, the flour and the baking powder and mix on low speed until just incorporated. ( don’t overmix)  Then stir in chocolate, nuts, and or raisins to the mixture. I took out dough and refrigerated it over night, you don’t have to but I recommend refrigerating dough for at least 1-2 hours. ( I find dough is easier to handle and holds together better) I had a time constraint and that’s why I did overnight, but just do till it gets cold at least.)

To bake cookies:

Preheat the oven to 350 degrees. Line baking sheet with parchment paper or Silpat liners which I swear by ( awesome). Shape the dough into 2 or 3 logs about 2 inches wide ( see photos) making sure logs aren’t too close together because they will spread. So 2″ from edges from each other and 2″ from the edges. I used 2 baking sheets for 3 logs, you can just use 1 for 2 longer ones. If dough is super sticky , dust your hands with a little flour.

Bake for 25-30 minutes at 350 degrees. Now lower the oven to 250 degrees. Let the baked logs cool down for about 15 minutes, then slice them diagonally about every 3/4 inch ( see picture) Flip the cookies on their sides back on baking sheet. Sprinkle 1/2 of the cinnamon-sugar mixture over top of cookies with a spoon. Flip the cookies over and repeat with the remaining cinnamon-sugar mixture. Place the cookies back in the oven ( be certain you turned temp. down to 250 degrees) I cooked for about 45 minutes ,you can cook anywhere from 45 minutes to an hour till they were golden and crisp. Let the cookies cool down, then store in an airtight container.

*cookies will get crunchier as they cool

Kasha Varnishkes–Jewish Comfort Food

This is truly traditional Jewish comfort food made with buckwheat grains and bowtie noodles. I love it and grew up eating it and  try to make it a few times a year. It is super easy and super tasty. If you’ve never made it why not start now. It’s a wonderful side dish to any meal and it can be vegetarian for all of those who need some extra vegetarian dishes on their tables just substitute vegetable broth for chicken broth.

Kasha comes in a box. There are different types of Kasha and almost all will work. I use medium or coarse granulation.  Wolff’s brand is really wonderful so look for it and for this recipe I follow the directions on the Wolff’s box of Kasha. I actually had to order it on Amazon last year since I couldn’t find it in Colorado.

If you’re looking for an easy side dish to put together now is the time to look at this great recipe. This is also our go to the night before Yom Kippur. It’s tradition and delicious and comforting all at the same time.

Ingredients:

1 package bowtie ( farfalle ) noodles (app. 3/4 lb.)

1 white/yellow onion thinly sliced or you can use chopped onions , entirely up to you.

app. 2 tablespoons vegetable oil  you may need a  little more and may want a bit more to drizzle at the end plus more — probably 1/4 cup in total

Kosher Salt and Freshly Ground Black Pepper–to taste

*1 small box button mushrooms sliced 8 ounce box — mushrooms are totally optional but sometimes I feel like they add a little something

1 cup kasha, medium or coarse granulation– I use Wolffs Kasha and follow instructions on the box which I have written below

1 egg for kasha as per instructions on the box

2 cups chicken or vegetable broth as per box instructions

Directions:

Cook the pasta according to directions on box for al dente.

Saute’ the onions in vegetable oil , salt and pepper until they just start to soften, about 5 minutes. I use a medium size frying pan large enough to add in the pasta, and make sure you have a tight fitting lid.

Add the mushrooms and sauté until they start to soften as well, a few more minutes , set aside. Place mushrooms and onions in a bowl and you’ll use same frying pan to cook kasha.

Coat the kasha in a slightly beaten egg. You’ll just place kasha in a bowl and put beaten egg on grains. This will help the grains not to stick to themselves while you are cooking them. Make sure the grains are completely coated with egg.  Put the kasha in the same frying pan, set over a fairly high heat. Flatten, stir, and break up the egg-coated kasha with a fork or wooden spoon for a few minutes till toasted and the egg has dried on the kasha and kernels are brown and mostly separate. Kasha instructions for cooking are usually on the box as well. Then I pour in the broth that I am using, a little margarine/butter is OK as well ( app. 2 Tbsp) bring to a boil, cover tightly, lower flame to simmer and cook for 10 minutes till kasha is fluffy–these are the directions on the box that I follow .

Add back in the mushrooms and onions and combine with chicken broth. Cook box of Bow Tie Pasta according to directions on box al dente.

Bring to a boil and cook over low heat covered tightly. Check on it after 10 minutes or so to make sure the kernels are tender and the liquid has absorbed. If not, cover and continue steaming for another few minutes till all liquid is absorbed.

Adjust seasoning with more salt and pepper if you’d like, mix in cooked pasta, and if you’d like drizzle a little more oil on it. I like to do it all in a large enough frying pan to hold pasta . You can always mix in pasta in a large bowl separately. I like it in frying pan on stove top till I serve it. You can always make ahead and heat up in oven at 350 degrees in a pyrex dish,  you’ll most likely need to add a little oil if you do so.

*Wolff’s Kasha has directions for cooking kasha on the box. It’s pretty much the same , I just add in the mushrooms and onions for more flavor.

*should serve 8 people