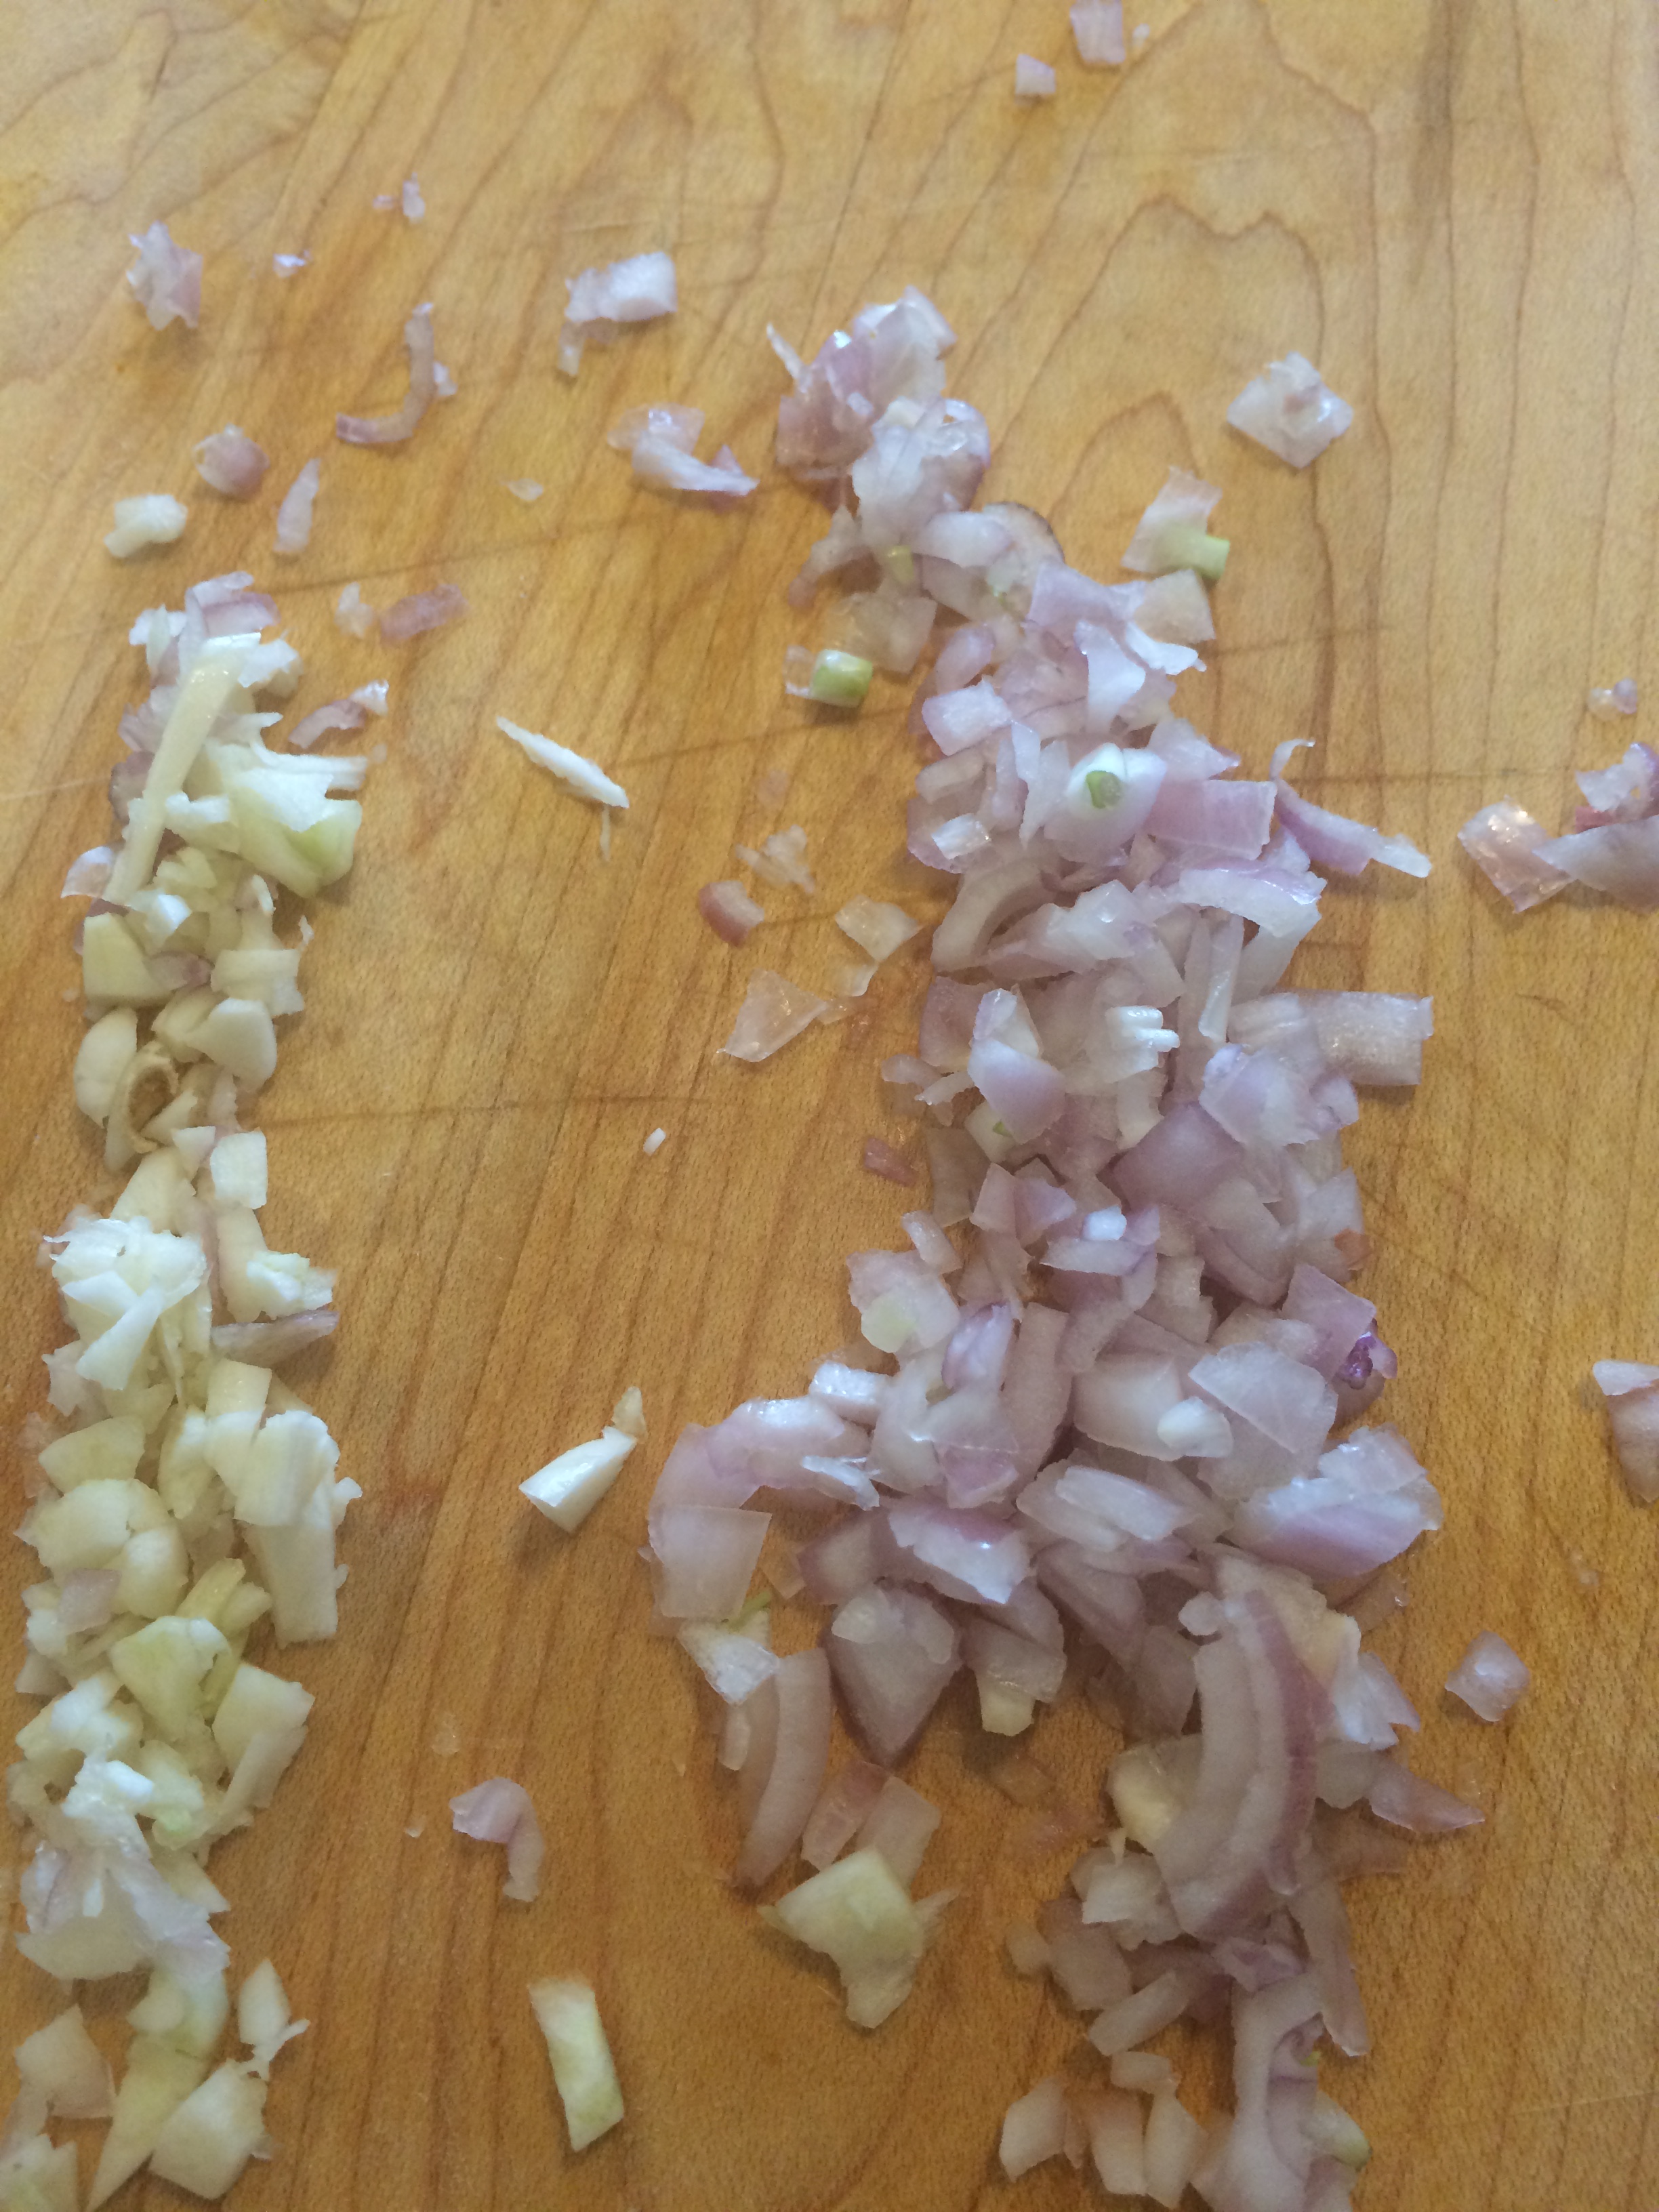

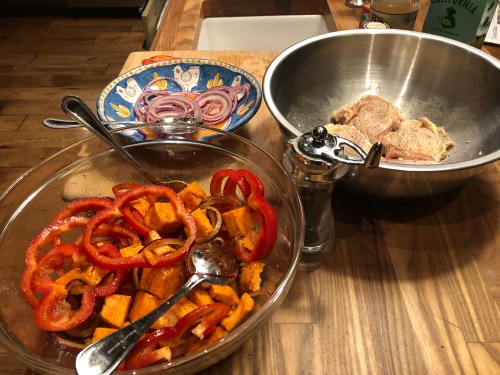
Prep in separate bowls.
One of my most favorite sections of the New York Times is the Wednesday Food Section. One of my most favorite contributors is Melissa Clark. I have tried making so very many of her recipes and recently bought her new cookbook “Dinner”. When you have a favorite chef you follow her and I follow Melissa Clark.
This recipe jumped out at me because it’s a Sheet-pan meal which I love and ingredients sounded very good. I made a few changes to the recipe to better suit us but you can google Melissa Clark @NYTimes and get the whole recipe the way she did it if you prefer.
Recipe took a little prep but nothing too bad and don’t omit the pickled red onions–it was delicious. I used sweet potatoes but felt that I could have used butternut squash as well. Chicken Thighs hold up so well and don’t dry out so they win out for sure. The red onion becomes crispy at the high heat and caramelized beautifully. This is a winner of a recipe and I highly recommend. The ground allspice gives it a very definite layer of flavor and the cayenne pepper gave it the kick it needed. Enjoy!
*just a little note — while I enjoyed the pickled onions it’s not everyone’s thing and you can omit if you’re not into it– it really is not a necessary part of the meal in my opinion
This is what I did.
Thanks again to Melissa Clark for another amazing meal.
Ingredients:
Pickled Onions for garnish –totally optional
3 Tbsp. apple cider vinegar
1 1/2 Tsp.Honey
1/2 medium size red onion thinly sliced
Chicken:
1 – 1/2 lbs. chicken thighs — bone-in, skin-on
1/2 medium size red onion thinly sliced
2 cloves garlic , minced
1 1/2 teaspoons kosher salt, more as necessary
1 teaspoon ground coriander
1/2 tsp freshly ground black pepper
2 lbs. bone in skin on chicken thighs (4-6)
3- 5 Tablespoons Olive Oil
1 large sweet Potato cut into small cubes of uniform size –you can use a yam ( which I did last night) or regular potatoes just cut up into smallish ( 1″ size)
1 large Red, Yellow or Orange Bell Pepper thinly sliced
3/4 tsp. sweet paprika
1/8 tsp. cayenne pepper
1/8 tsp. ground allspice– this is a must
Directions:
In a small shallow bowl mix together the vinegar and the honey. Mix in 1/2 thinly sliced red onion and throw in a pinch of salt and set it aside. Mix it a few more times while you’re doing everything else and let it sit and marinate till you’re ready for it.
In a large bowl, mix together 1 tsp. kosher salt, garlic, coriander, and black pepper. Add chicken to the bowl and rub the dry mixture all over the chicken. Let it sit and marinate for 30 minutes at least.
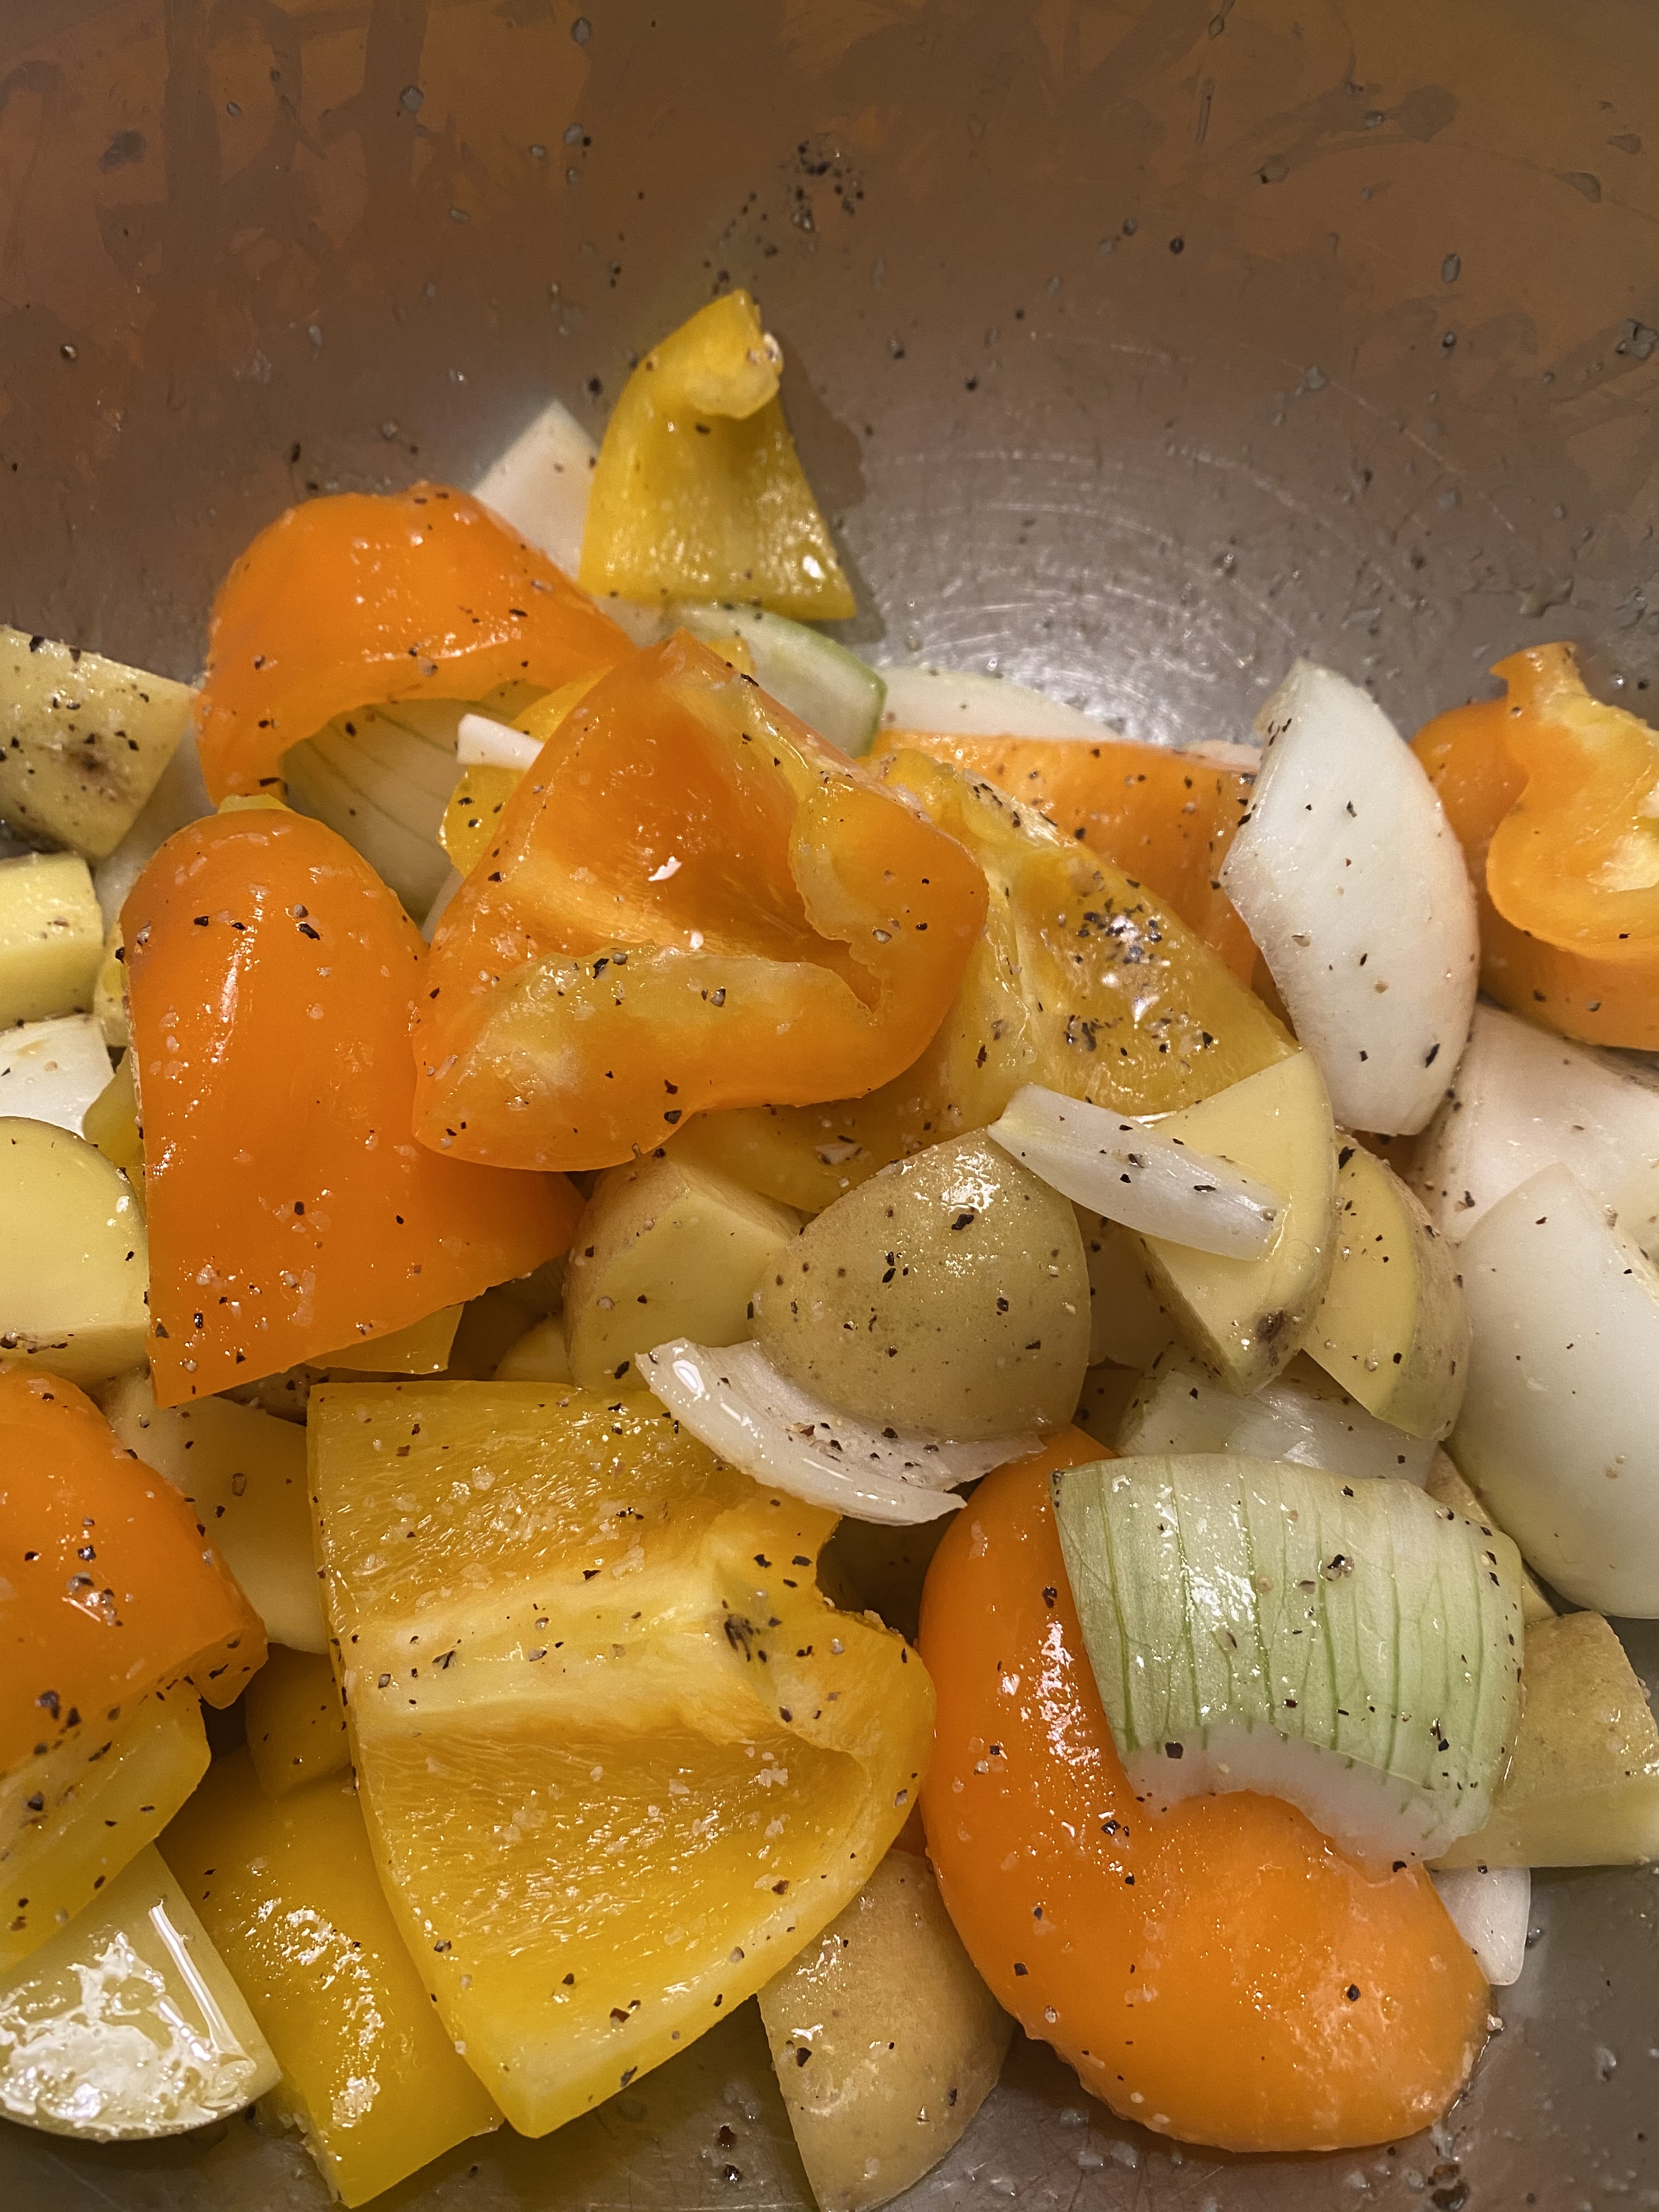
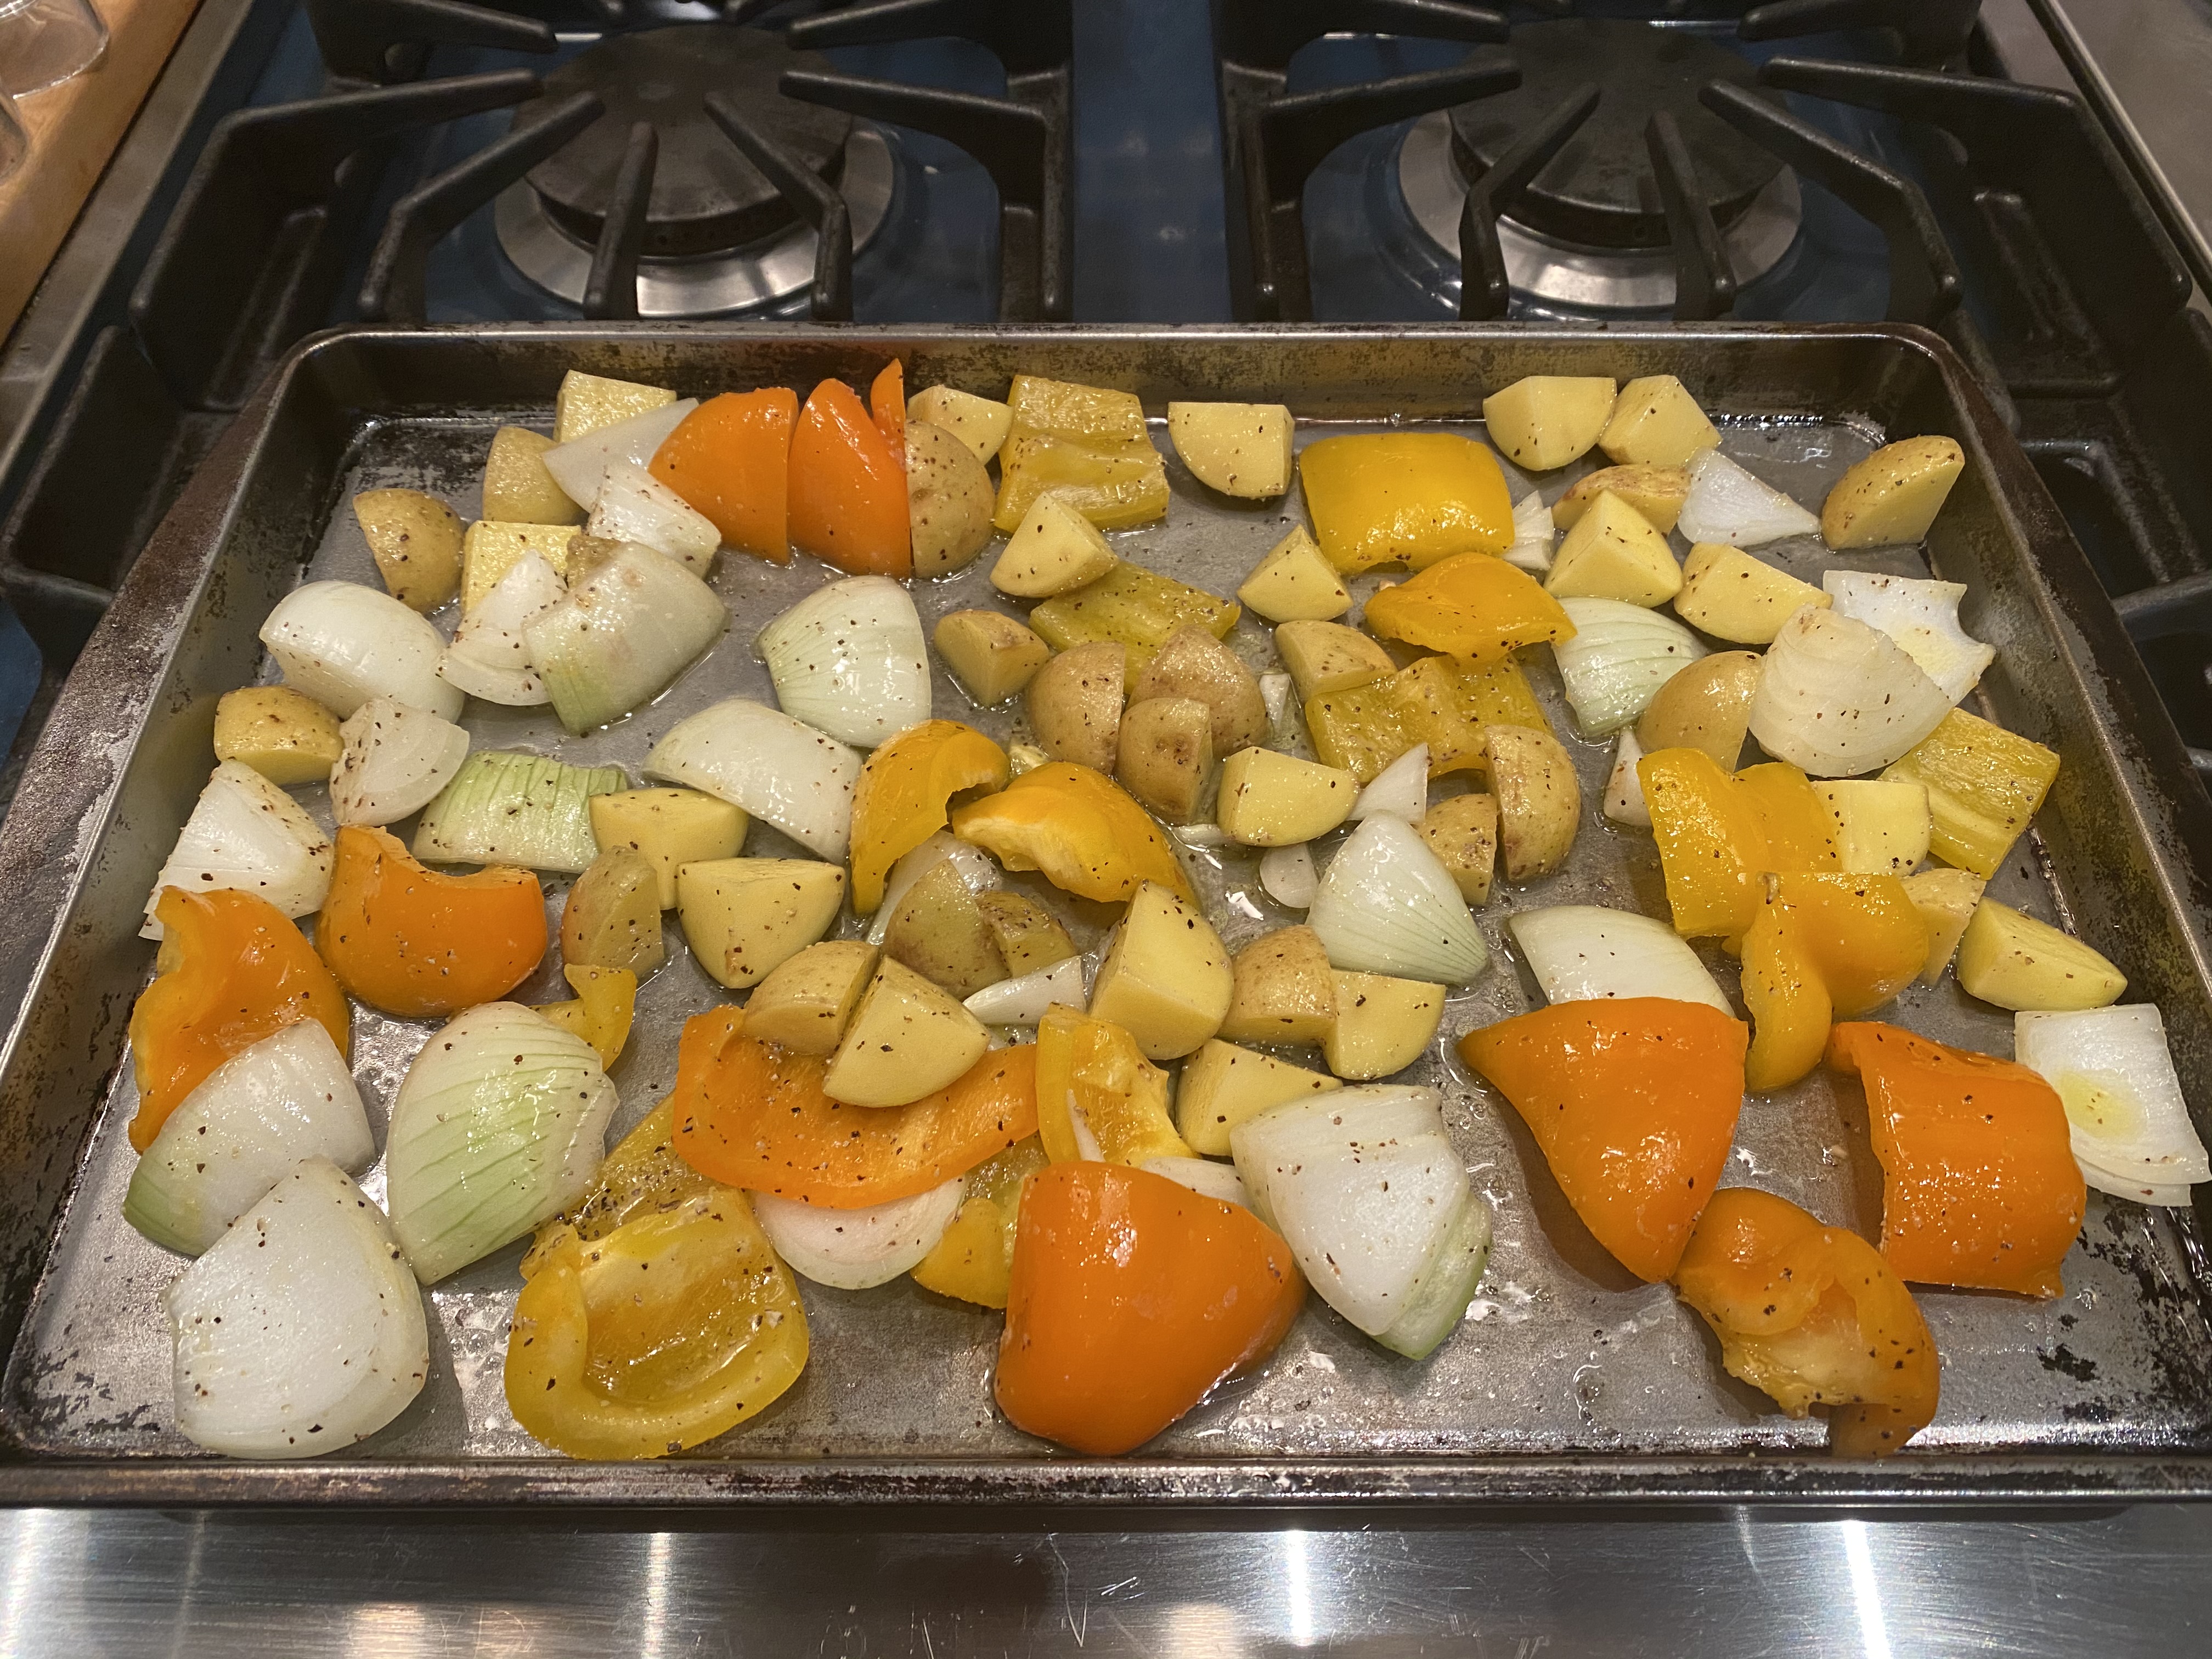
Pre-heat oven to 425 degrees. In a large bowl toss together 3-4 Tablespoons Olive Oil , sweet potato, pepper, remaining 1/2 red onion, another 1/2 tsp. kosher salt, paprika, cayenne and allspice. I let this sit for a while as well and stirred it around. I let this sit and it should have a light glaze of oil so I sometimes add an extra tablespoon or so of Oil it won’t hurt it any. When you’re ready spread vegetables out on a rimmed baking sheet that’s been sprayed with your favorite cooking spray.
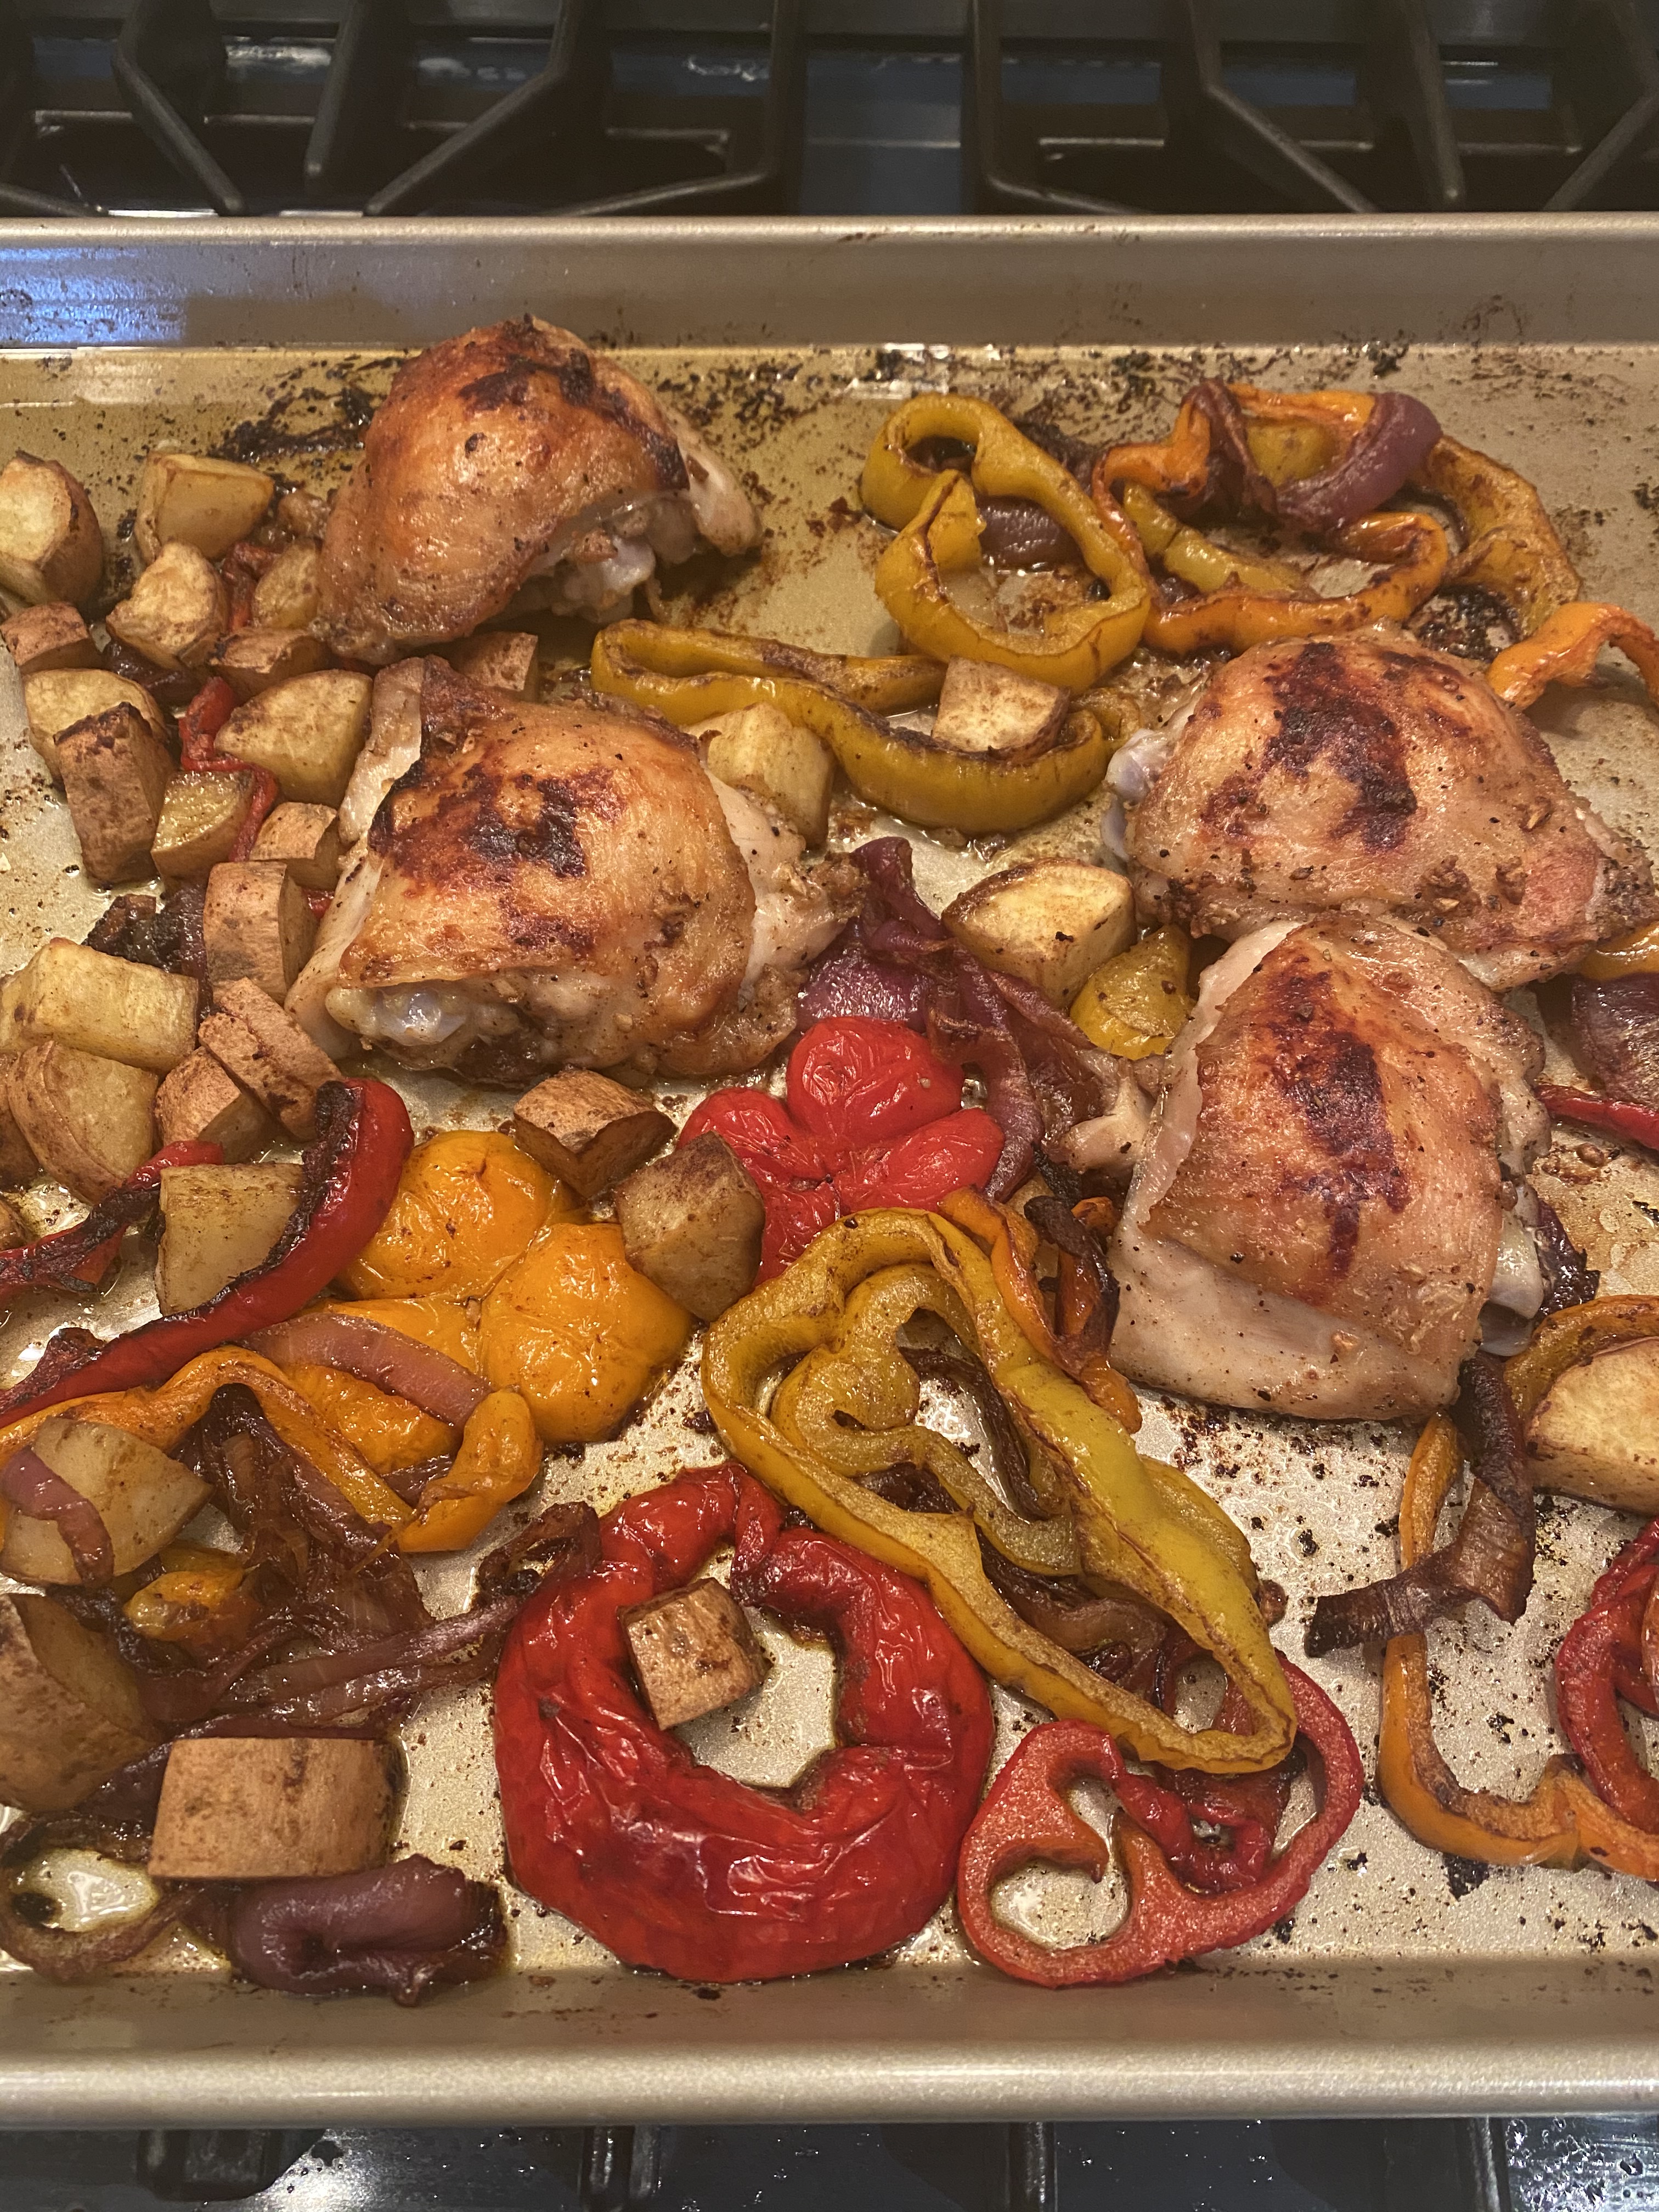
Add another Tablespoon of Olive Oil to the marinated chicken. If it seems super dry add a drop more and toss to coat. Place chicken pieces (see photo) skin side up among the vegetables, making sure the chicken is surrounded by the veggies not on top of them. Chicken should rest on the baking sheet directly.
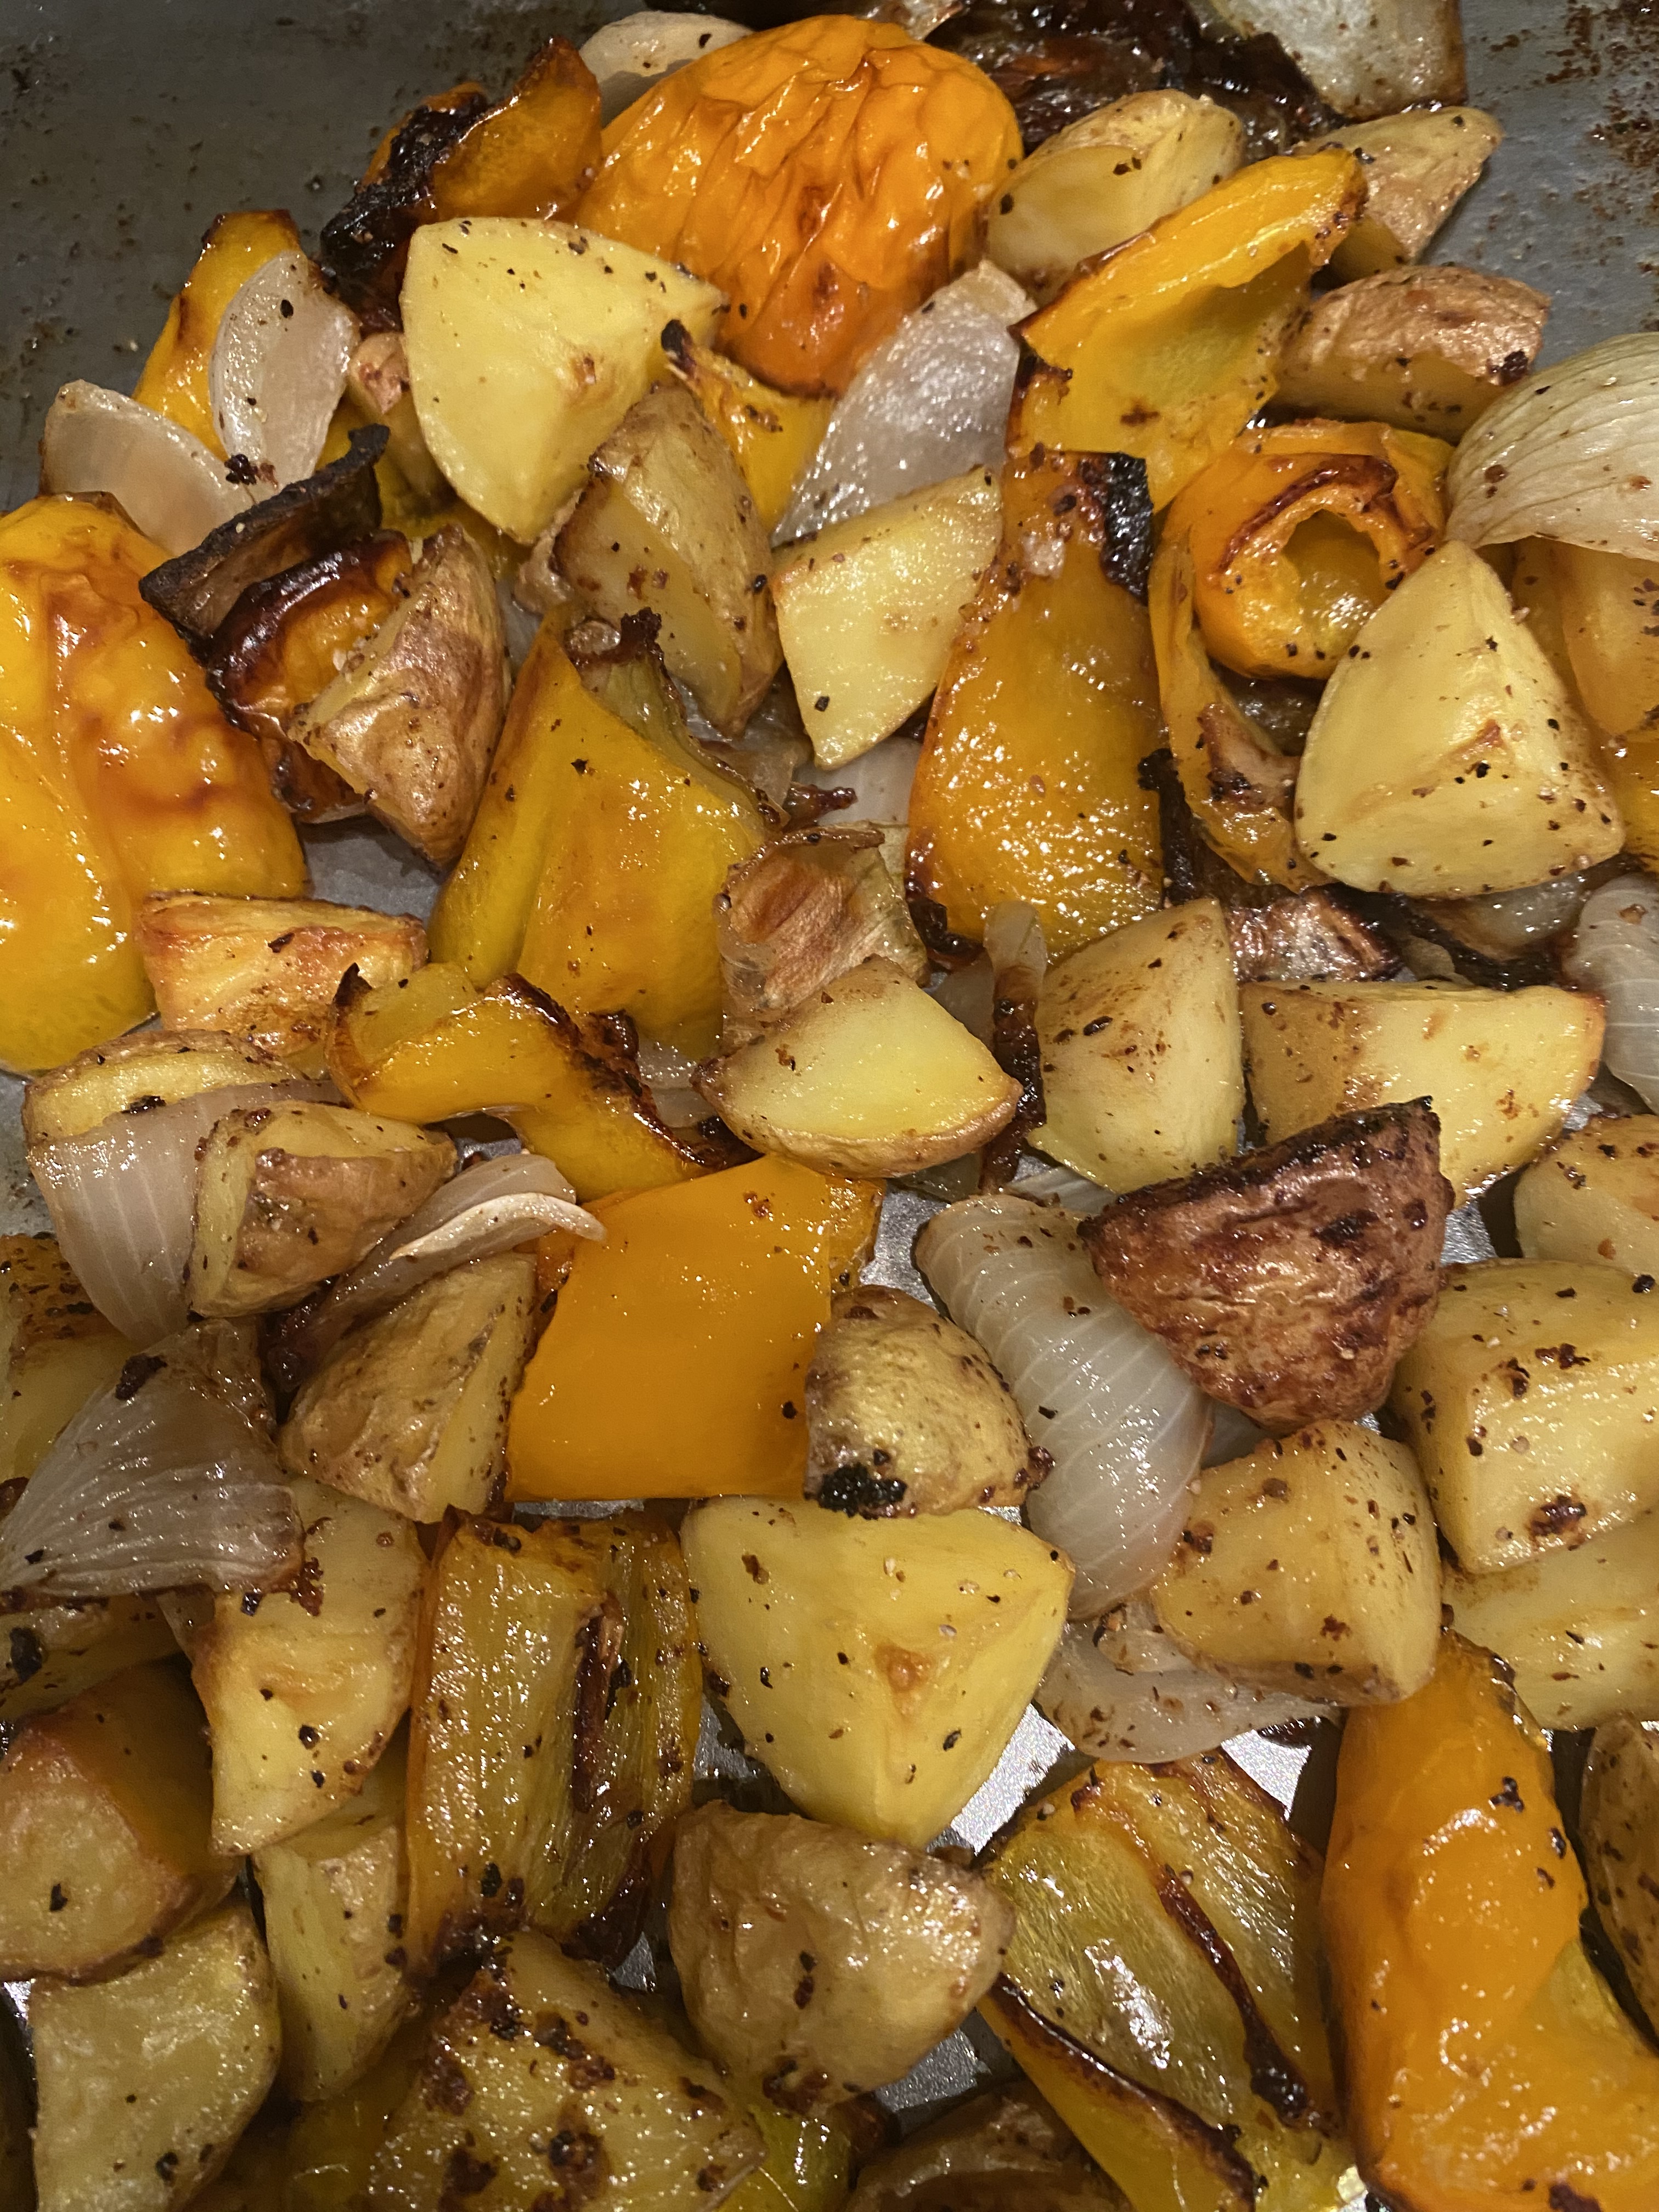
Roast for 15 minutes at 425 degrees. Remove pan from the oven and raise heat to 450 degrees. I used a spoon to flip veggies over or a small spatula–don’t flip over the chicken. Drizzle chicken but not vegetables with a few teaspoons of the vinegar from the pickled onions — about 2 teaspoons — just a drizzle if you made it and if not this will be just perfect as is.
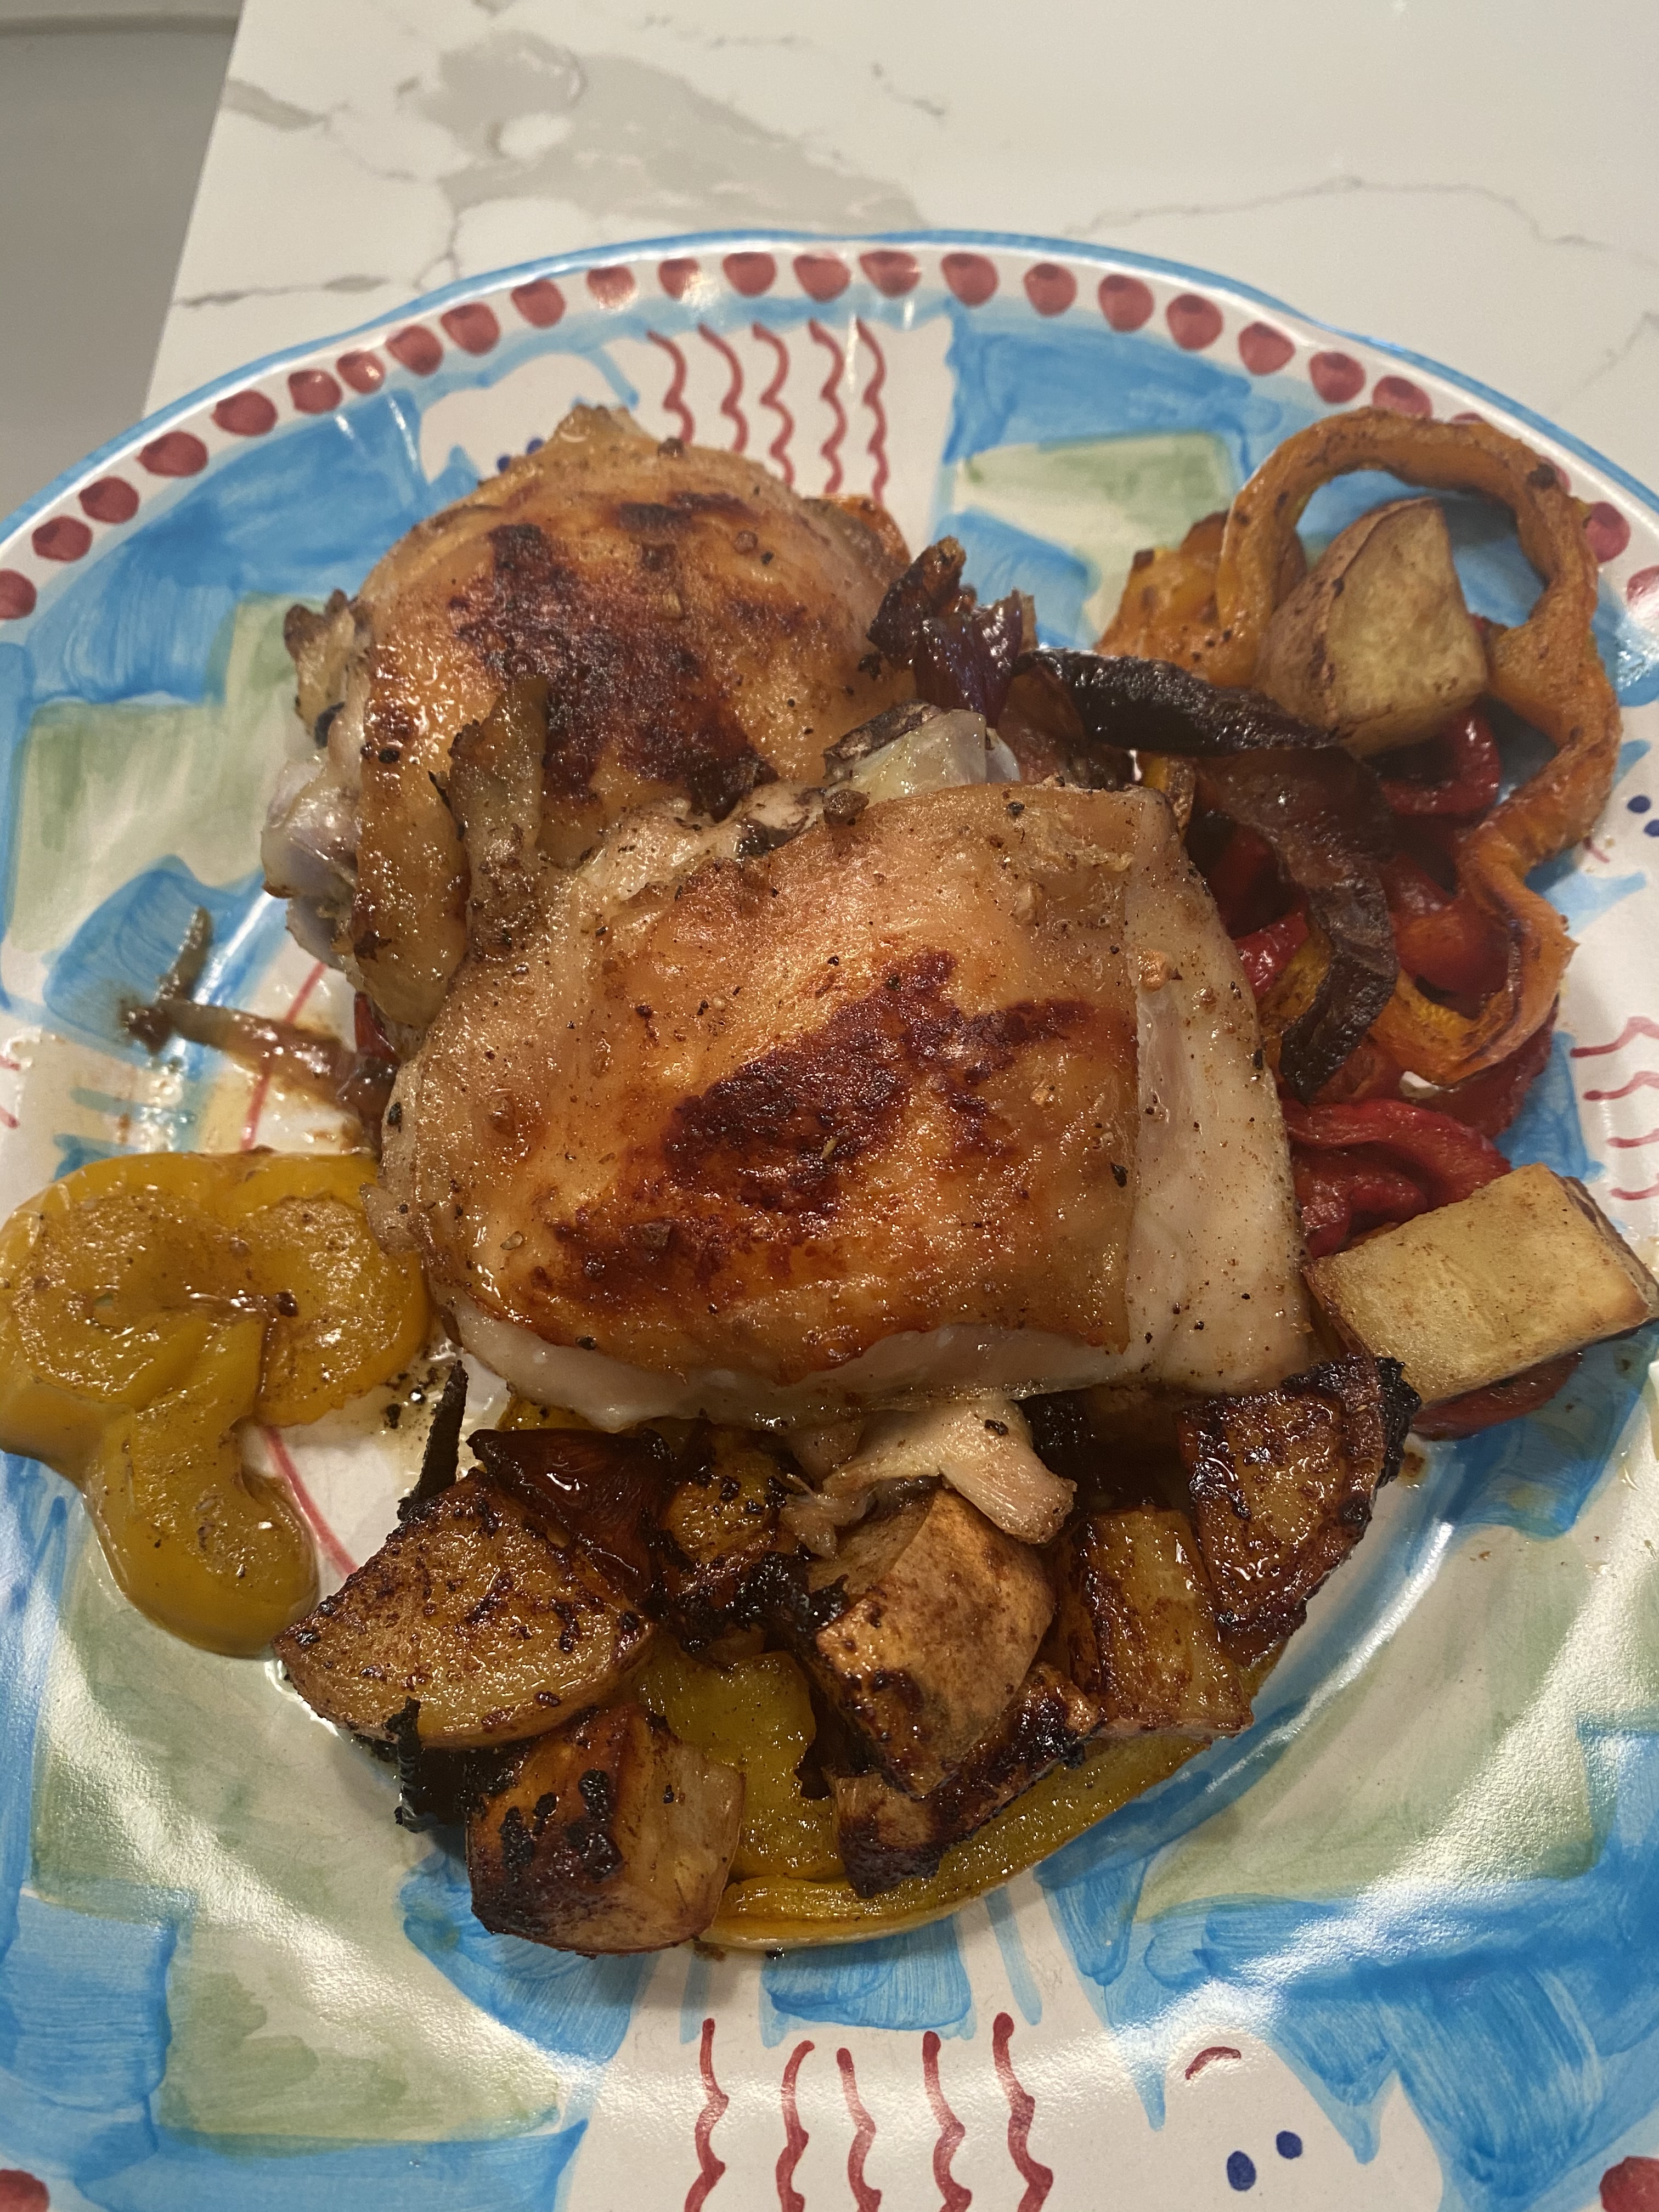
Return to oven which is now 450 degrees and roast chicken till cooked through–app. 15-20 more minutes. I actually cooked more like 25 minutes because I like a crispy skin .
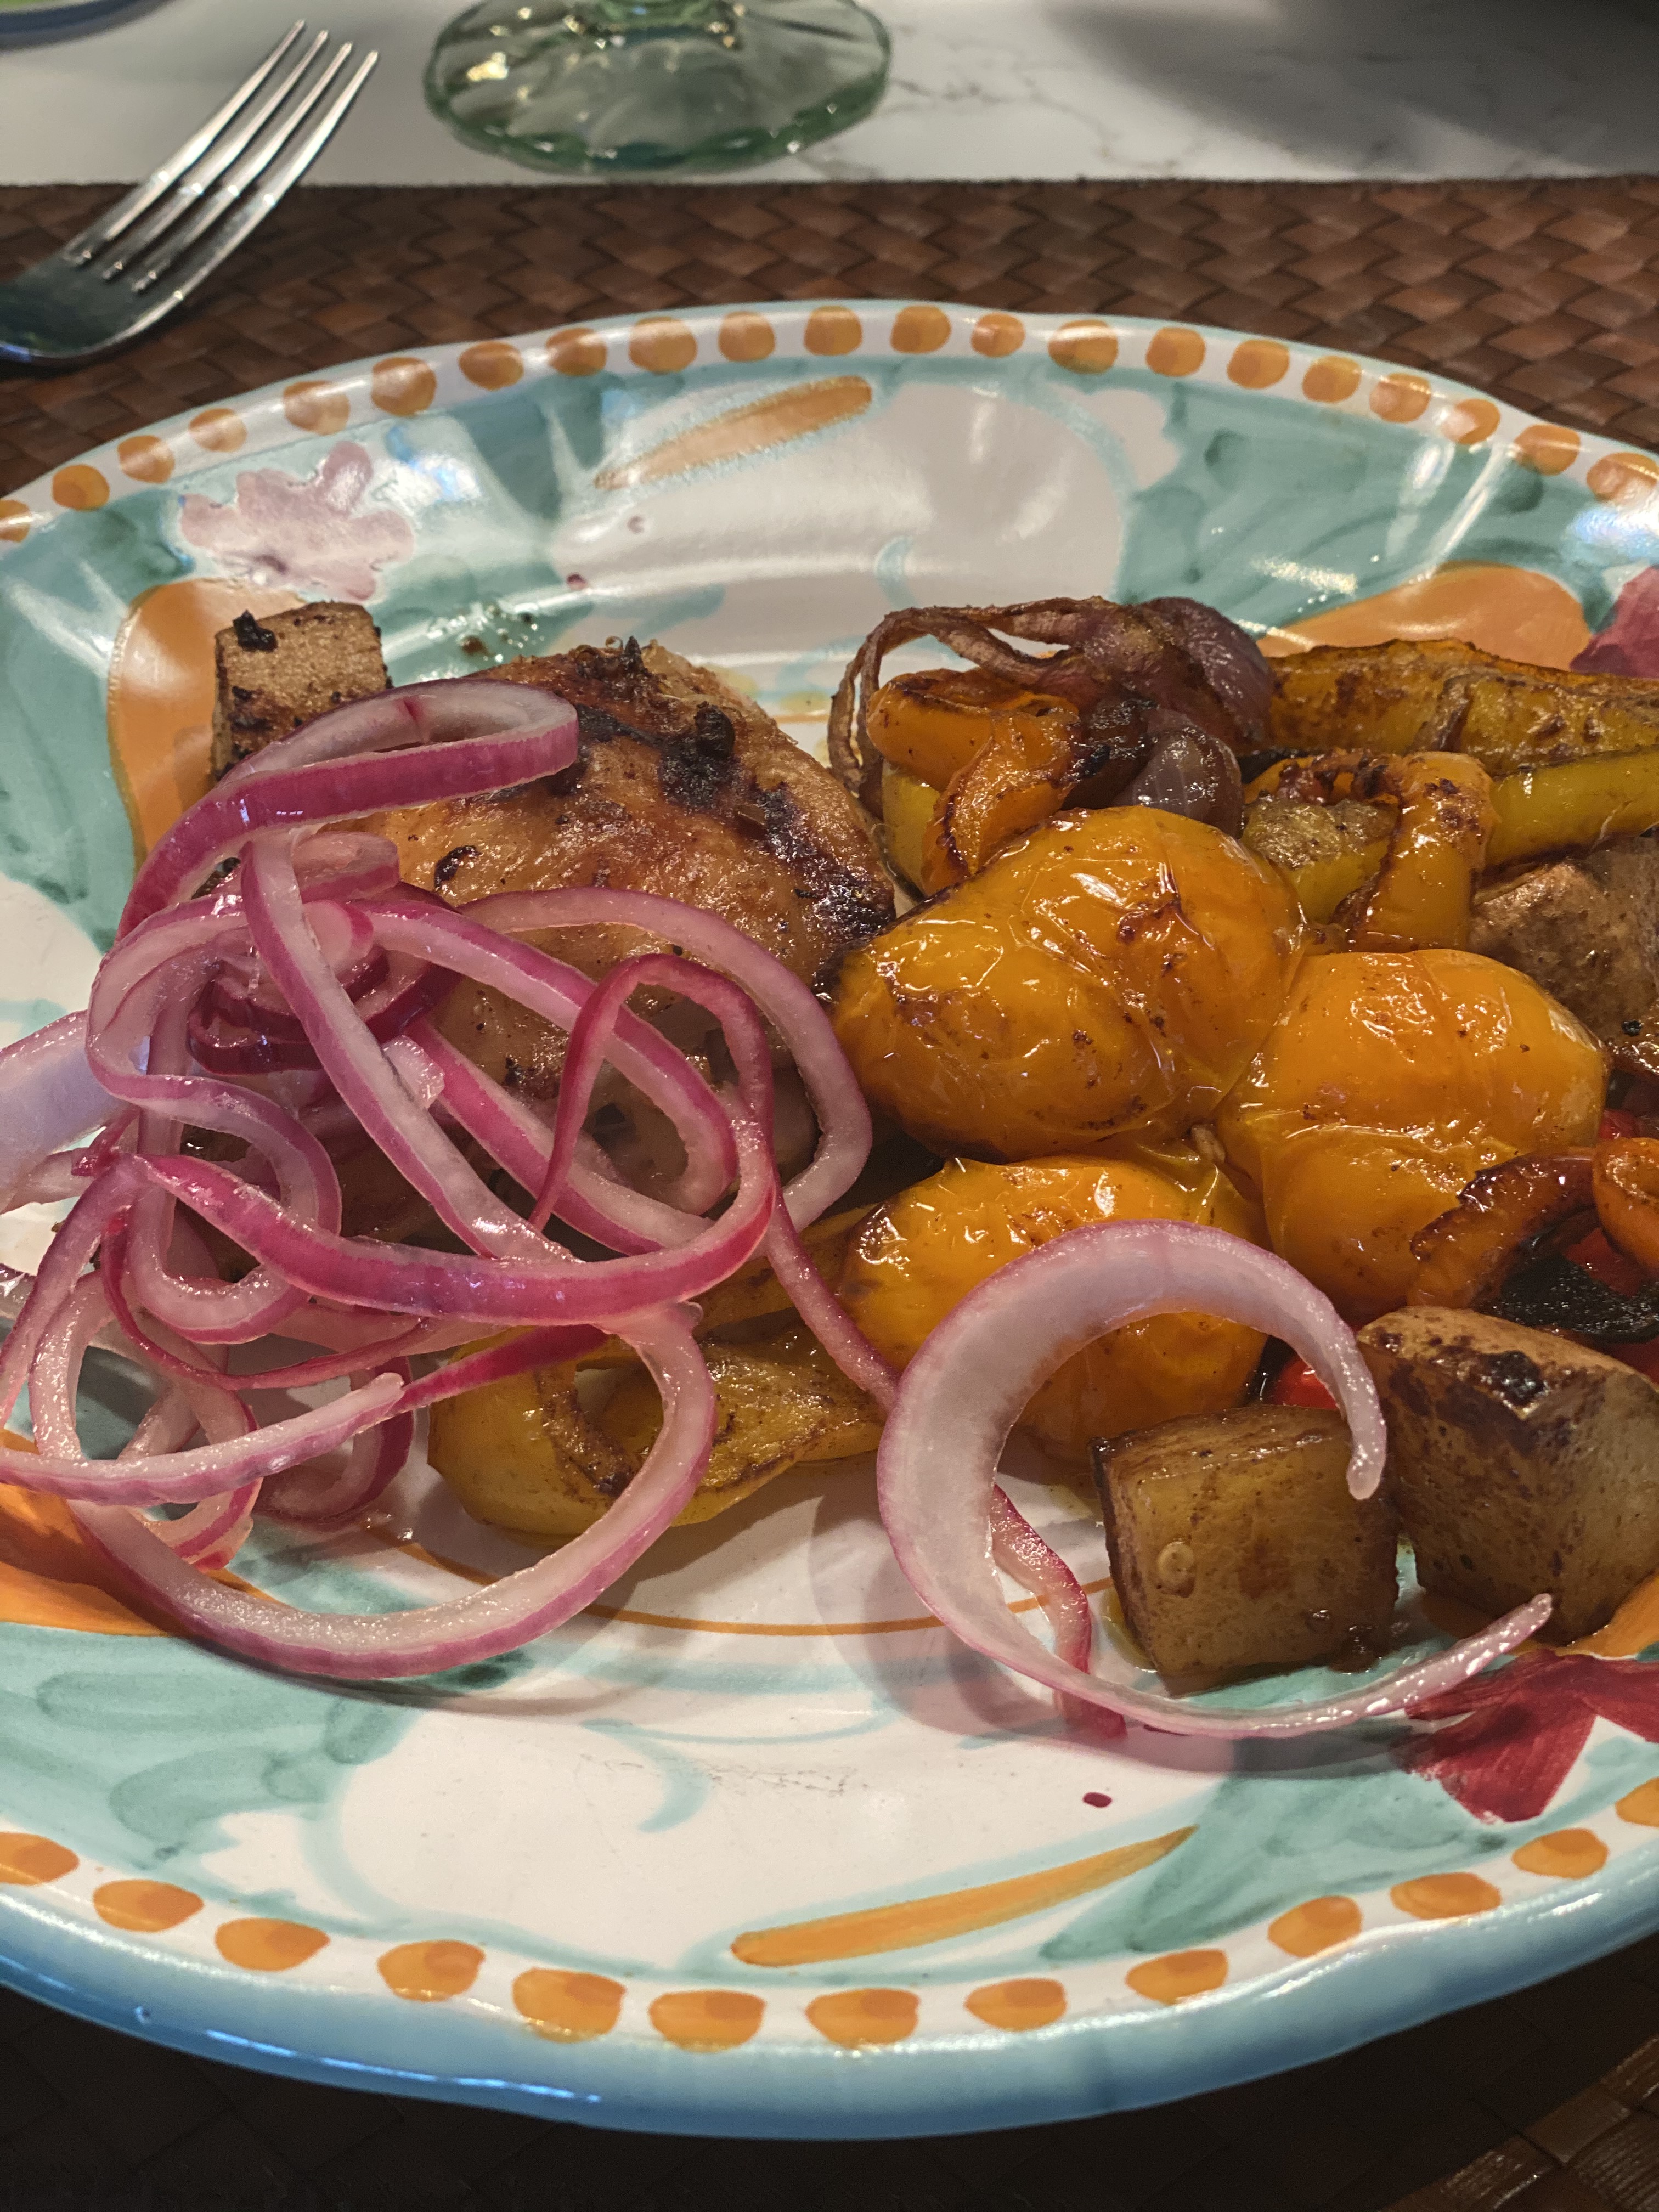
To serve I plated chicken and vegetables with a spoonful of pickled onions !!!!
This was delicious!