


Search Cooking with Candi
Cooking with Candi Archives
Recipe categories
-
Join 2,724 other subscribers
Easiest Chicken Dinner Ever

Easiest Chicken Dinner Ever
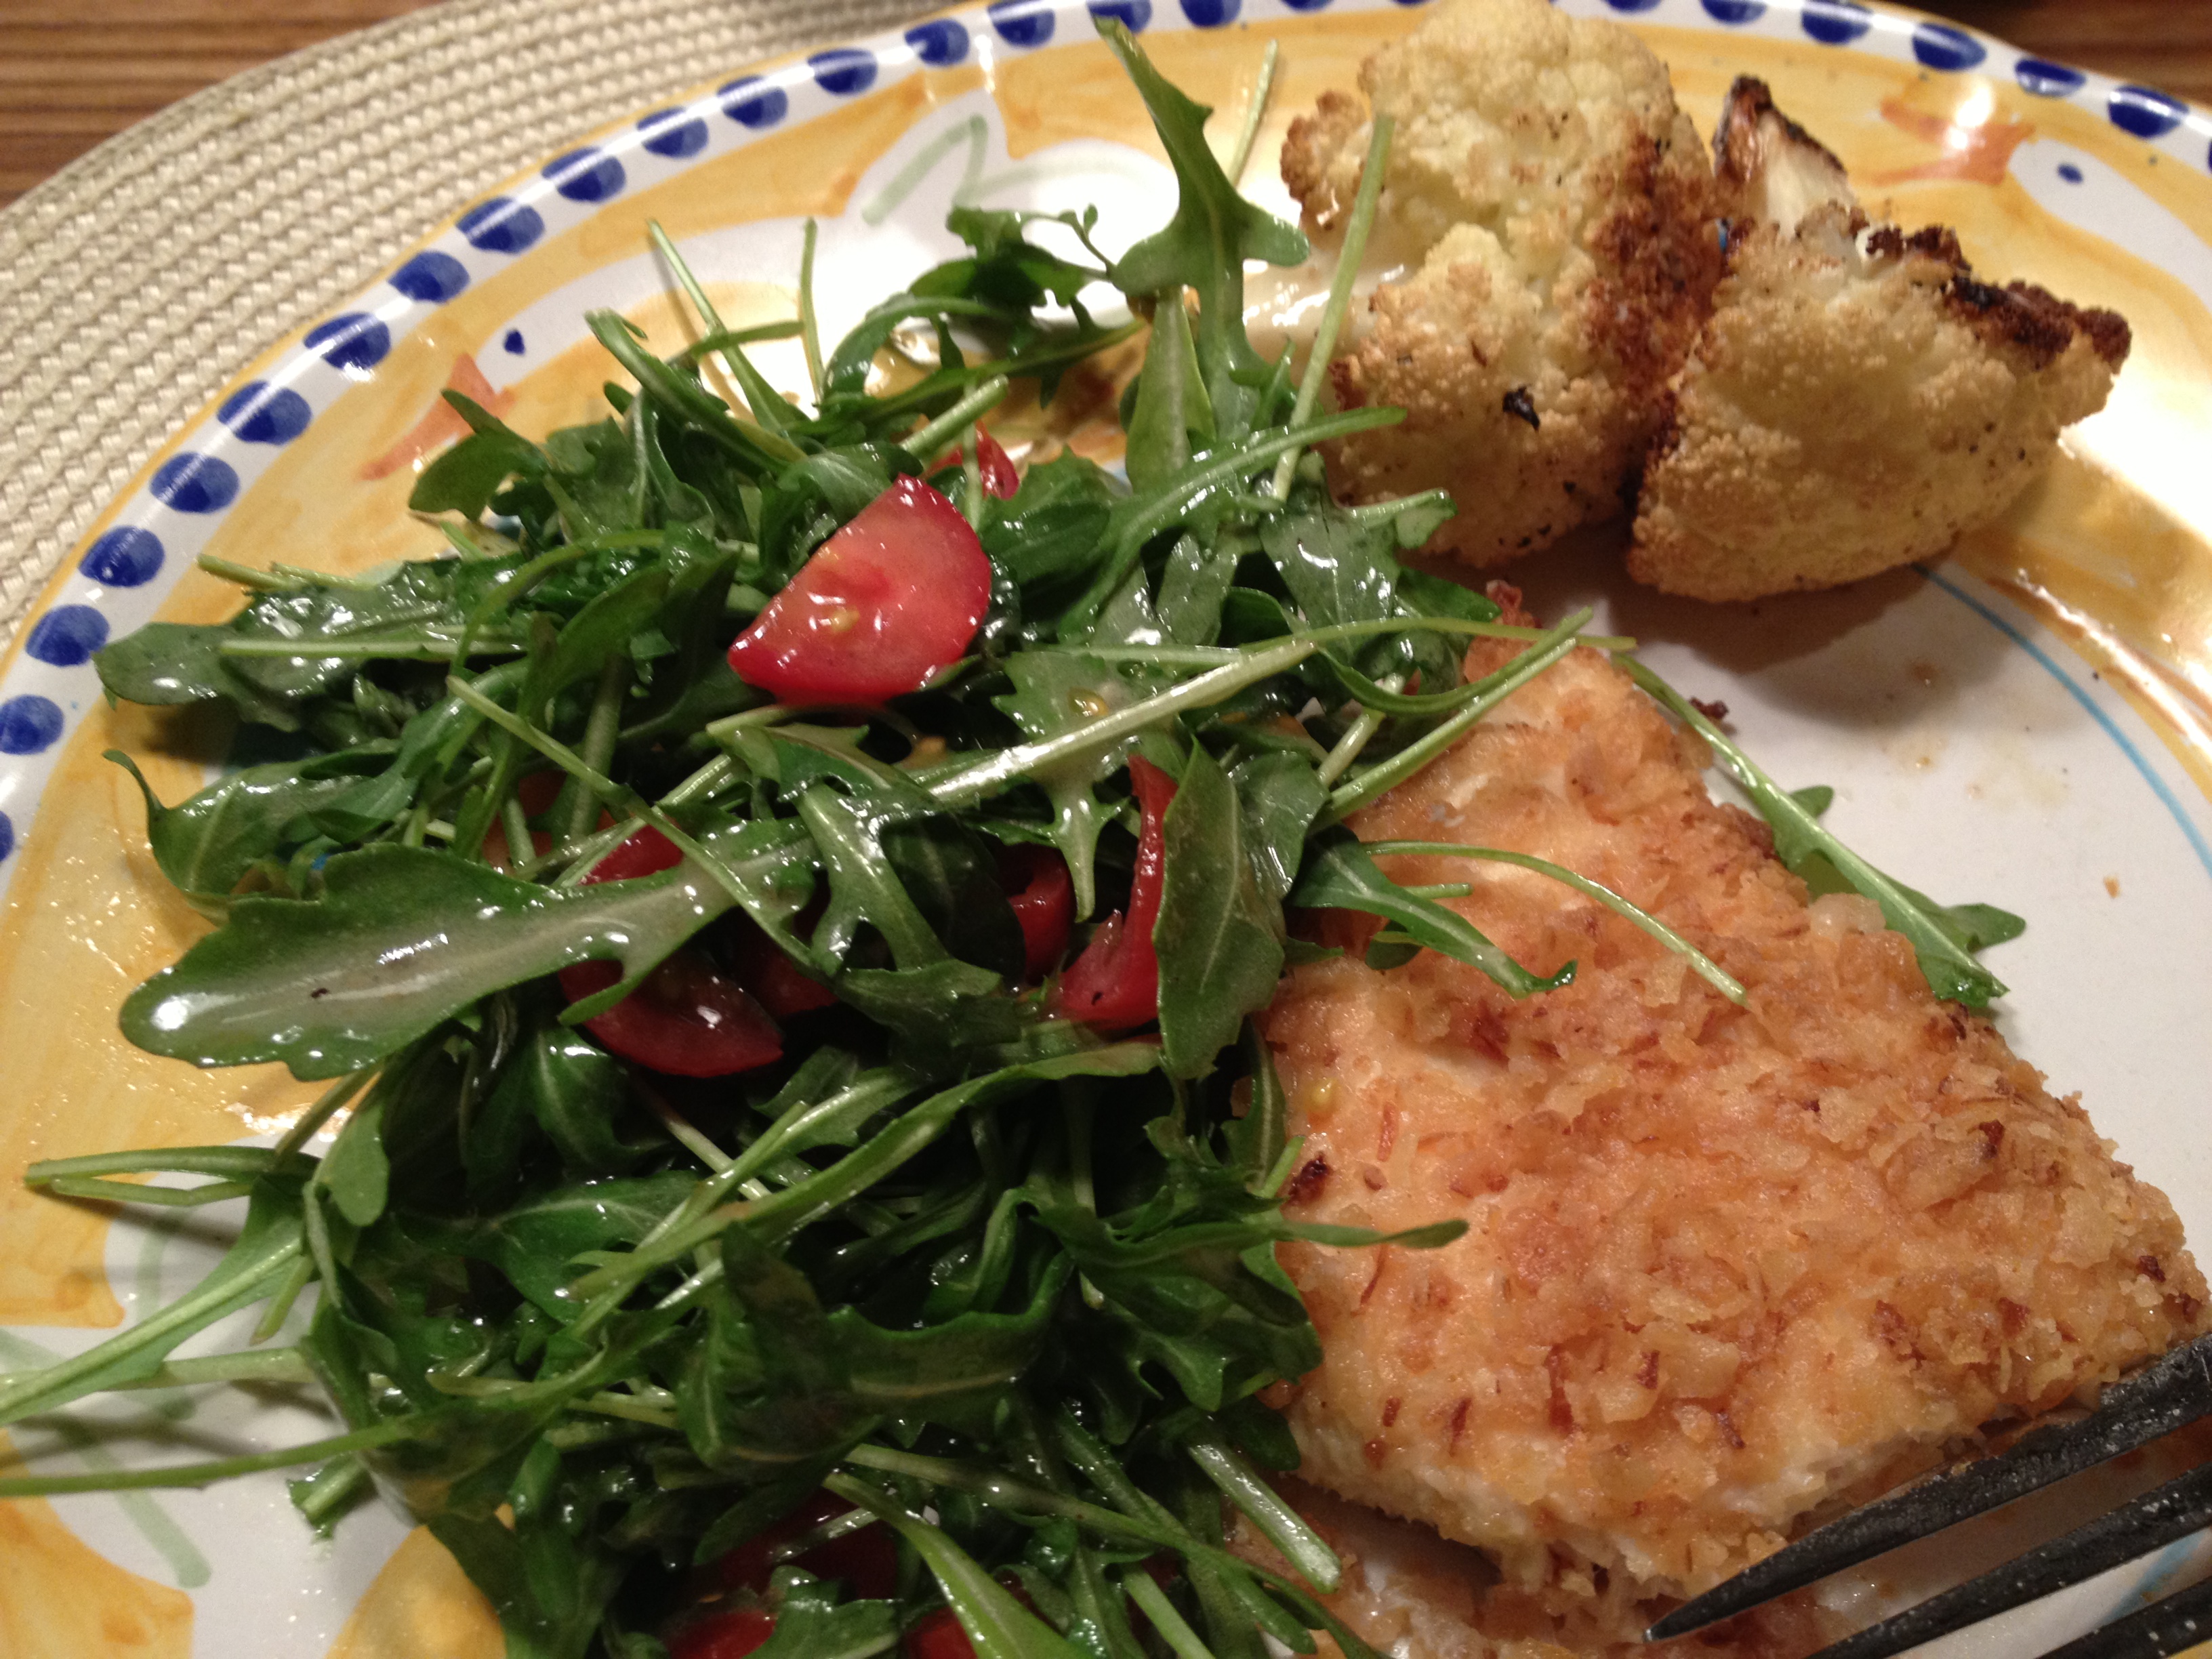
Seriously, I don’t even like to own up to this recipe. It is one of Joel’s favorites and anyone who ever eats it always wants to know how to make it…but the recipe is a little embarrassing! All that being said, I am going to share it because it needs to be done. I have to own it and I do. I’ve been making this chicken dish for years and hopefully when you make it, everyone will love it and you won’t have to admit how super easy it is and how there are hardly any ingredients at all. Enjoy! I owe you all this one. It is the perfect meal when you don’t have a lot of time to prepare, marinate, shop , etc.
INGREDIENTS:
1 lb. thin chicken filets (approx. 4)
6 oz can French’s french fried onion rings
1 egg, beaten
2 tbsp flour
DIRECTIONS:
Preheat oven to 400 degrees.
Crush onion rings. (I place them in a large Ziploc bag and bang on them until they’re all crushed up. It’s fun!) Add the 2 tablespoons of flour to the bag, shake it up and place in a shallow bowl or plate.
Pat each cutlet dry with paper towels, dip in the egg, then dip in the crushed onion rings. Youwill have to push down on onion rings with a spoon so they adhere. Place on sprayed (Pam) cookie sheet and bake for 20 minutes.
That’s it, enjoy!
I served this last night with rice and a chickpea, tomato, and feta salad (I will post salad recipe shortly).
Posted in chicken, Uncategorized
Tagged baked chicken, Chicken, chicken and onion rings, easiest chicken dinner
Something to do with a few zucchini (bake a bread), vegetarian
What to do with that beautiful zucchini you bought at the farmer’s market? Or that your friend gave you from her garden? Bake a bread or make muffins…perfect! This is so delicious for breakfast, as a snack, or a simple dessert. This recipe was inspired from the Original Silver Palate cookbook–one of the best cookbooks I’ve ever used. It’s worth the effort. It’s a bit on the messy side with all that grated zucchini. This would be categorized as vegetarian, but not vegan.
INGREDIENTS:
3 eggs, room temperature (as always)
1 1/2 tablespoons of unsalted butter, I melt it in the microwave before I add (you’ll also need a little more for greasing the pan)
3/4 cup vegetable oil
1 1/2 cups granulated sugar
1 teaspoon vanilla extract
2 cups grated, unpeeled raw zucchini (about 2 1/2 nice size zucchini), after I grate it , I put it in a mesh sieve and drain it, zucchini is very watery, the trick to baking with it is to rid it of the water. Push down on zucchini while it’s draining and get the water out.
2 1/2 cups unbleached, all-purpose flour (I sometimes mix whole wheat flour in, just make sure you use 2 1/2 cups total) bread will have a browner look with whole wheat flour
2 teaspoons baking soda
1 teaspoon baking powder
1 teaspoon salt
1 teaspoon ground cinnamon
*1 teaspoon ground cloves (optional, this is a strong spice that not everyone likes, so feel free to omit) if you omit clove, might want to increase your cinnamon
1 cup chopped walnuts
DIRECTIONS:
Preheat oven to 350 degrees. I spray pan with Pam and then spread a little butter around the pan, as well.
Beat eggs, oil, sugar, vanilla and melted butter until the mixture is light and thick. (I use my trusty Kitchen Aid mixer with paddle attachment). Fold grated zucchini into the mixture.
In a separate bowl, sift dry ingredients together and then stir into zucchini mixture until just blended. Add walnuts.
Pour batter into the prepared loaf pan (9×5). Bake on the middle rack of the oven for approx. 1 hour (you may need another 15 minutes depending on your oven). Remove cake, and with a cake tester, check for readiness (when the cake tester inserted into the center comes out clean.) I filled the loaf pan about 3/4 to the top. I had a little left over and was able to make 5 muffins with that leftover batter!
Cool slightly, remove from pan, and let it cool completely on a rack.
For optimum flavor, wrap the bread when it is completely cool and let it stand overnight before serving.

something to do with a few zucchini
Posted in breads/cakes, vegetarian
Cold Corn Soup (Corn Vichyssoise, Vegetarian)

Cold Corn Soup

- best way to cut kernels off cob (in a bundt pan)
-

Cold Corn Soup on the Stove

cleaning leeks
Summer is really coming to an end and we have to take advantage of the delicious fresh produce that is in such abundance before the official end of the season arrives. I love corn, and am always looking for new ways to cook with it. This recipe is very tasty. It’s not for everyone, I’m sure; but for those of you who can handle cold soups, this is a real treat and something a little different. That being said, I don’t know why you couldn’t serve this warm. I just like it with fresh corn and think that for summer, it should be served cold. A corn Vichyssoise, for those among us who like fancy French titles. This also happens to be vegetarian and can also be vegan without the sour cream at the end. (Even Joel likes this recipe!)
INGREDIENTS:
5 ears of fresh corn, kernels cut off the cob (see picture); reserve the 5 cobs
2 medium leeks, white and light green parts only. Cut up leeks need to be cleaned very well (I place them in a bowl of cold water, drain and look over for dirt–see picture again)
1 potato, peeled and cut up into cubes
2 tbsp Extra Virgin Olive Oil
4 cups vegetable stock (unless you don’t care about being vegetarian and then you can use chicken stock)
Kosher salt and freshly ground black pepper, to taste
*sour cream and fresh chives for garnish
DIRECTIONS:
Heat oil in a large, heavy pot (le Creuset is good) over medium heat. When oil is hot, add leeks and cook until softened (about 6 minutes). Add in the corn kernels, cobs, potato, and stock. Season lightly with salt and pepper. Bring to a boil, reduce heat, and simmer. I cover almost all the way. You basically need to cook this until the veggies are all soft (about 45 minutes to 1 hour). After an hour, discard the cobs and let the soup cool off. Then, using either a blender or Cuisinart food processor, blend in batches until very smooth. There should be no chunks of vegetables at this point. If it is too thick, add a little water. I probably end up adding about 1/2 cup of water, which I do while the soup is cooking. You can add water for consistency and adjust seasonings at any time. At this time, season again with salt and pepper. I add a spoonful of sour cream and cut up fresh chives for garnish. Very tasty and very beautiful.
Peach Bar-B-Q Sauce

peach BBQ sauce on chicken with rice on the side
Peaches are still in season and they are so delish that I am always trying to find ways to use them so they don’t go bad. It just kills me to throw them away. This recipe solves the dilemma of peaches going bad. It is quite good on chicken or ribs. I happen to have used it on chicken. I got it from Gwyneth Paltrow’s new cookbook. I made it a tad more spicy for us but you can adjust the heat to your liking. It’s pretty easy. Thanks, Gwyneth.
INGREDIENTS:
I used 2 nice sized peaches (approx. 1 cup), peeled and cut into small cubes
1/2 cup ketchup
Juice from 1 average lemon (approx. 2 tablespoons)
2 cloves of garlic, minced
1 1/2 teaspoon Adobo sauce from canned chipotle chiles in Adobo (I used a lot more than this. Adjust to you liking. They are sold in a can and usually available in the supermarket in the Mexican food section. Gwyneth suggests soy sauce if you don’t want the heat.)
Kosher salt and freshly ground black pepper
4 boneless chicken breasts (I use organic)
DIRECTIONS:
Combine first 5 ingredients in a small saucepan. Season lightly with salt and pepper and bring to a boil. Reduce the heat to low and simmer until peaches are very soft (about 15 minutes). Remove from heat and let the sauce cool off. Pour peach mixture into a blender and puree until smooth. Taste for salt and pepper. Place 1/2 the sauce in a medium-sized bowl and add the chicken. Turn to coat well. Let marinate at room temp for about 20 minutes or so, or cover and chill for up to 8 hours. Cover and refrigerate the remaining sauce (you will use this for cooking later), leaving a little left over on the side if you would like to serve with it.
Prepare grill on high heat. Grill chicken until almost cooked through (about five minutes per side). Using a silicon brush, brush the remaining marinade on both sides of chicken while on the grill. Continue grilling until done–glazed and cooked through (about 3 minutes more per side). I had to cut into the chicken to check that it was cooked through (I used pretty thick pieces). Just slice crosswise and serve with extra sauce on the side. I served over rice and with cold corn soup.

chicken breasts marinating in peach BBQ sauce
Second Favorite Salad Dressing (Balsamic)

Balsamic Salad Dressing
As much as I love my mustard vinaigrette dressing, I also love this dressing. It is a nice, light balsamic, and I often use it on my greek salads with a little oregano. It’s just perfect as it is. I use those wonderful bell jars which are available in most supermarkets. You will almost always have all of these ingredients on hand, and if you don’t, you should! It couldn’t be much simpler. No excuse not to make your own dressing. Take control of what goes into the food you eat!
INGREDIENTS & DIRECTIONS:
In a small bowl, whisk together 1/4 cup Balsamic vinegar, 1 tablespoon Dijon (I use 2 because I like a strong mustard flavor but you should use according to your own taste.) Add a pinch of sugar. (What exactly is a pinch? Pour a very little bit of sugar into the palm of your hand and with your other hand, literally pinch some sugar! And there is your pinch.) Add approx. 1/4 teaspoon kosher salt (you can always add more so err on the side of a little bit at a time). Add a few grinds of black pepper. Slowly add 3/4 cup olive oil and continue to whisk until it emulsifies…and finished!
*You can store this for up to 2 weeks in the refrigerator
Posted in salad dressing
No Fuss, No Muss Salmon
This is really the easiest way to grill salmon and truly my most favorite way to cook and eat it! It really takes no time and the ingredients are simple, fresh and tasty. That’s why I call it No Fuss, No Muss Salmon. I suppose you can cook this in the oven. Just bake it in a baking dish at 350 degrees for about 20 minutes depending on the size of the piece of fish.
INGREDIENTS:
I use 2 1/2 lb salmon filets (1 per person)
1 lemon
Capers
Dijon mustard
Kosher salt and freshly ground pepper
DIRECTIONS:
Take a piece of aluminum large enough to hold 1 filet. Put the filet on aluminum and fold up edges (as pictured), making a little tray out of foil.
First pat salmon dry with a paper towel and very lightly sprinkle salt and pepper on each filet (it really doesn’t need it, but I use a little bit). Next, spread dijon mustard on the filet with a butter knife (all over the top). Sprinkle a few capers on each–as many or as little as you like, I don’t use a lot; just a few is good. I cut the lemon in 1/2 and then squeeze a little all over each piece (1/2 lemon is good for the 2 pieces) and then I slice very thin slices from the other 1/2 of the lemon and place them right on top of the salmon.
I then place the salmon on a hot grill in aluminum, lower heat to a more moderate heat and cook for about 20 minutes. Next, remove from heat, fold up sides and just let it sit for about 5 minutes. When you open up the aluminum and take the salmon out, it should lift right off the skin but you may have to play with it. The skin is actually very crispy at this point. Salmon should be light pink and flaky.
I served this with a beautiful salad, gazpacho and homemade macaroni salad. We sat outside and ate. It was a beautiful night.
 No Fuss, No Muss Salmon
Gazpacho in the Blender

Gazpacho in a Glass

- Gazpacho in the Blender
As much as we hate to see it happen, summer is coming to an end. Gazpacho is all about the summer though and now is the most perfect time to make it. It’s so cool and refreshing. This recipe is super easy and I make it all in the blender. I love it very spicy so I use Jalapeno peppers and Serrano chiles. I also add some Tabasco. Obviously, you don’t have to add this hot stuff. Just make it without the spicy additions. My sister is out here now and she likes it as spicy as I do. Feel free to indulge as you wish. We loved it! This is really very easy to make and looks beautiful. You can add croutons or sliced avocado or chopped up shrimp,or crab to the top when you serve it. This recipe is a go-to every summer. I have mixed and matched many recipes to perfect it.
INGREDIENTS:
1 lb ripe cherry tomatoes (they’re so super easy as is but you can use 1 lb of any kind of tomatoe–you’ll just have to cut up the larger ones)
1/2 Hot House cucumber, peeled and cut into chunks
1 large (or two small) shallots, coarsely chopped
1 clove garlic (smash the whole clove)
2 tablespoons apple cider vinegar
1 1/2 teaspoons kosher salt
*hot stuff (use as much or as little as the traffic will bear. I always wear gloves when handling these peppers. Be very careful of the oils getting into your eyes, nose, etc. I also use a separate cutting board for these and then wash the board very carefully still with the gloves on):
1 Jalapeno chile (stemmed, seeded and coarsely chopped)
1 Serrano chile (stemmed, seeded and coarsely chopped)
Dash of Tabasco
DIRECTIONS:
Place all the ingredients into the blender and blend until smooth. Adjust the seasoning with salt, to taste. I make this ahead of time (at least two hours) so it gets nice and cold in the fridge. I put in stemless wine glasses and serve right before meal.
*Yields about 4 servings
OMG Apricot Bars

OMG Apricot Bars out of oven

OMG Apricot Bars pre cooked
These bars are nothing short of a-mazing! They are the most perfect, delicious treats–great to take on a hike, great for after a ride on your bike…ok, enough Dr. Seuss. Just go ahead and bake them–it is not difficult. I woke up early this morning and decided to bake them and one hour later, they were finished and out of the oven. They remind me of a yummy, soft granola bar. If you don’t like apricots, substitute cherries and cherry preserves, blueberries and blueberry preserves, etc. (I’m not sure if I would use fresh blueberries. Just stick with the dry version of the fruit and the matching preserves.) Thanks to Giada for the inspiration on this one!
INGREDIENTS:
Filling:
1 large jar of apricot preserves (I used an 18 oz jar of apricot/pineapple preserves because that’s what I had in the house. You can use a 13 oz jar of apricot preserves. I like it very gooey so I used a large jar of preserves.)
8 dried apricots, chopped up into small pieces
Crust:
1 3/4 cups all-purpose flour
1 cup light brown sugar, packed
1 teaspoon ground cinnamon
3/4 teaspoon baking powder
3/4 teaspoon kosher salt
1 teaspoon vanilla
1 3/4 cups old-fashioned oats (not the instant or 1-minute kind)
1 cup chopped walnuts
1 stick unsalted butter, melted
1 egg (room temperature), beaten
DIRECTIONS:
Preheat oven to 350 degrees. Make sure oven rack is in the center of the oven.
Line a 9×13 baking dish with parchment paper (see picture) on the bottom and the sides and then spray the paper with cooking spray (I use Pam).
In a bowl, mix together the jam and the dried apricots and set aside.
In a large, separate bowl, whisk together the flour, brown sugar, cinnamon, salt and baking soda. Stir in the oats and walnuts. Add the melted butter, egg and vanilla and mix very well. Using a utensil or your clean hands, lightly press half of the crush mixture into the bottom of the prepared pan. Using a knife or spatula, spread the apricot filling (use it all) over the first layer of crust. Cover the filling with the remaining crust mixture and gently press the crust mixture to flatten. Bake for about 35 minutes until light golden brown. Cool for at least one hour. Cut into bars. They will lift right out of pan with the paper and cleanup is a snap with parchment paper.
These will stay in an airtight container for at least three days. I will freeze them for the next time we want them, because they are too dangerous to have around.
* Yields about 24 bars
Ratatouille, Summer’s Bounty and Happy Birthday Julia!
August and the farmer’s markets are bursting with the most beautiful vegetables. It is a perfect time for making ratatouille. Ratatouille is a classic French casserole stew consisting of eggplant, onions, peppers, tomatoes, and zucchini. I was in a book club and we had just read Julie and Julia. Of course, feeling super inspired, we all decided that we had to cook a dish from one of Julia Child’s cookbooks. Open up Mastering the Art of French Cooking and it’s a daunting task!

- Summer’s Bounty Ratatouille
It was a few years back in the summer–August, actually–and I chose to make ratatouille. I started with a trip to the local farmer’s market and Julia’s recipe. While I do think her recipe is wonderful, I’ve made my own changes to it, and hope you will, as well. Since our vegetarian daughter was coming for a visit, I thought, what better time to make it? It is so perfect to serve over rice, pasta, or just as a side dish. While cooking it, I realized that August 15th was what would have been Julia Child’s 99th birthday! Her spirit certainly lives on. Bon Appetite!
INGREDIENTS: If you don’t have access to a local farmer’s market, you can buy you everything you need at the supermarket.
1 lb eggplant (I prefer small ones because I think they are sweeter and easier to cut up)
1 lb zucchini (you can use yellow and green)
4-6 tablespoons olive oil (you’ll start with 2 and add as needed; I usually end up using between 5 and 6)
1 large yellow onion
1 lb firm, ripe red tomatoes (peeled, seeded and juiced); about 1 1/2 cups (If you want, you can use canned tomatoes but I don’t)
2 sliced peppers (this is where I always use at least 1 green and whatever other color is available or you like the best)
3 cloves garlic, minced
Kosher salt and freshly ground black pepper, to taste
DIRECTIONS:
Peel the eggplant and cut into lengthwise slices–about 3 inches long, 3/8 inches thick and about 1 inch wide. This is just a guideline–do what you like. I like the eggplant in strips rather than cubes but at the end of the day, it doesn’t matter. Scrub the outside of the zucchini, slice off the two ends and cut into slices similar to the eggplant. Place the squash and the eggplant in a bowl and sprinkle with 1 teaspoon of kosher salt. Let the veggies stand in the bowl for about 1/2 hour, after which there will be some liquid. Drain it out and then I wrap the veggies in a towel and dry them off. (I know it’s a lot of work, but it’s worth it.)
I put 4 tablespoons of oil into my pot. (I use a big, heavy Le Creuset casserole pot.) When the oil is hot (medium high heat), I carefully add the eggplant and saute for a few minutes. Then, I remove the eggplant, do the same with the squash and add the removed squash to the eggplant in a separate bowl on the side.
In the same pot, I cook the onions and the peppers (I usually add a little more oil first). Cook for about 10 minutes until tender, not browned. Stir in the garlic and season with a little salt and pepper to taste. You have to peel the tomatoes and then I cut them in half, scoop out the seeds (I use a measuring spoon, which works great) and then just slice tomato pulp into strips about 1/2 inch long. Add the tomatoes to the pot, over the peppers and onions, cover the pot and cook over low heat for approx. five minutes. At this point, the tomatoes will begin to render their juices. Uncover pot, taste for salt and pepper, raise the heat and bring to a boil for about three or so minutes. The juice will begin to evaporate. Lower heat back down to a simmer and add the eggplant and zucchini squash. I cover it and let it cook for at least 1/2 hour. If it’s really boiling and you can’t get it to simmer, turn off the heat and keep it covered on the stove for a while (the stove stays hot and it will continue to cook; you just don’t want to burn it). After a 1/2 hour, correct seasonings if necessary. If I am serving it that night, I remove the cover and heat uncovered for another 15 minutes or so. The veggies should be melded together and softened with most of the juice evaporated. Be mindful of the heat–don’t scorch the bottom of the casserole (stir it around a lot). Serve over pasta, rice, or tofu. This also makes a delicious side dish with meats.
* Serves approx. 8
*This keeps in fridge for a few days, so can be made ahead of time. Just reheat in a saucepan over the stove.
