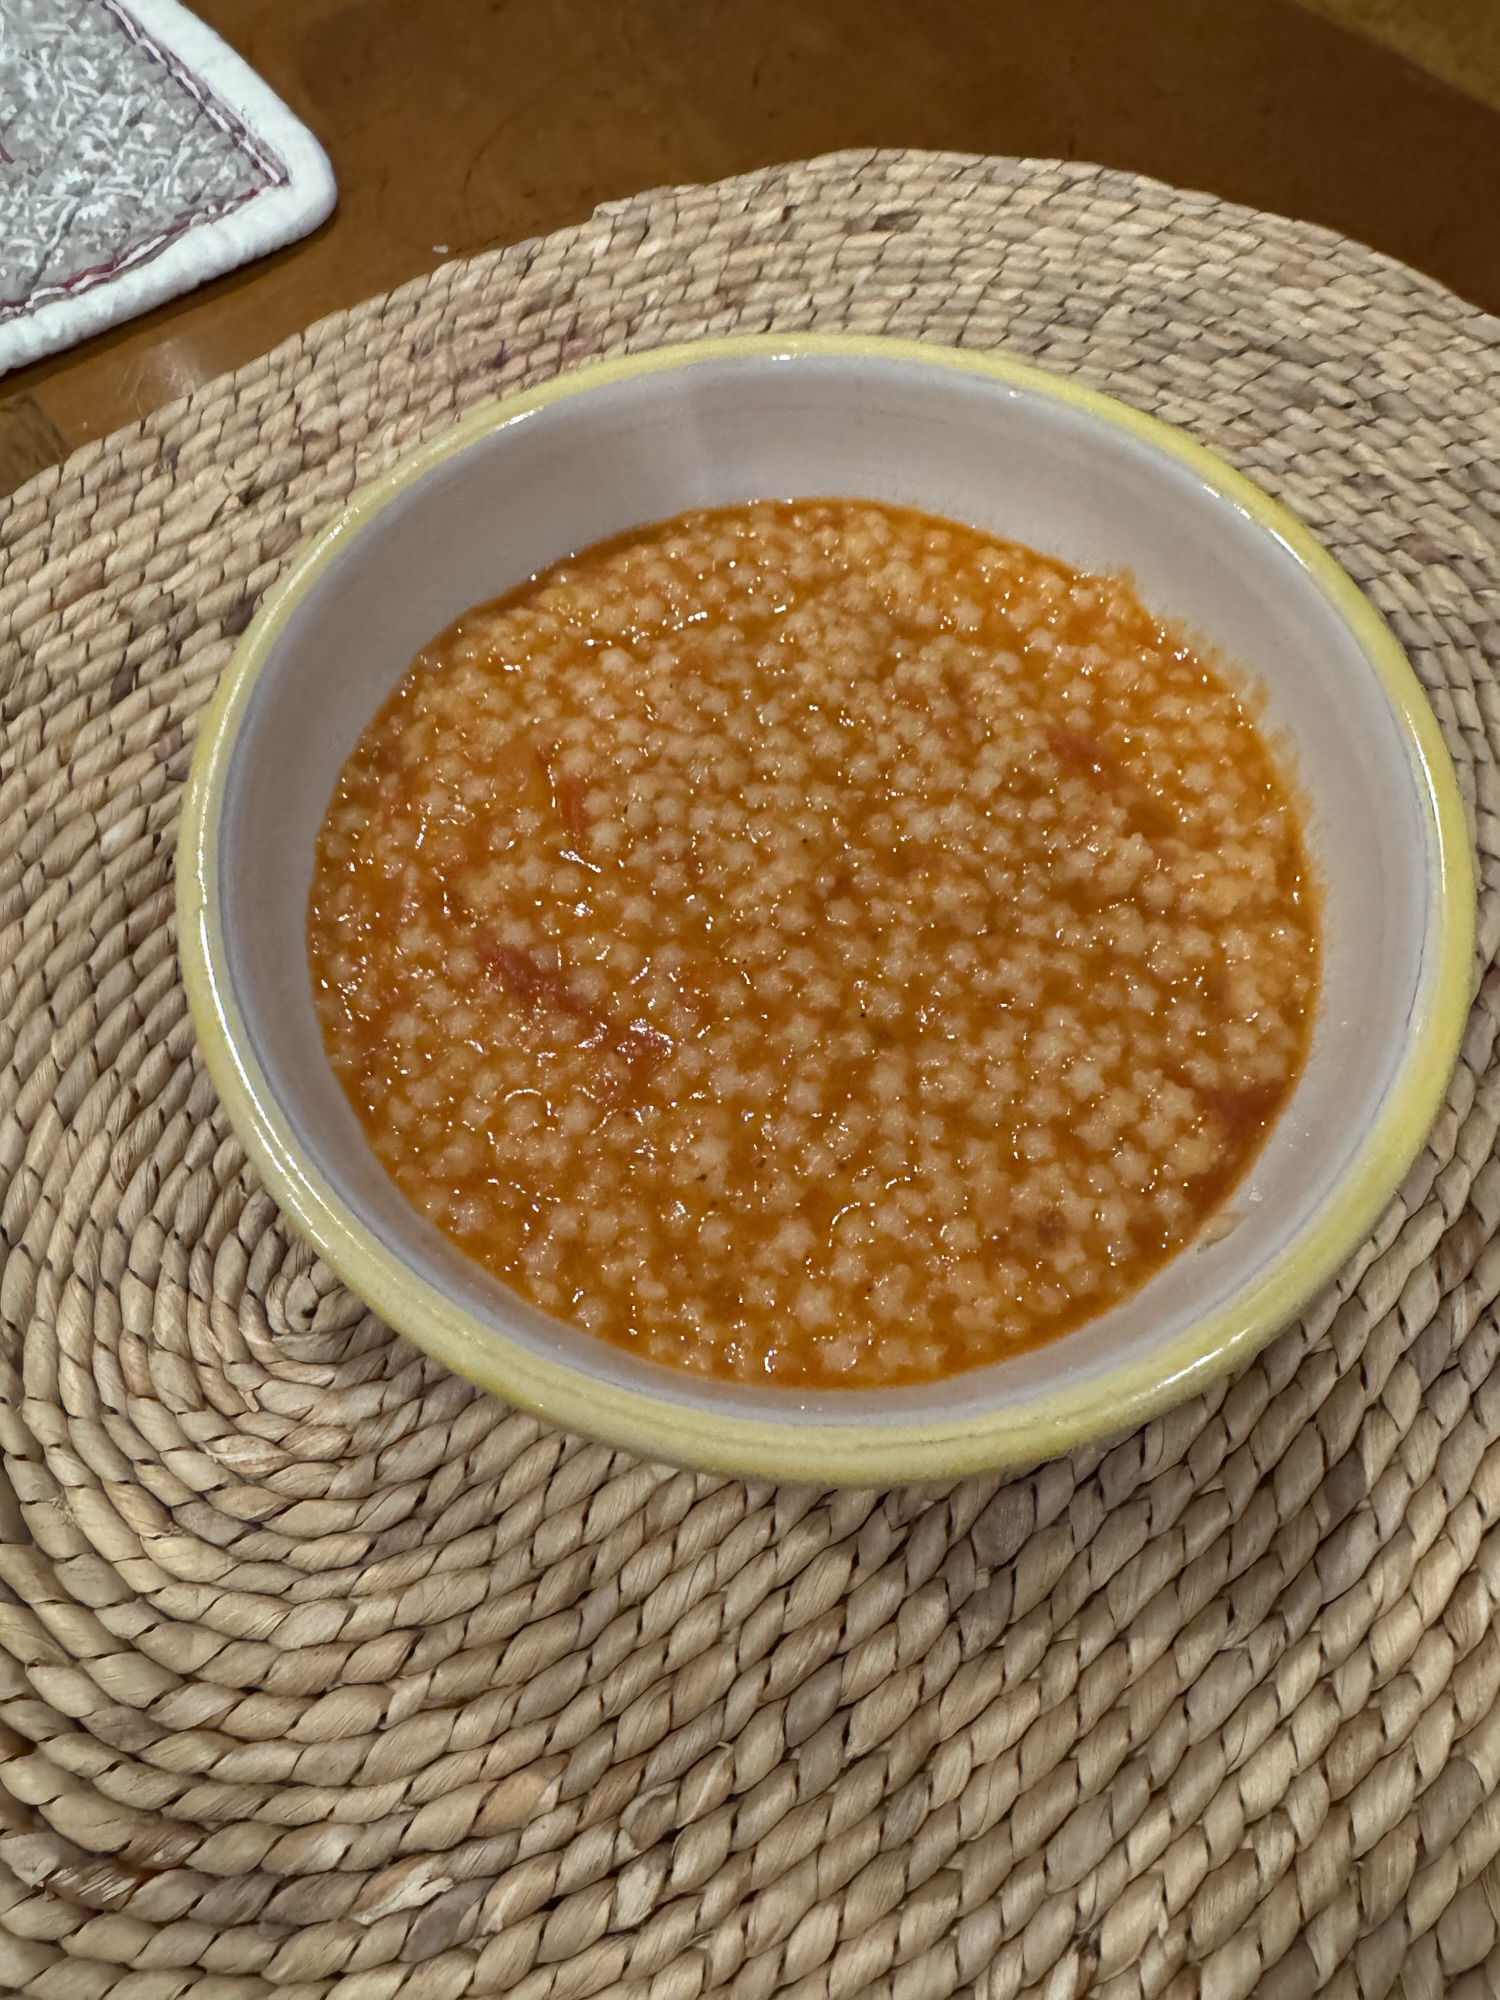
Amatrice is a small town in Italy outside of Rome and this dish is named for it. This dish is intended to be made with guanciale , which is a pig jowl and it tastes like a porkier version of bacon or pancetta. I use pancetta, which now comes pre-diced in packages making for a very easy time. I also keep packages of the diced pancetta in my freezer, they defrost very quickly which makes them a perfect dinner ingredient. I also use bucatini pasta which is thick and ropey with a hole like a straw. I wouldn’t wear white while eating this it’s a messy one. Super easy and delicious. I made it tonite with my marinated flank steak. I also used 2 containers of grape tomatoes, but you can easily substitute with 1 large can of San Marzano tomatoes ( crushed )The cherry/grape tomatoes give it a lighter sauce, and I prefer it especially in the summer months.
Ingredients:
4 tablespoons olive oil
4 – 6 oz. diced pancetta ( or 1/4 lb. glacial)
1/2 yellow onion chopped finely
2 garlic cloves , minced
2 containers of tomatoes halved ( I used grape tomatoes , I love them )
*1 teaspoon red pepper flakes ( we like spicy) use your own discretion , can always add at the table
1/2 teaspoon salt, or more to taste
1/2 teaspoon freshly ground black pepper, or more to taste
Grated Pecorino Romano Cheese, or any kind of Parmesan Cheese
1 lb. bucatini ( you can obviously use 1/2 pound and save any leftover sauce to freeze for another time) any thick spaghetti will do but I love this one in this recipe. Perciatelli is another good choice.
Directions:
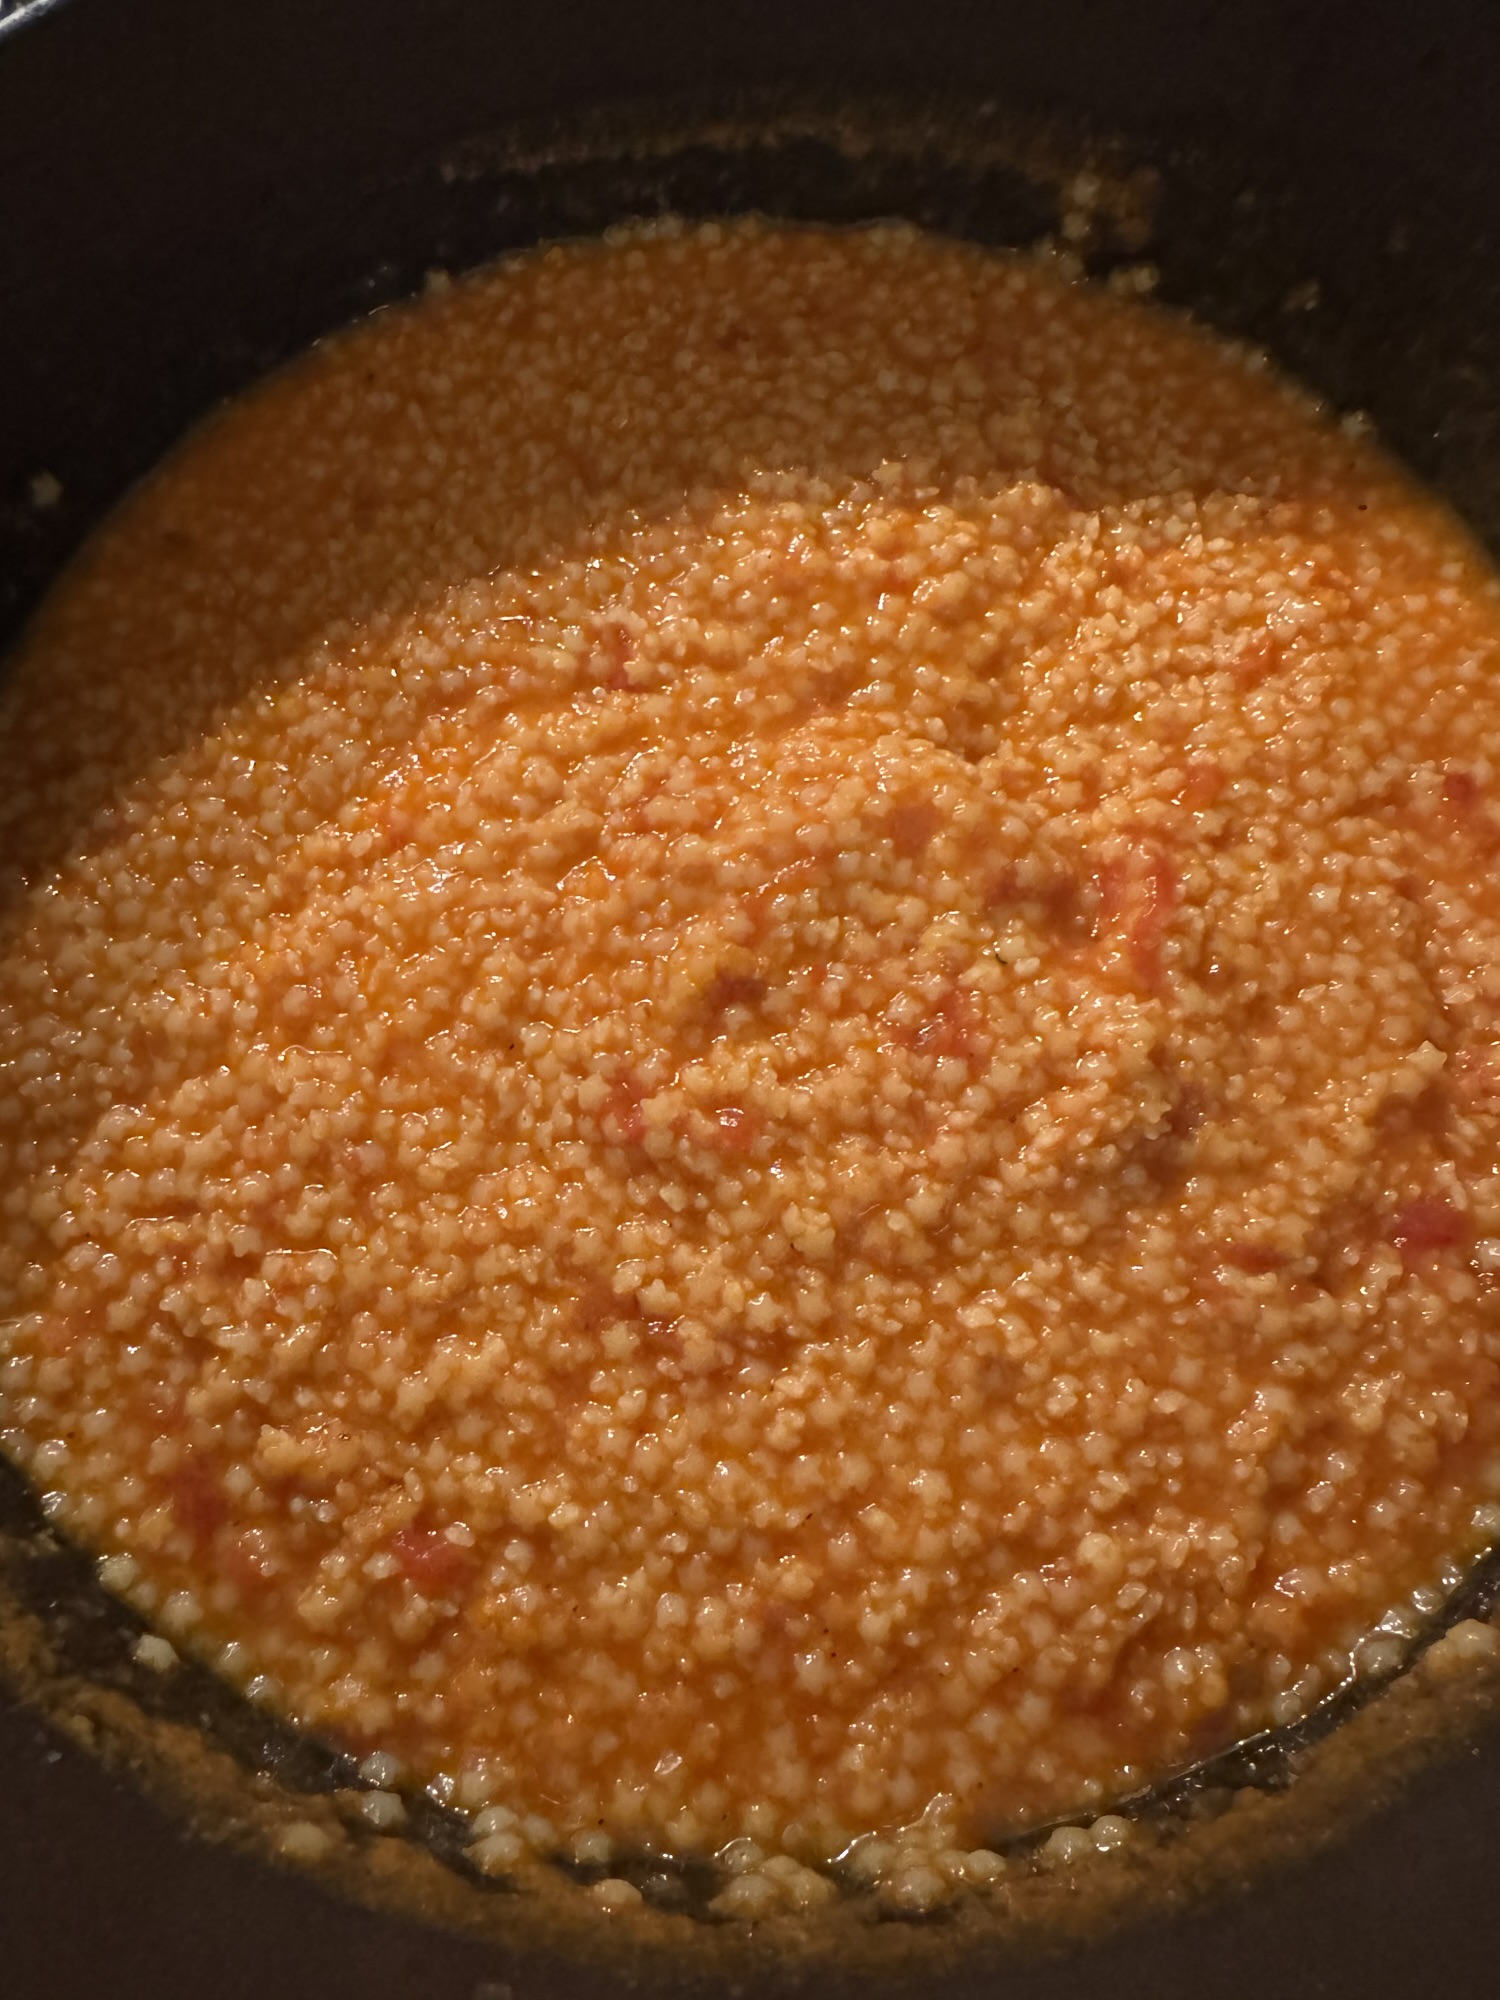
In a large heavy skillet, heat 2 tablespoons of olive oil over medium heat. Add the pancetta and cook, stirring constantly. I like my pancetta crispy, but just get it golden brown, about 5 – 7 minutes. Using a slotted spoon remove pancetta into a separate bowl. Add onions to olive oil till translucent, about 5 minutes. Stir in the garlic and red pepper flakes , I do this off the heat. I then add all the tomatoes, some kosher salt ( to taste) and some black pepper and add back in the pancetta. I also add 2 tablespoons of olive oil and cook the tomatoes till they start to break down and form a sauce. Taste for salt and pepper. Simmer uncovered for at least 45 minutes , up to an hour for perfect sauce.
Cook Pasta according to package directions, tender but still firm to the bite. Before draining pasta take out about 1 cup of pasta water and set aside. Drain the pasta and place in a large serving bowl, I add a little of the pasta water and then I add the sauce. Toss gently and serve. I served with Parmesan Cheese .