
Category Archives: Baked Goods

Chocolate Banana Bread

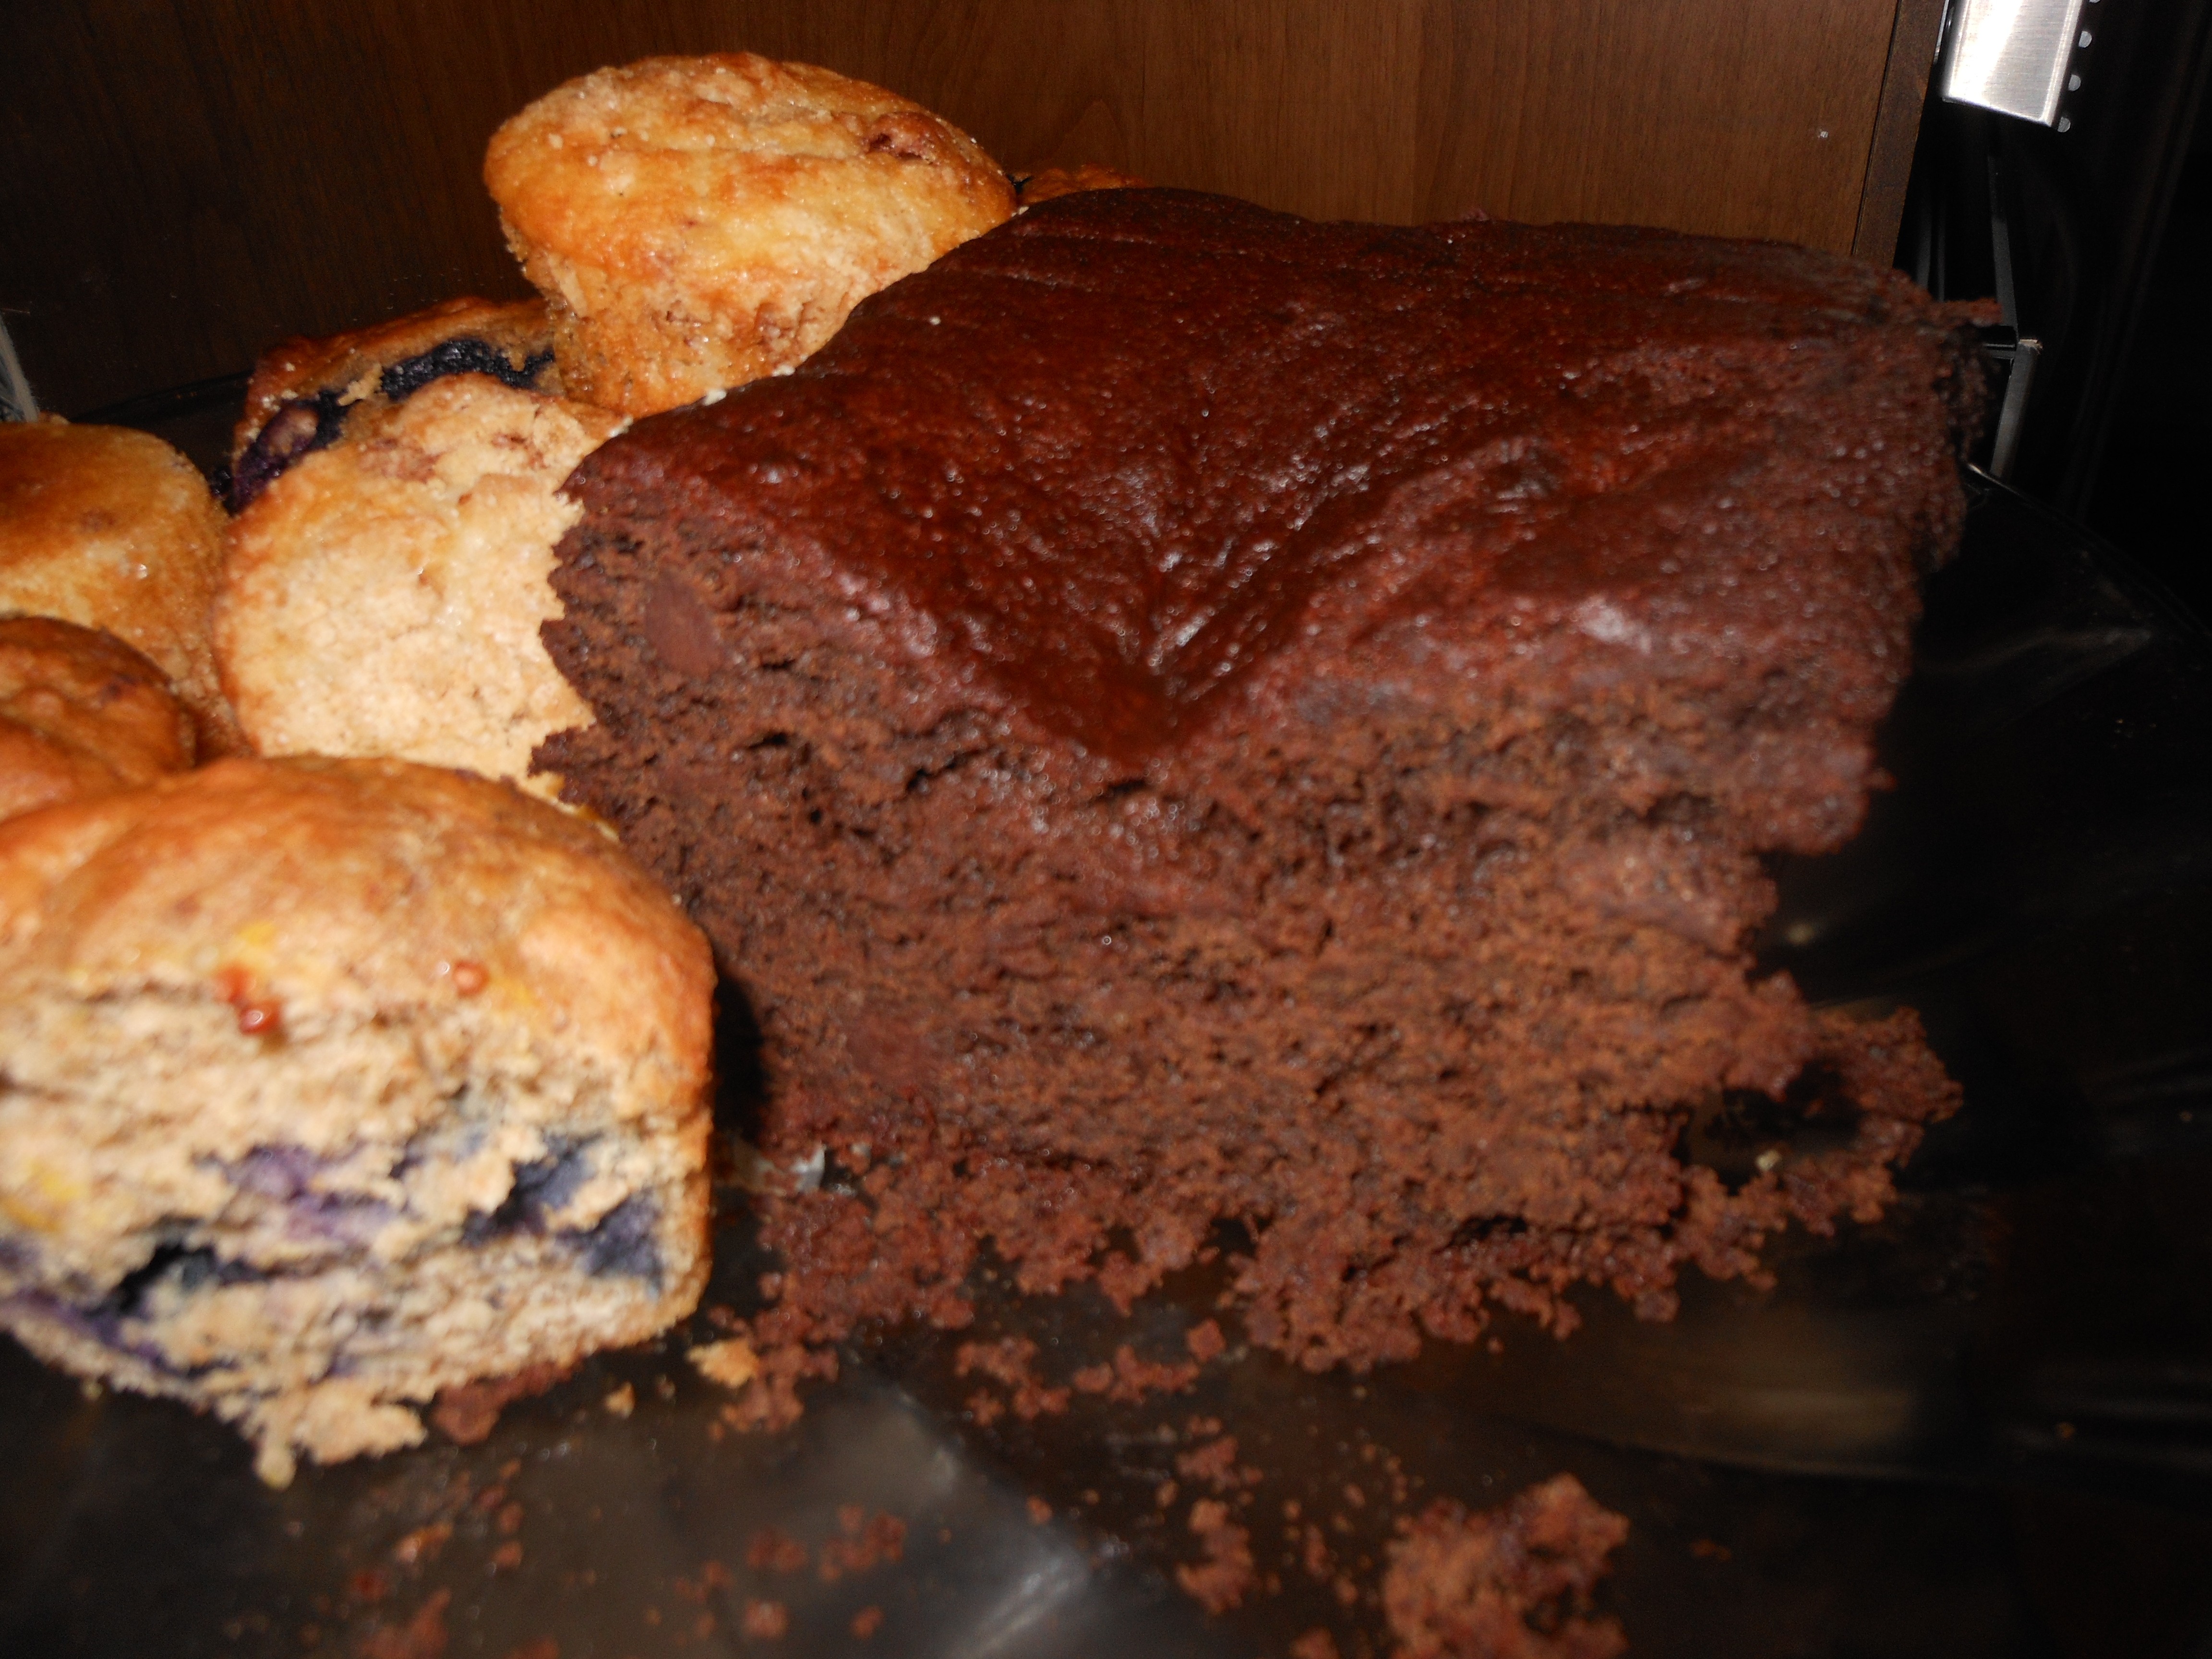
Chocolate Chips and Bananas , love it! How can it be bad?  It is pretty darn good. After our hike up Hanging Lake we were having lunch at our house, and I remembered that I had this bread frozen from the winter! The night before I took it out of freezer to defrost. What luck, and I of course tasted it to make sure it was fine and it was more than fine, it was as good as it ever was.  I know I am always extolling the virtues of freezing but when it works out it’s like magic! How perfect , if you have all the ingredients bake the cake and don’t eat it, freeze it . It defrosts very quickly and I didn’t have to do a thing, I had already made lunch and didn’t feel like baking. So happy when I saw this bread in the freezer. As long as you wrap it carefully , baked goods come out of the freezer perfectly . Cookies are even better for some reason and they defrost superfast. The original recipe comes from Joy the Baker. This is the recipe Leslie, and hope you enjoy making it and now I want your pumpkin spice bread!

Ingredients:

2 cups all-purpose flour

1 cup unsweetened cocoa powder

1 1/2 teaspoons baking powder

1/2 teaspoon salt

1/4 teaspoon baking soda

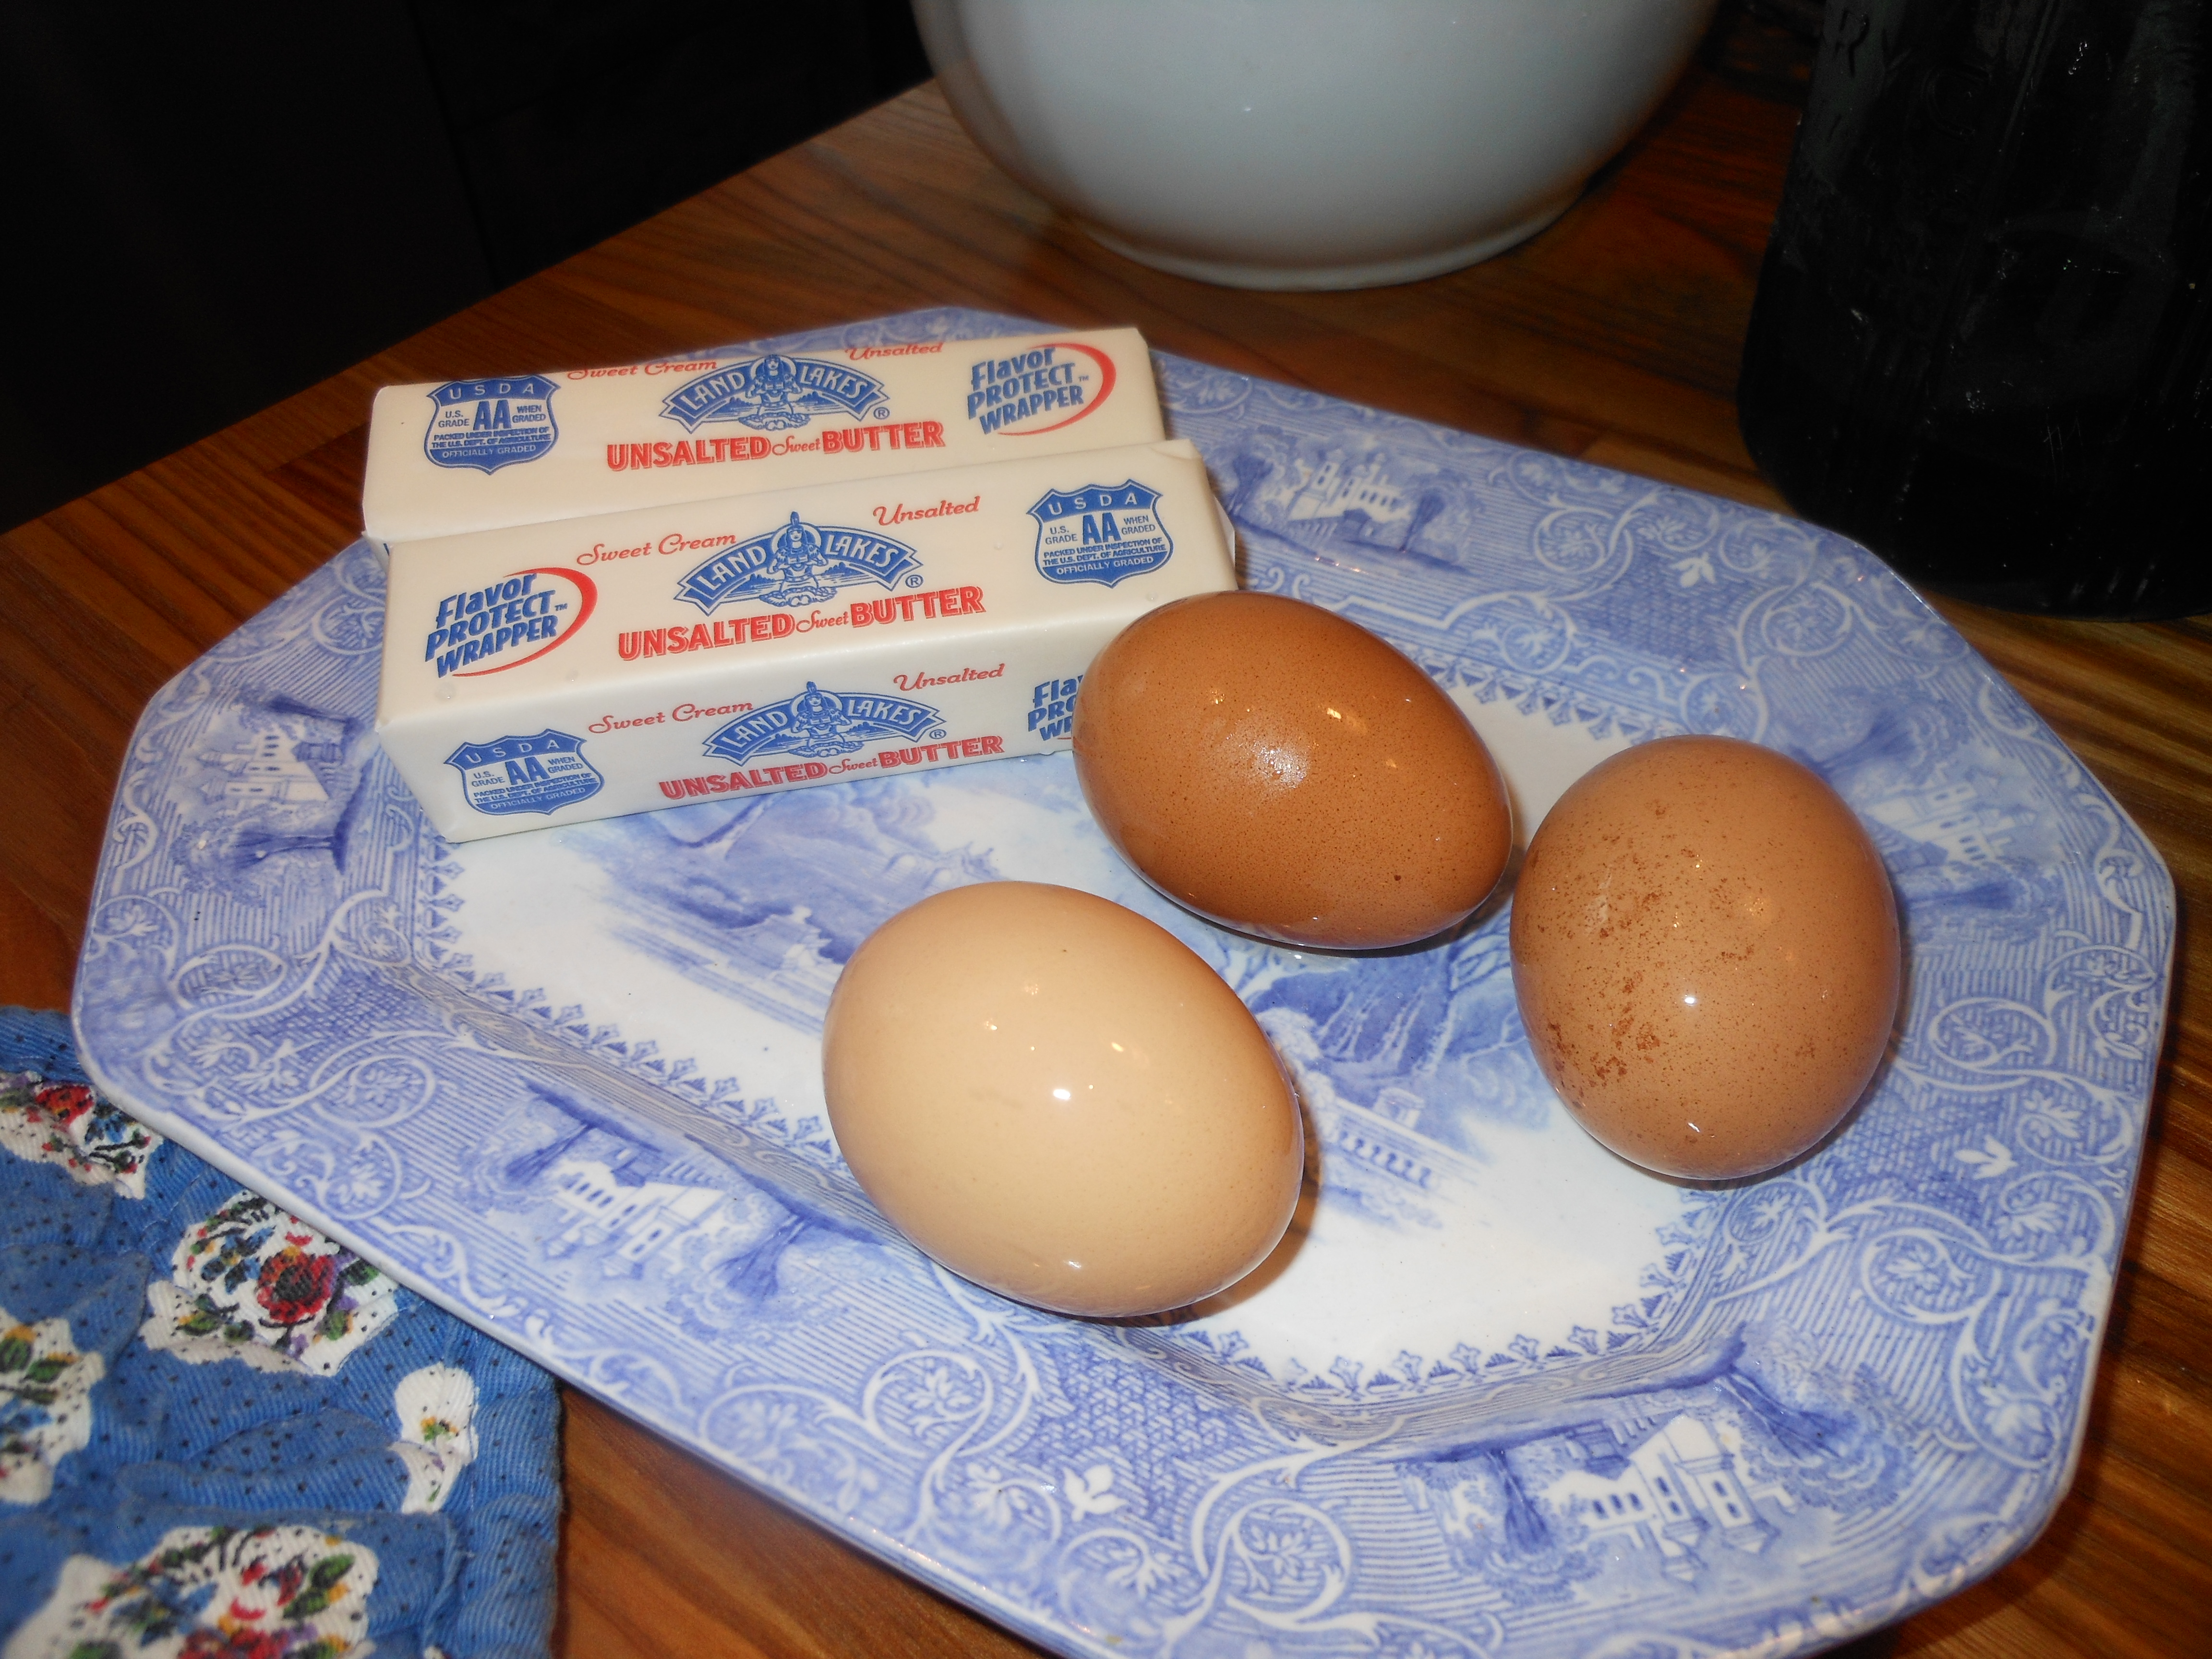
1 stick (8 Tablespoons) unsalted butter, at room temperature

3/4 cup sugar

1/2 cup light brown sugar ( packed)

2 large eggs ( room temperature)

2 very ripe bananas, mashed

3/4 cup buttermilk, you can use low fat or non fat

3 ounces bittersweet chocolate, coarsely chopped or semi sweet chocolate chips which is what I used (much simpler)

Directions:

Preheat the oven to 350 degrees. Place rack in the center of oven. Butter ( or spray Pam) a 9 x 5 loaf pan and place it on a baking sheet. If you use 2 baking sheets it will act as an insulated baking sheet and prevent bottom of the bread from overbaking. Just a little trick.

Sift together the flour, cocoa, baking powder, salt and baking soda

In electric mixer with paddle attachment, beat the butter at medium speed for about a minute or two, until soft. Add the sugars and beat for 2 more minutes or until well combined. Add the eggs one at a time, beating for a minute after each addition. Batter may look a little curdled, this is OK. Reduce the mixer speed to low and mix in the mashed bananas. Add the dry ingredients in three additions, mixing only until flour disappears into the batter. While on low speed, add the buttermilk, mixing until it is all incorporated. Stir in the chocolate. chips. Scrape batter into the prepared 9 x 5 loaf pan.

Bake for 30 minutes. Then cover the bread loosely with a foil to keep the top from getting too dark, and continue to bake for another 40 – 45 minutes. ( total baking time 1 hour 10 minutes to 1 hour 15 minutes) or until a cake tester inserted into the center comes out clean. Transfer the pan to a rack and cool for at least 20 minutes before running a knife around edges of the bread and unmolding it. Just invert cake in pan and then continue to cool down right side up before freezing or storing it. Enjoy!

20120817-082359.jpg

Summer Blueberry Cake

I just keep finding new recipes for blueberries. I love blueberries and they are so abundant right now and in peak season. I love them right out of the containers, and I love them in muffins, pies, cakes and cobblers. Here is another delicious cake which you can freeze and a few months from now when fresh blueberries aren’t really around ,you will bring back that summer day that you baked this. I cut this in 1/2 , 1/2 for now and 1/2 for when I return in the winter. You can always make this with frozen berries but I have never done so. To me it’s all about cooking with fruits and vegetables that are seasonal.  There really is nothing like fresh seasonal fruits and vegetables, and I can’t get enough of them . This is a fairly easy cake to bake. I baked it for 45 minutes, and the tester came out clean. You’ll have to check your own oven for cooking time . It can vary from 40 – 50 minutes depending on your oven.

I found this recipe on one of my favorite cooking blogs , Smitten Kitchen. I may have made a few changes which I often do, but it is pretty much the same.

Oh, and I threw in a picture of me and my grandson who is out here visiting.

Ingredients:

2 cups all – purpose flour, plus another tablespoon to dust blueberries with

1 tablespoon baking powder

1 teaspoon table salt

2 sticks unsalted butter ( softened) YIKES

3/4 cup light brown sugar packed

1/2 cup sugar ( regular granulated sugar)

3 large eggs ( room temperature)

1 cup buttermilk ( I used low-fat buttermilk)

1/2 cup fresh blueberries

Topping:

1/2 cup fresh blueberries

1/4 cup granulated sugar

1/2 teaspoon ground cinnamon

Directions:

Adjust oven rack to middle position and preheat oven to 350 degrees. Spray and lightly flour a 9 x 13 baking pan. ( I prefer Pam baking spray)

Whisk 2 cups flour, baking powder, and salt together in a medium size bowl. With electric mixer, beat butter and sugars on medium high-speed until fluffy. Add eggs one at a time, beating until each egg is just incorporated. Don’t overbeat. Reduce speed to medium and beat in 1/3 of the flour mixture, and beat in 1/2 of the buttermilk. Beat in another 1/3 of the flour and the remaining milk, and then the remaining flour mixture. Toss  blueberries with a tablespoon of flour just lightly dust them. Using a rubber spatula, gently fold in 1/2 of the blueberries. Spread batter into prepared dish.( see photo)

For the topping:

Scatter remaining 1/2 of the blueberries over the top of the batter. Stir sugar and cinnamon together in small bowl and sprinkle all over the top of the batter. Bake until cake tester or toothpick comes out clean in center of cake. I cooked for 45 minutes. It should take anywhere between 40 – 50 minutes. Cool in pan for about 1/2 hour, then turn it out of baking dish or cut out pieces. I turned it out, cut in 1/2 and froze 1/2 of it for the cold months. This is a delightful cake served for dessert, and so perfect for breakfast and a great afternoon snack with ice coffee .

I threw in a photo of me and my grandson, Riley who was out here at the time.

Blueberry-Banana Muffins

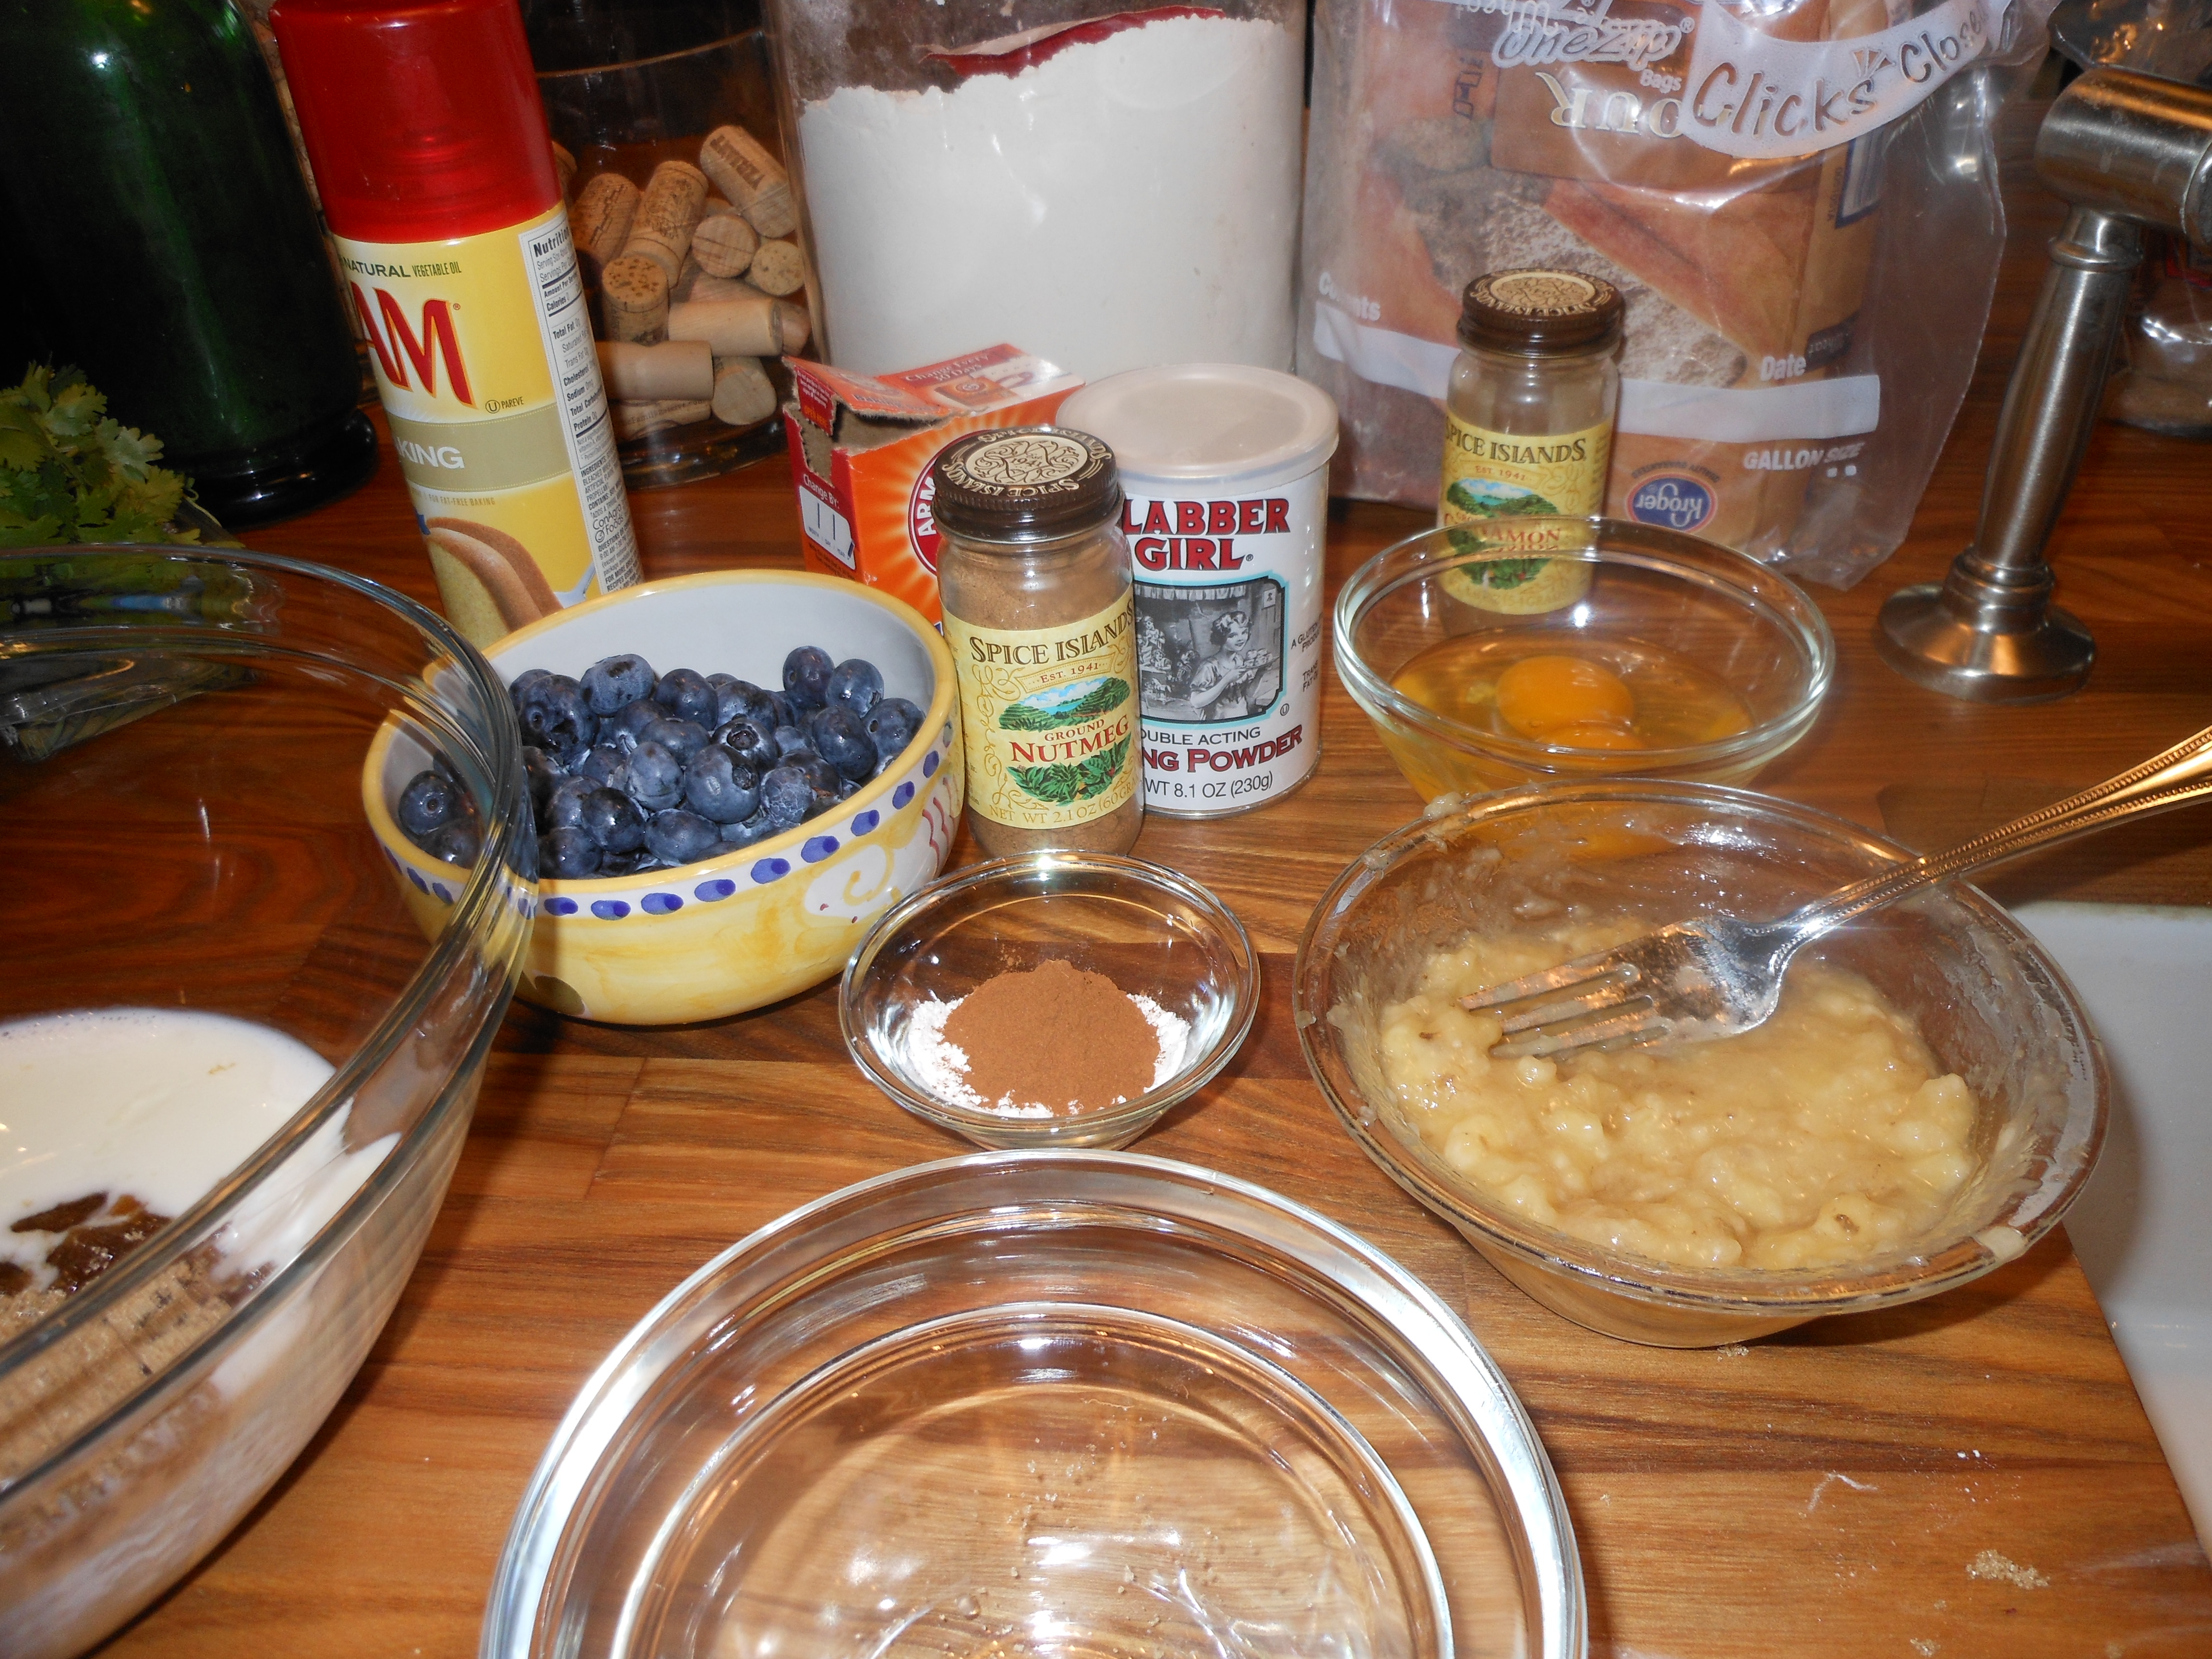
Love blueberries and love bananas. Blueberries are abundant now and super delicious and inexpensive. Bananas are always around and I always buy too many and need to figure out what to do with the rotten bananas. I realize there are a lot of ingredients in these muffins and just measuring it all out was a task, but I enjoyed it and it was well worth it. I will freeze a few for when I am in the mood for them but not in the mood to bake them. The recipe yielded exactly 12 decent sized muffins, in one pan.  This muffin mix is perfect, not too sweet which makes for a perfect breakfast muffin or snack muffin. I used buttermilk ( low fat) couldn’t find non fat , but if you can feel free to use it here. There are 2 eggs but no butter and only 1/4 cup of canola oil . The buttermilk allows you to cut way back on the butter and the oils. These muffins worked out perfectly. Just ate one for dessert!

Ingredients:

3/4 cups nonfat or low-fat buttermilk ( I used low -fat b/c I couldn’t fine nonfat)

3/4 cups packed light brown sugar

1/4 cups canola oil

2 large eggs (room temperature, and I used my little trick because I decided to bake at the last minute) just let the eggs sit in warm water for 1/2 hour.

1 cup mashed ripe bananas ( I used 2 medium sized bananas)

1 1/4 cups whole wheat flour

1 cup all purpose flour

1 1/2 teaspoon baking powder

3/4 teaspoon ground cinnamon

1/2 teaspoon baking soda

1/2 teaspoon salt ( regular table salt)

1/4 teaspoon ground nutmeg

1 1/4 cup blueberries

Directions:

Preheat oven to 400 degrees. I sprayed a 12 cup muffin pan with baking spray ( and they came out perfectly) you can also line with paper liners if you like.

Whisk together the buttermilk, brown sugar, oil and eggs in a large bowl. Stir in the mashed bananas.

In another bowl, whisk whole-wheat flour all -purpose flour, baking powder, cinnamon, baking soda, salt and nutmeg.

Fold the dry ingredients into the wet ingredients and stir until just combined . Fold in the blueberries. Divide the batter into the 12 cup muffin pan till full.

Bake until the tops are golden brown and a cake tester inserted into the center comes out clean.

I baked for 25 minutes.

Palm Beach Lemon Cookies

This recipe is from my Cookies Unlimited Class.  This recipe should yield about 100 small thin cookies (but it depends on how thin you make them). I would use 2 large lemons for zesting so you get a real zing from the lemon. It is very important that you make sure to refrigerate the dough long enough. This is a nice, plain cookie; very light and perfect for dessert alongside something chocolate. I am also a sucker for anything lemony. They are also a light, perfect summer cookie and they can be frozen , then take out when you need a light perfect cookie.

Ingredients:

3 cups all-purpose flour

1/2 teaspoon baking powder

1/2 teaspoon baking soda

1/4 teaspoon table salt

10 tablespoons (or 1 1/4 sticks) of unsalted butter, softened at room temperature

1 cup sugar (plus a little extra for sprinkling on top of cookies)

Finely grated zest of 2 large lemons (make sure you use all the zest!)

4 tablespoons strained lemon juice (use zested lemons)

3 egg yolks (save the whites for brushing the cookies)

*you will need 3 or 4 cookie sheets or jelly roll pans lined with parchment, or you will have to wait ’til cookies cool off and reuse them

Directions:

In a bowl, combine the flour, baking powder, baking soda and salt, and mix well.

In the bowl of a standing electric mixer fitted with the paddle attachment, beat the butter and sugar together on medium speed until well mixed (about a minute), then beat in the lemon zest.

Beat in the egg yolks, one at a time, beating until smooth after each addition. Lower mixer speed and beat in half the flour mixture, then all the lemon juice. Scrape bowl and add remaining flour mixture, beat till well mixed. (Don’t overbeat; just till mixed well.)

Scrape the dough onto a lightly floured work surface and shape and squeeze it into 2 long rolls about 8 inches long and 2 inches in diameter (they may be a bit longer).

Cover rolls of dough and refrigerate. Chill the dough until very firm. You can freeze dough for up to a few weeks if you prefer for up to several weeks. Or just use 1 roll and save the other, but remember dough must be very firm.

When you are ready to bake the cookies, sets racks in the upper and lower thirds of the oven and preheat to 350 degrees.

In a small bowl, beat the reserved egg whites with a fork. Cut each log into approximately 48 cookies (approx. 6 slices per inch) and make sure to rotate the roll of dough often so it doesn’t flatten from the weight of the knife.

Arrange the cookies on the prepared pans about an inch apart in all directions. Brush the surface of each cookie with the egg white, then sprinkle each cookie with a pinch of sugar. Bake the cookies for about 12 minutes, but check them after 10 minutes.  They may need more time but check at 10 and gauge from there. It was hard for me to tell the timing because in class everyone kept opening the oven doors! The cookies will spread slightly and have a very pale golden color when finished.

Slide the papers from the pans and cool on racks.

After the cookies have cooled, store them in a plastic container with a tight-fitting lid.

Nutella Cake

this may have gotten lost the day it was posted, and I feel it deserves its own space. So here you go.

cookingwithcandi's avatarCooking with Candi

My friend’s daughter in law gave me this recipe and she writes a blog called Fast and Gourmet, which I highly recommend for some quick and easy cooking ideas and recipes. I had heard how wonderful this cake was and when I heard Nutella I said to myself how bad can anything be with 1 jar of Nutella in it? I love the stuff , it’s just the most yummy second only to peanut butter. This was a pretty easy recipe and just follow the directions and you should be fine. I have to admit while making this recipe I couldn’t stop eating the Nutella. Don’t make this recipe if you’re hungry or have a big sweet tooth, as I had both the day I made it. Next time I make it after lunch on a full stomach and leave the Nutella alone, it gives all new meaning to licking the spoon. I used a glass pyrex loaf pan…

View original post 277 more words

Nutella Cake

My friend’s daughter in law gave me this recipe and she writes a blog called Fast and Gourmet, which I highly recommend for some quick and easy cooking ideas and recipes. I had heard how wonderful this cake was and when I heard Nutella I said to myself how bad can anything be with 1 jar of Nutella in it? I love the stuff , it’s just the most yummy second only to peanut butter. This was a pretty easy recipe and just follow the directions and you should be fine. I have to admit while making this recipe I couldn’t stop eating the Nutella. Don’t make this recipe if you’re hungry or have a big sweet tooth, as I had both the day I made it. Next time I make it after lunch on a full stomach and leave the Nutella alone, it gives all new meaning to licking the spoon. I used a glass pyrex loaf pan and it was perfect. This cake will be a staple in my house from now on, thanks Yana so much.

Ingredients: 

2 sticks unsalted butter at room temperature ( softened)

1 1/4 cup sugar

4 large eggs at room temperature ( *see trick for quickly bringing eggs to room temperature on my blog under Eggs)

2 teaspoons pure vanilla extract

1 1/2 cups all purpose flour

1/4 teaspoon salt

1 13 ounce jar of Nutella ( star of the show)

Directions:

Preheat oven to 325 degrees, grease and flour a 9 x 5 loaf pan . Lightly beat the eggs with the vanilla in a bowl. Mix flour, salt and baking powder* in another bowl. Using electric mixer, beat the softened butter and sugar at medium speed until fluffy. Gradually add the eggs and vanilla mixture till well incorporated . Add flour mixture in 3 batches at low speed until just incorporated, and mix for about 30 seconds.

Spread 1/3 of mixture in your loaf pan, then spread 1/3 of Nutella, continue with another layer of batter, another layer of Nutella and the last layer of batter. Top with remaining Nutella dropping in dollops over the top and swirl the nutella with a knife or a toothpick, do not over mix.

Bake for 1 hour and 15 minutes until cake tester comes out clean, cool for at least 15 minutes before removing from pan, I let it sit for a few hours before removing.

* make sure all expiration dates are not expired on flour, baking powder etc. This will certainly ruin your cakes and be very upsetting. Before baking check dates, and get fresh new baking supplies.

Chocolate Chip Cookies

Silpat

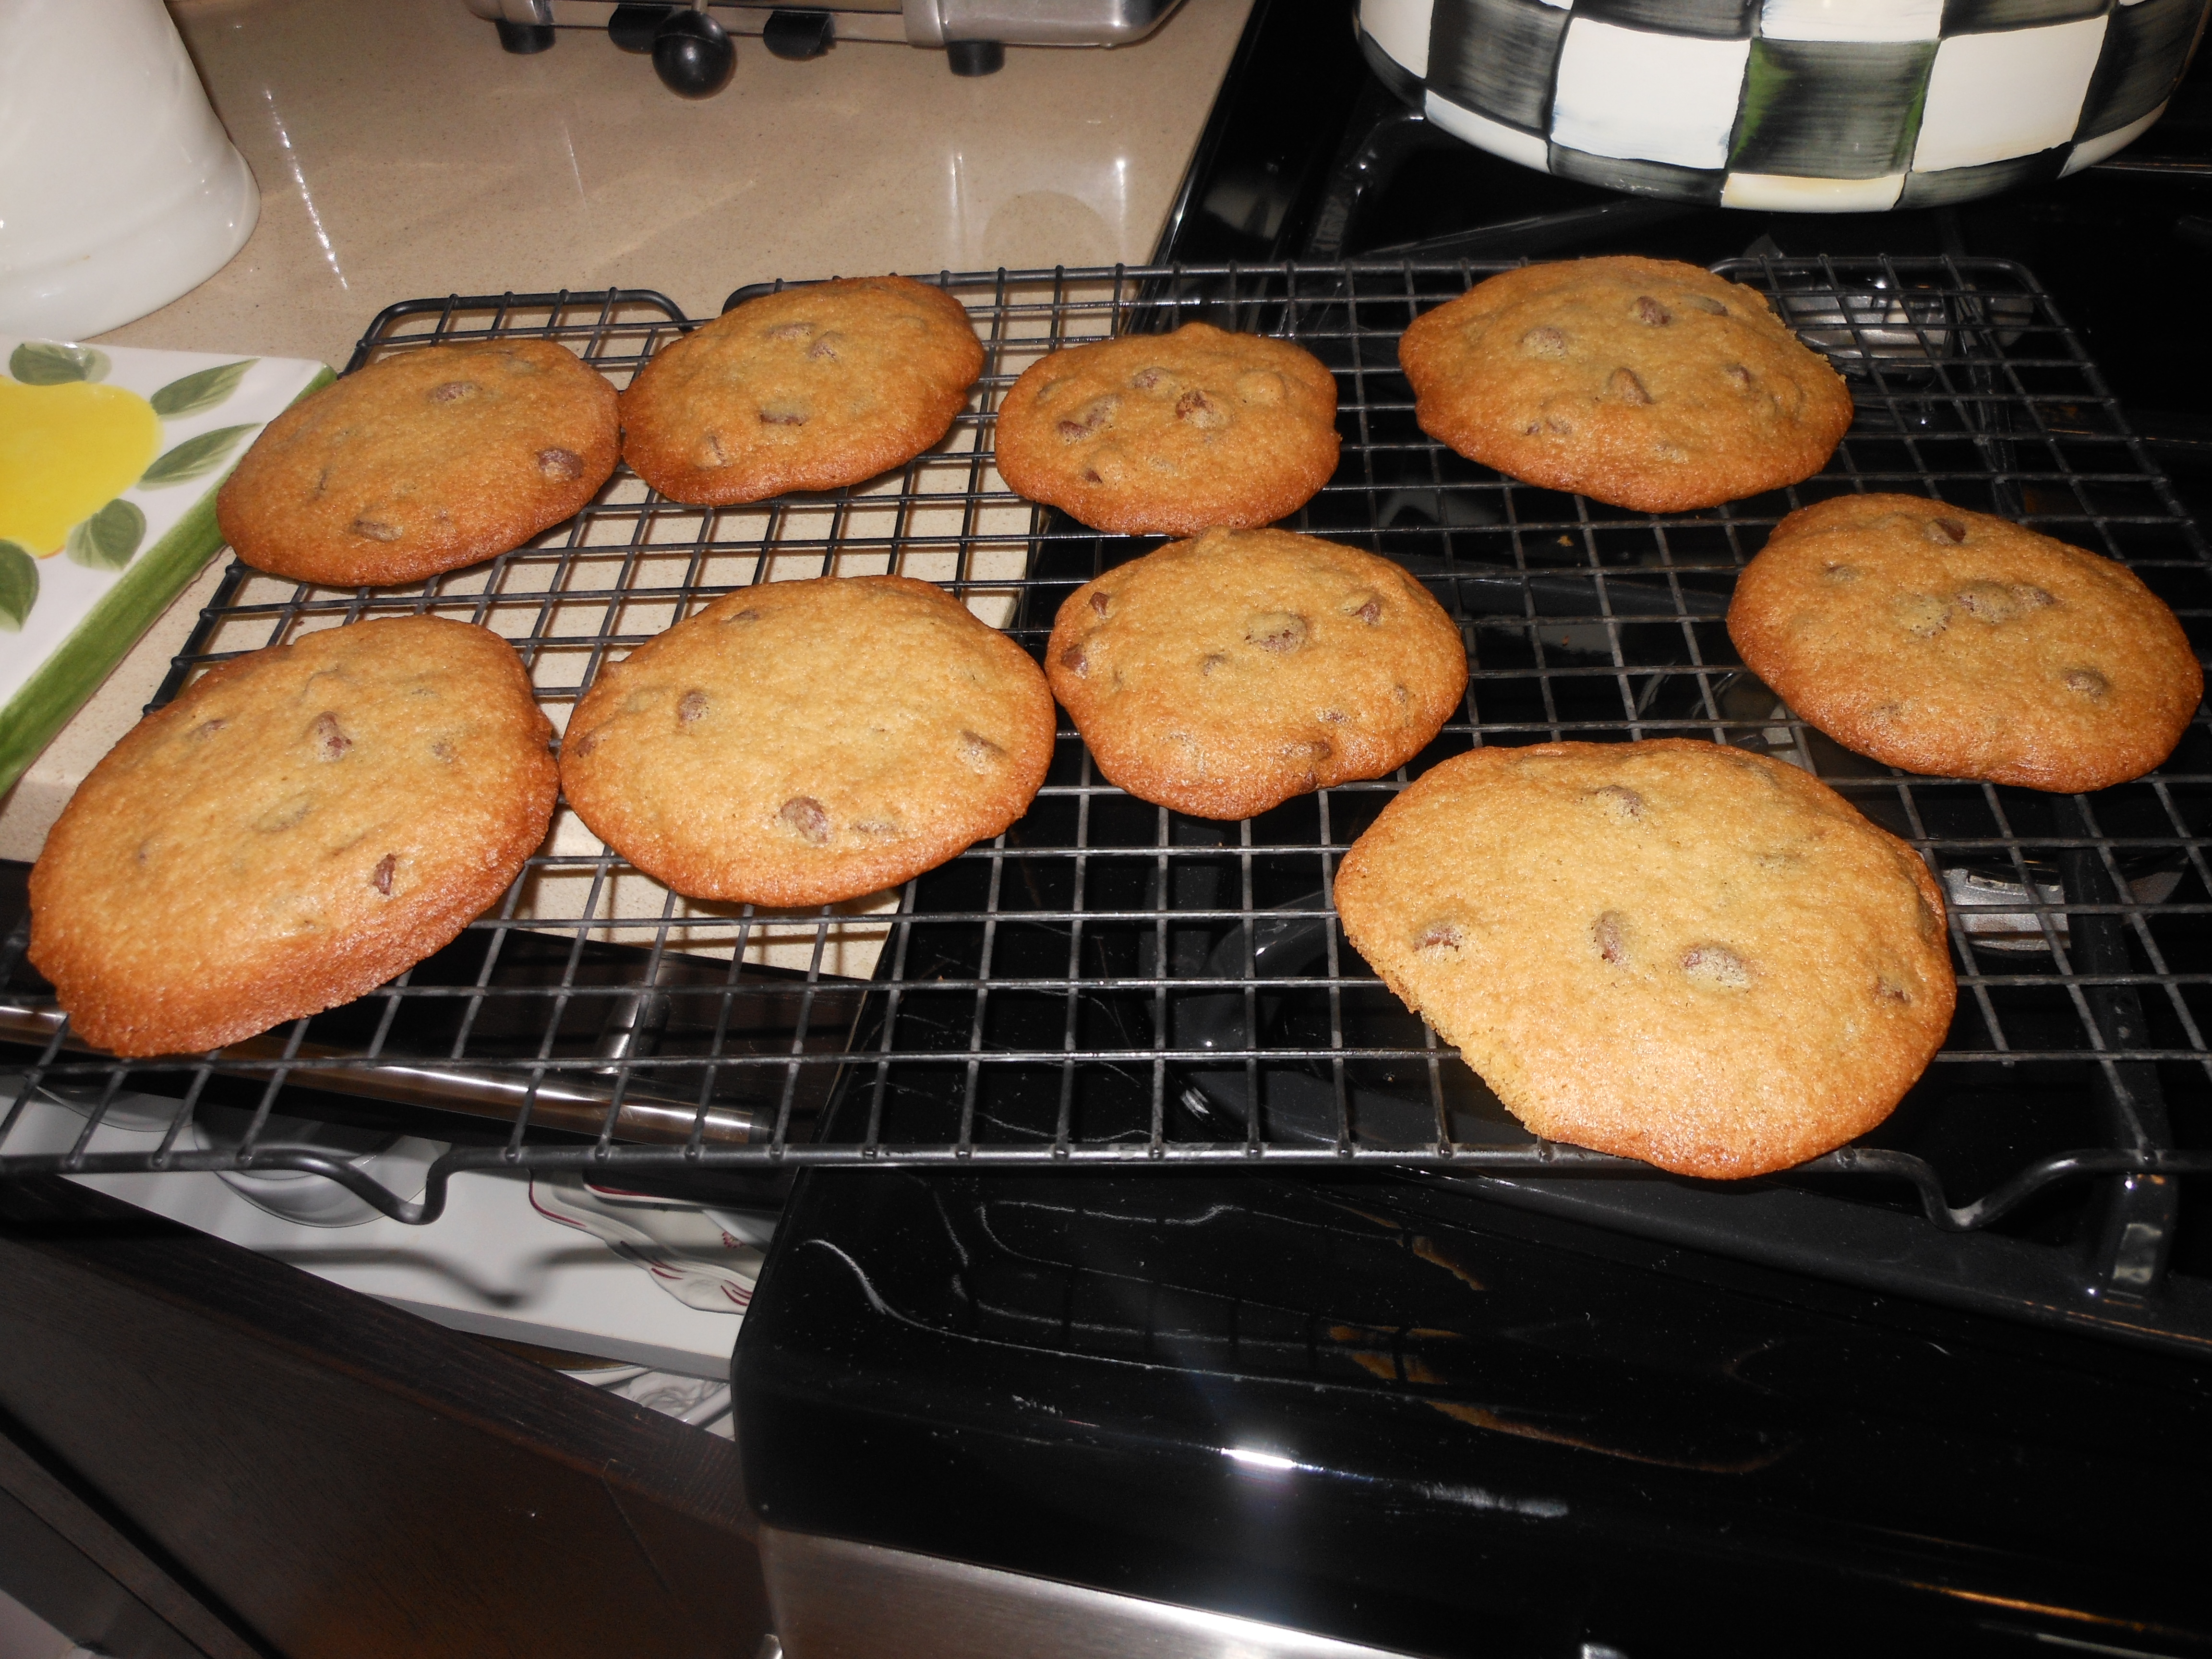
These are my go to chocolate chip cookies . I make these because I almost always have all of the ingredients on hand. I keep sticks of salted butter in the freezer just for these.  These are your basic chocolate chip cookie, I would say they are more crispy than soft. Unlike my other chocolate chip cookies  (cookies and milk which was published back on Feb. 28 ) which are very very crispy made with vegetable oil and super fine sugar.  These are an old fashioned chocolate chip cookie and if you don’t have dark brown sugar use light brown sugar . I think they’re meant to be made with dark brown sugar but sometimes I only have light brown sugar in the house so it will have to do. If you’re going out shopping for ingredients buy the dark brown sugar. Enjoy with coffee, tea or my favorite  a cold glass of milk. I didn’t make with nuts this time  but you can add some chopped walnuts if you’d like . If cookies spread into one another, while warm cut and when they cool just seperate . Perfect for freezing, I just put them in a freezer bag, and they defrost super fast.

Ingredients: 

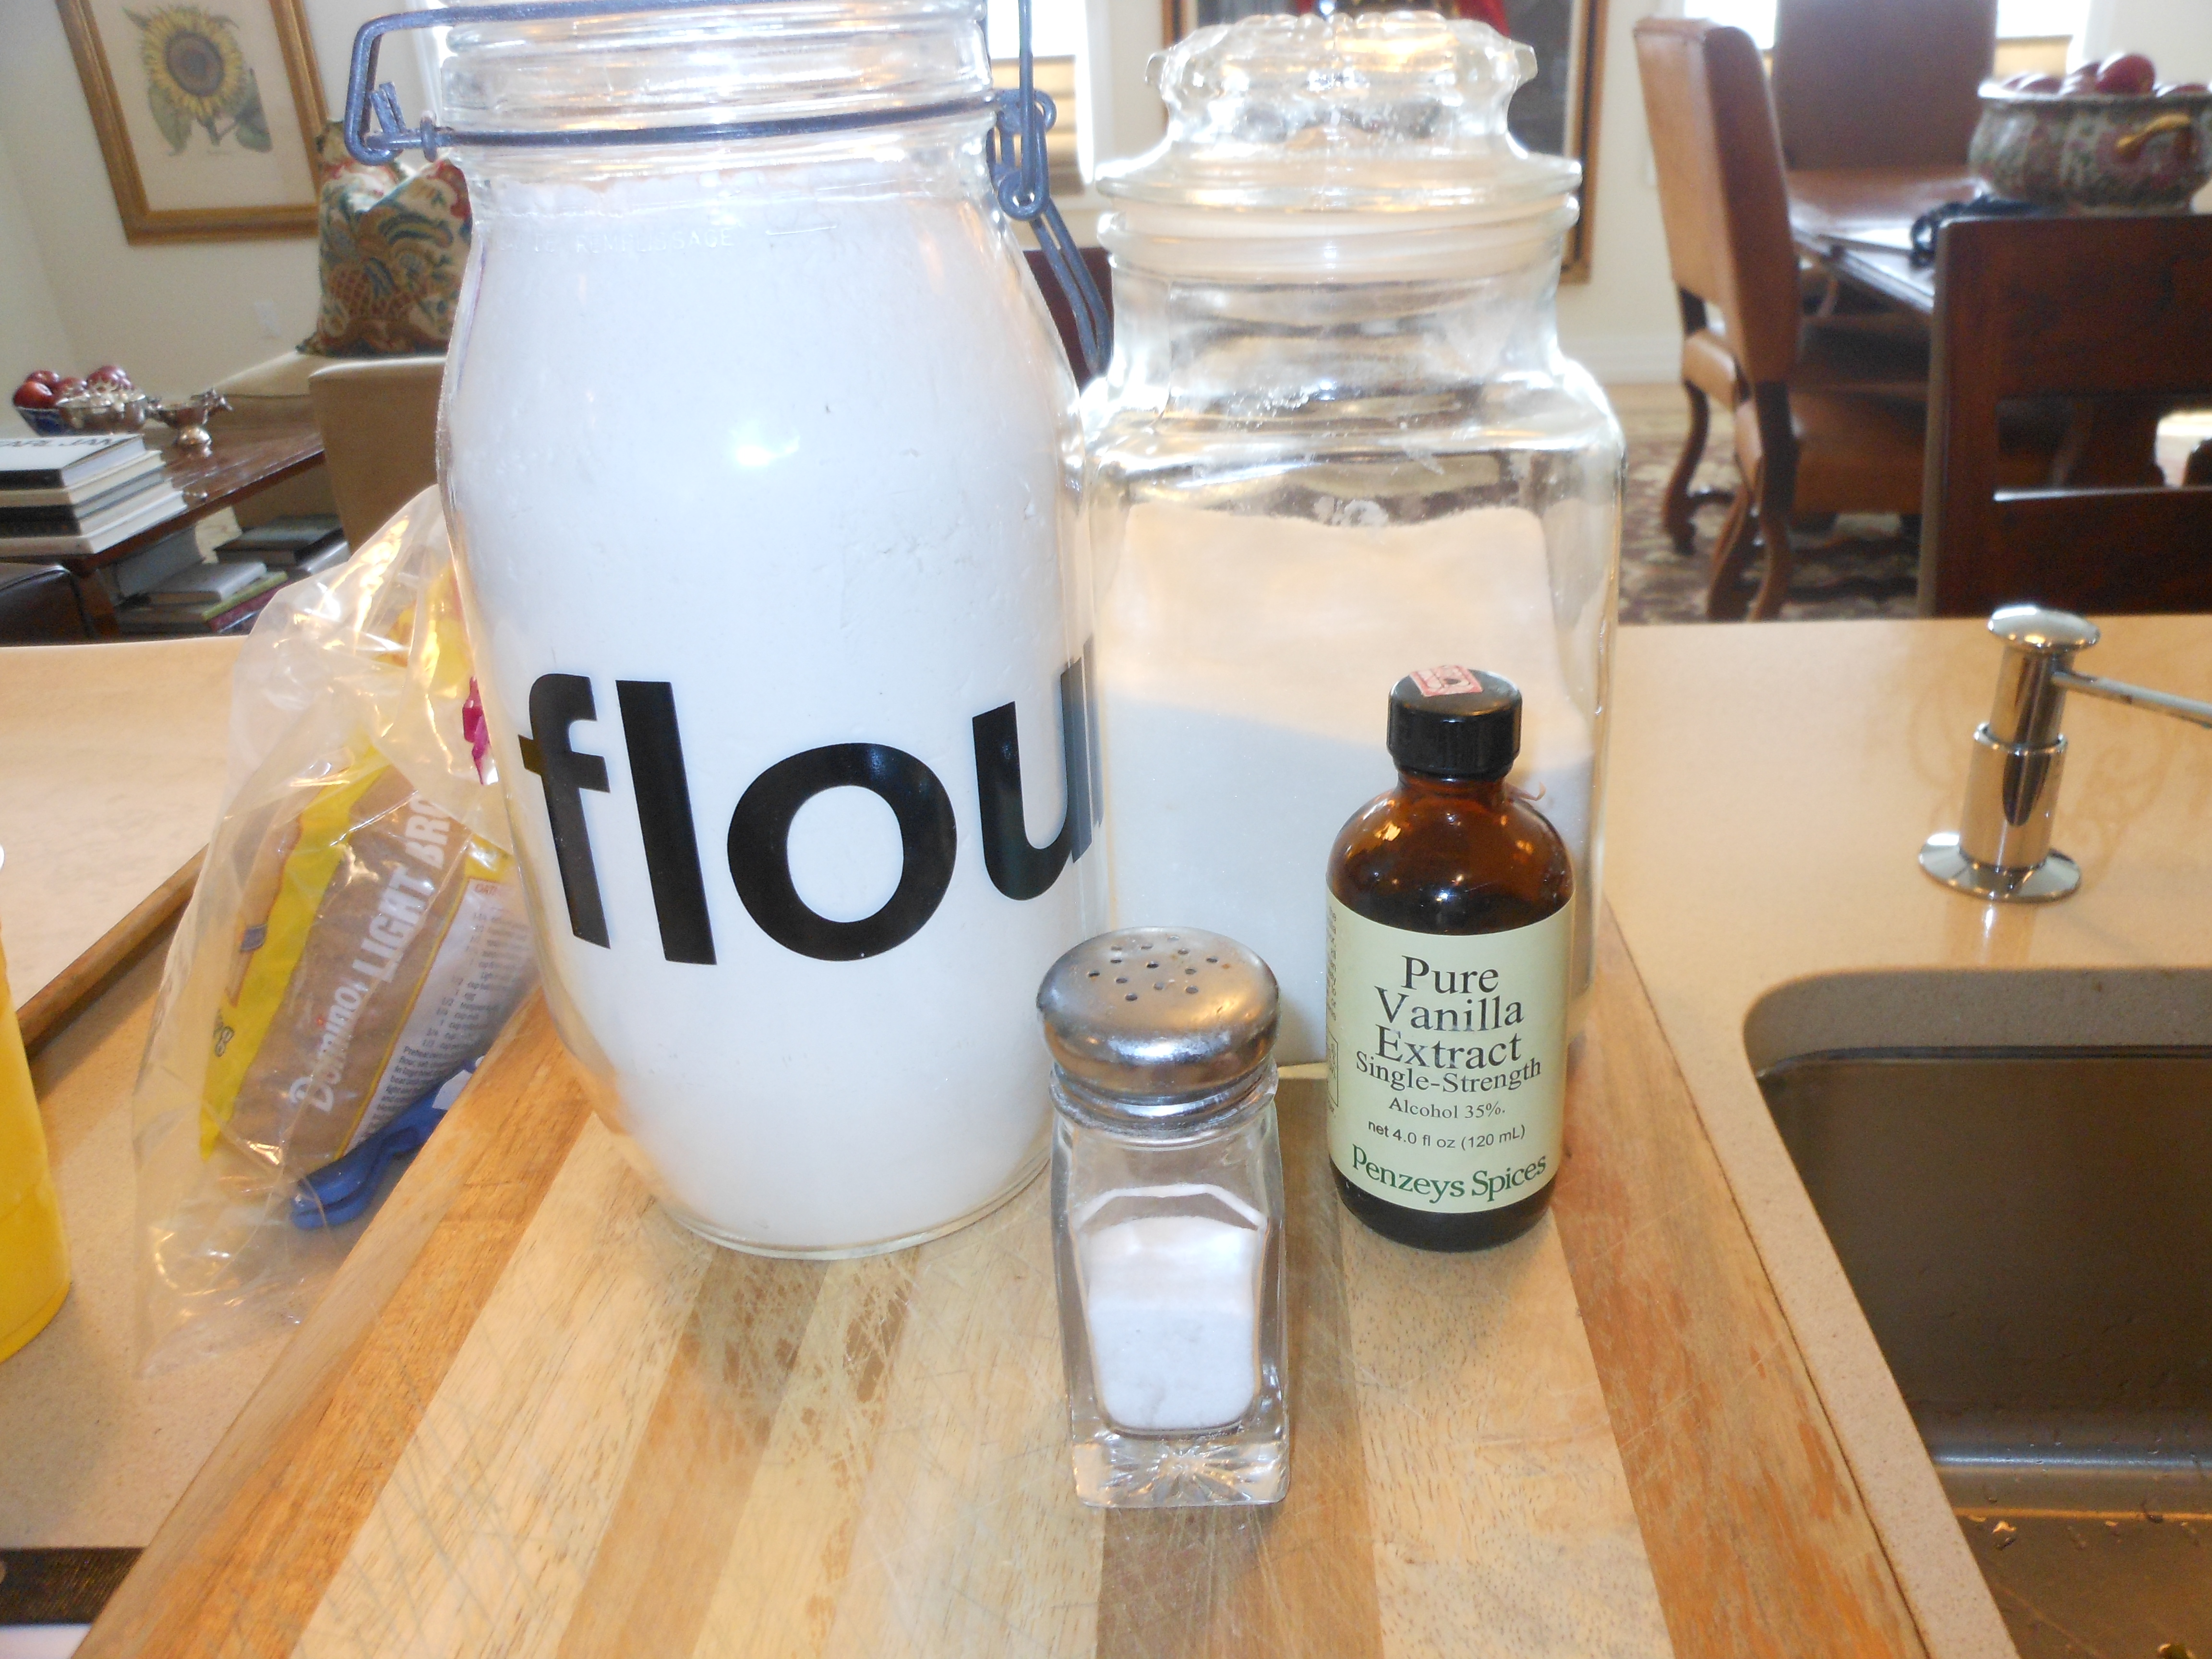
2 cups all purpose flour

1 teaspoon baking soda

1 teaspoon salt ( regular table )

1 cup Salted butter ( yep salted butter as per recipe) softened

3/4 cup sugar

3/4 cup firmly packed dark brown sugar or light brown sugar if no dark brown sugar on hand

1 teaspoon water

1 teaspoon vanilla

2 large eggs ( always bake with eggs at room temperature unless it specifies otherwise)

2 cups semisweet chocolate chips

*1 cup chopped walnuts

Directions:

Preheat oven to 350 degrees. Grease 2 cookie sheets or use Silpat

In a large bowl, stir together the flour, baking soda and salt. (you don’t have to sift)

In another large bowl ( I used electric mixer) cream the butter and sugars. Add water and vanilla. Mix the ingredients until they are just combined. Add the eggs and mix them lightly ( don’t over mix the dough) just till combined

Drop the cookies 2 inches apart onto the prepared cookie sheets, I used a tablespoon measuring spoon to get the size I wanted.

Bake them for 13 minutes or until the edges and centers are brown. Remove the cookies to a rack to cool. I baked for 13 minutes and they were just right.

Blackberry Clafouti (Blackberry Cake)–Simple and Easy to make

I made this cake because I love blackberries and I had all the ingredients in my house. If you like blackberries, this is a light cake which will be perfect for dessert and not too heavy at all.  Clafouti is actually french for a cake made with cherries. If it’s made with blackberries or other berries it is called a Flaugnarde, which sounds super fancy and difficult to make and this is anything but that so we’ll just call it Clafouti! We aren’t going to get too technical here and I hope I don’t offend the French chefs out there. This is pretty much the same as the cherry Clafouti which I plan on baking soon and will post that once I’ve cooked that, but we have to wait for the cherries to be super ripe.  This cake is so very easy to make, requires no fancy equipment, and you can whisk ingredients in one bowl. Just use a pie baking dish to bake in. I had a glass dish and am happy that I did, because I could see the blackberries in the cake. This cake would be a most amazing breakfast type of cake–not too thick, but sort of like a blackberry muffin flattened out. Blackberries are so plump and delicious right now, you gotta cook this as soon as possible.

*In order for the blackberries not to sink in cake, I made sure they were dry after rinsing and then I put in a bowl with some flour and coated the berries in flour before adding them , not too heavily floured just a dusting.  It came out perfectly. I have made it where I forgot to dust with flour and they did sink. It didn’t look as pretty but it tasted just fine.

Ingredients: 

1 stick unsalted butter

1 cup sugar plus 1/4 cup of sugar for top of cake

1 cup Self-Rising Flour  Presto), sifted

1 cup whole milk

2 cups blackberries, fresh or frozen (I used fresh)

* A little extra flour for dusting the blackberries before baking with them (see note)

Directions:

Preheat oven to 350 degrees. I sprayed the baking dish with baking spray but you can also butter it.

Rinse and pat dry the blackberries. Melt the butter in microwave. Pour 1 cup sugar and flour into a mixing bowl. Slowly whisk in the milk and mix well. Then pour in the melted butter and whisk it all together well.

Dust blackberries with a little bit of flour and mix well. Pour the batter into the prepared baking dish. Sprinkle blackberries over the top of the batter, distributing evenly.  Sprinkle 1/4 cup sugar over the top.

Bake in the oven at 350 degrees for about 1 hour or until golden.  Yum!

Espresso Brownies from ICE Class

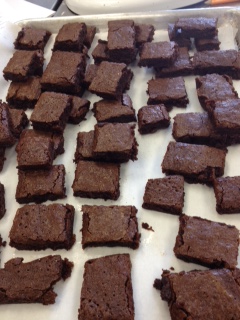
These brownies are very moist with a hint of espresso flavor–the perfect ending to any meal. This recipe comes from my Cookies Unlimited class at ICE (Institute of Culinary Education) in NYC. I thought these brownies came out great. Our chef/teacher, Victoria, said that if we wanted, we could double the recipe and get a higher brownie. I made it as is and it was delicious. I cut them into small little pieces because these are super rich and a little goes a long way. I don’t think I would double this recipe. Maybe I’d make 2 batches but prefer it baked this way .  It is super gooey and super dense with a coffee flavor from the espresso powder. These brownies stand out from any other brownie I’ve ever made. Enjoy! Also, if you’d like, you can add 1 cup of chopped walnuts…totally up to you.

Ingredients: 

Use a 9 x 13 inch pan (will yield approx . 24 2-inch brownies)

8 tablespoons (1 stick) unsalted butter

4 ounces unsweetened chocolate

4 large eggs

2 tablespoons instant espresso powder (I used Medaglia d’Oro, which is available almost everywhere)

1/2 teaspoon salt (regular table salt)

1 teaspoon vanilla extract

2 cups sugar

1 cup all-purpose flour

*1 cup chopped walnuts

Directions:

I learned a little trick here: first spray your pan with Pam cooking spray, then cut parchment paper to fit your pan and place it in there. Next, turn over parchment paper and the side up is nicely greased! Great trick for baking.

Preheat oven to 350 degrees and set rack in the middle of the oven.

Melt the butter in a saucepan over medium heat. Off the heat, add the chocolate. Let stand 2 minutes, then whisk smooth. If the chocolate has not all melted by this time, return the pan to very low heat and stir constantly until it melts.

In a large bowl, whisk the eggs with the espresso powder, salt and vanilla, just until mixed. Whisk in the sugar in a stream, then whisk in the chocolate and butter mixture. Switch to a rubber spatula and fold in the flour.

Scrape the batter into the prepared pan and smooth the top with an offset spatula (worth buying). Bake for about 30 to 35 minutes, or until a toothpick or cake tester comes out clean. Cool completely before cutting. To really make the brownies easier to cut, allow them to solidify completely then refrigerate in the pan overnight.

When you are ready to take them out, transfer the whole cake to a cutting board and slide a long knife or spatula under it to loosen the paper from the brownies, then pull away paper. Cut brownies into 2 inch squares (you can actually use a ruler to mark for precision). As you can tell from the photo, we didn’t have time to refrigerate brownies and so cutting was not so great. The next time I make these, I would definitely refrigerate overnight before attempting to cut.

The brownies will keep in a plastic container for several days. For longer, freeze in cellophane.

More Break Fast: the all-time best Baked French Toast, I swear

A few years back, my friend Ilene Stern turned me on to this baked french toast recipe. It is an absolute hit—an out of the ballpark hit. It is so totally decadent and delicious. I never have a single piece left over. It is just amazingly awesome. Once you make it, you will always make it. I make it twice a year: Mother’s Day, always; and if I make break fast on Yom Kippur it is on the table. It is the most perfect brunch item I know. The only down side is that you must refrigerate this dish overnight, and you can’t cook it until you’re ready to eat it. I have travelled with it uncooked and I just cook it when I get to wherever I’m going. So thanks, Ilene, and enjoy. If anyone out there has a better recipe or any ideas, I’d love to hear them.

INGREDIENTS:

1 cup packed brown sugar (I usually use light but it doesn’t matter)

1 stick unsalted butter (I know, I know)

2 tbsp. corn syrup (I use Karo Original light corn syrup)

5 eggs (I warned you about the decadence…)

1 1/2 cups milk (You can use low-fat. I use Skim Plus but honestly, does it make a difference at this point???)

1 tbsp. vanilla

Cinnamon bread (I use sliced cinnamon bread from the supermarket. Almost every supermarket carries it. I try to get the thickest possible slices. If it is the thin kind, I stack it double.)

DIRECTIONS:

Melt butter, add brown sugar and corn syrup and combine well. Spray a 9×13 baking dish (Pyrex is perfect), pour butter mixture into baking dish and arrange bread slices flat in the mixture. (If they are thin, just double them one slice on top of the other. Unless the bread is 1 inch thick, you will be doubling the standard sliced bread.) Squeeze the bread to fit—it should hold 12 slices (6 doubled stacks), 3 on each side of a 9×13 baking dish. In a blender, mix eggs, milk and vanilla and pour over bread slices, covering them completely. Cover and refrigerate overnight. The bread will absorb all the liquid by morning, so if you need to travel with it, it won’t be slopping around. Uncover and bake in a preheated 350 degree oven for 30 minutes. You can dust with powdered sugar, but it’s not necessary. Serve right from baking dish. Yum.  If you let it sit out too long before serving, the bottom may get hard like a praline candy. It never, ever, lasts long enough at my table for this to happen though.

*Serves 6-8. If you have healthy eaters, make 2 trays!

*Original recipe is from Mulberry Inn & Gardens Bed & Breakfast